
DIY Raised Garden Beds
Today I am sharing all about how I created a new vegetable garden space by building 12 large DIY raised beds on a budget!

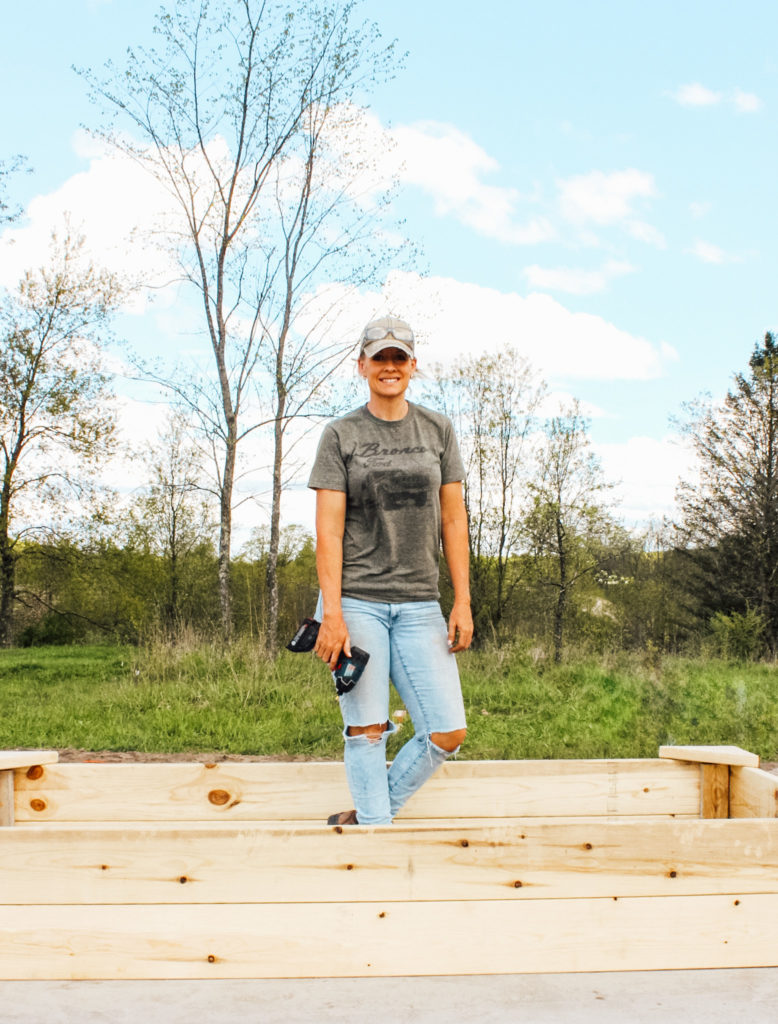
When my family asked me what I wanted for Mother’s Day, I told them I would LOVE to tackle a project! I can’t help it! I love projects!
The next project on my list was planting my garden so that’s what they decided to gift me! YAY! They gave me their time and energy to help me build the garden of my dreams…or at least get a pretty good start on building it…building the garden fence will be phase #2!

I’ve been gardening nearly my entire life and I’d never had any raised beds or even a fence around my garden. I always gardened more as a farmer does and kept things pretty simple.
But, when we tilled up our garden spot and dug up lots of broken glass, bricks, and even the foundation of the farmhouse that once sat there (before it was sadly lost to a house fire over 100 years ago)we quickly decided that building DIY raised beds for our new garden would be our best option.
After finding all the broken glass and debris buried in our garden spot, we knew building raised beds would be worth the effort and it would be worth investing in!
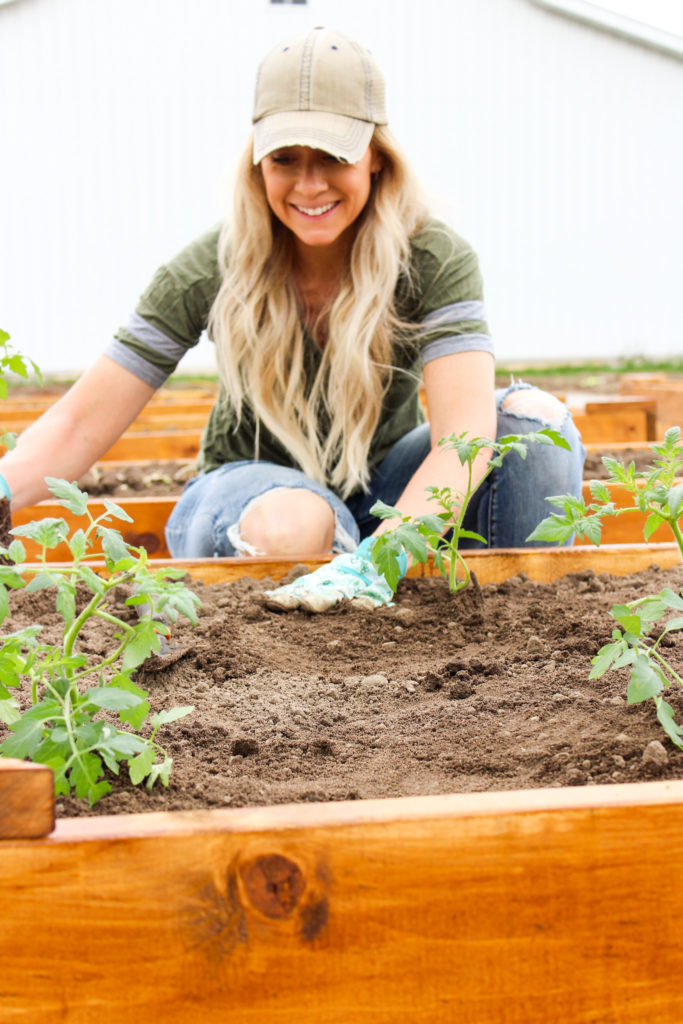
I went through my list of seeds and what I wanted to plant and decided I needed 12 raised garden beds and I wanted my beds to be 4X8ft by 16in deep.
I designed these beds to fit my needs. I am on the taller side so I don’t mind that the beds are 4 feet across. However, if you think you may have a hard time reaching that far, I recommend building the beds no more than 3 feet wide. That will make pulling weeds in the center much easier!
You could also build these with only 8in deep and not add the second 2×8…but as I said… I am tall and I wanted them to be tall enough for me to sit on the side or corner with ease!
Materials Needed (per bed):
- Seven- 2x8x8s (lumber of your choosing)
- One- 2x4x10
- Decking Screws
- Clamp
- Tape measure
- Miter Saw or Skill Saw
I chose to use untreated pine for my garden beds. When I priced out cedar, the cost was over $2k for the lumber alone. I don’t need my garden beds to last 100+ years. Spending that much money for us was not worth it.
I know lots of people use treated lumber for their garden beds, but I prefer to be safe rather than sorry. I am no expert on the chemicals used in treating wood…but my husband works at a sawmill and he advised me to use untreated (or cedar if it wasn’t so expensive). Because his sawmill only makes untreated lumber, we were able to purchase the lumber directly from his plant and he just brought it home from work!
I was confident with a few measures, we could help make these raised garden beds last a long time!
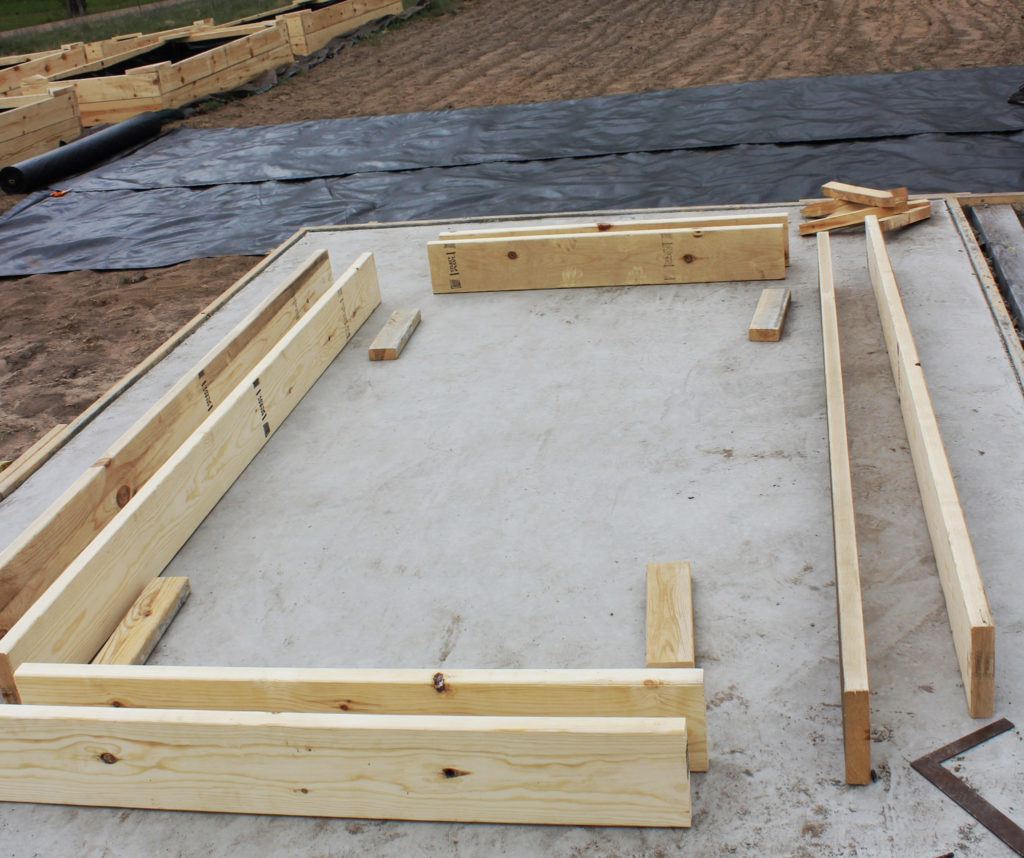
CUT LIST (per bed): Each bed will need
- Four, 2x8x8′
- Four, 2x8x4′
- Eight, 2x4s cut to 14” each
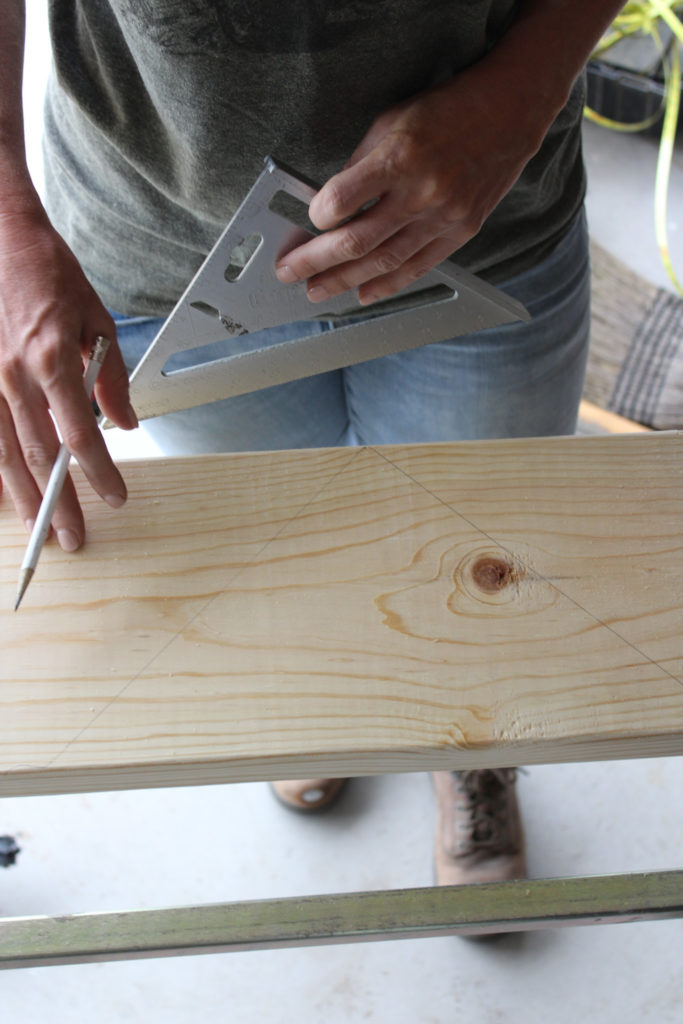
- Cut Four Corner Seats using a 2×8 and a 45 degree cut on both ends (making a wide triangle for each corner). You could easily make this corner seat smaller or larger depending on your preference!
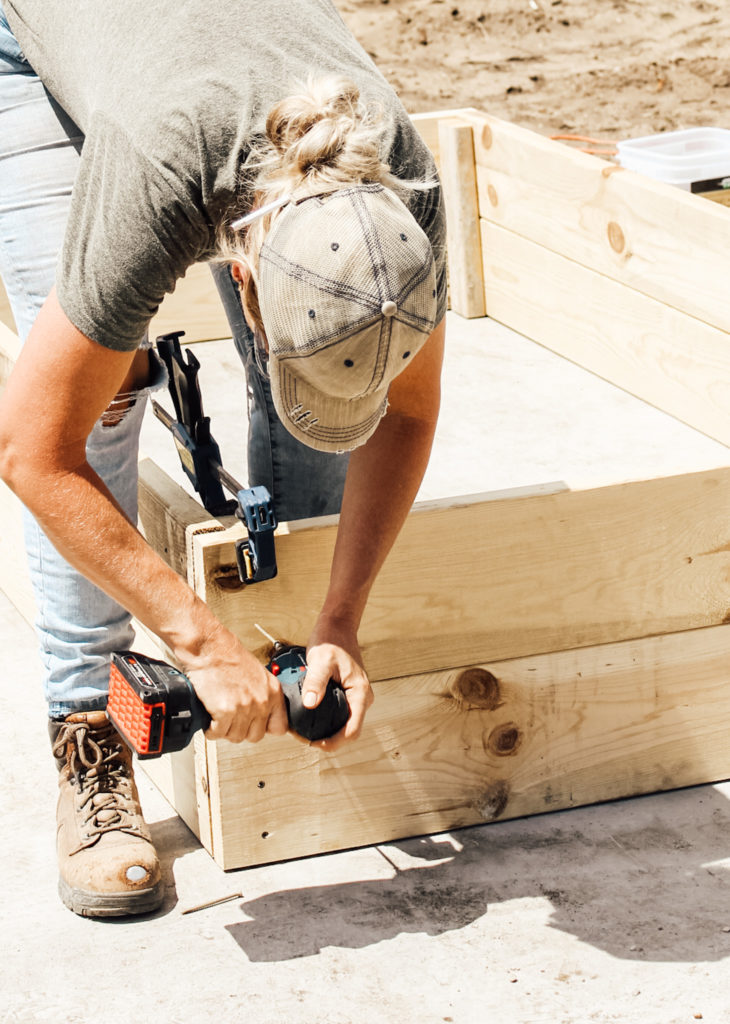
After I had all my boards cut to size I laid them out and started to assemble them. I used my clamp to secure the corner 2×4 to my 8ft board. I used three screws per each 2×8. I did that on all four corners before adding the end 2x8x4′ boards. After my box was built I did that all again one more time making my bed 16 inches tall.
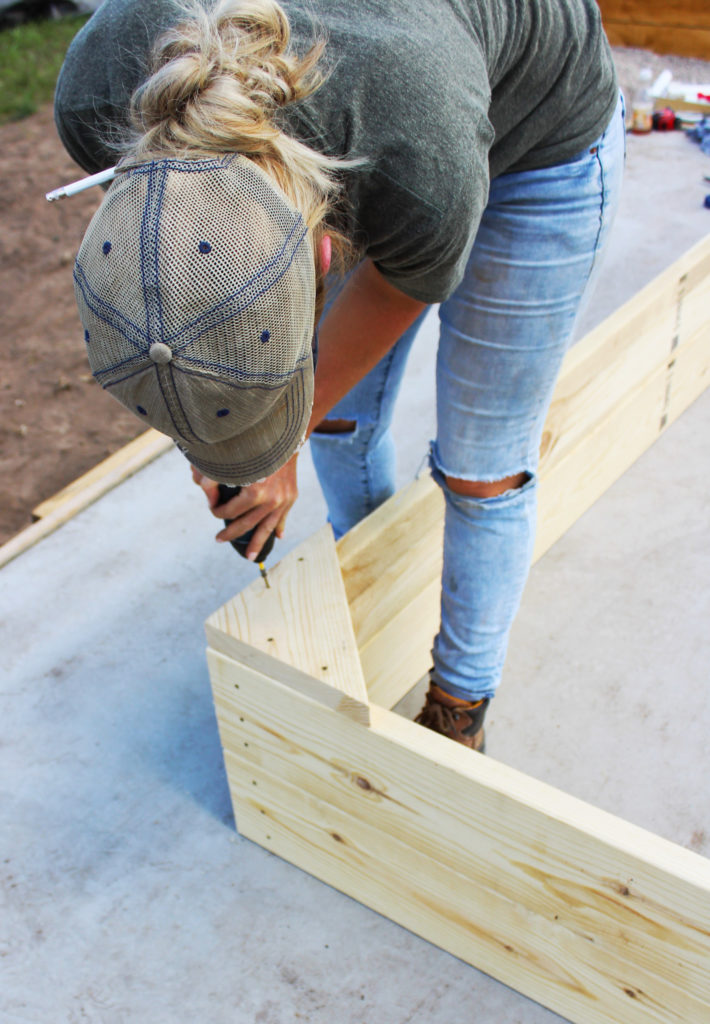
Lastly, I added my corner seats to all four corners and added the four remaining 2x4x14” as bracing on the interior of each side (right in the center) to keep the wood from bending over time with the weight of the soil and water.
How I am protecting my garden beds (since they are not Cedar or Treated Lumber)
The next steps I didn’t photograph…so sorry…but they are super important if you do choose to build your beds out of untreated pine. I took three precautions…
- I sealed the interior of the raised beds with a waterproof, food-safe wood sealer. I don’t recommend any particular brand…but anything that is food safe and used for things like butcher blocks in a kitchen should work fine!
- Then I stained the exterior with two coats of waterproof stain.
- The last thing I did to make these beds last as long as possible is lining the interior sides with a heavy-duty, 6mil. black plastic. I simply used my staple gun to line the inside of the beds.
I’m hopeful that all the precautions I took will help these beds last a long time!
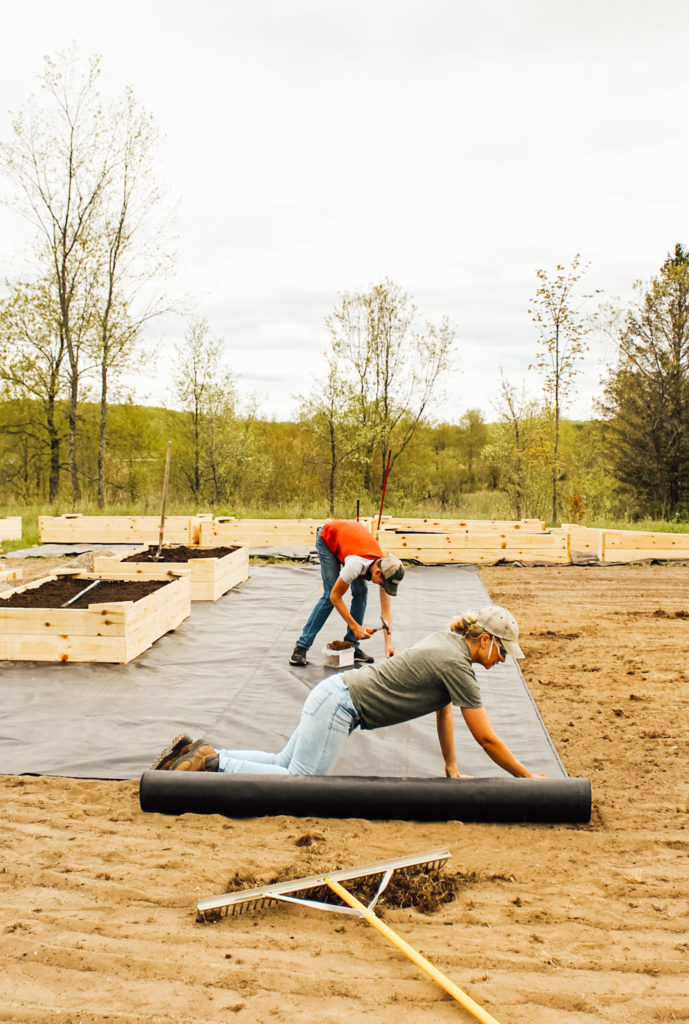
After the raised beds were finished we got to work laying out some Geo Teck Fabric similar to this Black Polypropylene fabric to keep the weeds out and topped that off with 14 yards of pea gravel. The garden space is 32ftx56ft with 4 ft of walking space between the beds on all sides. We will be adding a fence soon (as I mentioned) to keep the deer and other critters out!
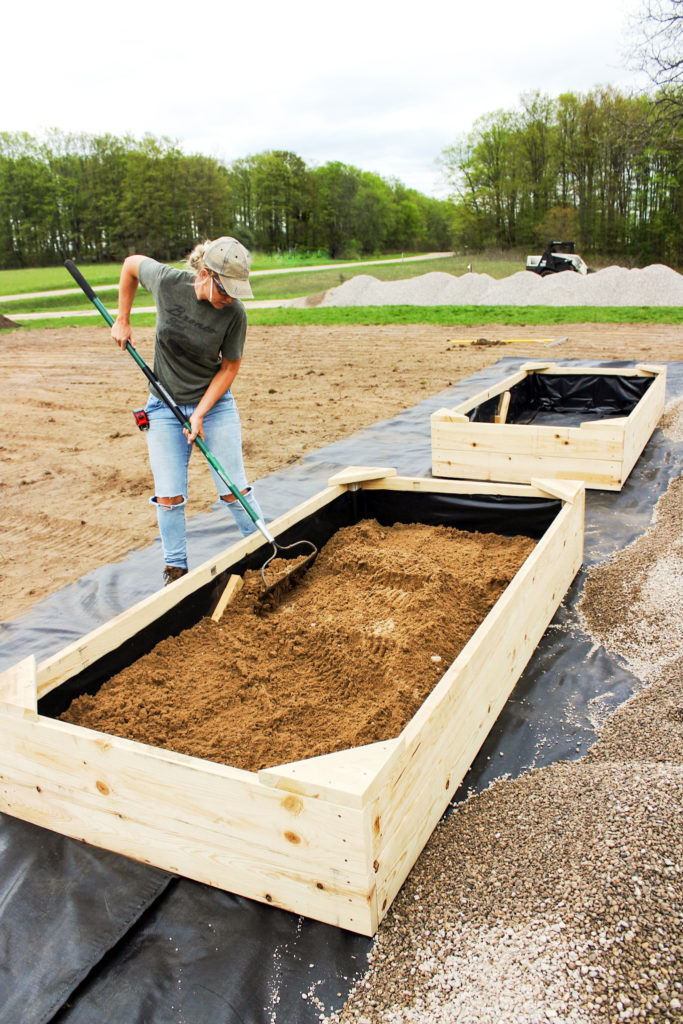
We then worked on filling our beds! We chose to have some garden soil delivered and also used a layer of sand from our land as well as some straw for filtration! I will be keeping these beds organic and adding compost to them as needed each year.
Building this garden space together as a family (for a Mother’s Day gift) was so special! After 17 moves and having to start a new garden over and over…I am SO EXCITED that I won’t have to start all over again next year!
I can’t wait to enjoy all the delicious veggies that grow here!
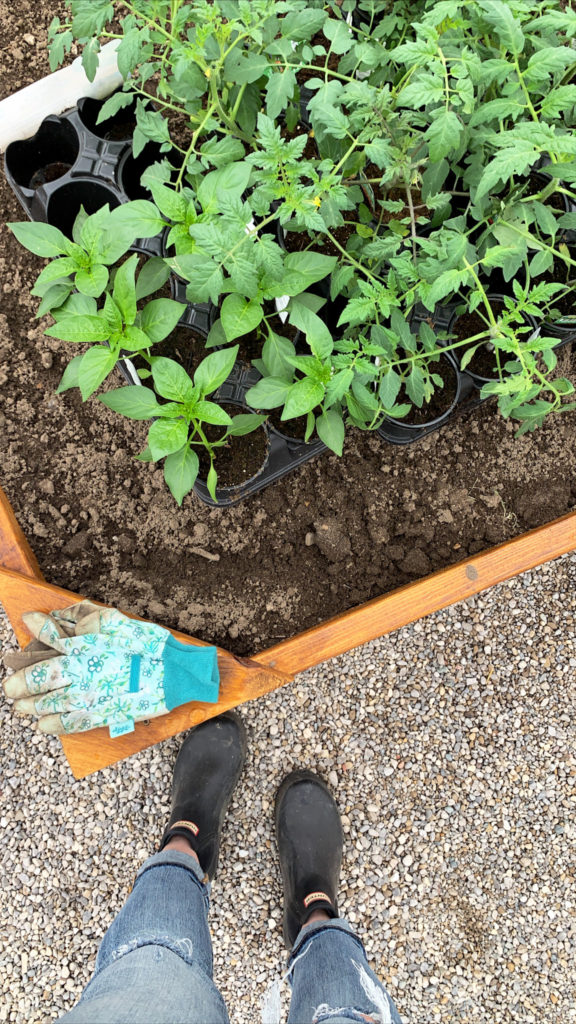
I know you’ll ask…so here’s a list of what we’ve planted so far!
- Green Beans
- Sweet Corn
- Cherry Tomatoes
- Tomatoes
- Bell Peppers
- Onions
- Chives
- Lettuce
- Kale
- Cucumbers (large for eating and pickling cucumbers too)
- Cilantro
- Basil
- Dill
- I have 1 raised garden bed empty yet! I will have to decide what to plant soon because it’s almost JUNE!
For those of you who follow along with my projects over on Instagram @fletchercreekcottage, you will be happy to know that my strawberries are full of blossoms already and my pumpkin patch has little plants about 4 inches tall after the rain and heat we’ve had this week!
Thank you so much for following along on this fun gardening project! If you’ve been considering building beds of your own, I sure hope this was helpful, and be sure to leave me a comment if you have any questions at all!


I love gardening mine is much smaller but I love all your tricks and tips. I can’t wait to see you harvest and persevere. Thank you
Thank you Kitty! Gardens are so wonderful…no matter what size they are! It’s just so fun to grow something and either enjoy it’s beauty or enjoy eating it! With all the sunshine and rain we’ve had the garden has a great start!
[…] Back in May, I built 12 large raised garden beds. […]
In this article you will get to know about the diy raised garden beds. Anyone searching for same topic may find their shelter here. I am sure many people will come to read this in future. Great blog indeed, will visit again future to read more!!
[…] decided to stain the greenhouse with the same color as our DIY raised garden beds and my Graco ProX17 Paint Sprayer made the job go really quickly. greenhouse […]