
Okay guys, here it is! This was one of the most unique DIY projects we’ve tackled in a long while. When we moved into the cottage, we promised our kids that we would set up the beds that they already owned TEMPORARILY and after we rested for a bit, we’d build them some kind of custom loft beds! AND then a year went by…and the poor kiddos were still sharing a 12×12 bedroom.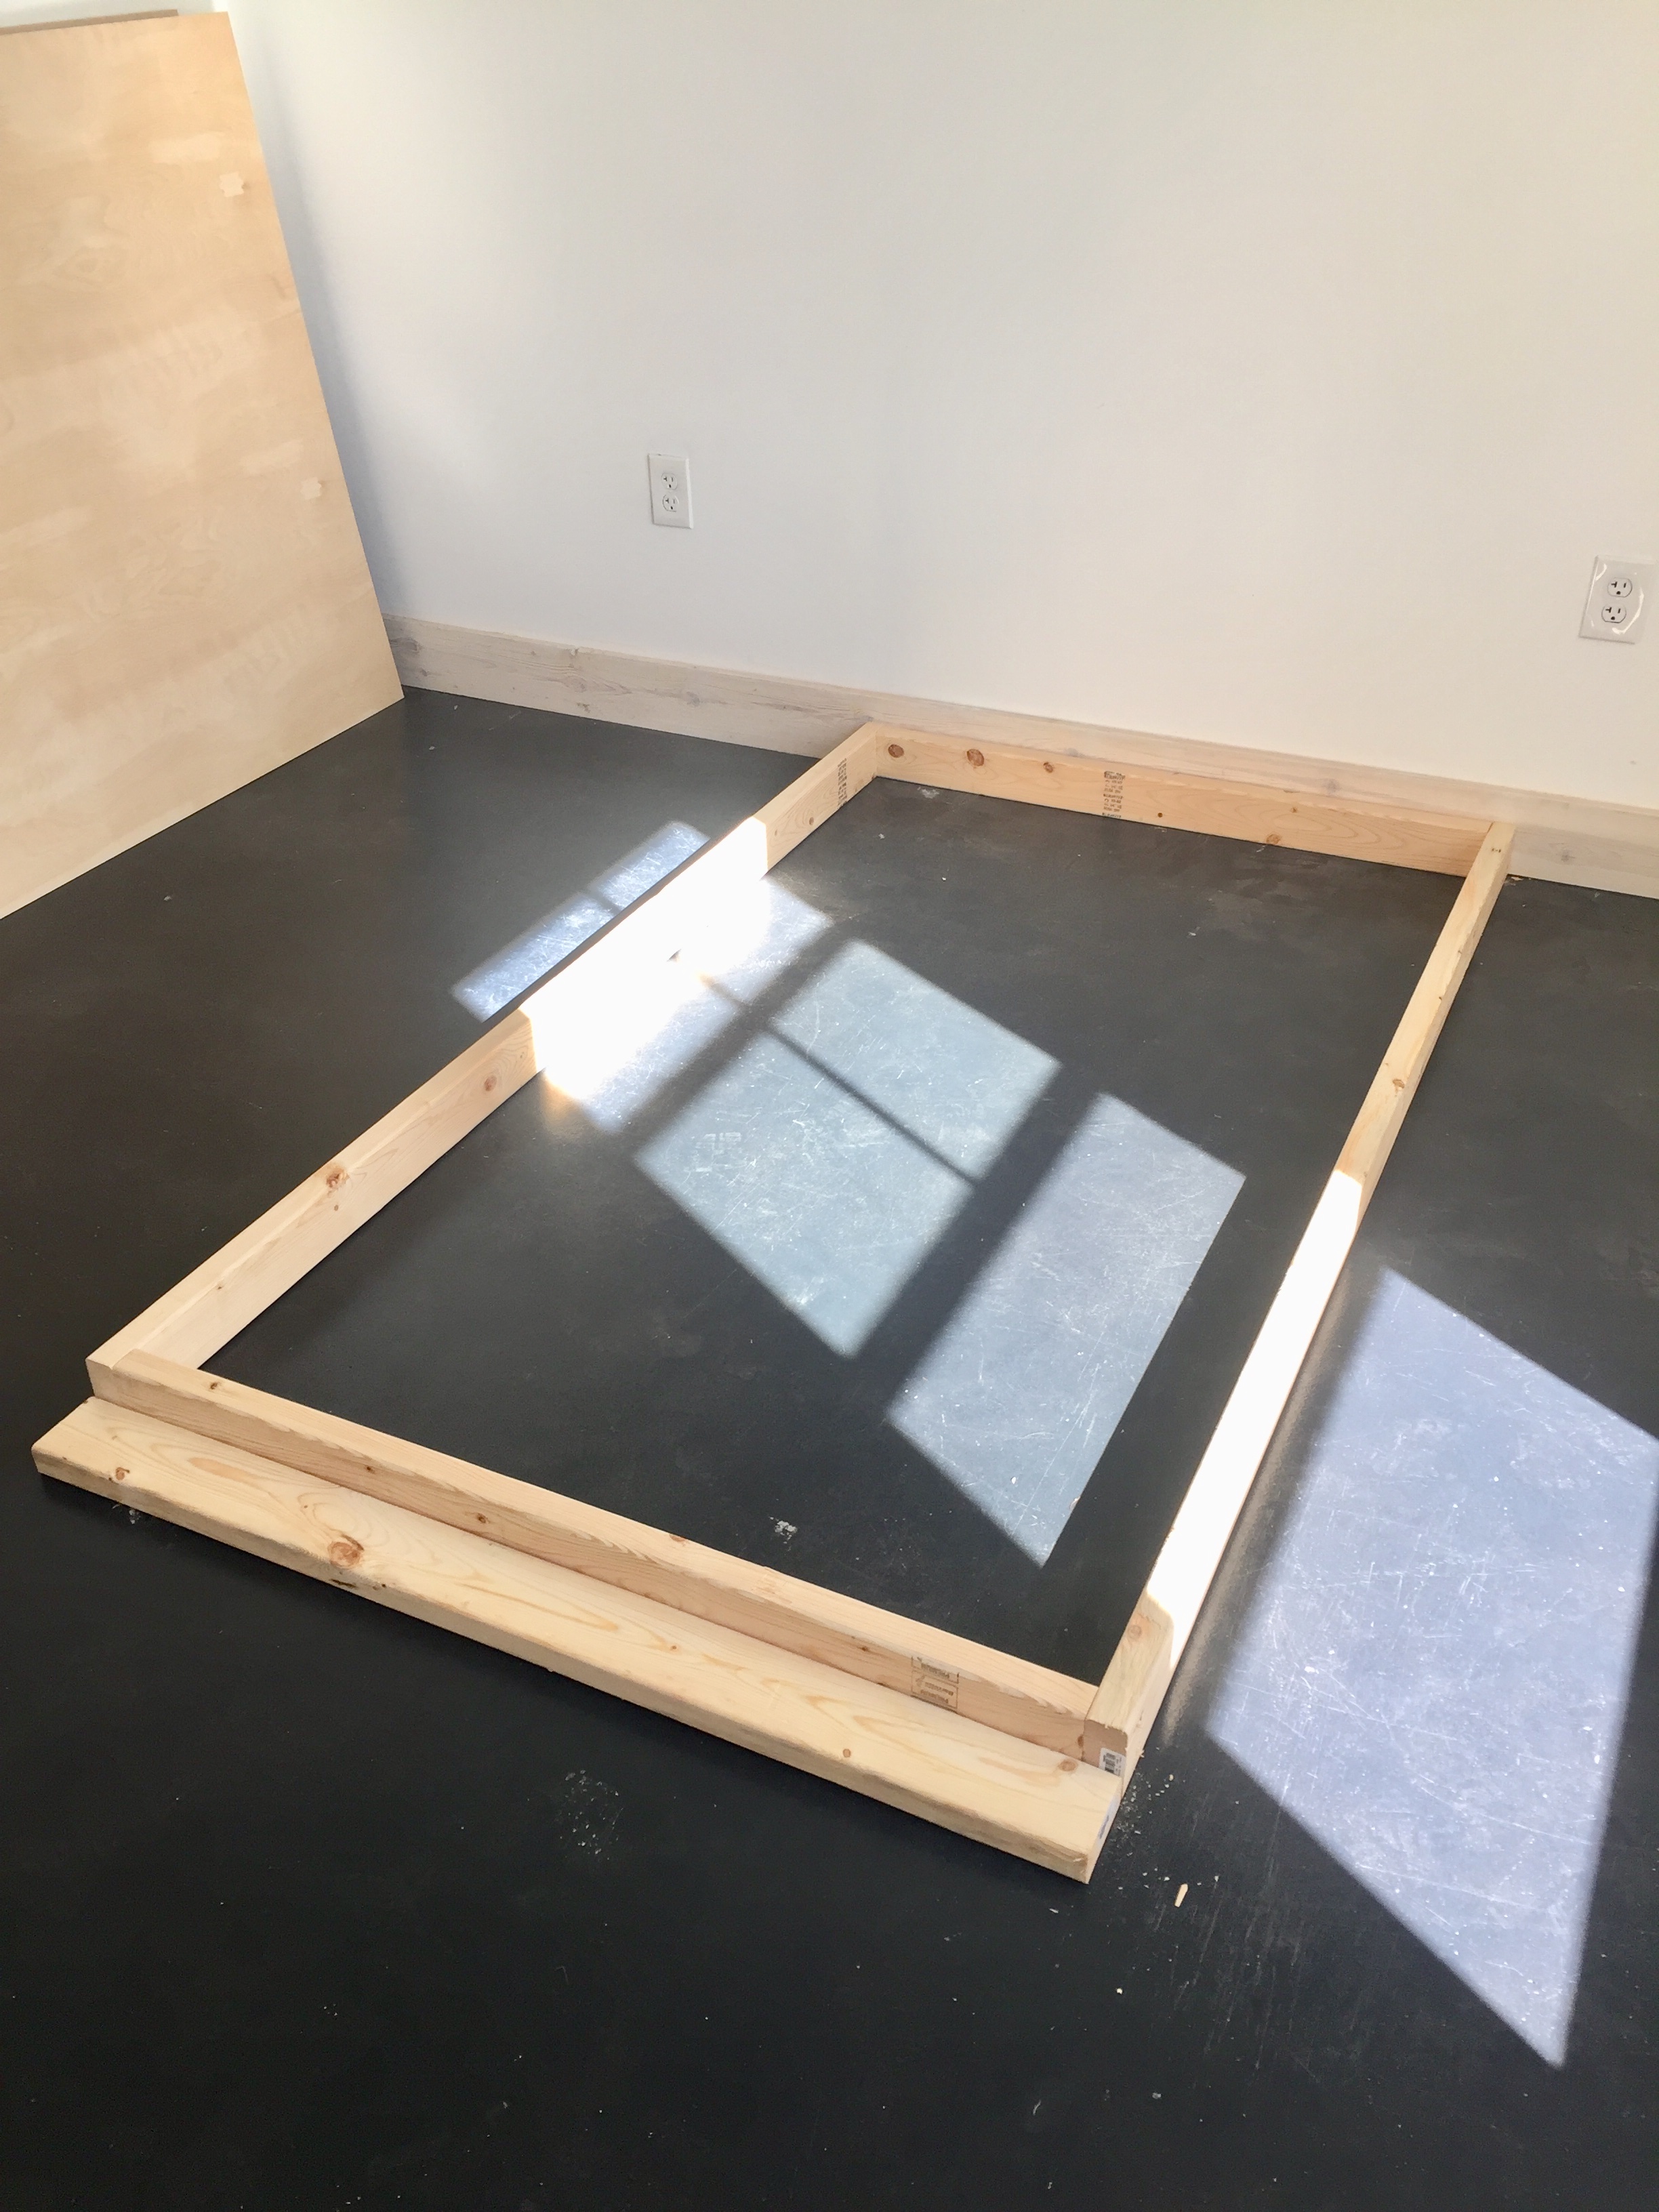
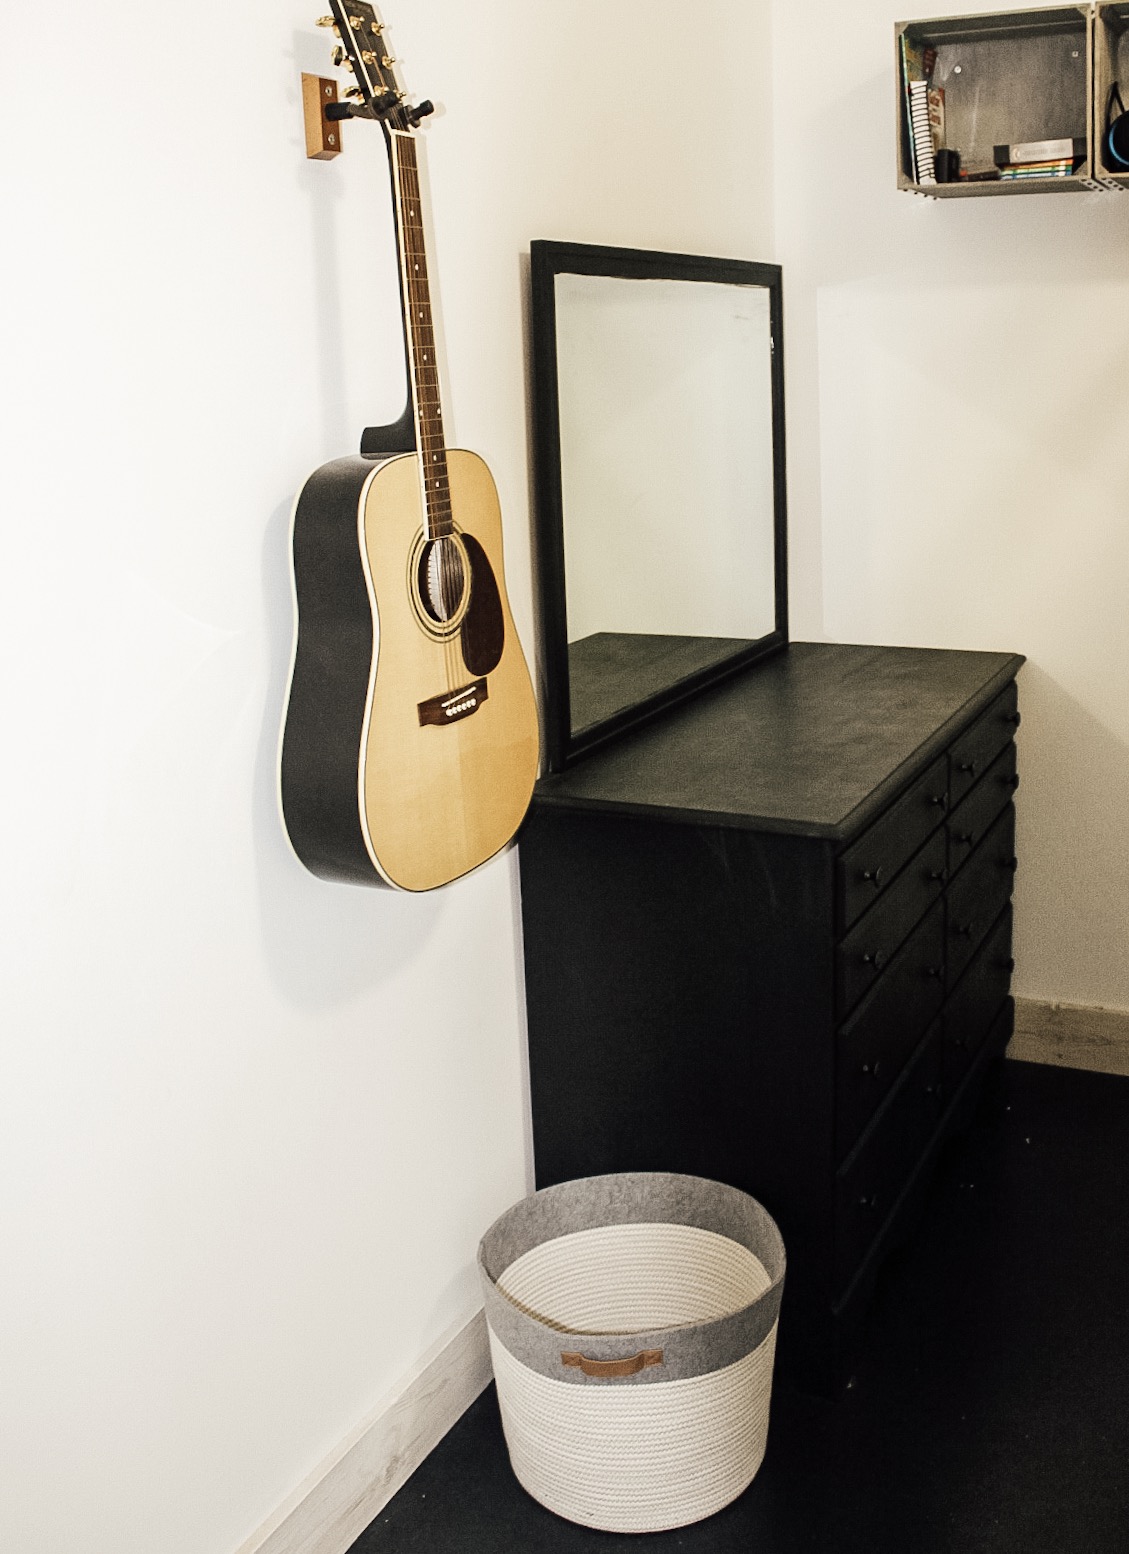
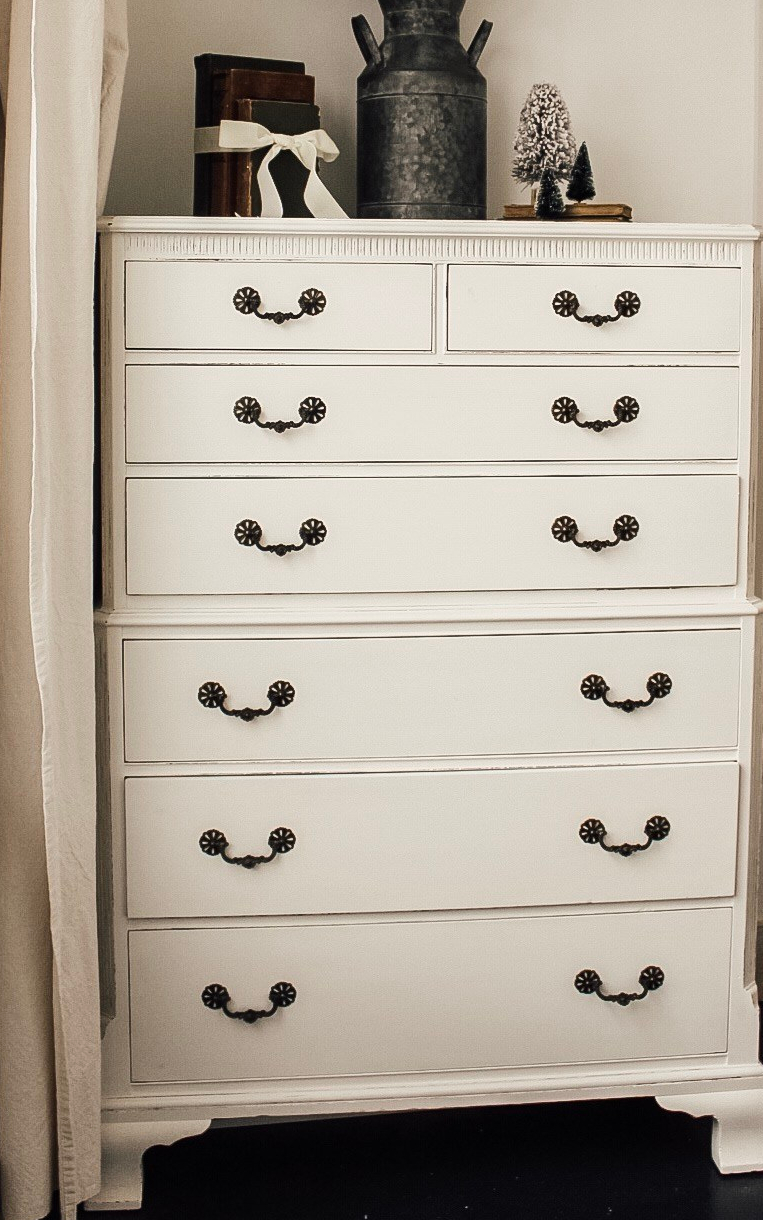
 It wouldn’t be so bad except that they had a queen bed, a full bed, a very large dresser and a vanity with a chair all crammed into this room! As you can imagine, they had about 16 inches of walking space! NOT cool! Did I mention that my kids are teens and not the same gender!!! They definitely had a few rough moments over the past year, but all in all, they respected each other and made the best of the situation. I honestly think they were just happy to be living in the house and not in the camper like we had the whole summer we were building this house! It’s all about perspective, right!?! Anyway…back to the bedroom.
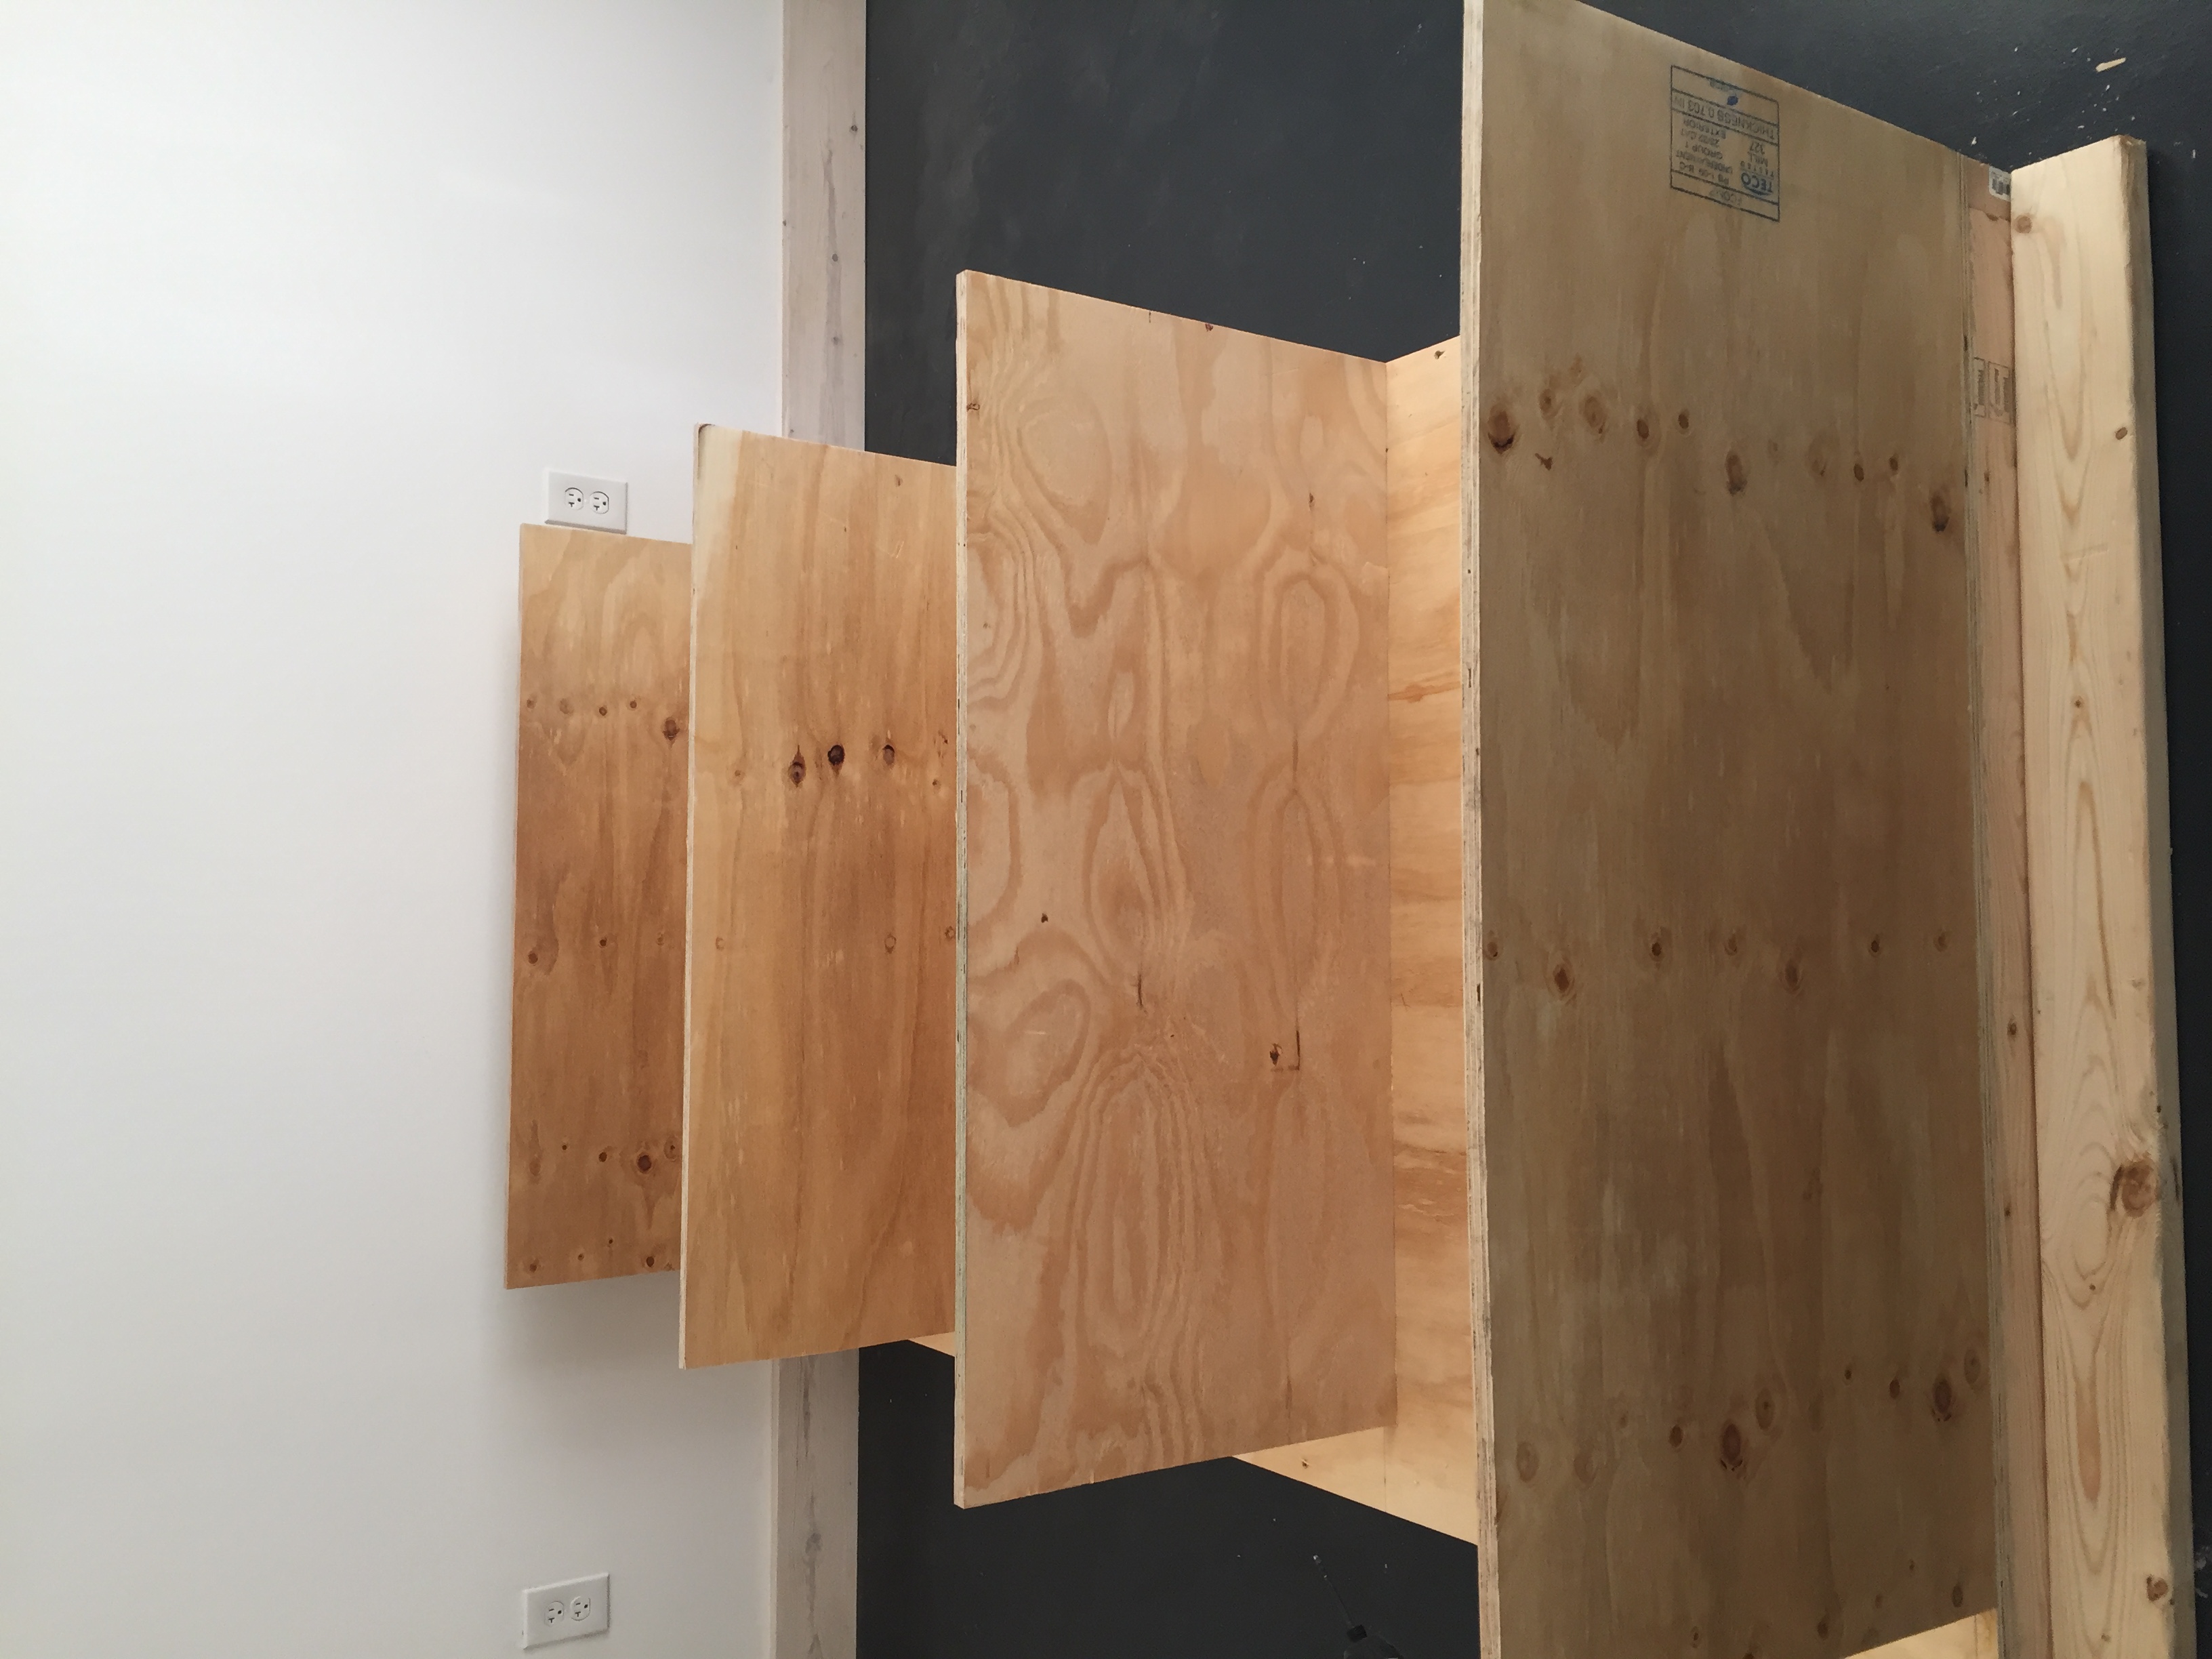 So we shopped Pottery Barn and all over locally for any good storage bed/ bunk bed solution so that we could get the best use out of the small space. We also wanted to give them some kind of partition to separate the space and give them each just a little bit of privacy.
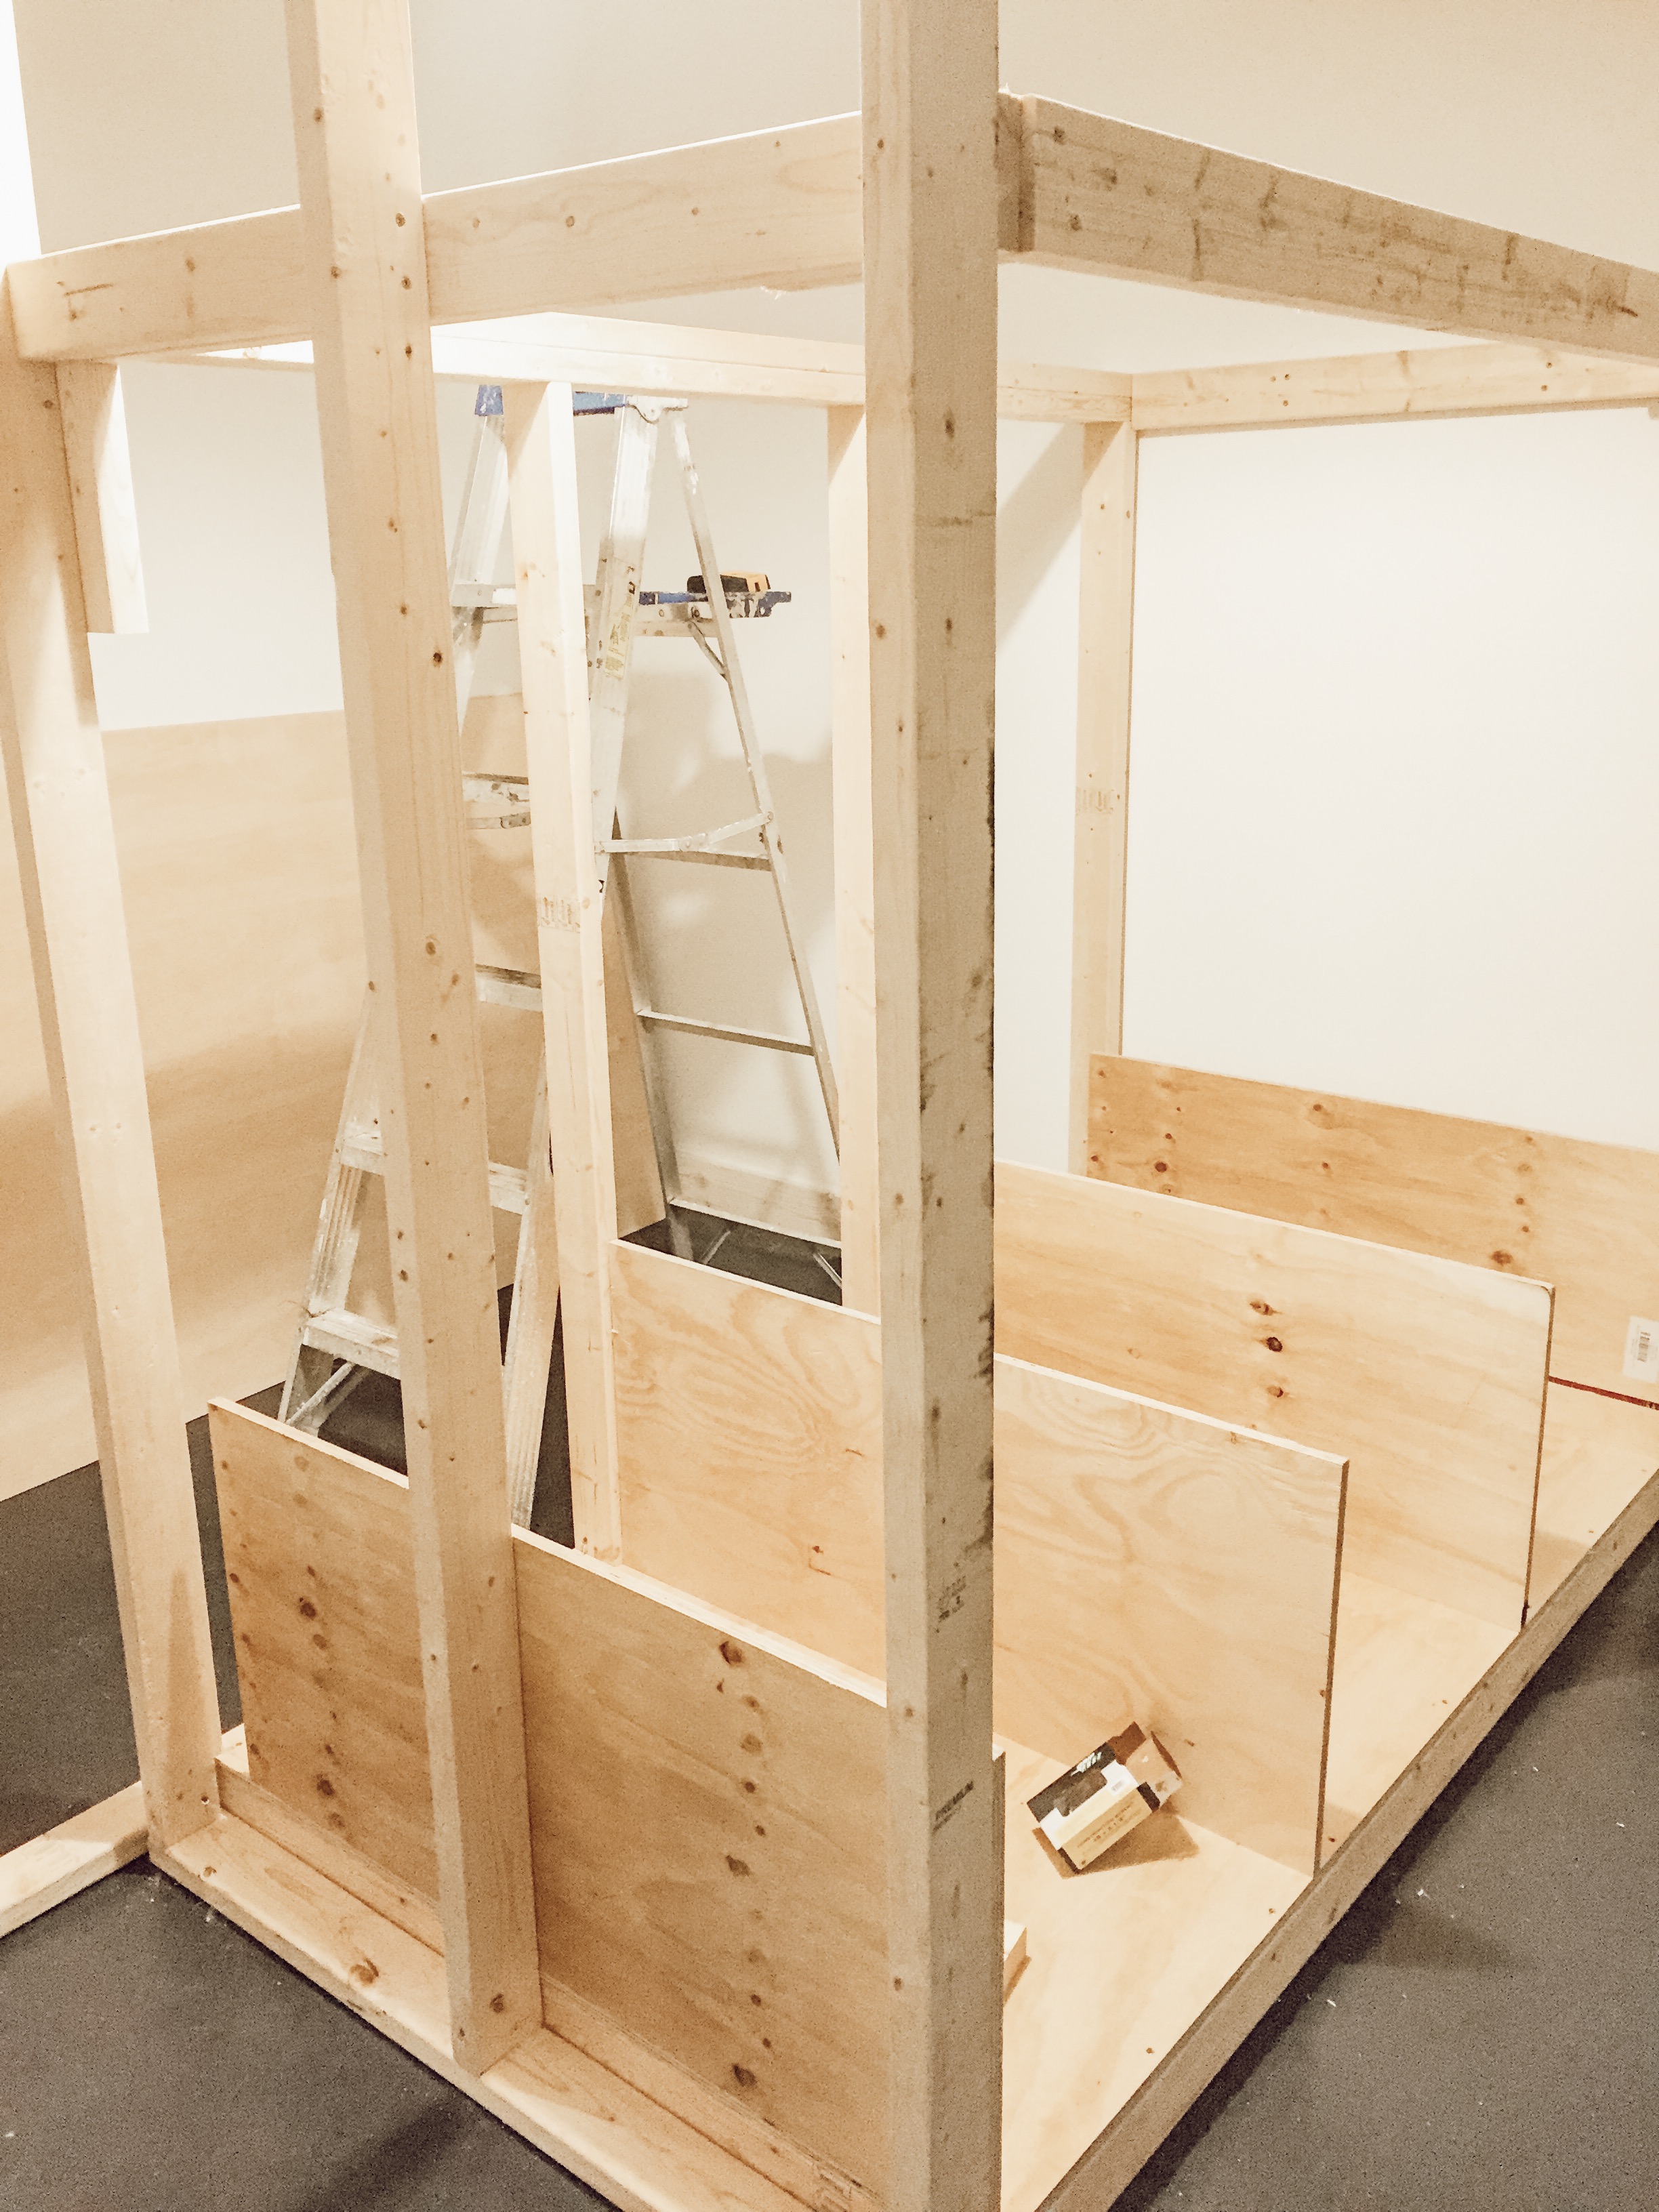
I really couldn’t quite find what I was looking for in stores…per usual! I kept thinking back to an idea I had earlier in the year, to build a storage bed for each of them.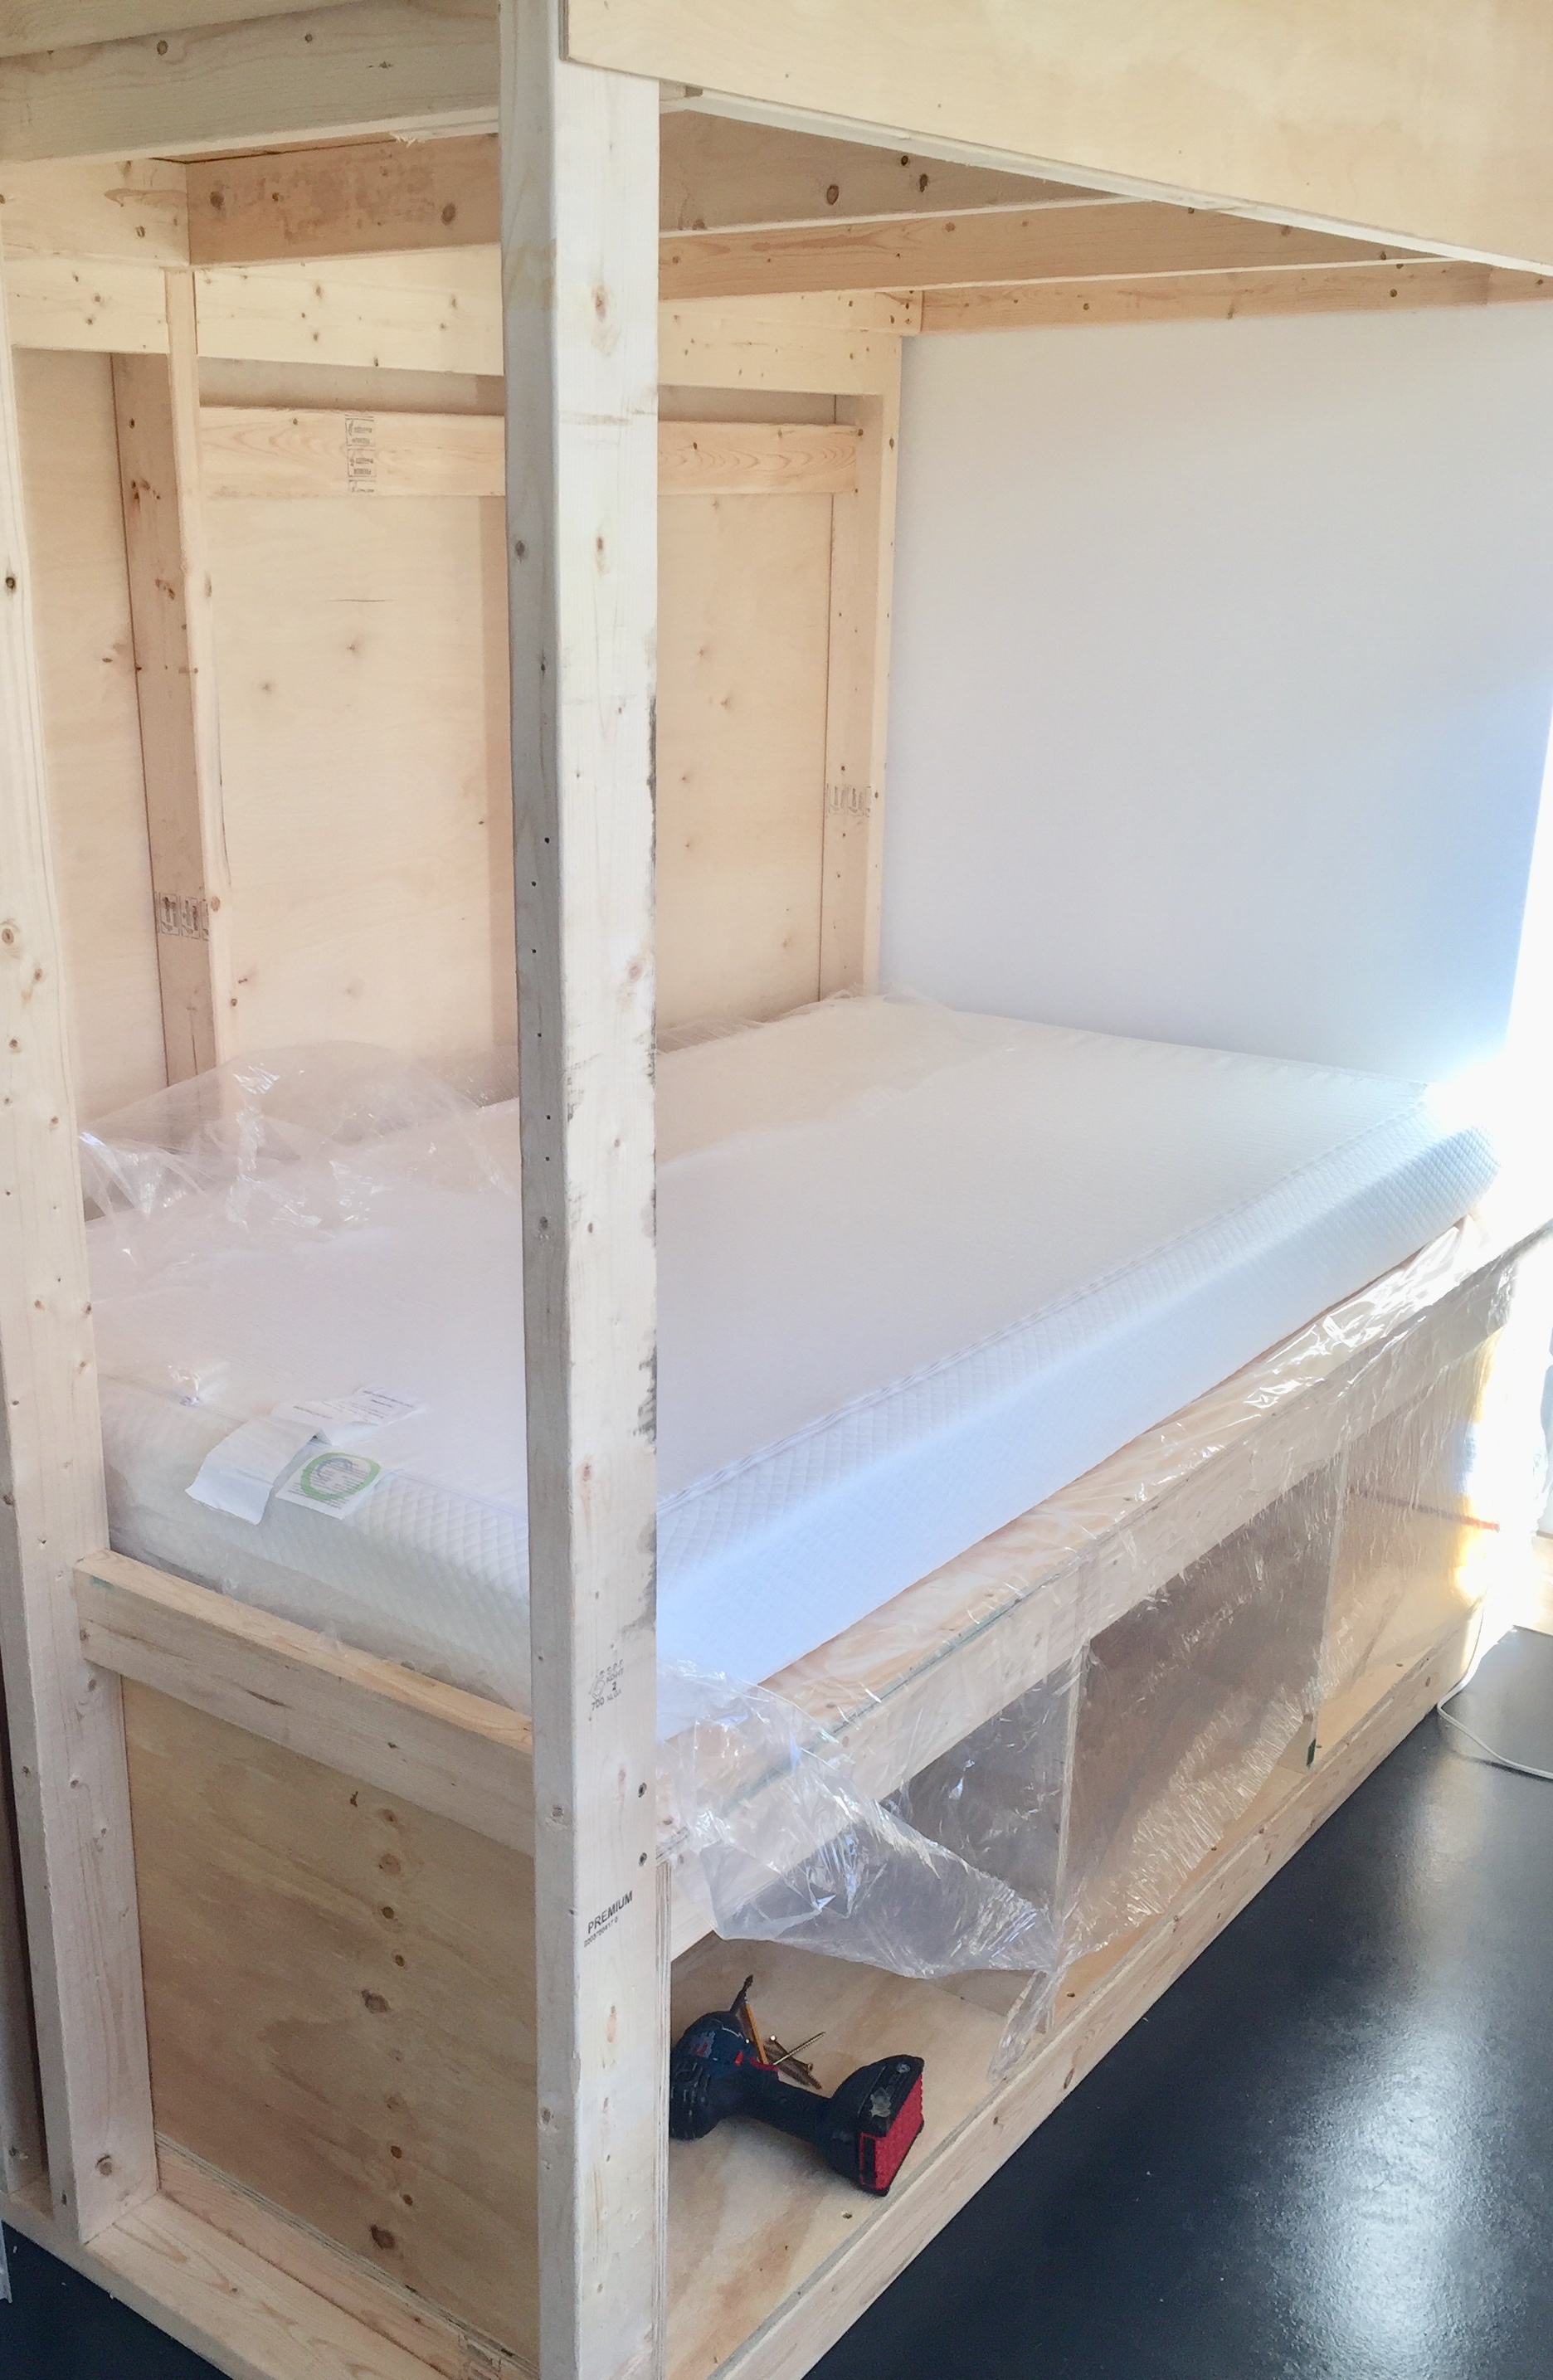
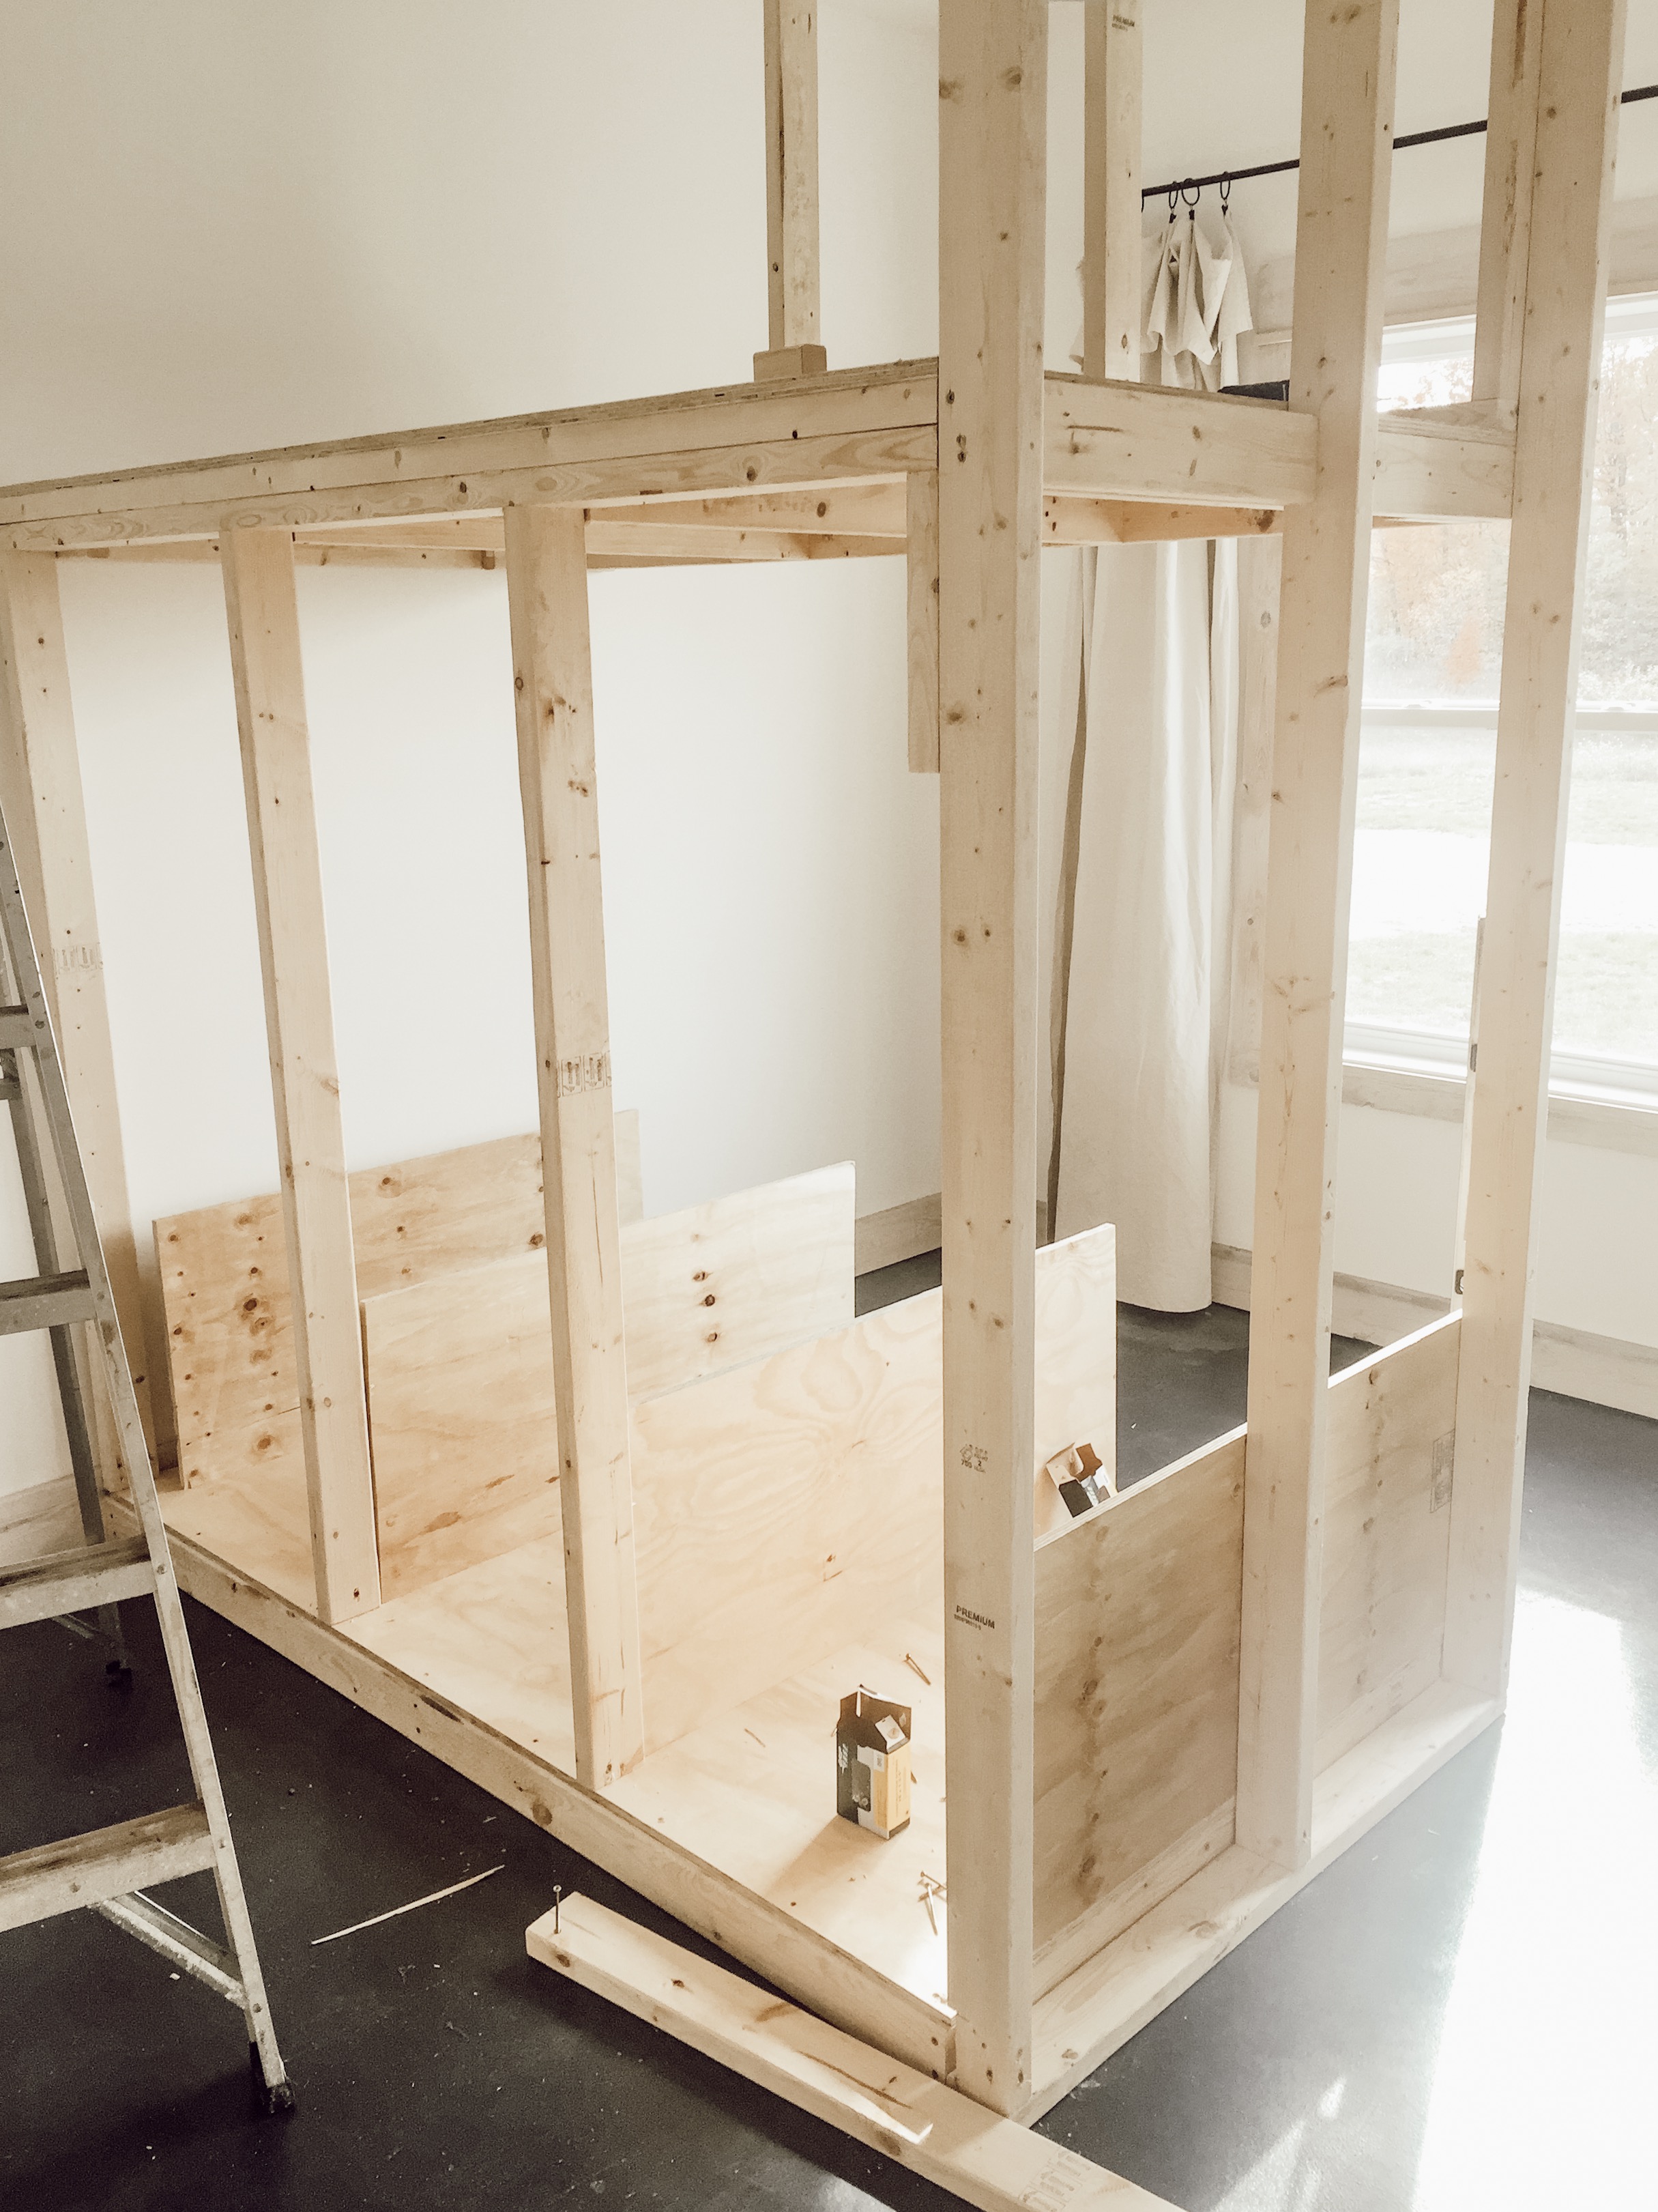
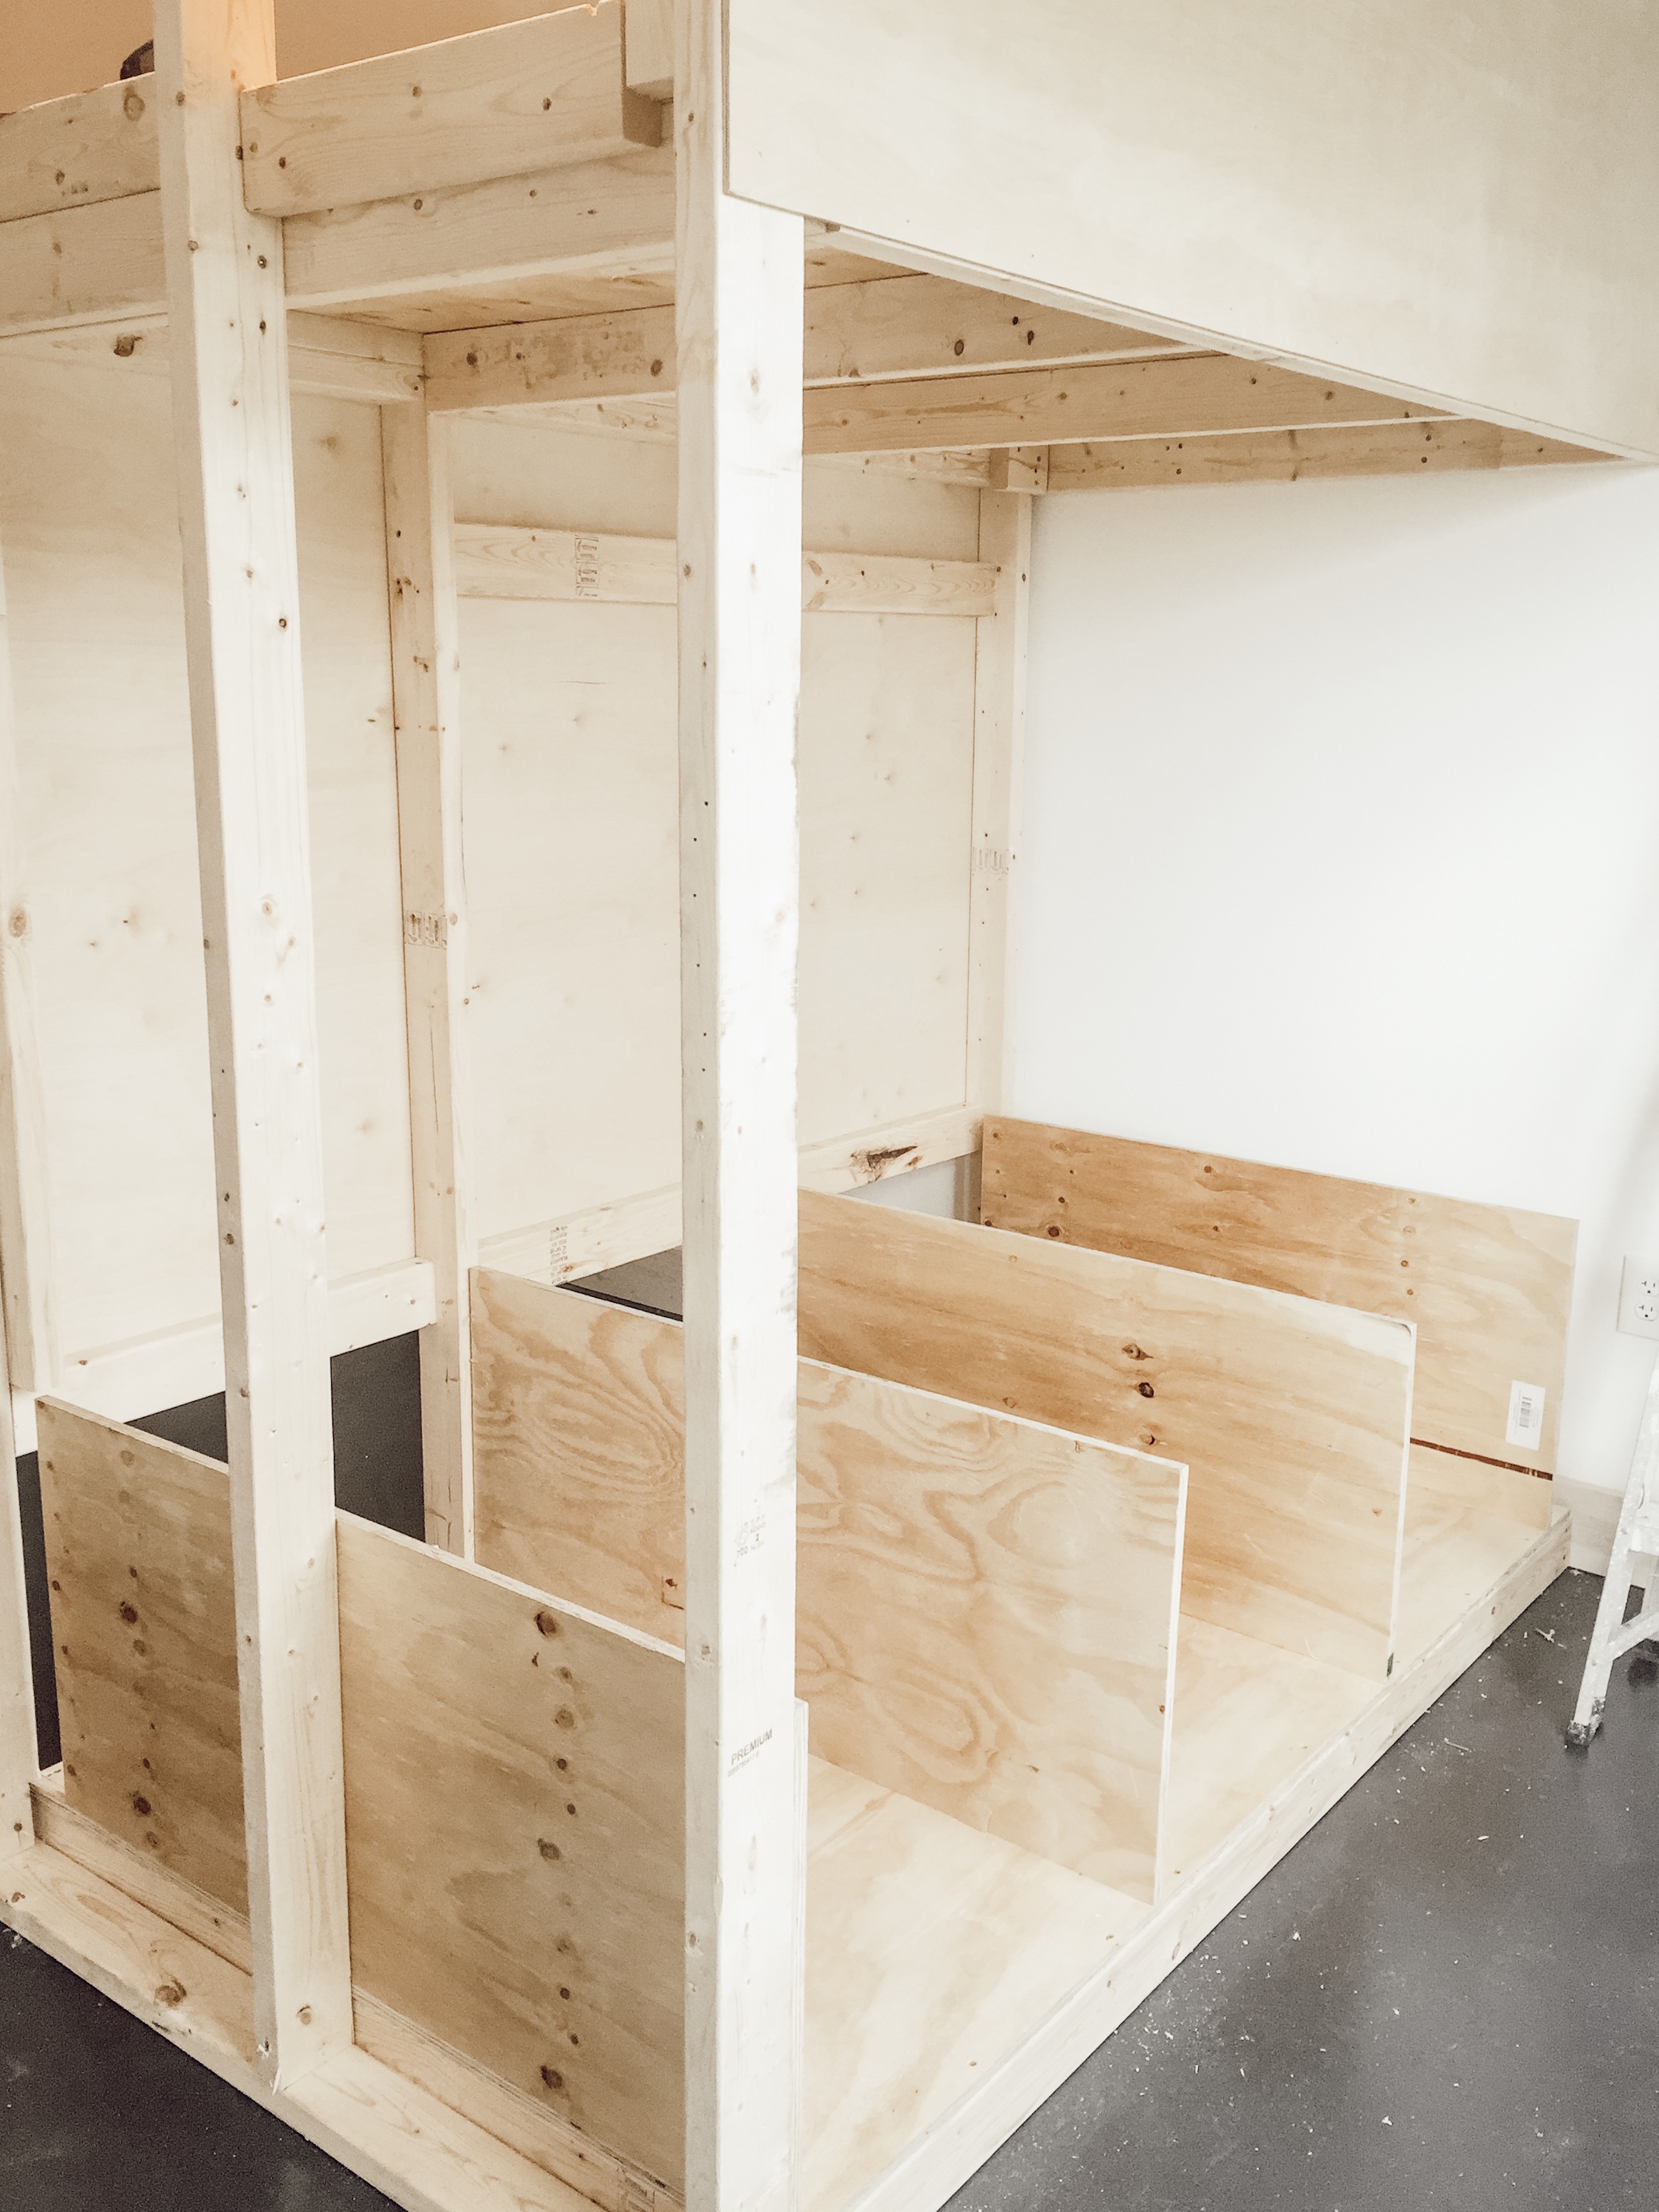
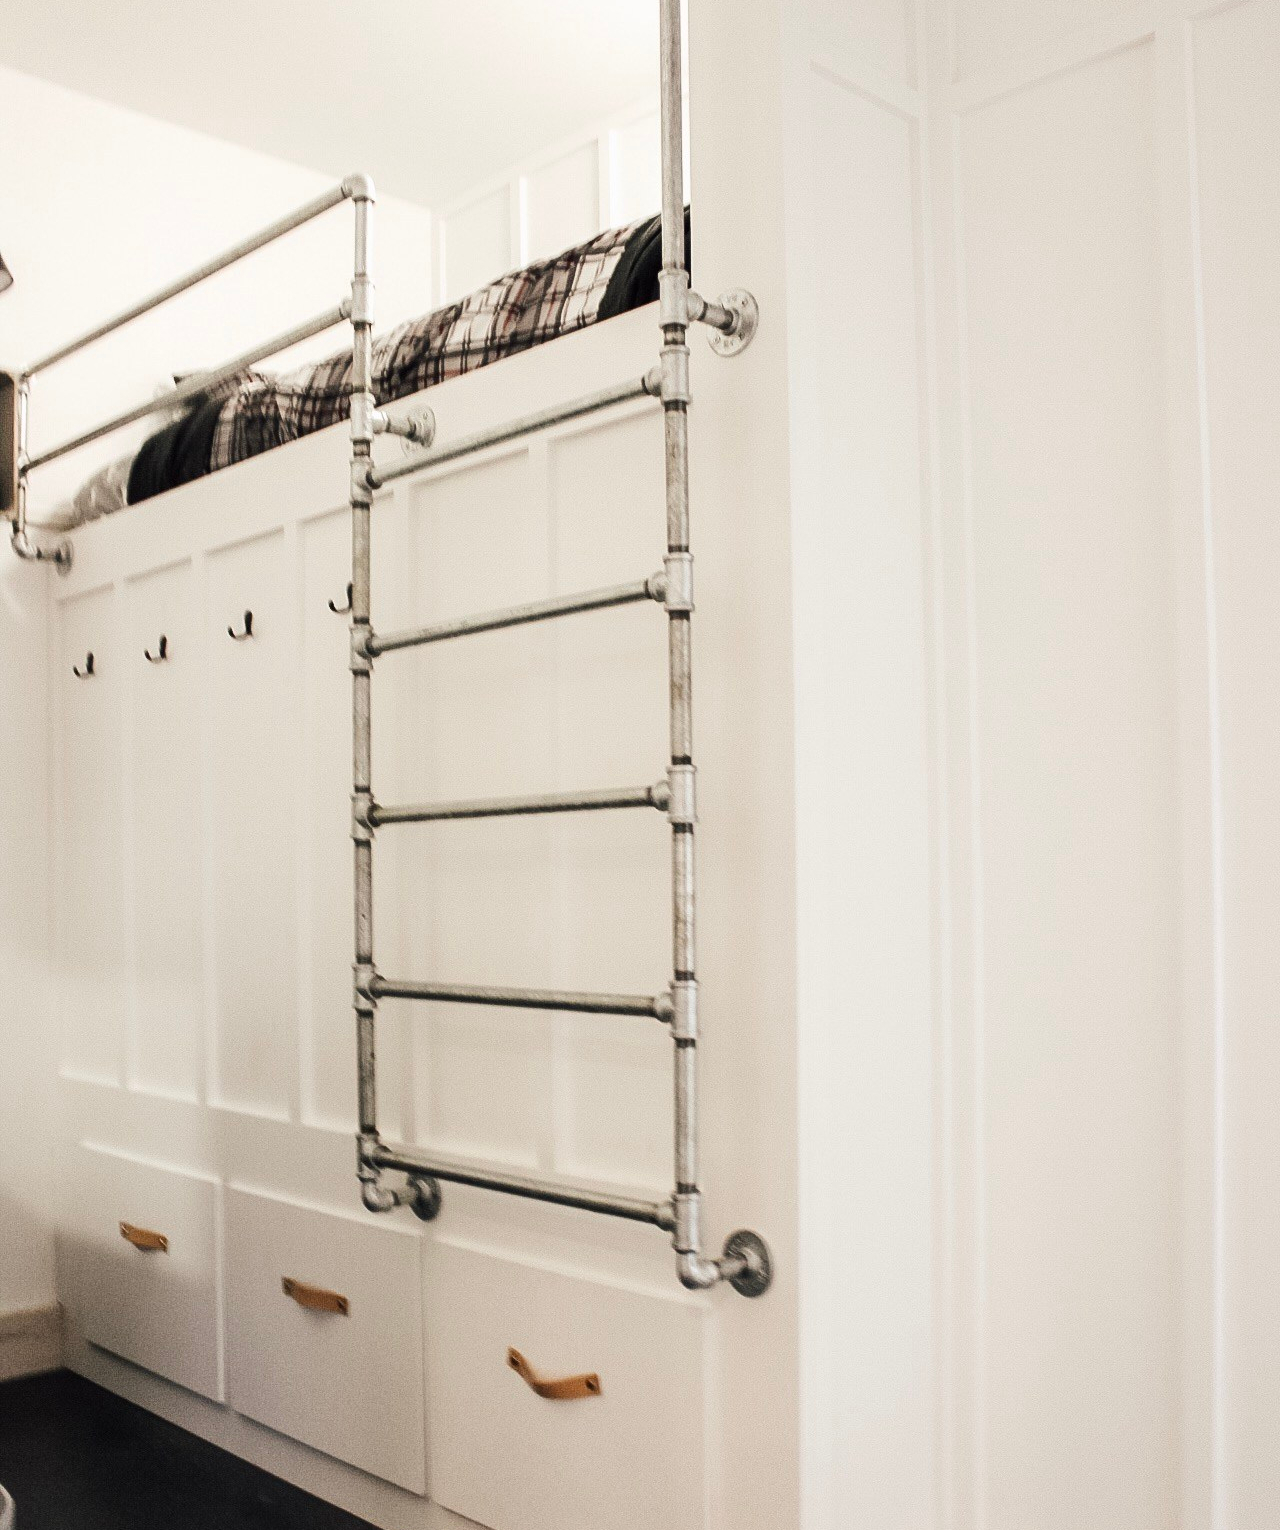
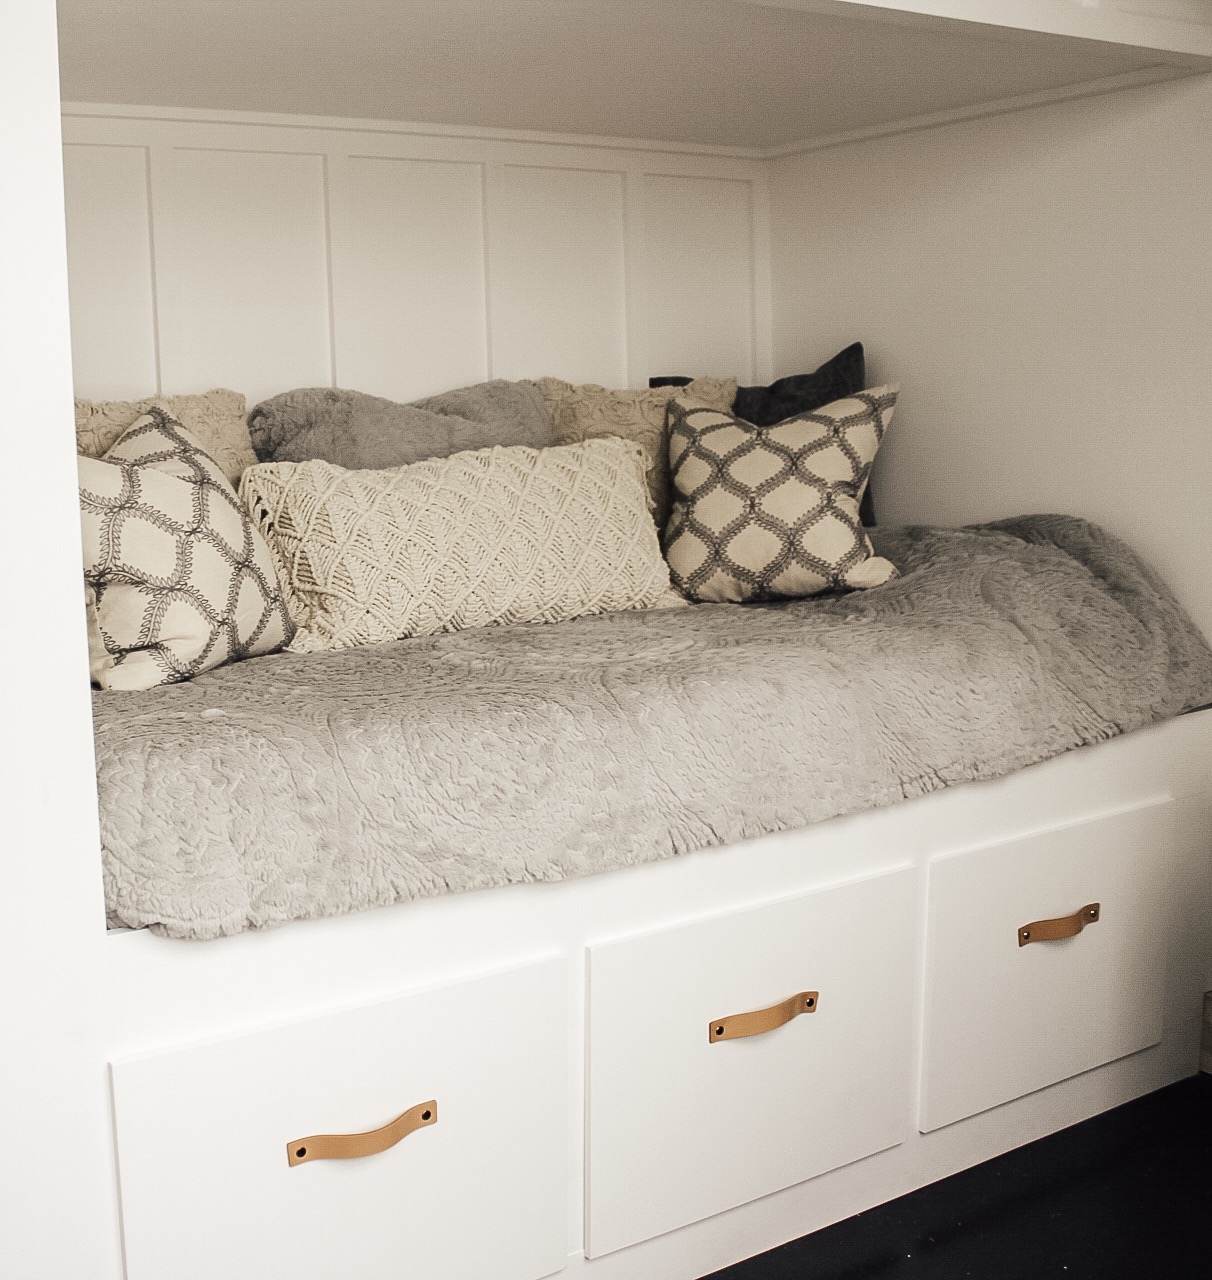
We have 9 and a half foot ceilings so I knew we had to use the height of the room as much a possible. We also have in-floor heating in our concrete floors. That means we can’t nail or screw anything into the floor for support at all! All things considered, I came up with an idea! I drew out a sketch of a storage bed that had 6 total drawers, three on each side of the bed. We would build the bed in the center of the room.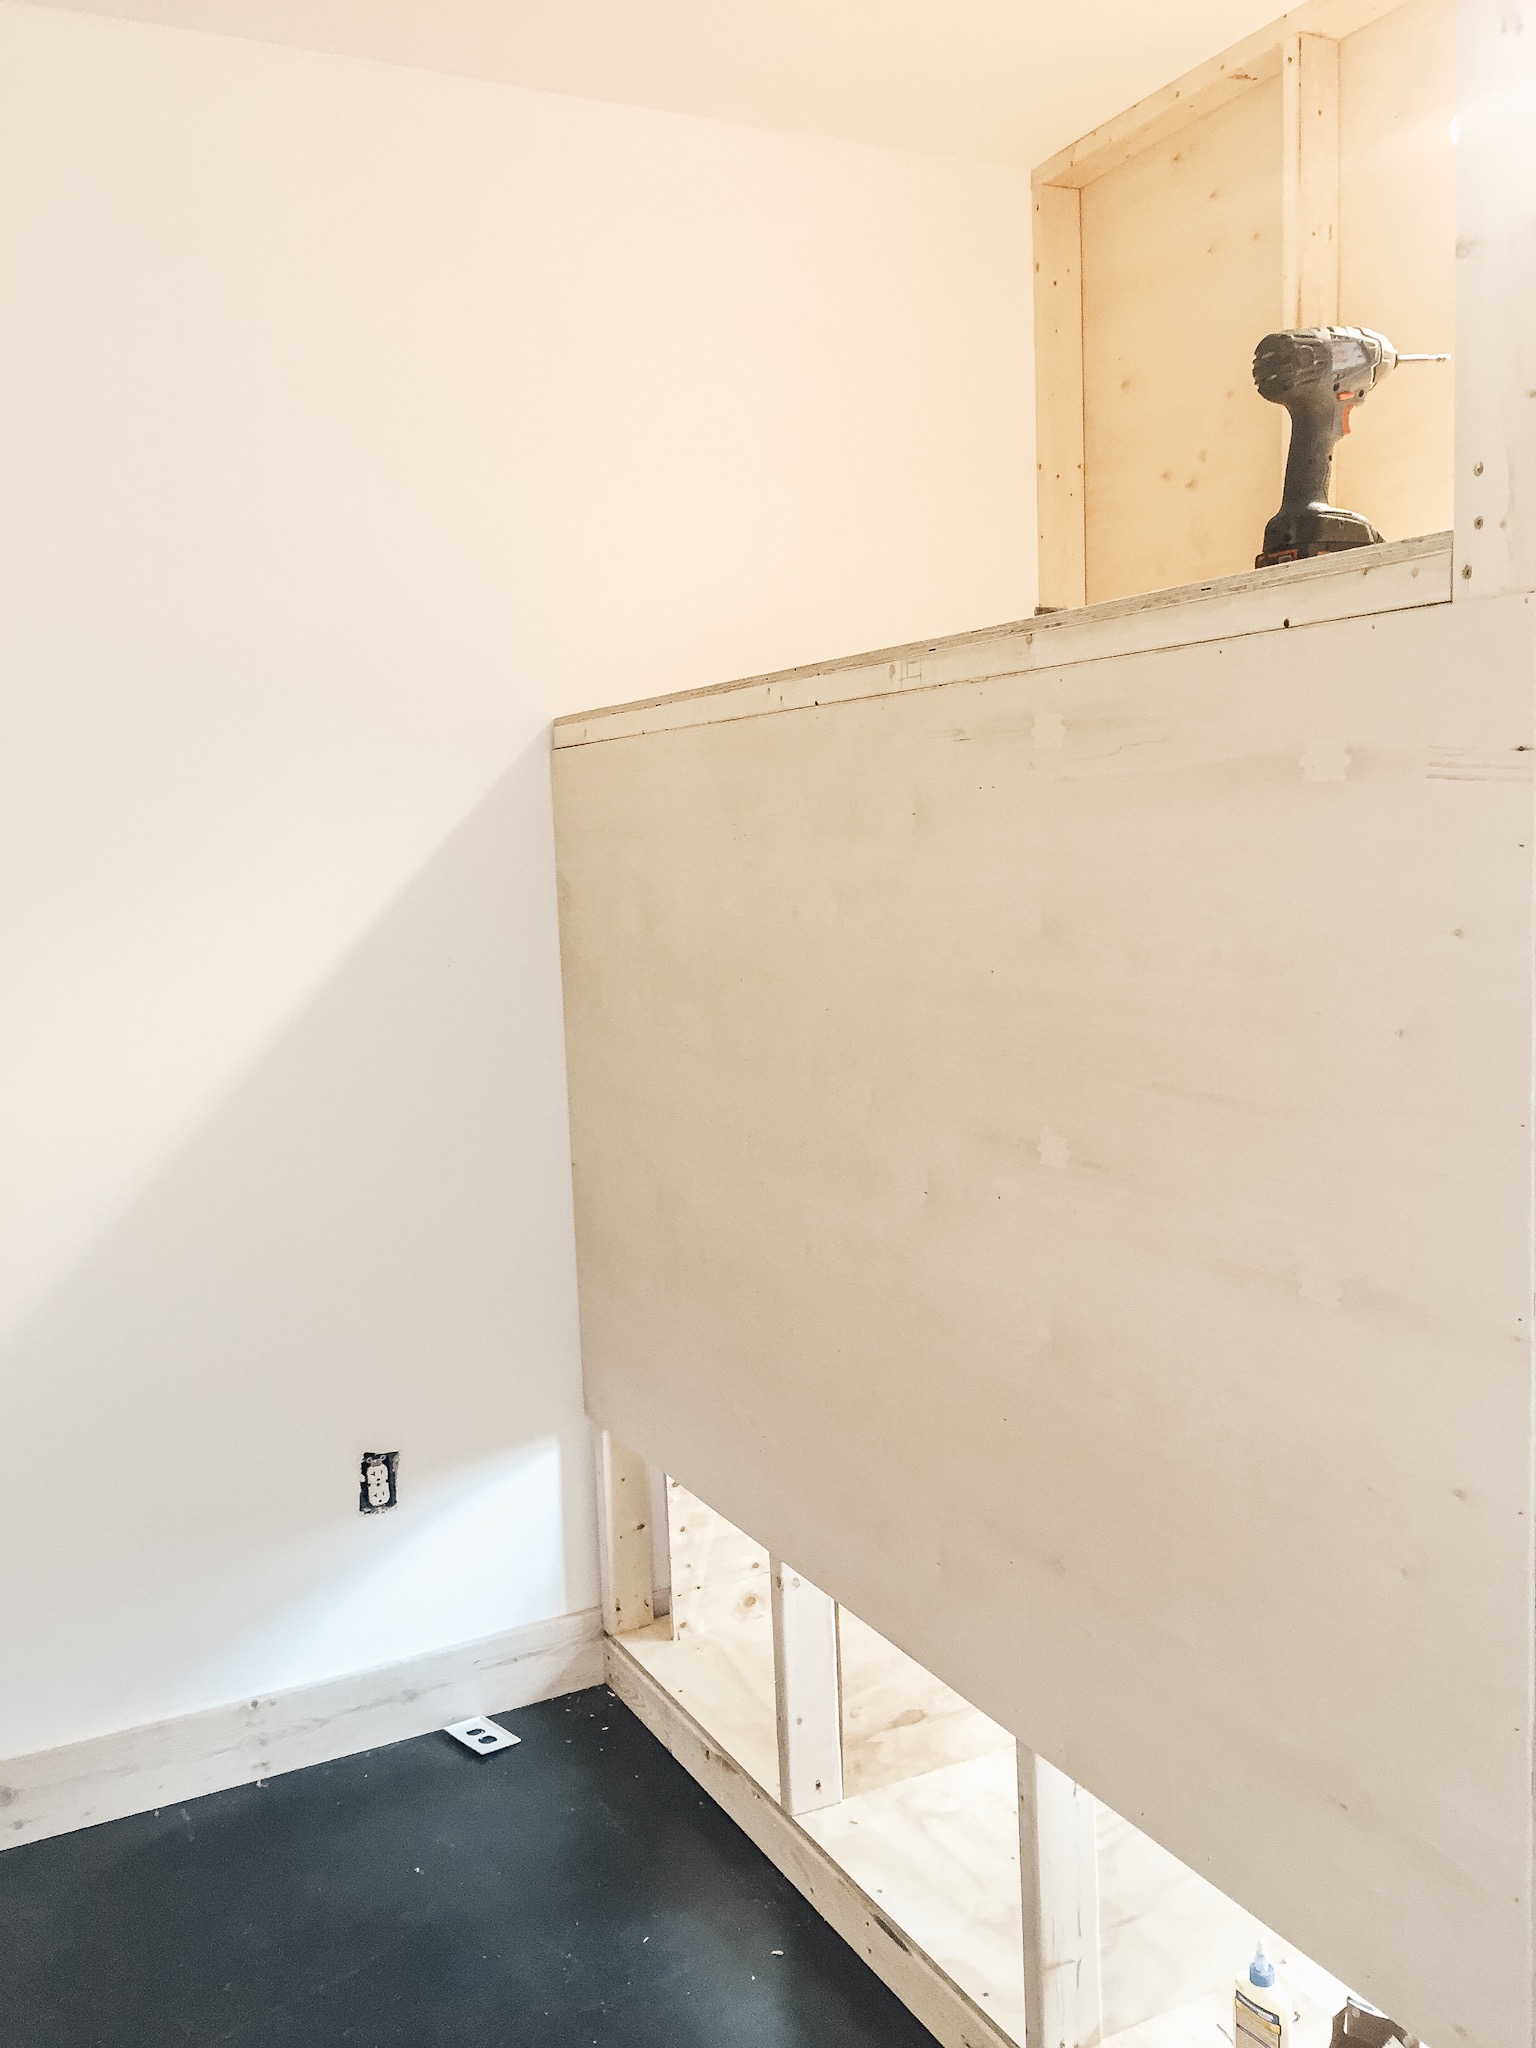
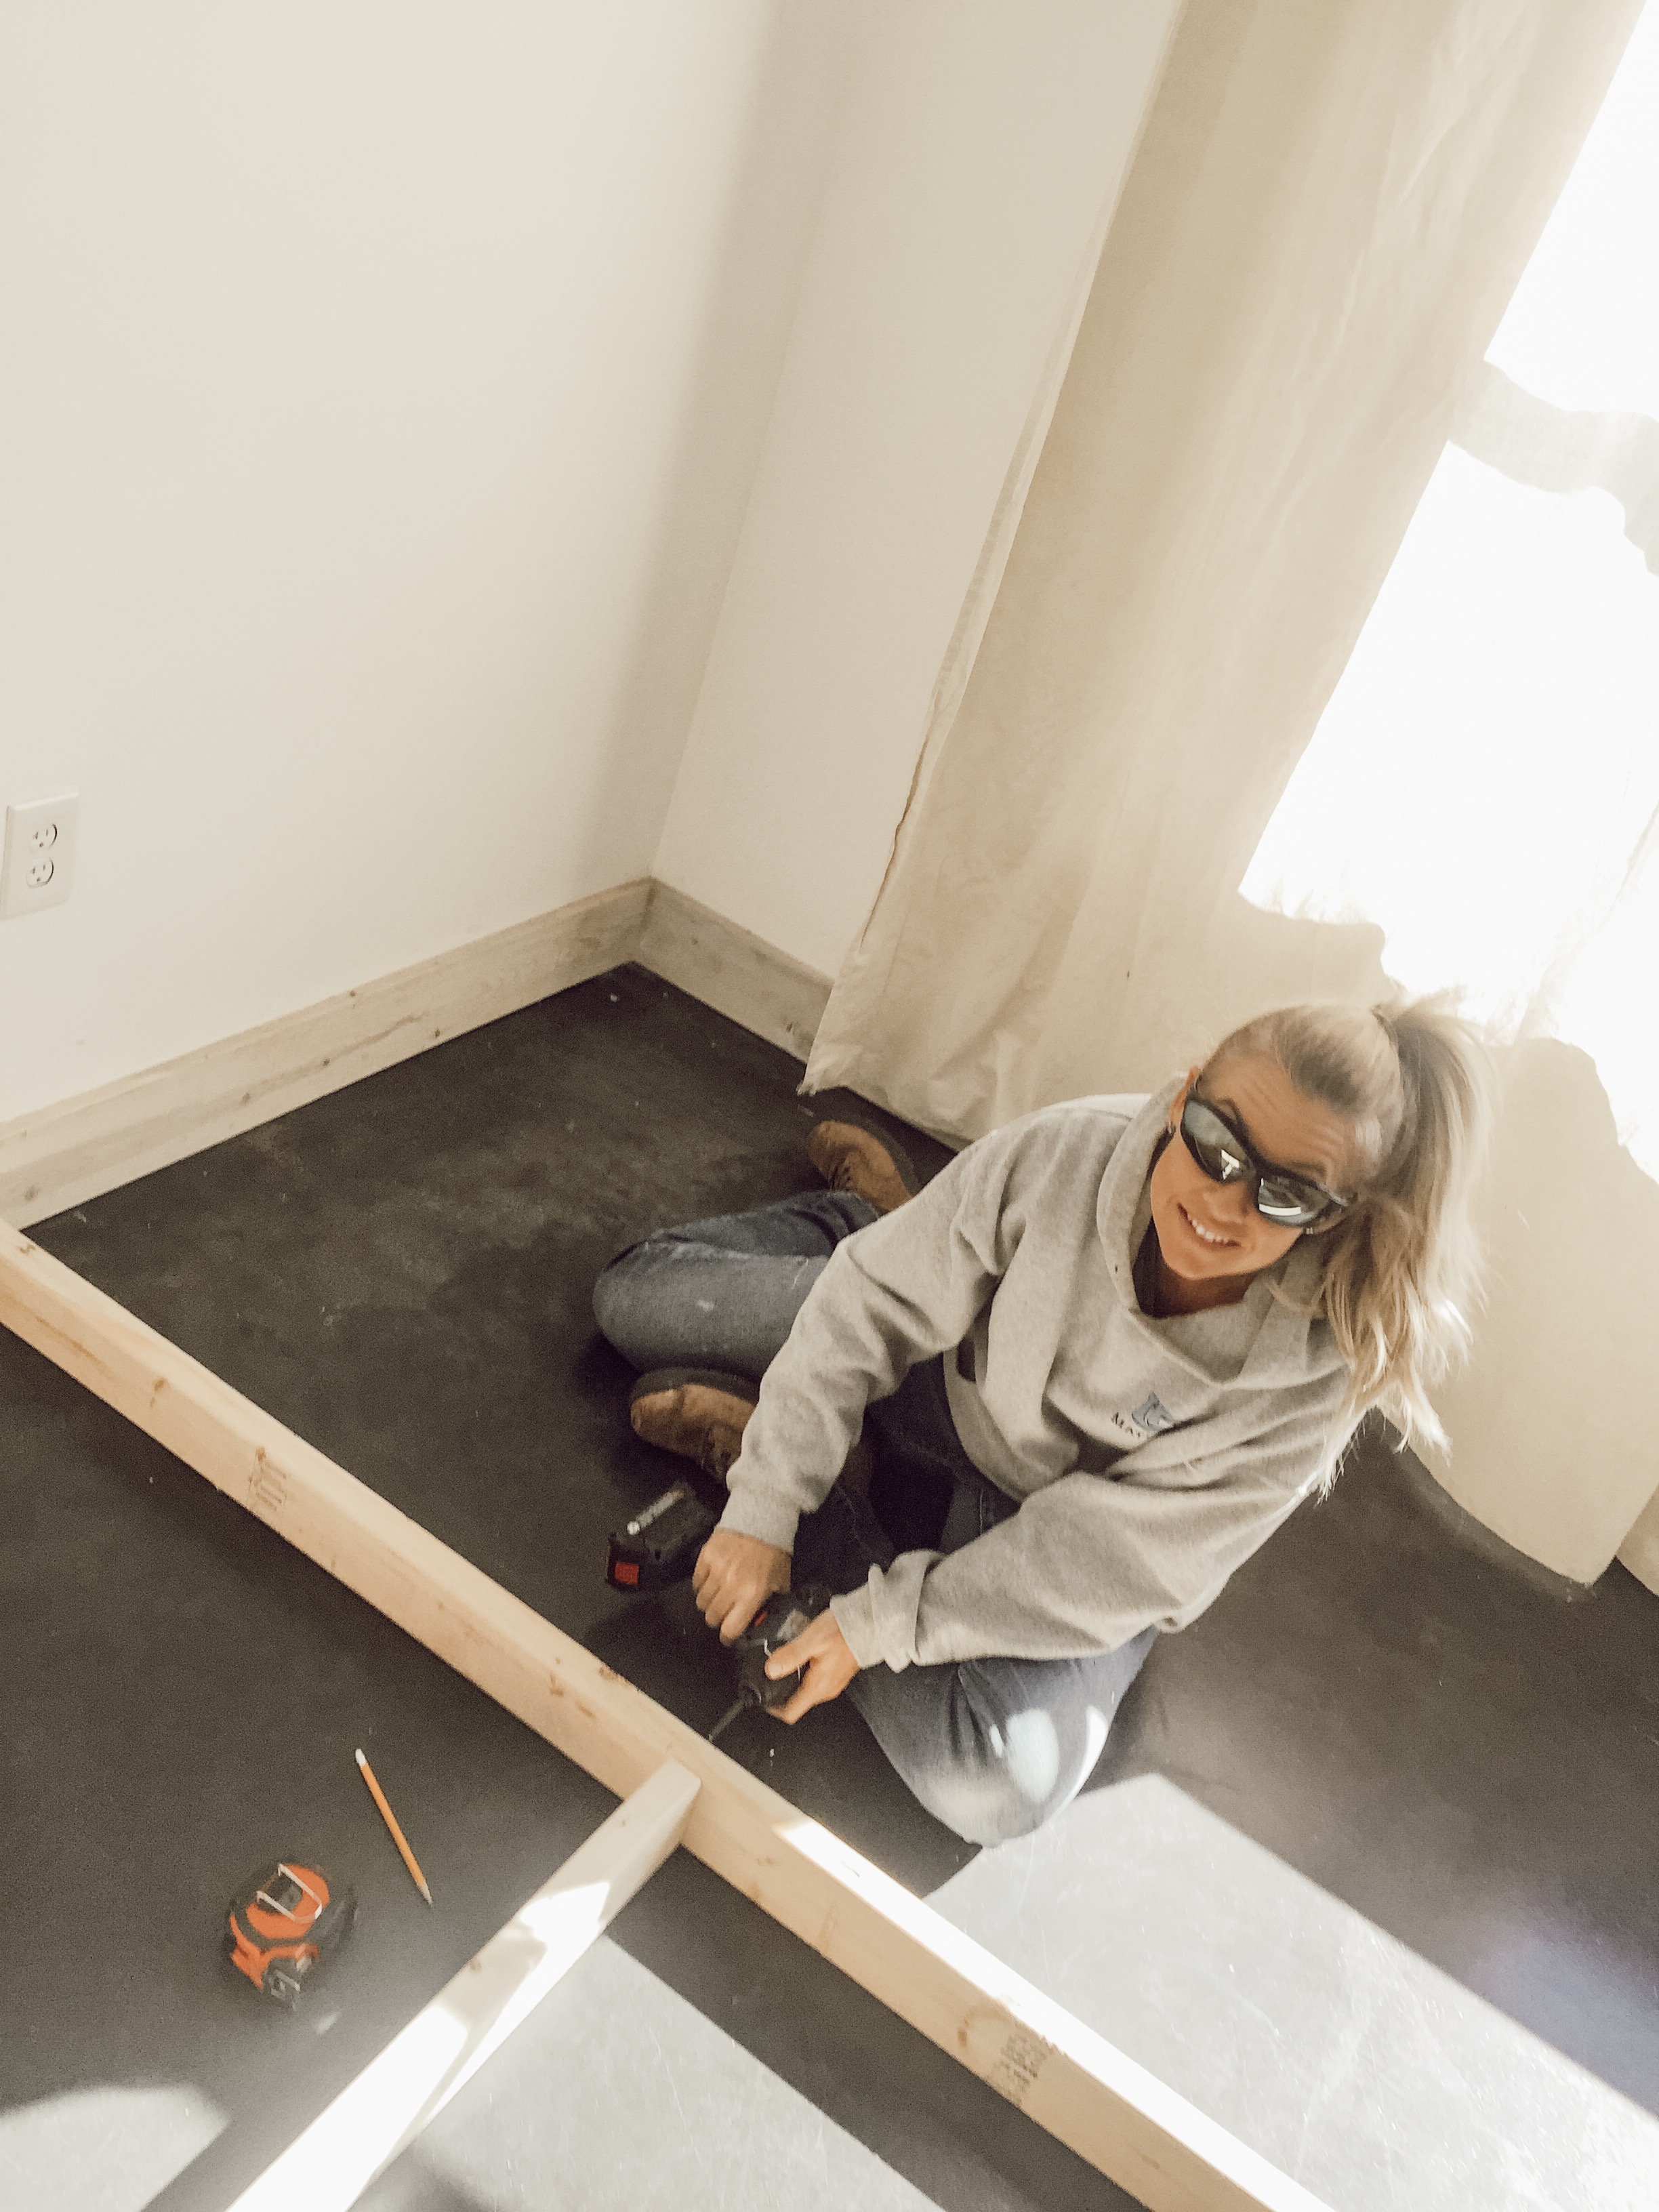
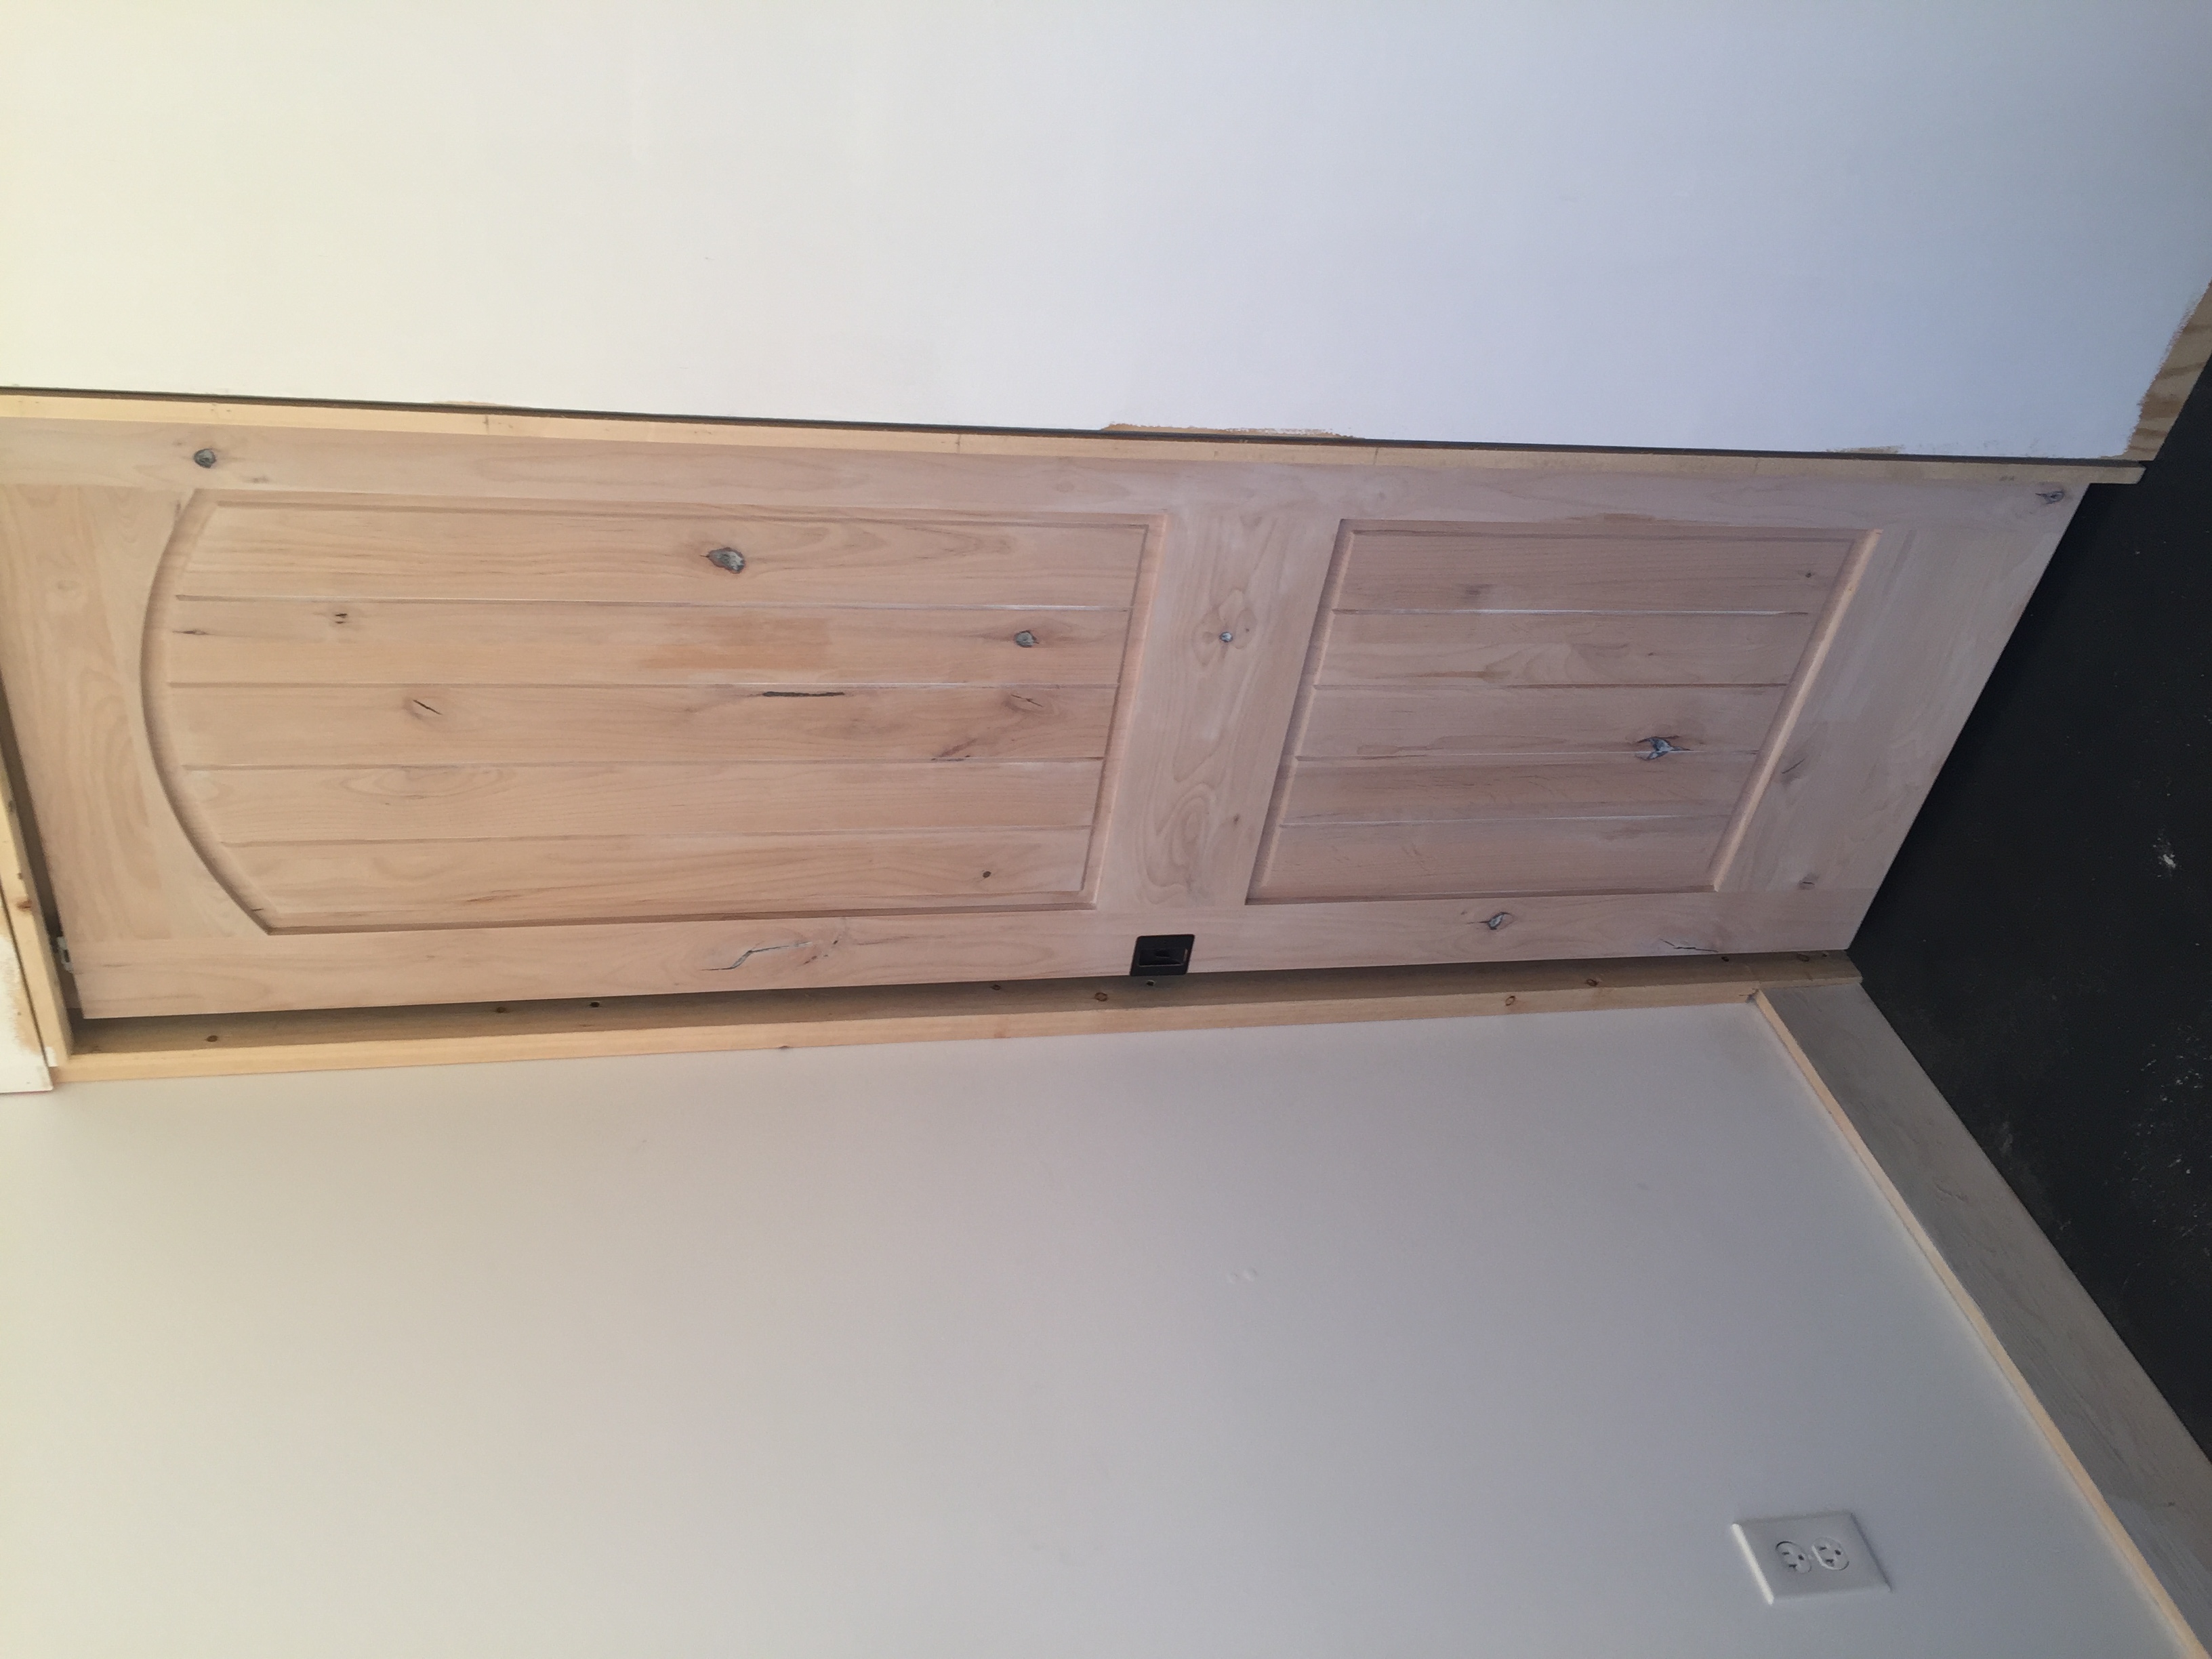
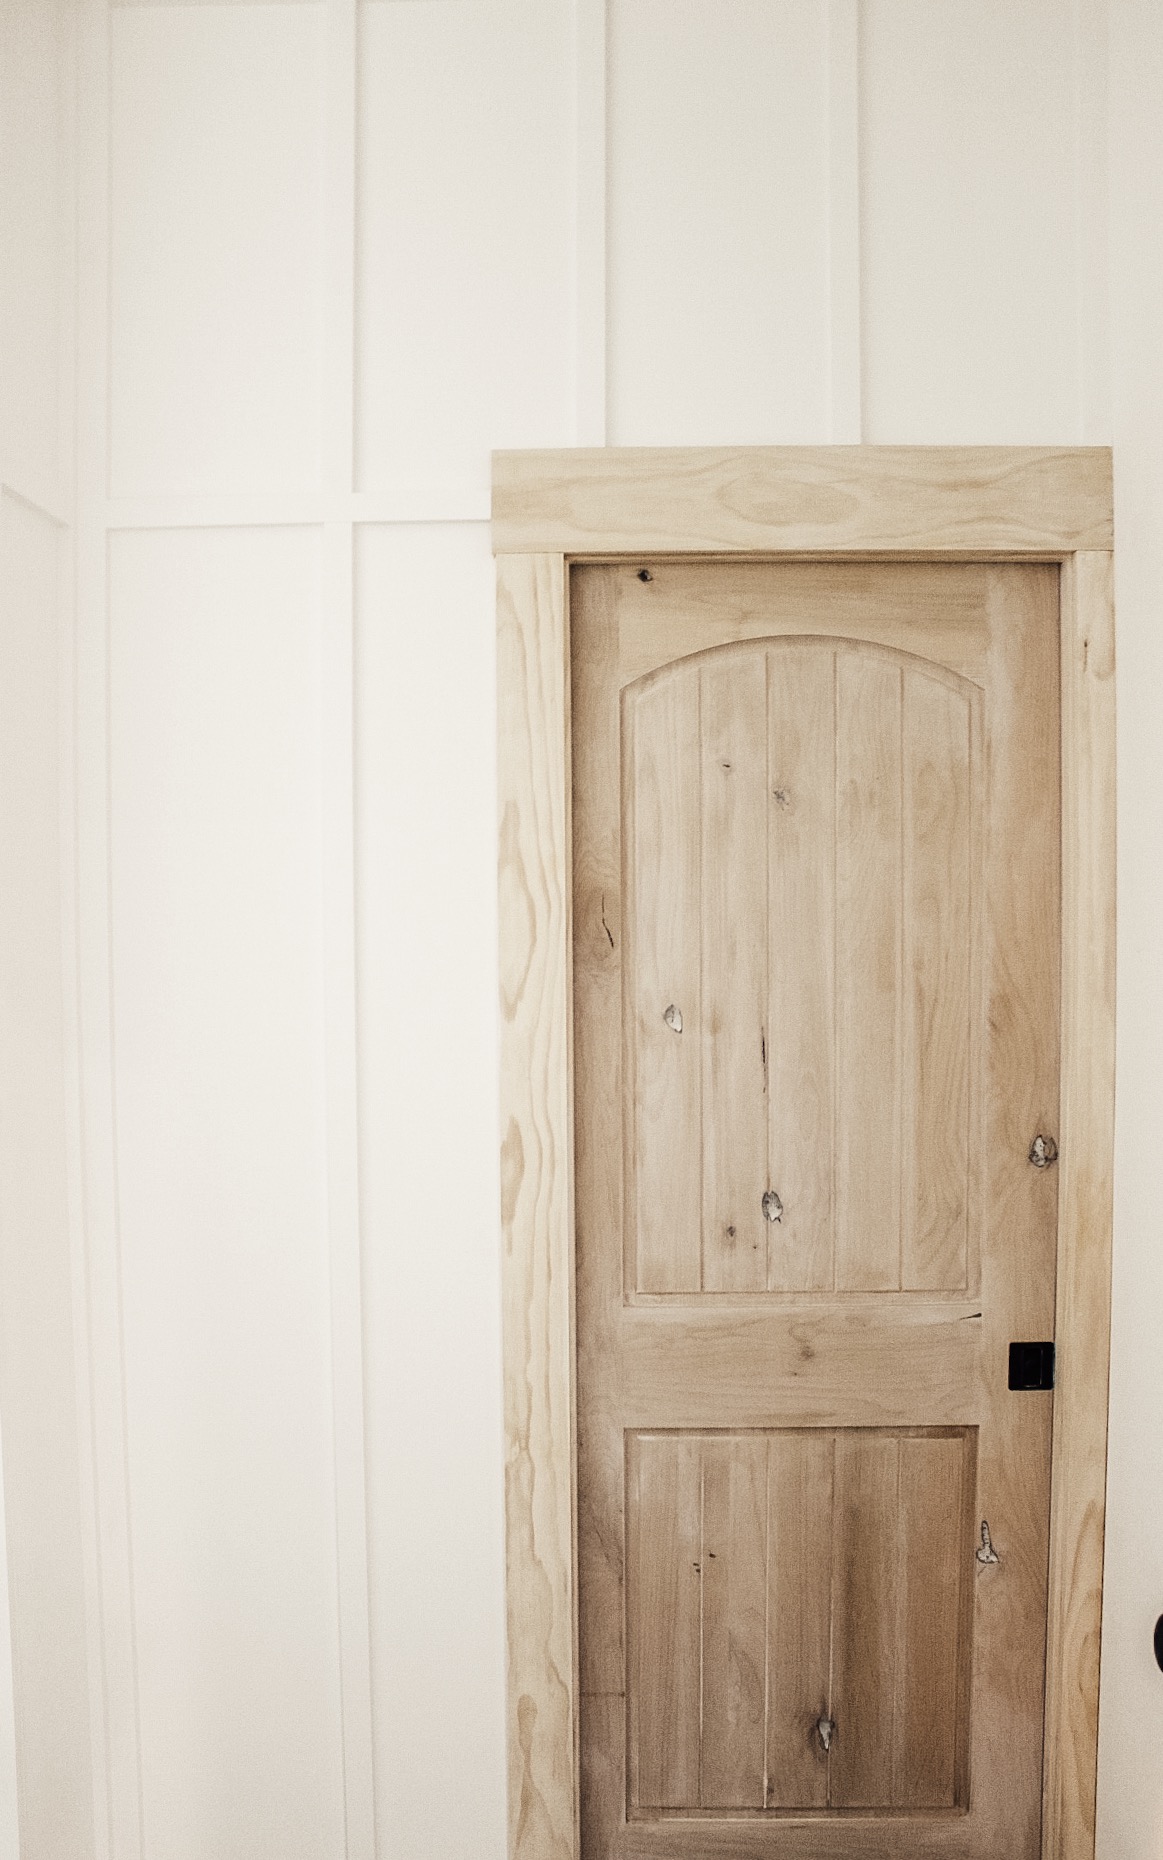
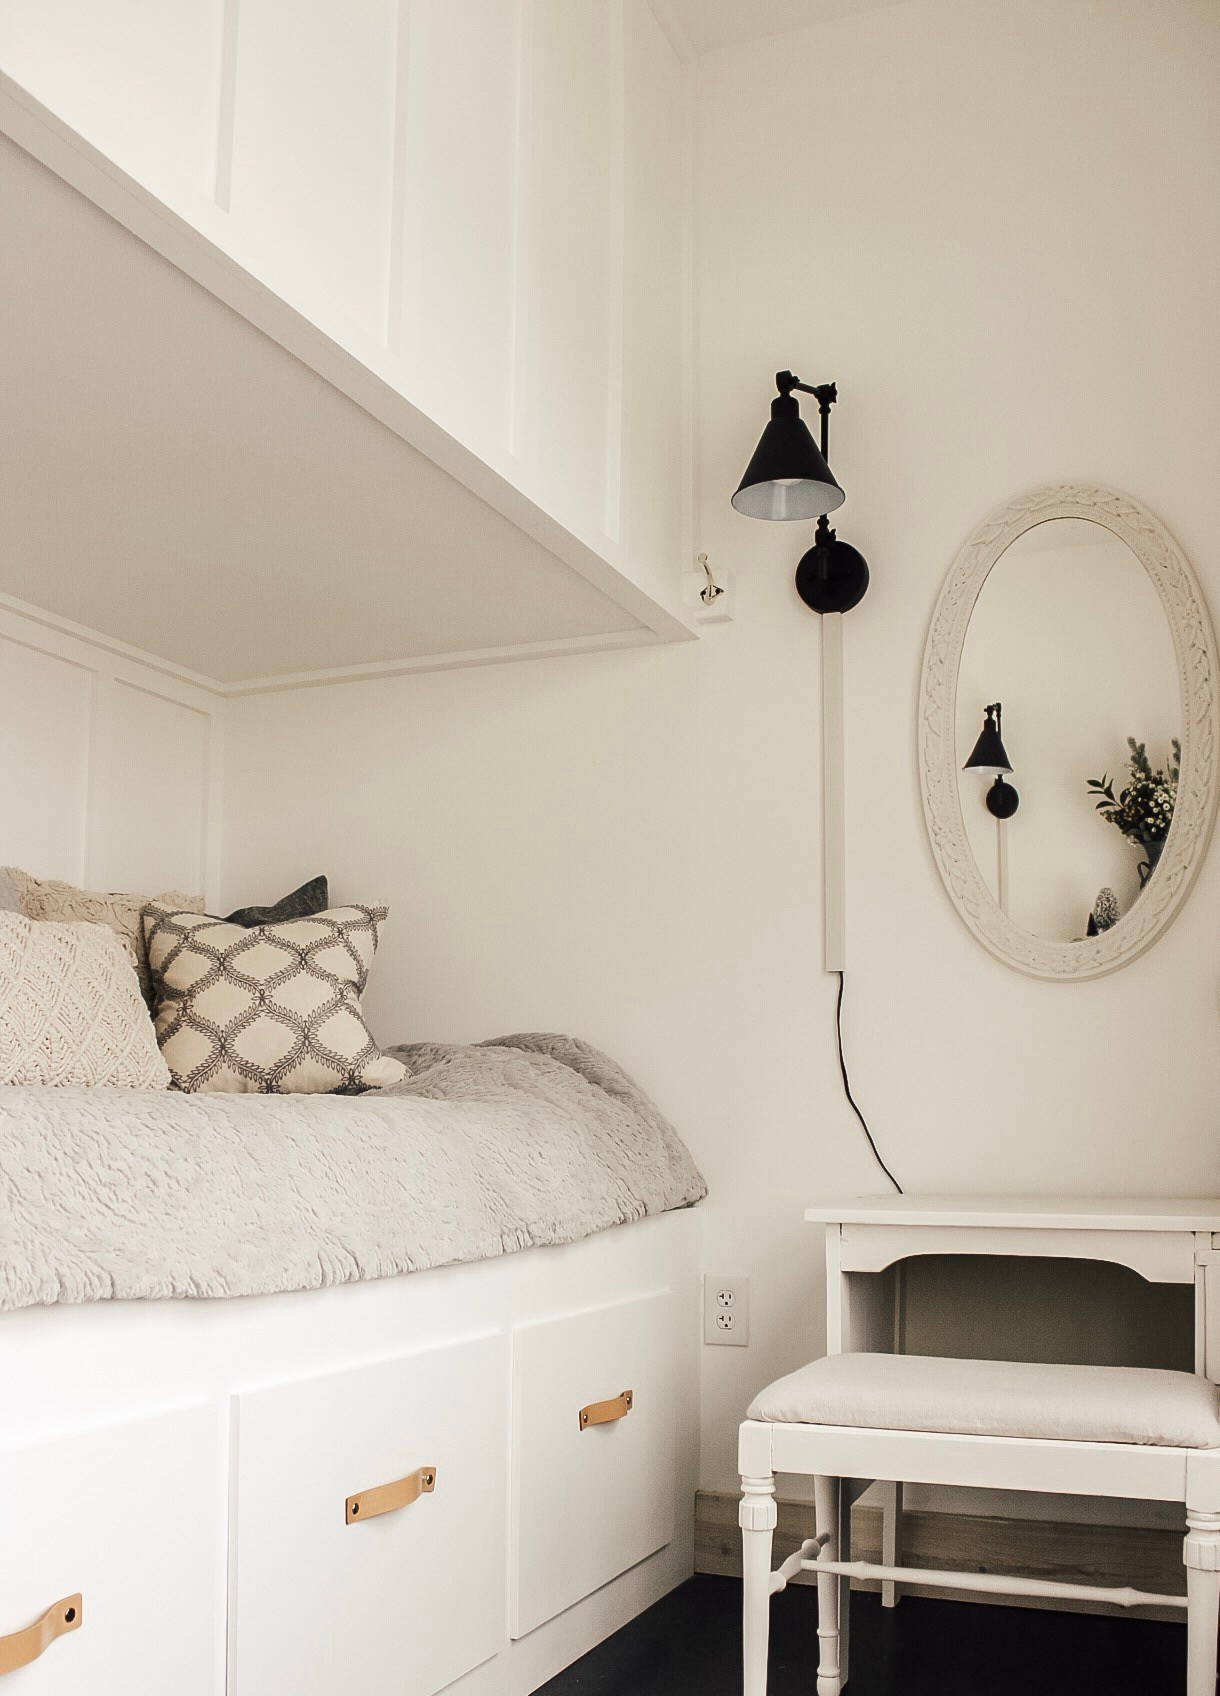
The lower bed would sit on top of the drawers and we would frame out the bed to only be accessible from one side of the room. On top of that bed would be a loft bed that would be accessible from the other side of the room. The bed would be the “wall”, separating the room into two spaces! At the foot of the wall of beds, we decided to install a pocked door for extra privacy! We showed the idea to the kids and they were all for it and ready to get started helping us build it! Three cheers for teenagers who love building things as much as their parents do!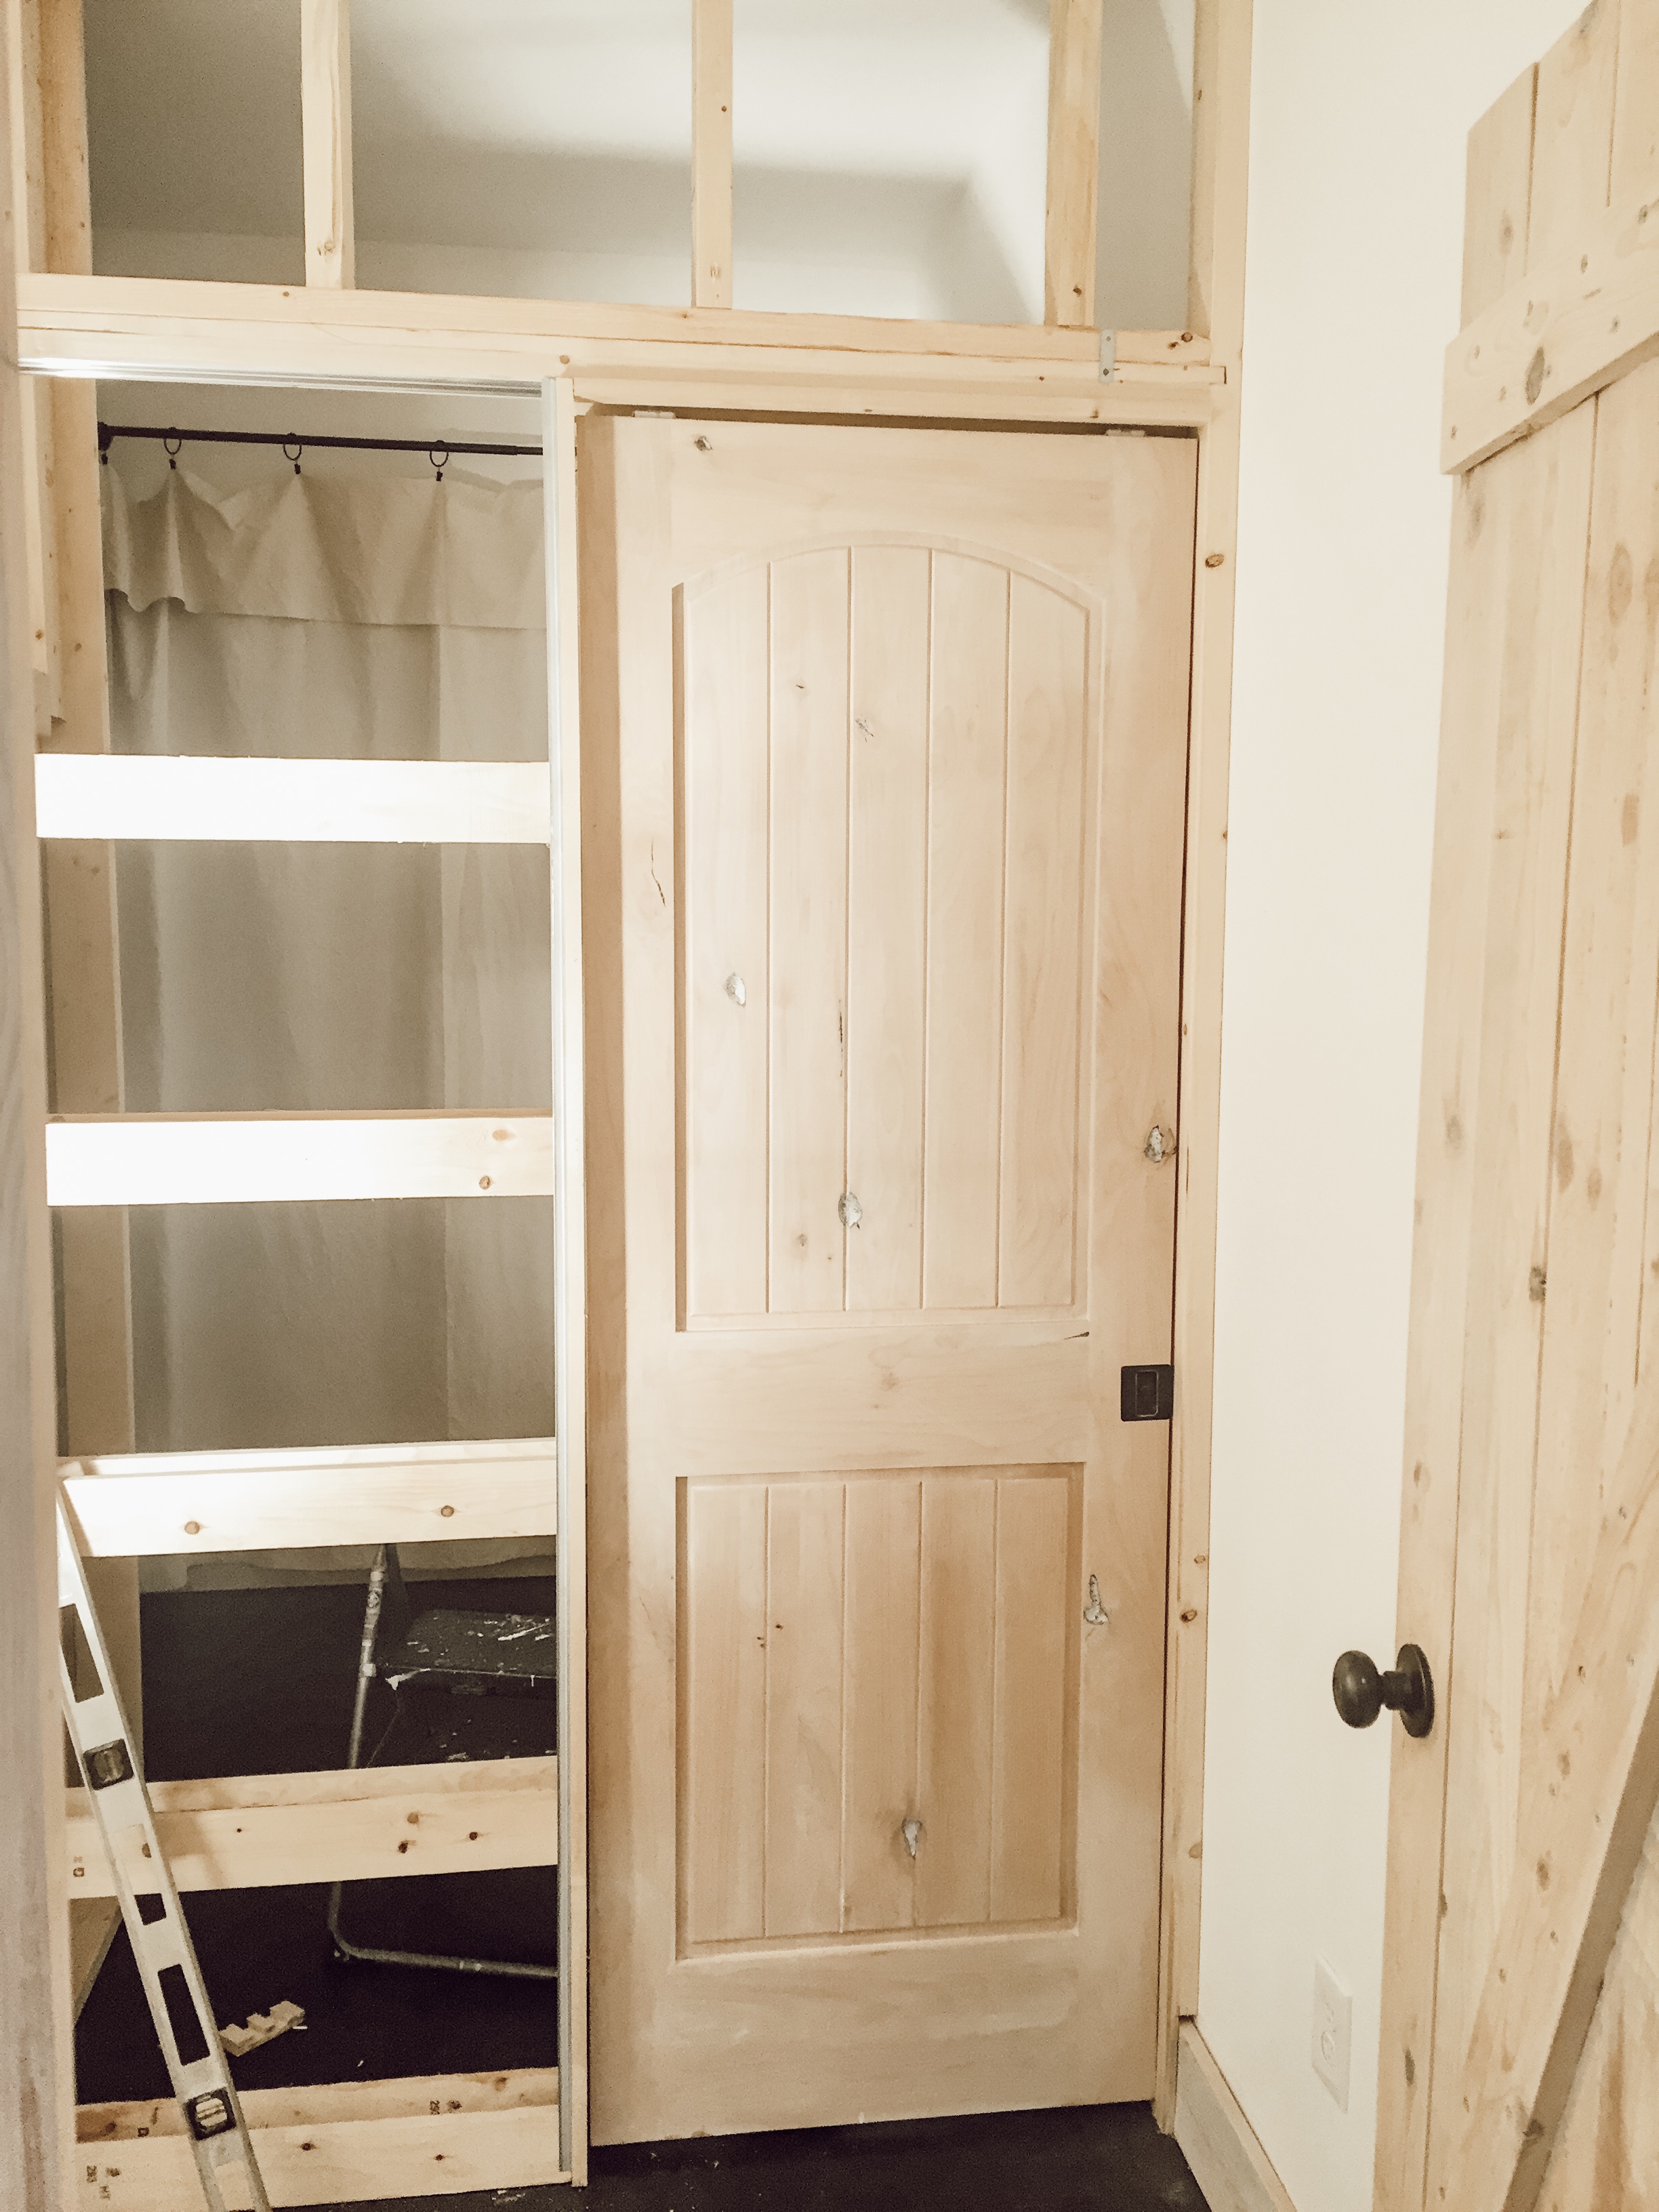
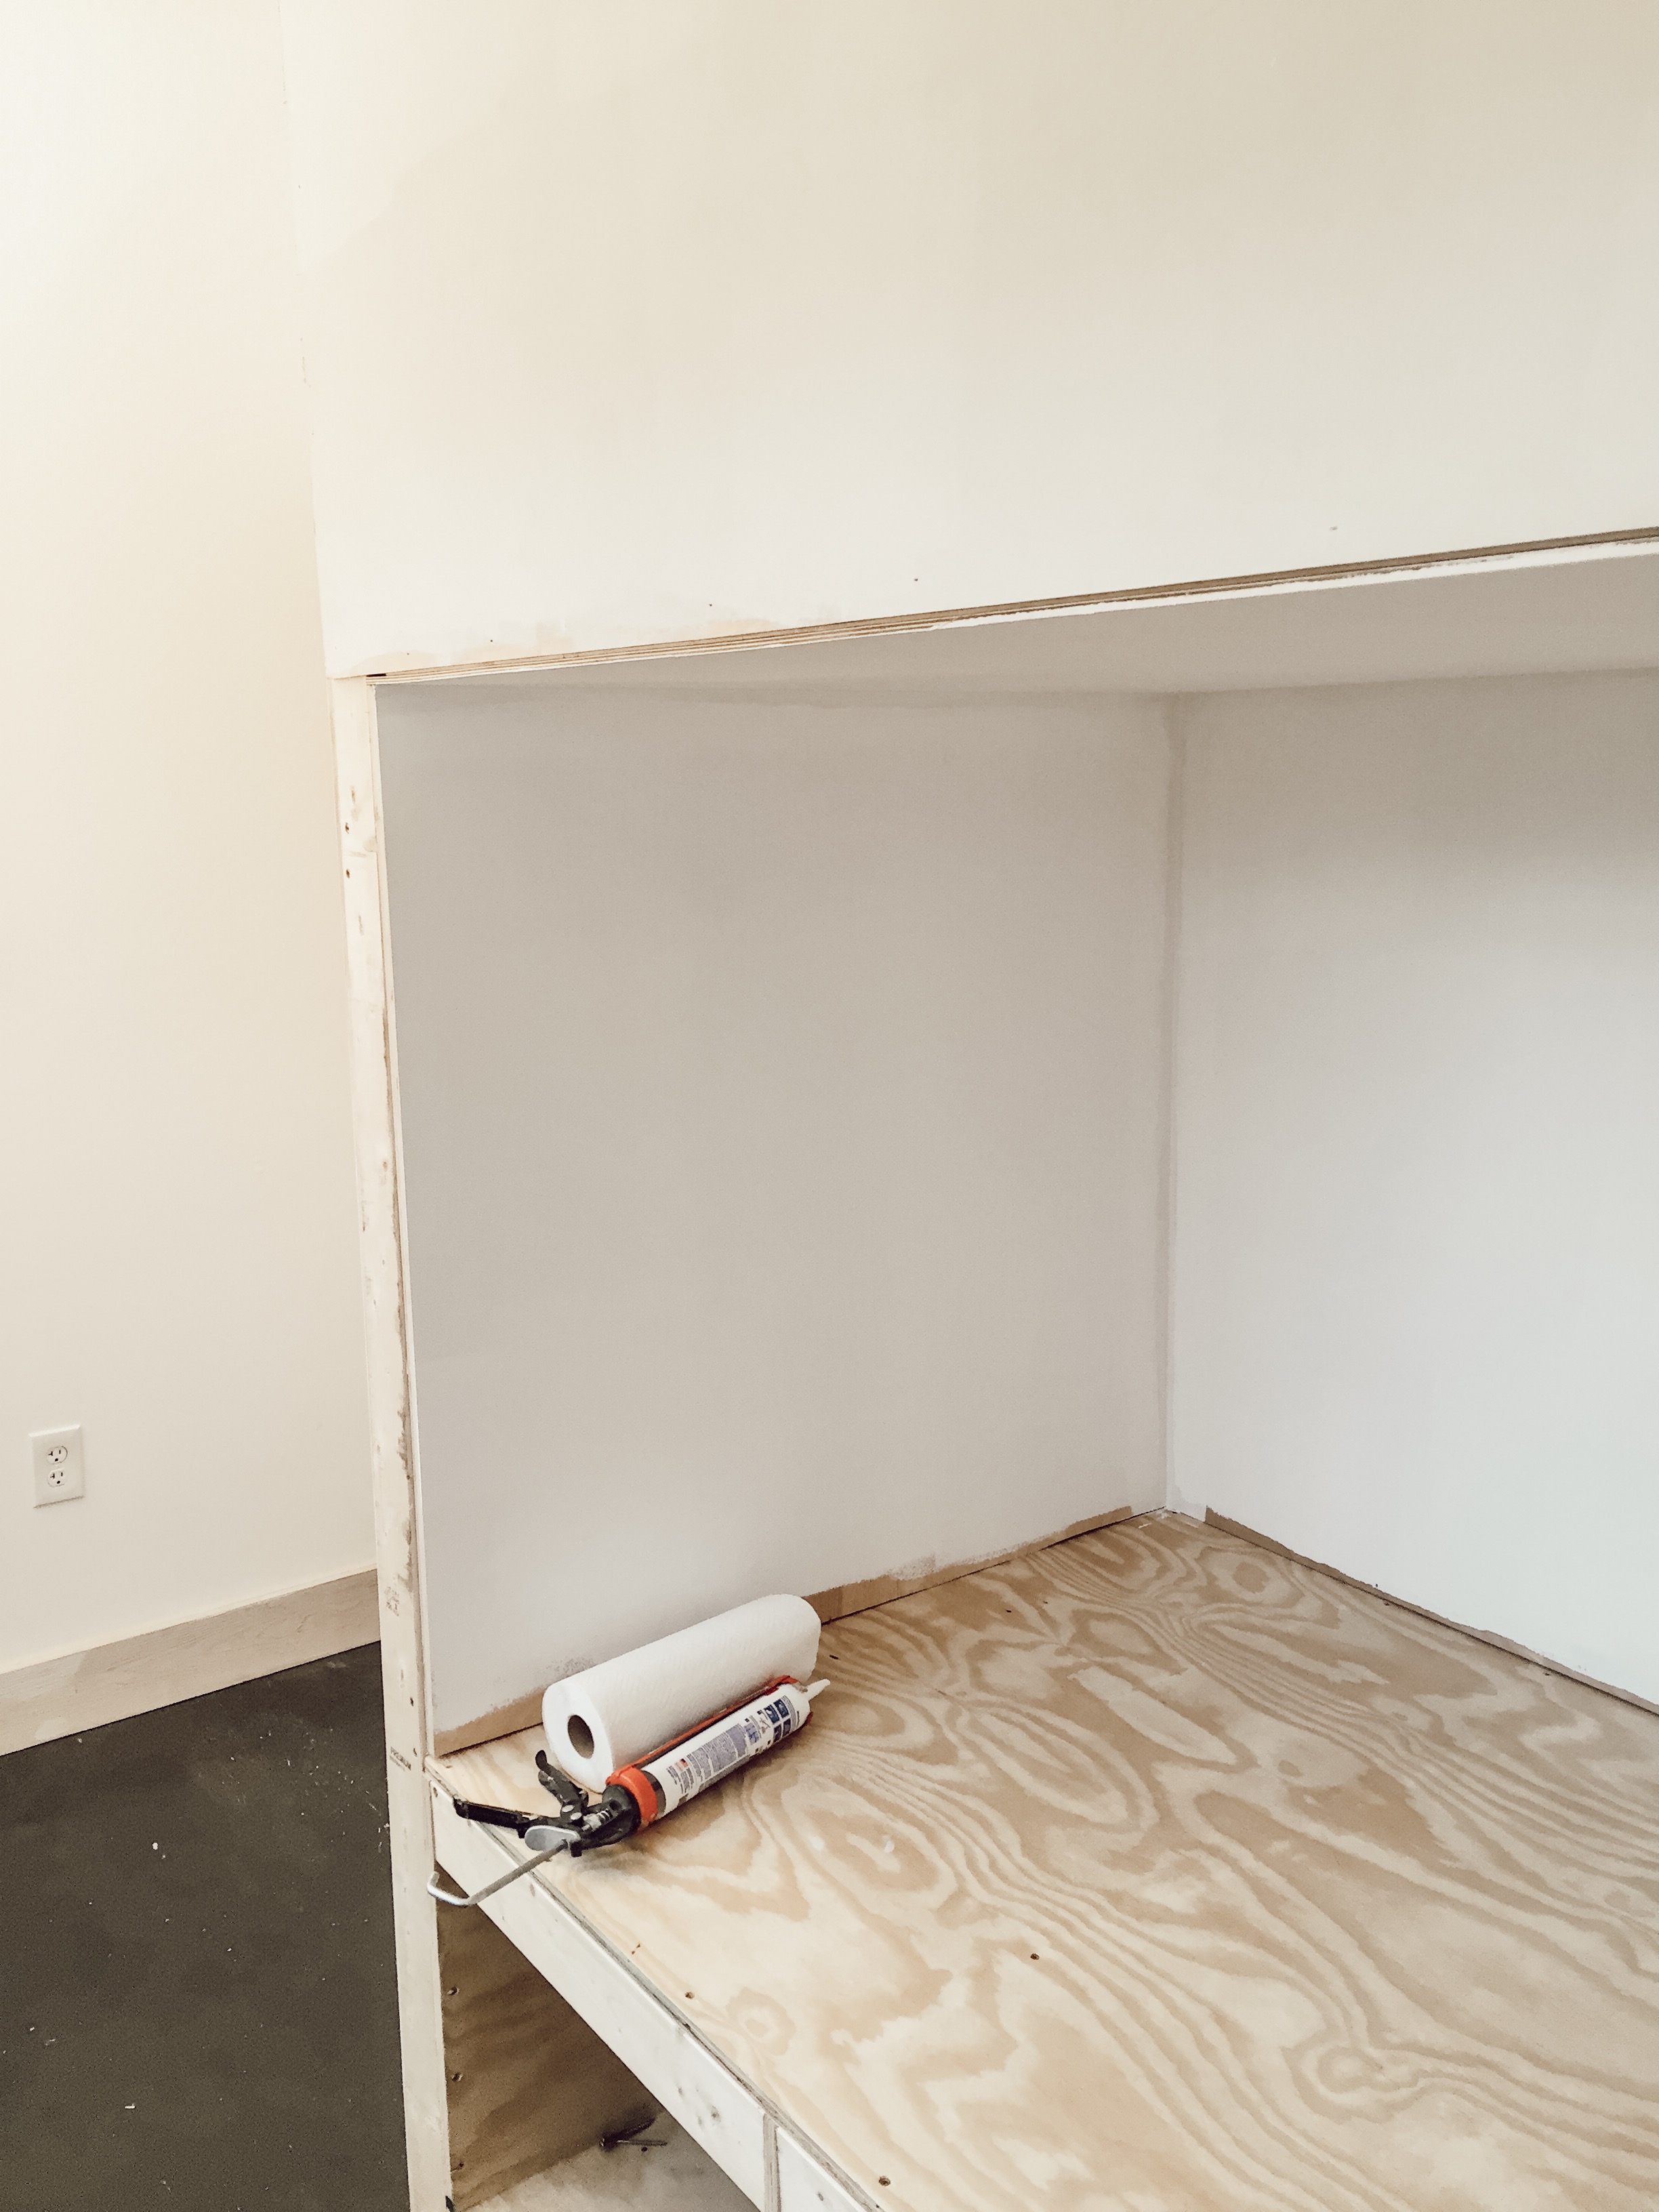
We used 2×4 framing and plywood for the walls for extra support. We, of course, mounted it to the wall studs on either wall as well as tied it into the rafters on the ceiling. It is very sturdy, even though it is not mounted to the floor at all.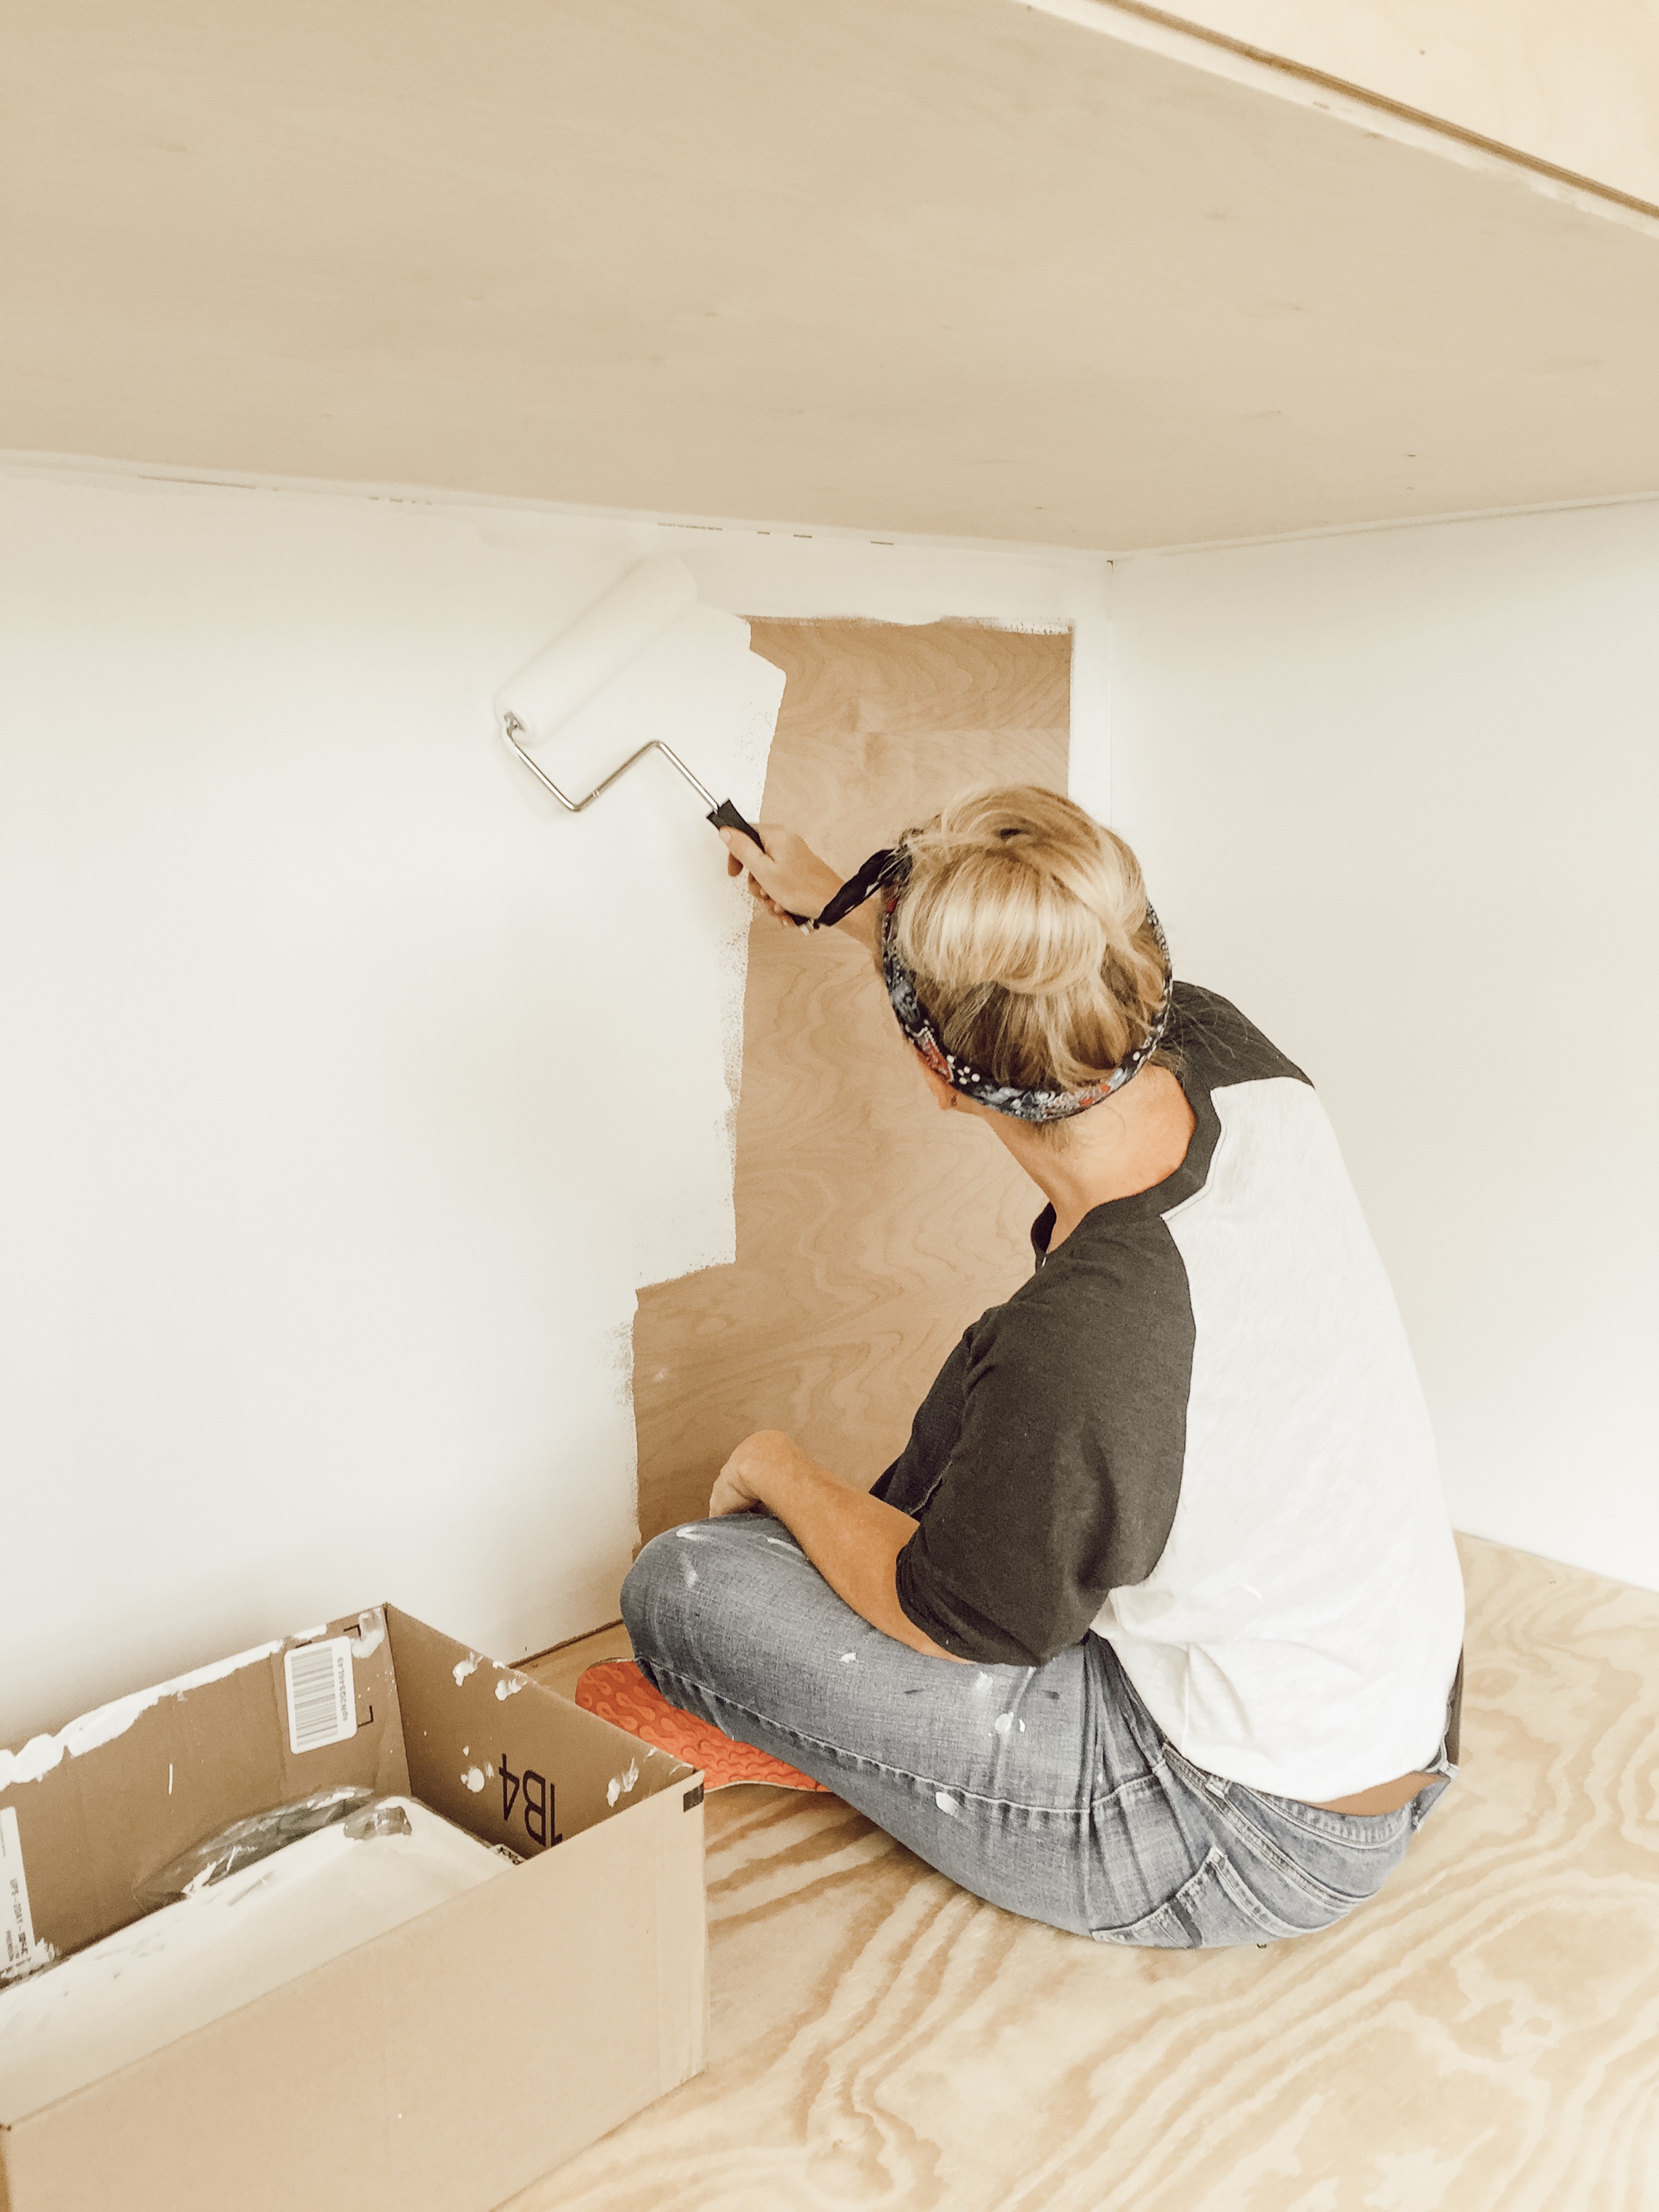
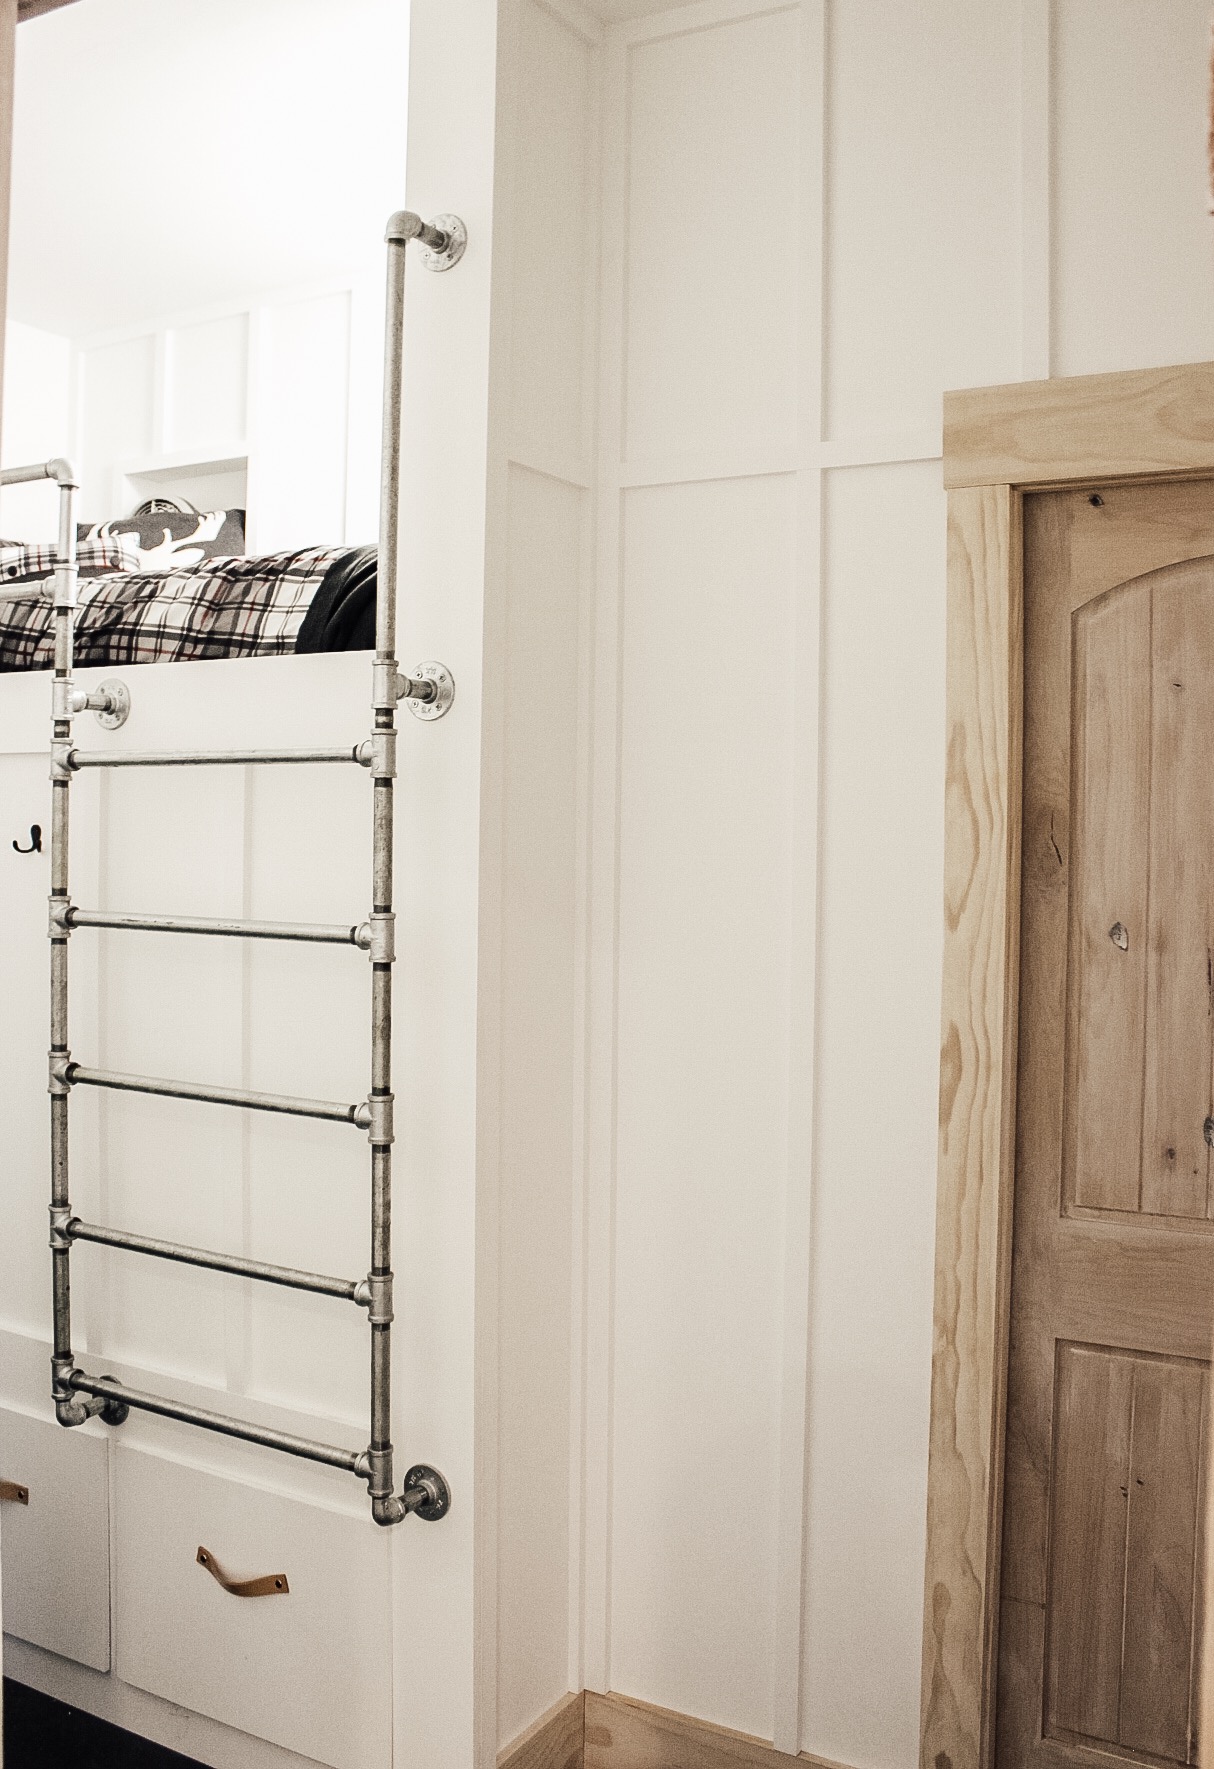
We also opted to build a ladder and railing using galvanized pipe! It gives it a much more industrial look and my son really like that for his side of the room!
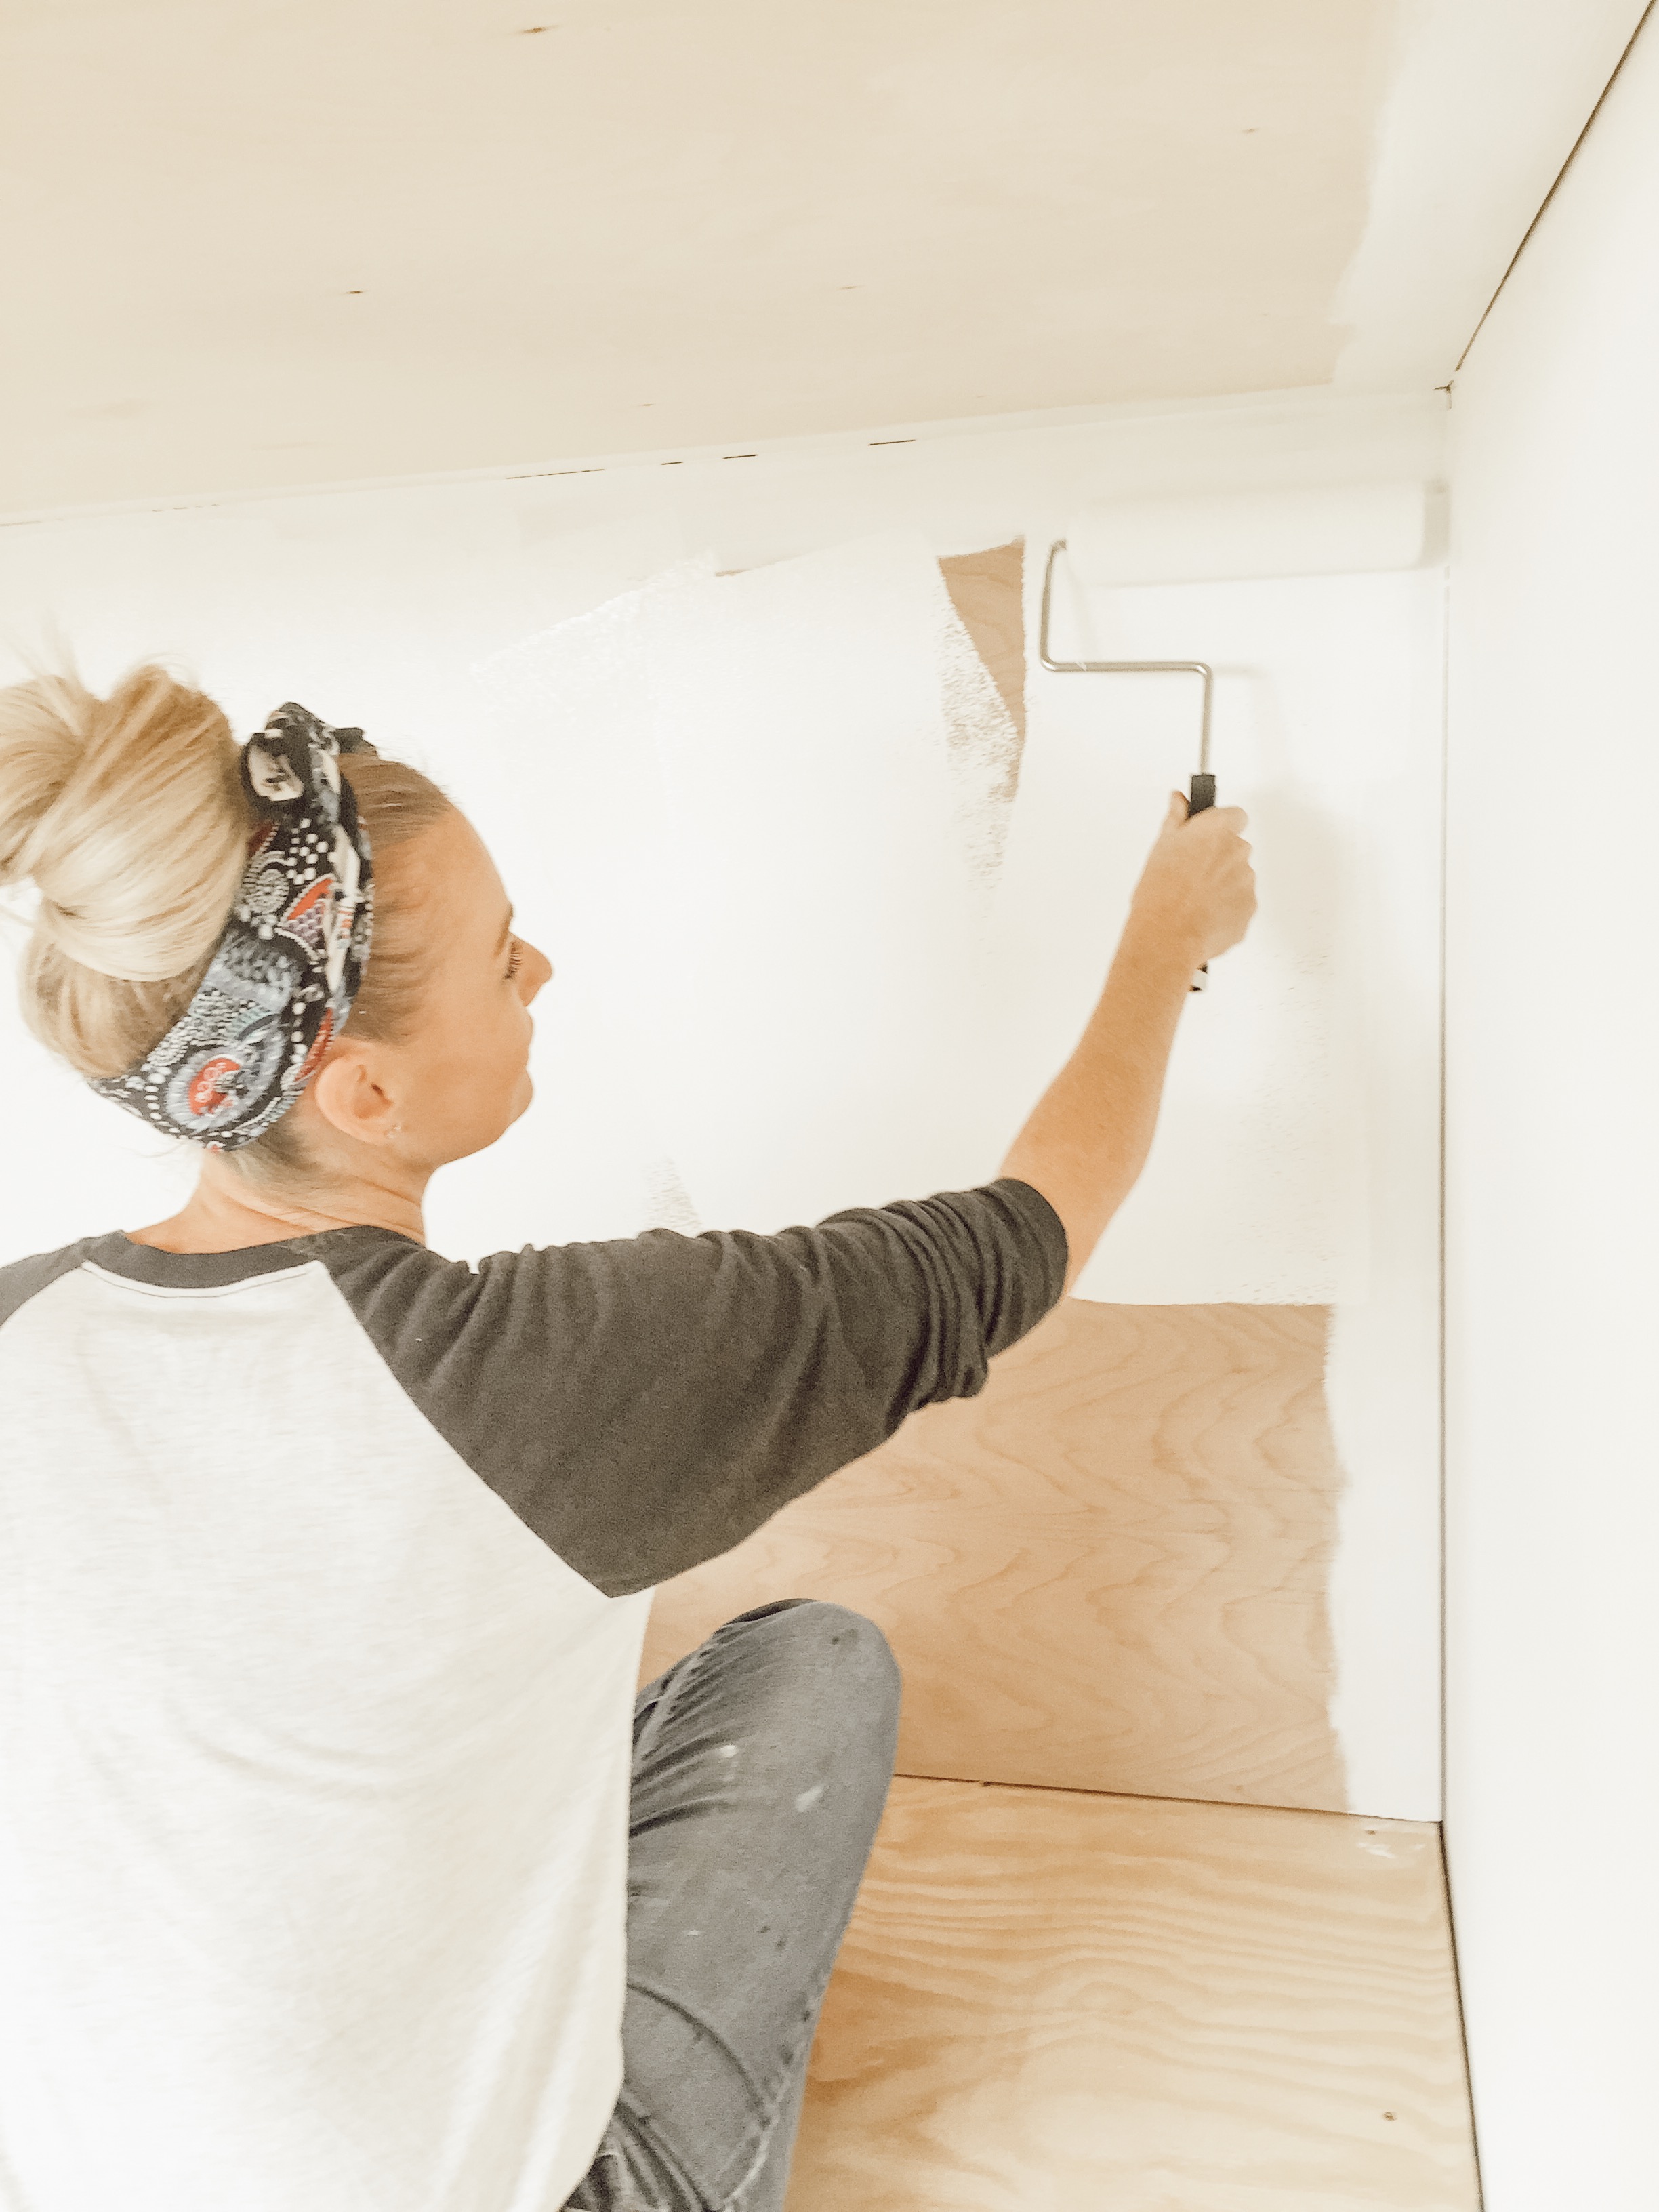
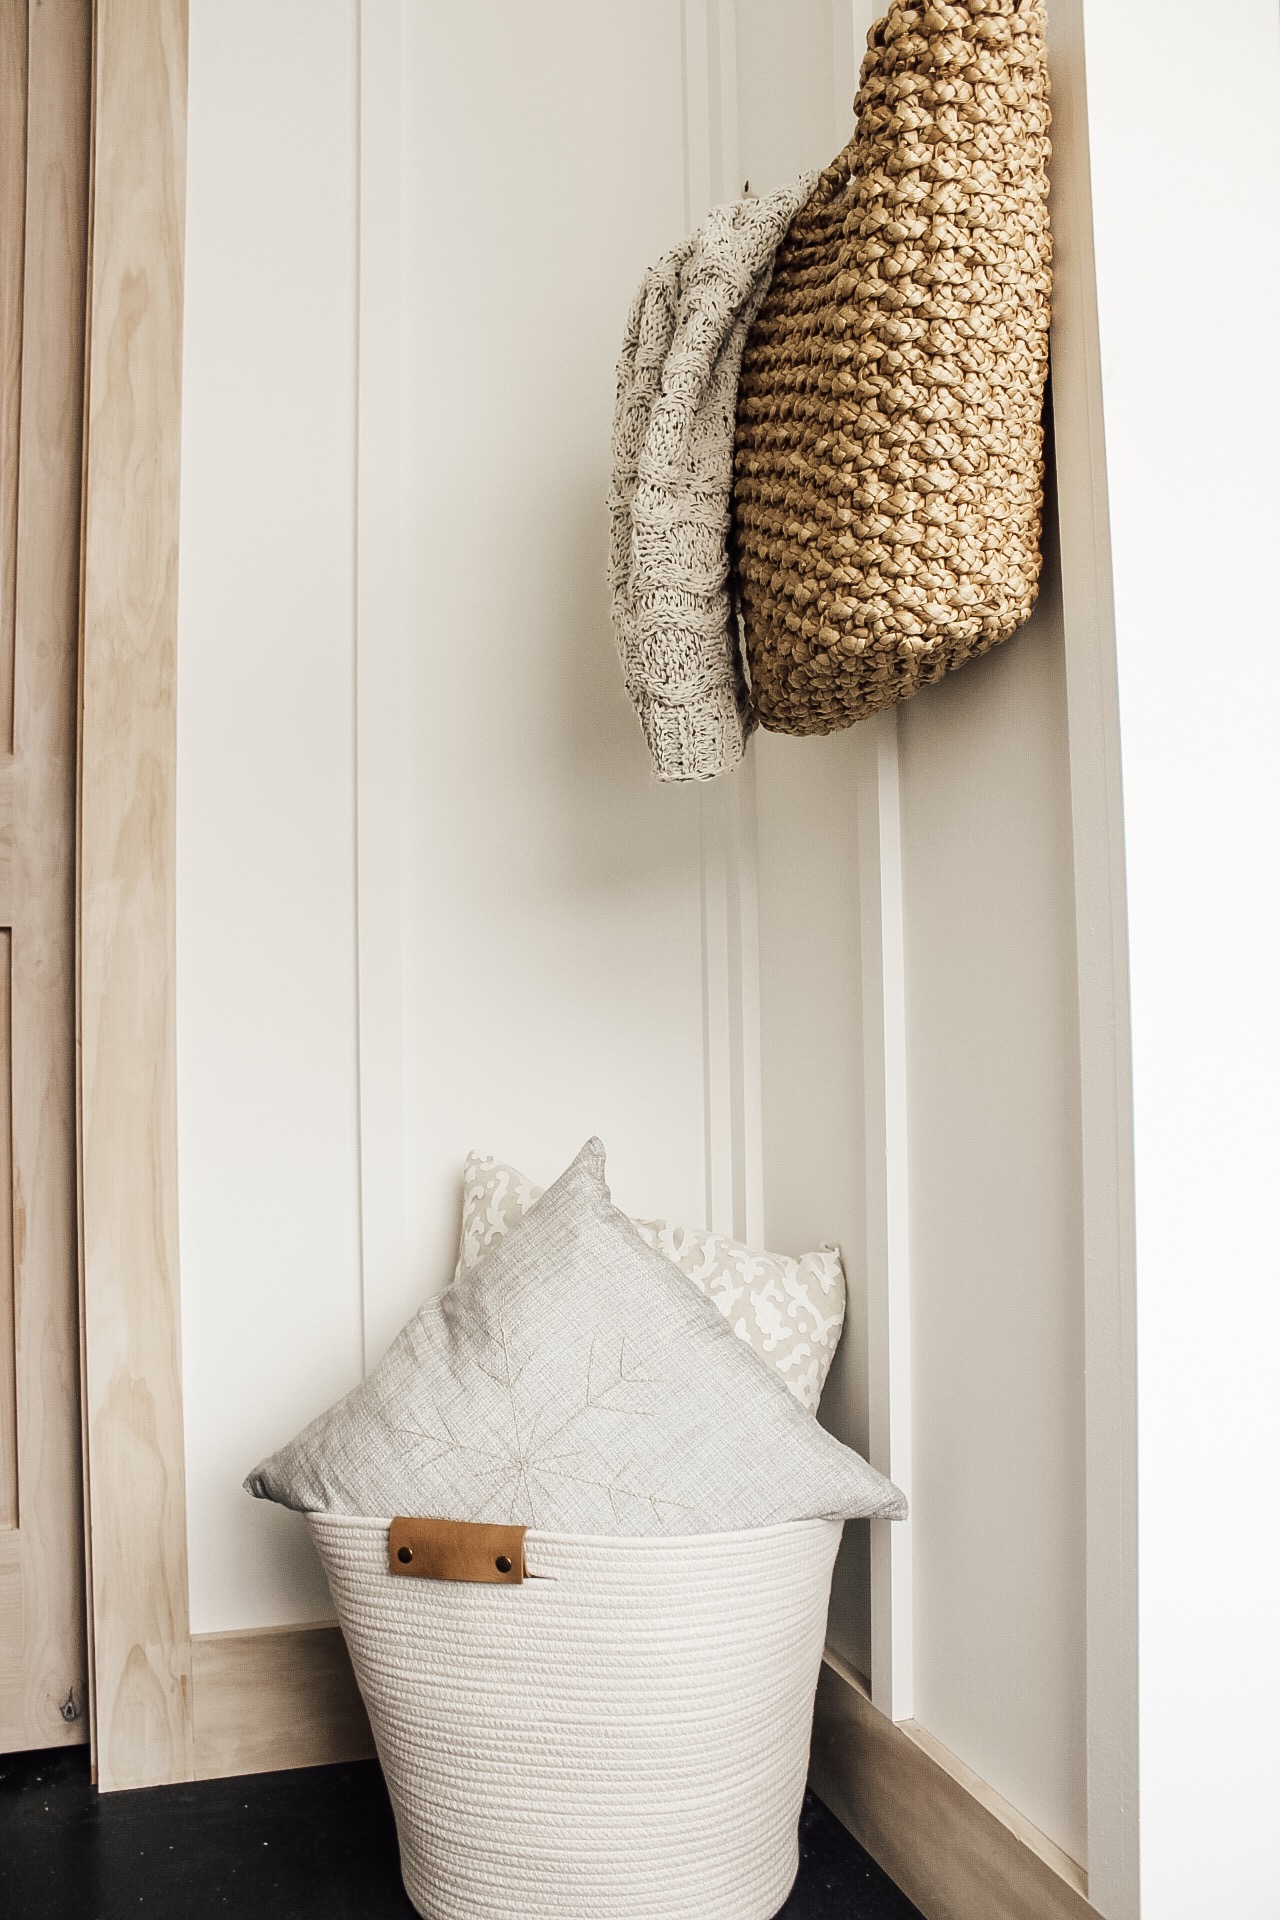
 We decided to trim it out in a board and batten style trim. I gotta say, caulk is your best friend when you are doing this kind of a project! It looked great without it, but adding the caulk just made each trim piece look that much better!!! I also recommend pre-primming and painting the trim pieces and walls before installing them all! Major time saver and with all the caulking I knew I had to do, I wanted to save as much time as I could! Then once it was all installed I just had to go over the caulk with one coat of paint!
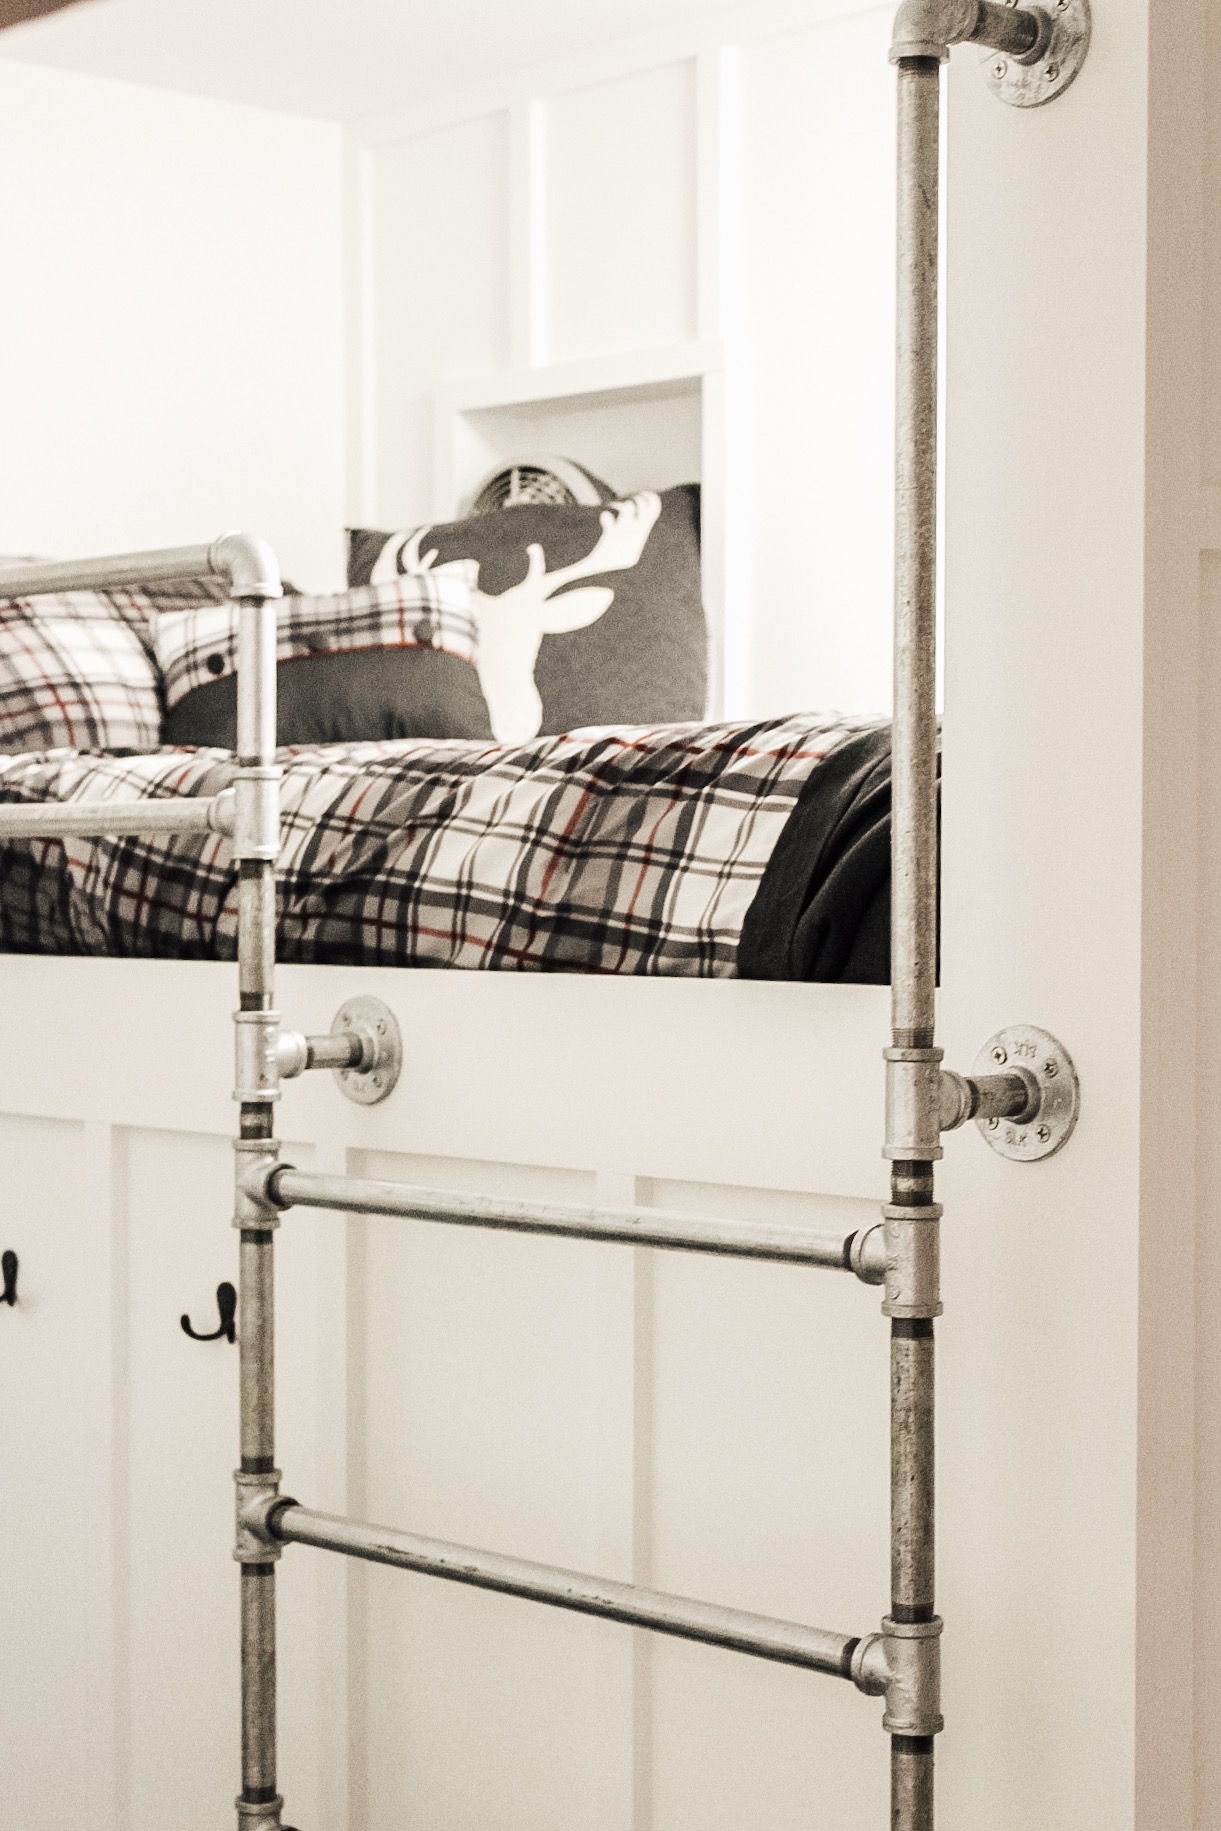
 This was my first time building drawers and my husband really did the hard parts…gotta give him the credit he deserves! We want to build all our kitchen cabinets for the main house (we plan to build) so we thought this would be the perfect time to try it out! If you ever want to try an easy DIY wood building project I highly recommend Ana Whites Plans! Her blog is loaded with free plans!!! Be sure to check it out Here
We did have to order new mattresses for these custom beds, but that worked out great because we will be able to use their full and queen beds in the main house later on. These will work great in the cottage once it is a guest house!

I love how this layout allows them to share a bedroom, yet still close it off to the other side when they want to! I think I would have loved something like this when I was a kid! I am one of 12 kiddos, so privacy while growing up was not possible!!! LOL! 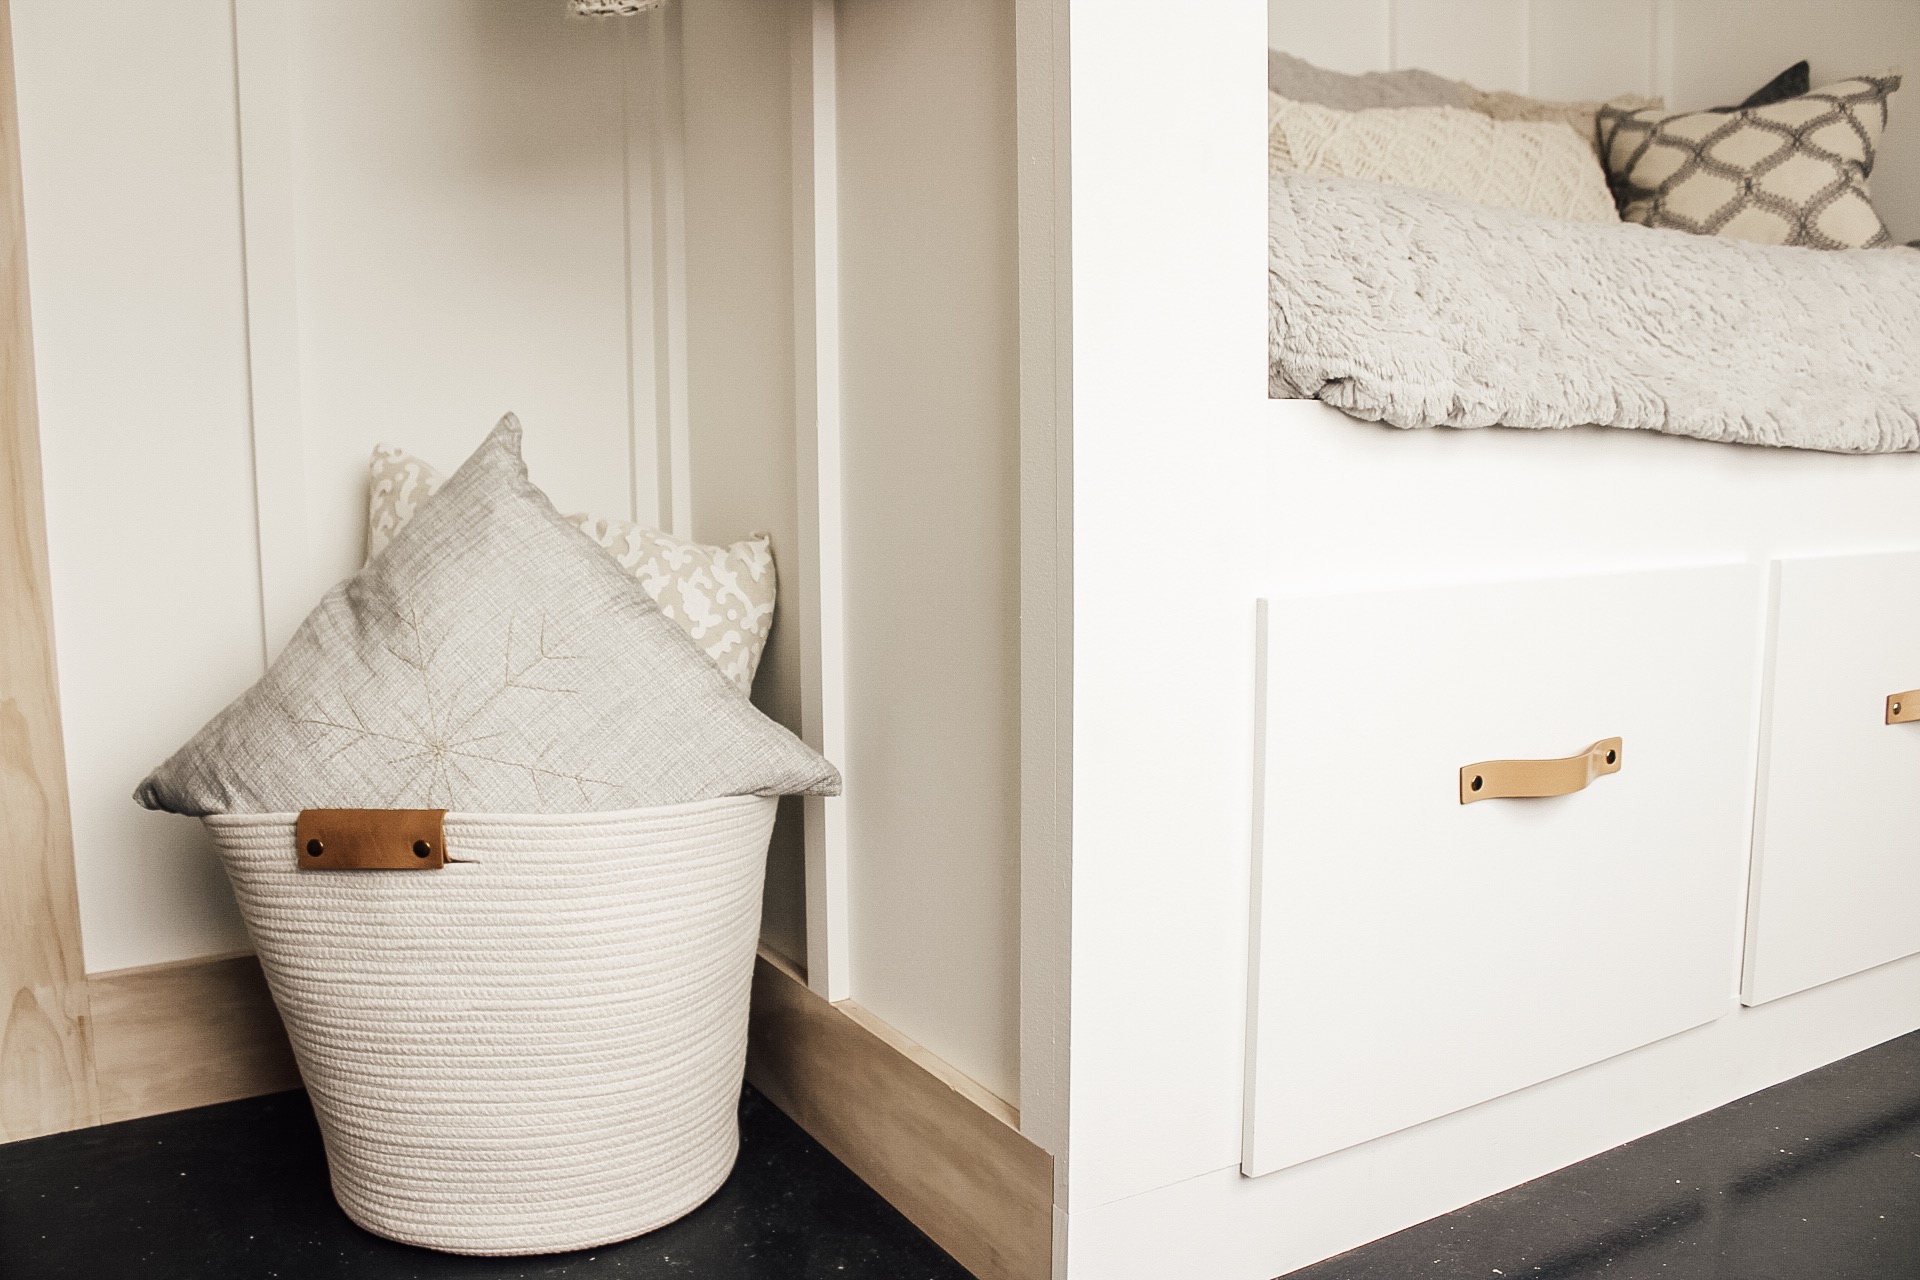
They always say “Necessity is the mother of invention” and that was 100 percent the case here! We are all super happy with the way it turned out and I hope this project will maybe inspire you to think outside the box a little (or even a lot) when it comes to using the space you have in the best way possible! We had a lot of fun working on this and I have a feeling that long after my kids are grown and gone, many little nieces, nephews, and possibly even grandbabies will someday enjoy these ones of a kind loft bunk beds!!! I hope that you’ll check out my Instagram stories saved to my Highlight showing the entire process!
~Dena


Just finished reading your blog I think you have found your calling. Your home is amazing very cozy and very sweet. Just to let you know I’ll probably be starting my morning off where’s my coffee and reading your blog amazing stuff girls very proud of you.
Wendie
Flying Star Antiques
Wow, hun! I am so happy to have you here! I can’t thank you enough! I am so glad you enjoyed the blog! I truly appreciate the kind feedback!
[…] Beautiful Bunkbeds~DIY style […]