DIY Chicken Coop/Garden Shed
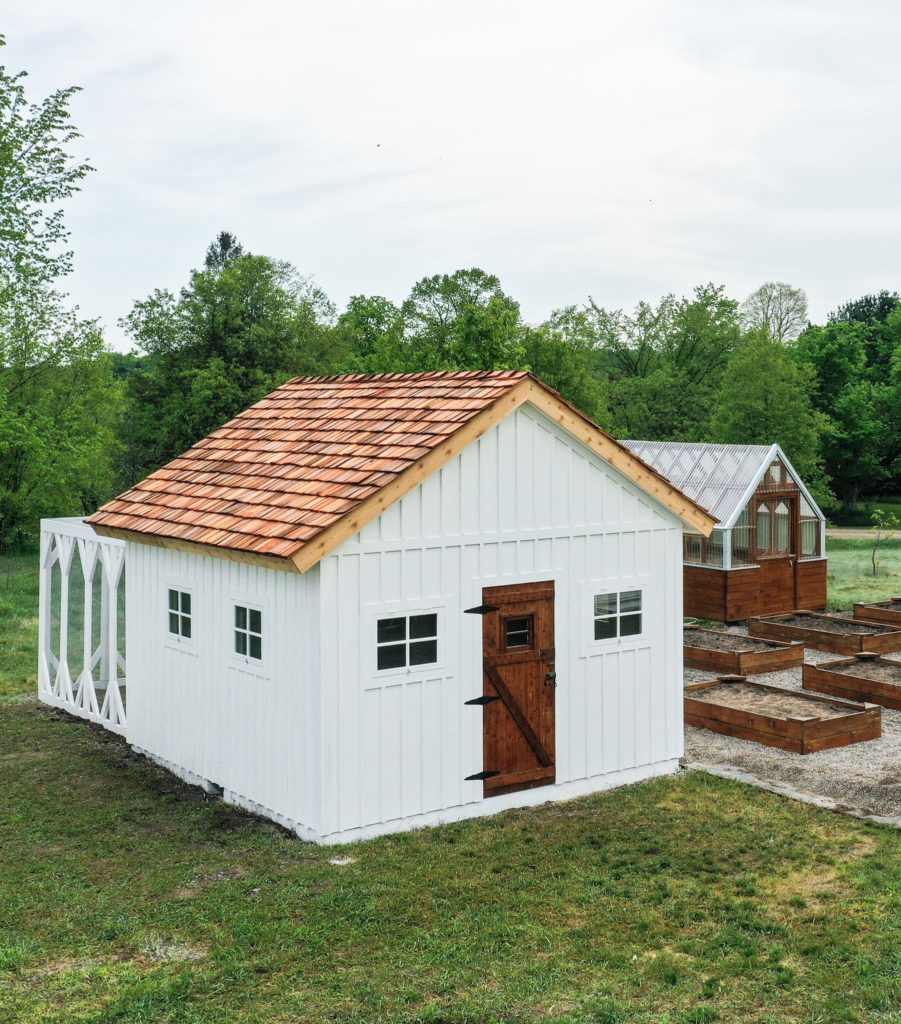
My family and I have been busy working on a really fun project in our backyard and now that it’s all done, I’m sharing all about how we built this DIY Chicken Coop/Garden Shed.
We’re so excited about how this project turned out and it’s been really fun having chickens again! If you’ve ever thought about building your own custom DIY Chicken Coop, this is the post for you!
Watching the coop come together on video will help you get a better idea of the entire process.
*A huge Thank You to Simpson Strong-Tie for sponsoring this video!
Designing The Chicken Coop/Garden Shed
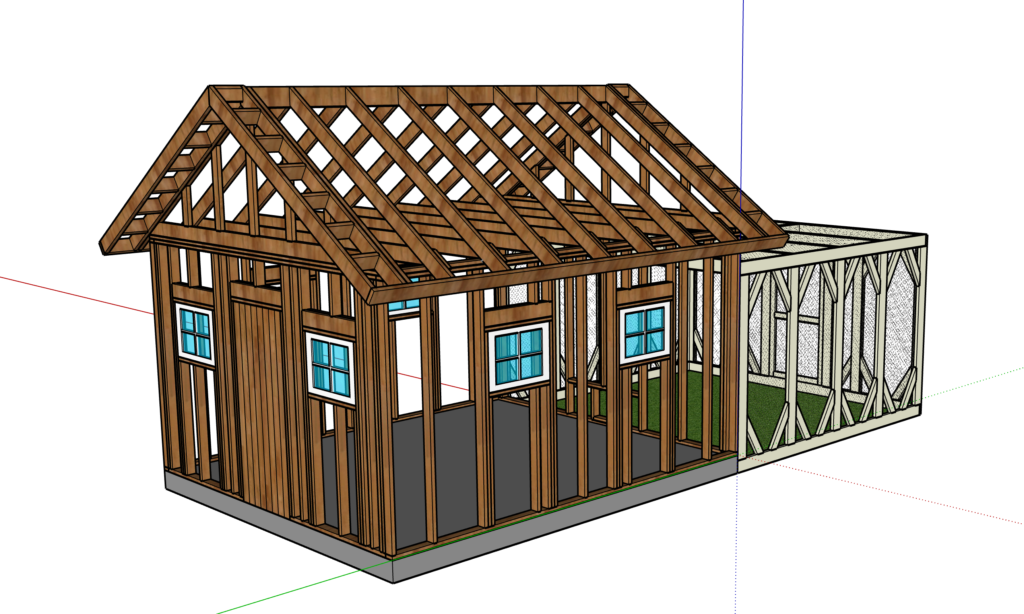
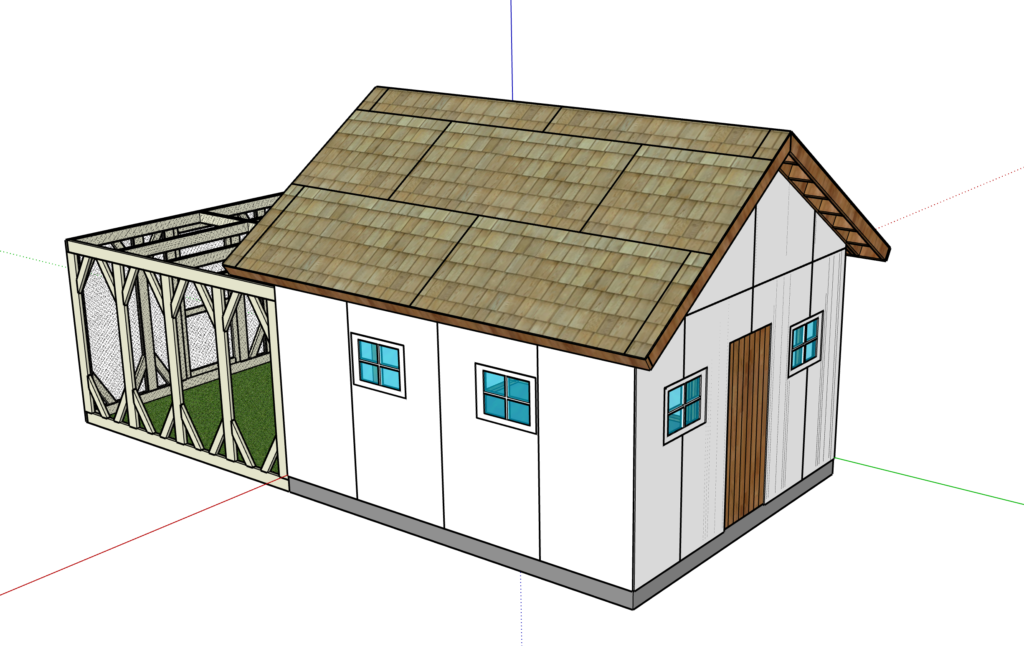
Before we designed our coop, we checked our local building code to see if we needed to pull a permit for our structure. Our county doesn’t require a permit for anything under 200 sq ft so when we poured our concrete foundation (last summer) we made the slab 13’x15’= 195sq ft. We drew up the chicken coop/garden shed using free software called SketchUp.
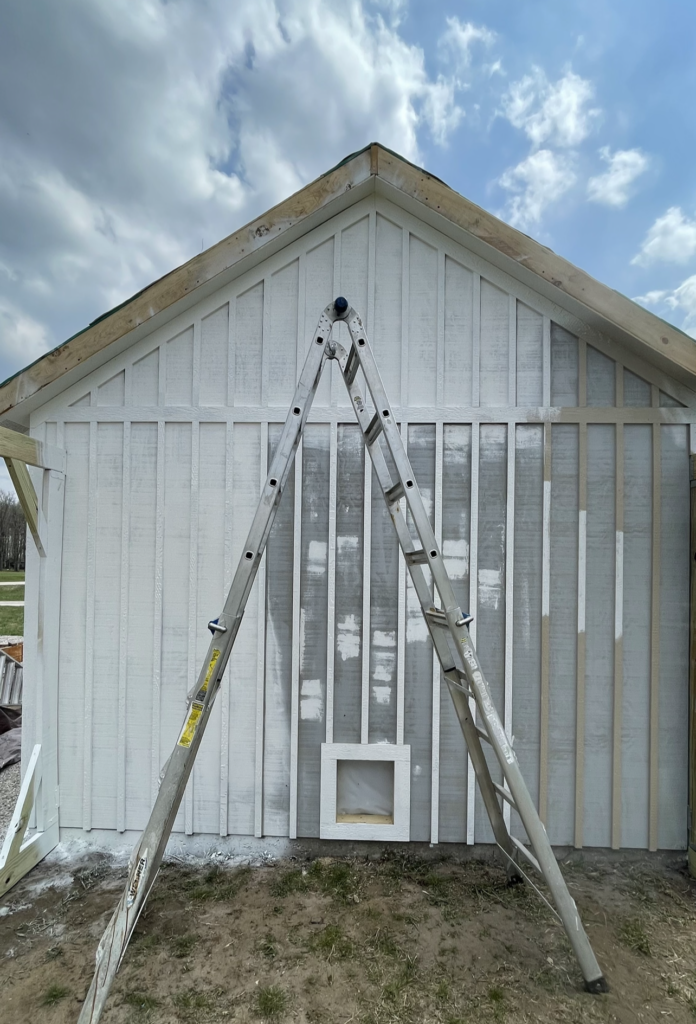
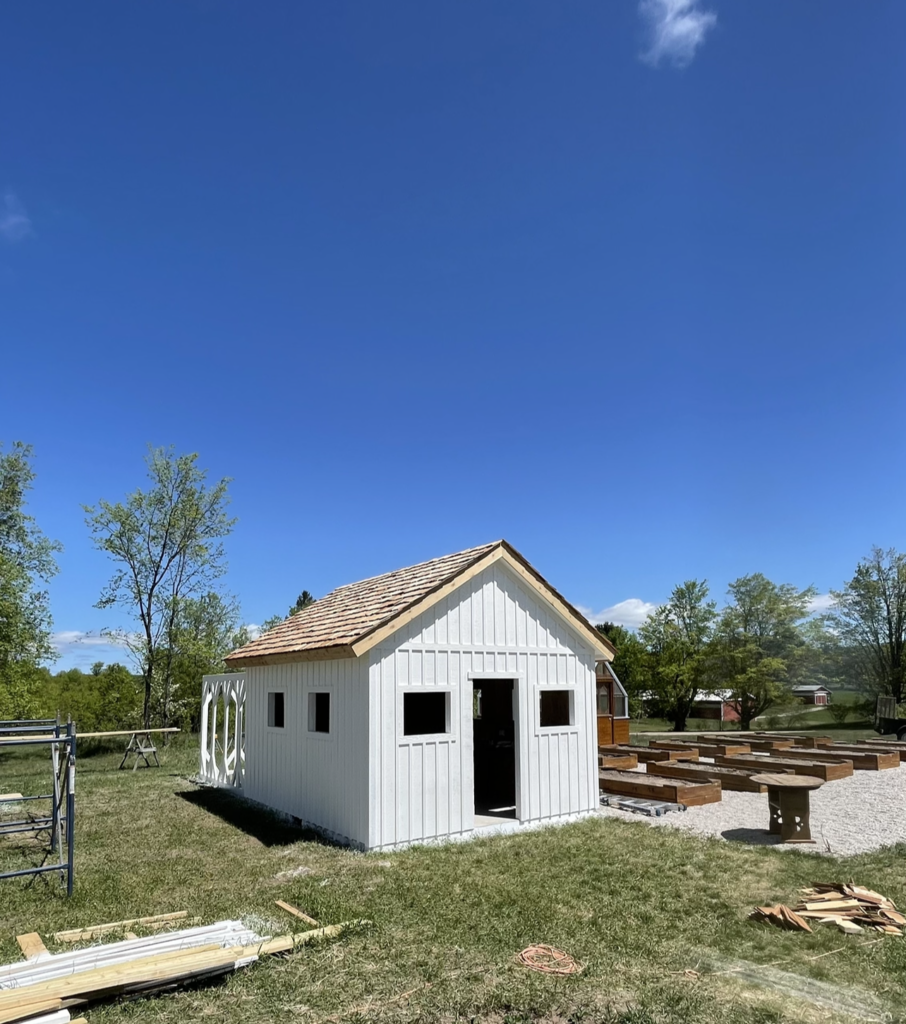
I planned to use the back 1/3 of the building as a chicken coop area and the front 2/3rds of the building as a garden shed/storage area. I added two windows to both side walls, a door, two windows symmetrically on the front wall, and a small opening on the lower back wall for the chickens to go in and out of. The roof is an 8/12 pitch.
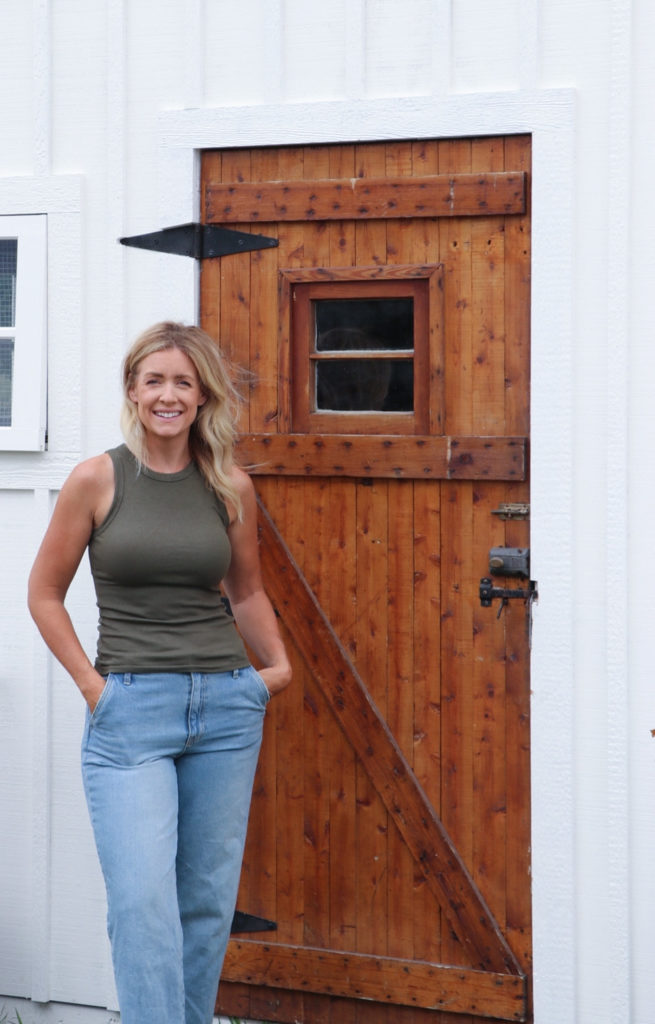
Whenever I build something using all brand new materials, I’m always looking for ways to add character. We were shopping one day and found the front door (which I think is the coolest antique log cabin door ever) at a local salvage shop called Antiquities Warehouse.
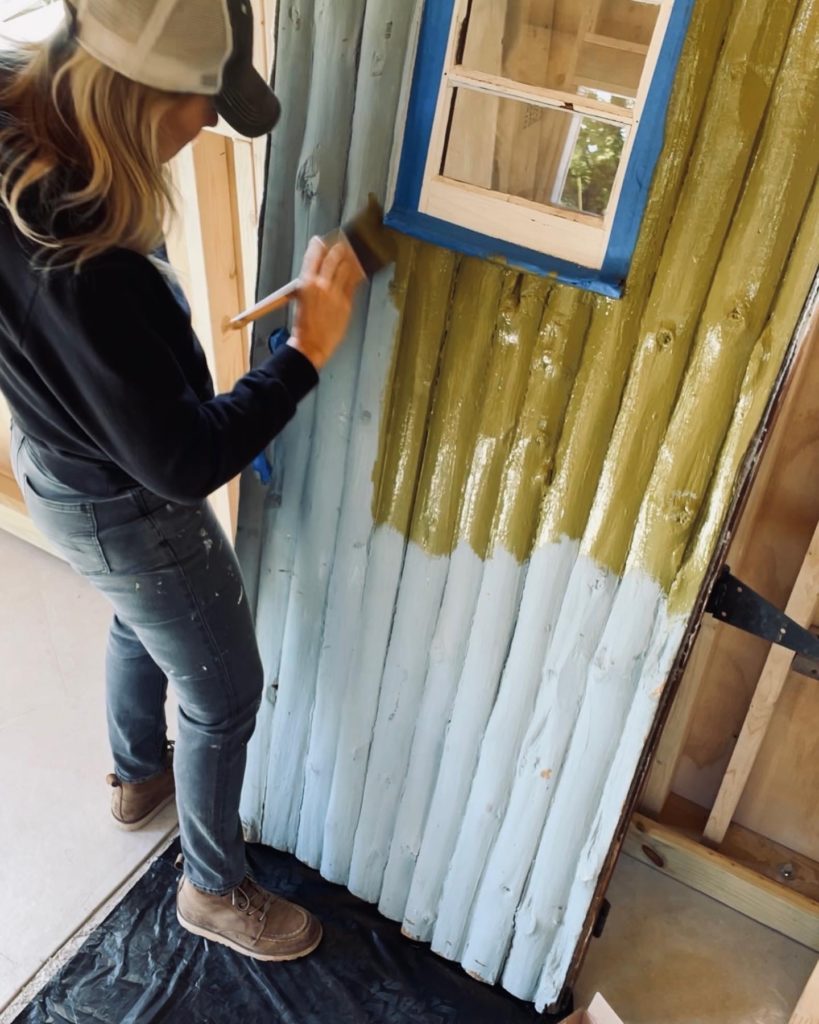
The door came with three locks and really pretty, massive black hinges that made me fall in love with the door right when I saw it! I actually had the door before I chose the roof and siding…the door set the stage for the rest of the project for sure.
I designed the coop with a cedar shake roof because one side of the door was stained with a beautiful wood tone (very similar to our greenhouse and raised beds) and I knew it would look amazing paired with a cedar roof!
Materials We Ordered For This Project
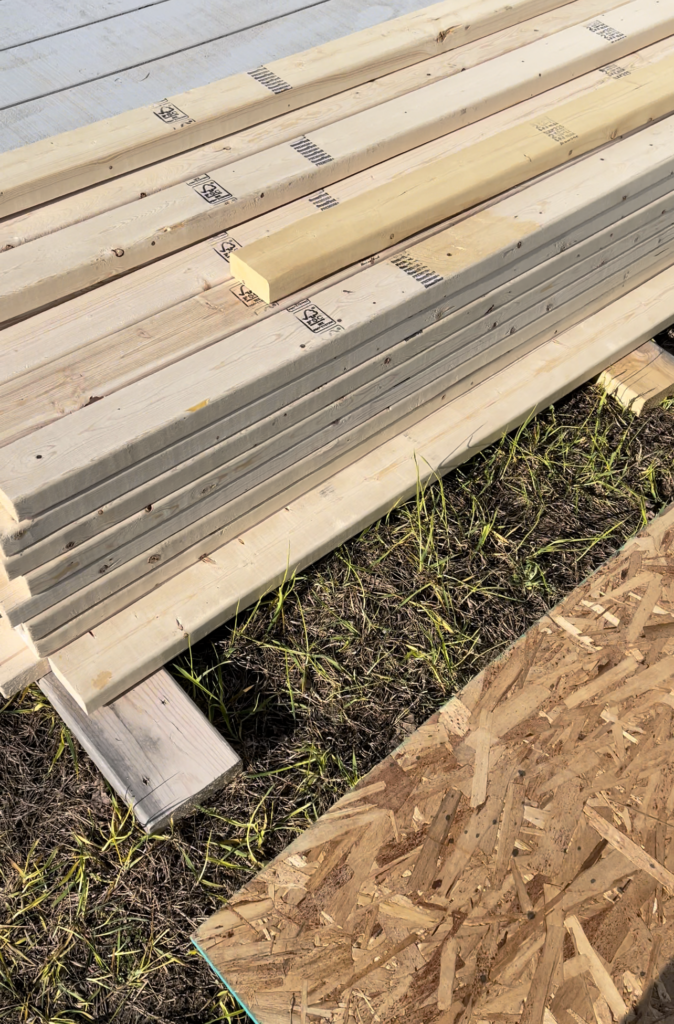
For this project, we needed treated and non-treated lumber. The treated lumber was used anywhere that would come in contact with the concrete, the ground, or be used outside (like the chicken run area).
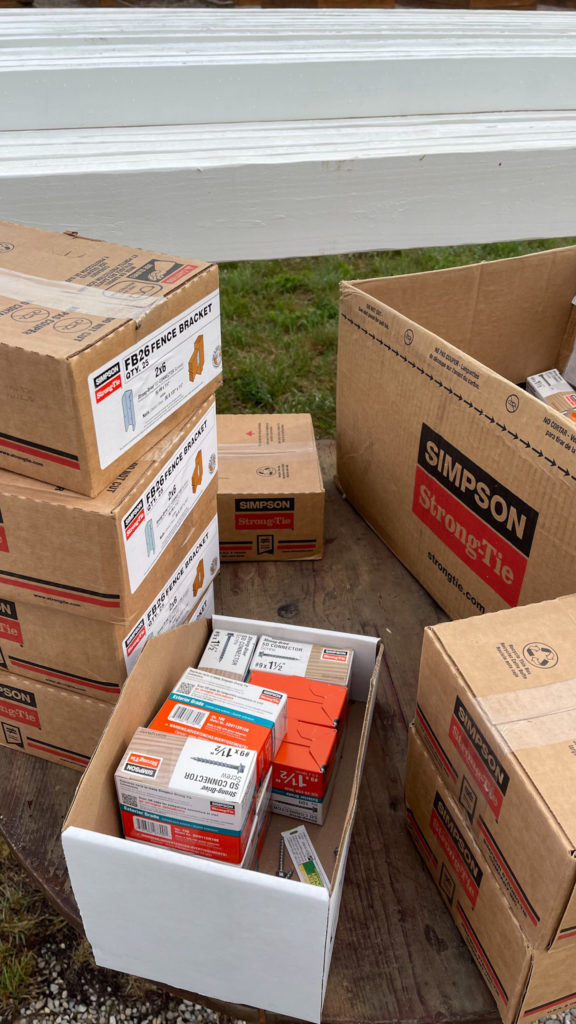
We used regular non-treated lumber to frame up the rest of the structure. Our fasteners, connectors, brackets, joist hangers, anchors, and screws were provided by Simpson Strong-Tie.
We chose Hand Split Cedar Shakes for the roof. 1/2 OSB for sheeting the roof. T1-11 for the siding and LP smart side for all the trim, soffit, fascia, and battens. Thankfully the T1-11 Siding and LP Smart Side came primed, so I only needed paint and not a primer.
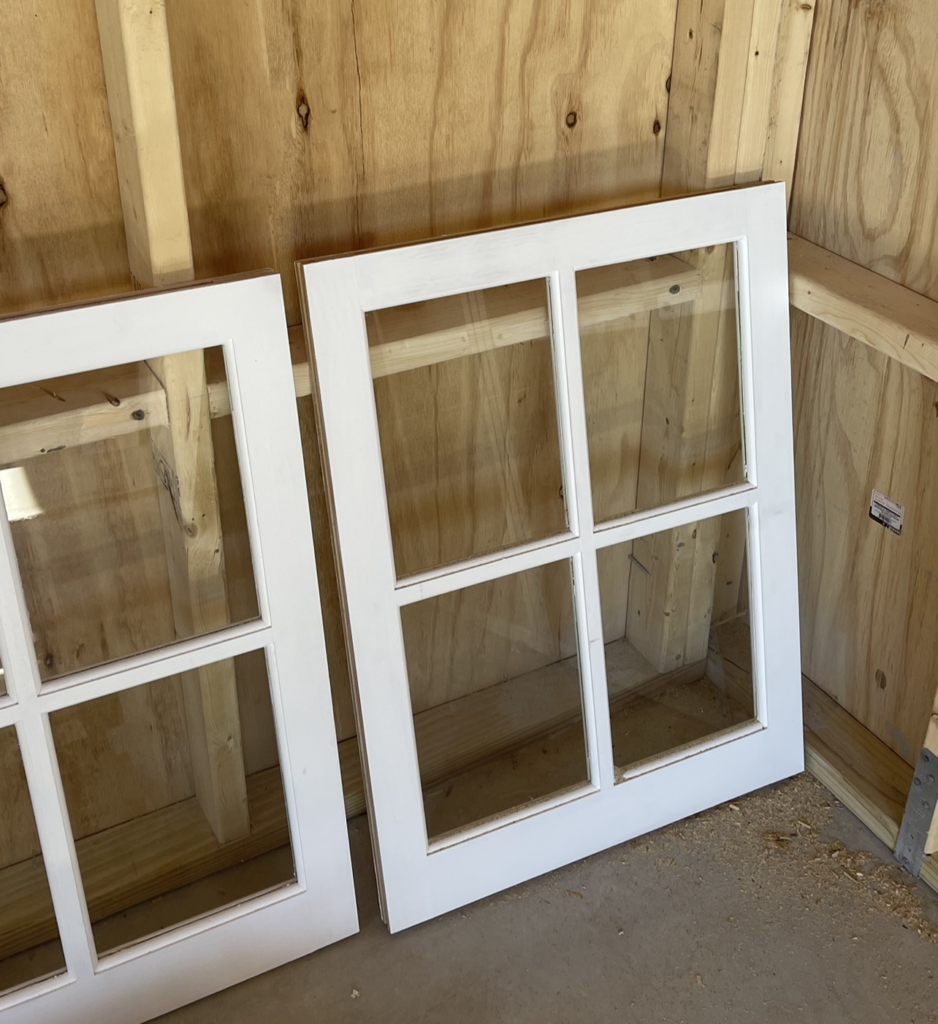
I chose Behr Marquee Exterior Paint in the color “Whisper White“. We found 6 wood barn sash windows at a local hardware store.
How To Build a DIY Chicken Coop/Garden Shed
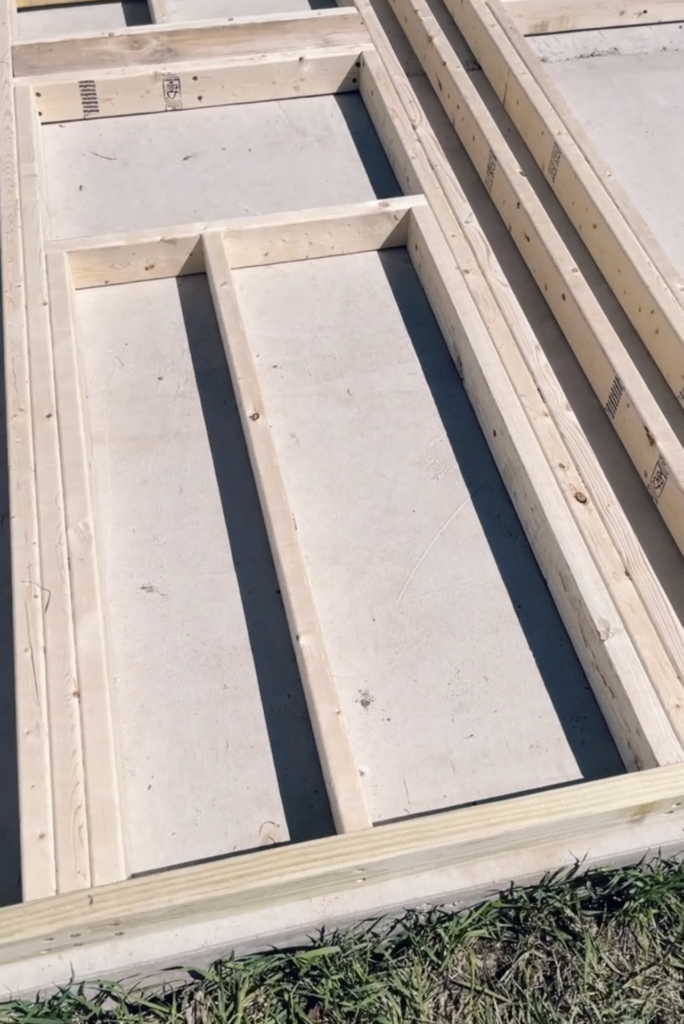
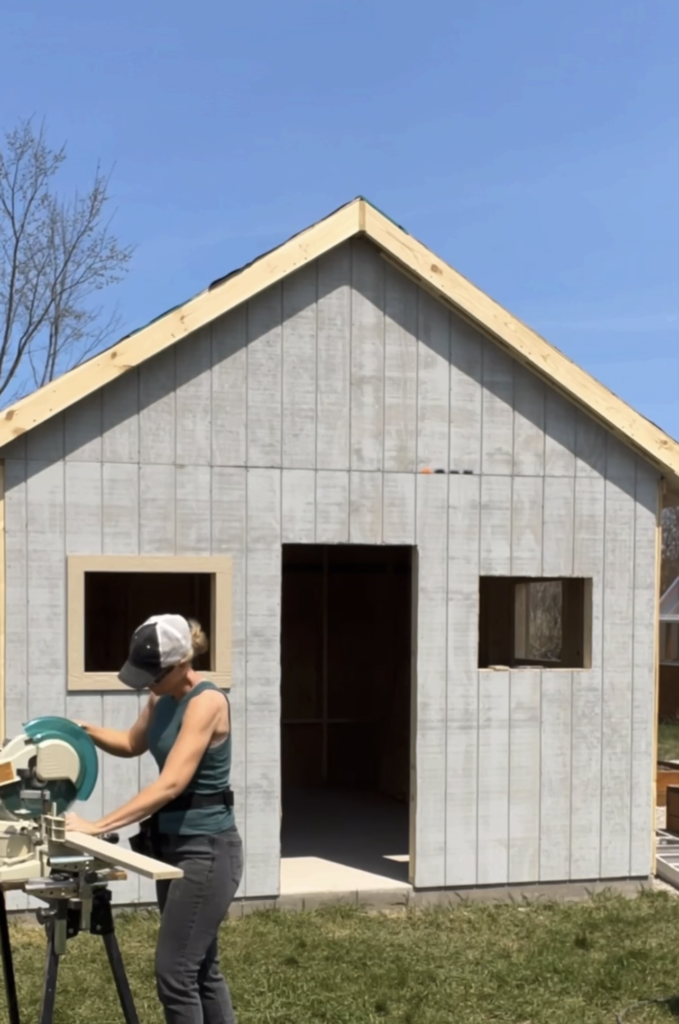
We started out by cutting all the lumber to frame up the walls (one wall at a time). We laid out the lumber on our concrete slab and used that as a level surface to work on. We used treated 2×4 for the bottom plate and connected all the studs (2x4s) using SST Framing Screws. Then we marked out the bottom plate and predrilled where our concrete anchor bolts would go.
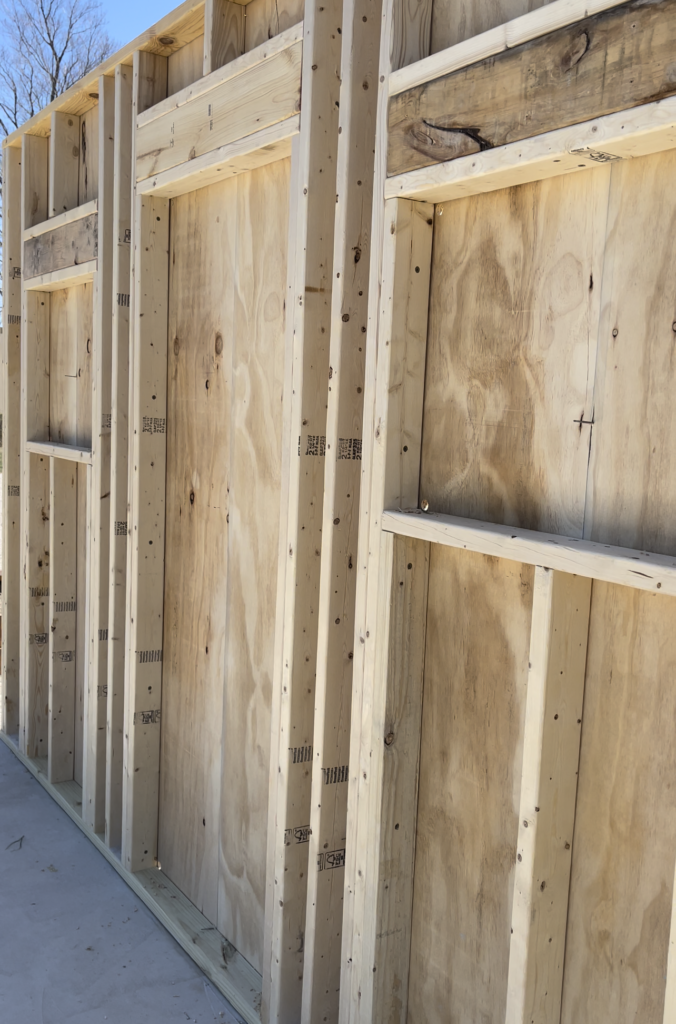
The two side walls are identical, each with two 24″ wood windows evenly spaced. After we had the first wall framed up, we sided it with 4×8 panel T1-11 siding (covering the windows).
Next, we stood up the wall in place and braced it with a 2×4 temporary brace. Then my husband drilled out the holes in the concrete where we had drilled out the bottom plate. We used the HD Titan Concrete Anchor from Simpson Strong-Tie to anchor down the wall to our slab.
Once all the walls we secured to our foundation, we used a circular saw to cut all the T1-11 siding out of each of the window and door openings.
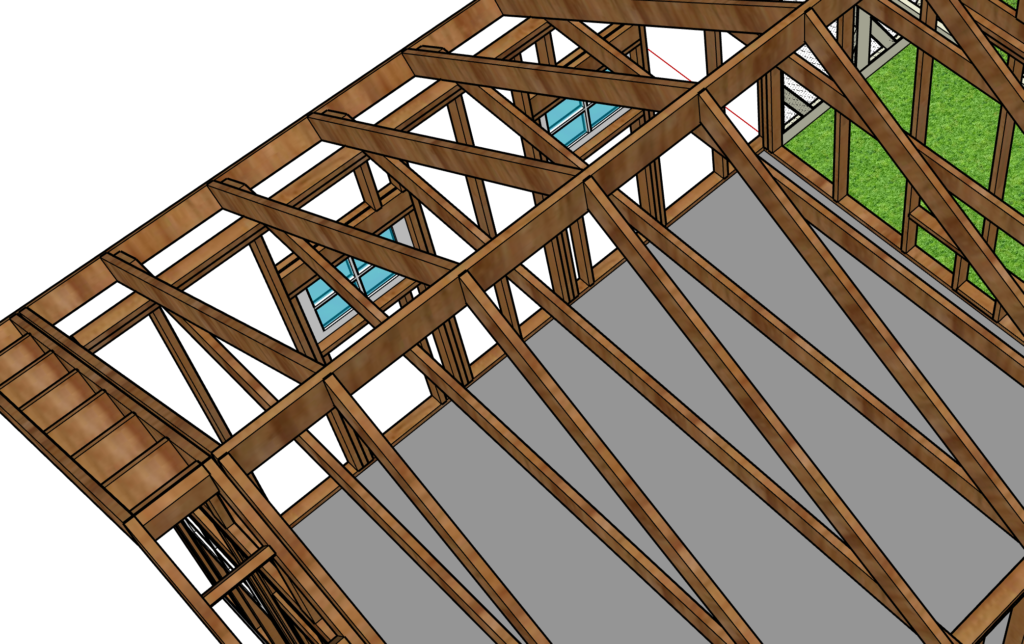
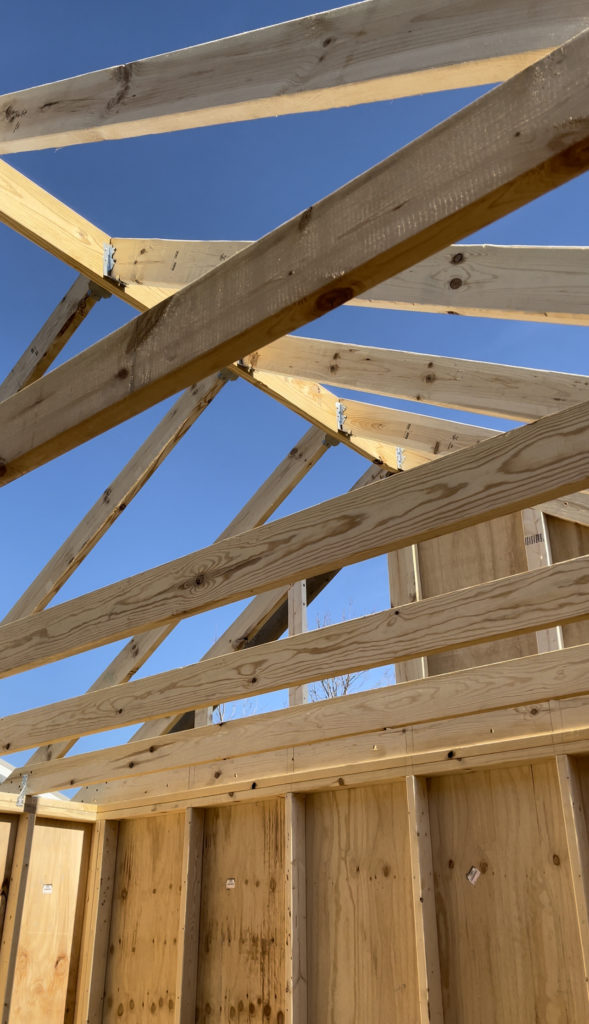
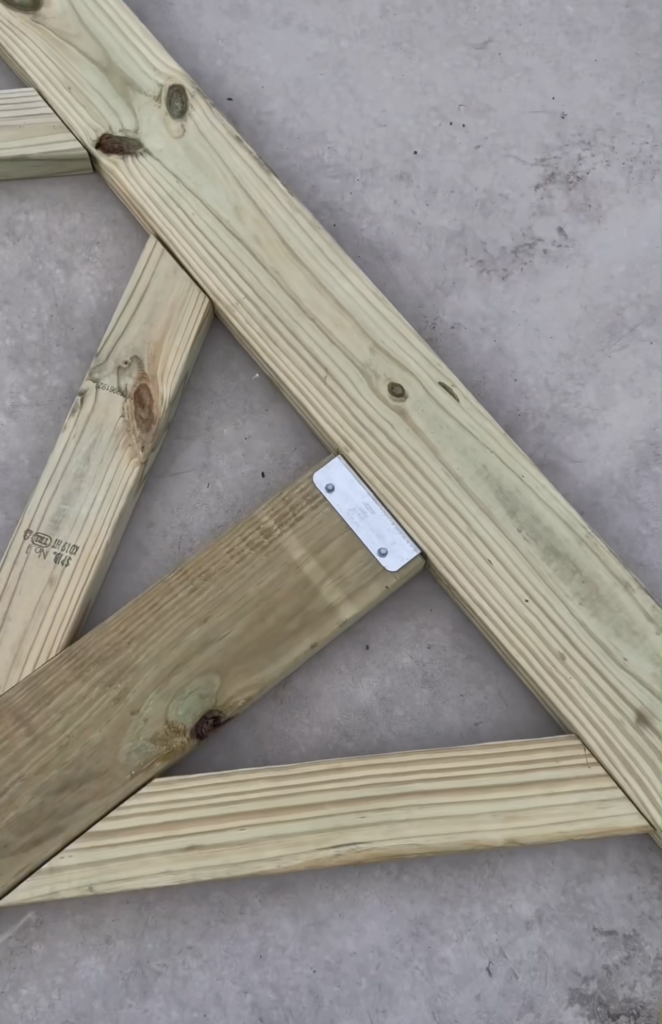
Next, we built the trusses. The roof is an 8/12 pitch with a 6″ overhang on the gable ends and 1′ on the eaves. For the ridge beam, we used a 2×8. My husband is an engineer so of course, he wanted to make sure that each truss was exactly the same, so we built the first truss and then used that one as a template for the rest of the trusses.
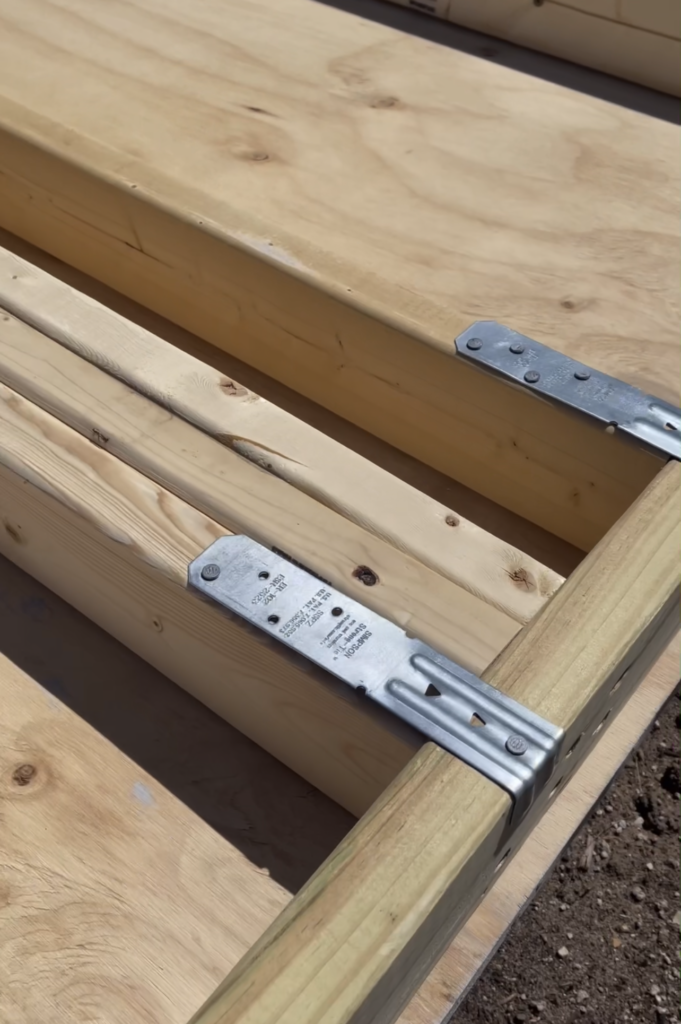
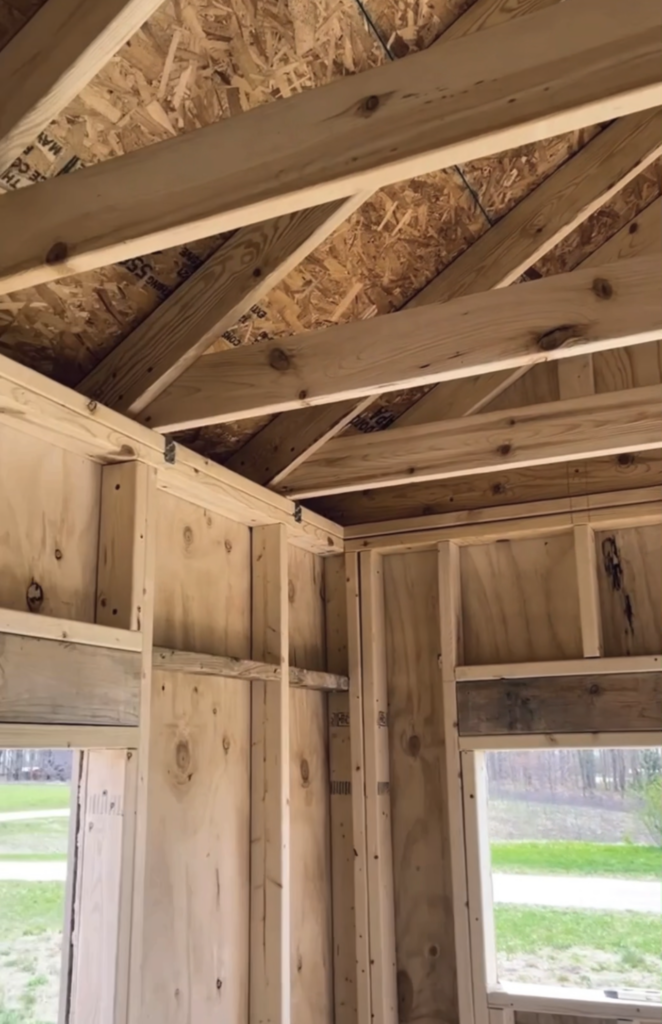
The jig made it easy to screw the two rafters and rafter tie together. We used the SST framing screws to connect the rafter ties to each side. When we had all the trusses built, we put them up one at a time and connected them to the ridge beam using Simpson Strong-Tie Adjustable Joist hangers. After all the trusses were up, we sheeted the roof using ½-inch OSB.
Outdoor Chicken Run Area
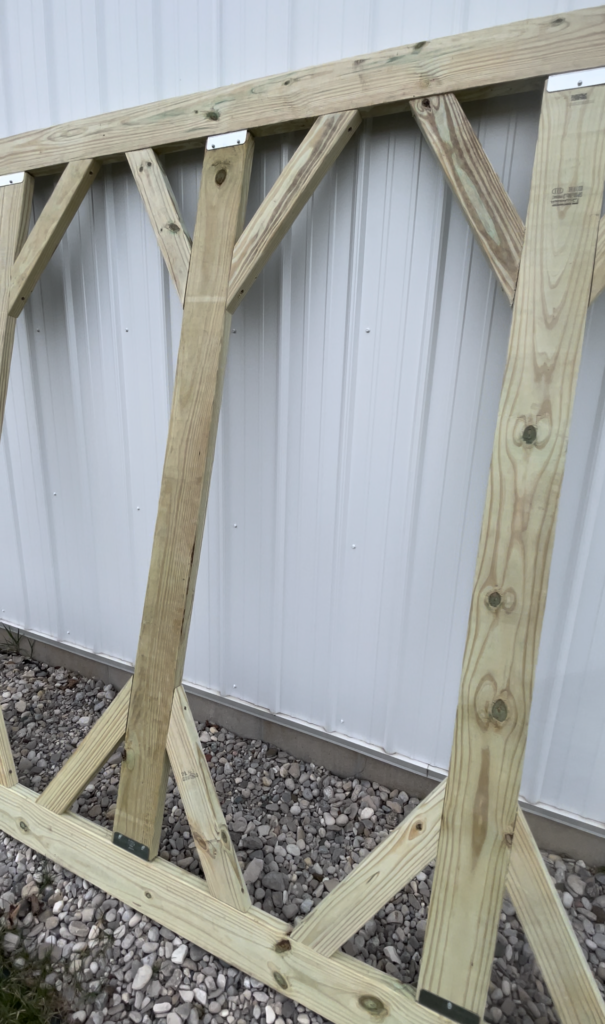
We used 2×6 treated lumber and Simpson Strong-Tie Fence Brackets as well as Hex Head #9 – 1 ½ inch screws to frame up our outdoor chicken run area on the back end of the chicken coop. We added a 36-inch door opening to the chicken run and added 2×6 supports across the top to the hold hardware cloth on the roof. It took us two full days to frame up the chicken coop and the chicken run.
Finishing Up All The Detail Trim Work On The Chicken Coop
Then, I spent a couple of weeks installing all of the battens, trim, soffit, and facia and painting the coop and chicken run. I used Bahr Marquee Exterior paint in the color “Whisper White”. I painted the interior of the door “Olive Shade’ green for a pop of color on the inside.
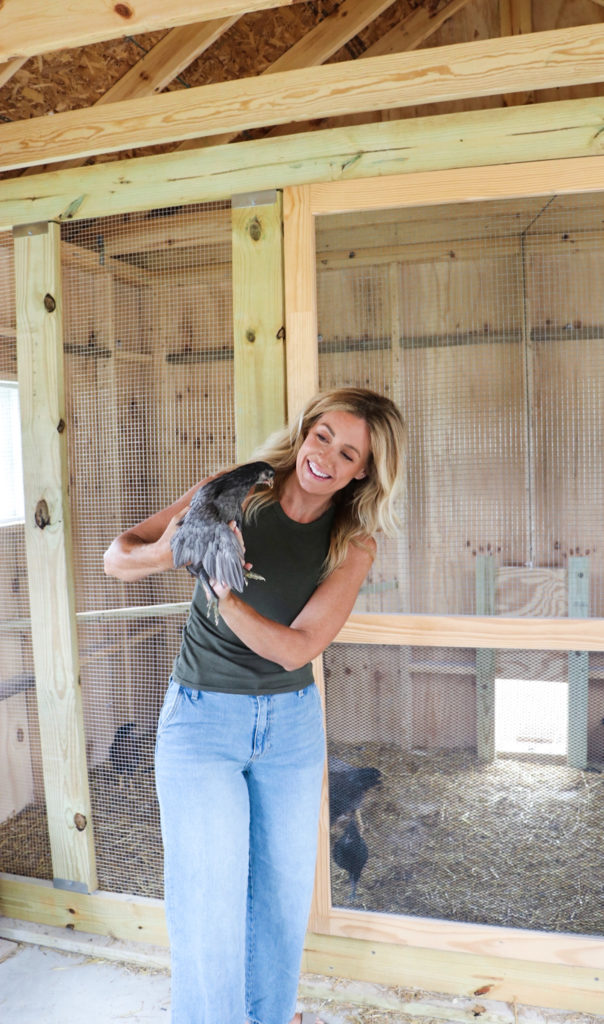
On the inside, we built a 2×6 treated wall and added hardware cloth and another door to enter the coop area. We built 4 nesting boxes with a lid that we can open from the shed area to get the eggs with a lock on them and two roosting areas inside the coop.
Hand Split Cedar Shake Roof & Hardware Cloth
My husband worked on installing all the cedar shakes on the roof while I installed all the hardware cloth to the chicken run roof and walls. I dug a trench around the perimeter of the chicken run and buried the wire 16 inches deep and folded it over like an “L” to deter predators from digging under the chicken run.
I also added the hardware cloth to all 6 of the windows just in case something tried to climb through them while the windows were open.
After a couple of weeks, we were just about done and only had a few small things left to do. My son built a little chicken ramp, my husband built a little door for the coop and attached a rope on a pulley so we can open and close the door easily from the outside of the coop in the morning or night.
Welcome Home Baby Chicks
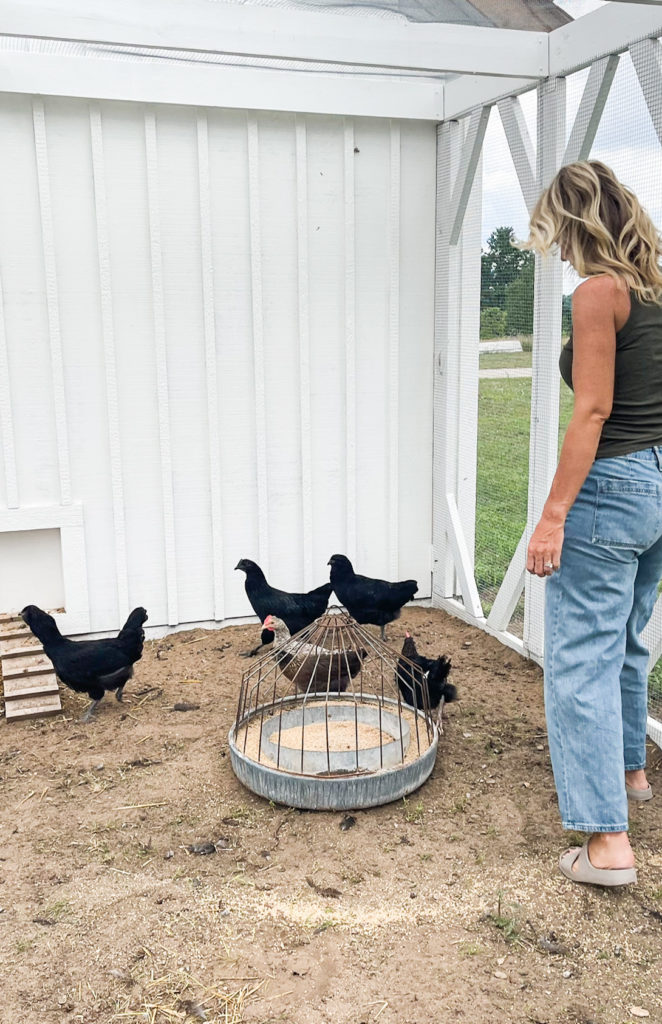
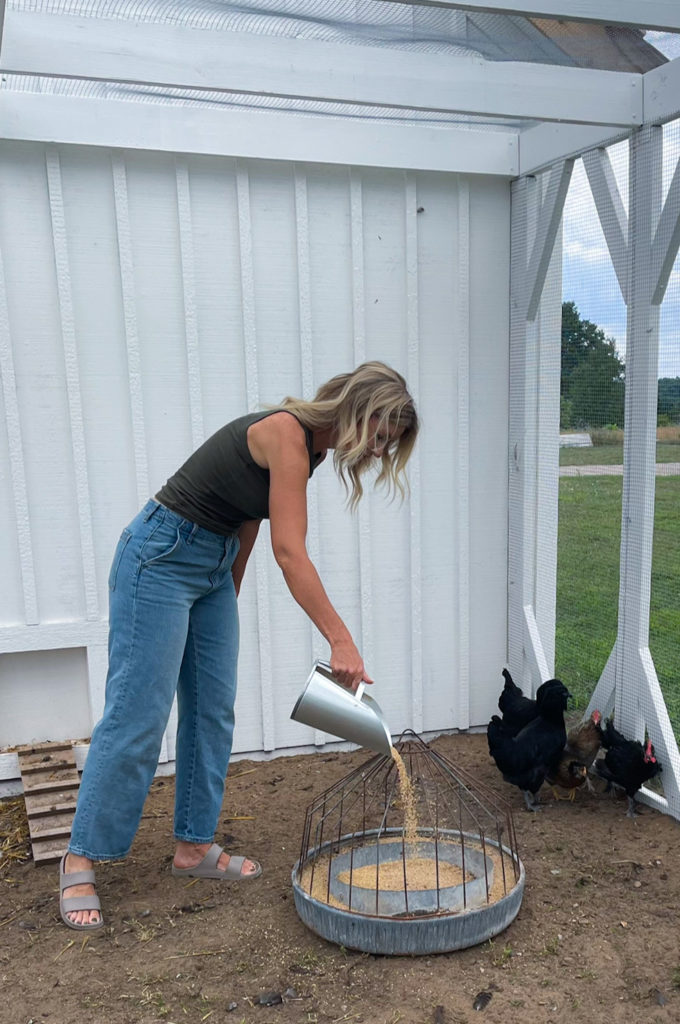
We are so excited to have our chicken coop all finished! We recently welcomed home our baby chicks, my sweet friend hatched for us! They seem to love their new home and have been growing like weeds! We couldn’t be happier with how this family project turned out!
Now that phase #1 is complete, stay tuned for phase #2 where I’ll be sharing the process of designing and building a custom garden fence that will. Unfortunately, the deer ate my vegetable garden last year and I’m determined not to let that happen again!
Thank you so much for visiting the blog! I hope you enjoyed learning how we built our DIY Chicken Coop/Garden Shed!
See How We Built our Greenhouse & Raised Beds Below
*All Simpson Strong-Tie products were provided to us for this project. SST products used are listed below with the quantity and number for your reference. All links are affiliates and I may receive a small commission on purchases at NO extra cost to you.
SST Products For Chicken Coop Project:
[…] you missed phase #1 of our backyard project, be sure to watch our DIY Chicken Coop video and blog post to learn how we designed and built our new custom chicken coop/garden […]
[…] Below, watch Dena build her chicken-coop shed from the ground up. You can also learn more about this project on her blog. […]
[…] DIY Chicken Coop/Garden Shed […]