
Installing Basement Floor Trusses
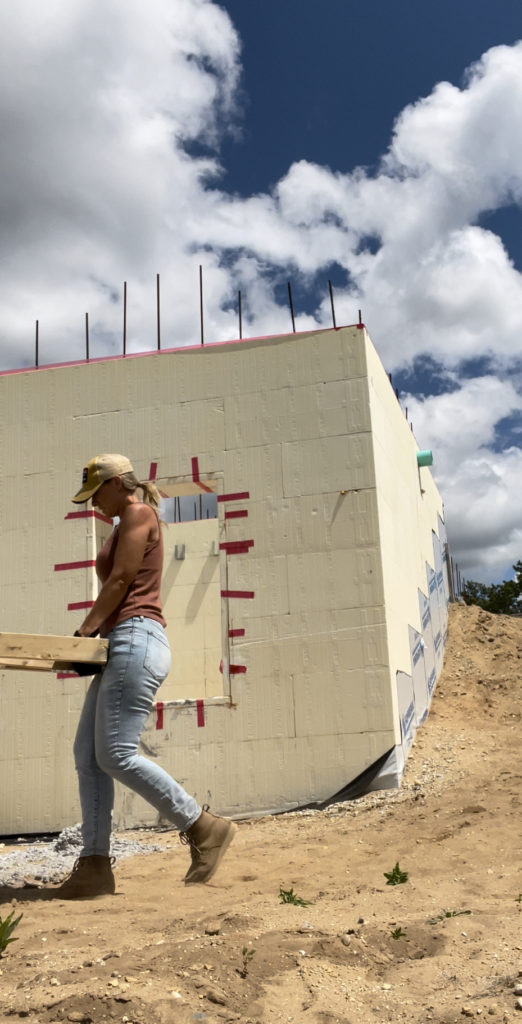
We have been working on our DIY Dream Home build project every chance we get! It’s been a lot of hard work but at the same time, so rewarding to see our dreams take shape!
We recently spent a few days installing our basement floor trusses and OSB subfloor over the trusses and today’s post is all about the process of installing our basement floor trusses.
Before I get into it…I just want to take a minute to say” THANK YOU!”
Thank you for all the continued support and kindness here on the blog as well as on YouTube and Instagram! Sharing my day-to-day life and our DIY house-building journey publicly is something I’d never imagined I’d do…yet here we are, sharing it all and you have really encouraged us along the way and I can’t thank you enough!
With that said…let’s get into the house update!
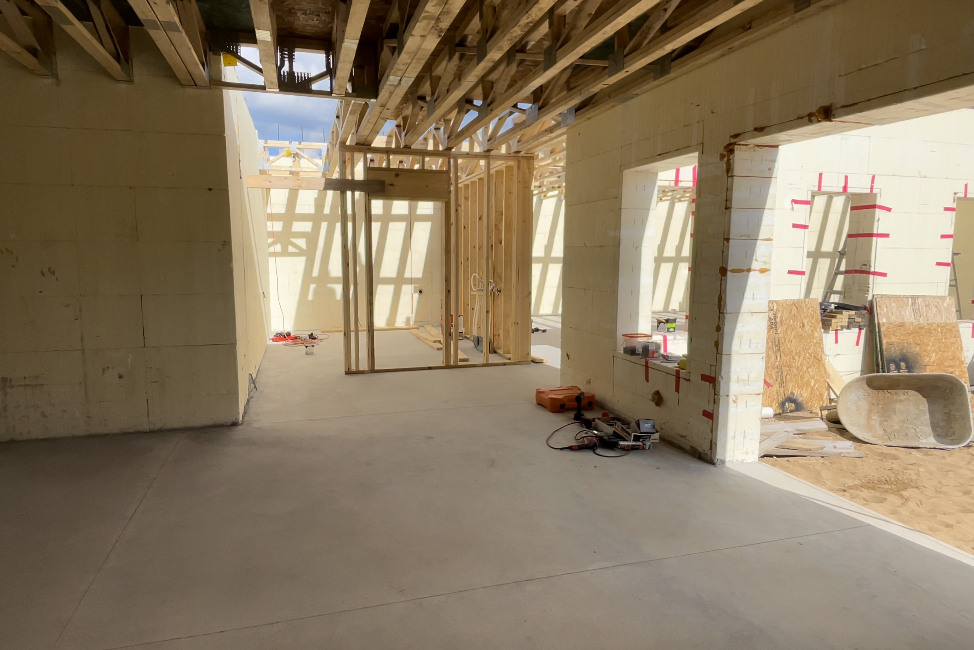
Prep work- Building Supporting Basement Walls Before Setting The Floor Trusses
Before we could set the basement floor trusses we had some prep work to do down in the basement. The basement is split into two large rectangular sections in a way. The center area (connecting those two larger spaces) will have a staircase going up to the main level and a mechanical room behind that staircase.
The trusses that will be spanning the center space are very large and will sit on top of a supporting wall. We needed to build the supporting walls before we could set any of the basement floor trusses.
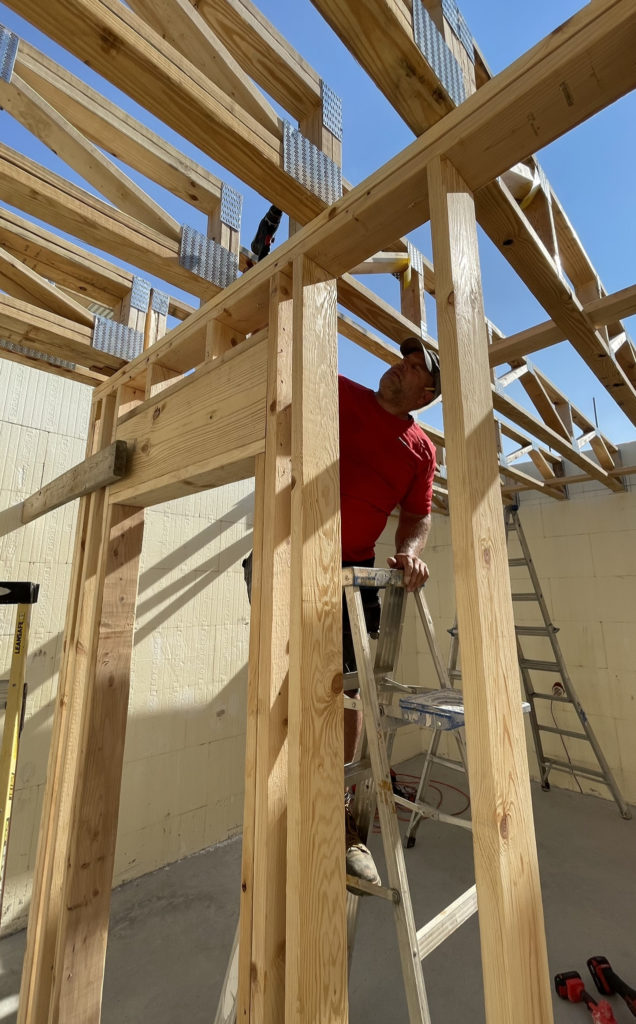
The mechanical room is approximately 10×12 ft and two of the walls for the mechanical room are supporting. We went ahead and built those walls using 2×8 (even though the blueprints called for 2x6s).
We had our lumber delivered…but somehow we miscalculated, so I did make a quick run to my local Home Depot to grab a few more boards. It wouldn’t be a DIY project without at least one trip to the hardware store right?! lol!
You may have noticed that my husband builds things to last, which means he tends to over-build just about everything. This time was no different! These two walls are the only two supporting interior walls, holding up the weight of the center of the house, so he was more than happy to overbuild them a bit.
Installing Basement Floor Trusses
Every time we get our quotes back we are astounded at the continued price increases for building materials. The rising costs and longer-than-normal lead times have really made it challenging for us to stay on track with our build timeline and budget.
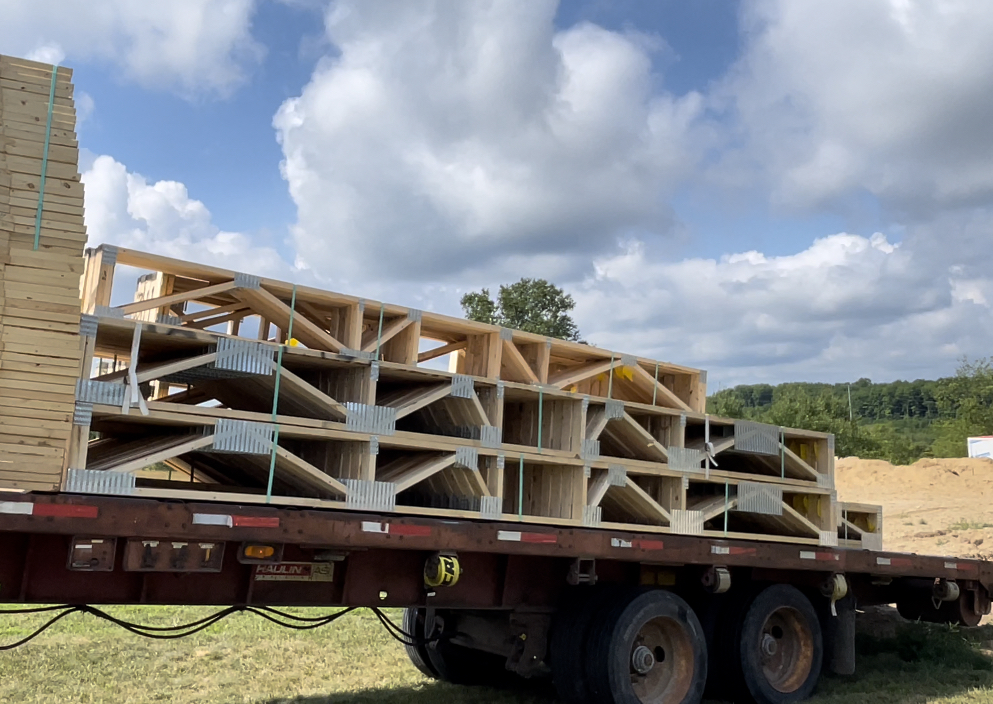
We were really happy when we received one of our truss quotes and they said they could deliver our trusses in a few weeks instead of in a few months (like the other quotes we got).
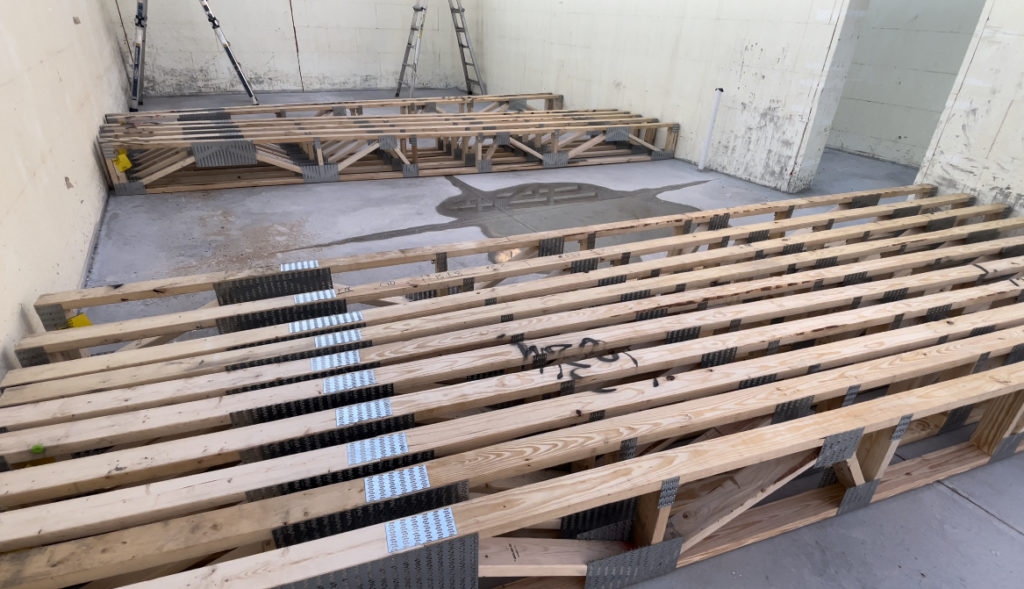
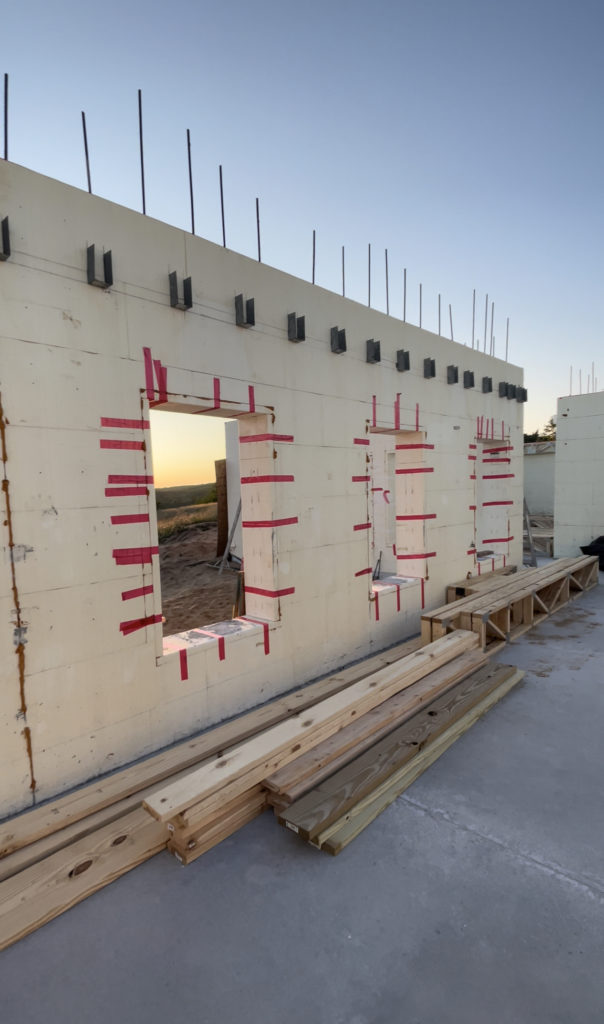
After our basement floor trusses were delivered, I spent some time looking at the truss sheet and sorting through each truss before moving them down to the basement. Each truss was labeled making it really easy to locate. Our floorplan is really an unusual shape so we had lots of different trusses built.
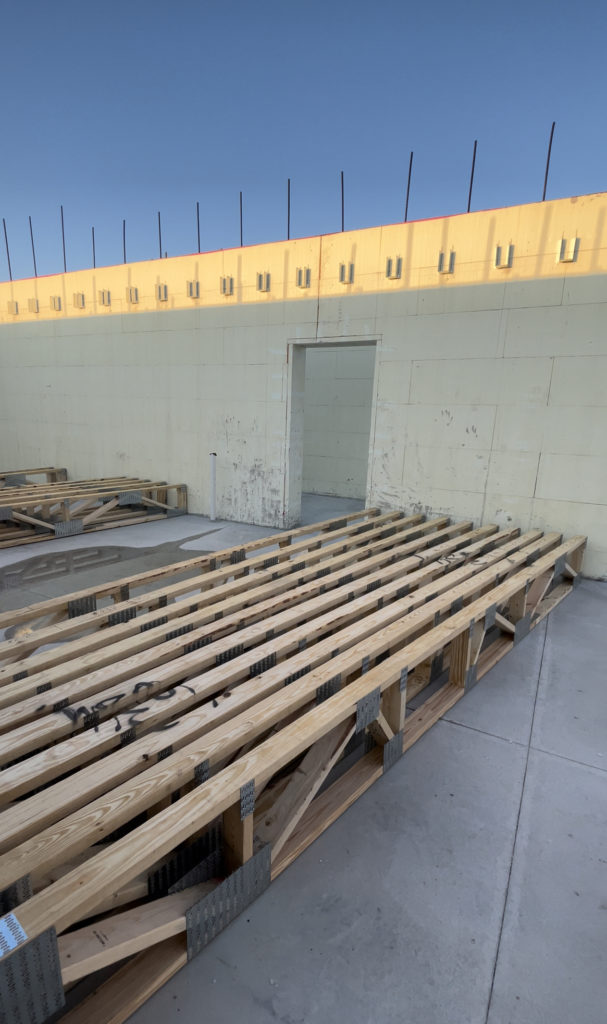
The sheet also told us the weight of the trusses and the heaviest ones were under 200 lbs. Even though the basement ICF walls were poured with concrete last fall, we still haven’t backfilled the basement because we were told not to backfill by professionals, until after we set the basement floor trusses. We decided not to rent any equipment to set the trusses into place for that reason. There really wasn’t an easy way to use machinery to set the trusses due to all the uneven dirt around the construction site.
Some of the trusses were as light as 60lbs so we just manually carried them down to the basement. Aaron, my brother, and our son were able to carry down the few that were almost 200lbs.

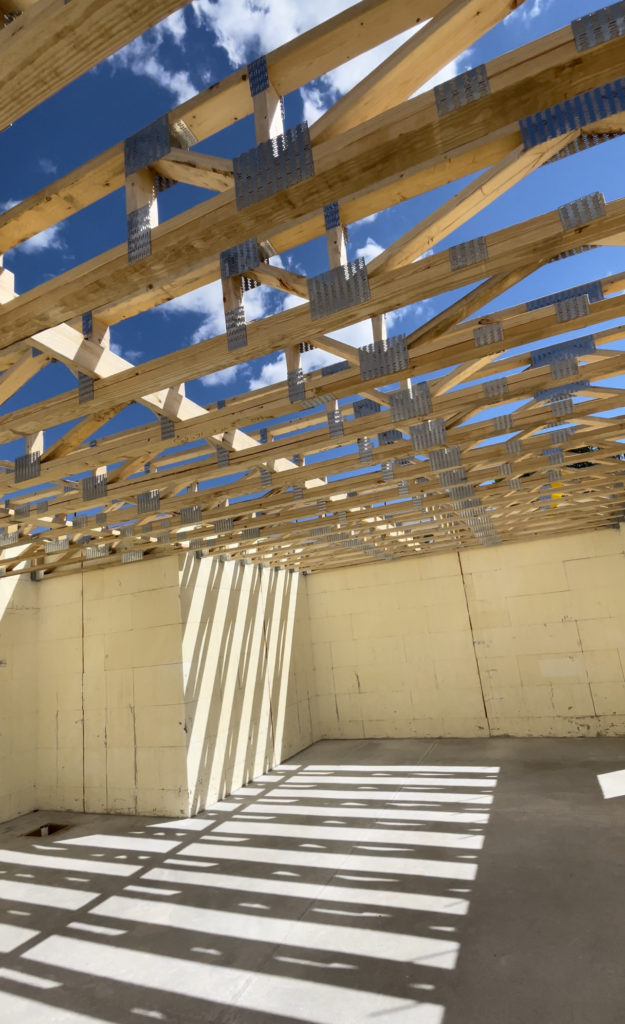
The three guys set up a ladder on each side and one in the middle and walked each truss up into place. Then it took a few days to nail them all into the brackets because each bracket needed 16 nails (on both ends).
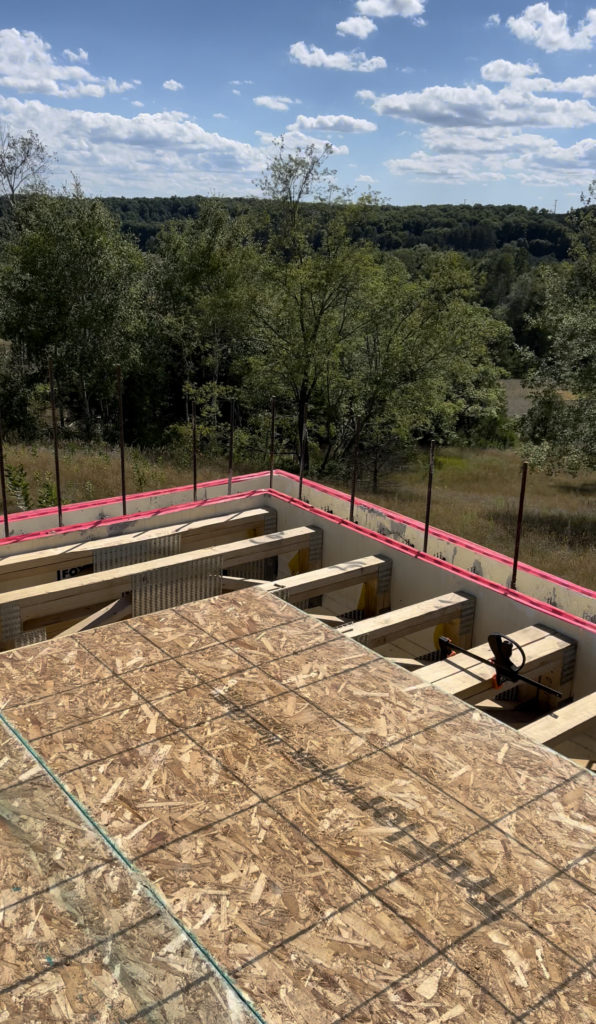
Installing OSB Subfloor
Next up, it was time to install the subfloor. This step made me a little nervous because when we first got started we had to walk the trusses to set the first couple of sheets. To make it worse, Aaron used Liquid Nails down each truss before setting the 4×8 sheet of subfloor so he walked the trusses a lot.
It’s almost a 10-foot fall down to the concrete basement floor…so of course, I was really relieved when we had the first few sheets of OSB glued and nailed in place and could stand on them while we laid the rest of the sheets.
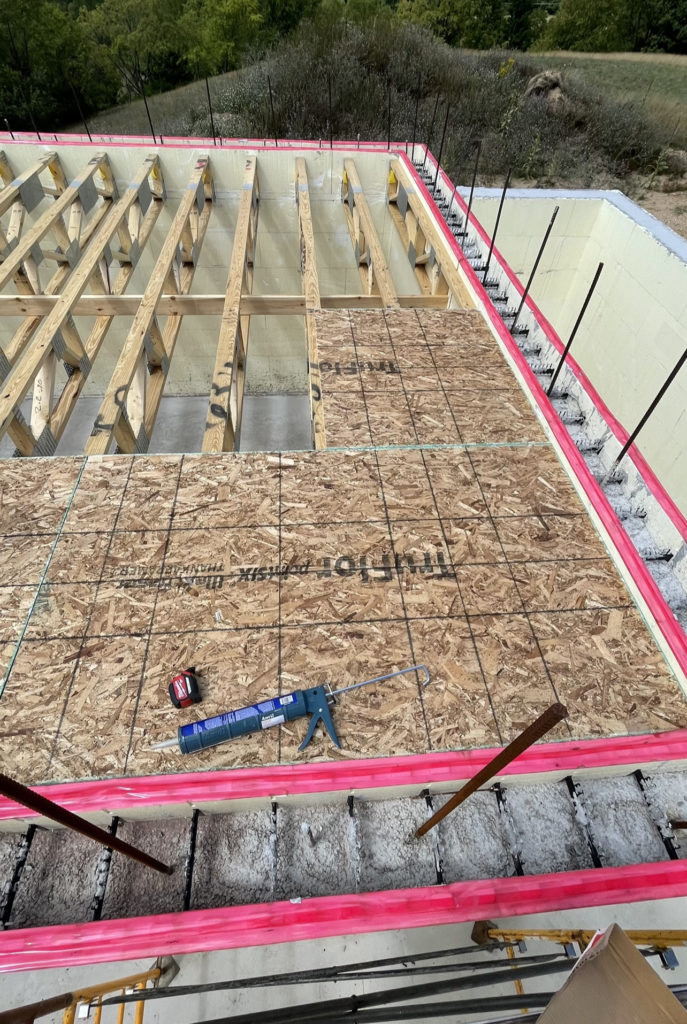
Aaron glued and I used our Paslode nail gun to nail each sheet. Our son and nephew were a huge help. They carried the sheets from the driveway, up a 20ft plank (over the ditch around the perimeter of the basement ) onto the basement floor trusses for us. They were very careful and thankfully, everyone stayed safe and nobody had any close calls.
Sealing The OSB Subfloor
The day after we finished installing the subfloor it poured rain so we decided to go ahead and seal the floor. We used exterior paint after the OSB dried out the next day. It was a really windy day so instead of using my paint sprayer, we ended up just rolling it on.
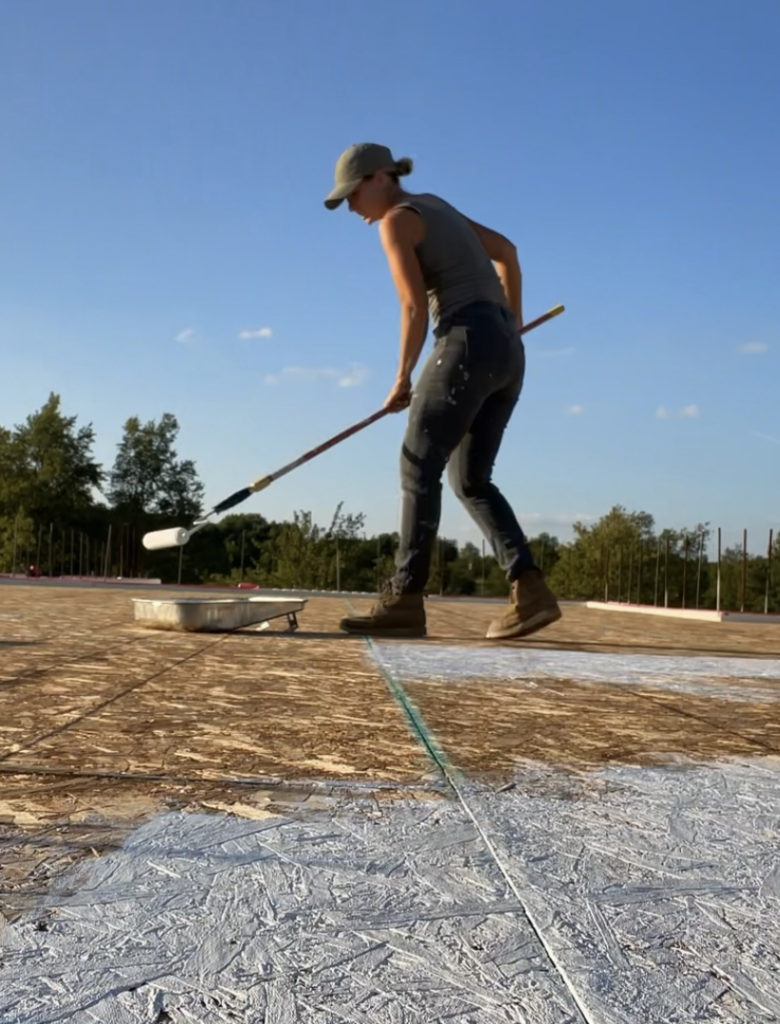
I’m really glad we took the time to seal the floor up because it has rained a lot since then and I can tell it’s helped protect the subfloor.
Next Up: I’ll be sharing all about stacking our main level using Fox Blocks ICF and pouring our concrete walls so stay tuned for that!
Be sure to check out the entire process of setting our basement floor trusses in my latest video and follow along on Instagram @fletchercreekcottage for daily updates on our DIY Dream Home Build Project!


