
DIY Pinch Pleat Curtains
Today I’m sharing all about how I made DIY pinch pleated curtains for my living room refresh! Even though I’d made curtains plenty of times, I’d never made pinch pleat curtains before so I was thrilled to find out how simple they are to make. So, if you’ve ever wanted pinch pleat curtains but don’t want to spend hundreds or even thousands on drapes, keep reading!

Why I Decided To Make My Own DIY Pinch Pleat Curtains
When we first moved into the cottage, I needed window coverings and just wanted them to be inexpensive and simple. I used drop cloths and clip rings as curtains and after four years I’m ready for a refresh. I love the look of pinch pleat linen curtains. They are so much more polished than the dropcloths. I have made my own curtains lots of times, so I never really paid any attention to the cost of drapes, let alone linen drapes that are extra long. Our ceilings are 9.5 ft high so I needed curtains at least 108″ or longer. I found exactly what I was looking for at Pottery Barn, but WOW, they are so pricy ($1,000 for two windows)…and of course, that lead me here!
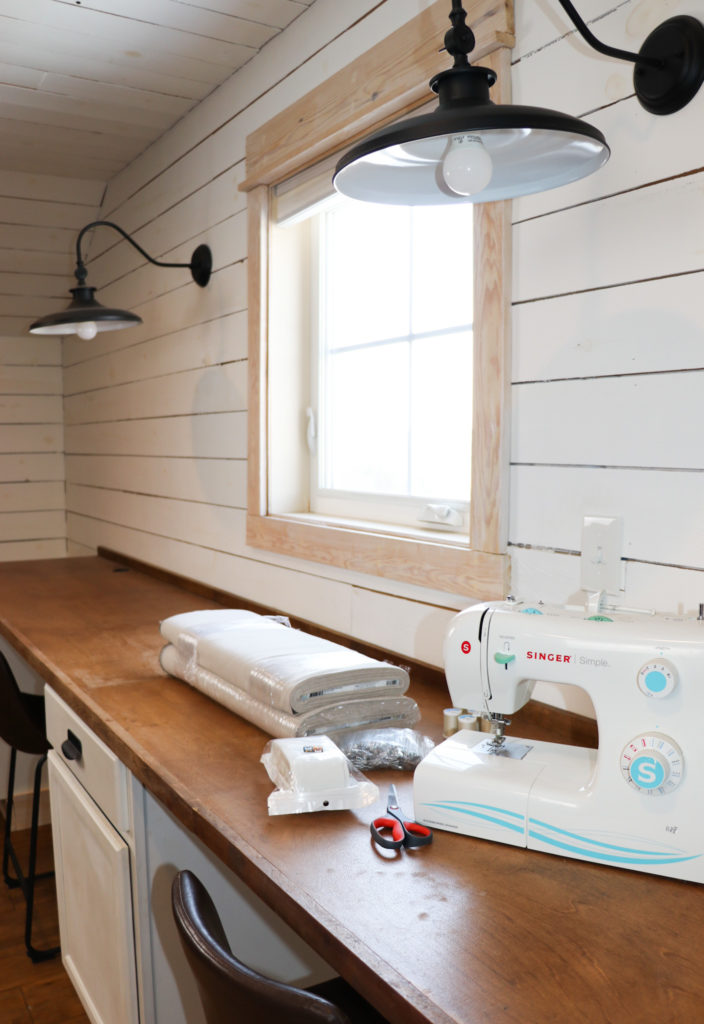
Here is a list of all the supplies I used for this sewing project
DIY pinch pleat curtains can be made using just about any kind of fabric. I wanted mine to be pure linen or a linen blend. I wasn’t able to find linen 100 inches wide(what I needed) in my budget, so I purchased linen 54″ wide and seamed two panels together to make one curtain panel. If I would have bought the 100″ wide linen it would have cost the same as the Pottery Barn curtains. The 54″ linen was priced way lower and I spent a total of $270 for my supplies! Keep in mind, you’ll need at least twice the width of your window, depending on how many pleats you want in each curtain panel.
- Fabric In the Color “Flax”
- Sewing Sheers
- Sewing Pins
- Sewing Machine
- Thread
- Pleat Tape
- Pleat Hooks
- Measuring Tape
Something To Keep This In Mind When Making DIY Pinch Pleat Curtains
One thing to take into account is the width you’ll need for each panel. Adding pleats to curtains panels shrink the width of the panel by at least 1/2. Mine shrunk by exactly half and I spaced my pleats out every 5th slot (leaving 4 empty slots in the peat tape between each pleat). I measured my windows and ordered my fabric accordingly. Taking into consideration that fabric shrinks and if you don’t buy prewashed fabric, you may need to buy a little extra for length to make up for any shrinkage when you wash it before sewing your curtains.

Making DIY Pinch Pleat Curtains Using Pleater Tape
Step 1: Measuring and Cutting The Fabric
Measure and cut fabric to length. I needed curtain panels to be 108 inches when I was all finished. I allowed for an extra 4.5″ for the top panel and the bottom panel and cut my fabric 117 inches long. My fabric was 54 inches wide. I needed 100 inches or more of width per panel. I took two 117 inch panels, pinned and sewed them together (lengthwise) giving me a panel that was now 108″ wide.

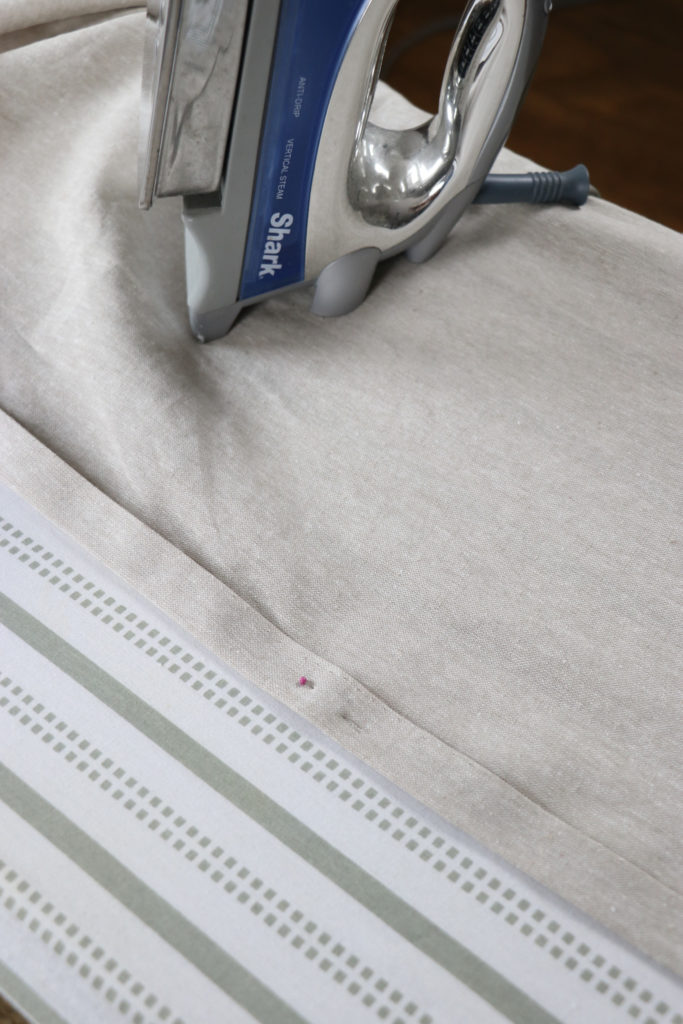
Step 2: Sewing The Sides Of Each Curtain Panel
Once I had a curtain panel 117 inches long and 108 inches wide, I was ready to hem both sides (117″ sides). I folded one side over 1/2 inch and used my iron to crease it and then folded it over again another 1/2 inch and ironed that before pinning the entire edge in place. Once both sides were folded over, ironed, and pinned, I sewed a straight light down the side.
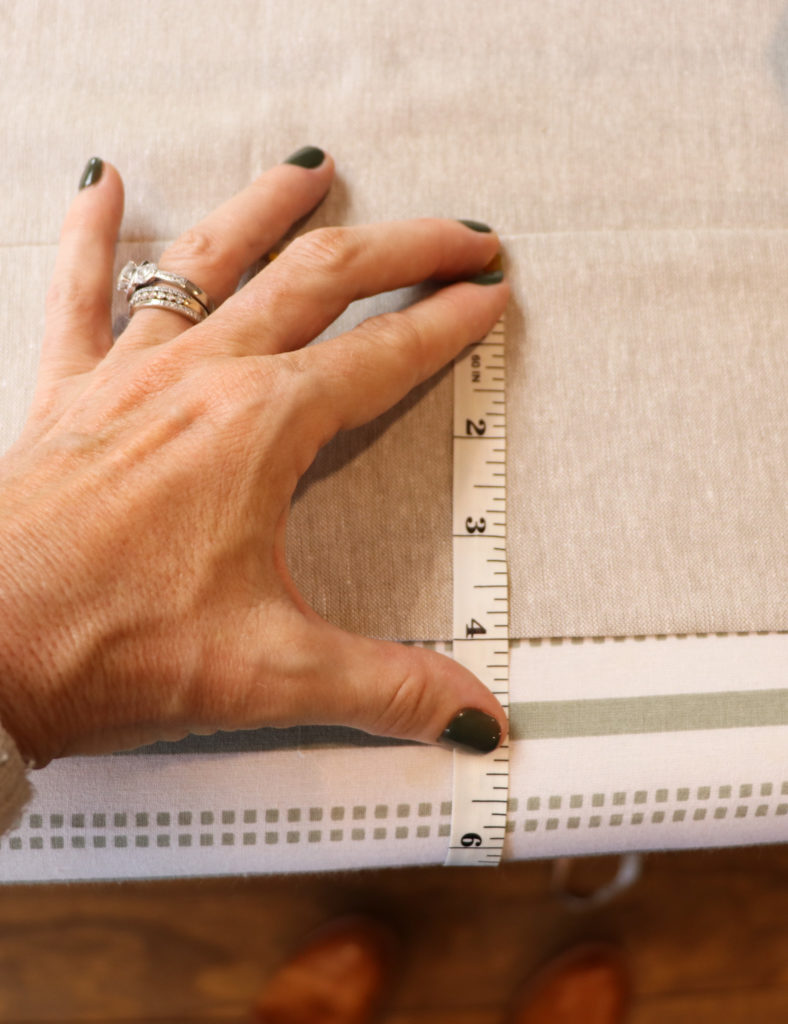
Step 3: Making The Top Panel
After both of the sides were sewn, I made the top panel. The pleater tape I used is three inches long so I wanted a four-inch panel for the top of the curtain. I folded 1/2 inch on the top over, ironed it, and then folded that four inches over and ironed that before pining.
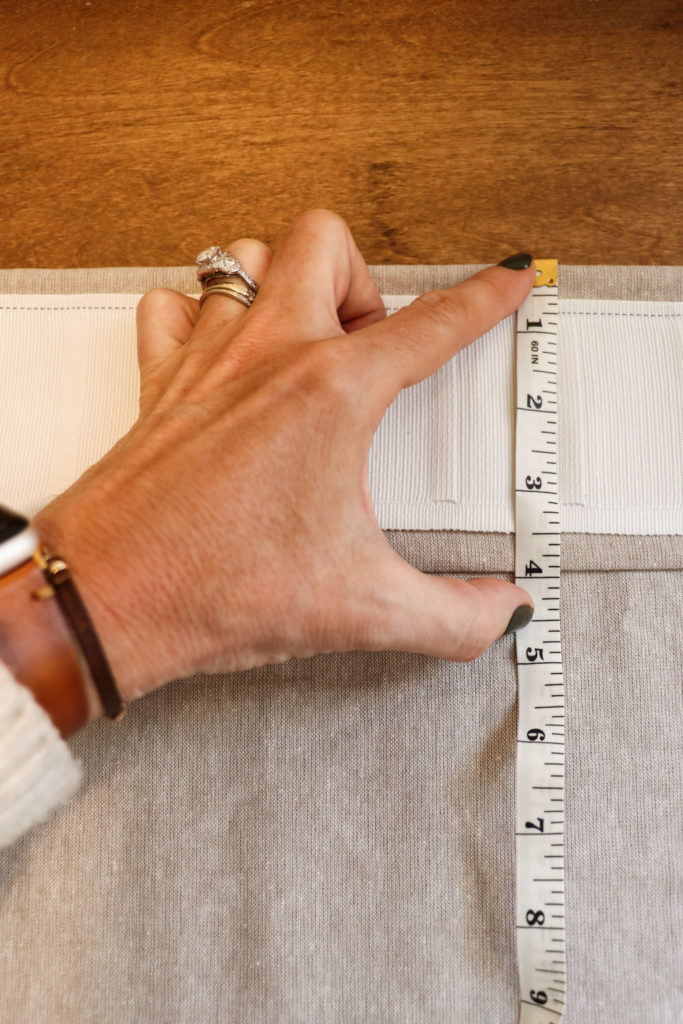
Step 4: Sewing The Top Panel and Attaching The Pleater Tape to the Curtain Panel
Before I ran the top panel through the sewing machine, I wanted to add the pleat tape. I pinned the pleat tape on the back of the curtain panel, centering it on the four-inch panel I had just pinned. This part took a little more time. You want to make sure and start the pleater tape with one hook slot near the edge, and you also want to fold it under so there isn’t a raw edge sticking out from behind the curtain. I pinned the pleater tape starting on the left and worked my way to the right of the curtain panel all while making sure to keep the openings to the slots facing the bottom of the curtain. The pleater tape I used had a distinct top and bottom to it. The top of my pleat tape had a blue line making it easy to follow that line when I was sewing.
I had the top panel pinned and the row of pleater tape pinned in place on the panel as well, so I was ready to sew it all together. I could have sewn my panel and then sewn the pleater tape on, but I didn’t want a bunch of stitch lines showing. I thought doing it this way would give me the cleanest and most professional look. Take extra care NOT to accidentally sew shut any of the little slots for the peat hooks. Following the blue dotted line helped me a lot.
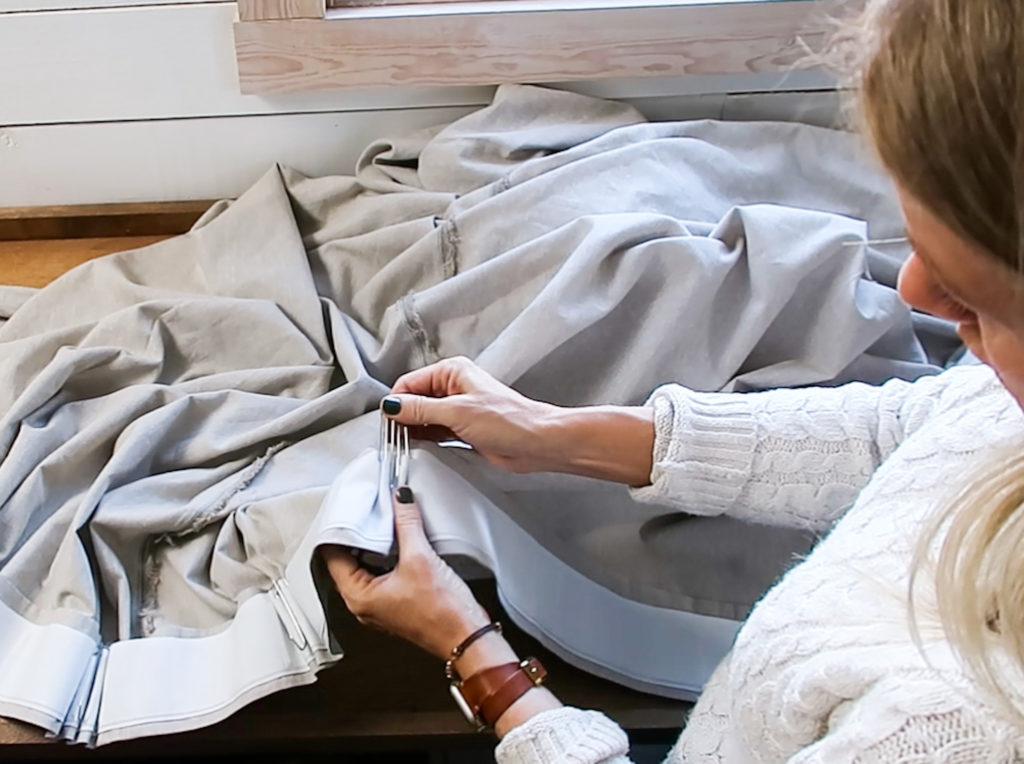
Step 5: Inserting The Pleat Hook Prongs and Deciding On How Far Appart To Place Each Pleat on the Curtain
The next step was to insert the pleat hooks and decide how many pleats I wanted. Each hook has four prongs. I decided I wanted to use each prong and that gave me three folds/pleats. I started my first pleat hook one slot from the end. Then I counted out five slots and inserted my next hook’s first prong on the fifth slot, leaving four empty slots on the pleat tape between each pleat. I continued all the way to the end and ended up with 8 hooks (8 pleats) per curtain panel.
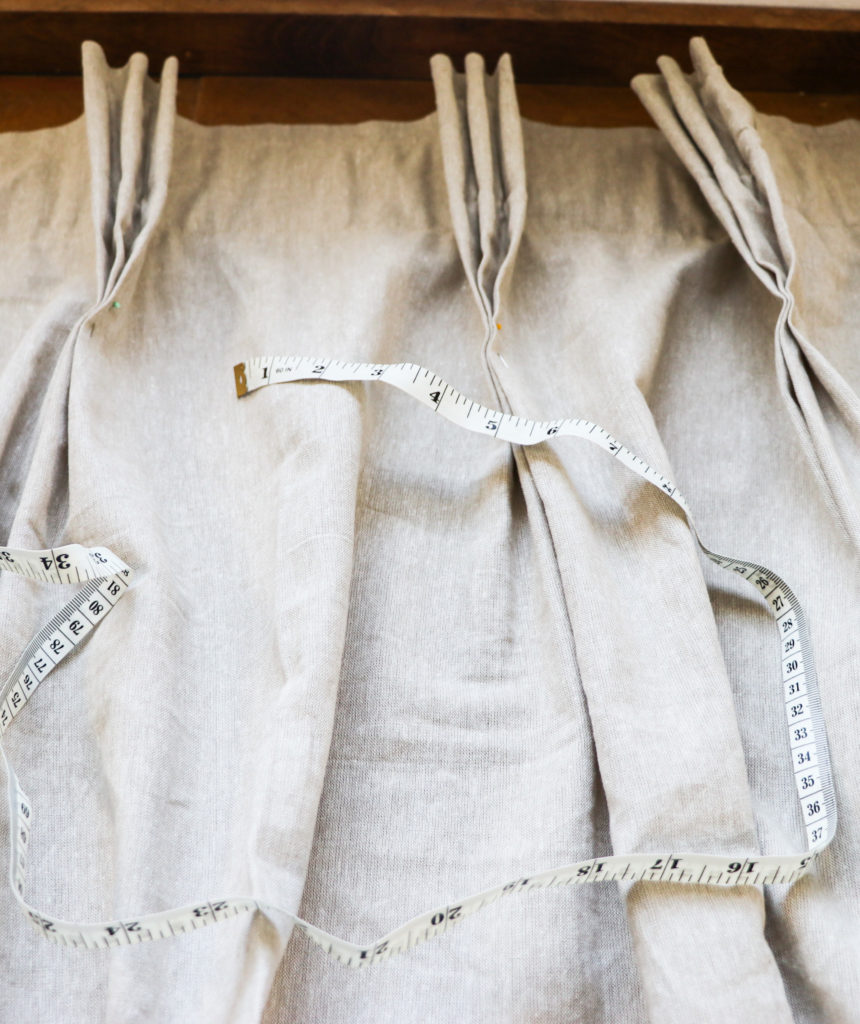
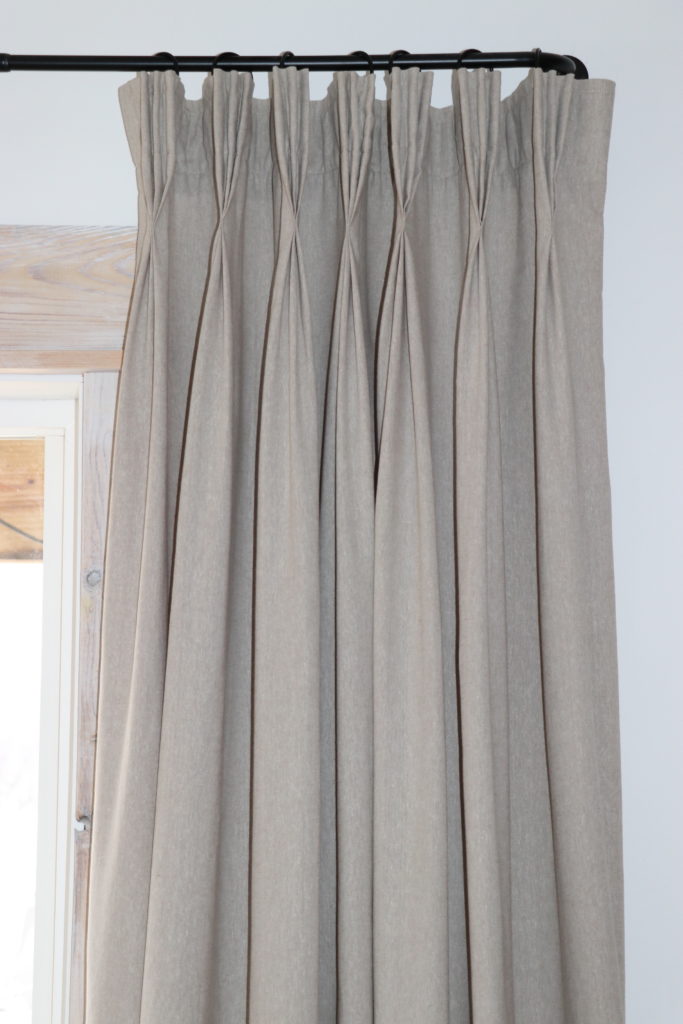
I had all the hooks in and hung it up and realized the pleat hooks didn’t quite give me as structured of a pleat as I was hoping it would. You can see in the picture below, the pleats on the right are what they look like with only the hooks. The pleats on the left show where I used pins to secure the bottom of each pleat.
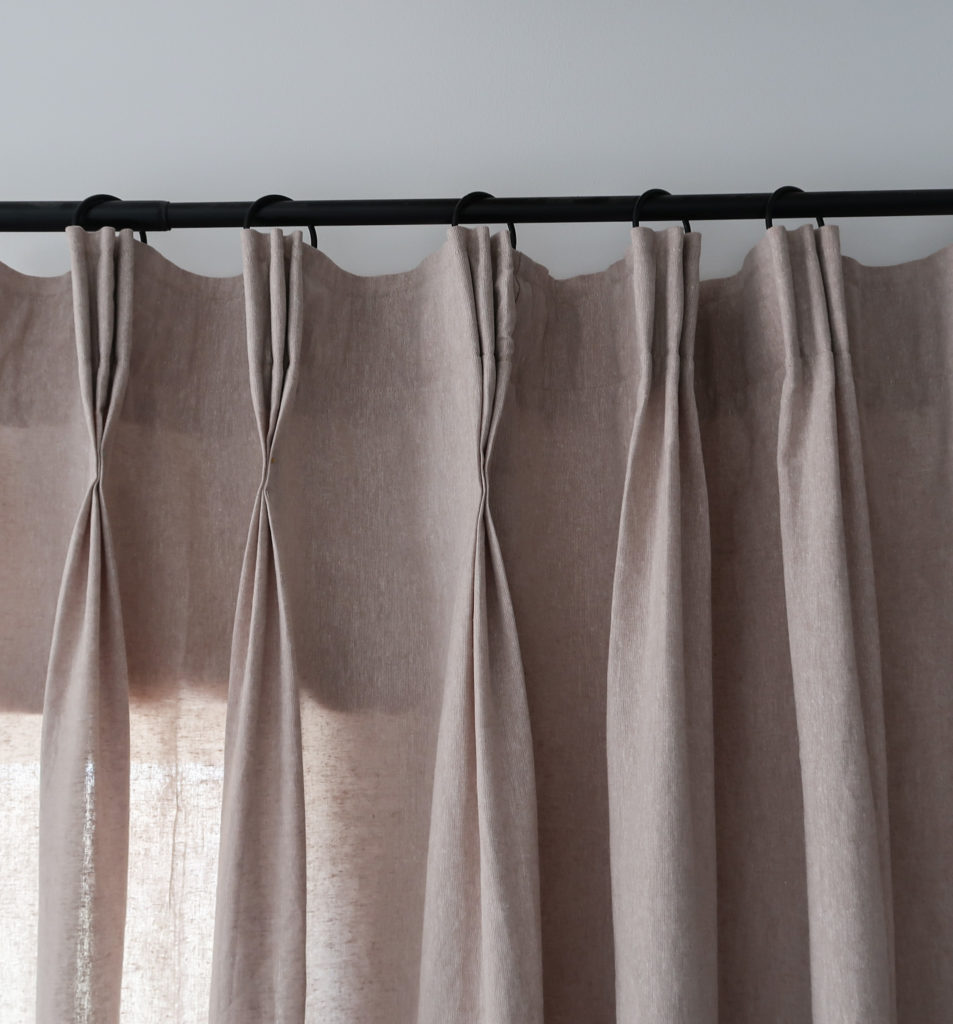
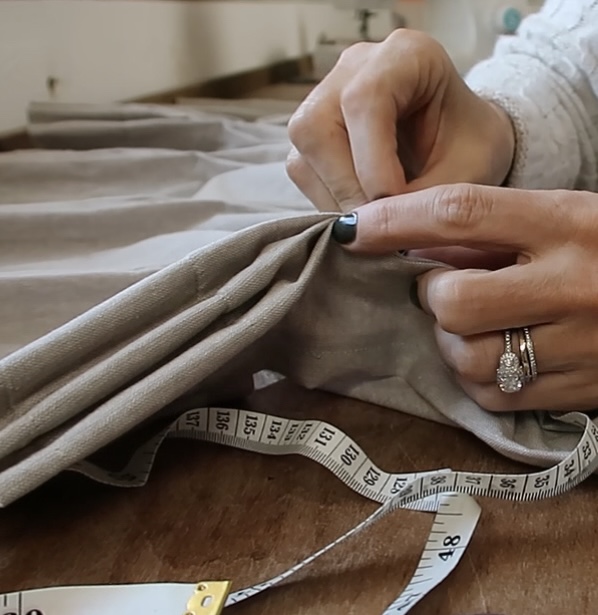
That gave me an idea of how long of a pleat I wanted. Six and a half inches looked about right so I pined them all and then I hand stitched each one. I only had 8 peats so it didn’t take long at all, but it made a huge difference in how the pleats look! They are a lot more structured now and that’s exactly what I wanted. Without the extra stitch, the pleats looked good, just more “relaxed”.
Step 6: Heming The Pinch Pleat Curtains
Instead of measuring from my curtain rod to the floor, I decided to try a different way to get the measurement I needed to hem the curtains. Before hemming them, I took in downstairs and hung them up using the old curtain rings I had up already, and just hooked the peat hooks on them. I wanted to see how the curtains draped and hit the floor before I decided on how long to make them. I wanted the curtains to pool a little at the bottom. I pined them in place. After I had the bottom of the curtain panel perfectly straight and pinned, I ironed it before sewing the hem on my sewing machine. I thought about hand hemming it, but that can be time-consuming so I practiced on some scrap fabric and found a stitch that made the thread practically disappear. I used the sewing machine and I’m so glad I did. It saved me a lot of time and headache.
Making Pinch Pleat Curtains was so much simpler than I’d anticipated.
I had been wanting new curtains for a while but I just couldn’t find any I liked at my price point. I’m so glad I decided to make them myself, even though I was a little intimidated at first. It was a breeze! I was able to sew three of the four curtains I needed and film it all for YouTube and Instagram all in a day. I can’t wait to finish the last curtain!
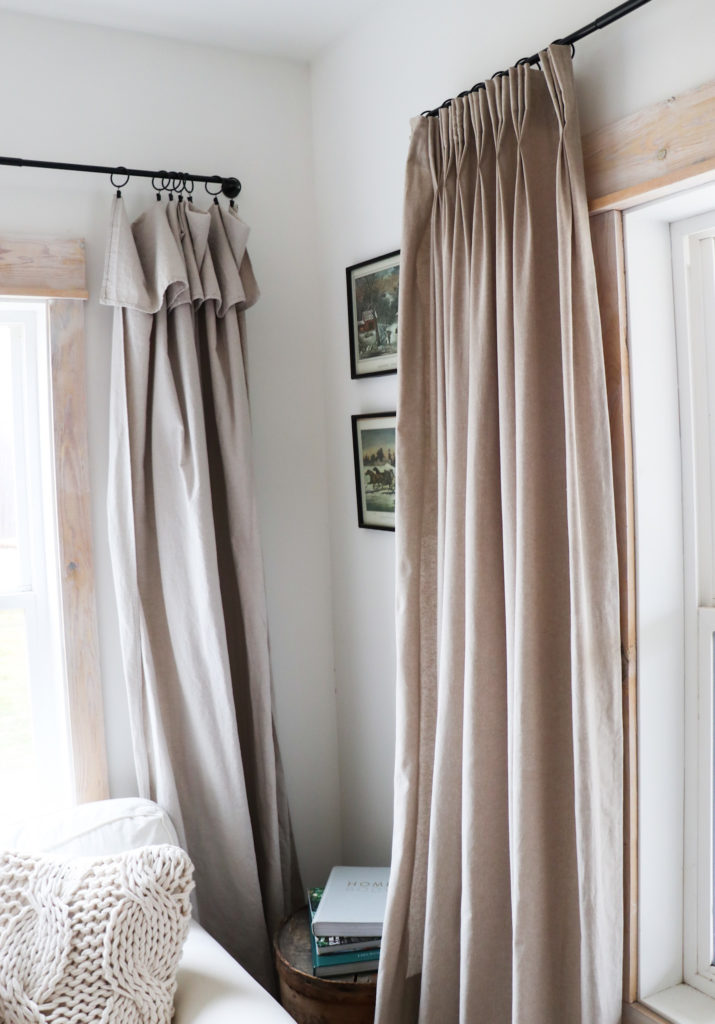
Below is a photo of the new curtain next to the old drop cloth curtains. One looks relaxed and one looks a lot more finished and polished! I’m over the moon excited…although I’m not sure who gets this excited about drapes…lol!!!
I’ll share all the curtains finish and installed soon and I’ll also share all my plans for the living room refresh in an upcoming post…but for now, I am so excited about how these curtains turned out! If you’ve ever wanted to try making your own DIY Pinch Pleat Curtains, I hope me sharing this gives you the confidence to give it a go! The pleat tape is KEY! It made this project totally beginner-friendly!
You can watch the full video tutorial over on my YouTube channel and while you’re there, I’d be so grateful if you would subscribe!


