
Welcome back to the blog! I’m so excited for all the furniture projects that I have coming up. I have so many amazing things that just need a little restoration to bring them back to their original glory. Last year I spent weeks learning how to reupholster dining chairs. I also leaned how to make double welt cord, filmed it for my YouTube channel and never shared it here on the blog. I get a lot of questions about the process and realized that somehow I missed posting it…so here we go, better late than never!

Why I Decided To Reupholster 12 Dining Chairs
The new home we’re building has space for a really long dining table. We host regularly and just love sharing a meal with family and friends. Even though we do have a dining table with eight chairs, we wanted a longer table with even more chairs. I was determined to find a dining set (second-hand) that was in great shape and had some character for our new home.

I looked for a while for sturdy chairs and tables on Marketplace and found this beautiful set for a steal of a deal. I’ve already shared a bit about the road trip and how it was kind of an adventure in a blog post so I won’t retell that story. I LOVED the furniture…but I wasn’t crazy about the fabric. The upholstery was pretty worn out and I knew they’d need to be reupholstered.

My (Very Little) Previous Upholstery Experience
Up until this project, I had recovered a few dining seats, but I’d never actually reupholstered anything. The main difference being, I’d never made or used welt cord or double welt piping. My prior projects we’re as simple as unscrewing a chair seat, stapling fabric to the underside and then reattaching it with the four screws back to the chair frame. Very simple.

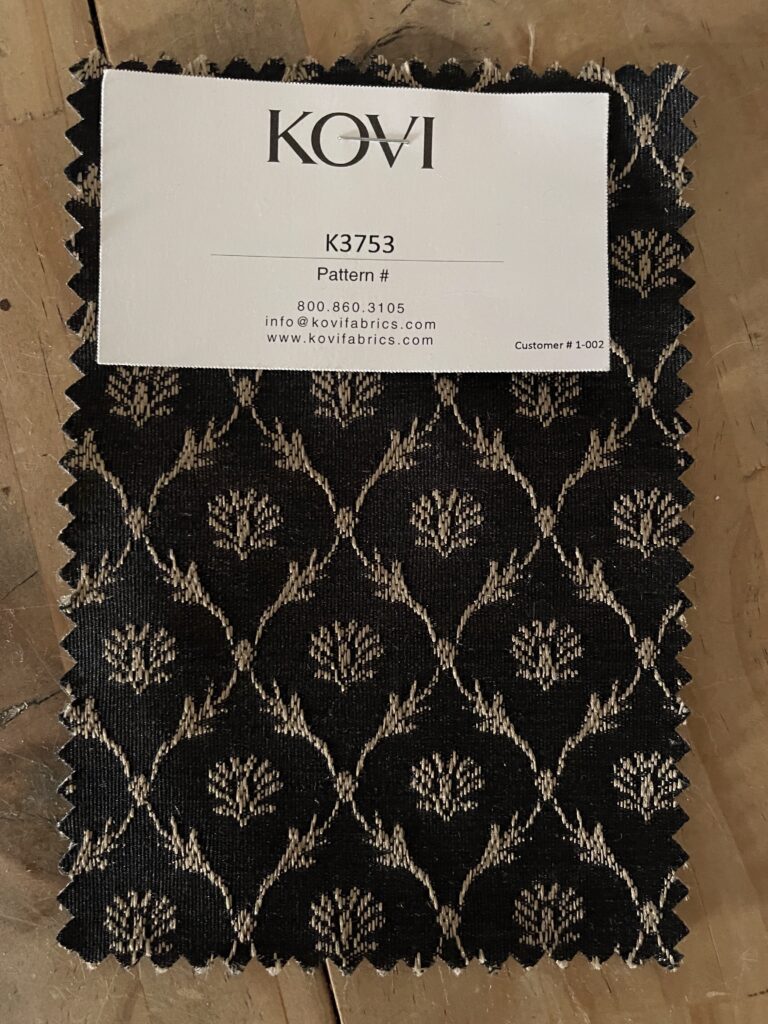
This project was quite an undertaking so I’m really excited to share how completely transformed 12 beautiful dining chairs by swapping out the 20+ year old fabric with this incredibly beautiful upholstery fabric from KOVI Fabrics. As you read through this, please keep in mind, I am a total beginner…so if I can do this…you can too!
I decided to invest in a few upholstery tools before I started this project. I’ve been collecting second-hand furniture which means, I’ve accumulated quite a lot of upholstery projects. Instead of trying to work with only the tools I already owned, I opted to just go ahead and get a few things that would help make the project go a lot smoother and look a bit more professional.

Tools I Invested In For This Project
- Four Foot (by Two Inch) Aluminum Ruler
- Staple Puller
- Awl Tool
- Upholstery Hand Tool Kit
- Welt Cord Sewing Foot
- Fabric Rotary Cutter & Rotary Blades
- Self Healing Cutting Matt 40″x 60″
- Silicone Finger Protectors
- A New Hot Glue Gun
- Bulk Double Welt Cord
Tools I Already Owned (That I Used For This Project)
If you’re a visual learner (like I am) I have a full length video on YouTube sharing every step…so be sure to check that out to see the entire process.
Removing The Old Fabric
The first step was to remove all the old fabric. I started by using my needle nose pliers to pull off the double welt cord.

I grabbed the double welt with my pliers, lifted it up just enough to get my scissors under it, and just cut the double welt cord. Then I pinched the end of the welt with the pliers and rolled it across the welt. I found that rolling it worked a lot better than trying to pull it off. The leverage of rolling it made it really easy and fast to remove.

After all the welt cord was off, I used my awl tool to lift up the fabric and pry it off the seat. I worked my way around the chair until it was off. I set the old fabric aside to use later as a template.

Once the fabric was off in one piece, I spent quite a lot of time removing all the staples. It was the right choice to invest in a few tools. I realized quickly that I needed all three tools …the pliers, awl and staple remover are MUST have tools.

You really need them all three of the tools I mentioned because every staple is different and some are easy to leverage straight out with the staple puller and others needed the sharp tip of the awl to lift the corner of a staple that was in a lot deeper. If the staples were too deep, I left them in the chairs. If the staples broke off while I was pulling them out, I used the pliers to pull the sharp broken edge out. If the broken piece wouldn’t’ come out, I used a small hammer to set them deep enough not to scratch anyone.
Making Double Welt Cord For Piping On The Dining Chairs
I was pretty nervous about this part, because I’d never made double welt before this project. Turns out, it’s more simple than I thought. First, I measured the welt I removed from the chairs and did the math to figure out how many feet of double welt I’d need.
Then, I got out my new self healing mat and put a blade in my rotary cutter. Welt/Piping should be cut on a bias. Bias cutting simply means that you cut the fabric at a 45 degree angle to the grain. I rolled out my large roll of fabric and used my 4 ft. by 2 in. ruler and rotary cutter to cut strips of fabric out. Then I lined up and pinned the strips together before running them through the sewing machine. After I had all the strips sewn together I started making the welt.

To make the welt cord I used a double welt sewing foot. I also bought double welt cord already attached together. I’m so glad I did, because it was so simple to just fold one side of the fabric over the welt, run it through the sewing machine and then fold the other side back over and sew it again.

I’ve heard you can use a zipper foot to make piping, but I’m a beginner and didn’t want to even try that. The double welt sewing foot worked perfectly! If you’d like to see the process of how I made the piping, be sure to watch the video.
Reupholstering 12 Dining Chairs (10 side chairs & 2 Captain chairs)
I am SO grateful that the cane backs of the ten side chairs were in excellent shape and I didn’t have to repair any of them! Honestly, I wouldn’t have wanted to learn upholstery and caning a chair back at the same time.
After I finished making the double welt, I moved on to cutting out the seat fabric. I used the mat and rotary cutter for this too. I laid out the fabric and just cut around the old seat fabric (using it as a template).

Next, I made sure the direction of the fabric was running from the back to front of the chair (the right direction). Then, I found center of the front of the fabric piece by folding it in half and cutting a little notch in the front and back. I then measured the front and back of the chair seat and marked center on the wood as well.
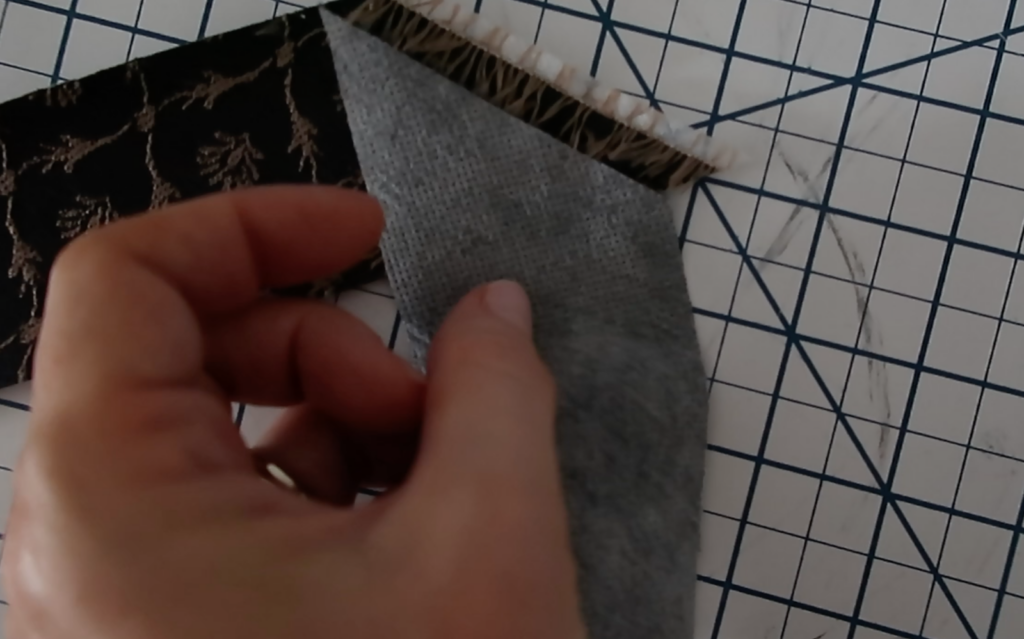
Once I had marked center on the front and back of the chair seat and the new piece of fabric, I loaded my staple gun and shot a staple in both the front and back. Of course I made sure the fabric was pulled very taut. My fabric has a mesh backing and doesn’t really have any stretch to it, so I just needed to smooth it, pull tight and staple in place. I didn’t worry about over stretching the fabric or pulling too tightly.

Then I just moved along the front of the chair seat, pulling tight and stapling the fabric down. I secured the entire front and then stopped at the corner, leaving it for later. Next I found center of both the left and right sides of the seat and stapled down the fabric in the center of both sides. At this point I had the entire front secured, one staple in the middle left, one staple in the back and one staple in the middle right side.
I then stapled down the entire left and right sides, still leaving all four corners (where the chair legs are) loose. I stapled down the entire back of the seat last. Now, the fabric was secured everywhere but the corners. I made a few cuts and small folds and stapled down the fabric as I moved up and around the ornate, arched, detailed legs. This took a little time, but all in all it really wasn’t that hard.
Applying The Double Welt Cord
Before attaching all the double welt cord, I used my fabric sheers to carefully trim off any extra fabric. I cut as close to the line of staples as I could and was careful not to scratch the wood with the tip of my scissors.

There are two ways (that I know) of to attach the welt cord. You can use the staple gun to shoot a staple right between the double welt cord or use hot glue (for fabric). I tried out both methods before I decided which one worked best.

Where the fabric meets the wood on these chair seats, it’s very curved. It’s not straight across at all. I found that using the hot glue and my awl tool worked WAY better than the staples did. I chose the side of the chair seat to start the welt, sniped the seam on the piping and pulled back the end of the welt and then cut off a bit of welt cord (leaving the fabric about 1 inch longer than the welt itself. This way I’ll be able to use that to fold over the other end once the cord is all the way around the chair.

I started running a bead of glue and pressing the welt cord to it, making sure not to stick that inch of extra fabric to the chair just yet. I used some finger sleeve/ heat protectors and my awl to press the welt into the glue. I ran the awl down the center seam of the double welt a few times, pressing firmly, before moving forward. I took my time and followed the curve of the chair. When I got to the arched corners/chair legs, I worked the welt cord by bending it really well before gluing it to the chair.

Once I had attached the double welt all the way around the seat I needed to hide the two ends. I snipped back the end of the welt so that it would but end to end perfectly with the starting part of the welt. Then I folded the fabric under to hide to raw edge and also folded that over the other blunt end of the welt. I added a little dab of glue to hold the two ends together and then glued it to the chair.

The two captain chairs were a little more complex than the ten side chairs. They don’t have caned backs and they have arms that are upholstered on top.

I was able to reuse the old batting from the chairs and I used the old fabric as a template to cut out my new fabric. The process was the same as far as adding the fabric cover the padding on the arms as well as adding the welt.

The seat back was a little trickier. I’d recommend watching the video to see the entire process, but basically, I stapled the back upper fabric from the front side of the chair, then layered on the batting and then attached the fabric for the front (of the chair back). Once the upper front and back was all in place, I added the double welt with hot glue all the way around the front.

I learned so much tackling this project and I am so happy with how the chairs turned out! Sometimes DIY projects are a lot harder than you anticipate and you vow to NEVER do that again and sometimes you really enjoy the process and think “I could do that again, no problem”.

This project is the latter…If this fabric looks worn in 10 or 20 years, I won’t hesitate to reupholster these chairs again. It took some time, but it was fairly simple and well worth it!


After using this dining table and chairs all year, I can honestly tell you that the upholstery job has held up beautifully and I can’t wait to enjoy many more years of family meals at this beautiful dining set!


