
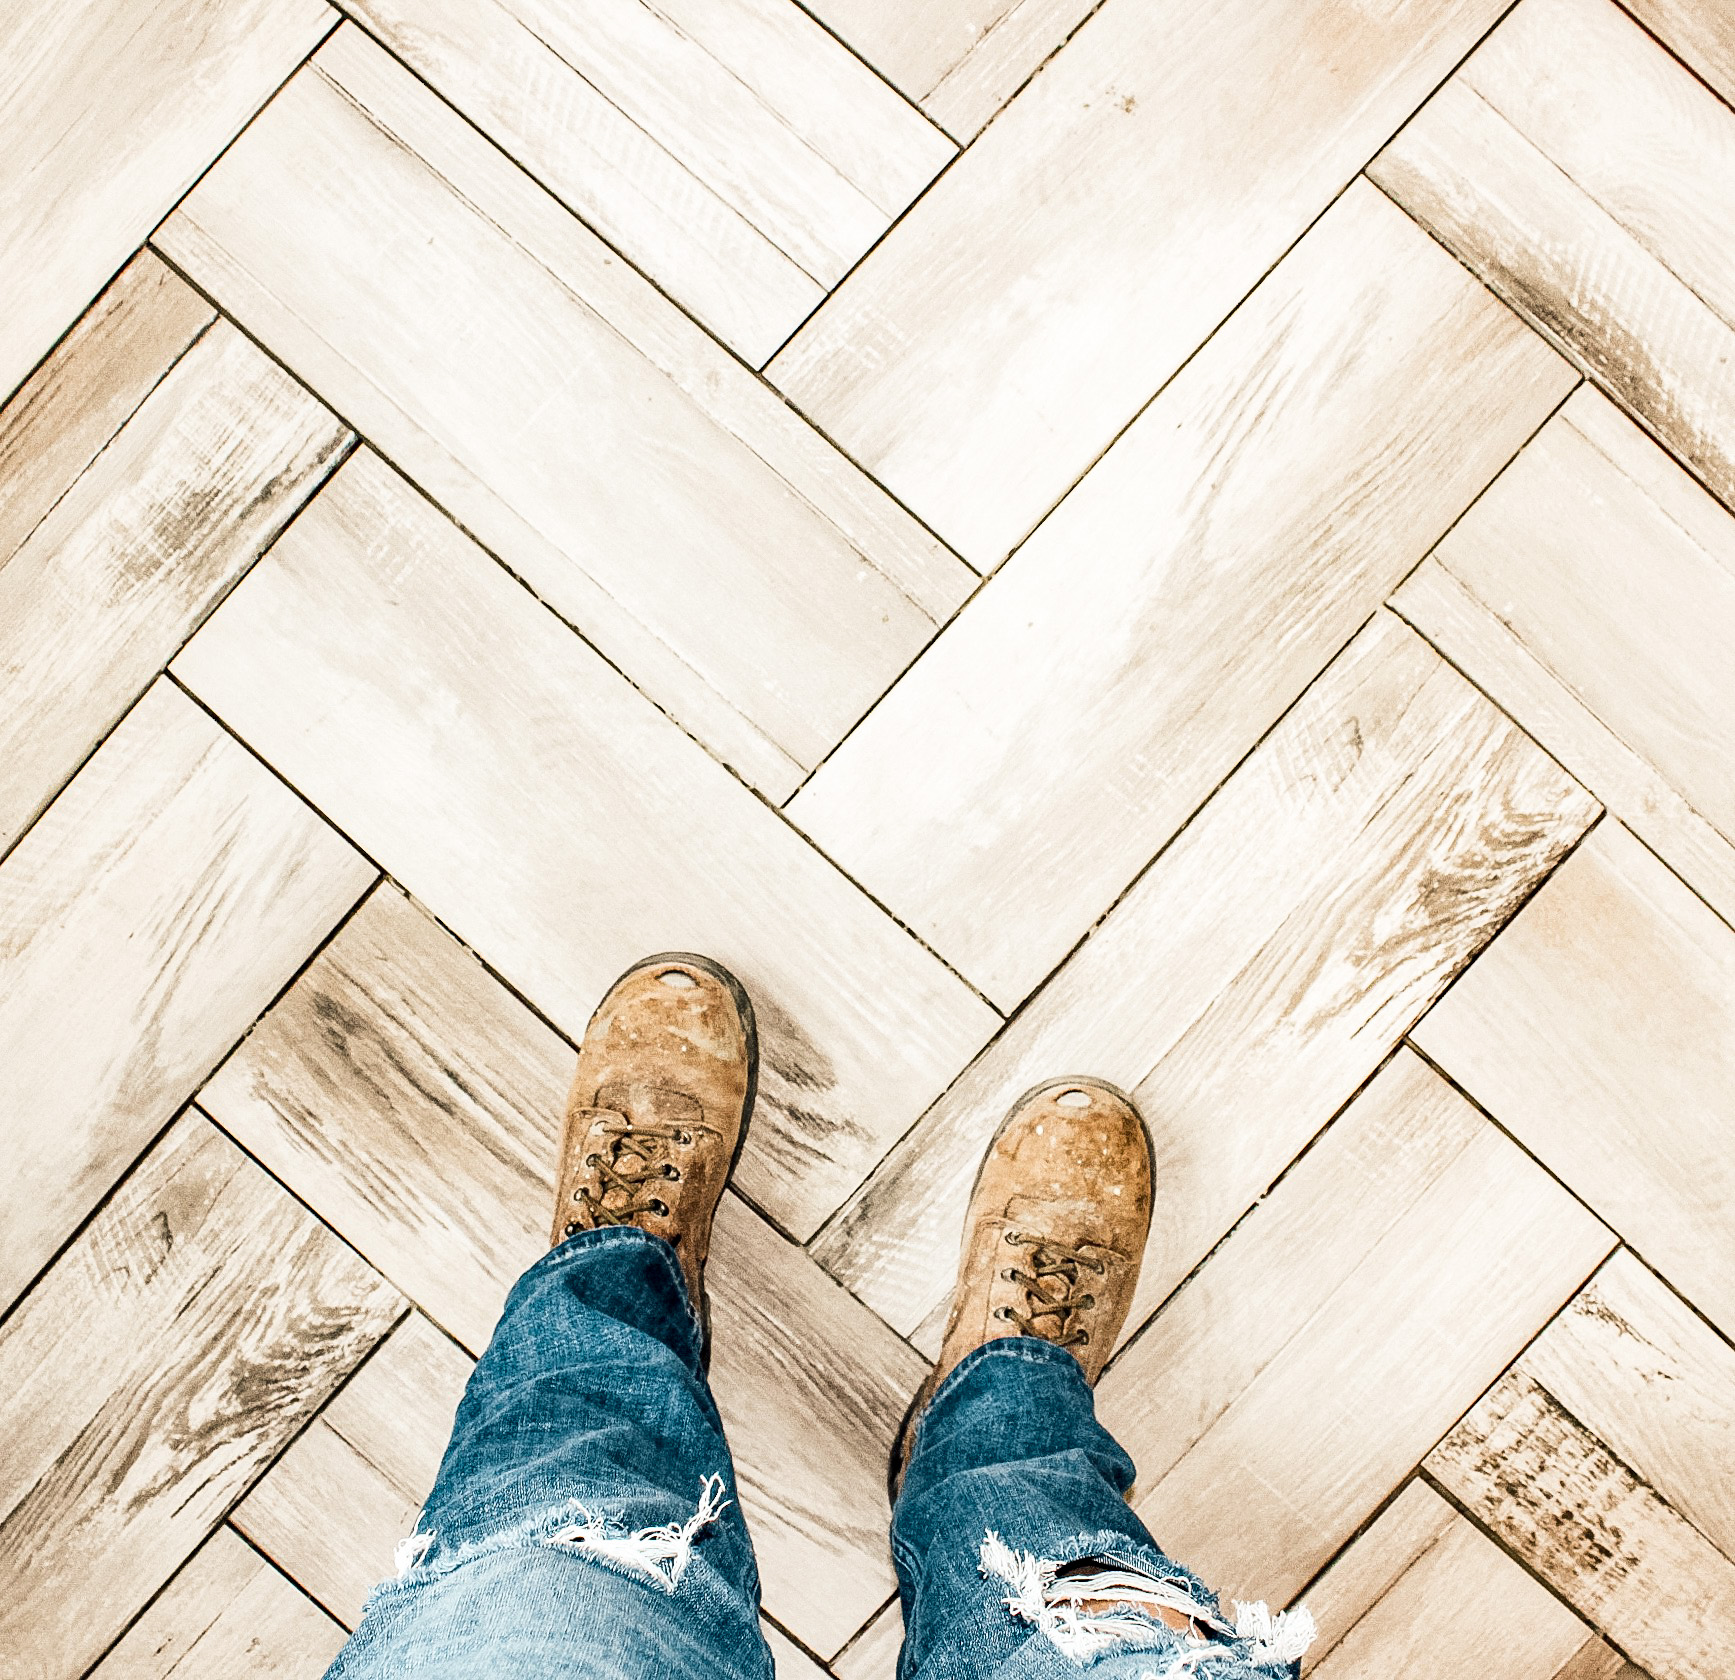
Have you been dreaming about new floors, but perhaps it’s not in the budget? Have you ever considered installing them yourself to keep the cost down? Today I am sharing one of my all-time favorite DIY projects with you…my herringbone tile flooring!
When we built the cottage we decided to simply stain the concrete floor and hold off on flooring. After a year in the cottage, I was ready to install new floors and not just any floors. I wanted herringbone floors. But I wasn’t willing to break the bank on this home improvement project. I was willing to learn how to install the flooring AND do the hard work of installing them MYSELF!
I am one of those people who wonders ” how hard can it be?” Then spends countless hours researching a DIY project until I have myself totally convinced that I am up for the challenge!

Prior to installing nearly 1000 sq feet of tile on my own, I had helped my husband install tile floors before. I had also installed tile backsplashes on my own quite a few times before. However, this was the FIRST time installing herringbone tile flooring!

I love the look of vintage brick herringbone floors and thought that they would look fabulous in the cottage, but the price tag was a bit more than I was willing to pay.

You can imagine how thrilled I was when I found this gorgeous faux wood Ceramic Tile at The Home Depot for 1/8 the cost!!!
HELPFUL TIP: Tile is a big decision and a fairly permanent one too. I recommend purchasing a box or two of your favorite tiles to take home before ordering. Lay the tile out in your space first. Then live with it for a few days before deciding. Tile can look very different in your home than it does in the store on a big display.

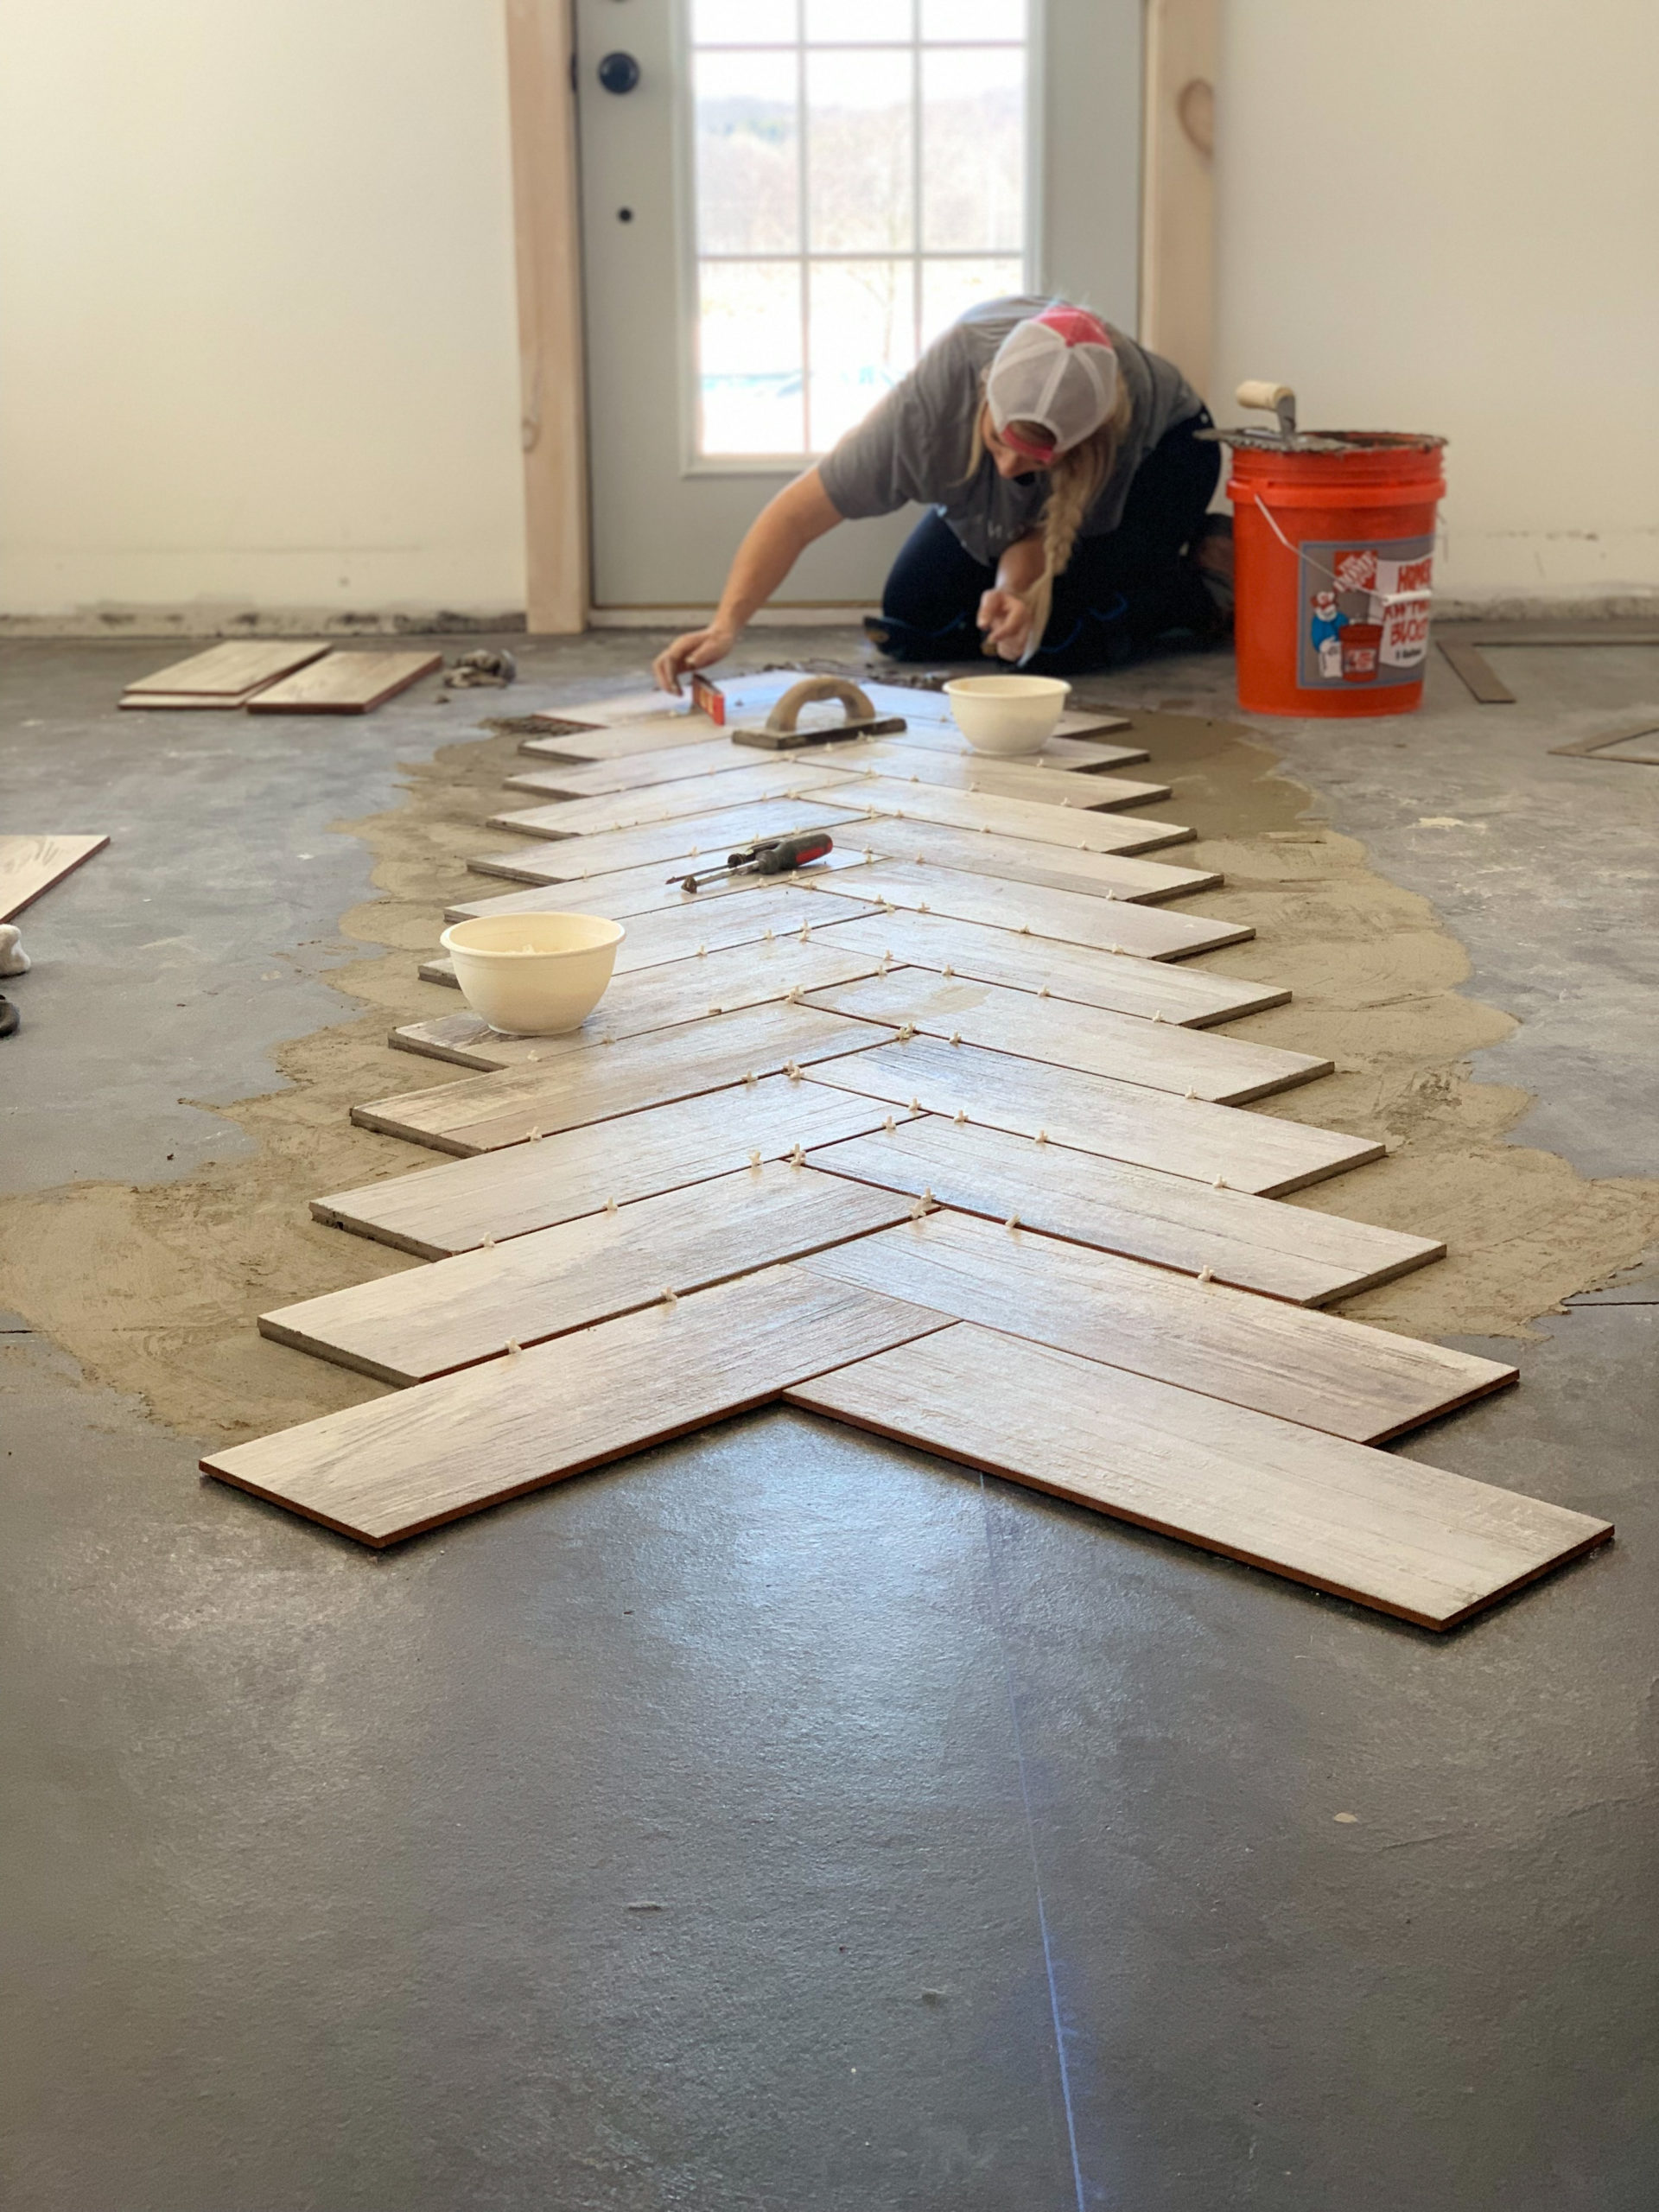
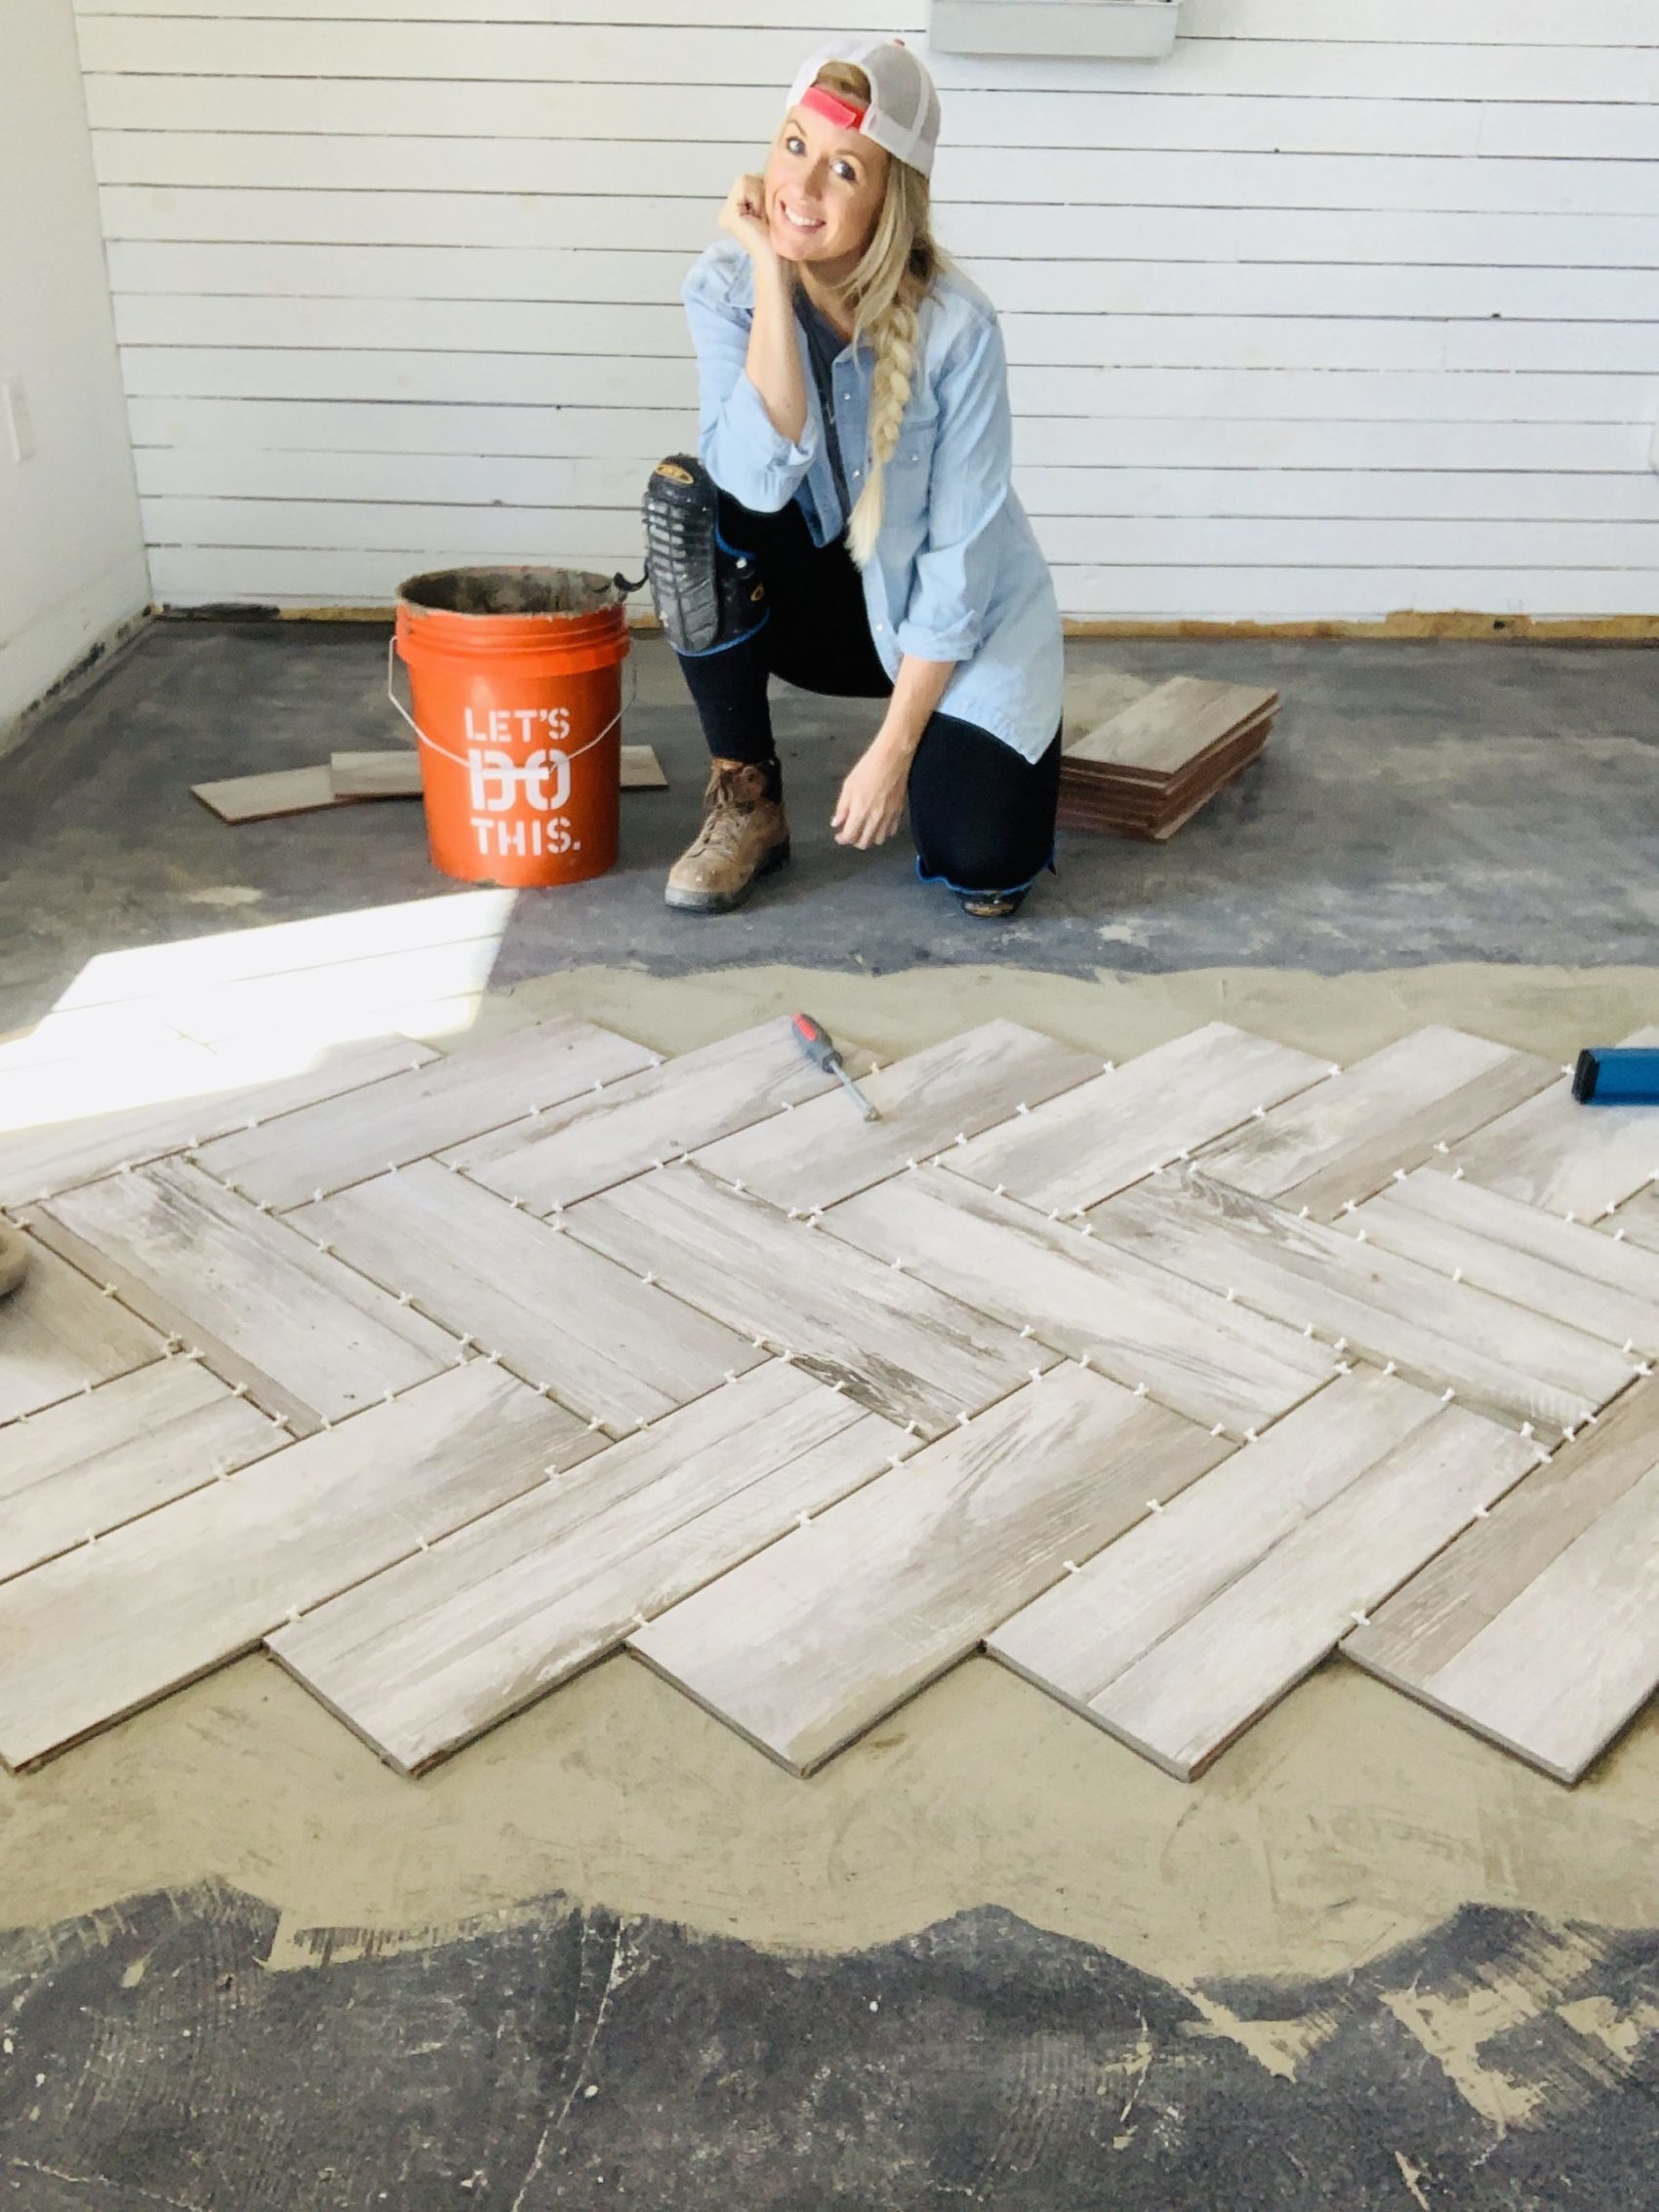
Once the tile was delivered, I played around with the pattern for a few days before deciding how I wanted the pattern to run. After thinking on it for a few days, I chose to run the herringbone pattern straight (to create a “V” pattern) from one end of the house to the other and started off in the center of the room. Once I laid that first run…there was NO TURNING BACK!

Because we were living in our home during this process, I worked on a few runs of tile each day so that we could still walk around or jump over the tile until it cured.

It took me a couple of weeks to install the tile, grout and then seal the living room, kitchen, dining room, our bedroom, the bathroom, entryway. Like many DIY projects, the flooring is about 85% finished. I still have my kiddos bedroom floor yet to finish, but I have to say, the rest of our flooring looks amazing!

WORD OF ENCOURAGEMENT: DIY projects almost always take longer than you think, cost more than you planned, and are harder than you anticipated. That’s okay! It’s normal! Give yourself (or your spouse)a little grace! A LOT of grace! The project will soon be finished, the mess will be cleaned up and you’ll be enjoying the fruits of your labor in no time!

This herringbone tile flooring completely transformed our entire home and cost less than $1,500! I love how it turned out and I have NO regrets whatsoever! The tile has a texture and a grain to it that makes it look like real wood. I’ve been asked so many times what color of wood stain I used on our “WOOD” floors. They are shocked when I tell them it’s tile!

When it comes to flooring…herringbone has to be my all-time favorite! Of course, I did wonder if I would get sick of the pattern over time or if it would be too busy for me. NOPE…I LOVE IT!

For more fun DIYs, be sure to check out these DIY posts below!
Cottage Bathroom Refresh: Installing new flooring and wallpaper completely transformed our space.
*The tile I installed was Ceramic Tile in Duttonwood Ash from The Home Depot
*This blog post is NOT sponsored post but does contain affiliate links where I am able to make a small commission at no extra cost to you.


Did you make or bur your beautiful curtains?
These curtains I made from drop cloths. They are a no-sew curtain. I simply folded the dropcloth over and clipped the curtain to the clip rings.
[…] « DIY Herringbone Tile Flooring […]
I read your informative information. Typically, a herringbone pattern is viewed as a classic style, while a chevron pattern looks more youthful and modern.
Hi! I’m trying to find the same tile at Home Depot and was wondering if you had an item number or anything on this, I clicked on the link you had but the tile seemed to look different than your photos. I love this tile it’s beautiful, you did an amazing job!
The tile does come in 2 colors…Duttonwood beige and Duttonwood ash. Mine is the Duttonwood ASH and it is a 7×20 ceramic tile from HOME DEPOT. Our home is very bright and has lots of windows so the tile may look different than online. The tile also has many variations in each pack…so depending on the tile it may look lighter or darker, or have more of a brown or gray. I hope that’s helpful! Good luck!