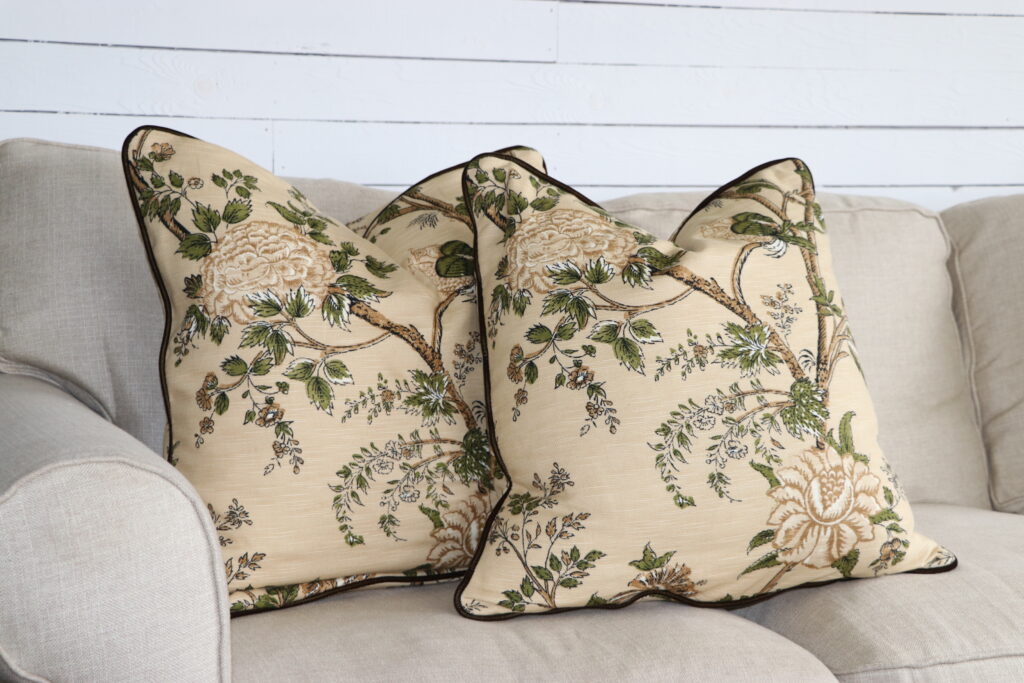
DIY Throw Pillows are one of the most beginner friendly things you can make and one of my favorite (and easiest) ways to refresh any space is by swapping out pillow covers! Today’s post is all about How to sew a Simple Pillow Cover.
Sewing your own pillow covers is a great way to add a personal touch to your home décor. Envelope pillow covers are not only stylish but also simple to make, even for beginners. In this blog post, I’ll guide you through the step-by-step process of creating your very own envelope pillow cover.
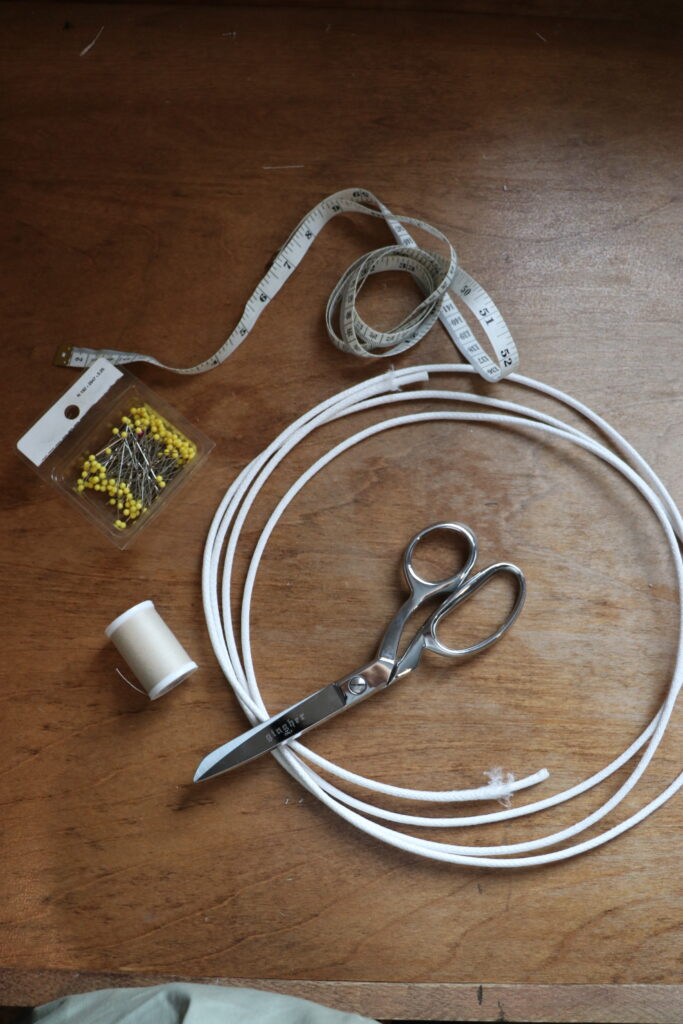
Materials You’ll Need:
- Fabric of your choice (my fabric linked HERE)
- Pillow insert
- Scissors
- Sewing machine
- Matching thread
- Pins
- Measuring tape
- Iron (optional)
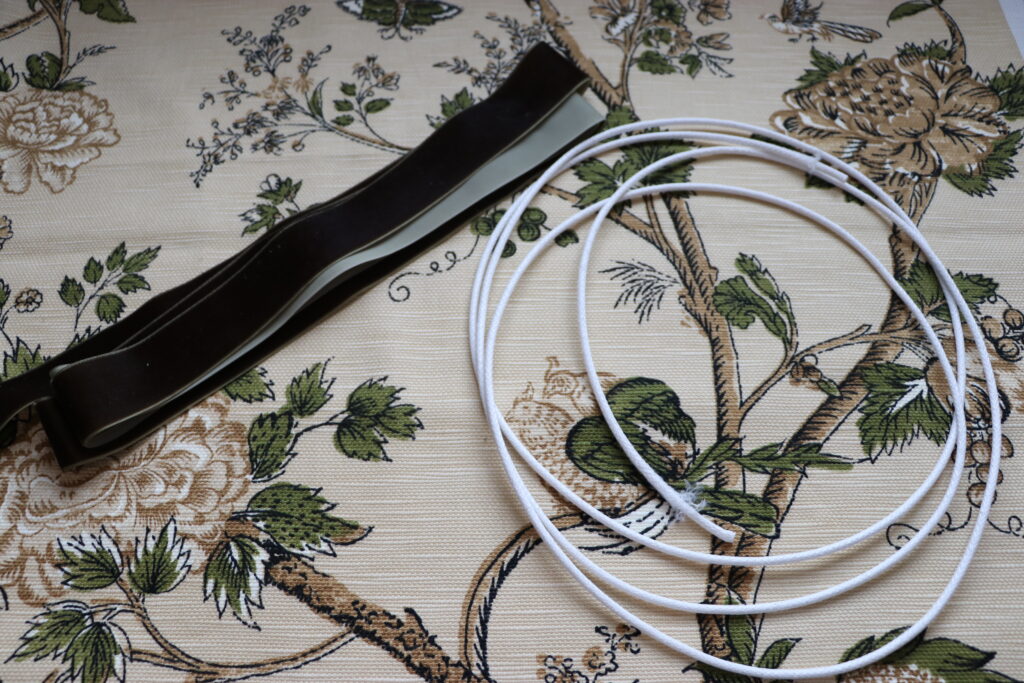
- Welt Cord (optional)
- Sewing machine foot for welt (or double welt)
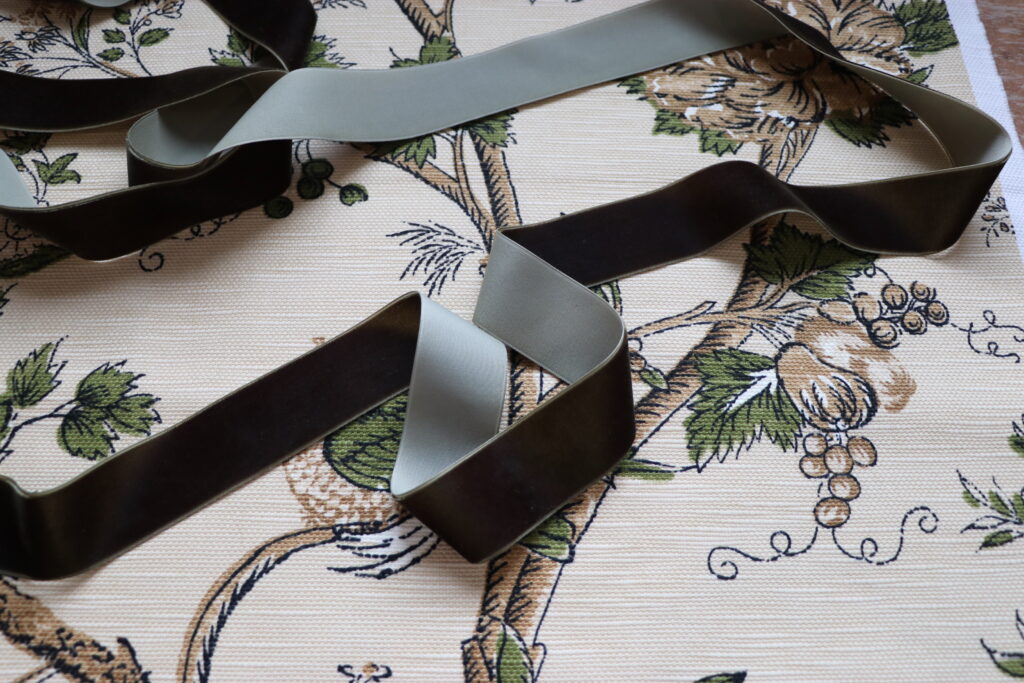
- Contrasting fabric for welt piping (optional) ( velvet green Ribbon I used HERE)
Things to Consider -DIY Throw Pillows
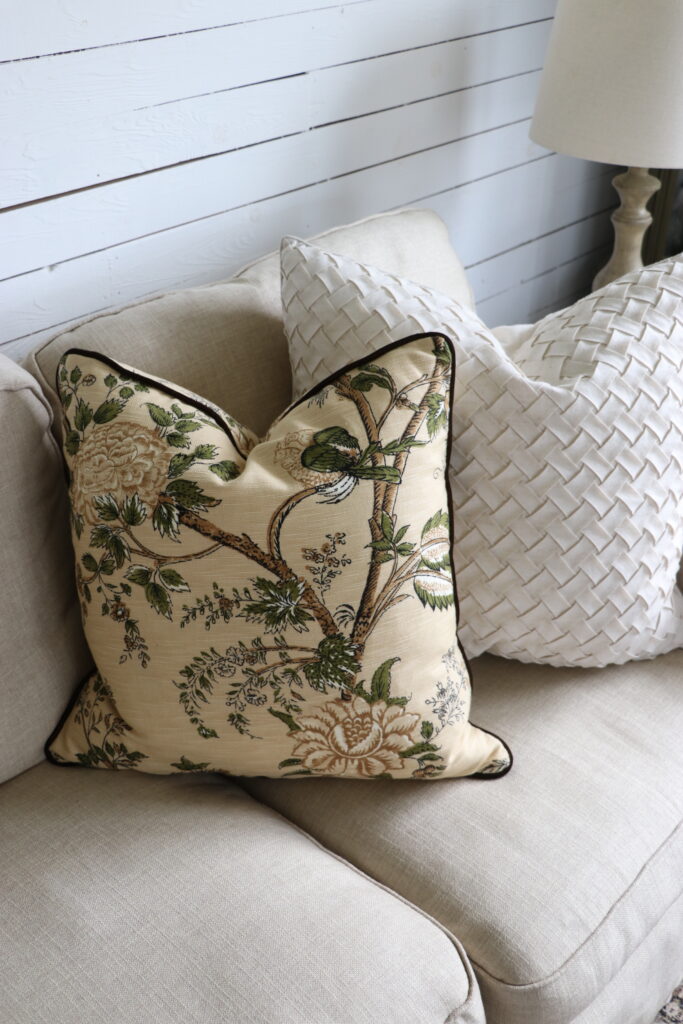
When I’m choosing fabric, my goal is to have covers that are different patterns, colors and styles that all still work with your space which makes it so easy to swap them out throughout the year when you’re craving a fresh look or as the season change!
Neutral sofa and chair slipcovers make the perfect backdrop for adding in different patterns and colors as the seasons change! I swapped out my old covers for these new custom covers and I’m absolutely thrilled with how great they look…my furniture looks brand new!
However, I tend to be drawn to really beautiful, higher end throw pillows that can run upward of $200 each (ouch)! I’m a quality over quantity kind of gal, but when it comes to throw pillows, I want both…I want them to look/feel luxurious AND I want a lot of them! So, years ago, I learned to sew the covers myself!
I love how custom DIY is and how it allows us to choose a specific fabric, trim, size and shape to suit any room on our home and swap them out for any season! Even better, we get to choose fabric we love IN our specific price point! You can find that on Etsy but I’ve found that custom throw pillow covers on Etsy can even run anywhere from $50 to $200 each. DIY is such a great option if you’re like me and looking to get the custom look on a budget.
Over the years I’ve invested in high quality, down pillow inserts only in all sizes ranging from 16×16 to 24×24 and everything in between. I also have a few different size lumbar inserts that work great for a bed or a side chair.
How to sew a Simple Pillow Cover
This style of pillow cover is called an envelope style …so great news, you won’t need to sew in a zipper!
Now, adding the welt cord to the pillow does add a couple steps to the project so if you’re looking to just make a simple envelope style pillow cover and forgo this step, by all means do what works for you!
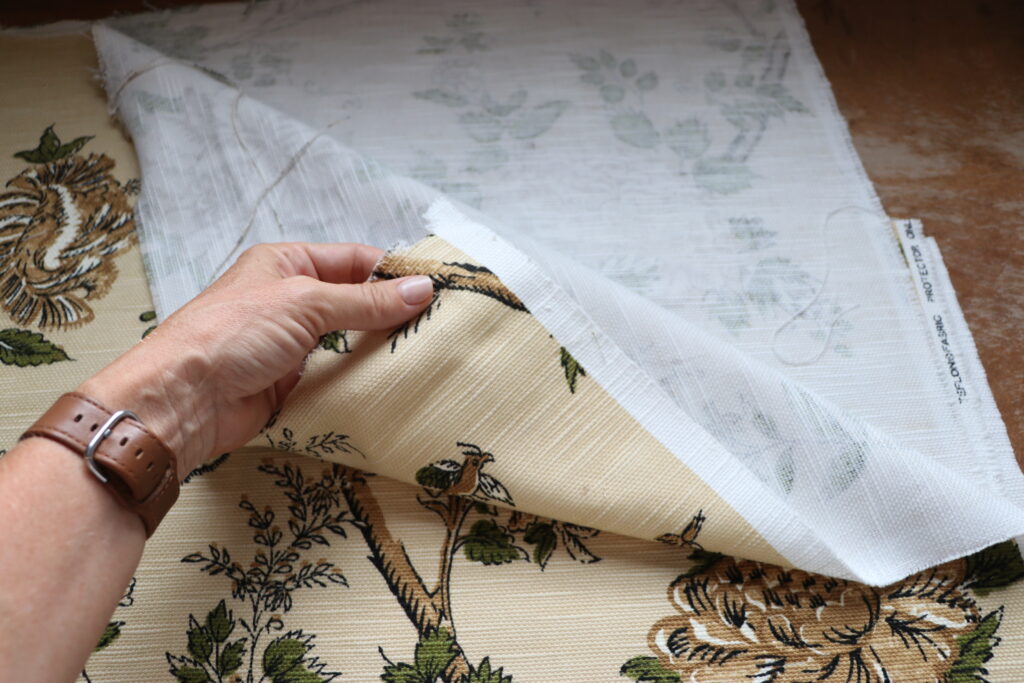
How much fabric you’ll need depends on how many pillow covers you’ll be making and what sizes the inserts are. I often buy one yard (at 54″ width) and make a couple covers out of one yard. Keep in mind if you are choosing a fabric with a mural pattern and want to repeat it you may need to buy more to line up the print at the seams.
*HELPFUL TIP: Once you’ve chosen your fabric, check to see if you’ll need to wash and iron it. Some fabric will shrink and if you prewash and dry it, that helps eliminate too much shrinking after you’ve sewn the pillow cover.
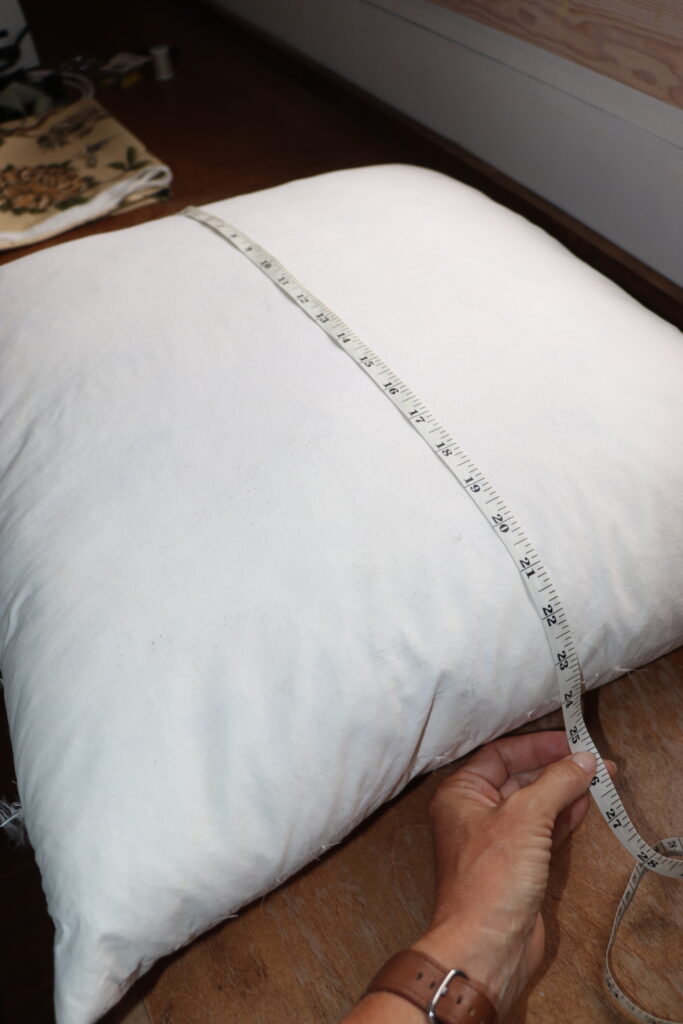
I started by measuring my pillow insert and added 1 in to the width and height of the pillow insert measurement. For example, if your pillow is 24×24, you will cut one piece of fabric 25×25 and that will be the piece you’ll use as the front of the pillow cover.
You’ll need to cut 3 pieces (total)of fabric for these pillow covers. One piece will be the front and the other two pieces will be the upper back and lower back.
The other two pieces you cut will need to be the same width as the front piece, however, since they’ll be the two back panels and overlap one another (just like an envelope) you can cut them 2/3 the length of the pillow. Example would be if they are 24×24, you’ll add your inch and cut the back two panels 25 inches wide by 16 inches tall. Cut both back panels at 16in and that would give you a total of 32 inches making a 7 inch overlap on the back (which is great). You can choose how much of an overlap you want as long as you have at least 5-6 inches overlapping you’ll be fine!
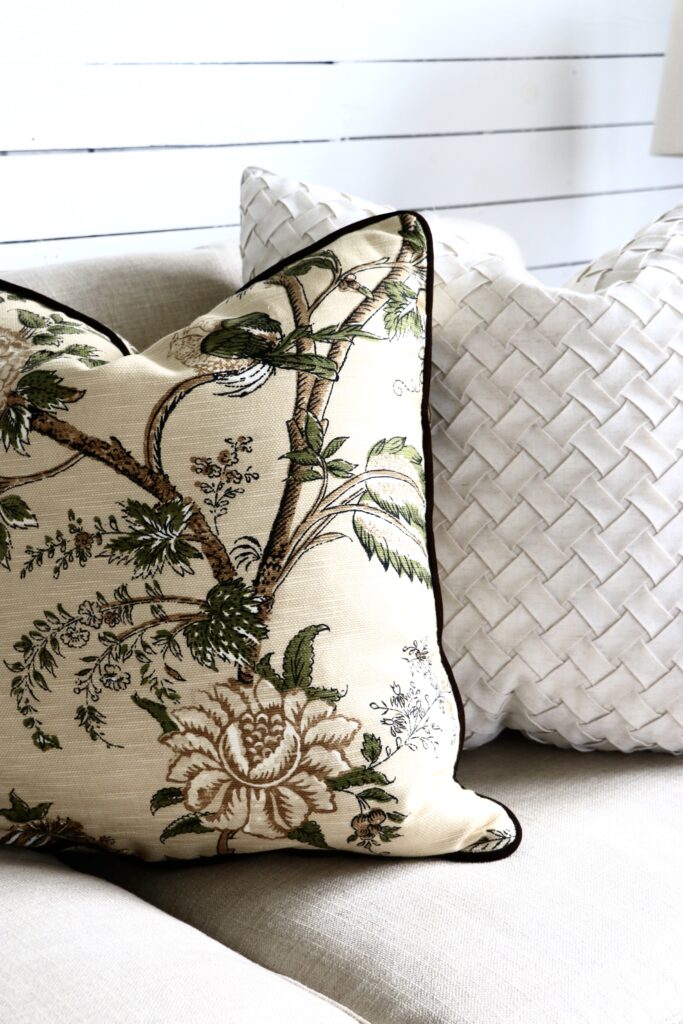
Remember if your fabric isn’t a solid color, be sure to pay attention to the pattern and cut your three panels to line up as best as possible. My fabric is a floral pattern with a few birds and butterflies on it. I want to showcase the birds rather than the butterflies so I paid attention to that when cutting out my square front panel.
Set aside the front panel for now and take each back panel and sew a hem on the top side of one panel and the bottom side of the other panel. If you have a pattern, pay attention to lining up that patter as well as you can.
The hemmed sides will be the section that opens (the envelope) so the bottom panel needs to have the top of it hemmed and the top panel has to have the bottom edge hemmed.
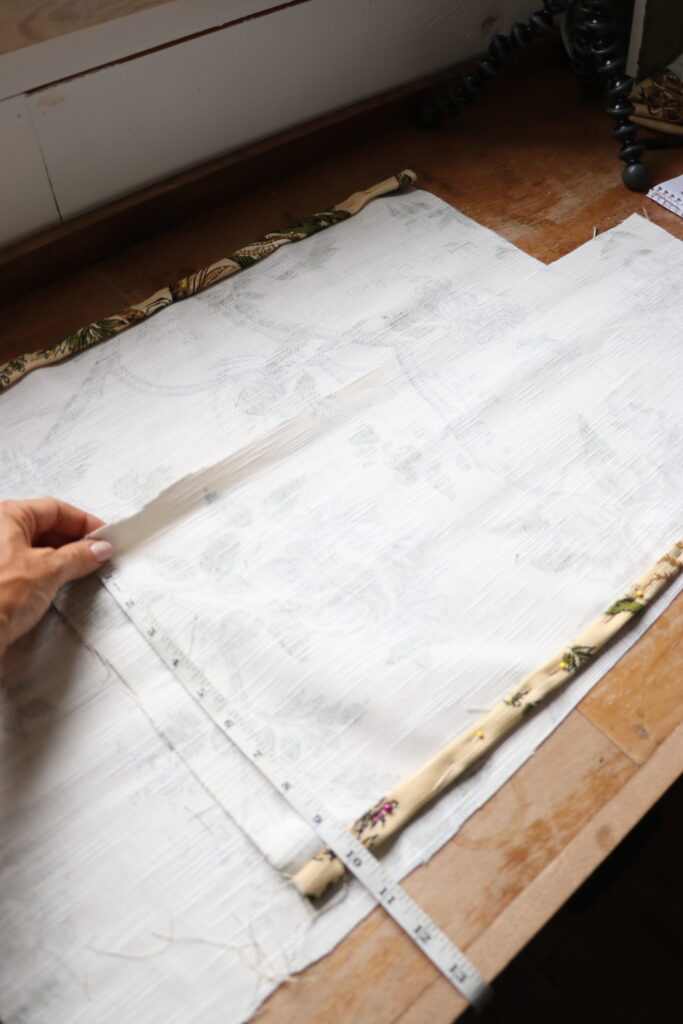
Now that we have our measurements, we can figure out how much welt cord we need. My pillows are 24inch squares, so I made about 3 more inches of welt cord so I had a little extra to work with. I like to use a welt cord sewing foot for my machine to keep the fabric nice and tight on the cord.
How to sew a Simple Pillow Cover With Welt Cord Added
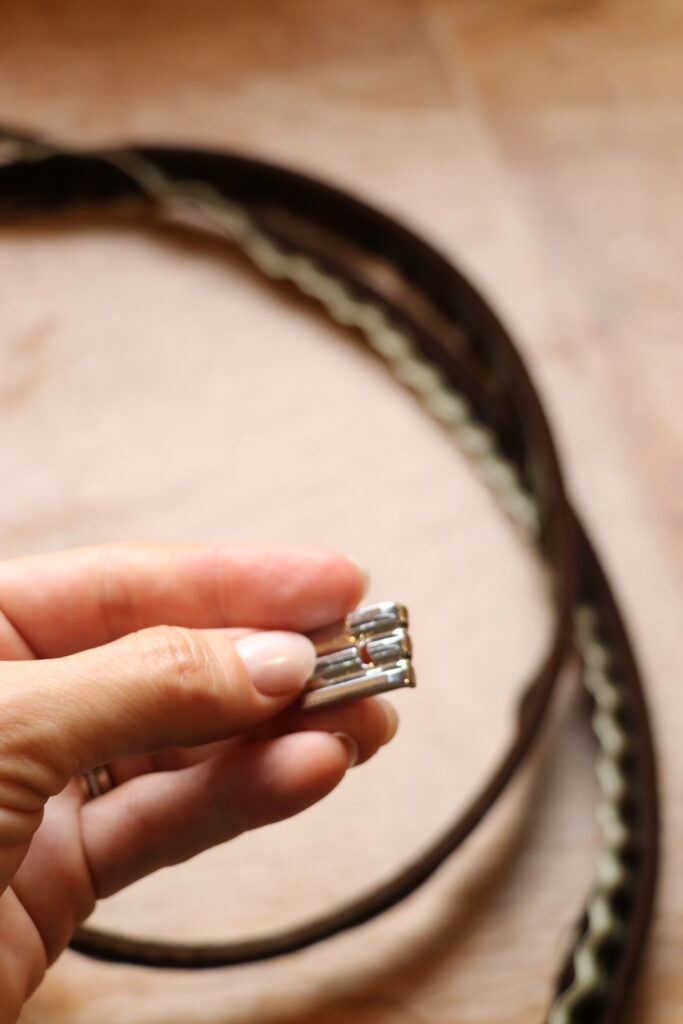
I love the look of a contrasting color for the welt cord/piping so I’m using a dark green velvet ribbon for my piping. You can also just use the same fabric (cutting it on a bias) if you aren’t wanting to draw attention to the piping. Either way you can’t go wrong!
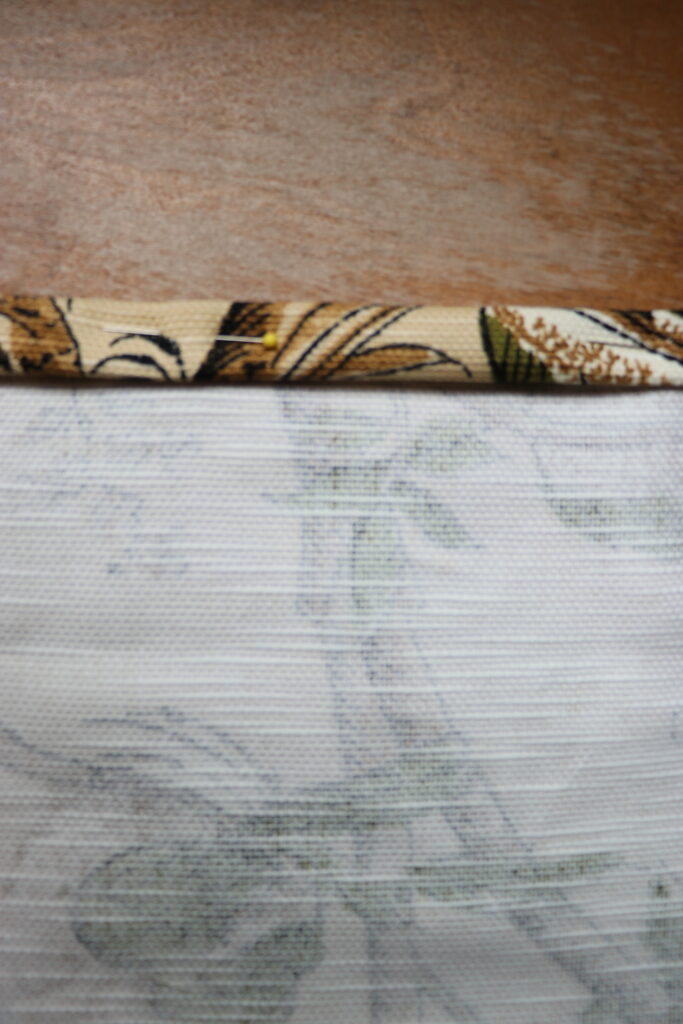
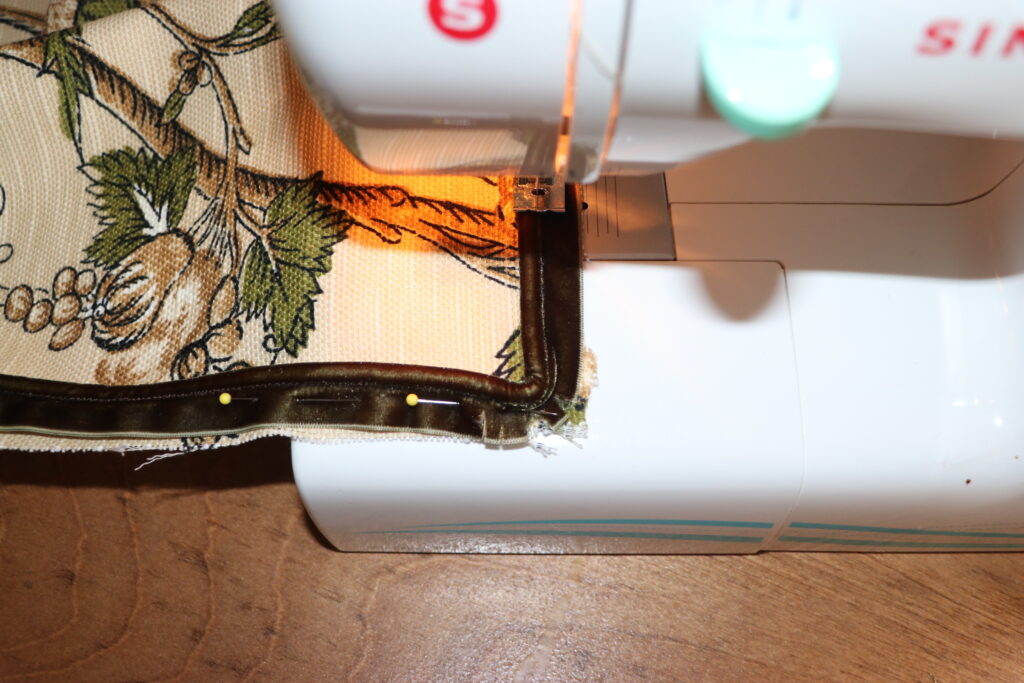
After making the welt cord, I pinned it all around the front panel (front facing up and raw edges of the fabric and welt cord facing the same direction) and sewed a straight line (still using my welt cord sewing foot).
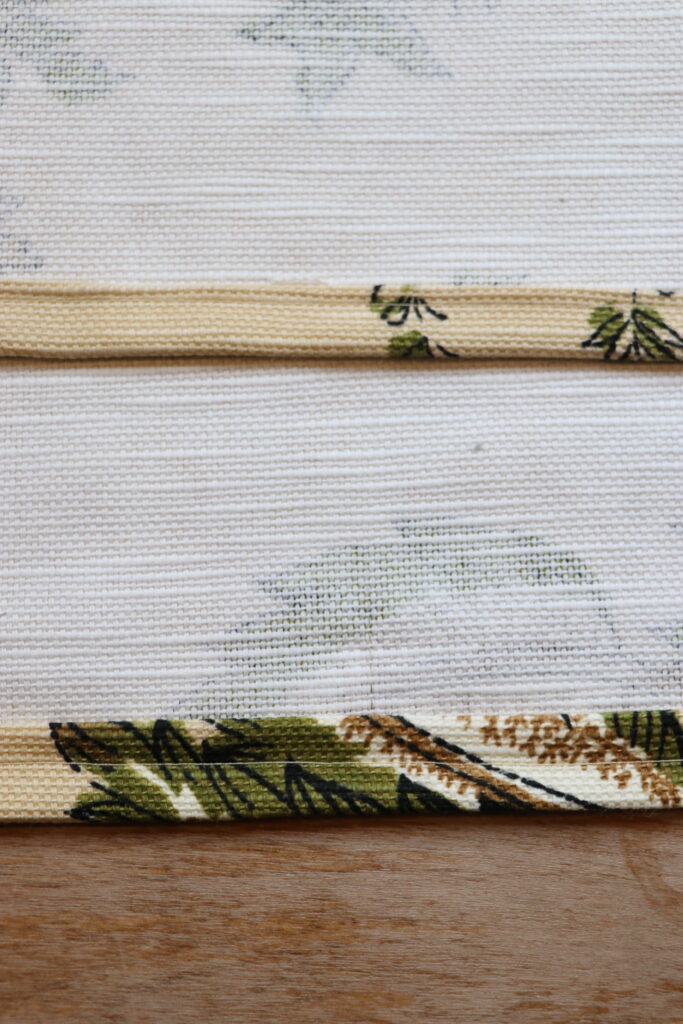
Now that the front panel has the cording attached, we’ll move onto the back two panels. I looked at my pattern and then decided what panel would be the top of the envelope and what one will be the bottom. Each panel will both need the raw edge sewn under in the area that overlaps (the envelope). SO…you will need to fold over (twice) and stitch the top of the bottom panel and the bottom side of the top panel).
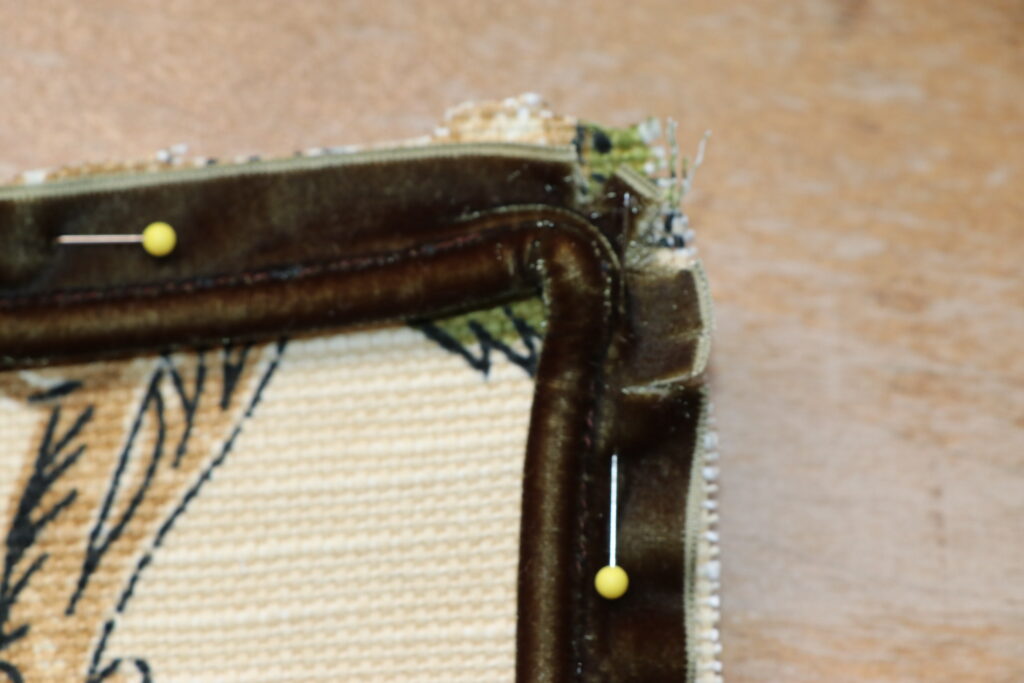
Take the top back panel and pin it to the top of the front panel (inside out). Bending the welt cord really well around the corners will help the corners come out really smooth and then sew (still using the welt sewing foot on your machine).
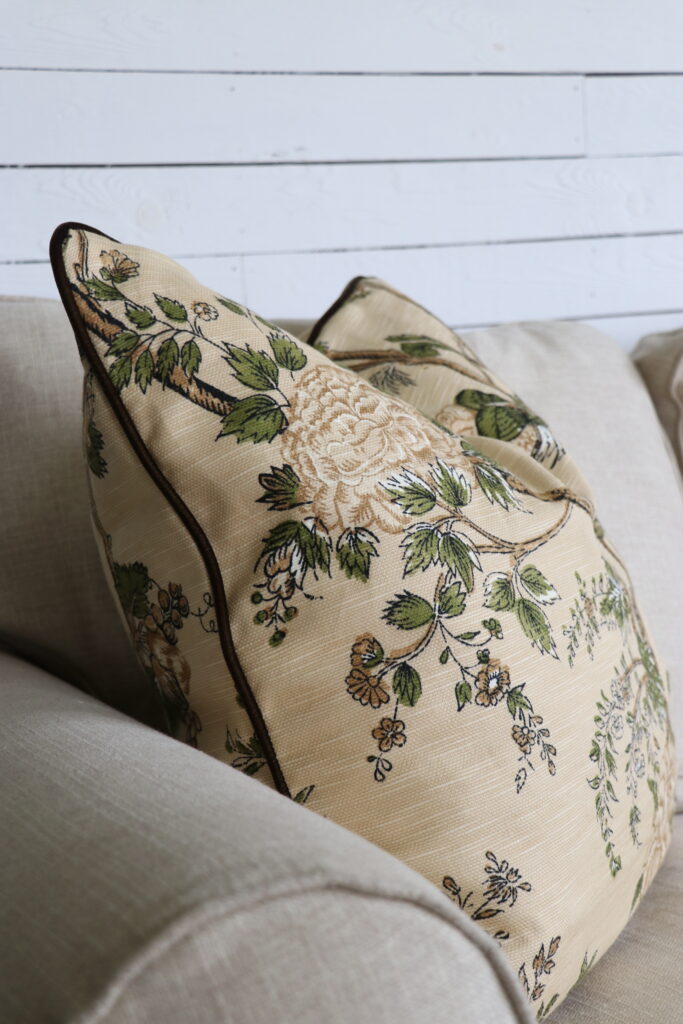
If you have any trouble sewing around the corners, it’s totally fine to stop, leave your needle in the fabric, lift up the foot and turn it just a little before lowering the foot back down and sewing again. I had to do this a couple time and it turned out beautifully! I cut a few super small snips in the raw edge side of the welt cord to help it round the corner as well. You can see that up close in the photo above.
Now it’s time to move onto the lower back panel repeating the exact same process.
Flip your pillow cover right side out, slip the insert in making sure to press the covers of the insert into the pillow cover and you’re all DONE!!!
This simple DIY is one of my all time favorite ways to save $$$ when I want to change up the look or maybe try out a trend. I love how easy they are to make and how each pillow you make is “one of a kind”!
Be sure to check out my DIY Pumpkin Pillow Tutorial HERE
And other simple DIY sewing pinch pleat curtains project HERE
