In Today’s Post, I’m Sharing All About Breaking Ground for our DIY Dream Home and the progress we’ve made as well as forming up and pouring our footings!
I recently shared that we’ve dreamt about building our forever home for over twenty years and that we are starting to build our DIY dream home this summer! It’s a dream come true and this past week we’ve made huge progress and today I’m sharing an update on what all we’ve been able to do so far! Breaking ground, forming, and pouring our footings for our DIY Dream Home was a lot of work but this past week has been so exciting and today I’m sharing all the progress so far!
Deciding Exactly Where To Put The House
We have 65 acres and we wanted our home to sit high up on the hill so we could enjoy the view of the land and the creek. We designed the home with the views on one of our hilltops in mind. The hilltop we chose is about 150 feet west of our cottage (where we live now) and has spectacular sunset and sunrise views!
We started off by staking out each corner of our home and then used strings and spray paint to mark the perimeter before breaking ground the next morning with the excavator.
Breaking Ground on our DIY Dream Home
It was incredible to see our land go from just a hilltop covered in wild grasses to a massive hole in the shape of a basement! We’d waited for that day for years. We’d even wondered if that day would ever get here… but with every scoop of the bucket, we knew our DIY Dream Home was becoming a reality! I can’t really describe how cool it was…let’s just say it was a wonderful day!
We don’t own a construction company or any heavy machinery however we have friends that do. So we hired our friend to come out and help us dig the basement using his excavator and we ran the transit level and made sure he was digging at grade. He did an excellent job and had it all done in no time! Aaron (my husband) also ran the excavator…me on the other hand…I didn’t want to slow them down so I left it to those that knew what they were doing. That’s an awfully expensive piece of equipment and it was perched on top of a very steep hilltop…the last thing I wanted to do was learn on the job and tip it over…no thanks!
Our basement will have a portion that is a walkout so we had to dig most of our basement out and then dig down even deeper for the frost wall footings (in the walkout portion of the basement) using the excavator.
*Grade: Grading in construction/excavation is the work/act of ensuring a level base or specific slope. Grade generally refers to the ground level or the elevation at any given point.
Hand Digging out our Footing Trenches
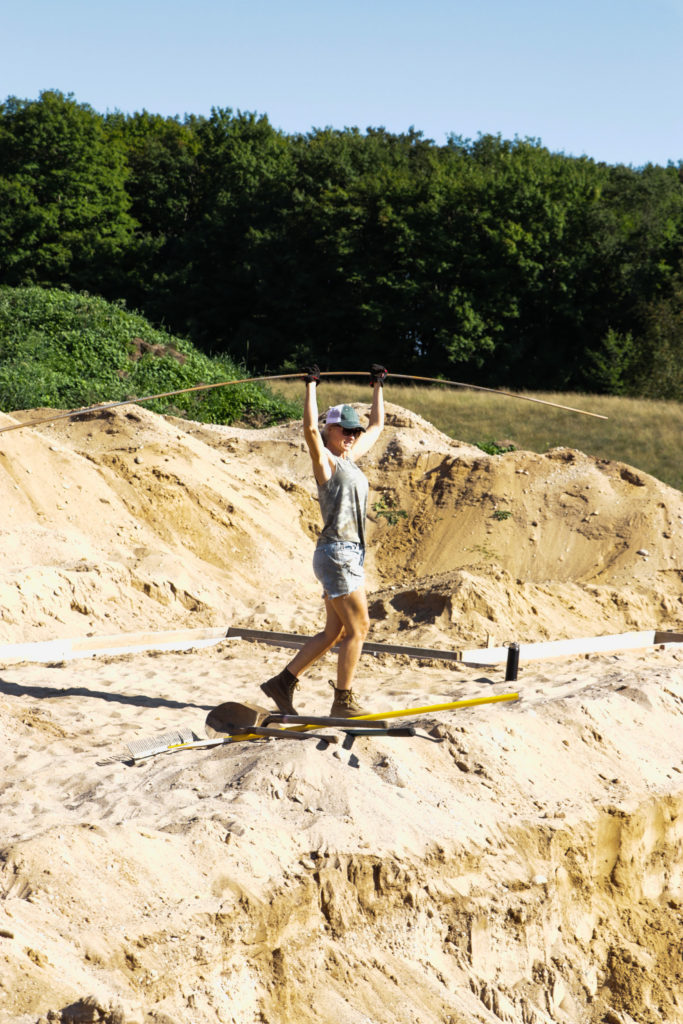
Our blueprints called for our footings to be 10 inches deep by 21 inches wide. We used 2x4s as stakes and drove them into the corners for our batter boards and then ran a string from corner to corner to get our straight line before hand-digging the trenches out for our footings.
*Batter Boards are one of a pair of horizontal boards nailed to posts set near the corners of an excavation for a building and used by the builders to indicate the desired level and also as a fastening for stretched strings to mark outlines.
*Footings: Typically made of concrete with rebar reinforcement that has been poured into an excavated trench. The purpose of footings is to support the foundation and prevent settling.
Framing Up The Foundation Footings and Prepping For The Concrete
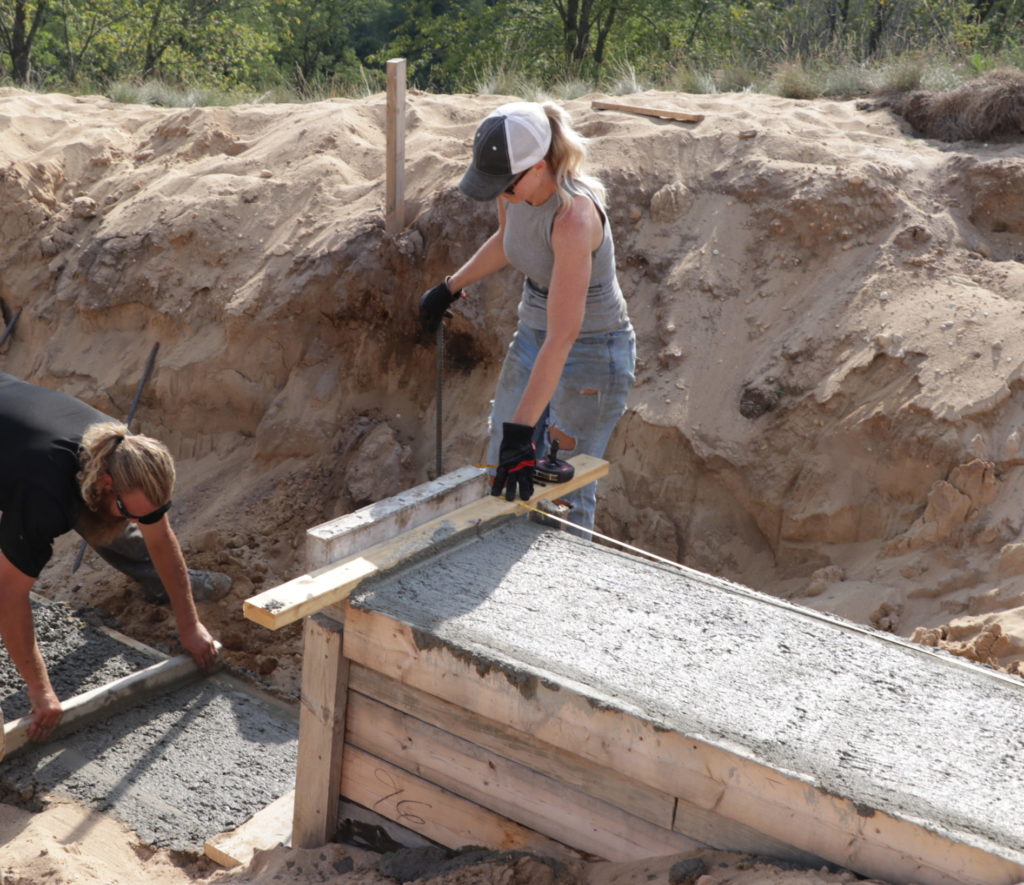
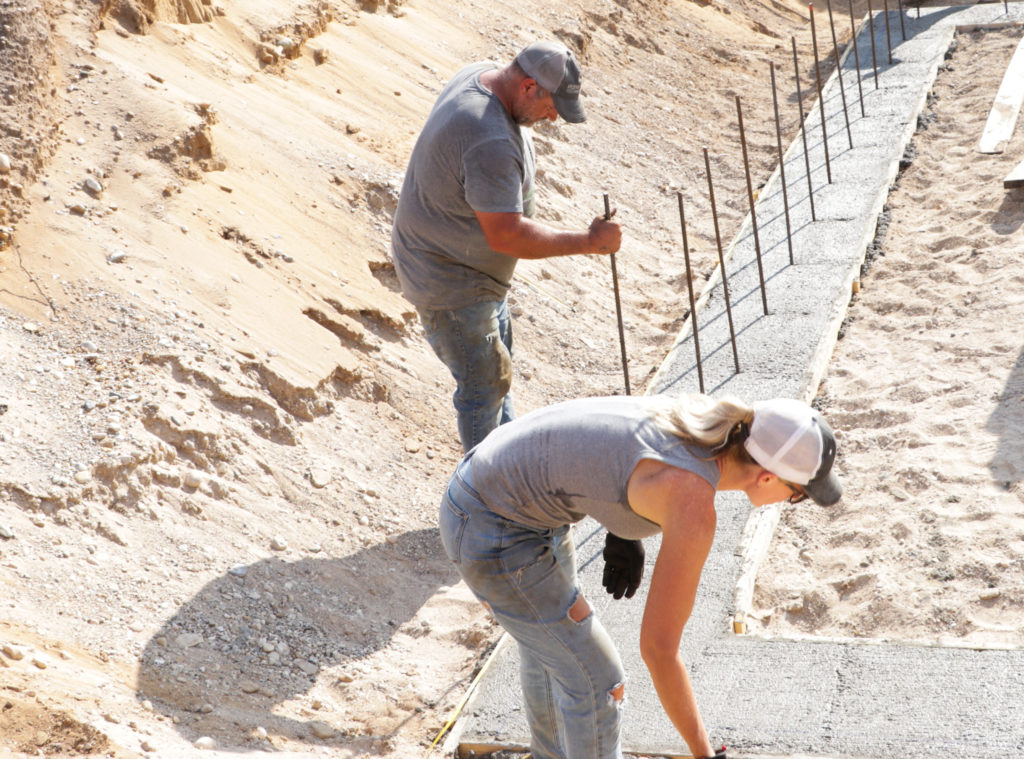
The footings were formed up with lots of 2×4 stakes and more 2x10s than I ever want to carry again…LOL! Seriously though, they were heavy. After the footings were all framed up on the basement level, we also framed up two dropdowns and footings a few feet lower to meet our code for frost wall depth. The part of the basement that is a walk-out (the exposed siding and windows portion of the basement) is the only part that needed the footing to be deeper.
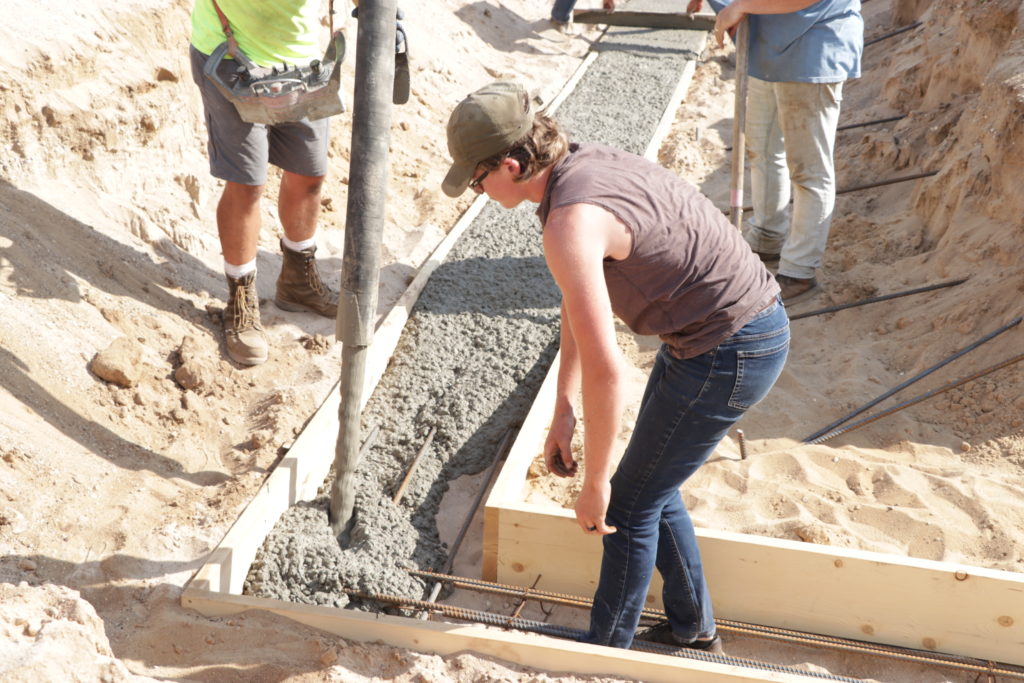
Once all the forms were staked in place and screwed together we added all the rebar. We used “rebar chairs” throughout all of the footings to hold up the rebar and three rows of #5 rebar in each footing, then secured them all with wire to the “chairs” to ensure they were evenly spaced and wouldn’t move when the concrete was poured.
Pouring The Concrete Footings
After the footings were formed and ready for concrete we called and scheduled a concrete truck and pump truck. The pump truck we ordered broke down the day before but thankfully we were able to get another pump truck so our concrete pour was moved from 8 am to 3 pm…making it super HOT but we were happy that we still were able to get the footings poured that day!
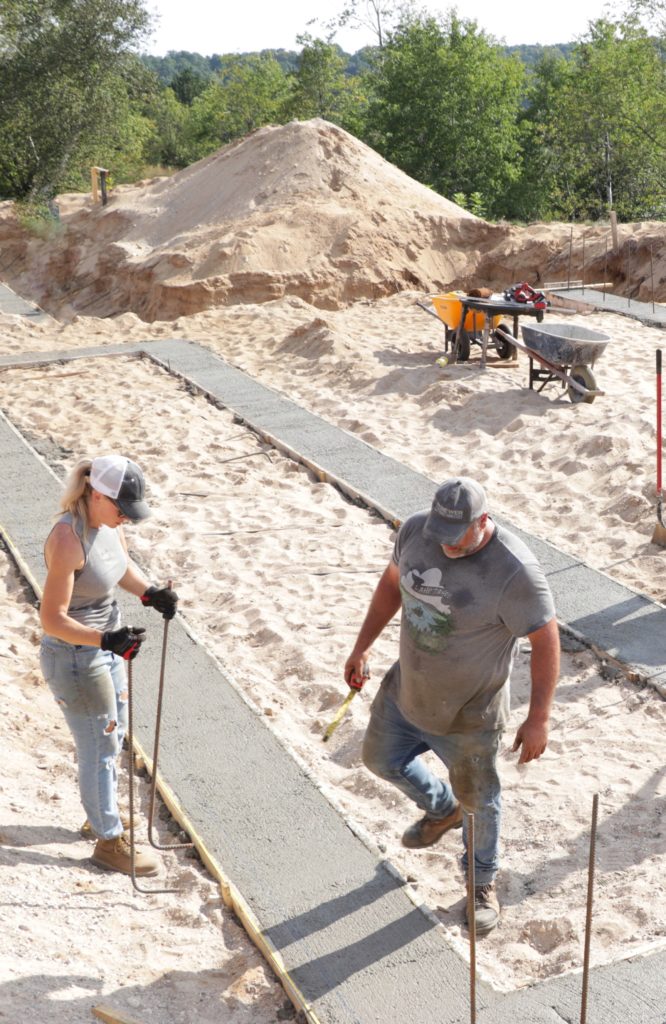
We were also really grateful that the pump truck could reach the furthest west corner meaning we didn’t have to shovel or use wheelbarrows to move concrete at all! Our crew that day was the two friends we had hired to give us a hand had, my husband, myself, our son, and my brother. Then my dad and our brother-in-law showed up to help as well without us even asking and my sweet sister took all the pictures for us! All in all, we had 9 and only planned on having 6…so we had more than enough help to screed the concrete and place all the vertical rebar in as it set up a bit…which was wonderful and made for a very easy pour! When you’re working with concrete in temps near 90, you don’t want anything to go wrong that’s for sure!
We are so grateful for friends and family who lend a hand on really big days (like pouring concrete or setting trusses)! The old saying is true…” Many hands make light work” and we are really blessed to have an amazing family who supports us!
After the footings were cured, we rented a Plate Compactor and spent a full day working the center foundation of the footings (on what will be the basement floor) by shoveling and bringing in more sand and then compacting it until we had the interior of the footings perfectly level.
Coming Up Next on our DIY Dream Home Build
I’ve mentioned this many times over on my Instagram page, but the house that we’re building isn’t going to be 2×4 or 2×6 construction like most homes (and our cottage) are. We are building a concrete house using Insulated Concrete Forms and only framing the interior walls with standard stud walls.
We first heard about ICF wall construction almost 20 years ago when a friend of ours built their home using ICF construction. My husband was SOLD on the idea after doing a vast amount of research! After helping some of our family builds using ICF construction and after we did more and more research we both knew this was the way we wanted to go. ICF construction saves construction time and with lumber prices how they are now it saves money upfront as well as long term. With Fox Blocks ICF construction we’ll be able to build our home faster, and much more efficiently with less labor!
There are so many benefits to using Fox Blocks ICF walls and I’ll be sharing lots more about that to come because this week we are prepping for our first Fox Blocks ICF wall delivery! We can’t wait to start stacking our ICF walls and we’re looking forward to making lots of progress in the weeks to come!
Be Sure To Follow Me On YouTube at Fletcher Creek Cottage To See More Of Our DIY Dream Home Build Project
*DISCLAIMER: Our home’s blueprints were designed by myself (Dena Breitmeyer), my husband along and our architect. The blueprints have been approved by our building department. We have pulled all permits required to build this home as we are our own General Contractor and we will have all inspections per our county requirements. We always pull all permits required in our county/city when building and have all required inspections and recommend that you do the same.






[…] Breaking Ground for our DIY Dream Home […]