Building and Pouring ICF Walls
Hi everyone, welcome back to the blog! I’m back with another update sharing the progress and all about building and pouring ICF Walls on the main level of the home we are currently self-building using Fox Blocks.
Seeing the walls go up really makes it feel like we are making progress!
Self-building a home is no small DIY project that’s for sure, but with every step, we get closer and closer to our end goal and that’s exciting!
Hopefully, you’re enjoying following the process here on the blog, and don’t forget that I’ve been filming as much as I can and sharing those videos on YouTube, so be sure to check out all the DIY vlogs to get caught up!
Building With ICF
We built our basement walls using ICF Fox Blocks. Because it was the first time we’d built a home using ICF, it took us a good part of the summer and into the fall last year. The basement is just over 2,000 sq. ft with one large door opening and seven windows.
The basement walls are 9 1/2 feet tall and we used the 8″ block and a whole lot of rebar. You can read all about that HERE and watch the process HERE. We finished the basement walls in time for snowfall and paused building the house over the winter.
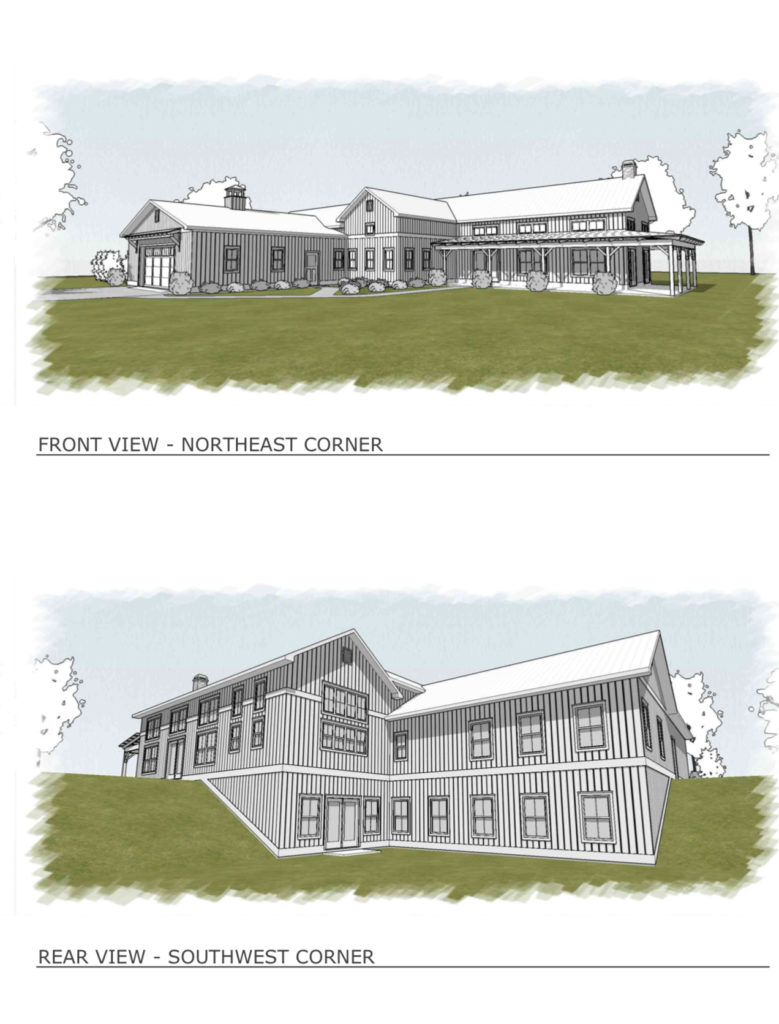
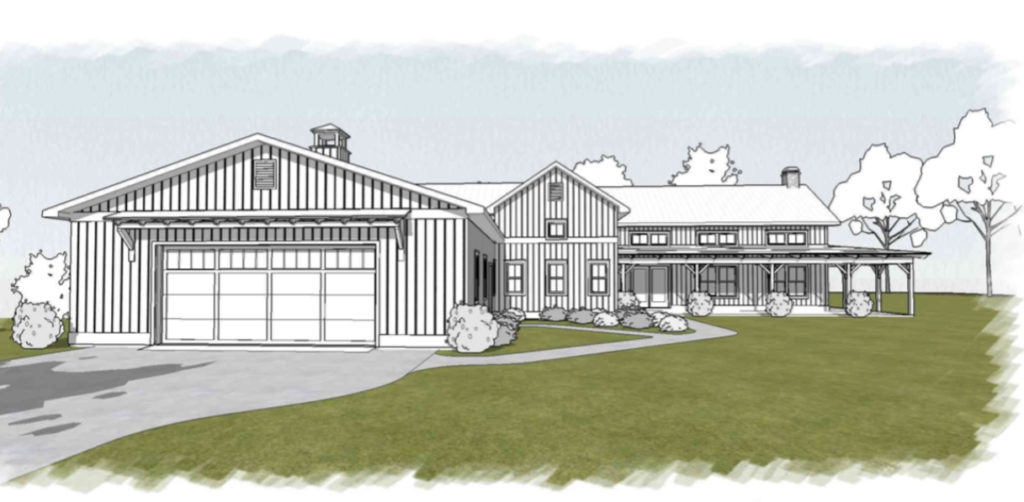
The main level of our home includes the exact footprint of the basement (2,000+sq. ft) plus an attached garage. However, the main level is a lot more complex. The walls for the garage and main level are 6″ Fox Blocks, they are 9 1/2 ft tall in half the house and 14 feet tall on the other half.
The main level has seven door openings and nearly 30 window openings (allowing for over 40 pretty large windows).
Prepping To Stack The Main Level with ICF Fox Blocks
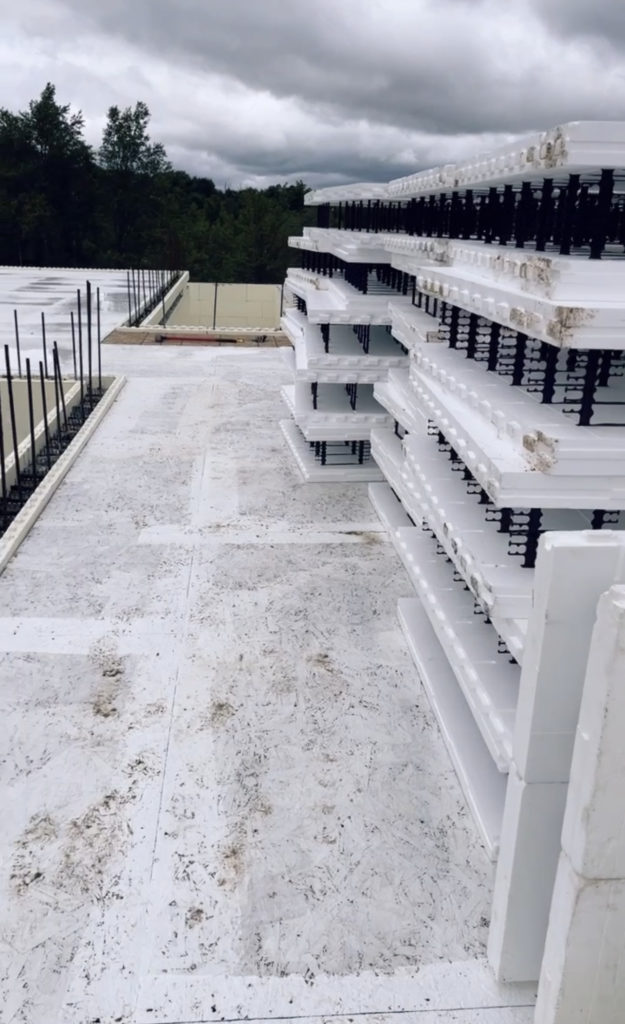
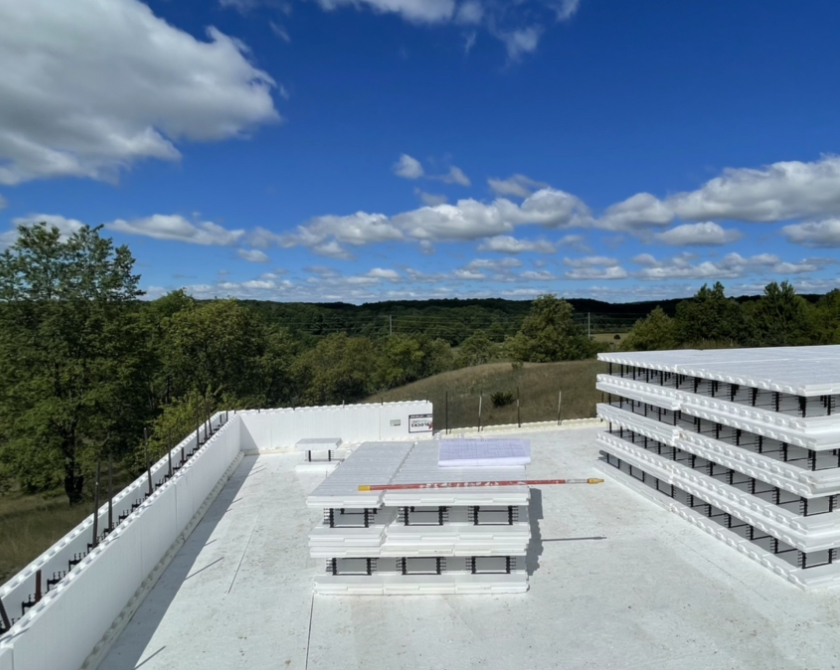
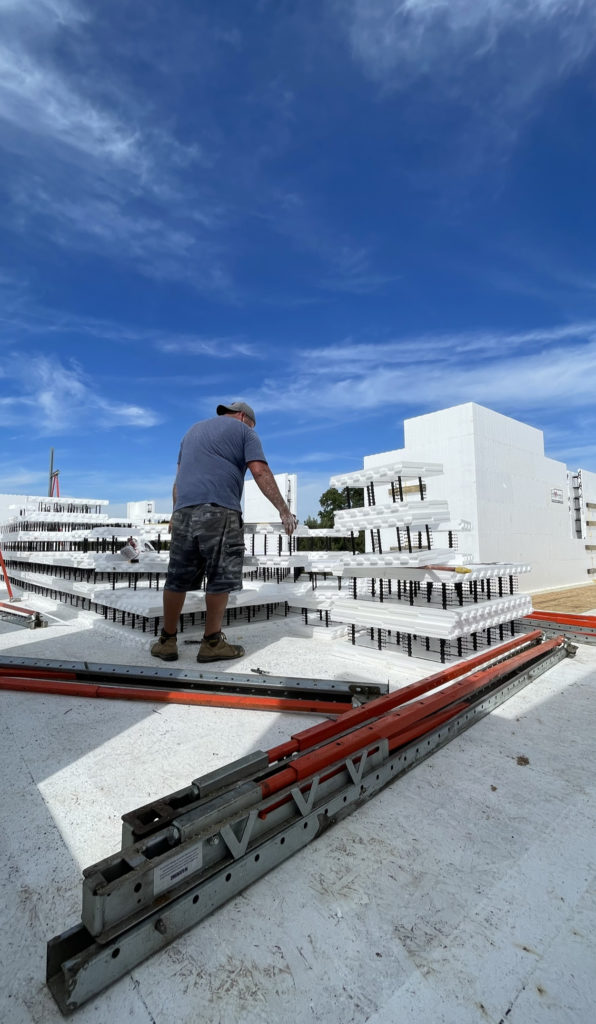
We ordered all our ICF blocks for the entire home from our local Fox Blocks supplier all at once. We stored all the blocks and widow bucks in our garage and the rest over at my In-Law’s farm in one of their pole barns for the winter.
We loaded up hay wagons and made a few trips back and forth until we had all the stored blocks here on the job site. Thankfully, their farm is only a few miles north of us so it didn’t take too long.
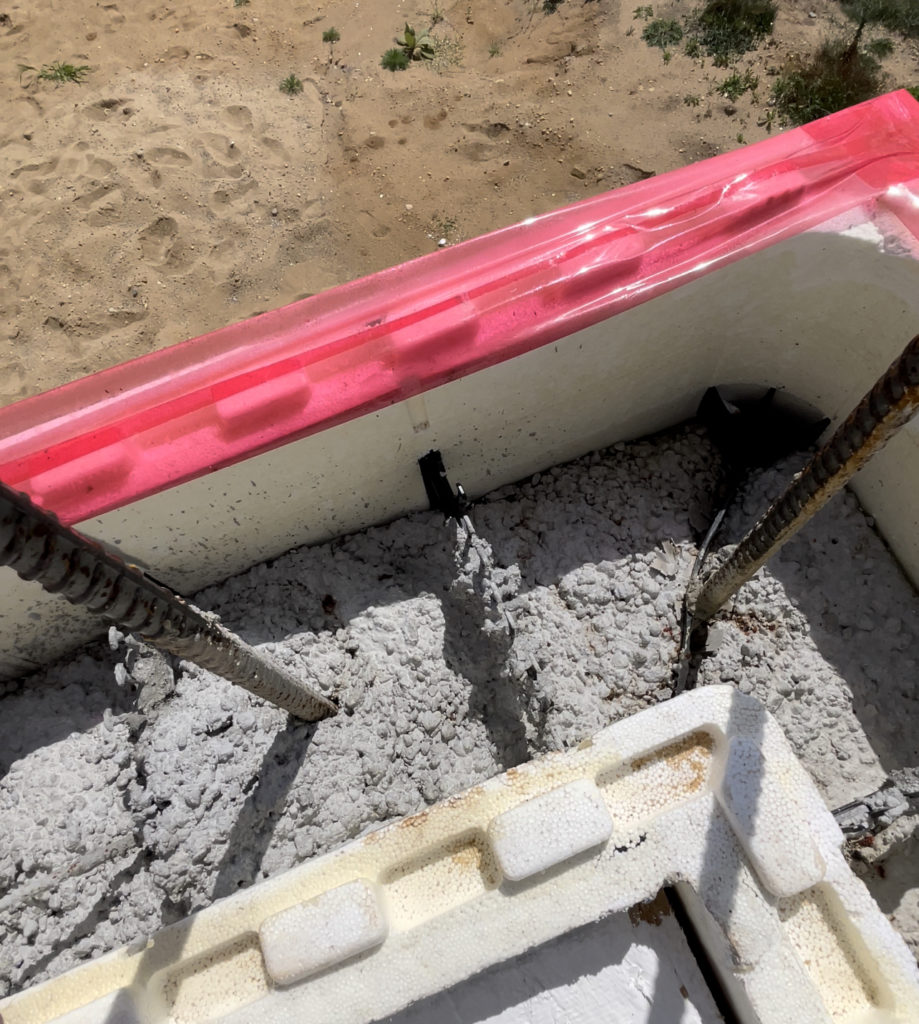
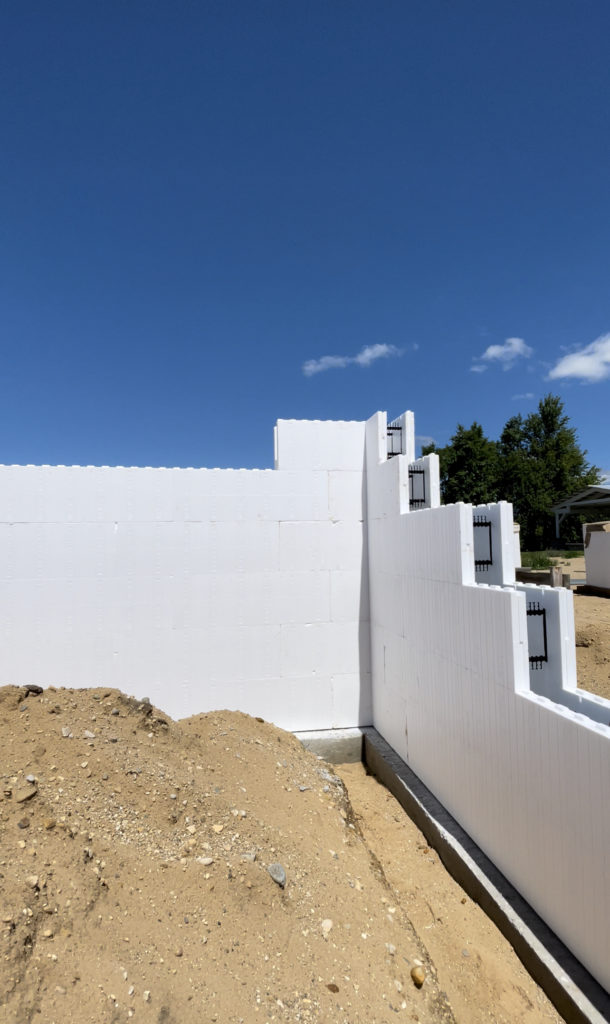
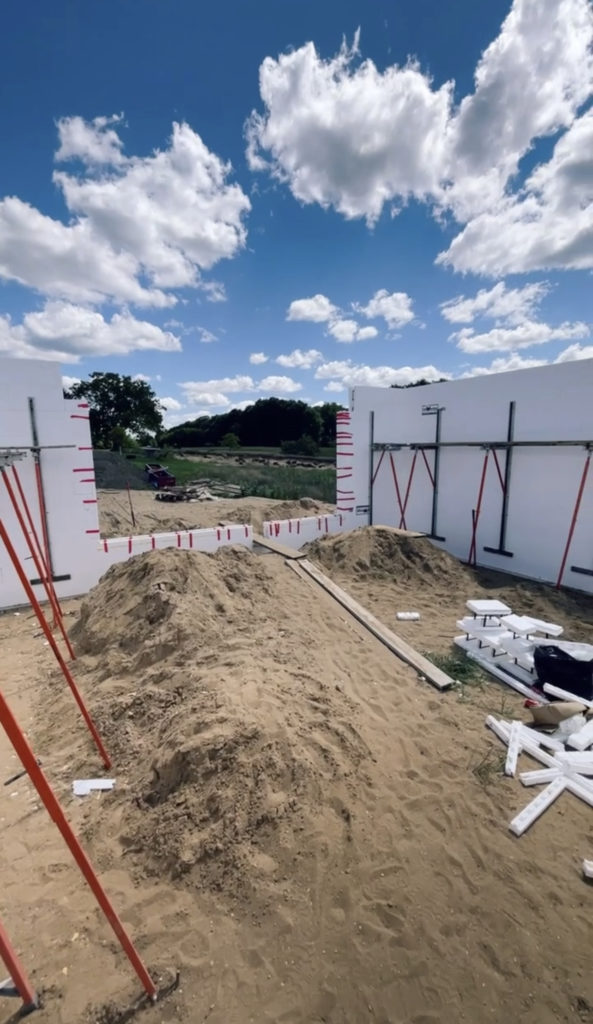
We had taped off the little nubs of the ICF blocks on the top row of the basement walls when we poured. That way concrete couldn’t get in them and make it hard to stack the main level later on. Aaron had that idea and it worked great! Before we could start stacking our walls we had to remove all the tape and it came off in no time.
We also used permanent chalk and a chalk line to mark out where the walls needed to sit on the garage footings that we’d already poured.
Building Our ICF Walls
We knew going into it that building our main level would be a lot more tedious than the basement had been. Stacking and clipping ICF blocks is fairly easy and straightforward…unless you have lots of massive windows and door openings like we do.
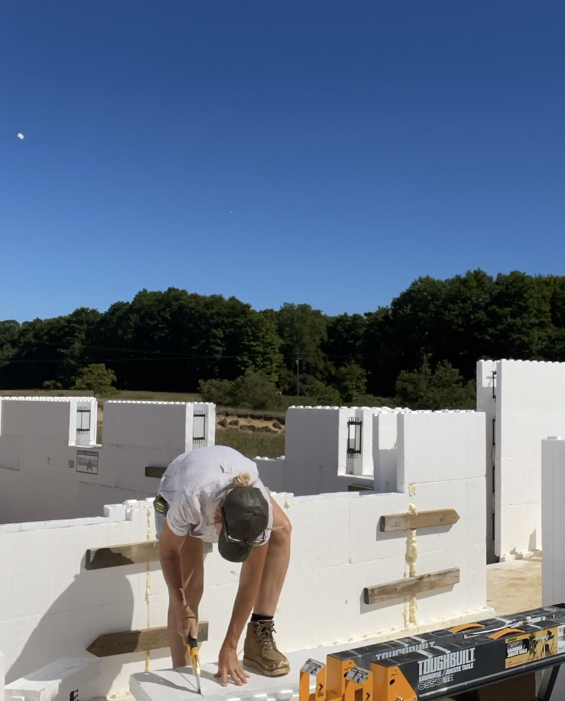
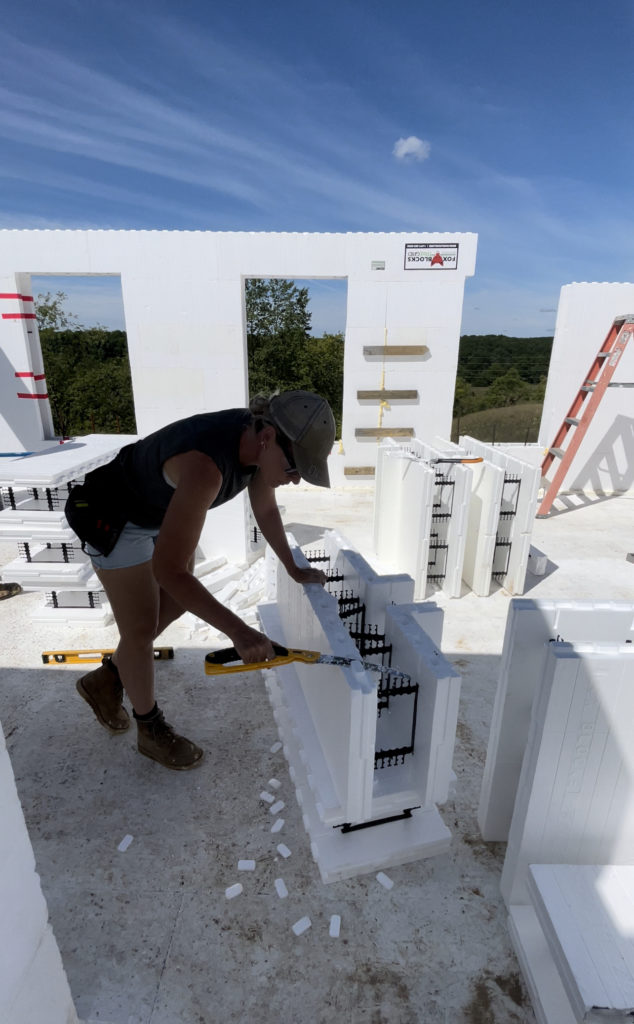
The blocks fit together almost like Legos, they are 4 ft long and super easy to cut with a foam knife. Honestly, they’re really great to work with and I can’t recommend them enough. But, like I said…building an ICF house with lots of windows is a lot more time-consuming than a basement would be.
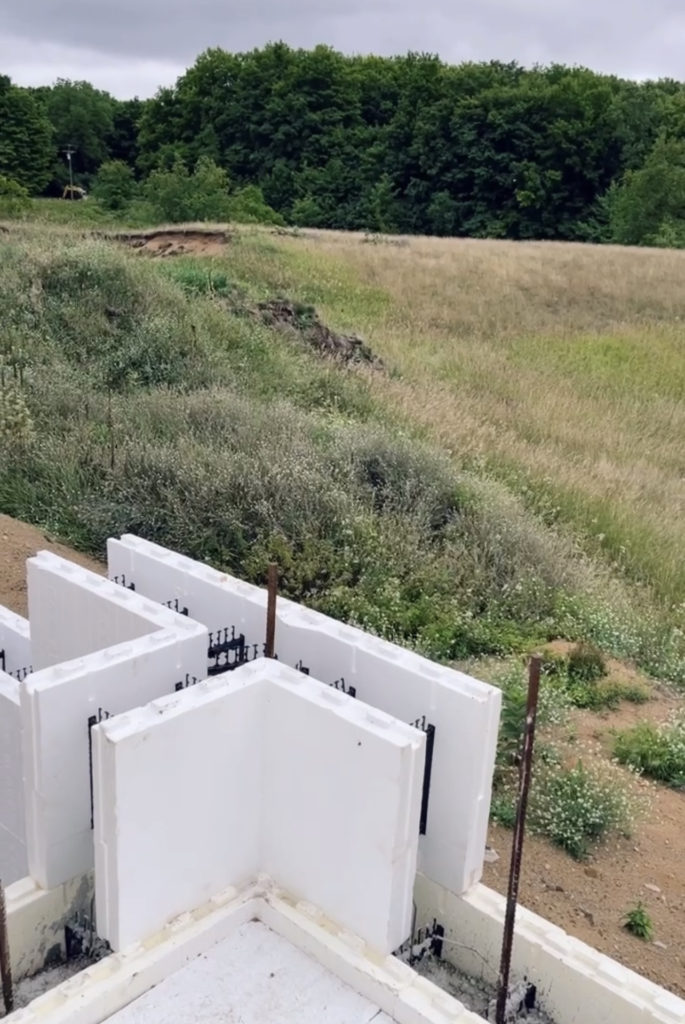
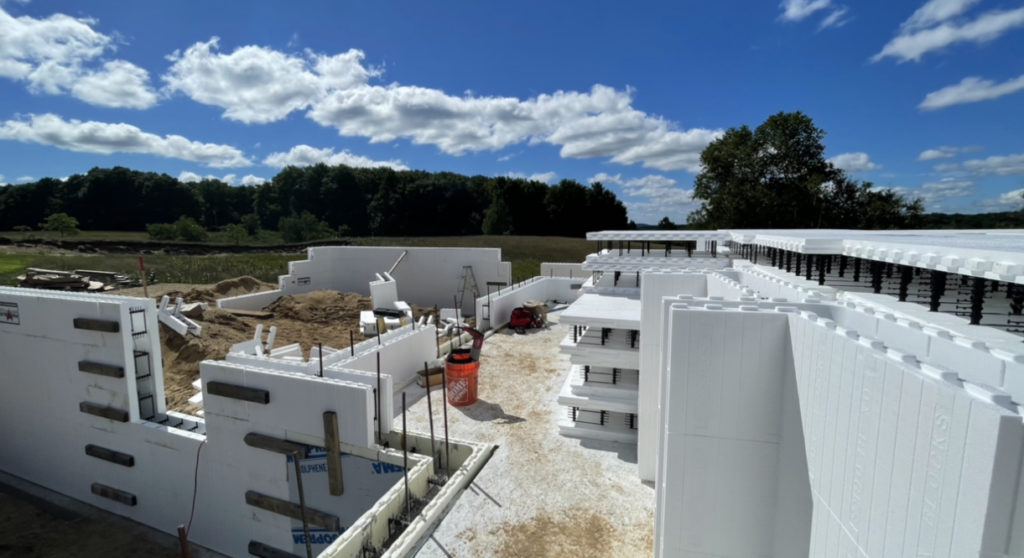
We started by stacking the frost wall garage blocks until we were level with the mail-level floor and then we tied the garage walls into the house walls using ” T” shaped Fox Blocks. We also have over a dozen inside and outside corners. It took a lot of time to get all of the corners and windows exactly right.
Aaron took five days of vacation to work on the house with me and of course, he worked nights and weekends too. I worked from sun up to sundown for two solid weeks building the main level. After two weeks, we were ready thanks to Aaron for using his precious vacation time and to some of our amazing family members for pitching in and lending a hand!
Supporting The ICF Walls Before The Concrete Pour
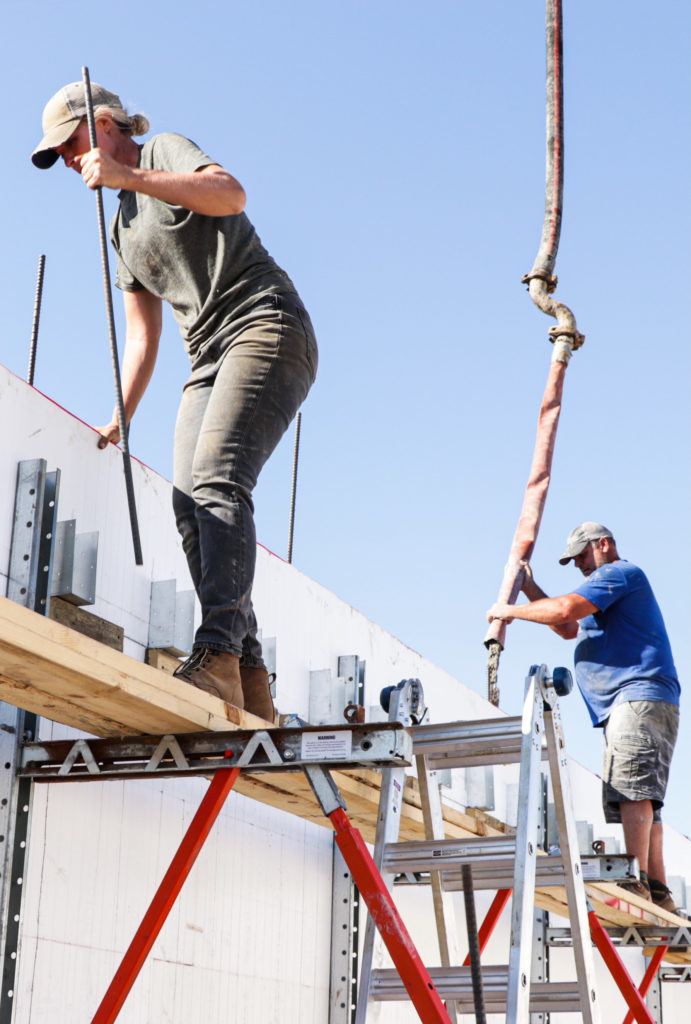
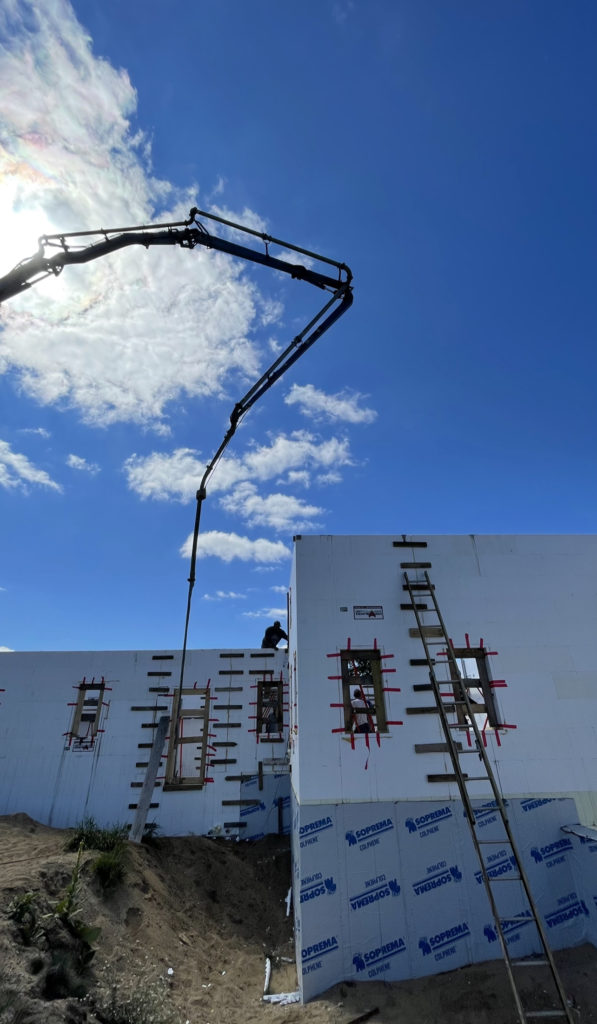
After we had about 4-5 feet of block stacked, we started adding the bracing/scaffold. This step is mandatory when building with ICF. The bracing not only holds the walls in place before the pour, but it also serves as scaffolding so you can walk around the perimeter of the walls up high during the concrete pour.
When we got to the main section of the house where the walls are 14 ft tall, we had to frame up another row of windows above all the lower windows…so as you can imagine, we worked late into the night for a couple of weeks. As we stacked the rows, we added the required horizontal rebar.
We cut off the nubs before stacking the very top row of blocks to make it easy to screed the concrete.
Once all the walls were stacked and clipped we added all the vertical rebar and had our inspection. I was so happy when we passed! We always build to code and pull permits, but it still felt great to get the “go-ahead” to pour!
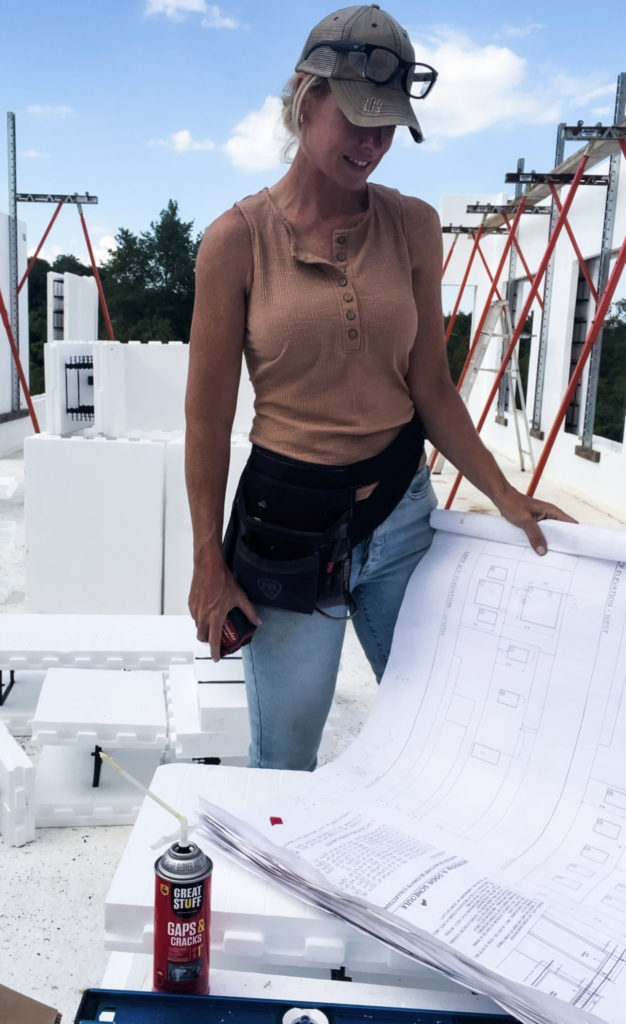
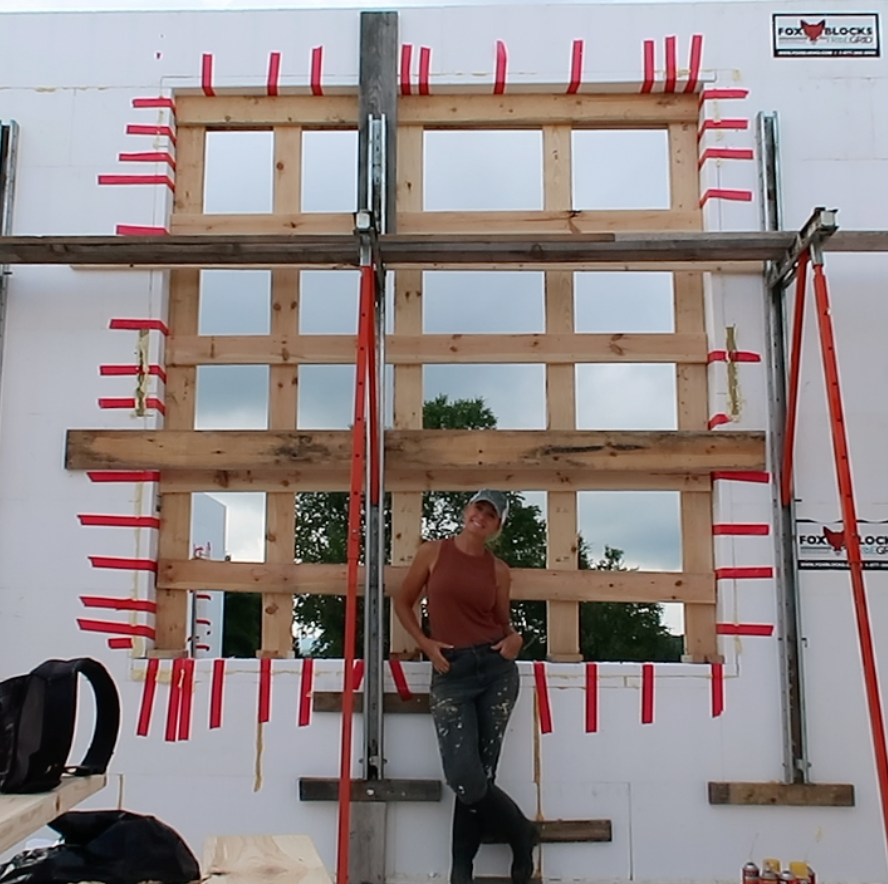
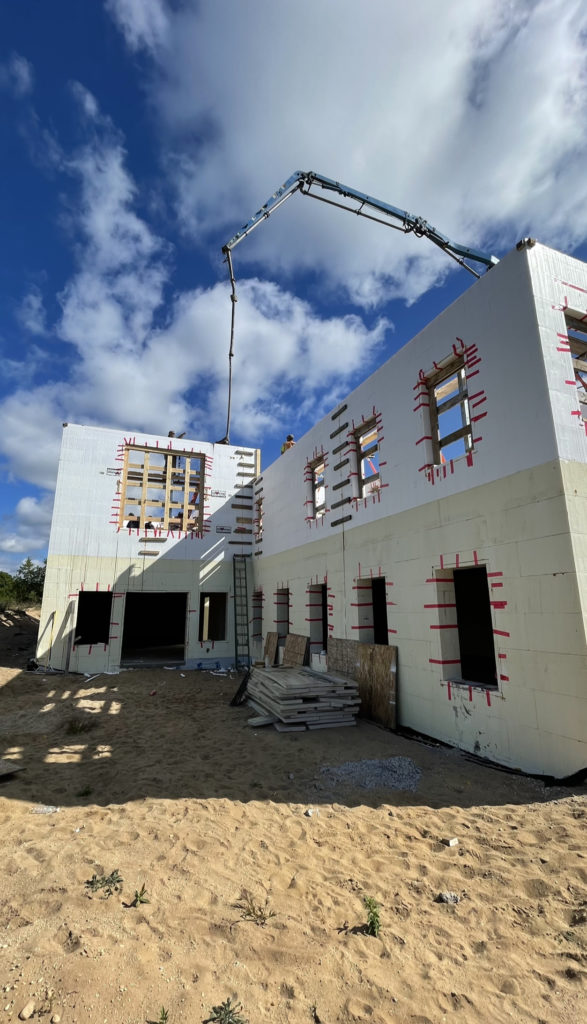
After we passed our inspection, I added all the Fox Blocks Bucks. The Bucks frame out the windows and doors. They have studs through them and all around the perimeter making it simple to install your drywall and siding directly to them.
I applied a small bead of Great Stuff “Gaps and Cracks” to the Bucks’ perimeter and then used tape to hold the Buck in place while the foam cured.
Prepping For The ICF Wall Concrete Pour
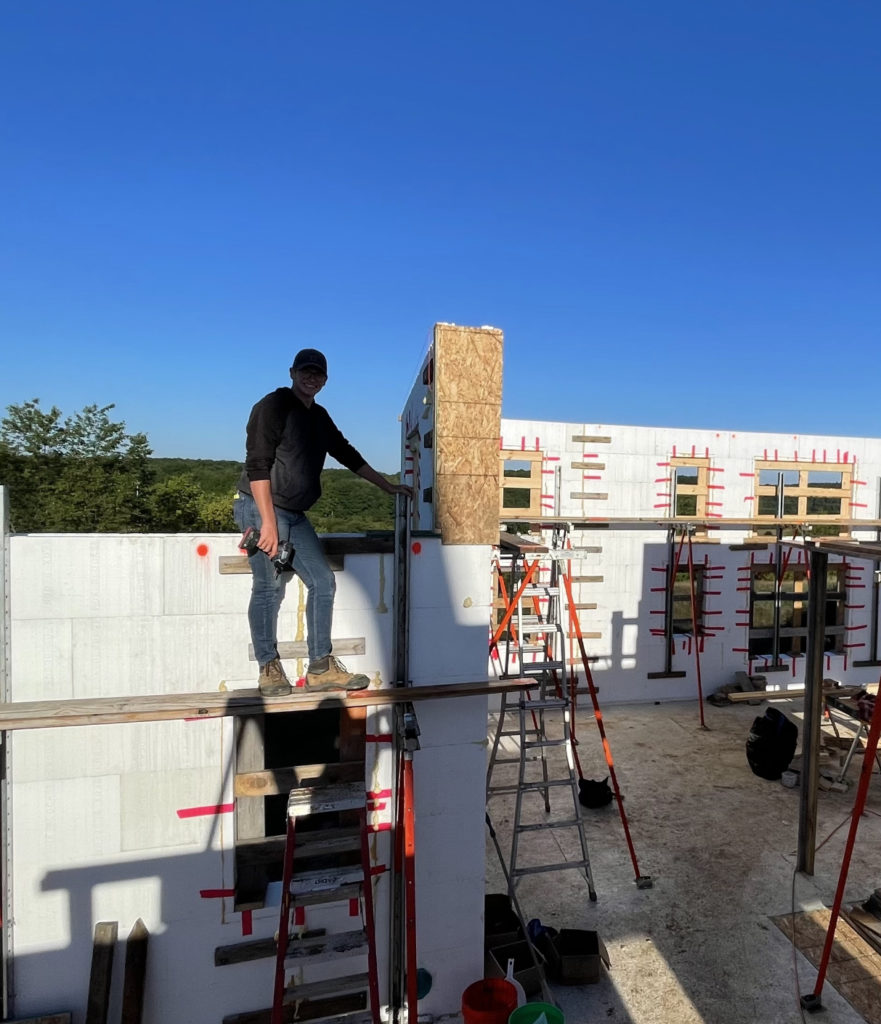
Framing out the openings with all the Bucks took me a while. The guys went behind me and reinforced each window using 2x6s. You can see in the video how they secure all the lumber inside the window and doubled it up to make sure they didn’t bow or twist during the concrete pour.
Making sure each opening was correct was pretty challenging and a super messy job. I was really excited when all the Bucks and lumber were in place!
The guys cut chunks of 2x4s and screwed them to each corner at the very top outside of each wall. They put a screw in each block and ran a string line from each block to the block on each corner of the walls (on the exterior).
That way during the pour, they could take a chunk of 2×4 and slide it in between the string line and the wall to make sure the walls were staying level and not leaning in or out.
Pouring Our ICF Walls On The Main Level
We scheduled our pour for 8 am. Our crew consisted of some of our incredible family members, Aaron, our son Preston and myself. Aaron’s job was to control the hose on the pump truck. My job was to be on the lookout for any leaks or blowouts.
My son, brother, and nephew used a pencil concrete vibrator to settle the concrete in the walls as they poured them. My two brother-in-laws and other family helped make sure the walls stayed level and adjusted the walls if needed by adjusting the bracing in or out.
Prior to the pour, they had put up string lines around the top of each wall and could check the distance between the string and the wall to make sure it stayed the same. The bracing/scaffold could then be adjusted with a drill and hex bit to let the bracing in or out as needed.
The guys added the J-Bolts to the top of the walls before the concrete set so we could anchor the mudsill to the top of the wall before setting the trusses later on.
Setbacks During Our Concrete Pour
From time to time in construction, things don’t go as planned and unfortunately, we had a rough concrete pour. Only a few minutes into the pour, the hose broke on the pump truck. It split and sprayed concrete everywhere, including all over Aaron.
They didn’t have a backup hose, so we had to wait for them to send a guy out with a replacement hose. In the meantime, the truck driver/operator tried taping it and it just kept spraying all over my husband time after time. It ended up taking hours longer than it should have and it was a pretty stressful day for all of us.
Thankfully, we didn’t have any blowouts and at the end of the day, the walls were poured. We are so grateful for all our family that came to help really pulled through for us! We could not have done it alone!
DN3qBTWhsV3
uac5uvRKI21
FHlQK5Cn4un
i4LVvNLzAWz
rG3pfGB76Ae
EwS2pYDnhgq
JNXJGOGXjMs
4kZU1D9ydao
drXne4xrwzg
STMLeavsbbF
RF6K24I21Bk
VqWpreqPgLe
OnSGttSwkHM
BG9rwD2FsXo
lIrL8ztcL1J
P8FcBX7L4hL
xDi0WmrxxMb
RfFYM9frnGy
wOTPKcy17NZ
Tqr9G8WpuBE
fEy9RoVNzPV
EknyF1eq6oU
2RbBNnCKldJ
YBvRTp8WOmW
YH9EX6gcmmZ
f9ItZKVeLU1
FnUdx79uWyI
[…] curve. Especially since we’re more comfortable with standard 2×4 or 2×6 framing. Building with ICF was a whole new ball-game leaving little to no room for […]