Making Fall Wall Art Is Easier Than You’d Think!
I love it when the leaves on all the trees change color in the Fall! I look forward to it every year because it’s so incredibly beautiful! This year I really wanted to find a way to bring those colors indoors. I had just taken down my spring/summer DIY Garden/Trellis wall art and I wanted something to replace it!
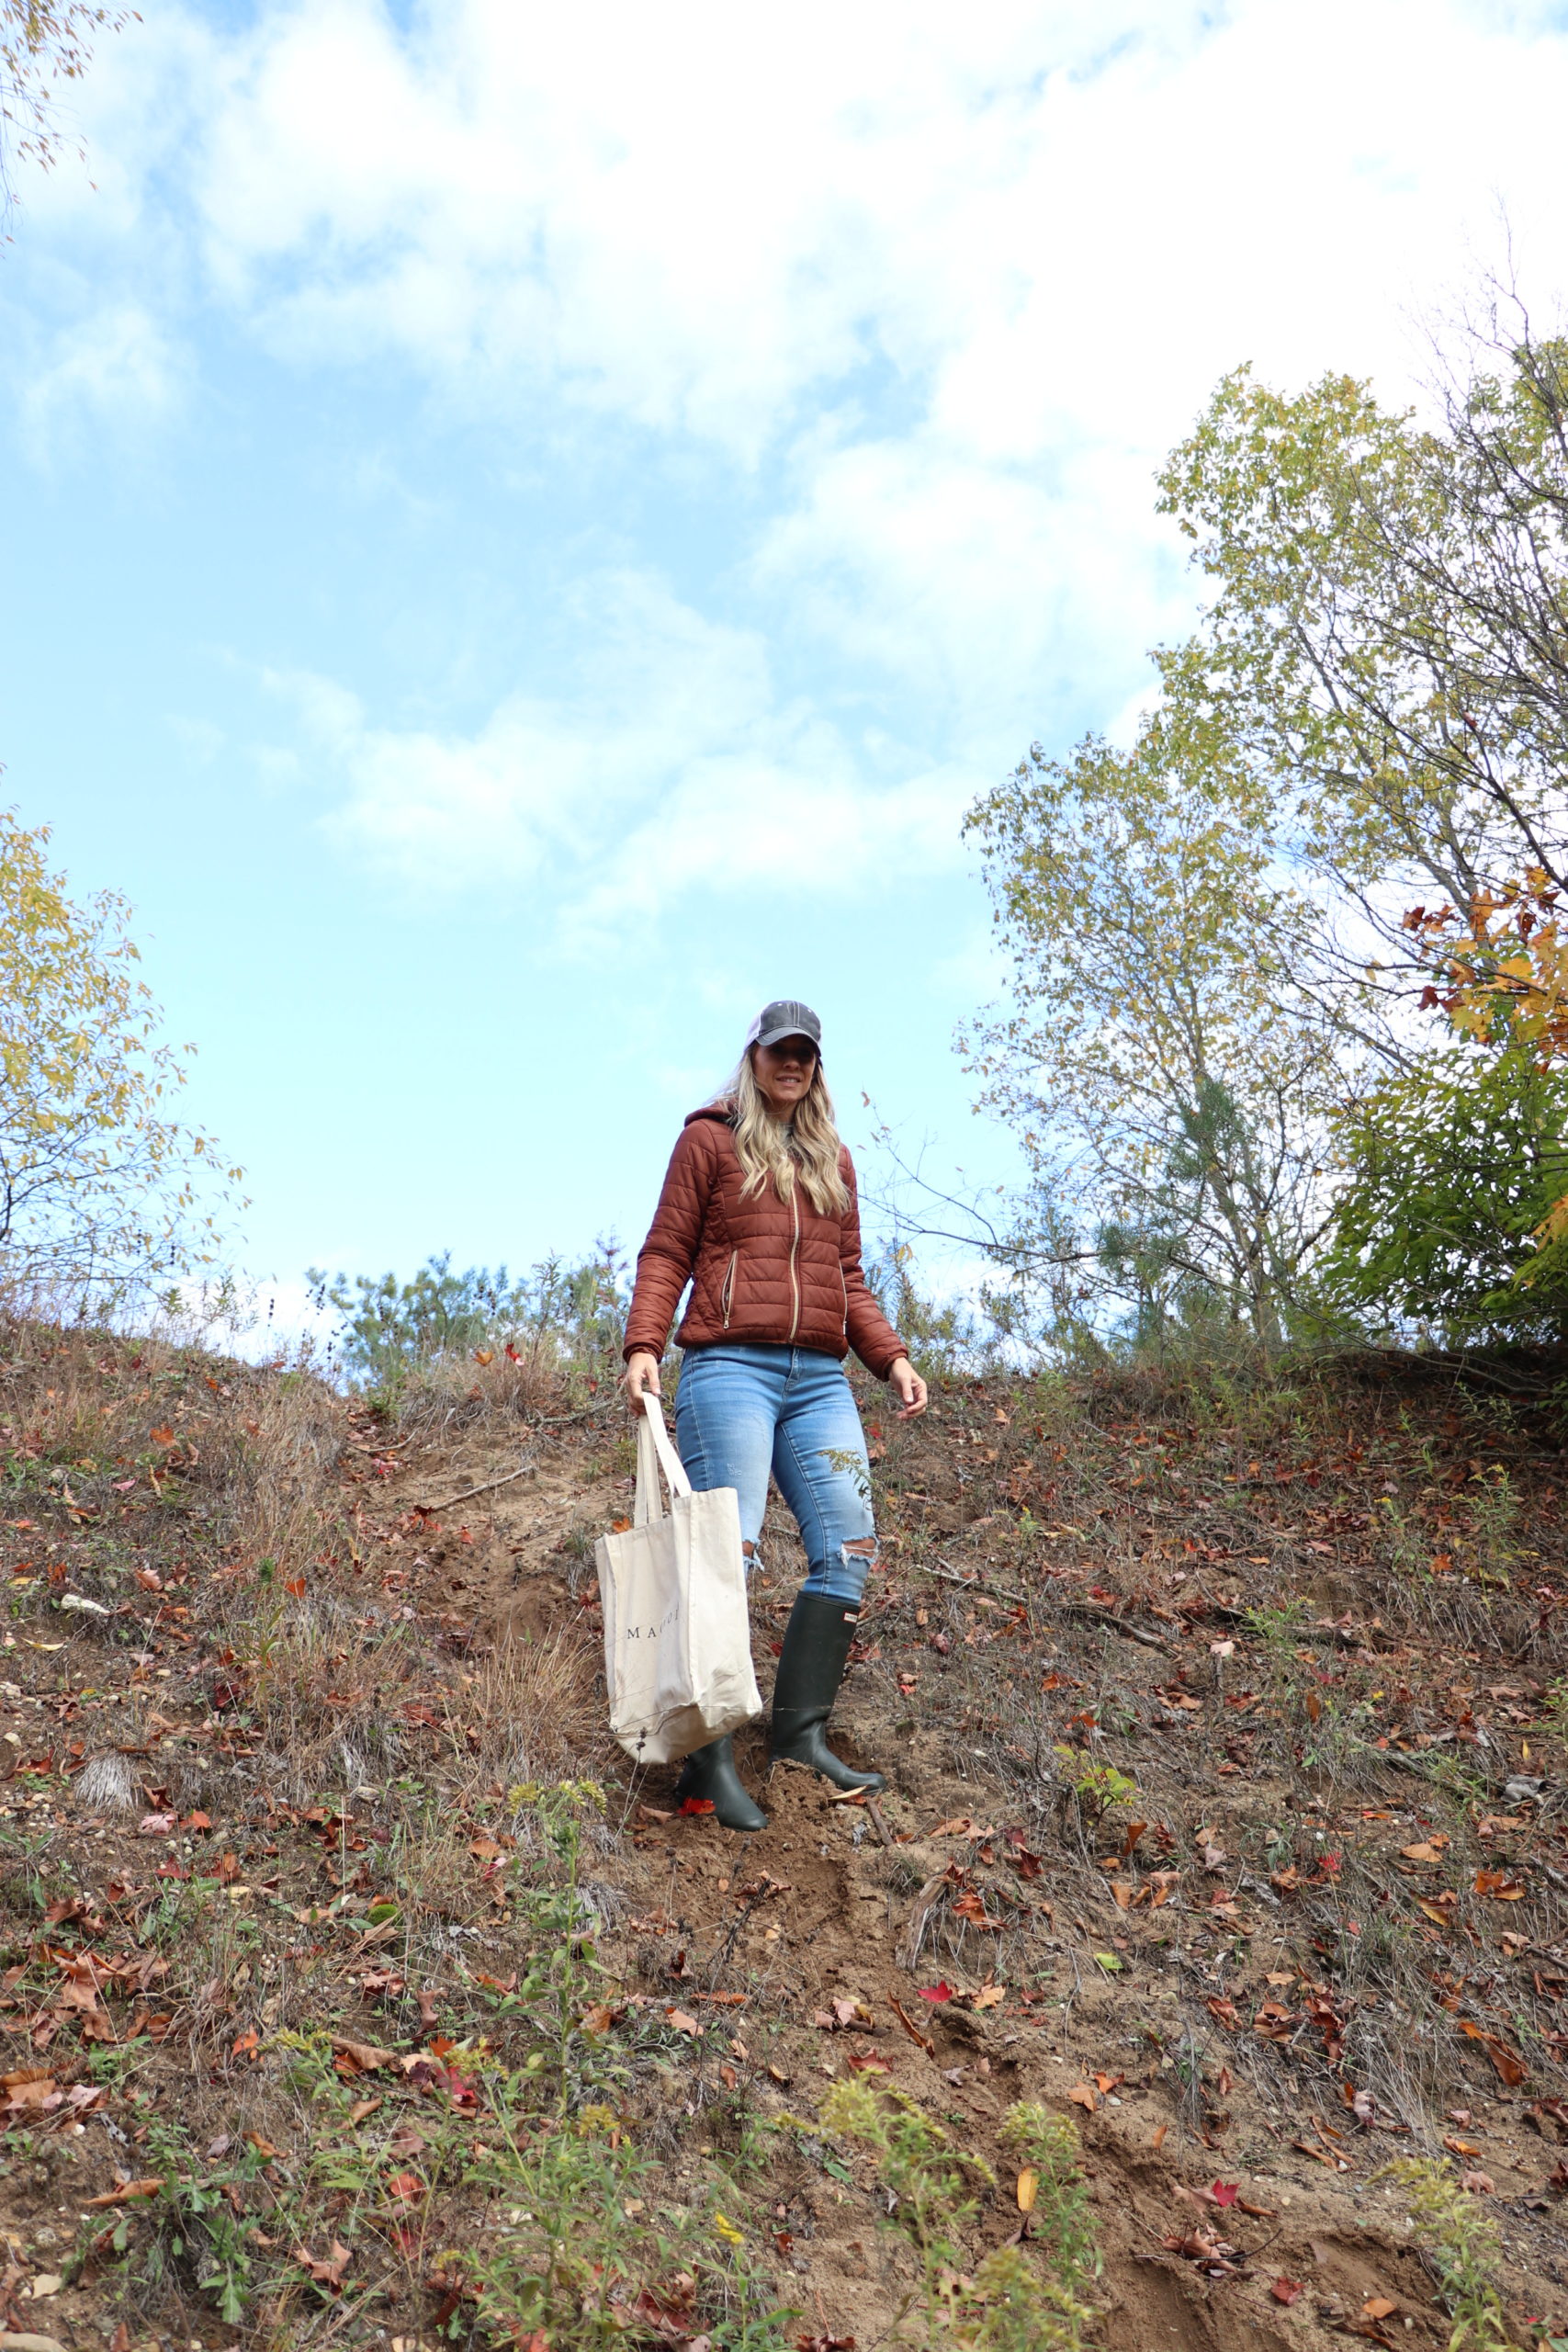
I had an idea of creating a one of a kind piece of DIY artwork for my home out of things I could find in the backyard. I did a little research on ways to press leaves and use them for art while preserving their color and then I went on a long hike and gathered all kinds of leaves!
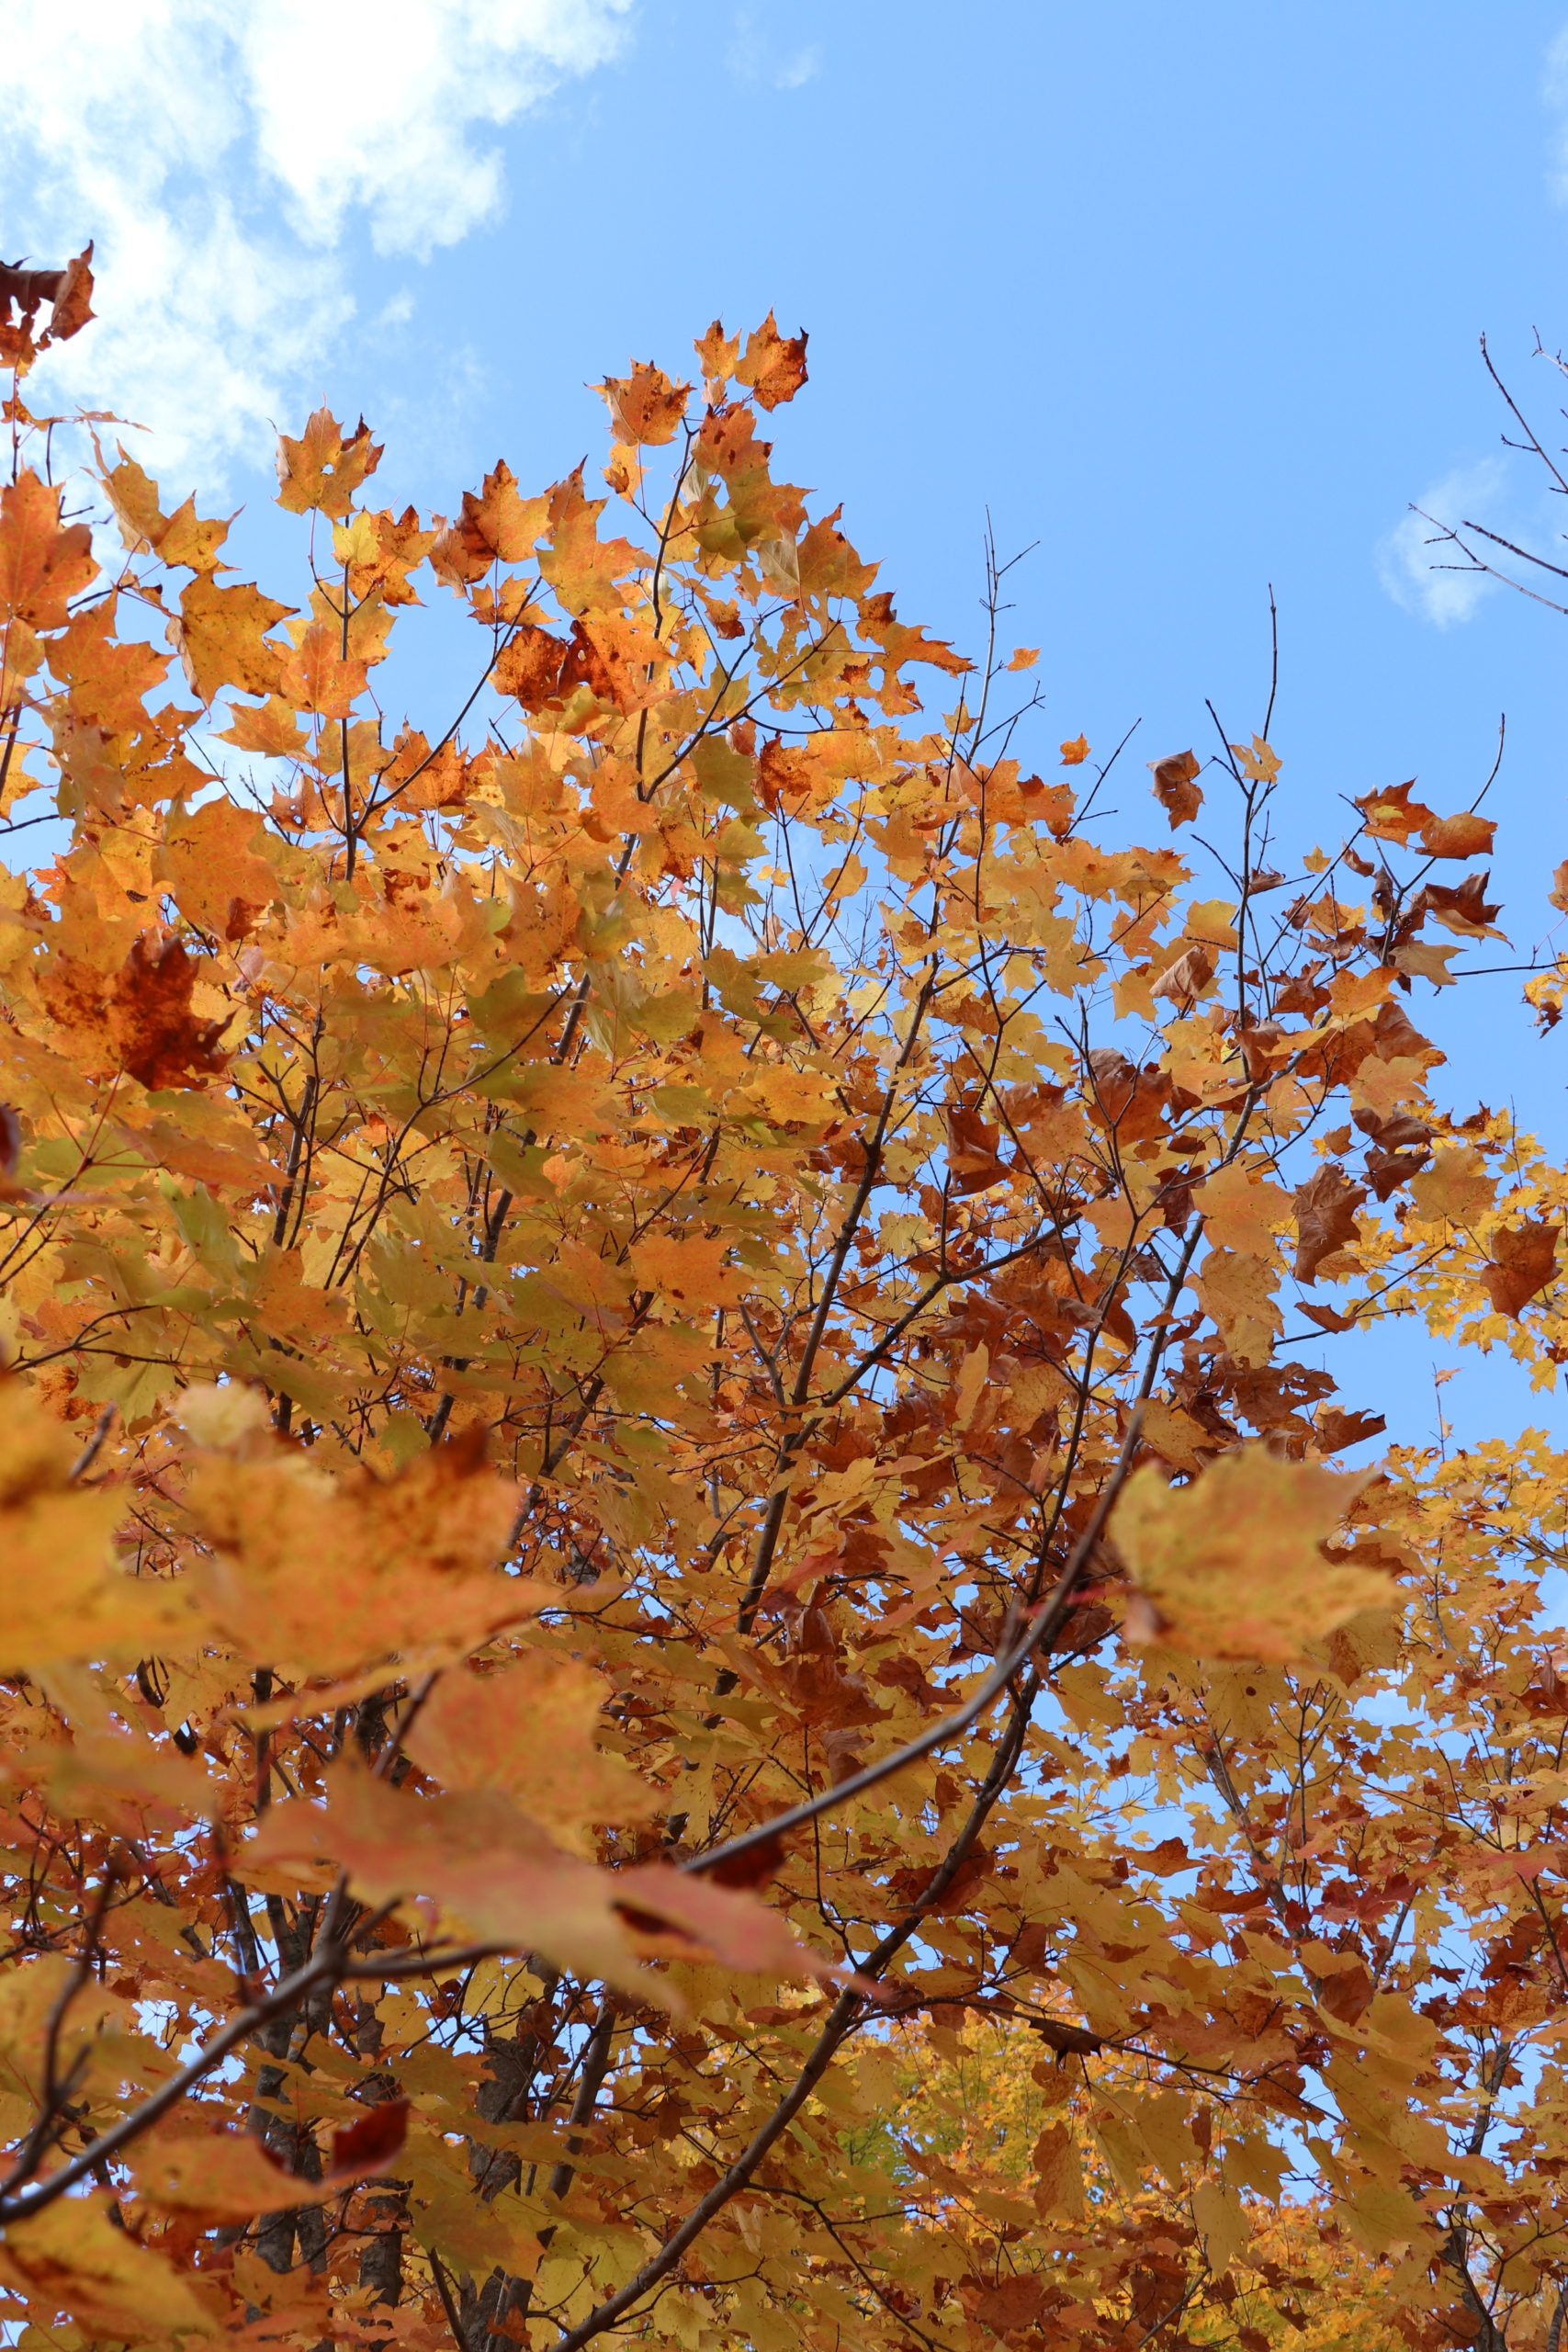
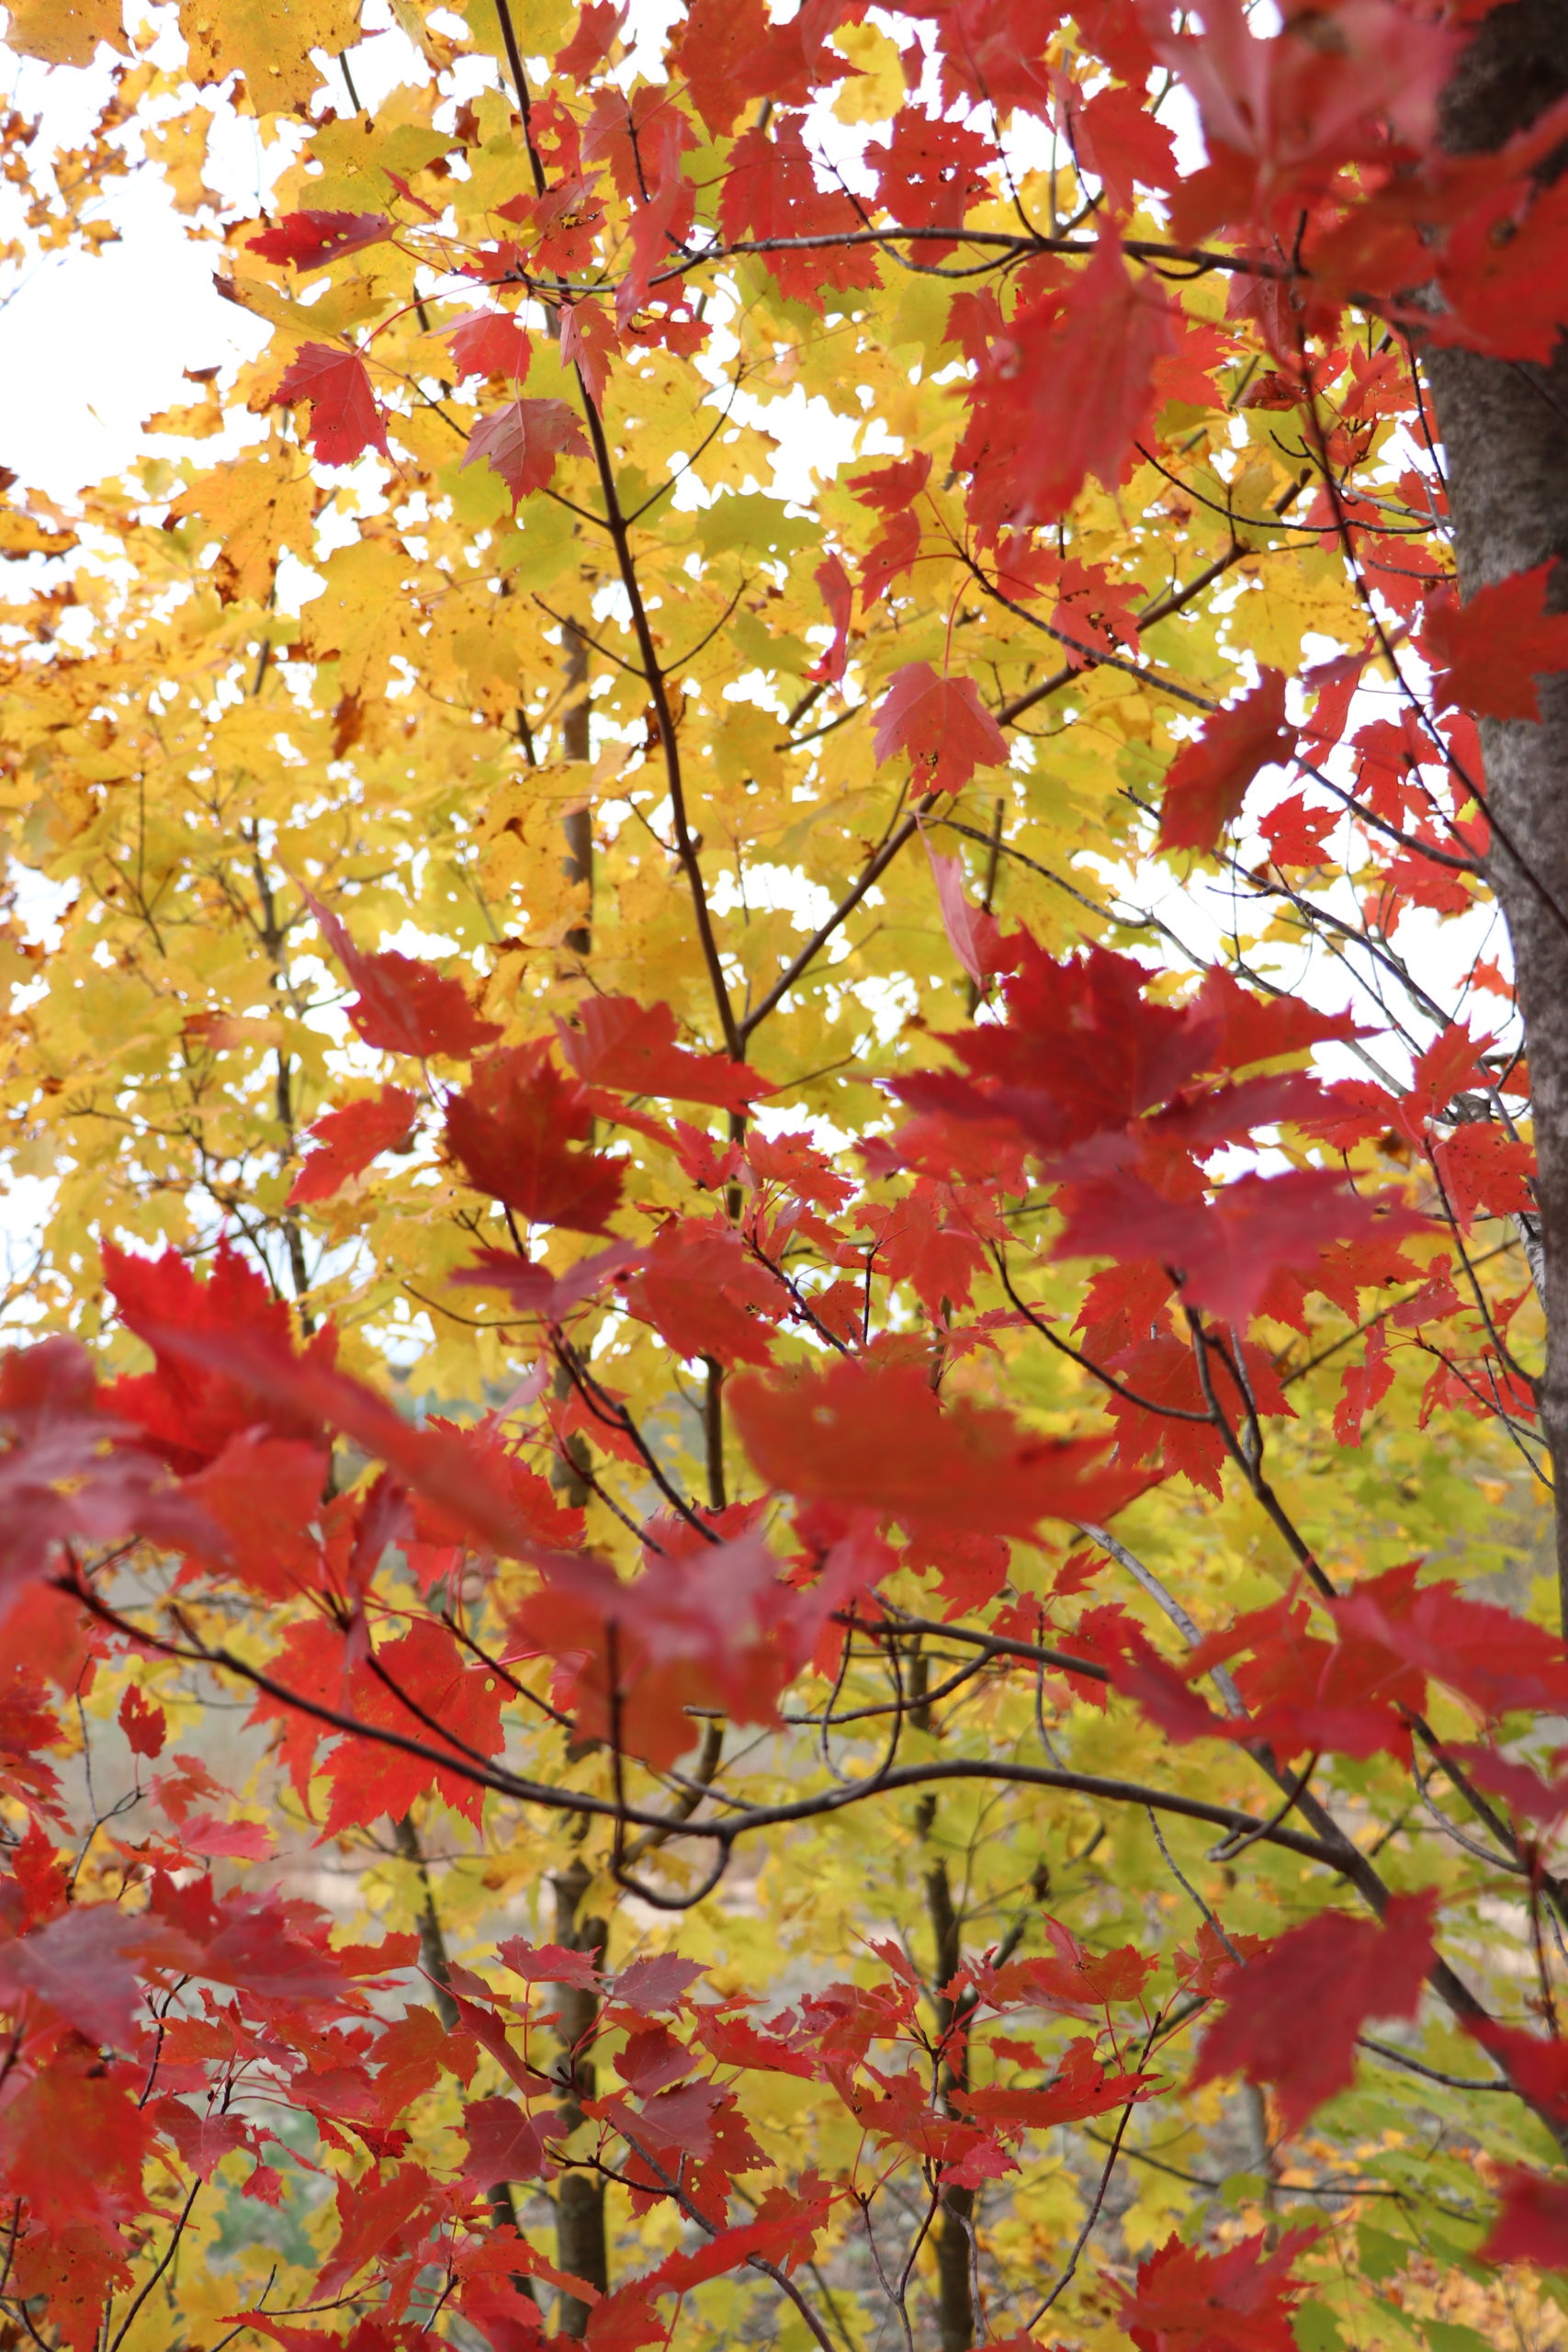
Get Outside This Fall And Gather Leaves
How To Press Your Leaves
I learned how to press leaves as a kid. We would press them between two sheets of wax paper and then use a tea towel to cover them while we ironed the leaves…melting the wax paper enough to seal and press the leaves. That can be a great way to press leaves but that’s not what I did for this wall art project.
I didn’t want them to have wax paper on them. I took some super heavy books and placed 2-3 leaves inside the pages all throughout the books making sure they were not bent at all. Once all the leaves were inside the pages, I put a few more heavy books on top of them and let them dry for a few hours. Super simple!!!
Creating a Design For Your Fall Wall Art
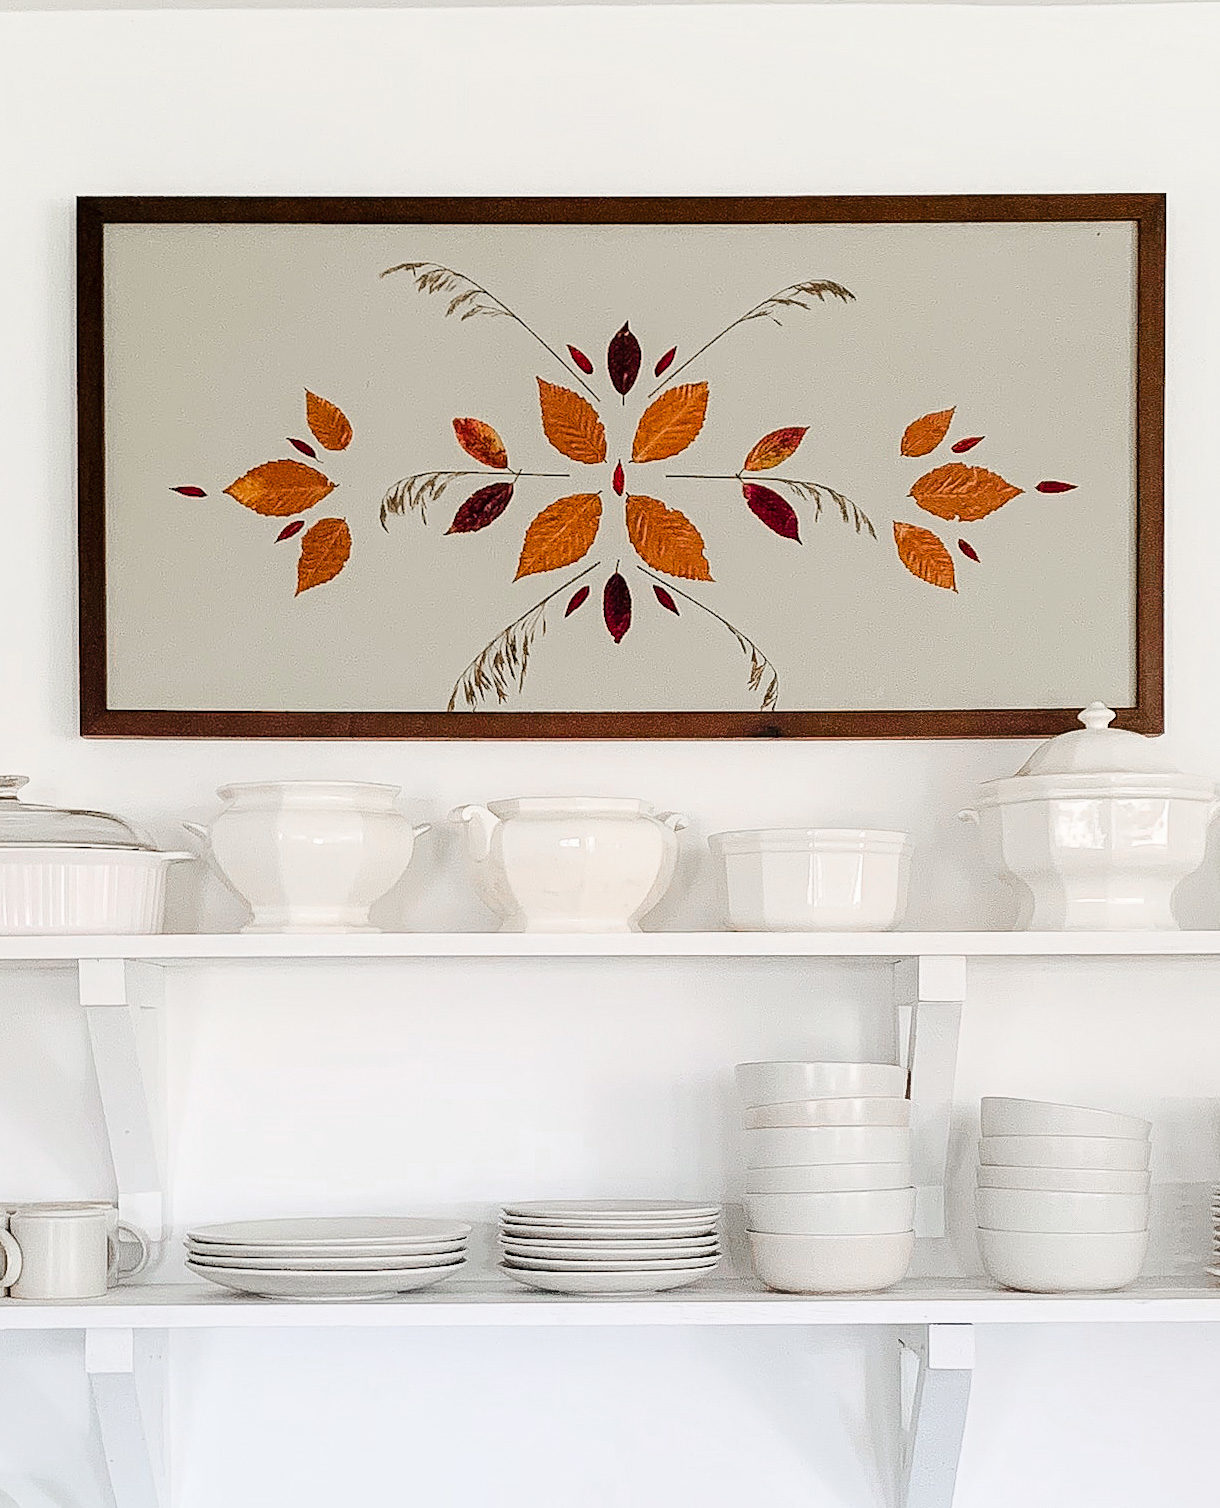
This is the FUN part!!! The part where you can just let your creativity SHINE! For my fall art, I wanted the pattern to resemble a pattern you’d see on an old handmade quilt. Because my framed board was long and not very tall, I created a pattern starting in the center and worked my way outward…moving the leaves around until I found a pattern I really liked!
Choosing a Backdrop For Your Fall Artwork
This type of artwork could be done on a canvas, canvas board, art paper, poster board, or even an old art print you have on hand. I wanted this project to be completely FREE! Instead of buying a canvas, I just looked through my attic at some of my old large framed art prints that I was no longer using in my home and repurposed one of them. It was the right size and it already had a wooden frame…so it was perfect for this simple DIY project!
Choosing a Color Pallet For Your Fall Wall Art
Choosing a color palette was easy for me. As I said, I wanted this project to be entirely FREE so I was using paint I had on hand (that fits with our home’s color pallet). I had a few different colors on hand and actually used an app to help me choose the backdrop color. If you’re not sure what color to paint your board/canvas before adding the leaves the Project Color App from Home Depot can help you decide (and NO, this is not sponsored…I just use it all the time and LOVE it).
PRACTICE
I did a trial run before painting. After I set all the leaves out in a pattern I liked (on the old framed print I was about to paint) I took a picture of it with my phone and then used the Project Color App to change the background! It really helped me decide what color of paint I wanted to use. Not only that but what would look best with the leaves I had and with the colors in my home. Here are a few pictures of some colors I liked and how the app helped me decide.
Preserving The Fall Colors
I did some research and read that covering your leaves in Mod Podge will seal in their colors! This is my first time trying this…so I guess we’ll see! It’s been a few days now and the leaves are just as bright as they were when I pressed them…so far! Here is what I did. After I painted my board and it was dry, I measured out and marked the center starting point. Next, I used Mod Podge on either side of the leaf and stuck them each to the board (using only Mod Podge).
After I had all the leaves where I wanted them I let it dry for a few hours. I later went back in and used a foam roller to apply a second coat of Mod Podge and this time I went over the entire board. That gave it a consistent look and sheen after it was completely dry. Mod Podge is a glue and a sealer in one so since the leaves are covered on all sides, that’ll help them hold their color!
I found that dipping the leaves in the Mod Podge worked the best for the smaller leaves and the small foam roller worked better for the larger leaves. I think a paintbrush would work too. It would just take longer to apply.
I had such a great time taking a walk with my daughter to collect leaves and I just love that this simple DIY was easy and totally free to create! If you have an old print, some leftover paint, some Mod Podge, and a backyard or park nearby…you could make this too! I’ve already collected more and plan to make another one! It turned out too cool to just make one!!! I hope this inspires you to think outside the box with your home decor AND to take some time to enjoy this BEAUTIFUL time of year!!!
Materials You’ll Need For This Fall DIY Wall Art Project
- Leaves of any shape and color
- Heavy books
- Craft paintbrush and/or small crafting foam roller
- Mod Podge
- Canvas/Canvas Board/Old Art Print (I repurposed an old framed print for my wall art)
- Any Color of Paint (I used Fusion Mineral Paint in the color “Bedford” for my background)


