
Making new pillow covers for your throw pillows can be super simple. With just a few materials and a few easy steps, this DIY will give your old throw pillows a fresh new look in just a few minutes!
I love throw pillows…but I also love change…so making my own pillow covers is a great way to change things up without breaking the bank. This week I figured out a simple way to make DIY throw pillow covers using only one piece of fabric and NO zipper! I was able to make a throw pillow cover in no time at all and it turned out great! After getting lots of messages on my Instagram asking for a tutorial…here I am, writing one!
Disclaimer:
Before I start…here’s a little disclaimer…I am NOT a professional seamstress! I am a DIYer/Figure-it-OUTer…and this is a simple way that I was able to transform my throw pillows in just a few minutes! I hope my tips are helpful and that you’re able to use my DIY ideas to customize your own space while freshening it up for spring as well!

DIY Throw Pillow Covers
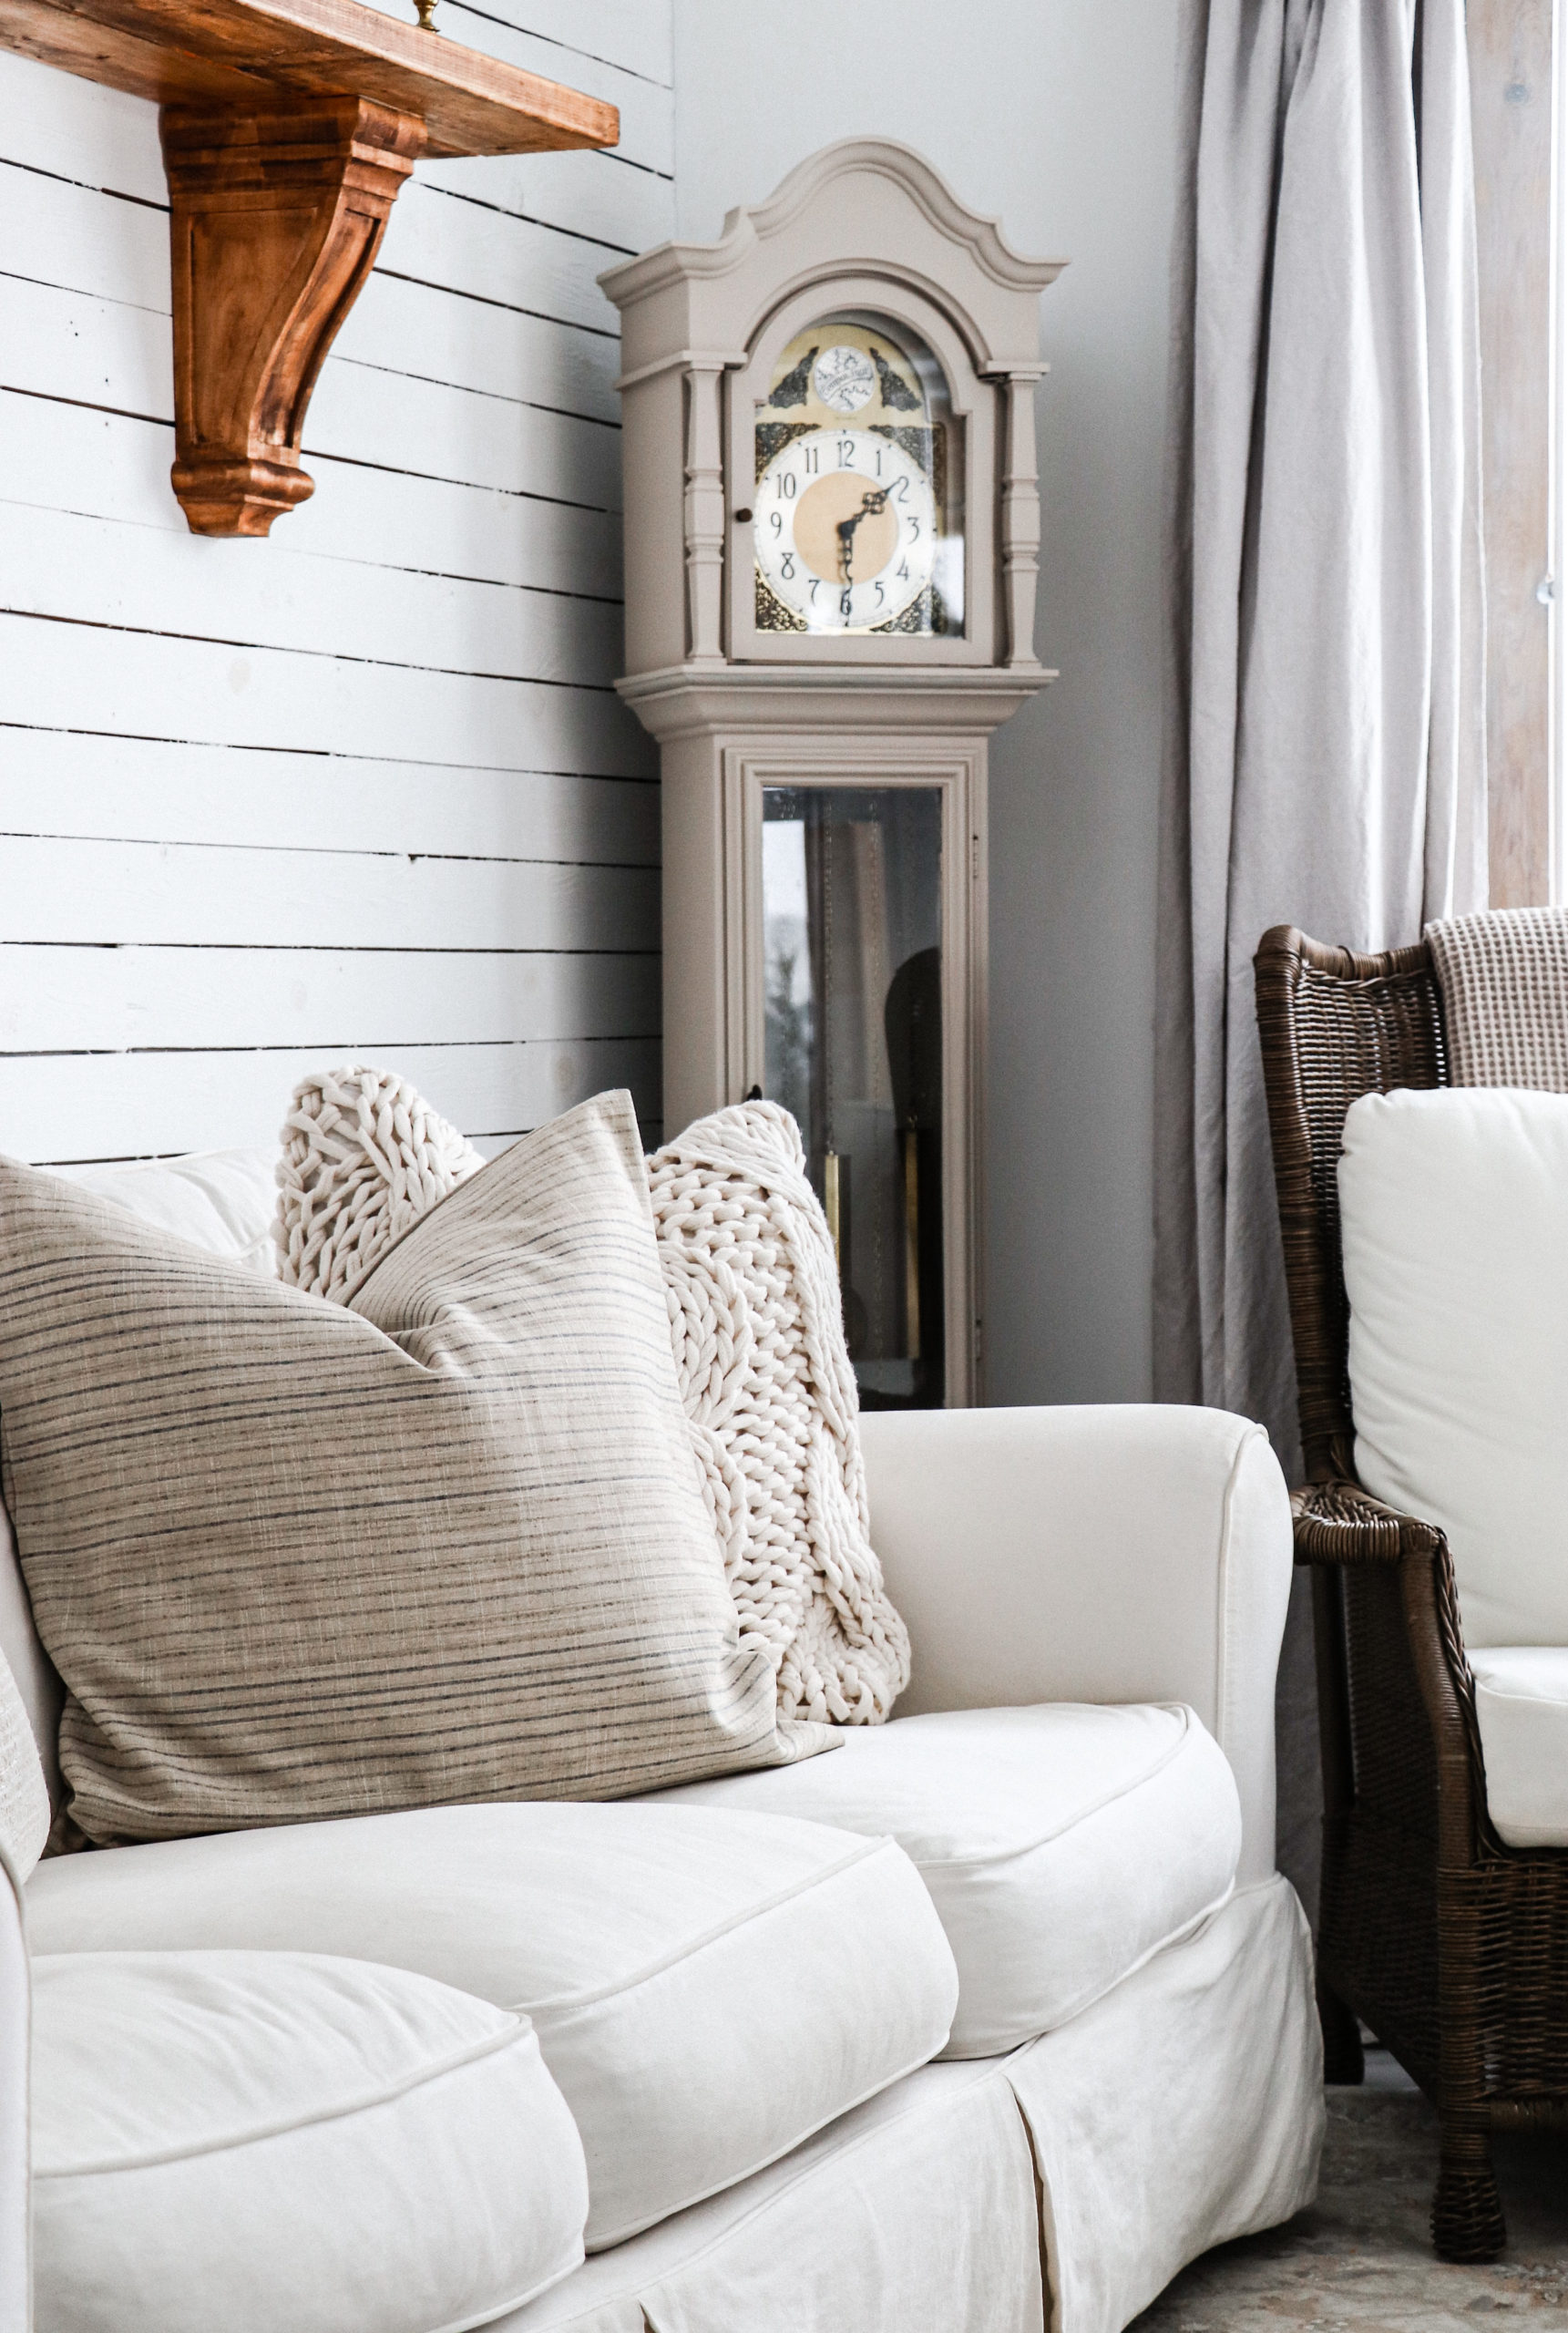
I’ve always had a thing for cozy throw pillows. They bring in a lot of interest and My furniture and walls are natural and throw pillows are a fantastic way for me to bring color, pattern, and texture to my home without any commitment. When you have a neutral backdrop and you can swap out your throw pillows it makes it so easy to decorate seasonally. A good quality pillow cover can easily cost upwards of $100-200 and I’ve personally never loved a pillow cover enough to pay that. But, I still want my throw pillows to look great! However, I can easily tell a well-made pillow cover from a $20 pillow cover. With less expensive pillow covers the fabric is often stiff and they don’t look like they’re made to last. So…that’s where DIY comes into play!

Choosing A Fabric
Like I mentioned I don’t sew a lot and I am not an expert…so when it comes to choosing a fabric I go with what I like. I care about how it FEELS and how it LOOKS.
I’d have to say linen is my favorite though lots of times I’ll use a linen blend. I always look through the upholstery section at my local fabric stores and feel them. I want the fabric to feel soft but not flimsy, medium to heavy, but not as heavy as I would use for recovering a chair. The 3 fabrics I chose for this project all are a cotton/ linen blend. I found them all at my local Hobby Lobby where I used a coupon. I was able to purchase 5 yards of fabric (each yard is 56 inches long) for less than $90! I was able to make a total of five 24×24 pillow covers as well as one 22×22 and one 18×18.
The fabric I Used For This DIY and Where I Purchased It
I chose three different fabrics that felt similar and all were a linen-cotton blend. I found each of them at my local Hobby Lobby in the upholstery aisle and did not pay full price because I had a coupon. They were 56 inches wide and I purchased a total of five yards of fabric. Fabric #1 is the exact fabric I used. Fabric #2 &3 are sold out online, but I have linked others that are very similar.
Fabric #1 -Light Gray/Blue Paisley “Fume Barkley“

Fabric #2 Striped Linen (SOLD OUT online)-

Fabric # 3 Natural/Taupe/Green Linen- (SOLD OUT online)

Supplies Needed For This DIY

To get started making your DIY throw pillow covers you’ll need a few things. Of course, you’ll need a sewing machine and your fabric of choice as well as coordinating thread. Other things you’ll need are…
- Fabric Sheers
- Measuring Tape
- Push Pins
- Iron/ Ironing Board
- Pillow Form (insert) of the desired size

Simple DIY Throw Pillow Cover Step-By-Step Instructions

- Gather your materials.
- Measure across your pillow form from seam to seam. For a very full (overstuffed) look subtract 1 inch. For a looser look add 1 inch to your measurement.
- Layout your material and measure for your pillow. We are going to make this pillow cover out of one piece of material.
- If your pillow is 24×24 and you want a loose look (that is what I did) then you’ll measure your material the width of 25 inches (+1/2 inch for your seam)….so a total of 25.5 inches and then double your measurement and at least +2-3 inches (making it a total of 52-54 inches long. Most upholstery fabric comes in at least 54-56 inches long so that’s great!
- Next, you’ll need to sew a hem on each short end. I like to iron one inch on the end and then fold it under again and iron one more time before sewing it.
- When you sew your hems make sure that they are hemmed with the right side of the fabric (pretty side) out and that the hem is hidden.
- Once your short sides are hemmed. Lay your fabric out pretty side down. Fold your fabric into thirds…overlapping the 2 hem sides by a few inches. Make sure to take a few measurements before pinning into place. The more you overlap it the better it will stay closed. You’ll want your pillow cover to be a total of 25 inches if that is what the sides are…as long as you have the same measurements from side to side and top to bottom…you’ll have a square pillow cover!
- If your fabric is pinned correctly it will be inside out at this point. Once you are happy with the placement, sew a straight seam down both sides.
- Turn your pillow cover right side out and you’re DONE! All you need to do is place the throw pillow cover on your insert!


Helpful Tips
- If you want to make sure your fabric doesn’t shrink, Pre-Wash and Dry your material before sewing your pillow covers.
- If you want a really overstuffed look, make your pillow 1-2 inches smaller than your pillow form.
- If you want your pillow cover to look relaxed and loose then add 1-2 inches to the length and width before cutting the fabric.
- Choose a fabric that is higher quality (like linen) for a really custom, high-end looking throw pillow.
- Take advantage of the 40% Hobby Lobby coupon when buying more pricey/upholstery fabric if it’s not already on SALE.
- When choosing fabrics, think SISTERS not TWINS…in other words, don’t make all your throw pillow covers out of the same fabric. Choose coordinating fabrics and make one or two out of one fabric and a few more out of another fabric. It will give your home a “collected” look instead of it looking too “matchy-matchy”
- Make pillow covers for inserts of all sizes of pillows. A chair, sectional, or sofa always looks beautiful when all the pillows are of different sizes and shapes. Using a 24×24 next to an 18×18 looks really great when you throw in a lumbar pillow too. SO…think about mixing it up!

24×24 Down Pillow Insert I used LINKED HERE
More sizes of down pillow inserts are available through the same link.


Thank you for the tutorial.! I followed you over from Instagram. These look amazing and so easy! And I don’t sew…
I’m curious where you’re getting your super fluffy pillow inserts?
[…] Throw Pillows – How to sew a Simple Pillow Cover Simple DIY Throw Pillow Covers DIY Indoor Garden […]