
I am so excited guys! I am finished with my DIY, deconstructed chair project!
I have never reupholstered a chair or sofa before this but I have heard over and over just how hard it is from others who’ve tried it. I knew I wanted to try and DIY it myself regardless. I love the look of an old deconstructed chair and I couldn’t wait to get started! There is something about deconstructed furniture…they just look so cozy!
Thanks to Pinterest, we can learn and figure it out just by reading and watching what others did! I love it…okay, we all love it!!

What I love most about this kind of project is how creative you can be with it! There are so many fabric choices out there and I think it’s so cool that each chair or sofa that someone has deconstructed or reupholstered looks so unique to them and is their own style and take on it!
No two chairs turn out the same, and to me, that is what makes this kind of project extra special and even more fun to take on!!

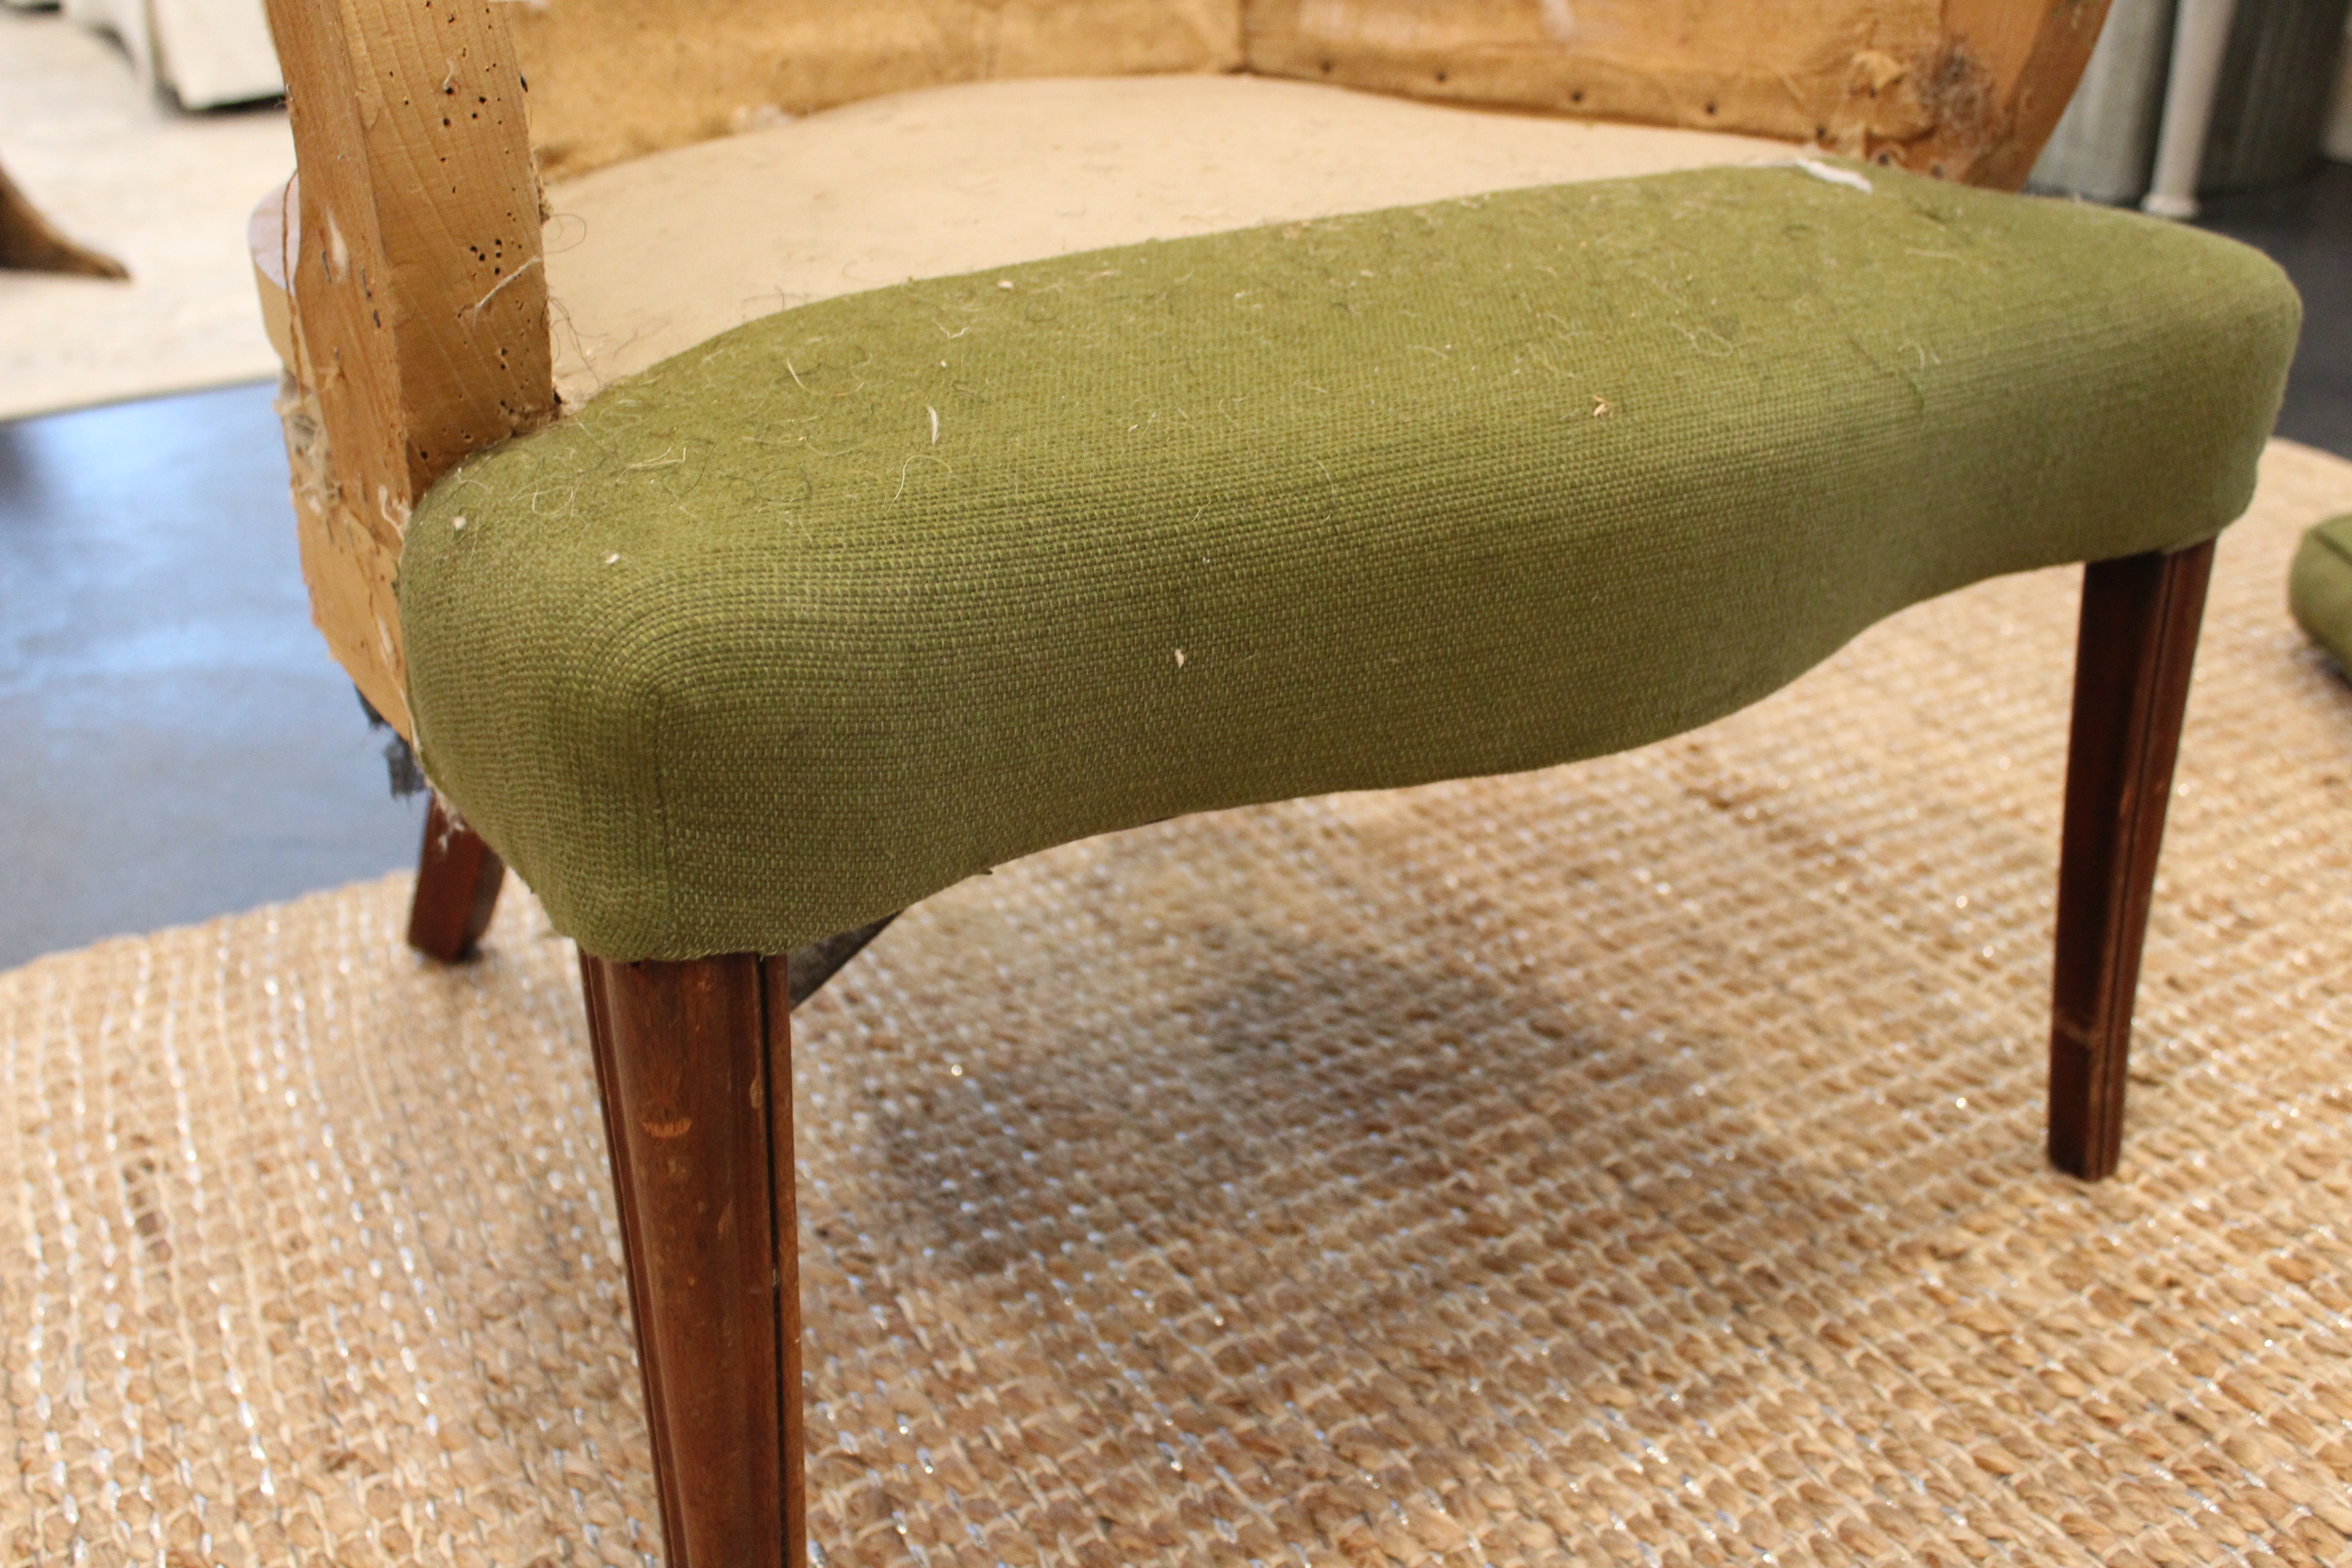
If you’ve been following me on Instagram Stories, you know just how ugly this chair was at the start! The fabric was a dark green and it was super itchy…It may have been wool! I was NOT a fan! However, the bones of the chair were so solid and I loved how the back curved and made almost a heart-like shape! I was certain that it could be super cute with a little work!

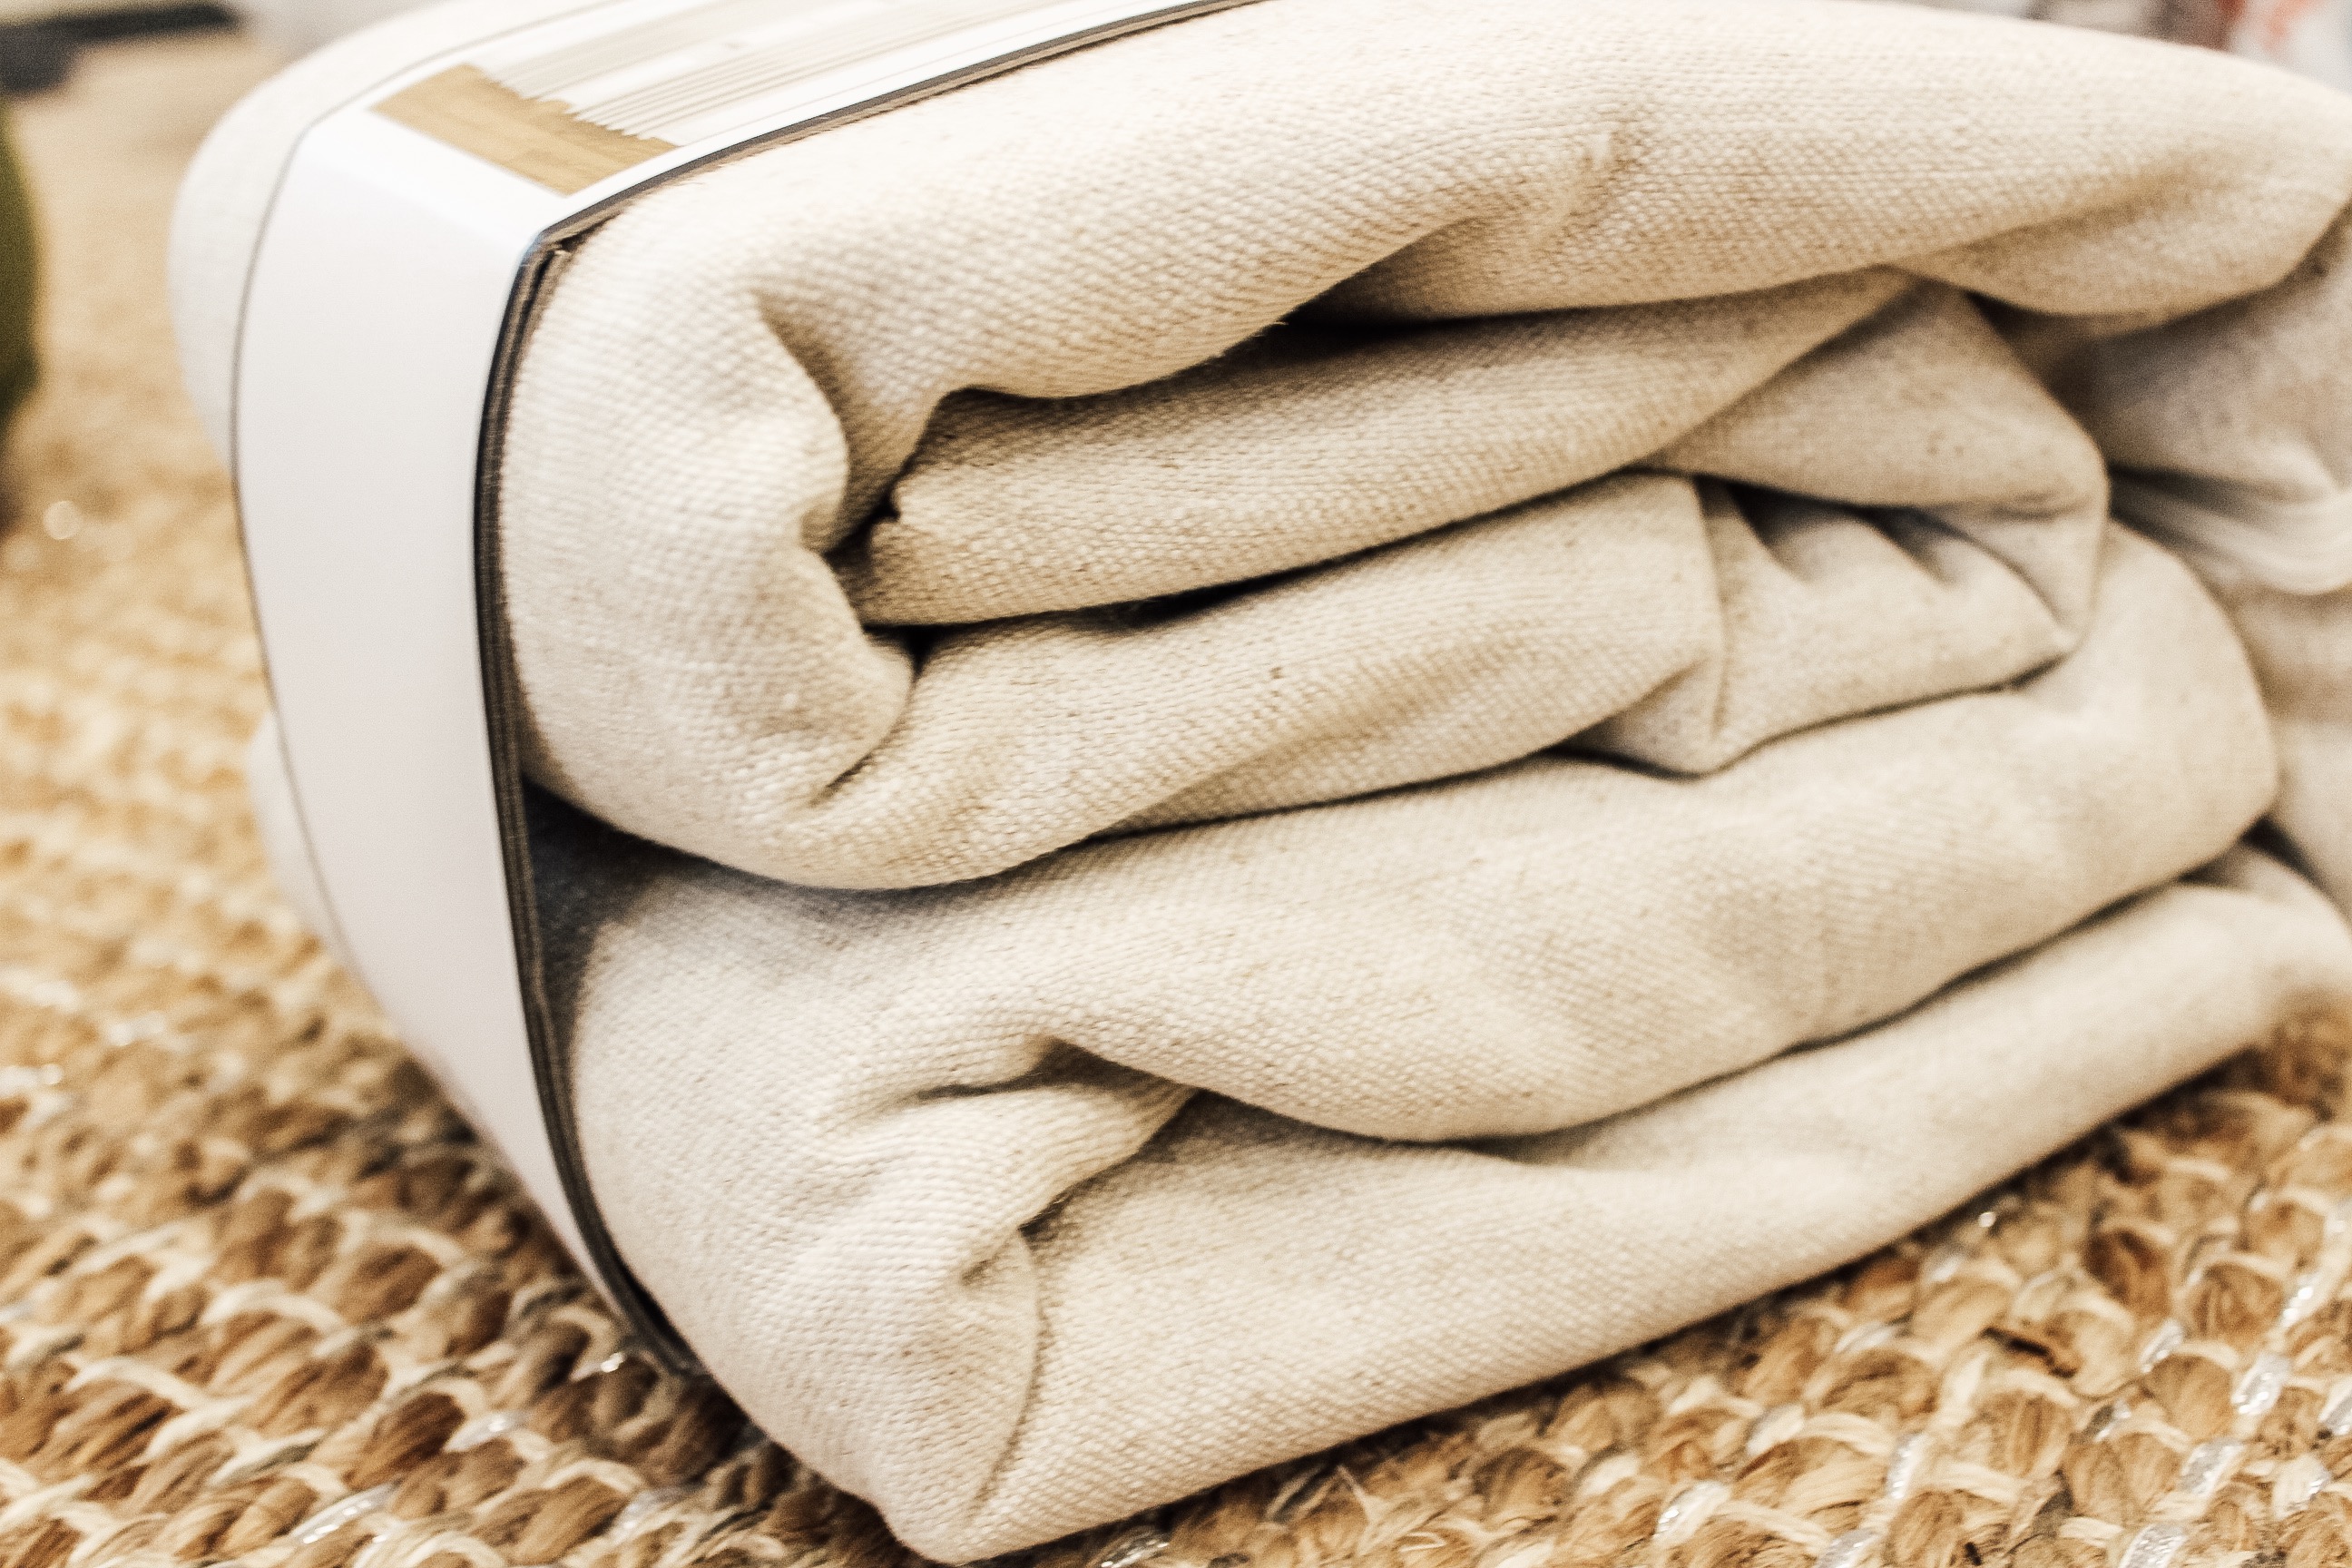
The chair was 50% off and only cost me $17.50 at a local antique shop and I spent under $50 for my supplies! I decided to use a long curtain panel for the fabric because I liked it better than any of the fabric I could find. It ended up being plenty big enough to do the whole chair with just one panel!
I also used about 2 yards of batting (because I doubled it up) and 5 small bags of pillow stuffing. I also purchased small upholstery tacks to trim it out.

Since it was my birthday and my kids had a snow day all I wanted to do is get to work on this chair you can read more about that here. SO…I got busy pulling staples…all one million of them and after a few hours, I had the blisters to prove it! On day two I changed up the way I pulled them.

I used a very small screwdriver to lift them just a little and then pulled them out the rest of the way with my small pliers. I am sure there is a better way…I am new at this and it worked for me the second day without giving me any blisters! YAY!

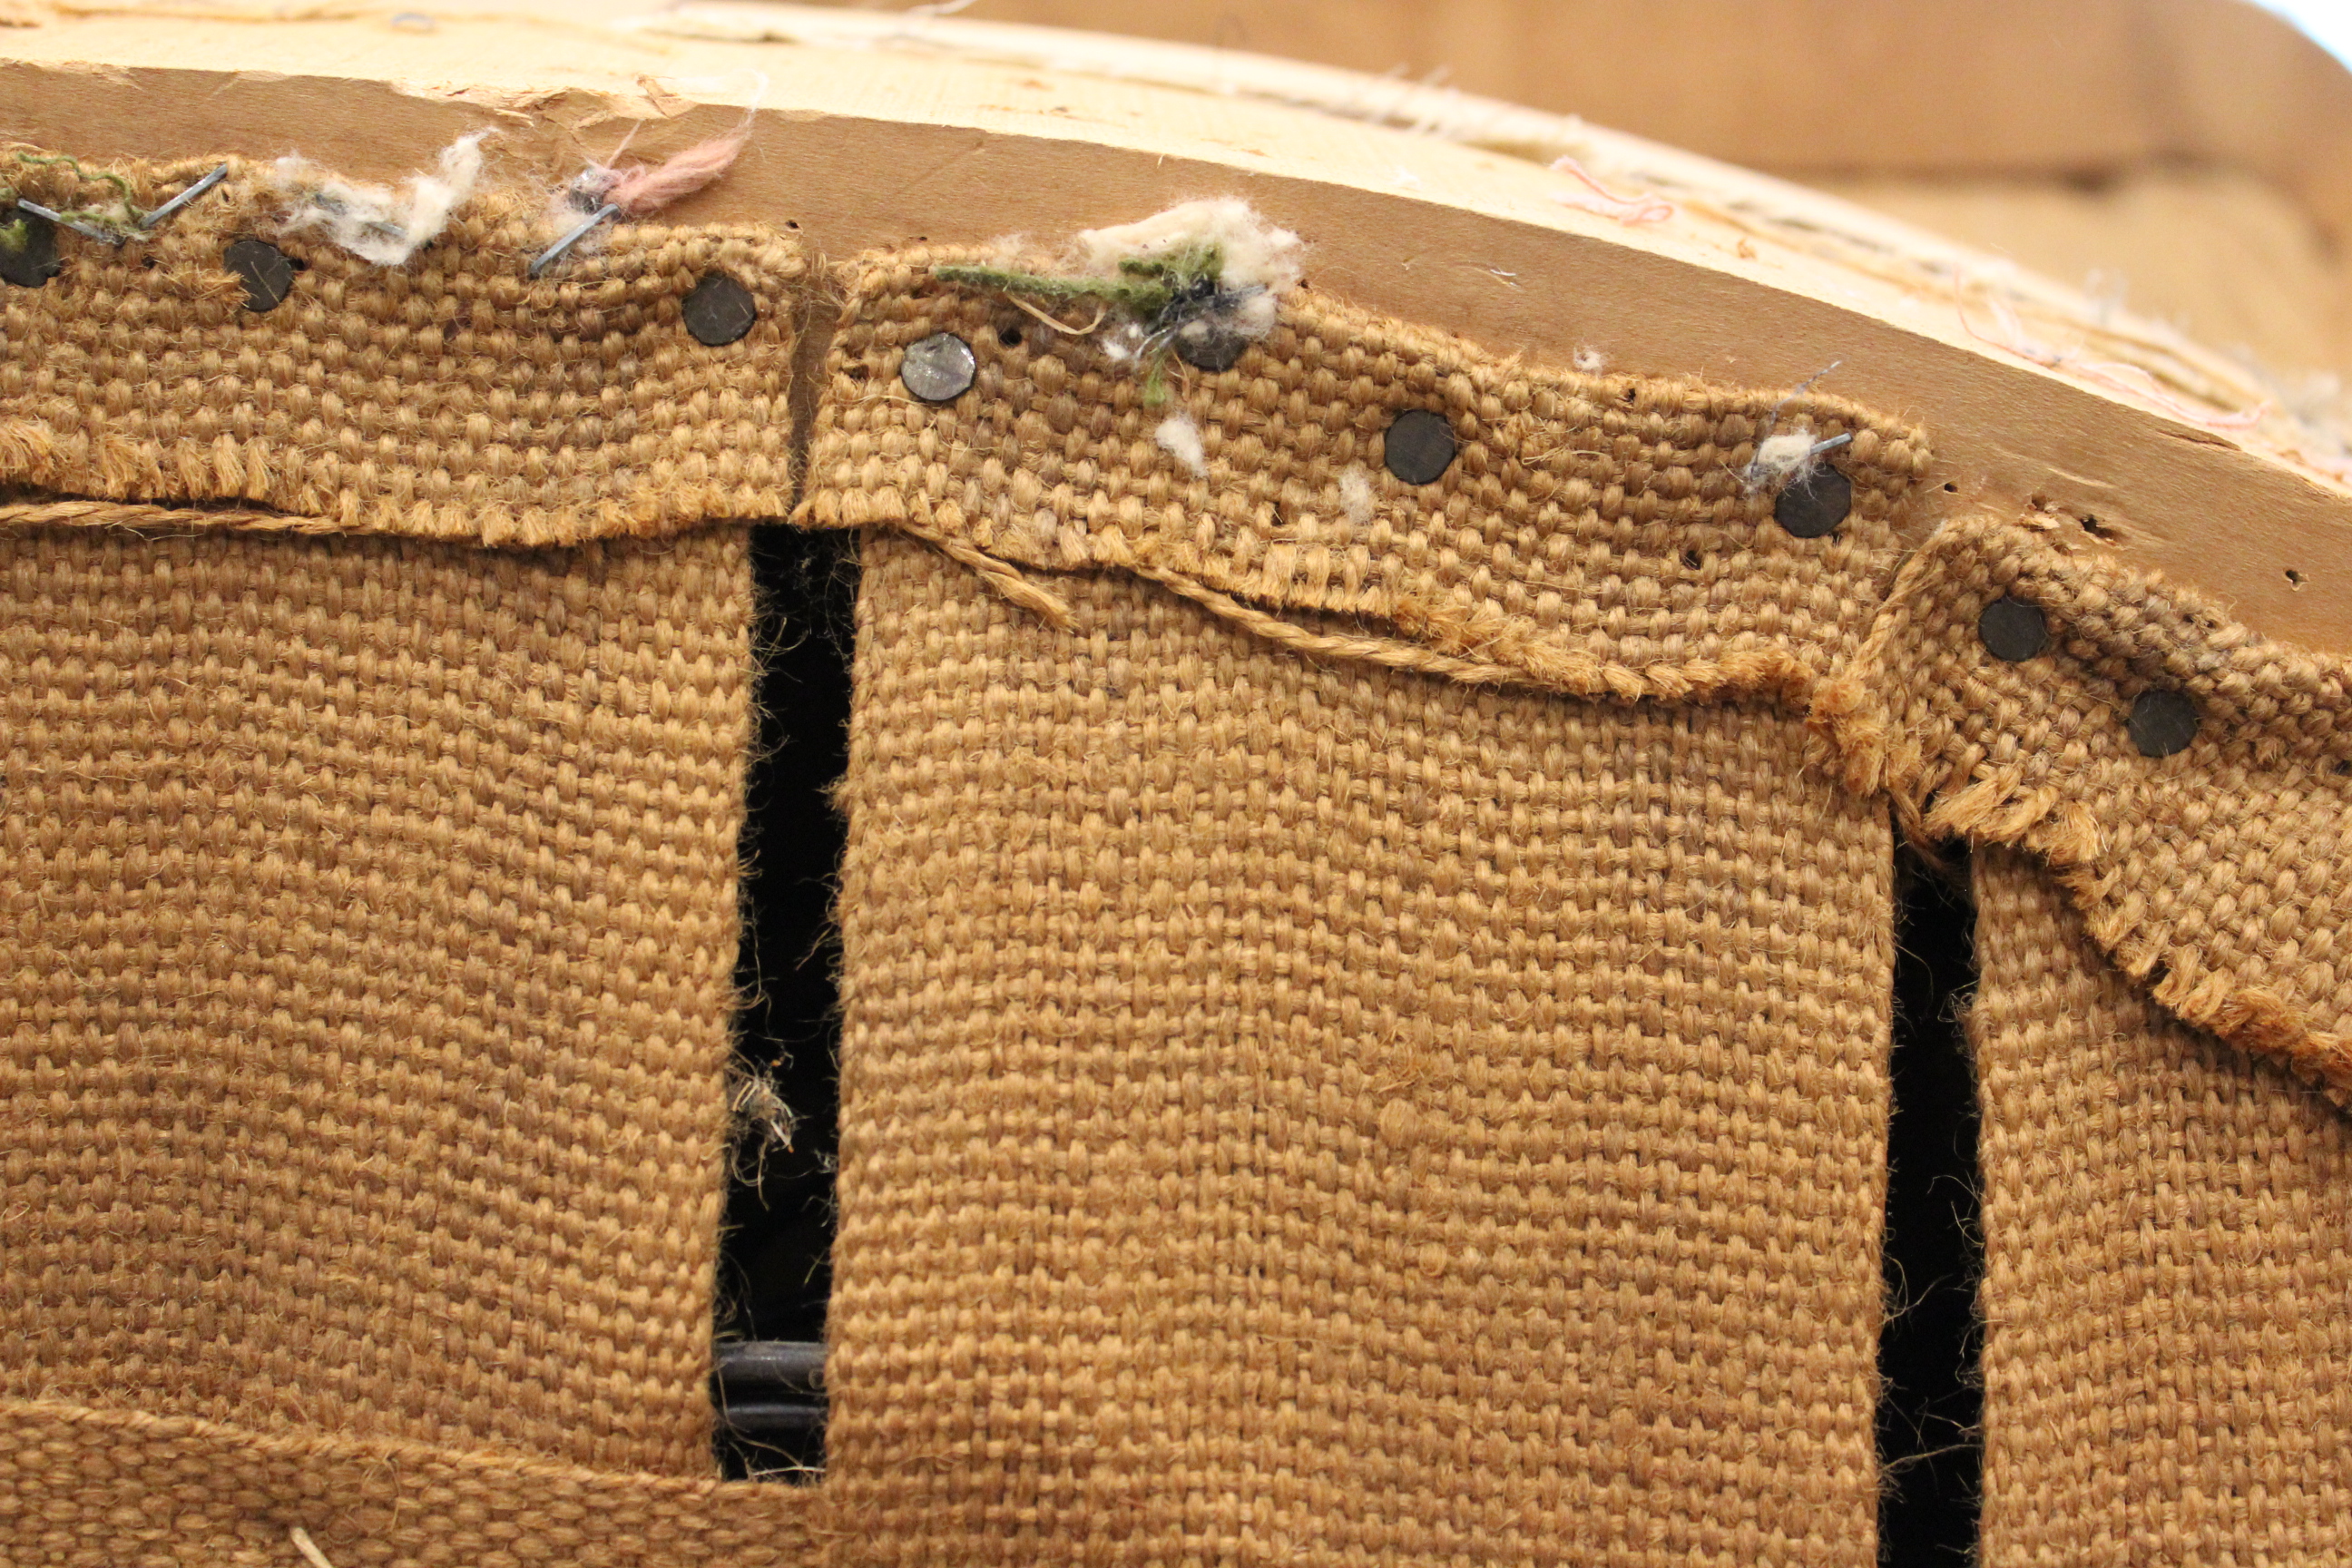
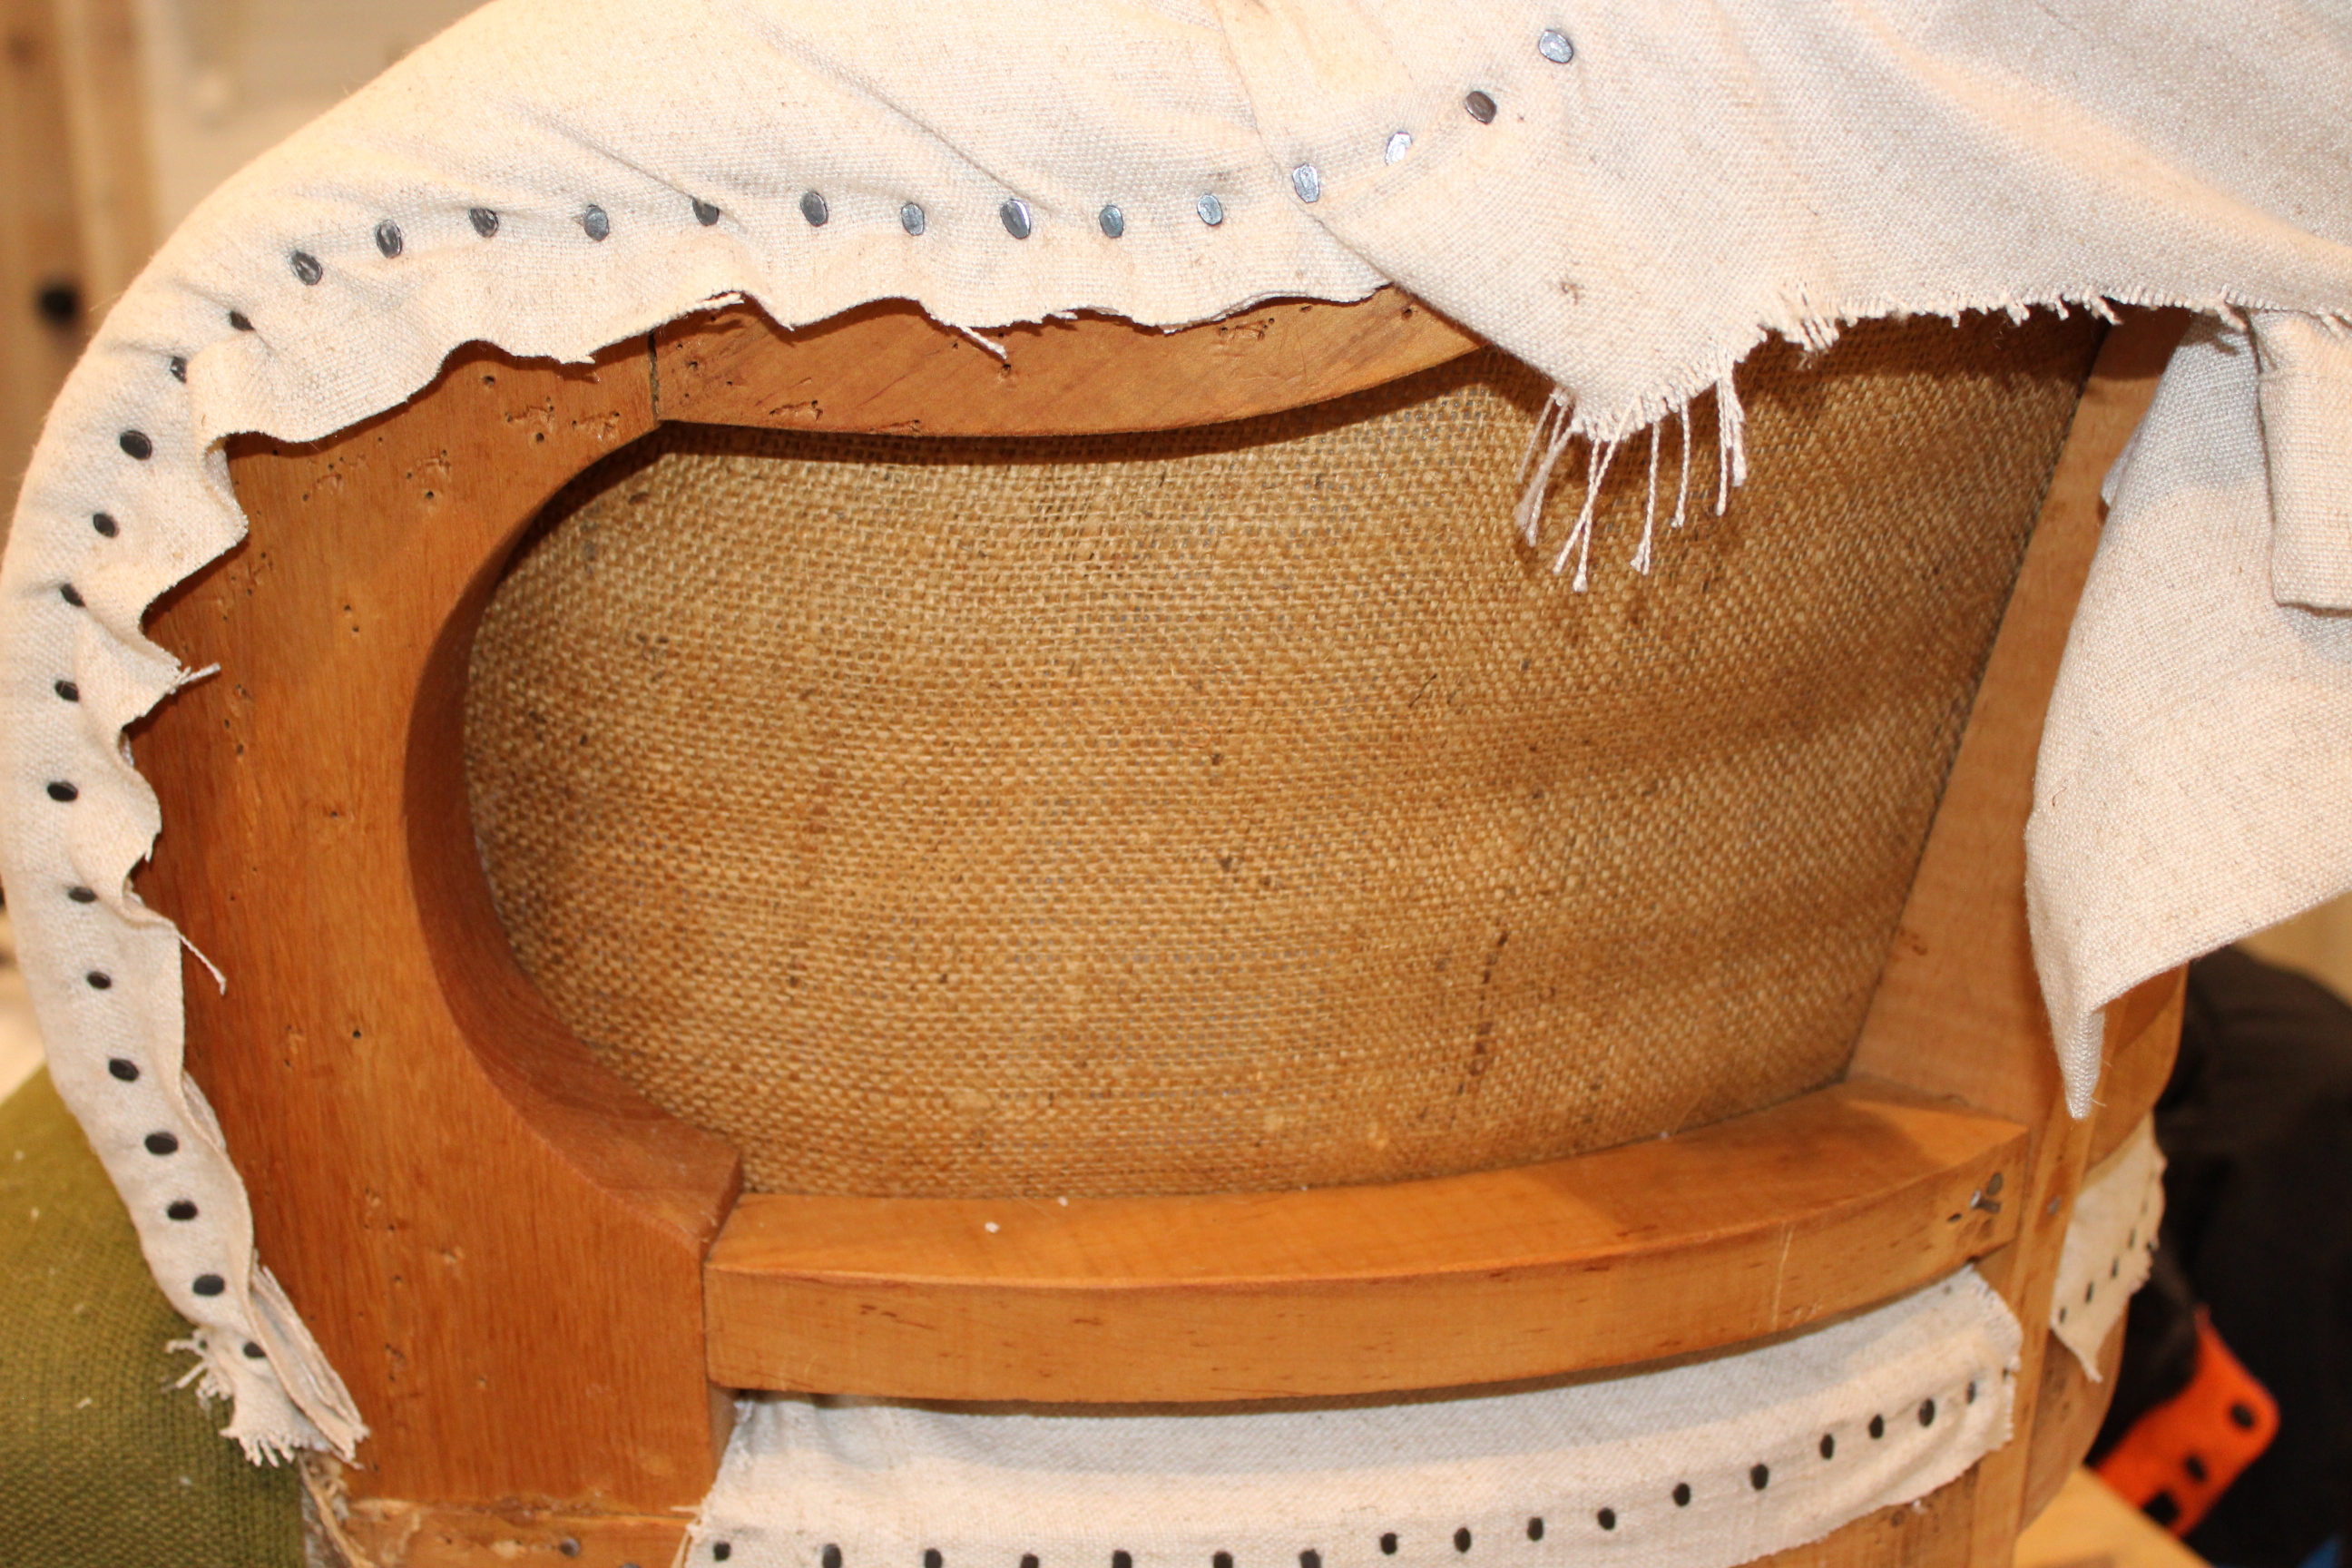
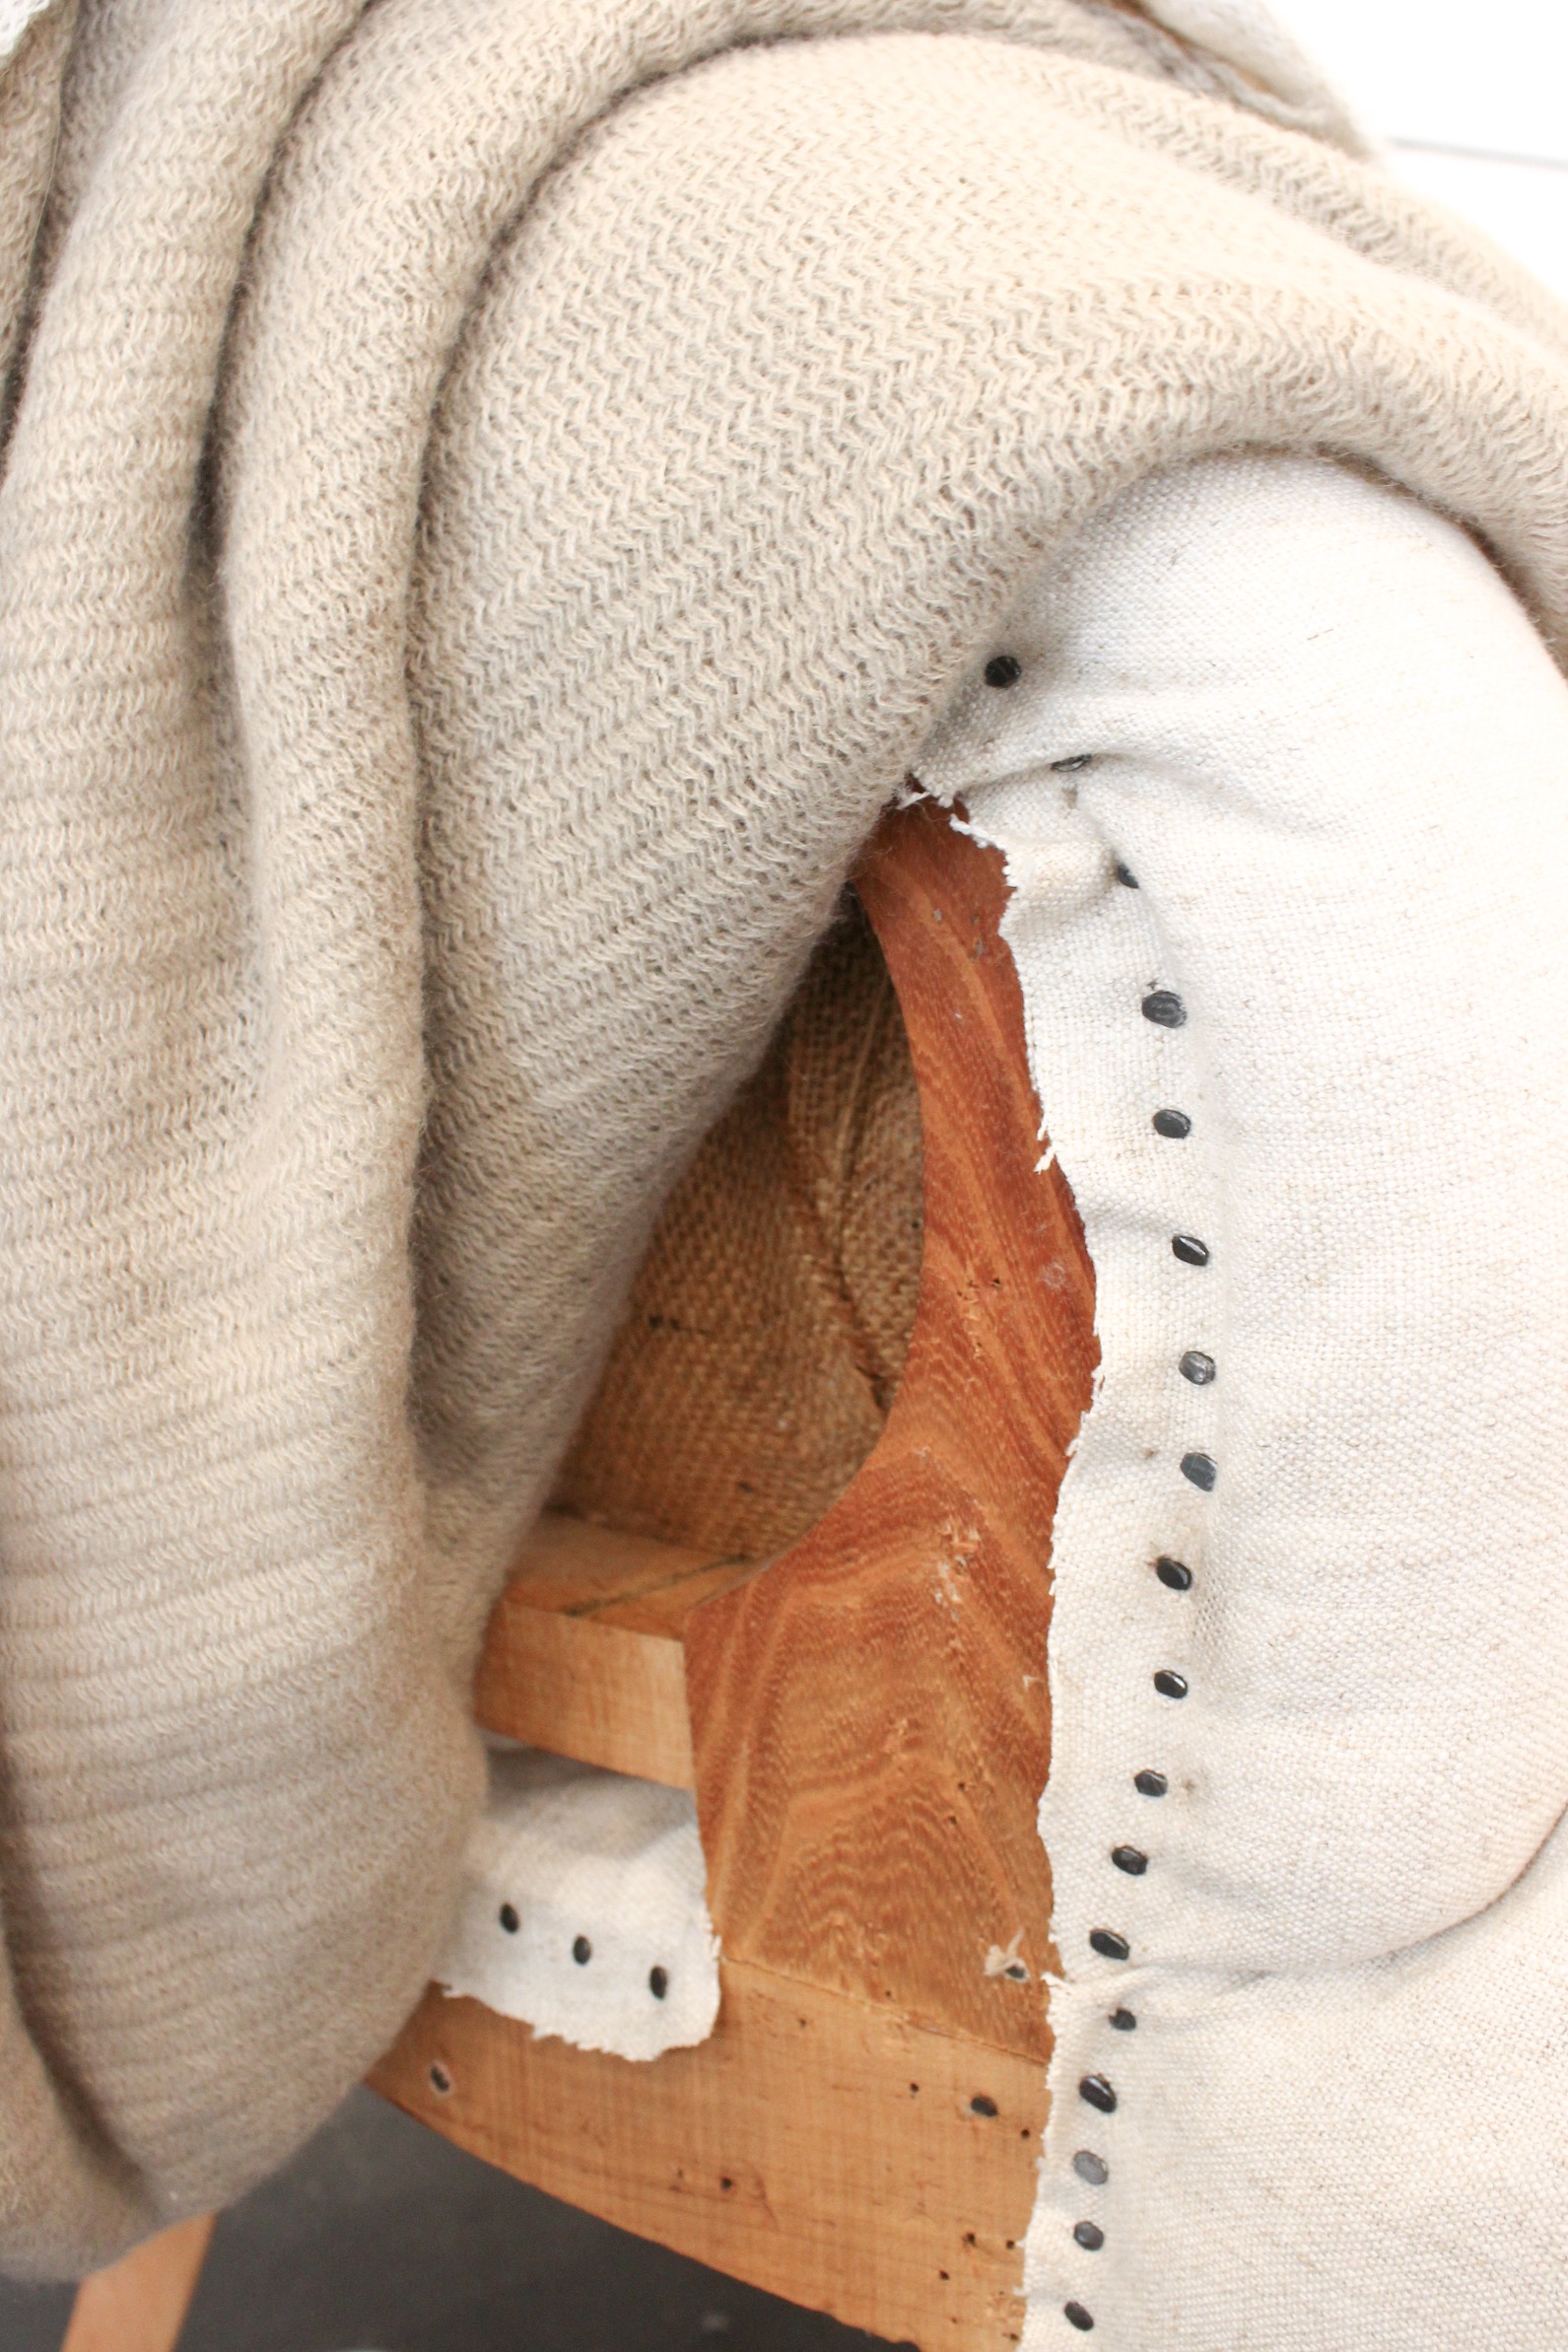
After the fabric was off and all the staples pulled I was left with a gorgeous structure to work with. I was ecstatic to find that there was already a lining of burlap on the inside of the frame!!! I wanted to add burlap to the interior, so having it there was a huge time saver.
The chair’s legs were stained a dark reddish color and the inside frame was raw wood, so I did give the legs a light sanding to remove the old stain.


I really wanted this chair to be a lot cozier and more comfortable after I finished so I added a lot more stuffing around it. Now that I am finished I think I went a little overboard and could have used less, maybe 4 bags instead of 5. I added two layers of batting all around the chair frame and after it was tacked in place, I filled it with the stuffing. Even though it looks kind of like a cloud now, it is super comfy, so I’m happy with it! I used my nail gun to staple some cording to the bottom and top of the arm so that it would pull it tighter in the corners where the arm meets the back of the chair.

The curtain panel worked perfectly for the look I wanted. I had seen a deconstructed chair that had a similar shape and looked almost like mine for $1,200! That’s just crazy!
I covered the two arms and backrest of the chair with one piece of fabric, pulled it as taut as I could and started going to town, one little nail tack at a time! After I had it all secure there still was a bit of slack in the fabric where the cording was pulling it in, so I ended up hand sewing that spot and creating a seam of sorts. I am definitely not a great seamstress, but I try! If you look closely you’ll see it right where the arm meets the chair back.


Next up I removed the seat cushions cording without cutting the cushion at all. I wanted to cover it in a way that made it look like one piece, not two. I also didn’t want the cording to show through the fabric. If I had left the cording on the cushion, it would have had a weird ridge in the seat. I didn’t want that to happen.


Cutting it off really worked and I didn’t have to sew a whole new seat cushion! I used two layers of the batting again on the seat and then covered it with the fabric I had left from the curtain panel. I used my nail gun to staple it in the back and wrapped it up over the seat cushion in the front and around the two front legs.

When I was finished, I took a step back for a good look and thought it really needed a row of the nails in the front as well! I am so glad I added them! It took a while, but this DIY project was worth all the extra time and effort it took!


Okay guys, here it is! I want to know…have you ever tried anything like this? Would you ever give it a go??? I would love to learn more about deconstructing furniture! I know how I did this style is not going to be for everyone, but I really love how it turned out! The finished product looks almost identical to the inspiration picture of a deconstructed chair I found on pinterest…so I’d say that’s a BIG win!!!
How To Create A Welcoming Entryway For Christmas
All About DIY Concrete Countertops And How To Know If They’re Right For You
DIY Herringbone Tile Flooring


Oh, I LOVE it!!! If I had a deconstructed chair, I’d want it to be just like this one! So cozy!
Thank you! That’s
such a compliment! Have a wonderful weekend and thank you for visiting the blog!
[…] can read more about this project HERE! I learned so much and I would defiantly try this again! I use this chair as my desk chair and after […]
Such a great job! Can I ask you what tacks you used and where you purchased them? I’m going to deconstruct my first chair and I want the same look as yours!
Thank you so much! I purchased my tacks at my local JoAnn Fabric store…but they also have them on Amazon and they are called National Hardware N277-798 V7700 Cut Tack in Black. I hope that helps and good luck on your chair!
I love this! You did such an awesome job 😍 i’d love to try one but I’m so intimidated! I can’t sew or anything at all. Maybe I’ll give it a go sometime soon and just see what happens. Thanks for sharing!
Hi Katie! Thank you so much! I had never attempted this kind of a project before this either and I just learned as I went! You will do great! If you give it a try, I hope you let me know, I’d love to see it!
[…] I want the fabric to feel soft but not flimsy, medium to heavy, but not as heavy as I would use for recovering a chair. The 3 fabrics I chose for this project all are a cotton/ linen blend. I found them all at my local […]