
I did it guys, I finally did it! I have received countless questions on this subject so I decided to write a post that answers your questions and hopefully helps you decide whether or not DIY concrete countertops are right for you!!! In this post, I’ll be touching on what I feel are the positives and negatives to this style of countertops.

Even though this is not a step by step tutorial of how to make your own concrete countertops, I hope this gives you some insight into concrete countertops and if they’re the right choice for your space. I do have two pretty exciting projects in the works for springtime that will include concrete countertops! I will be sure to document it and write up a post that shows exactly how we DIY concrete countertops step by step, so be on the lookout for that.
I have had concrete countertops for five years and I want to start by sharing my top five reasons for loving this DIY!
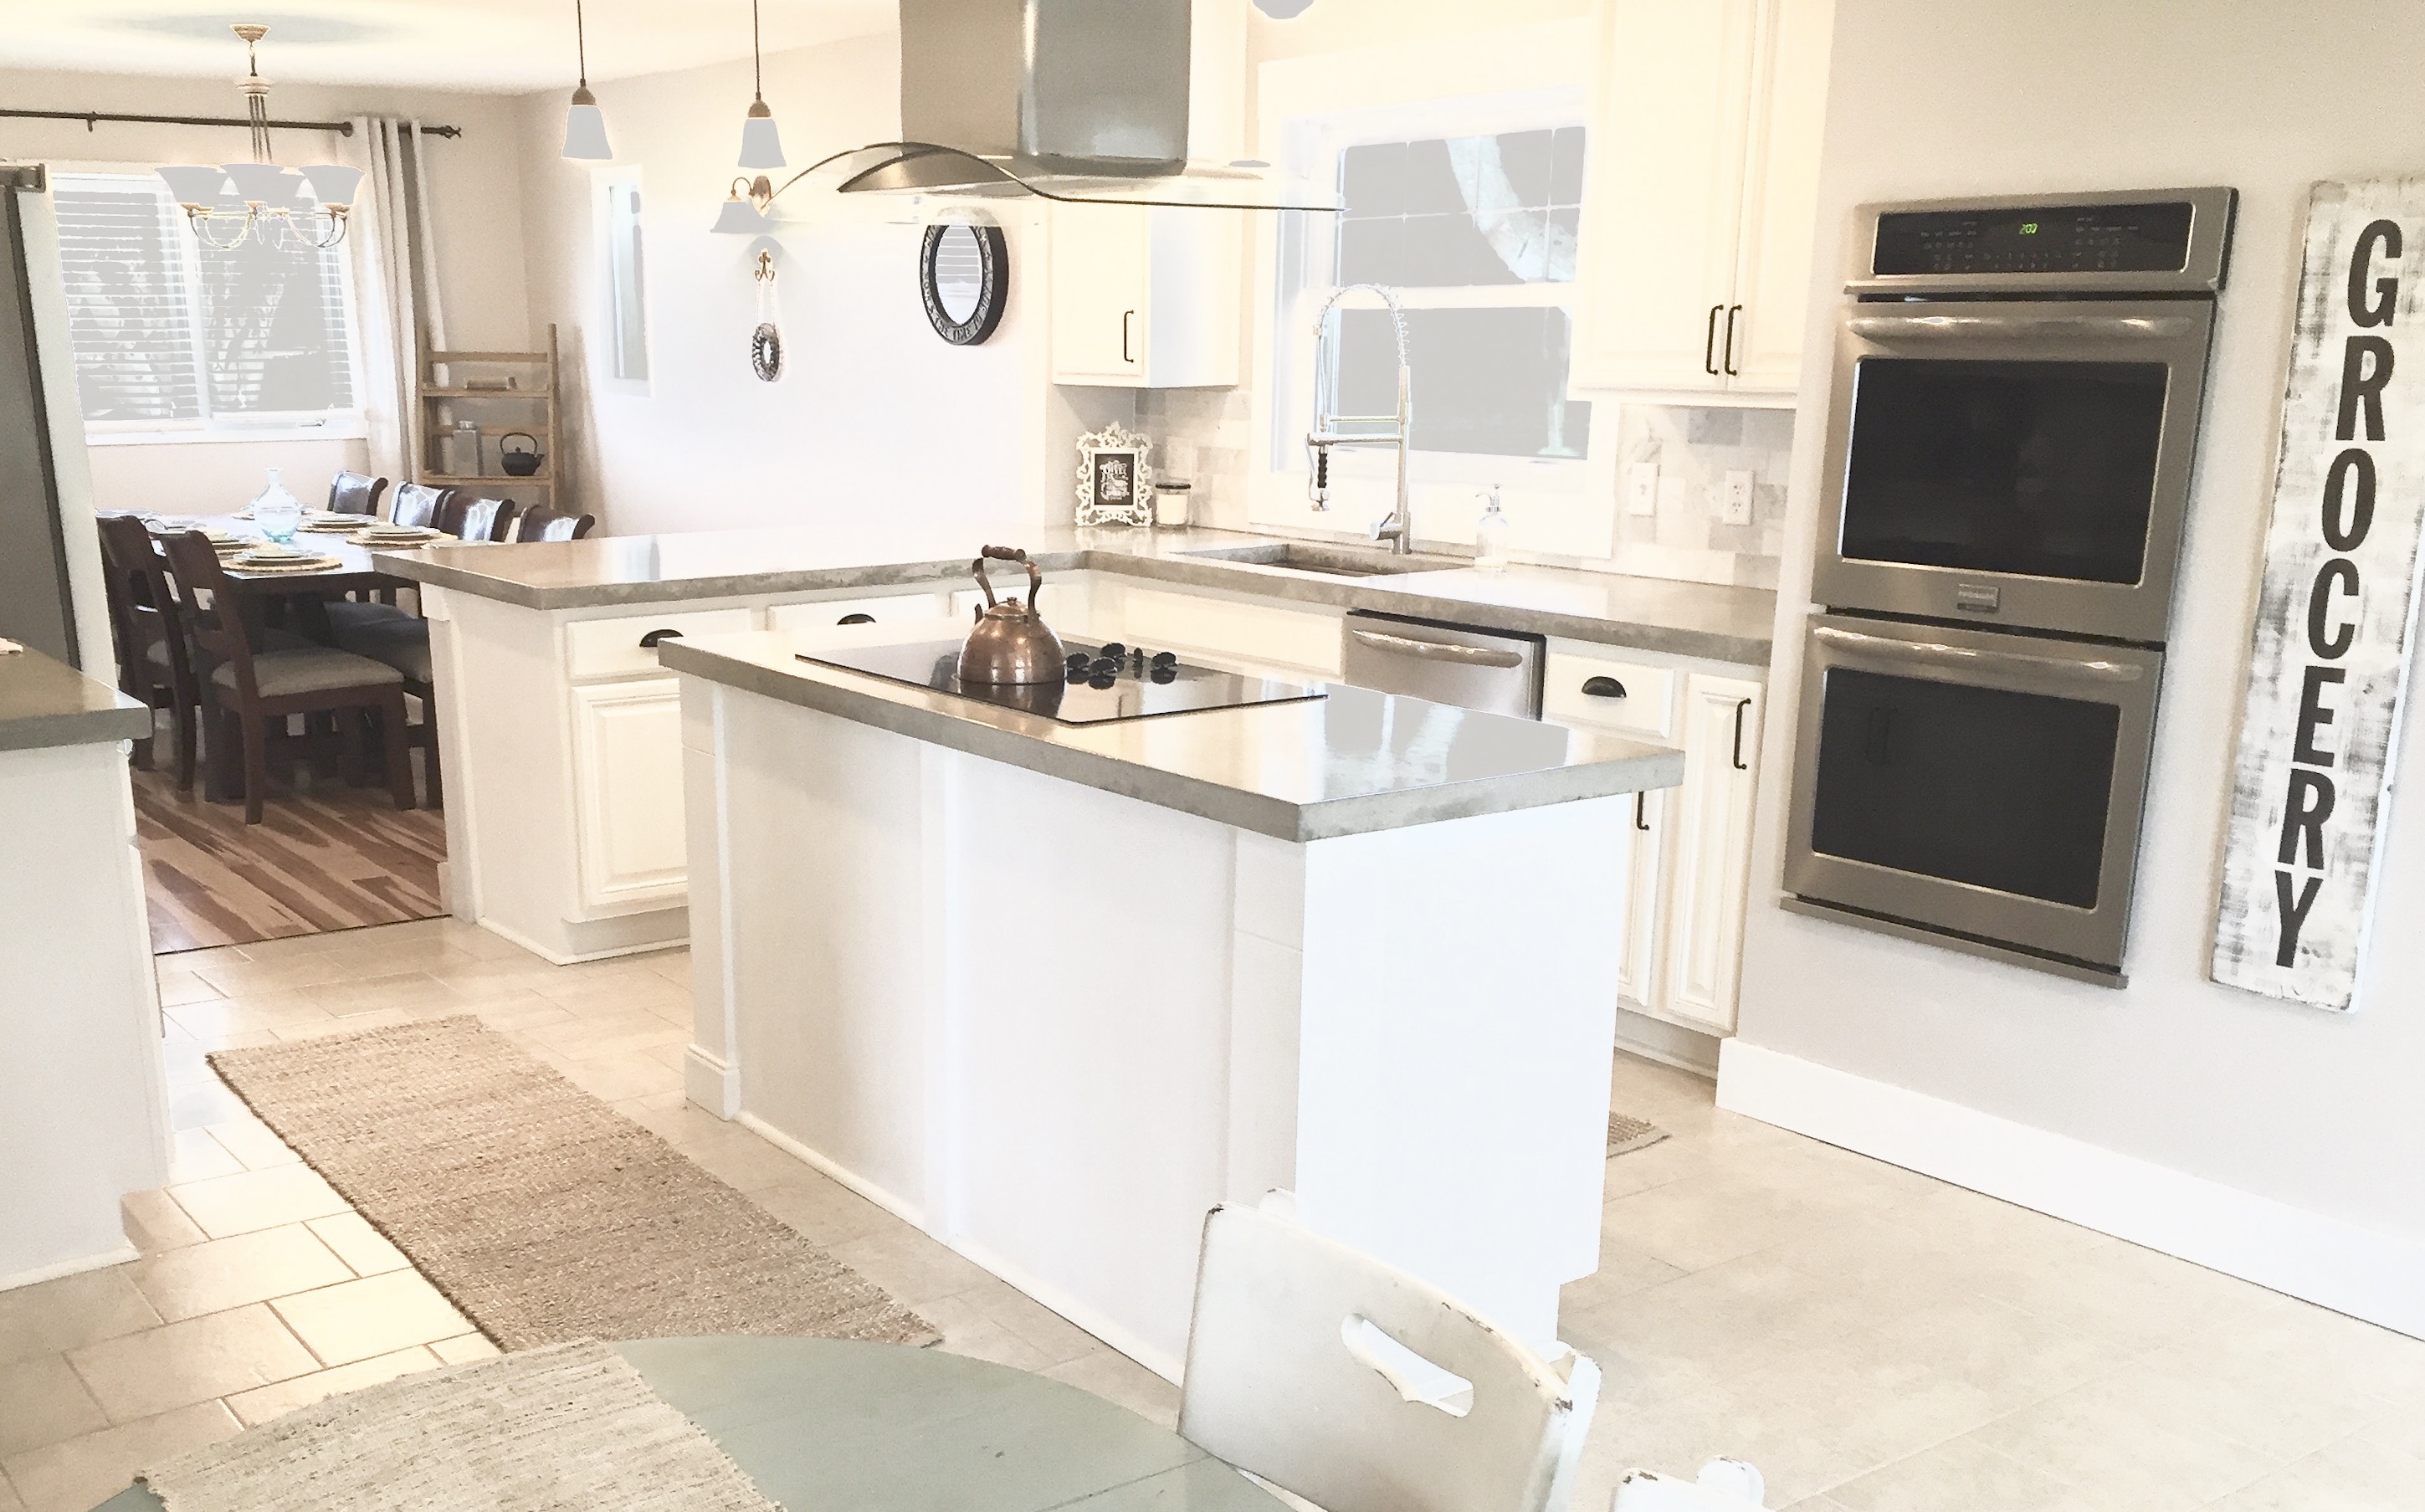
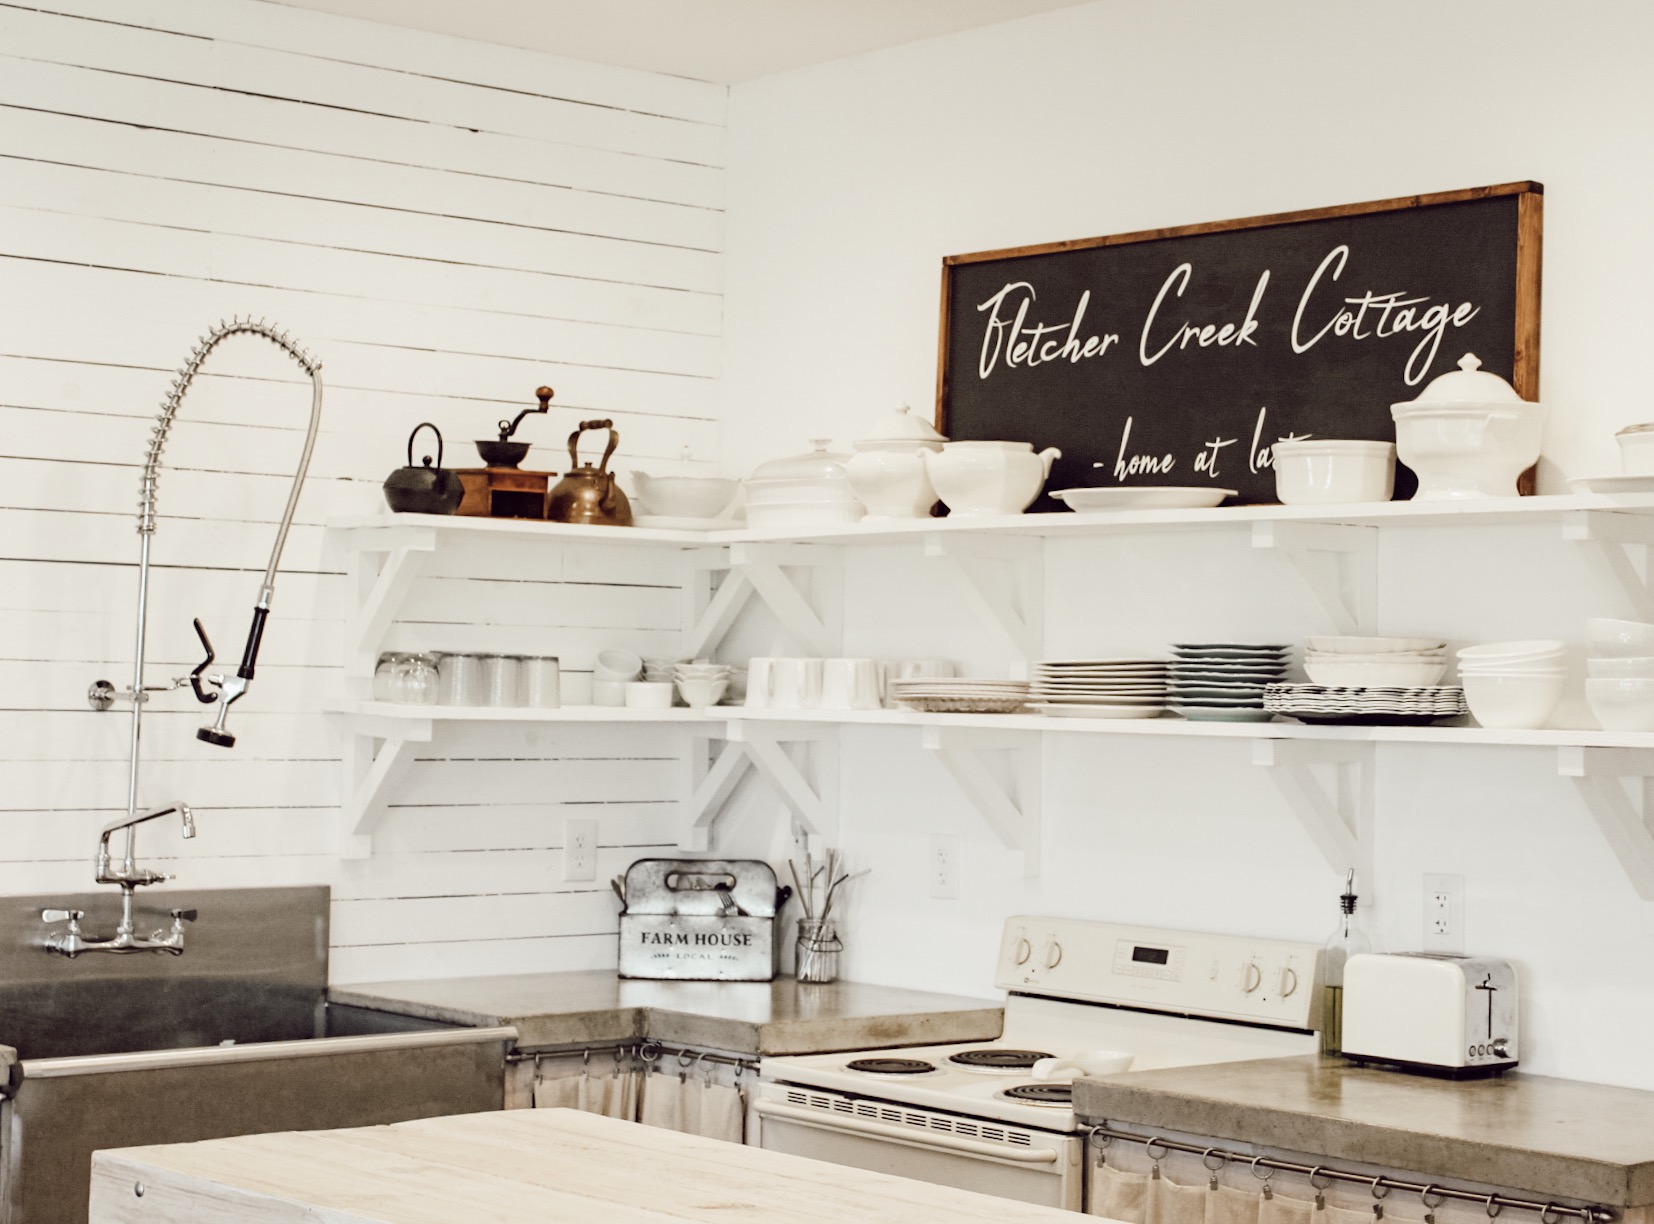
Concrete countertops are simply gorgeous (in my opinion)! The first time I saw concrete countertops was when my Aunt and Uncle had just done them in their home. They stained them to look like leather and boy was I impressed! There were so many variations of browns and tans that it almost looked three dimensional! Years later we had bought our first home and I saw a full kitchen with 2″thick concrete countertops in a magazine (think before Pinterest). The countertops weren’t stained but left raw. I loved the look of the concrete without any color! I thought it was breathtaking! I knew right then that this was something that I would want to implement in my home one day! There are so many color options for concrete these days. I’d say that no matter what look you are wanting to achieve, you can absolutely get there with concrete!
My second reason for loving concrete countertops is the cost! Unless someone gives you FREE countertops, you won’t find a less expensive option out there on the market today. If you are like me and want a beautiful kitchen without it costing you as much as a brand new SUV, concrete may be the right option for you. There are many concrete calculators online that will help you get a better idea of what it would cost you to replace your current countertops with concrete ones. Simply decide if you’d like them to be 1″,1.5″ or 2″ thick and take an accurate measurement of your current countertops and plug in the numbers! We have done a very large kitchen and a small kitchen (our current cottage kitchen) and the cost for both was only a few hundred dollars for each kitchen. We had a quote for countertops in one of our kitchens for $6,000 and we were able to do these for under 1k. We were able to buy a brand new kitchen appliances package complete with a double oven with the money we saved! Pretty cool if you ask me!!!
Okay, now that I’ve told you how beautiful these countertops can be and just how inexpensive I want to talk to you about the level of difficulty. This may surprise you, but they are NOT hard to DIY! I’m serious. I would say the only hard part is lifting them into place. I know there are ways to DIY them by pouring them in place, however, I have never attempted to do it that way. If you are someone who has a bad back or if you don’t have a group of friends you could get to help you lift them into place, I would highly recommend researching how to pour them in place. From start to finish they can be done in less than two weeks. Buying the supplies, building the forms, adding the wire, mixing and pouring the concrete and then screeding the forms actually will only take a couple days…the rest of the time is how long it takes for the concrete to cure and then to apply the stain and sealer.
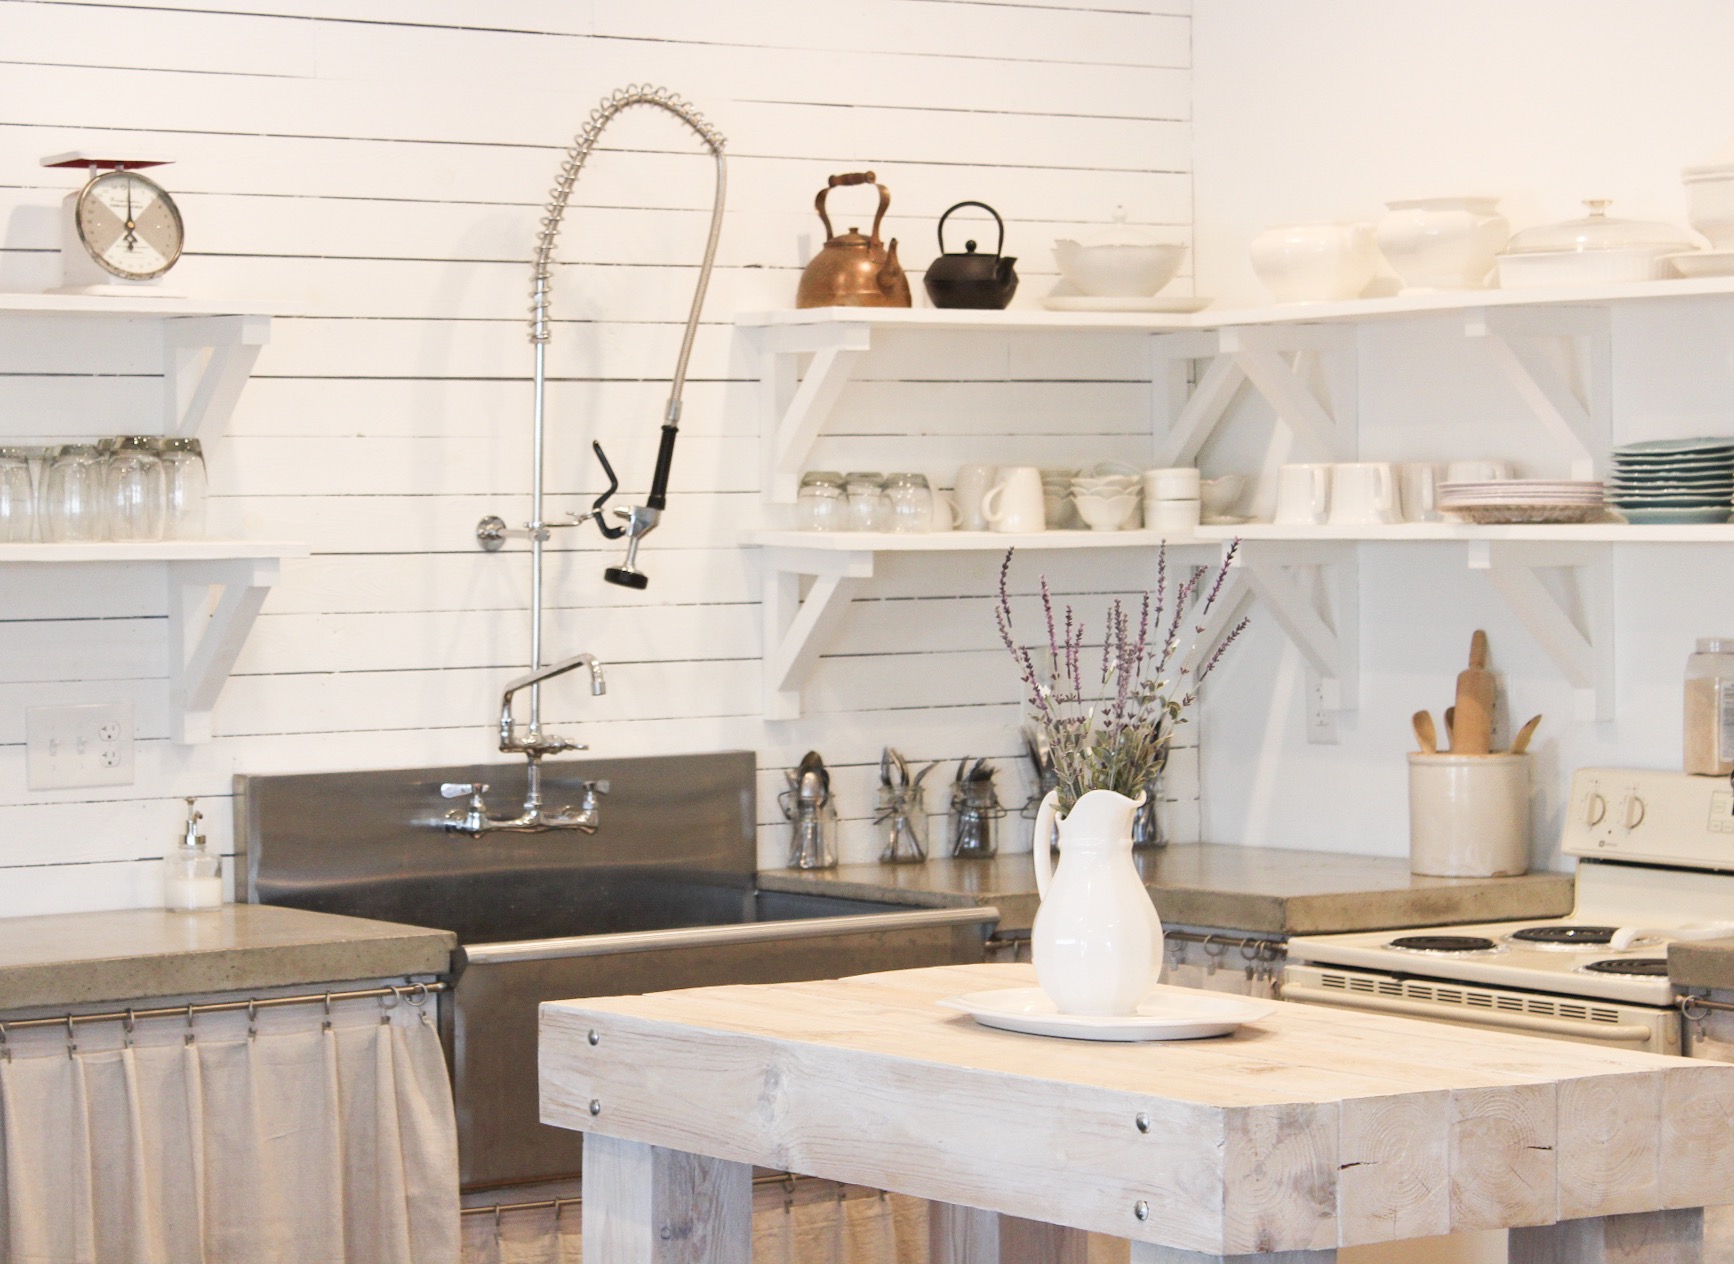
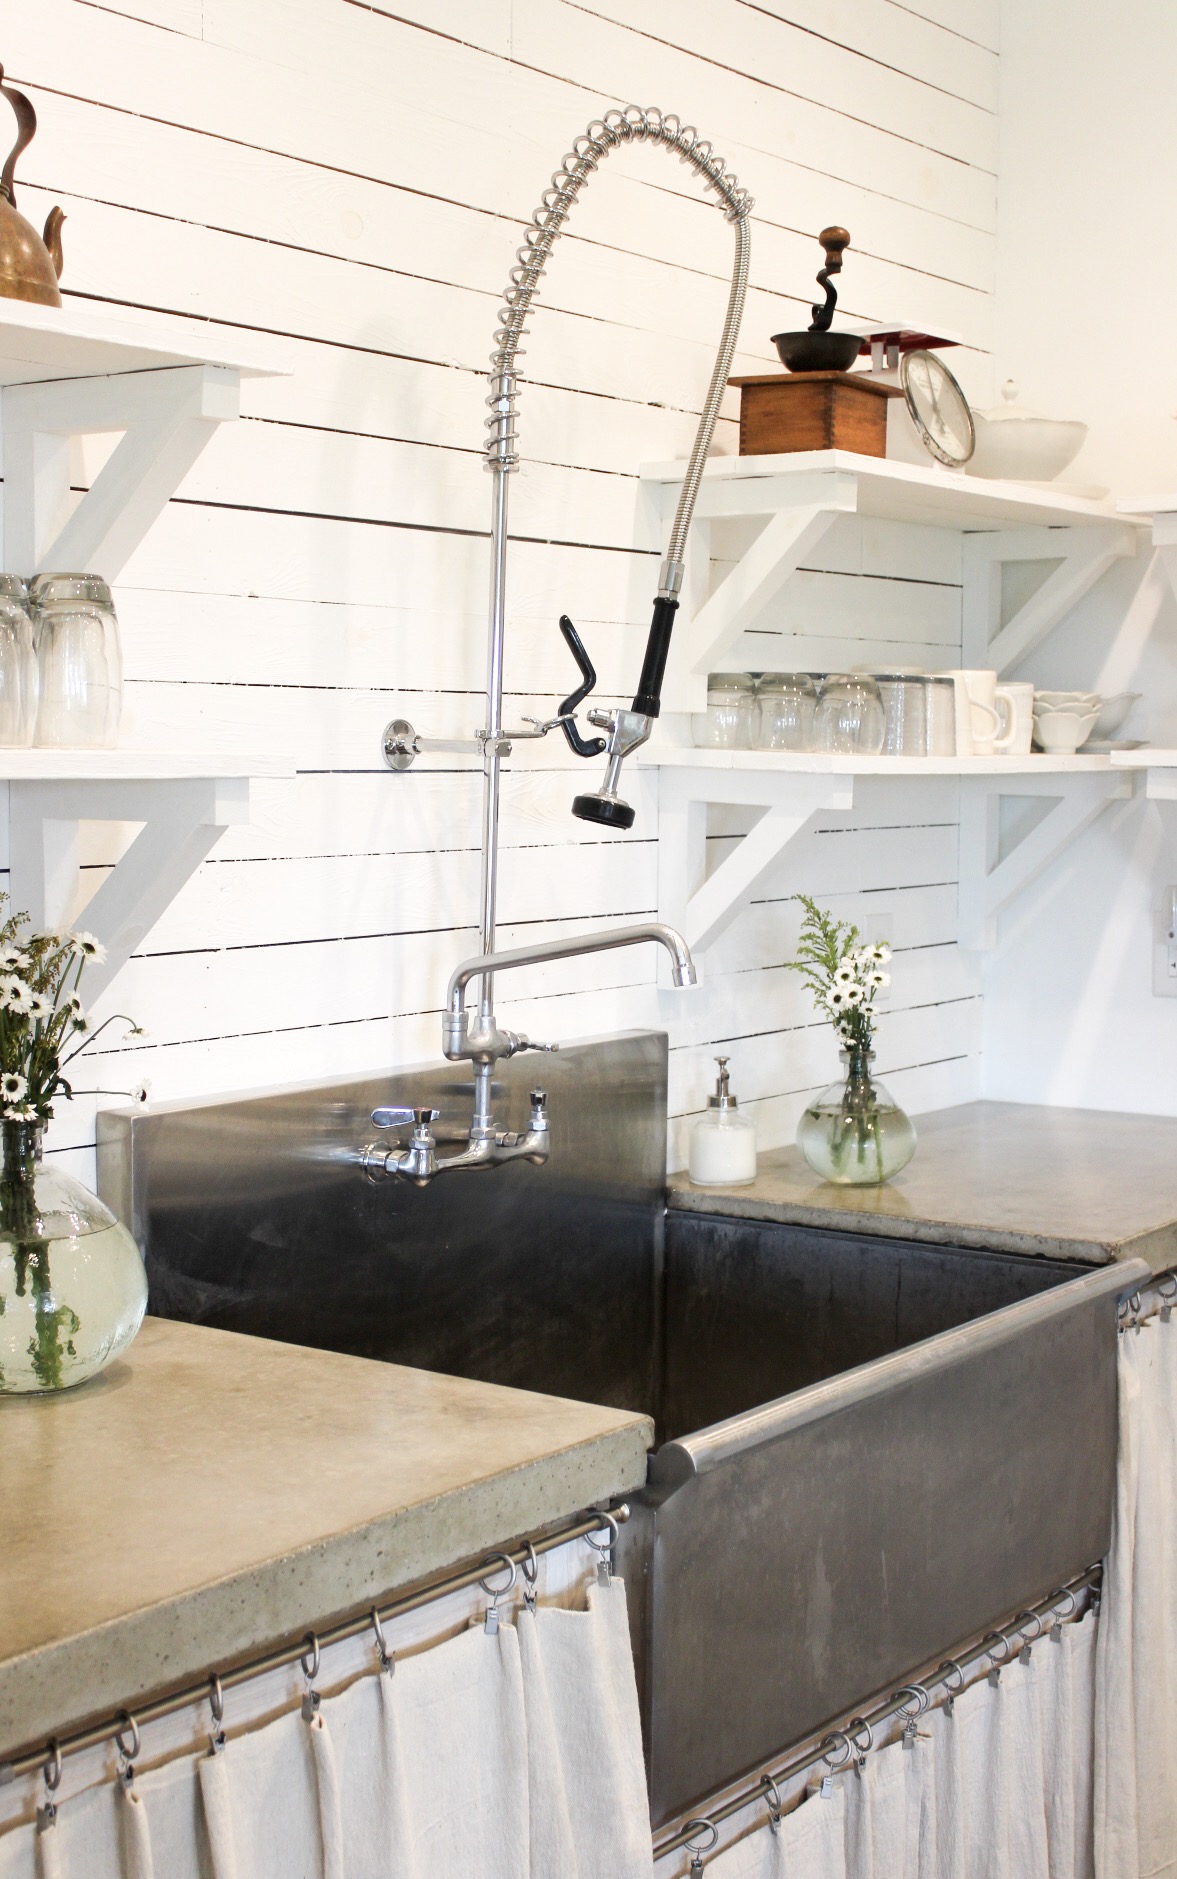
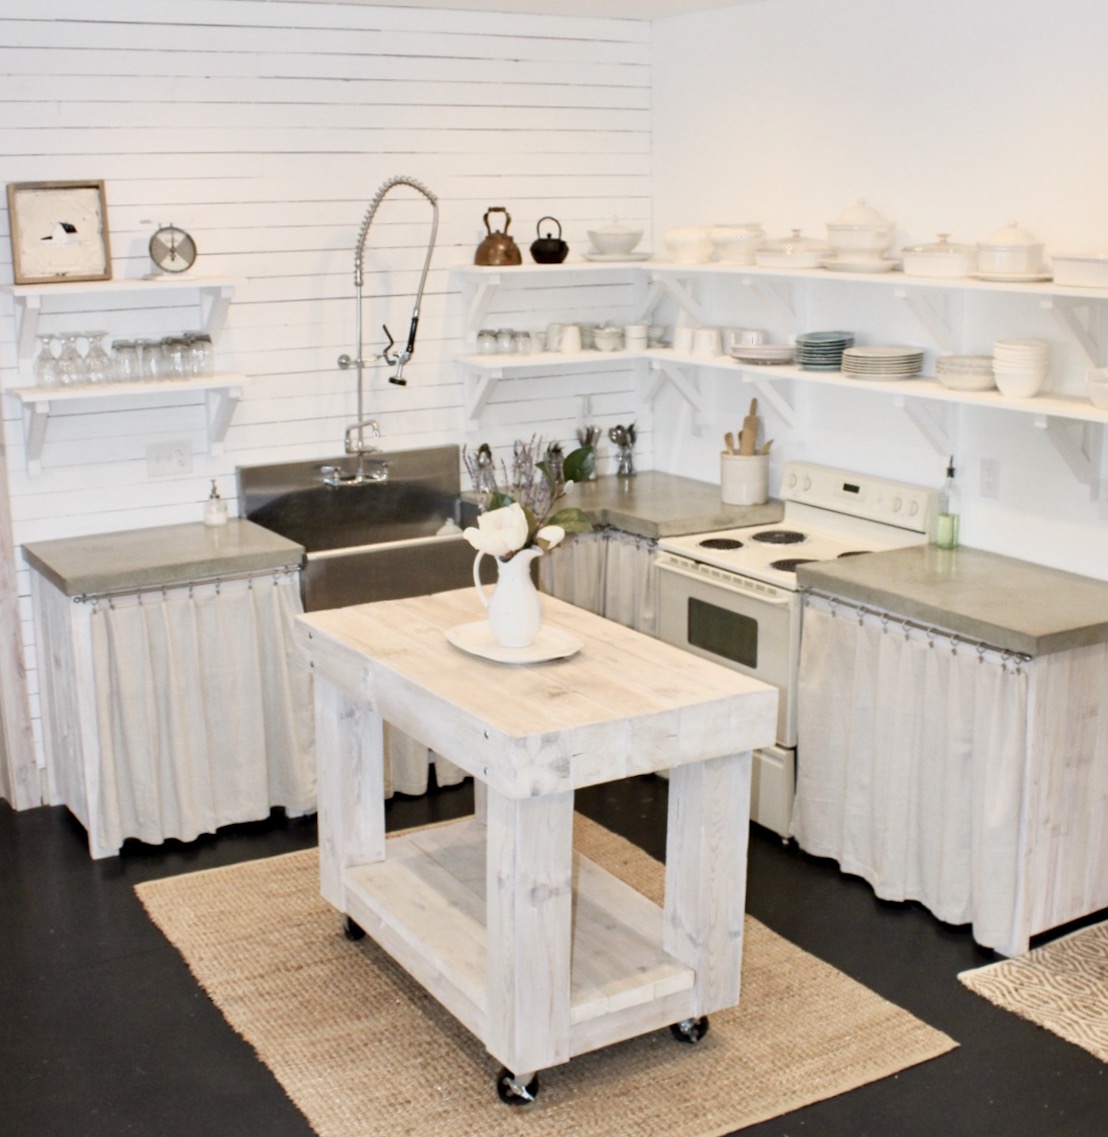
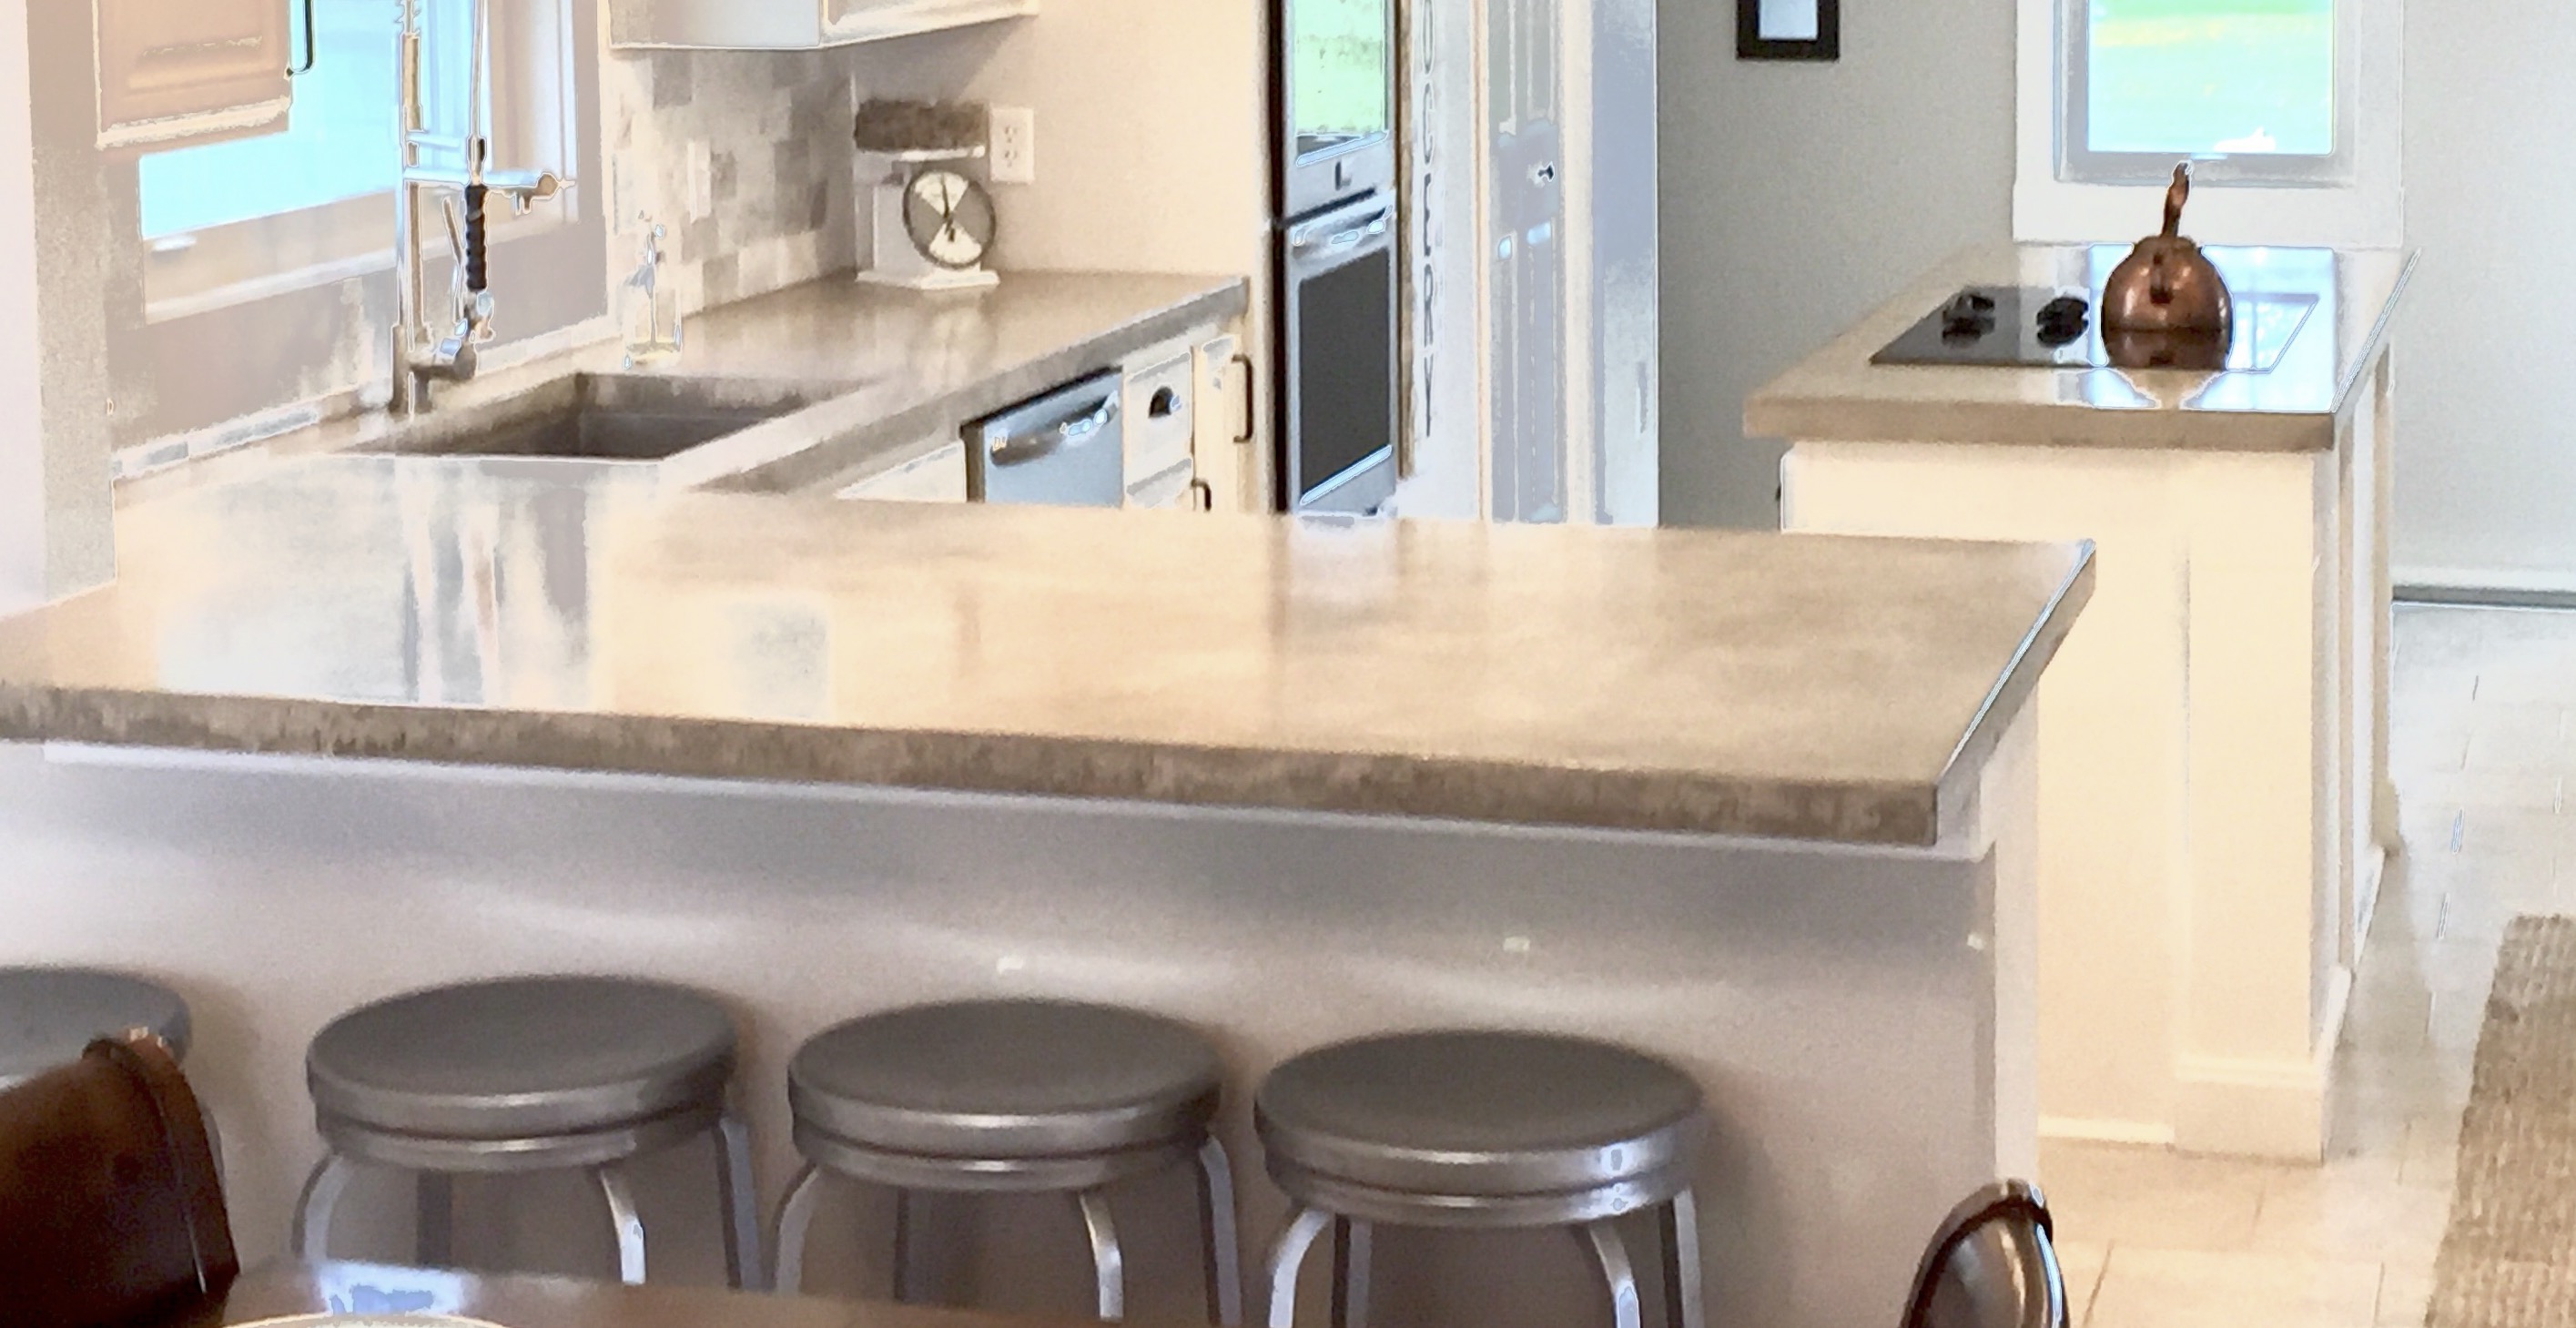
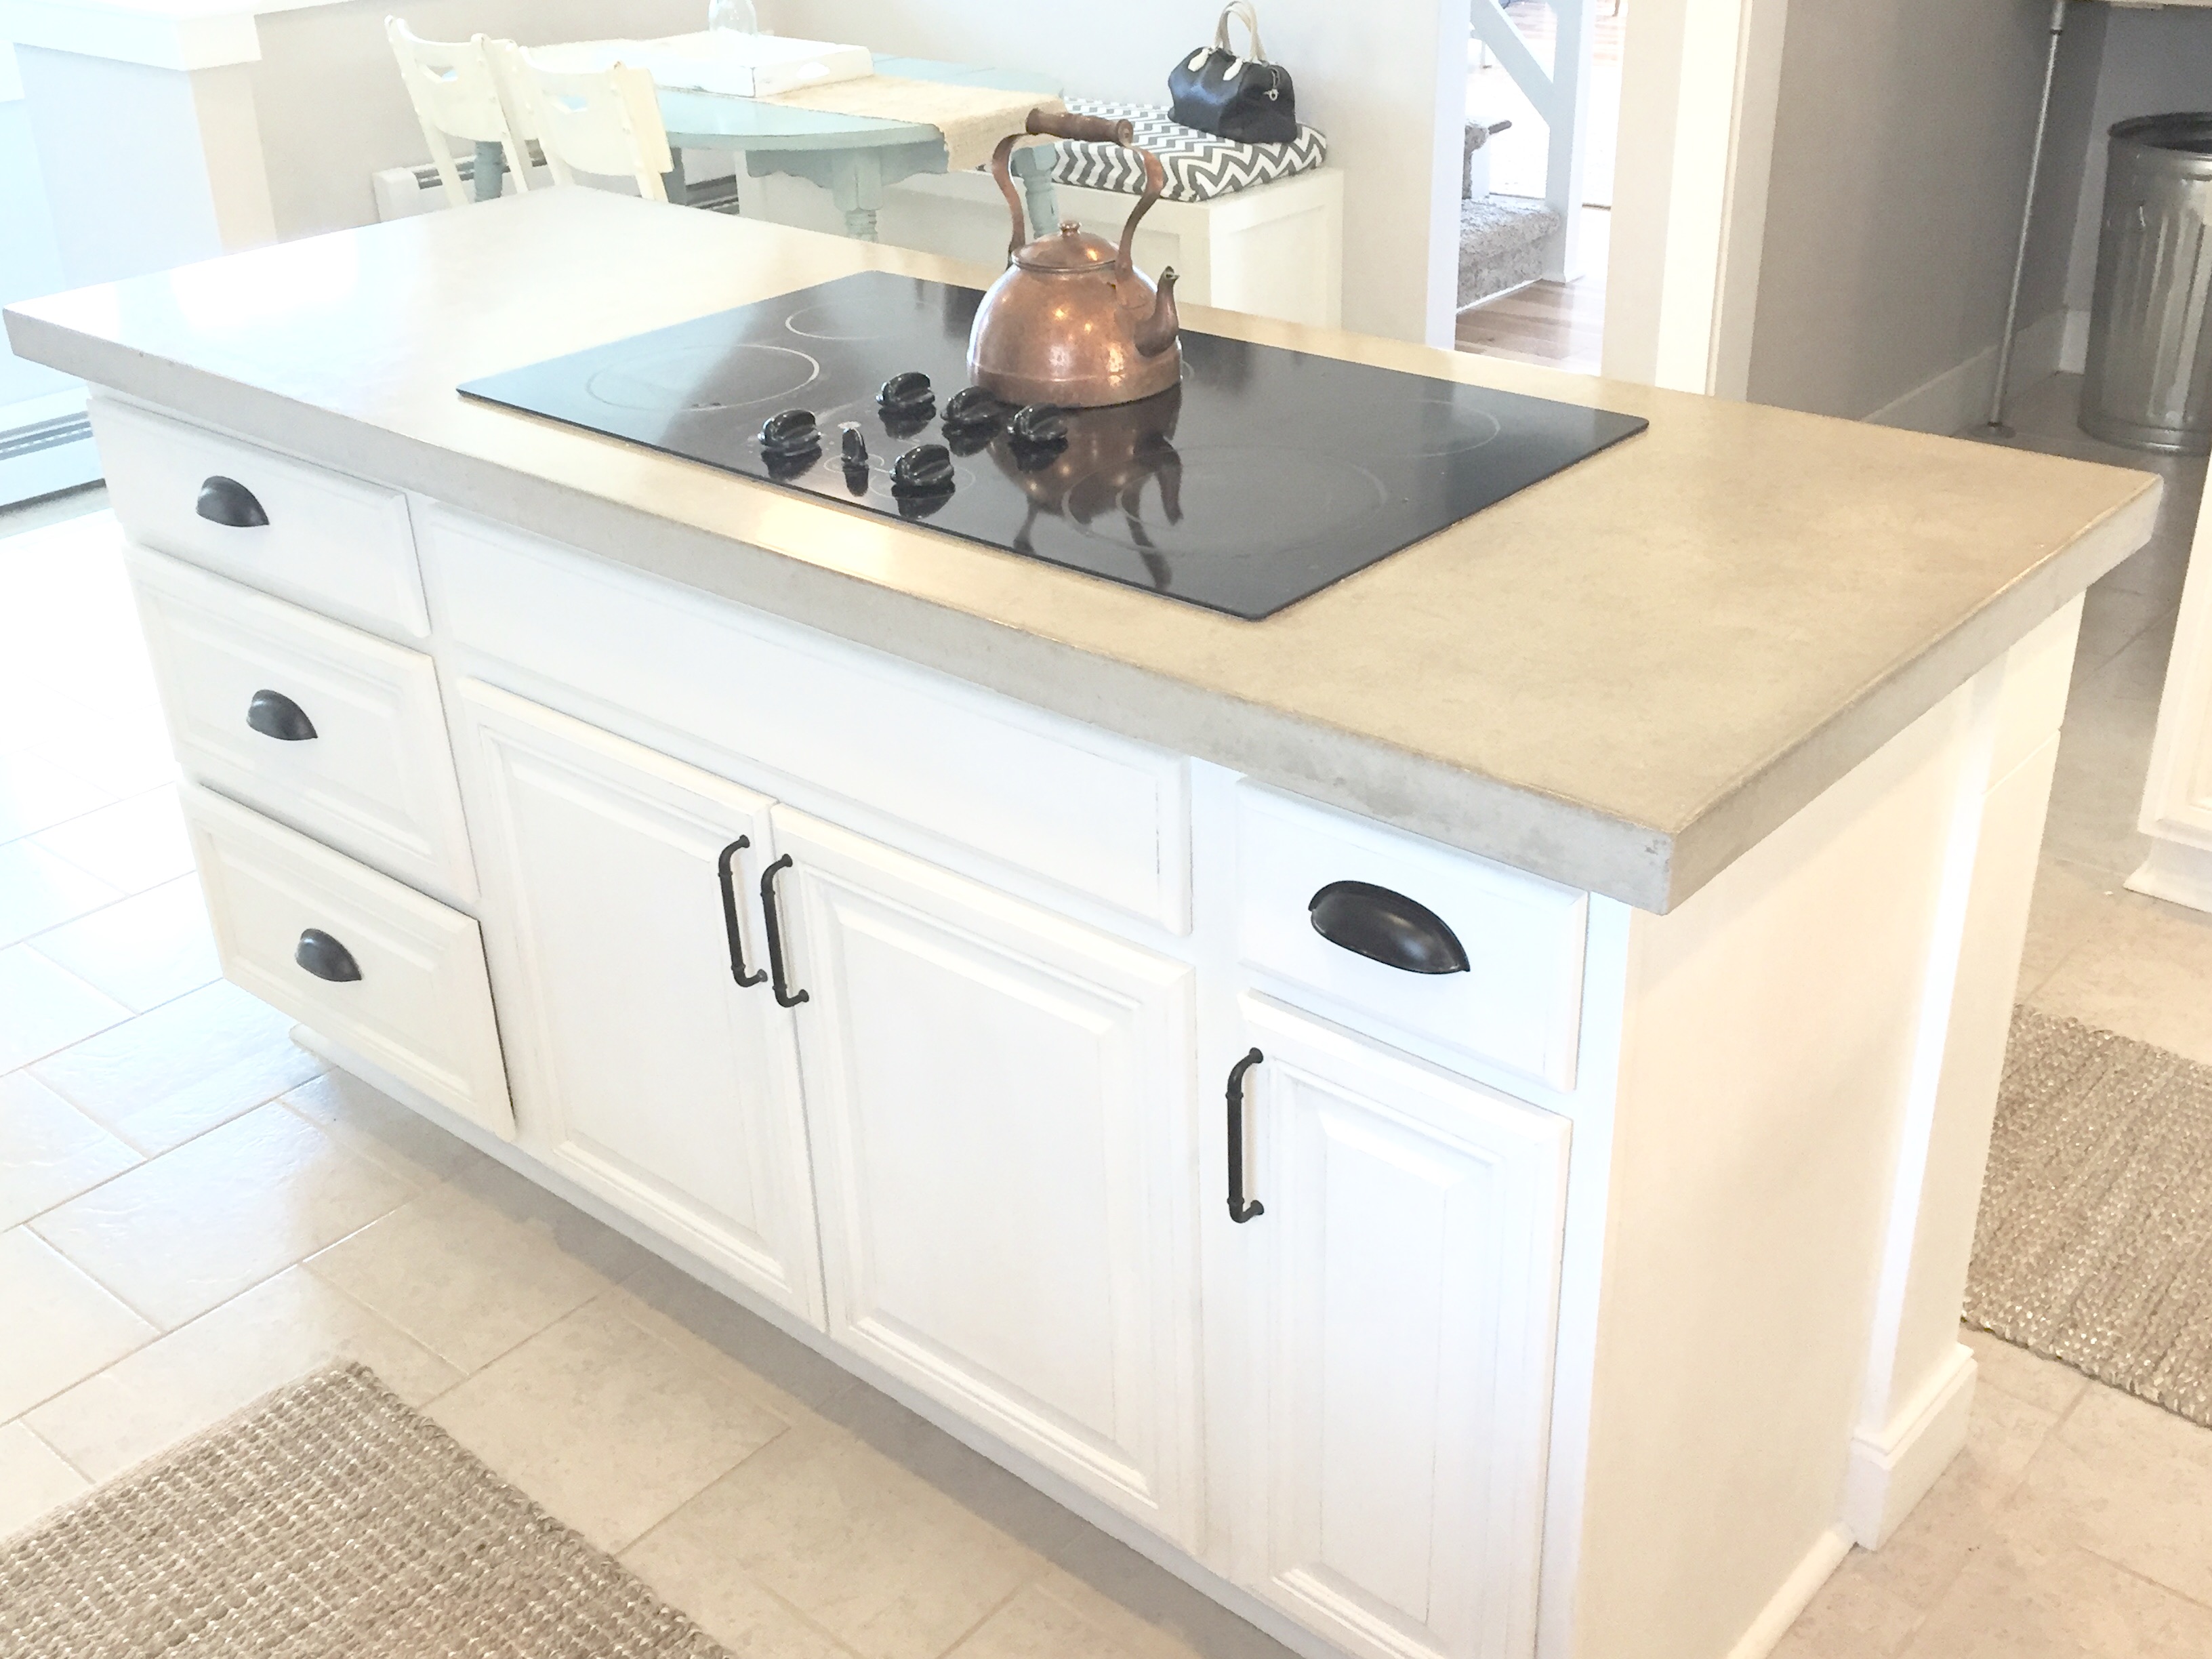
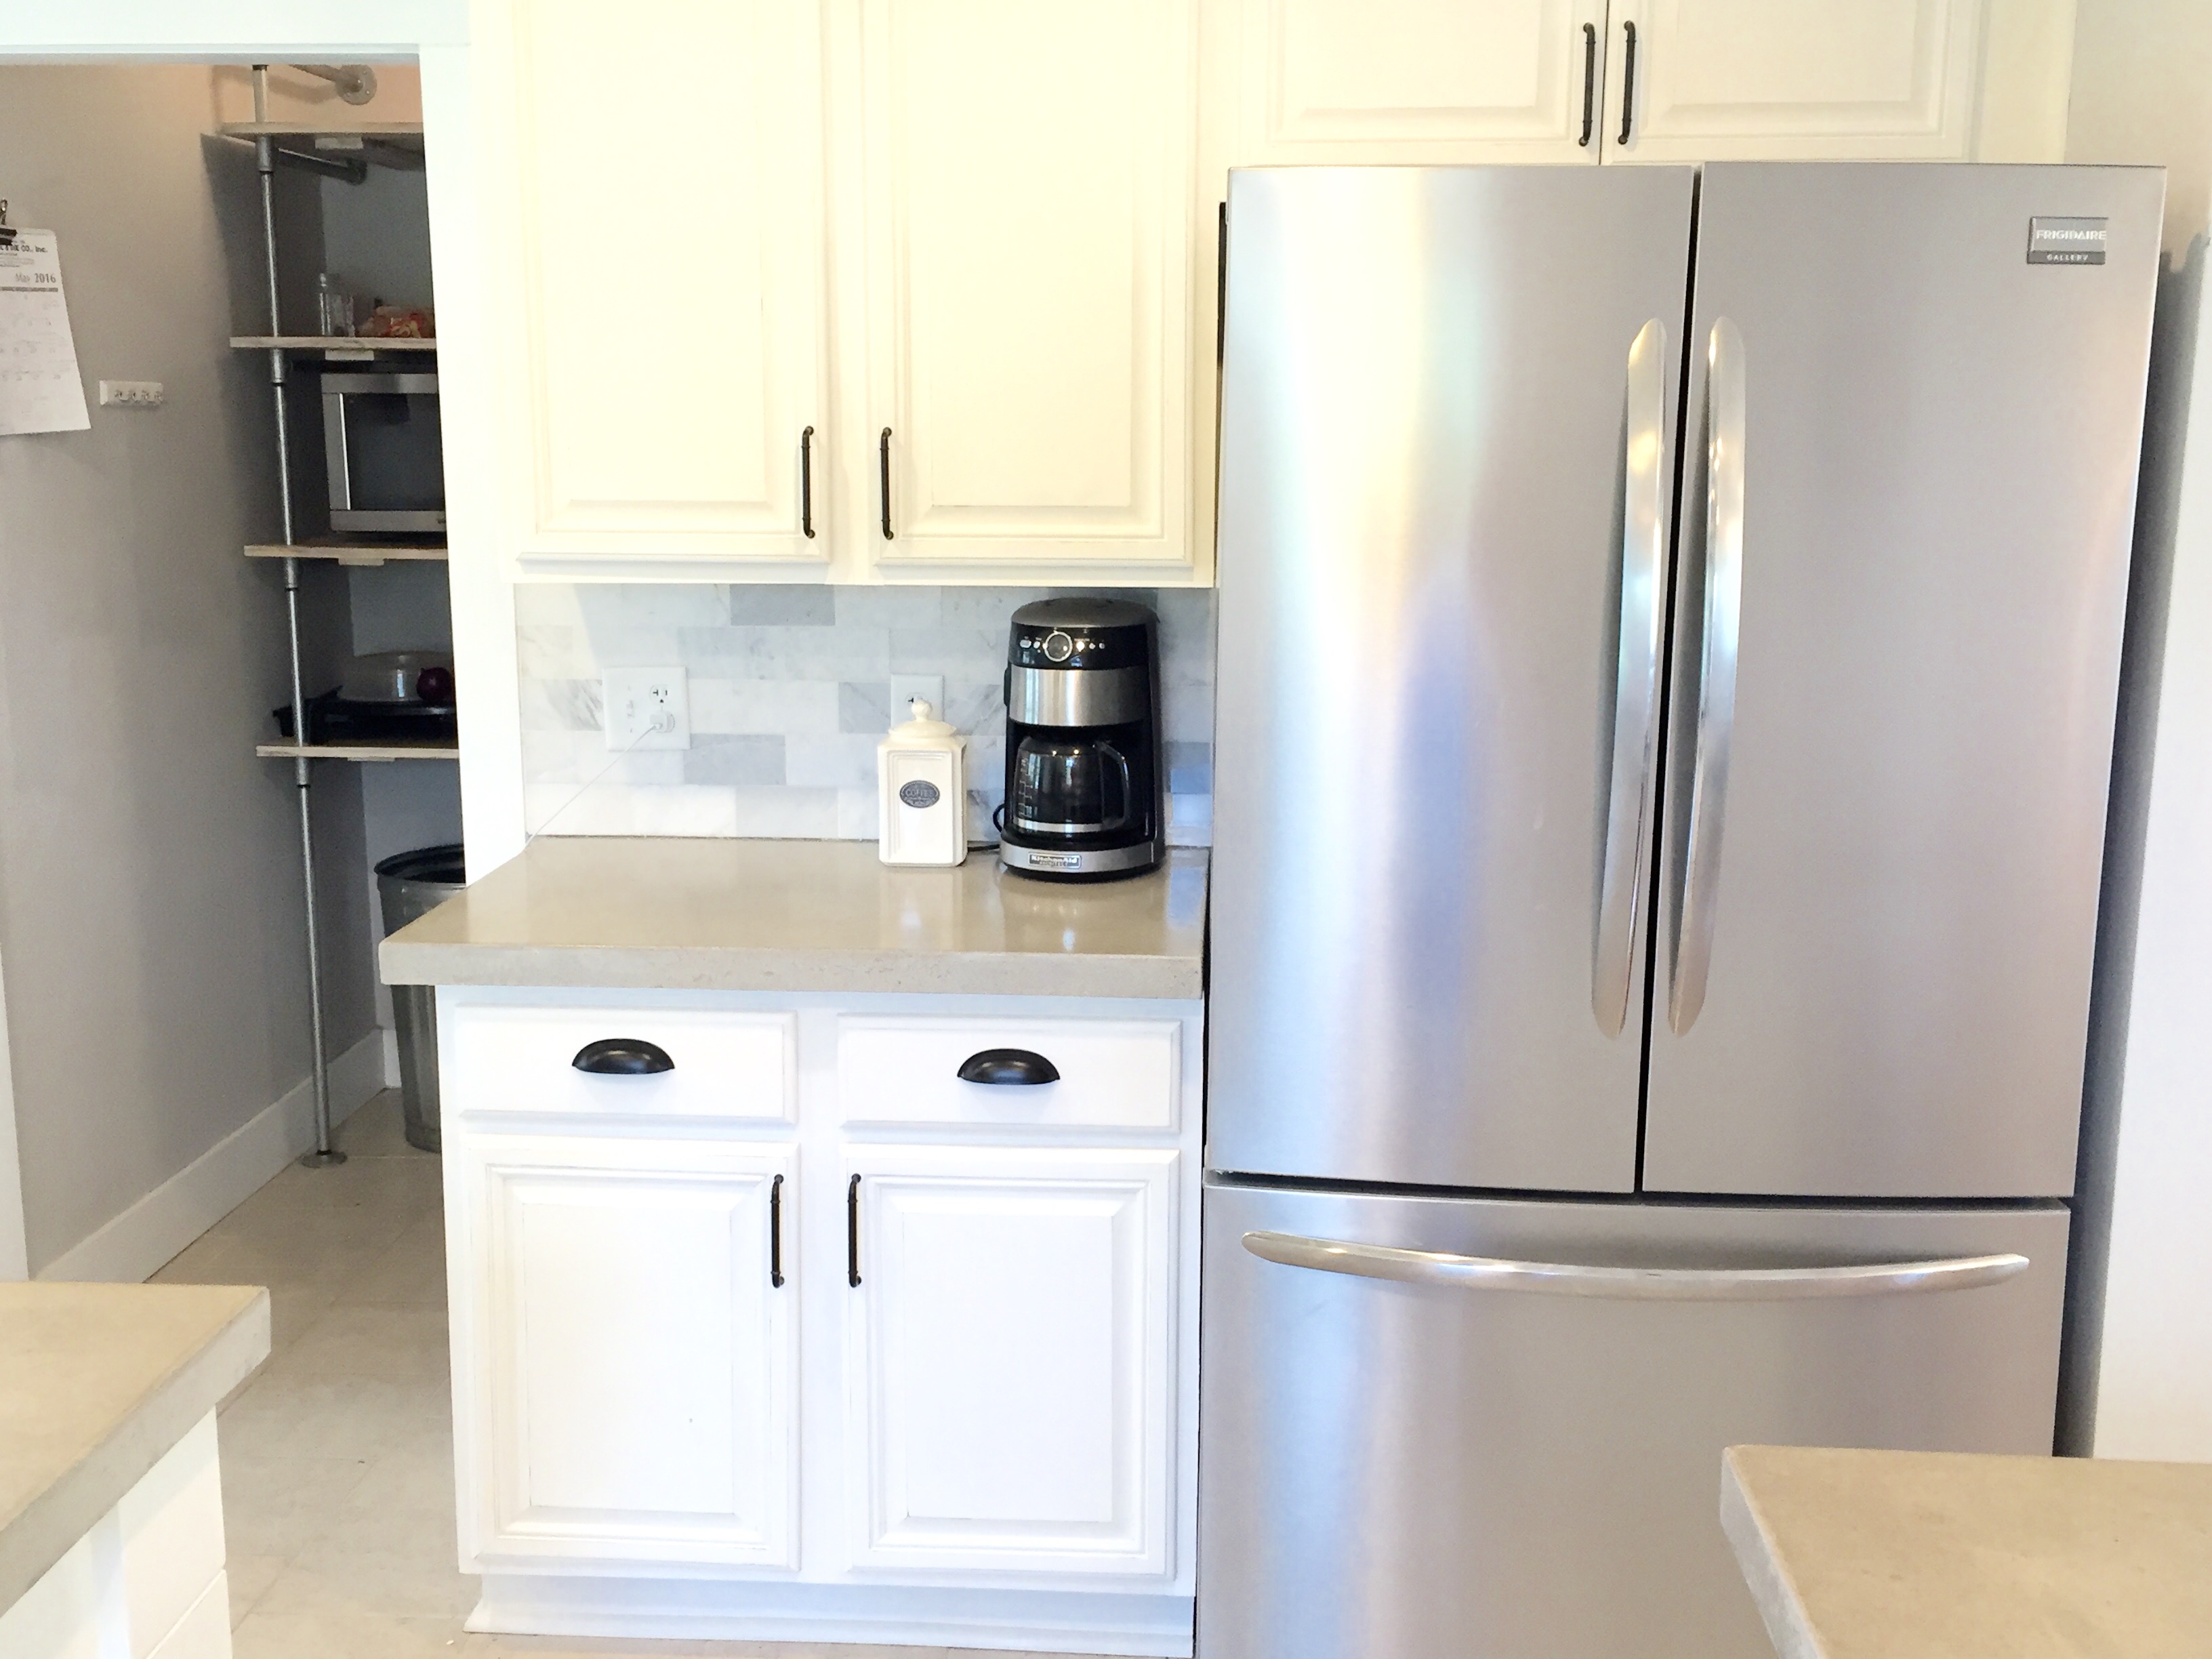
I know that I mentioned this briefly already, but I really love how custom you can make concrete countertops and how they are SO versatile!!! If you love the look of raw concrete like I do, great! Your project will have fewer steps and be finished before you know it! If you’re going for a darker look there are all kinds of stains to choose from! In the cottage, we have a commercial sink and it has an apron front with a lip and a very tall backsplash. We were able to make our countertops 2.5″ thick everywhere and then make an overhang that was only 1″ thick so that the counters would overhang the sides of the sink ( if that makes sense ). If you look closely you’ll see what I mean in the picture below!
Last but not least, I really love how concrete countertops work with just about any design style! Rustic, farmhouse, mid-century modern, industrial… you name it! Concrete fits every style! I have even seen concrete stained a really bright white marble color and it looked really high end! I was shocked at how close it looked to marble!
Now that you know all my reasoning behind my loving concrete countertops, I want to touch on what may or may not be drawbacks for you. Here are four things that I feel are important to consider.
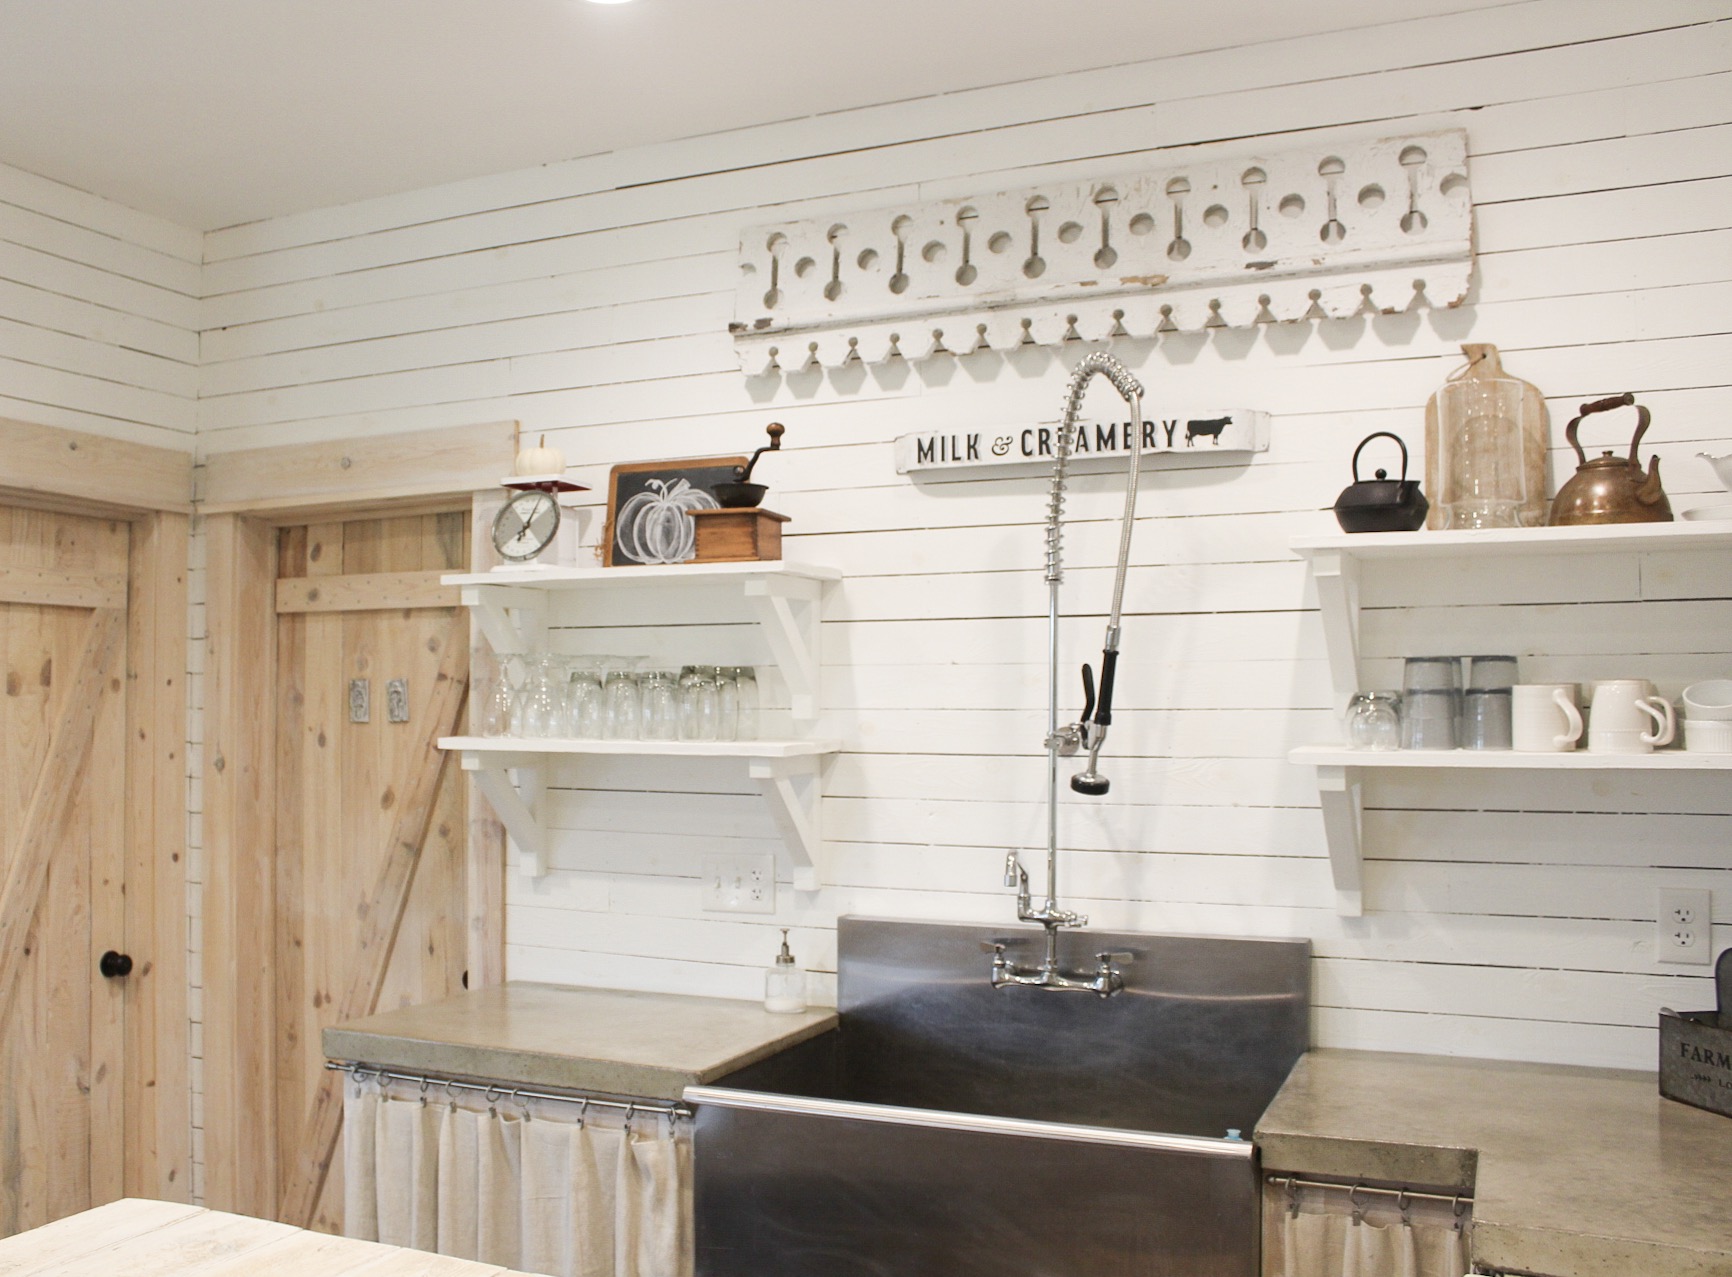
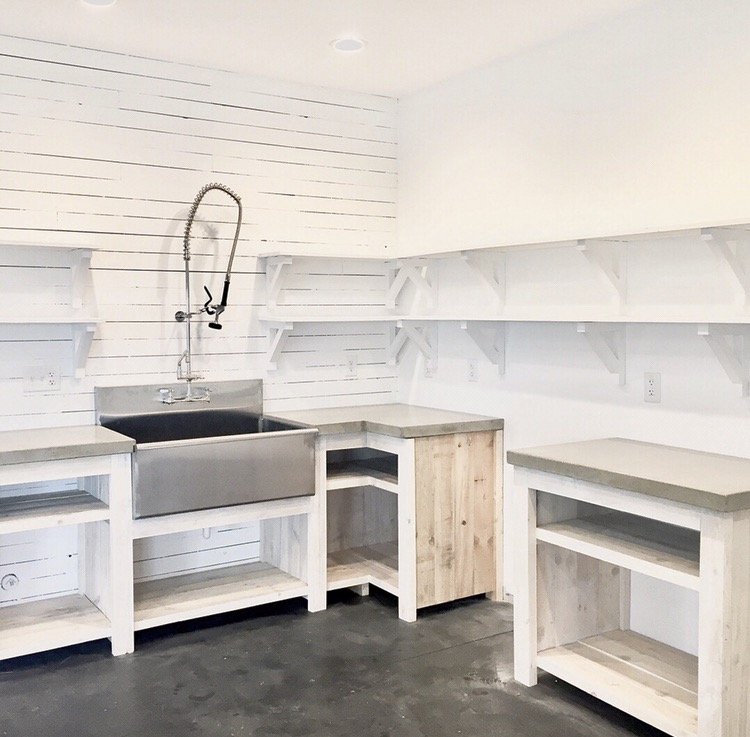
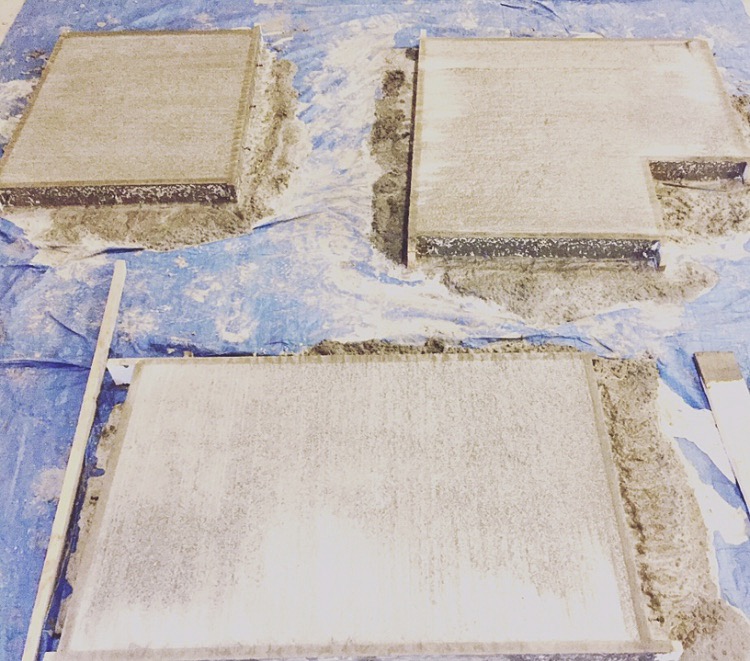
As you may have guessed, this project is super messy and requires you to work in a space that has moderate and consistent temps while the concrete cures. We like to use the garage floor and lay a large tarp underneath the forms to catch all the runoff. I would not recommend doing this project in the dead of winter if you live in the north unless you have a heated garage! These three slabs below are the countertops that we have in our cottage now.
This one may be obvious also, but I still want to reiterate just how heavy concrete is. We poured a slap once for a long peninsula that weighed 600lbs. It took 6 men to carry it in from the garage and set it into place…and we should have had 8 men! So please make sure to calculate the weight and make sure that you will be able to move in when it’s cured. You will also want to make sure that your cabinets are strong enough to support the weight as well as your floor joists. If you live in an older home I would definitely make sure that your joist can support this kind of weight. If your at all worried about it, go with the 1 inch thick countertops. That will be about the same weight as granite or marble.
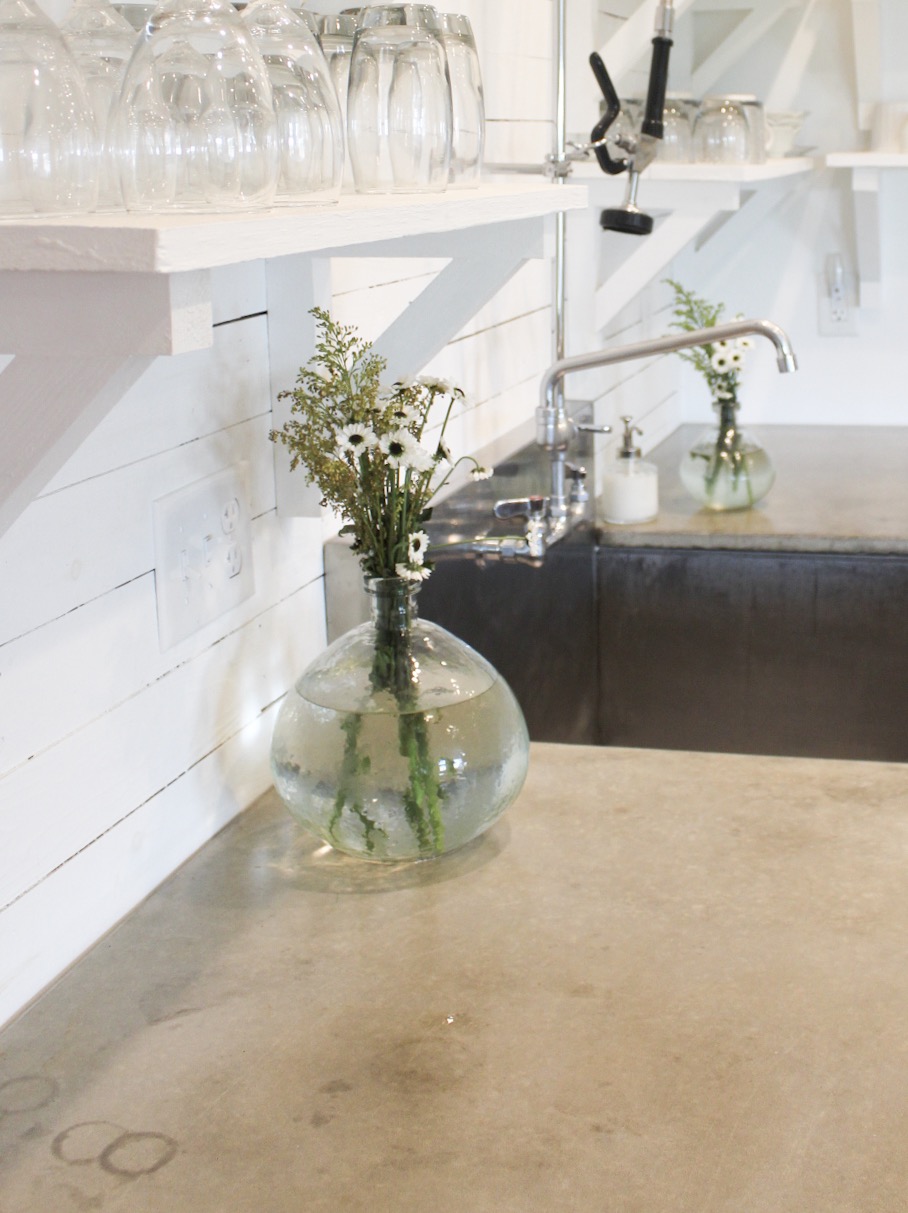
When I seal my countertops I use a high gloss, food-safe sealer! I apply many coats…as many as 8 over a few days time. However even though I have sealed them properly, the concrete will on occasion leave a watermark if you set down anything wet or are doing the dishes over a towel or something. The concrete will look a little darker in the place that the wet towel was laying. This won’t happen if you are just wiping the counters down, just if water has sat there for a few minutes. The area appears darker and wet for a few minutes and then drys right up to its normal color. I am sure this would not happen if I used a stronger sealer, however it is really important to me that I use a food safe product. This little issue is not something that bothers me at all, but I wanted to give you a heads up about it in case it would be a deterrent for you. Below is a perfect example of what I am talking about. Below you can see the rings left from some drinking glasses left that I washed and left on a towel to dry.
The last con would be that the countertop will show scratches to some extent. I really don’t mind this because my countertops are meant to look raw and rough so it isn’t something that I am too worried about. If I were going for a classier look and had spent a lot of time staining and polishing them to have the look of marble or granite, this may bother me. Again, if you went with a more durable sealant maybe that would protect it against any scratches too, who knows?
Okay guys, there it is! My husband and I both agree that this is one of the easiest ways to transform your kitchen or bathroom countertops for very little cost! We both LOVE them! Like I mentioned, we are planning two more DIYs for the spring that will include concrete countertops and we are planning to use them again in our farmhouse when we build that next year! I hope this helps to answer some of the questions that you had!
Thank you for hanging out here with me today and I will be back with a full step-by-step tutorial when spring arrives!
~Dena
Ecclesiastes 3:1
1 There is a time for everything, and a season for every activity under the heavens:


