DIY Pumpkin Pillow/ Pottery Barn Pillow Dupe
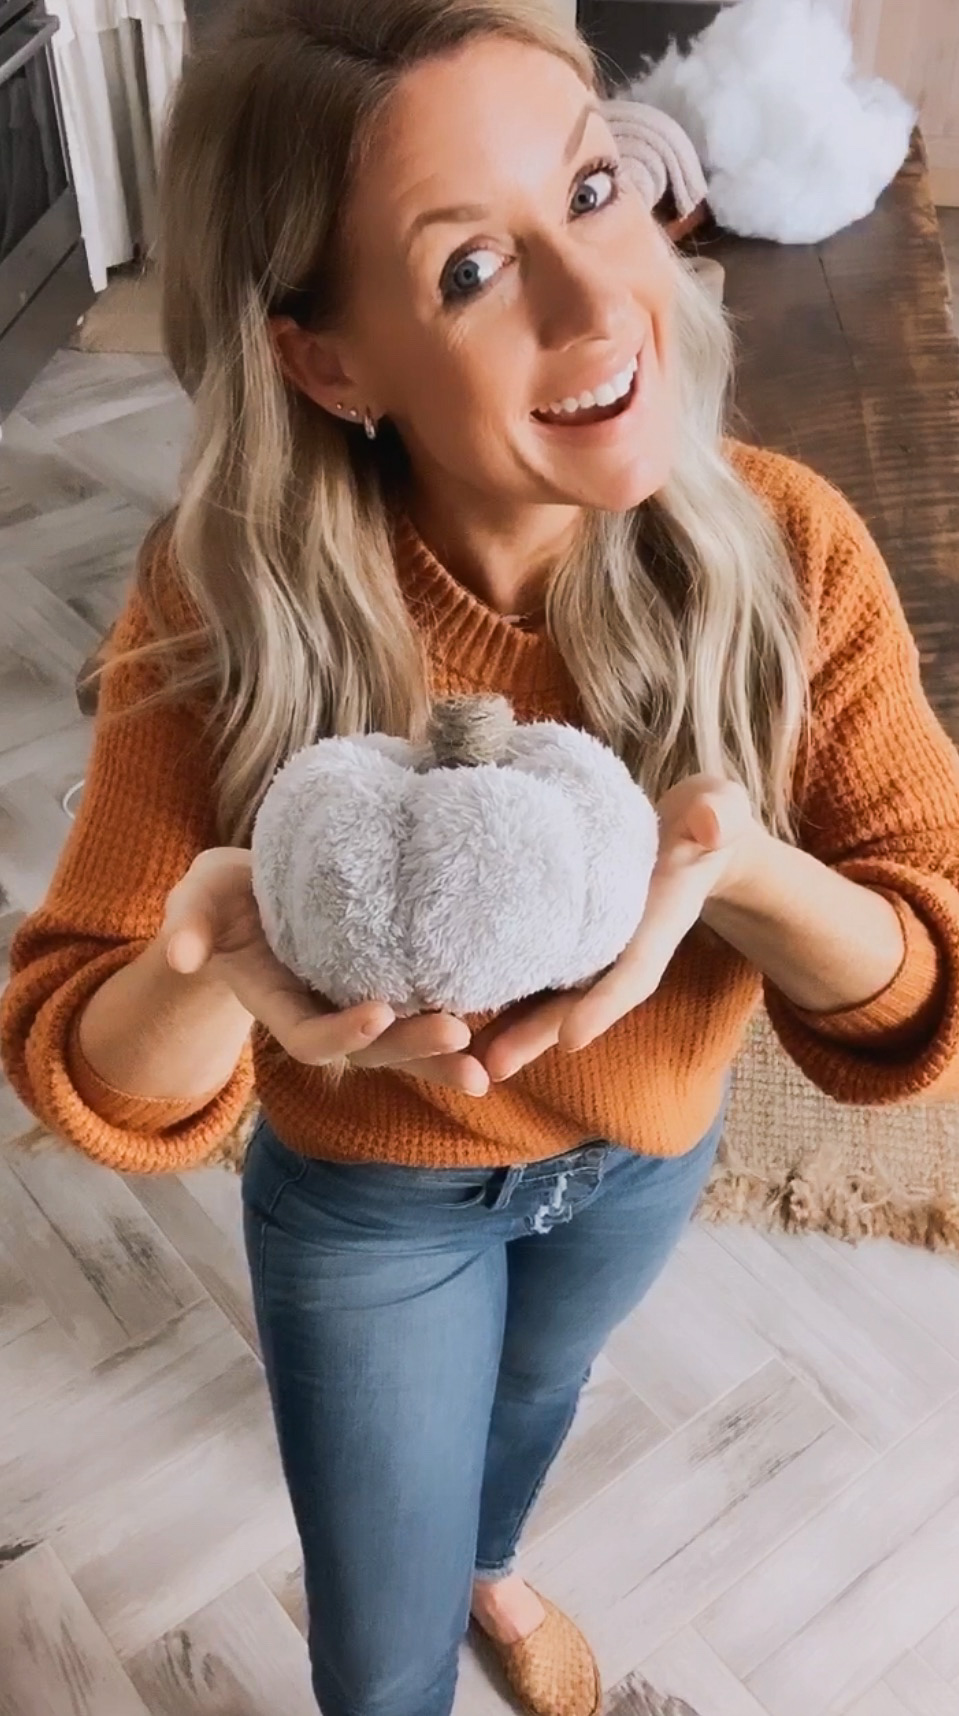
I don’t know if this ever happens to you but it happens to me all the time! I see something at Pottery Barn or Anthropology and I say to myself…”I really like that but I think I could make it!” I decided to carve out some time and give it a try! Today I’m sharing my take on the beautiful, cozy pumpkin pillows from Pottery Barn. They’re cozy, perfect for fall and they’re super easy to make!
Repurposing Old Sweaters
DIY crafts can be great as long as they don’t end up costing you more to make it than it would to just buy it. Materials can add up. I really love craft projects if they only require me to purchase a few inexpensive things. It’s even better when I don’t have to buy anything at all! Nobody wants to spend hours on a craft only to have it cost them more than it would if they had just purchased it! So if you like being frugal (like me) this is the perfect project for you!
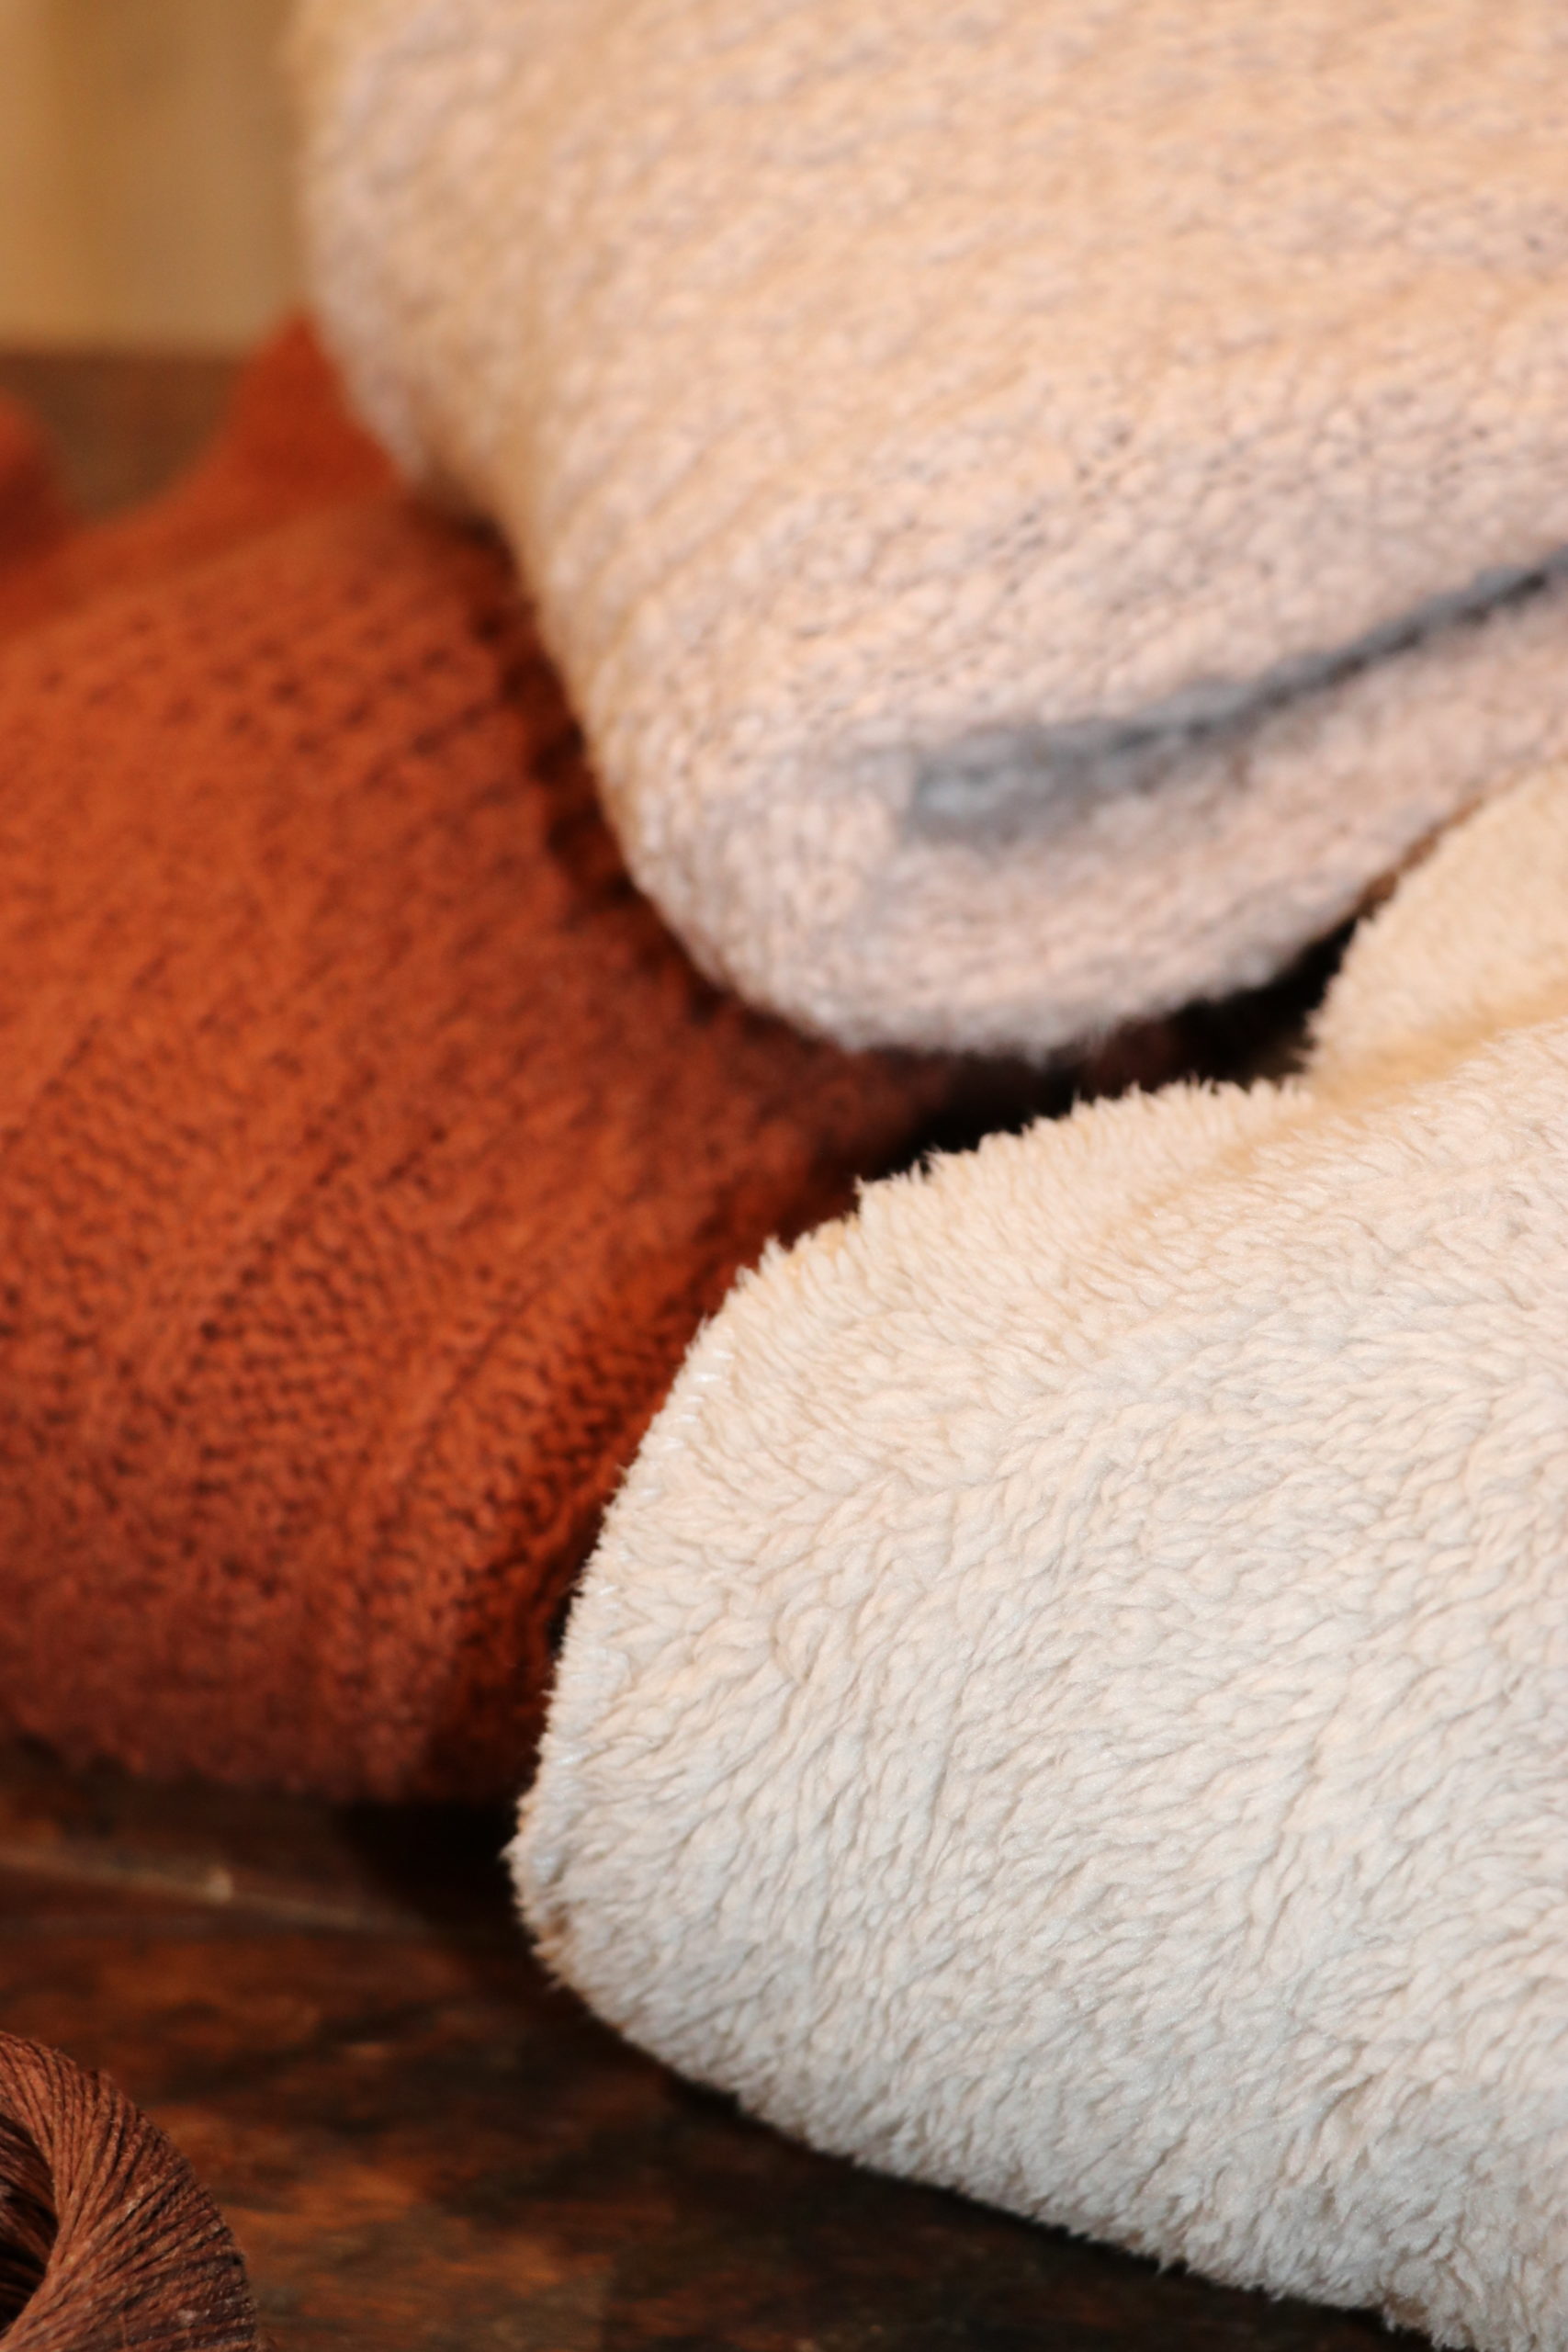
This DIY only calls for a few supplies. I actually repurposed an old sweater and use other materials I already had on hand! Crafting is fun when it saves you money and I think it’s even more fun when it’s FREE!
I’ve included a detailed video tutorial on how to make this sweater pumpkin pillow here!
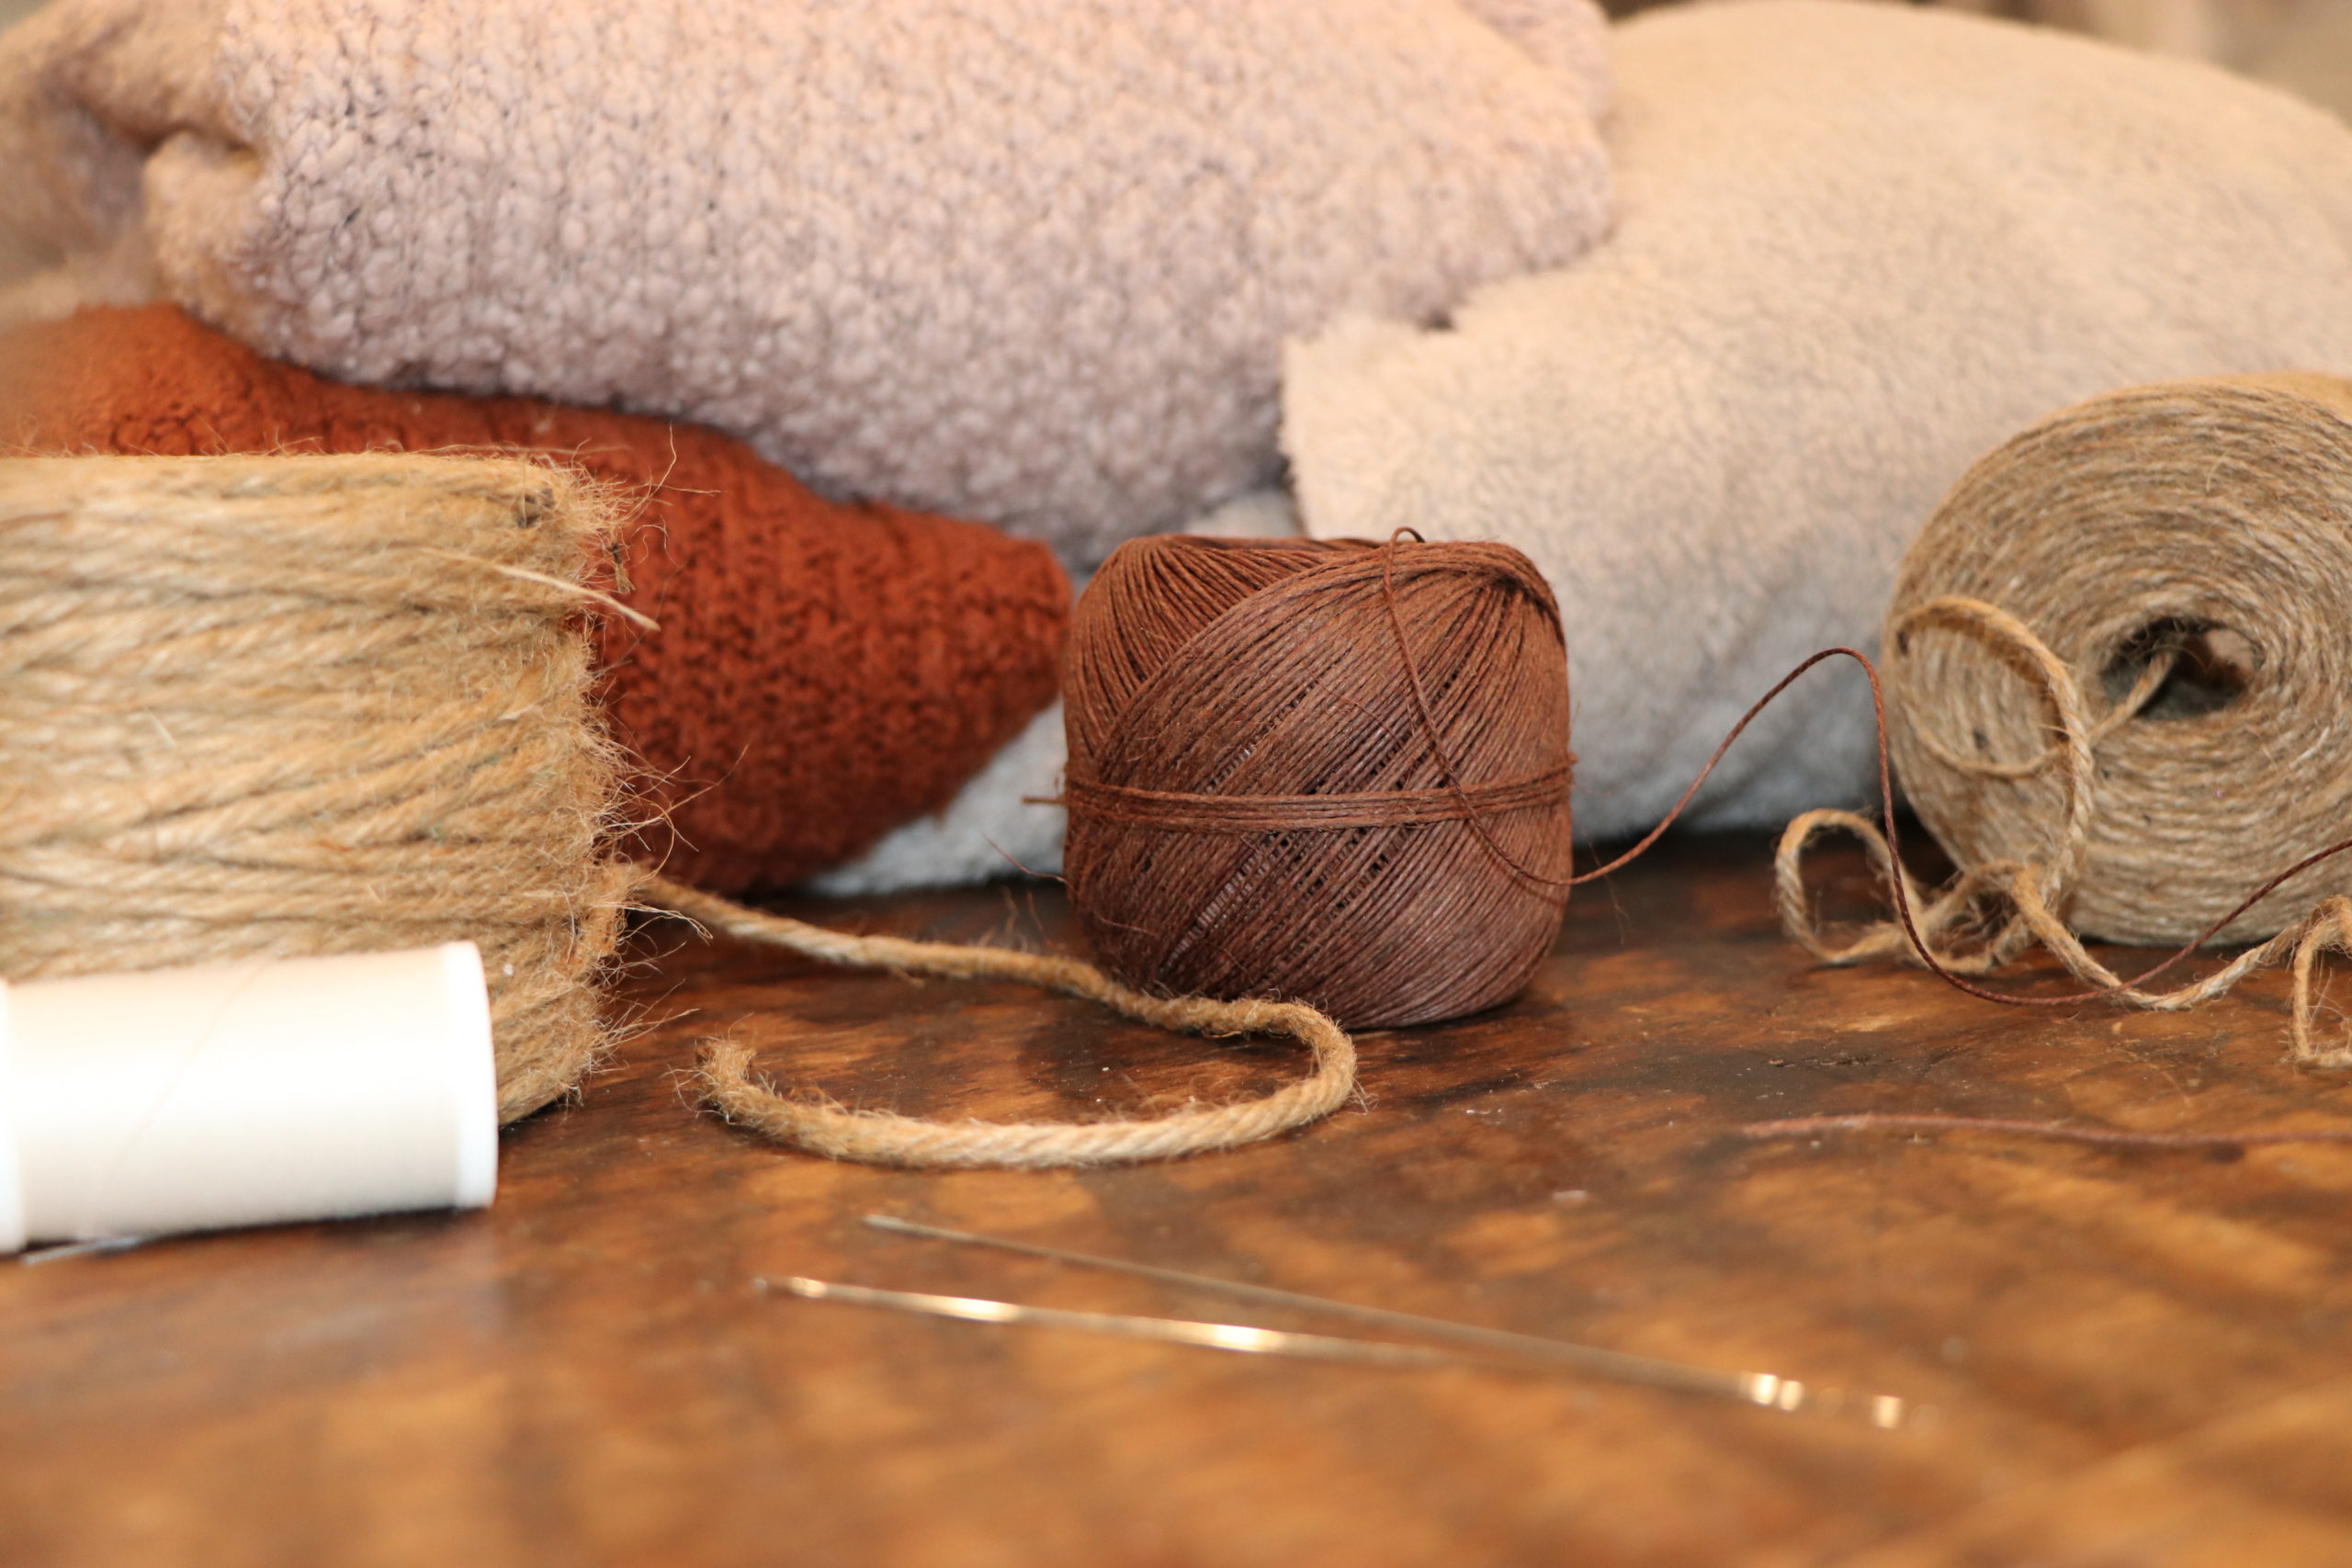
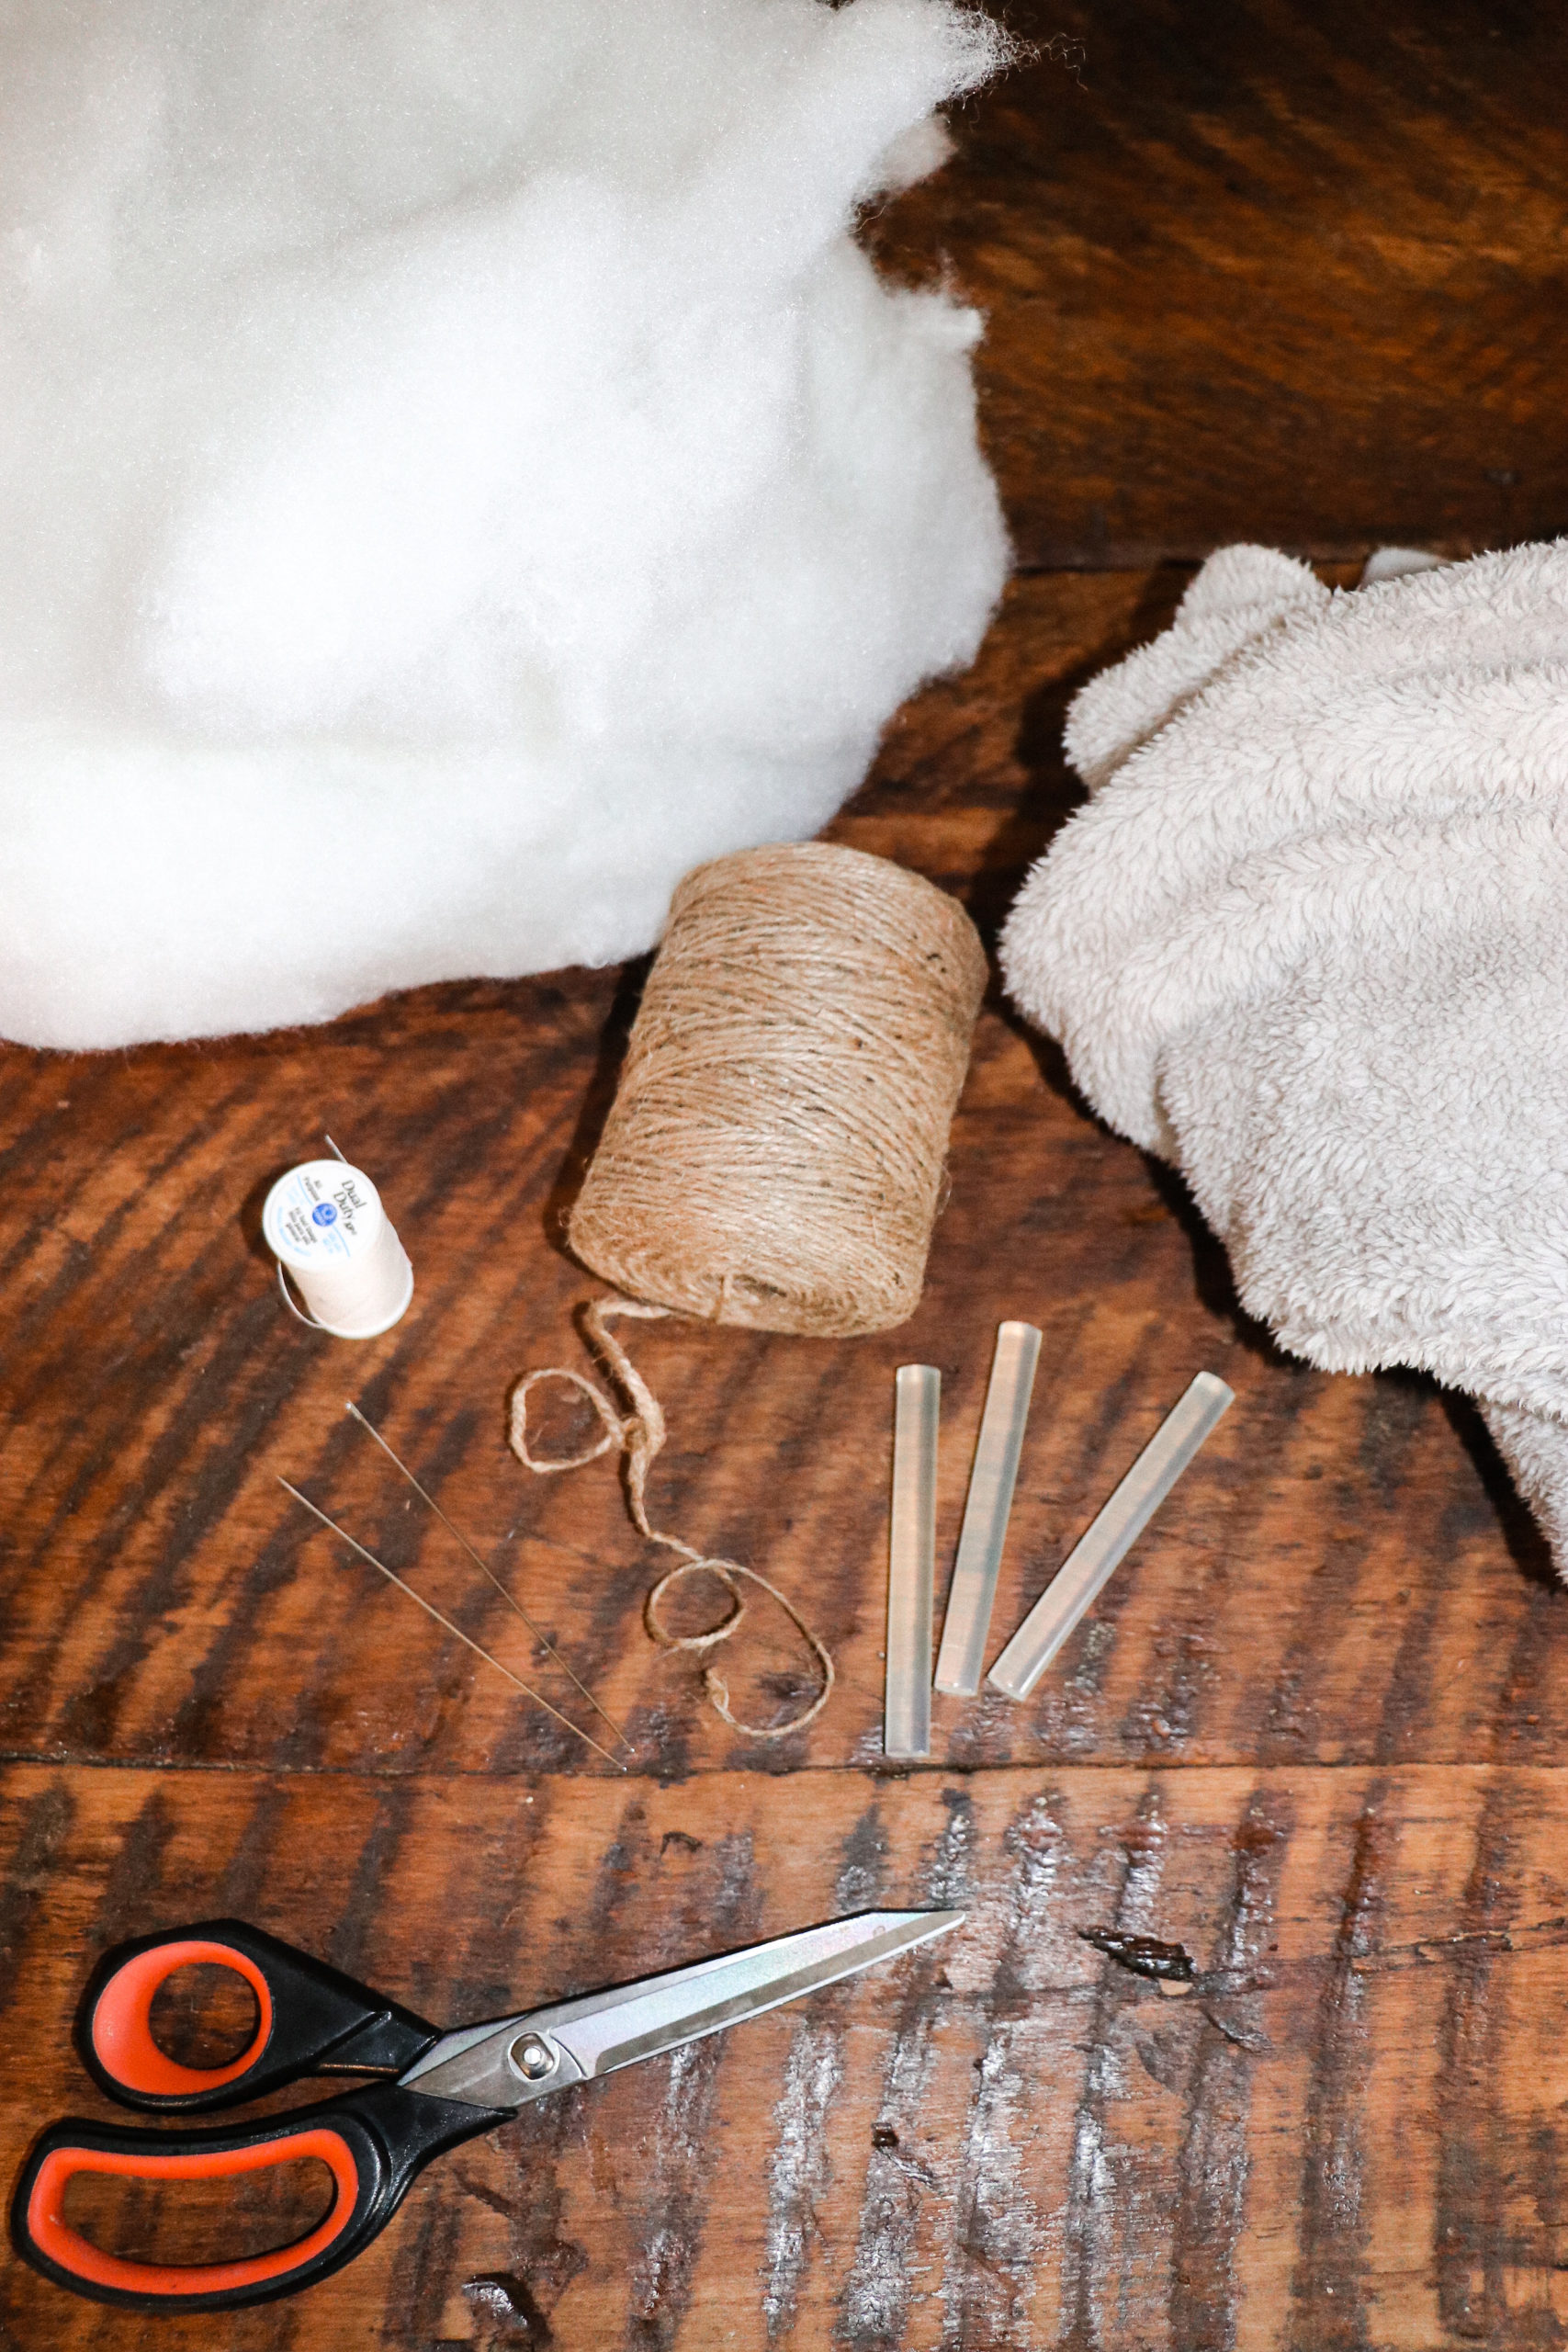
Materials Needed For DIY Pumpkin Pillow
- Old Sweater
- Poly-Fil / or you could repurpose an old pillow and use the fill
- Hot Glue Gun/Glue Sticks
- Jute Twine
- Needle & Thread
- Fabric Sheers
- Rubber Bands
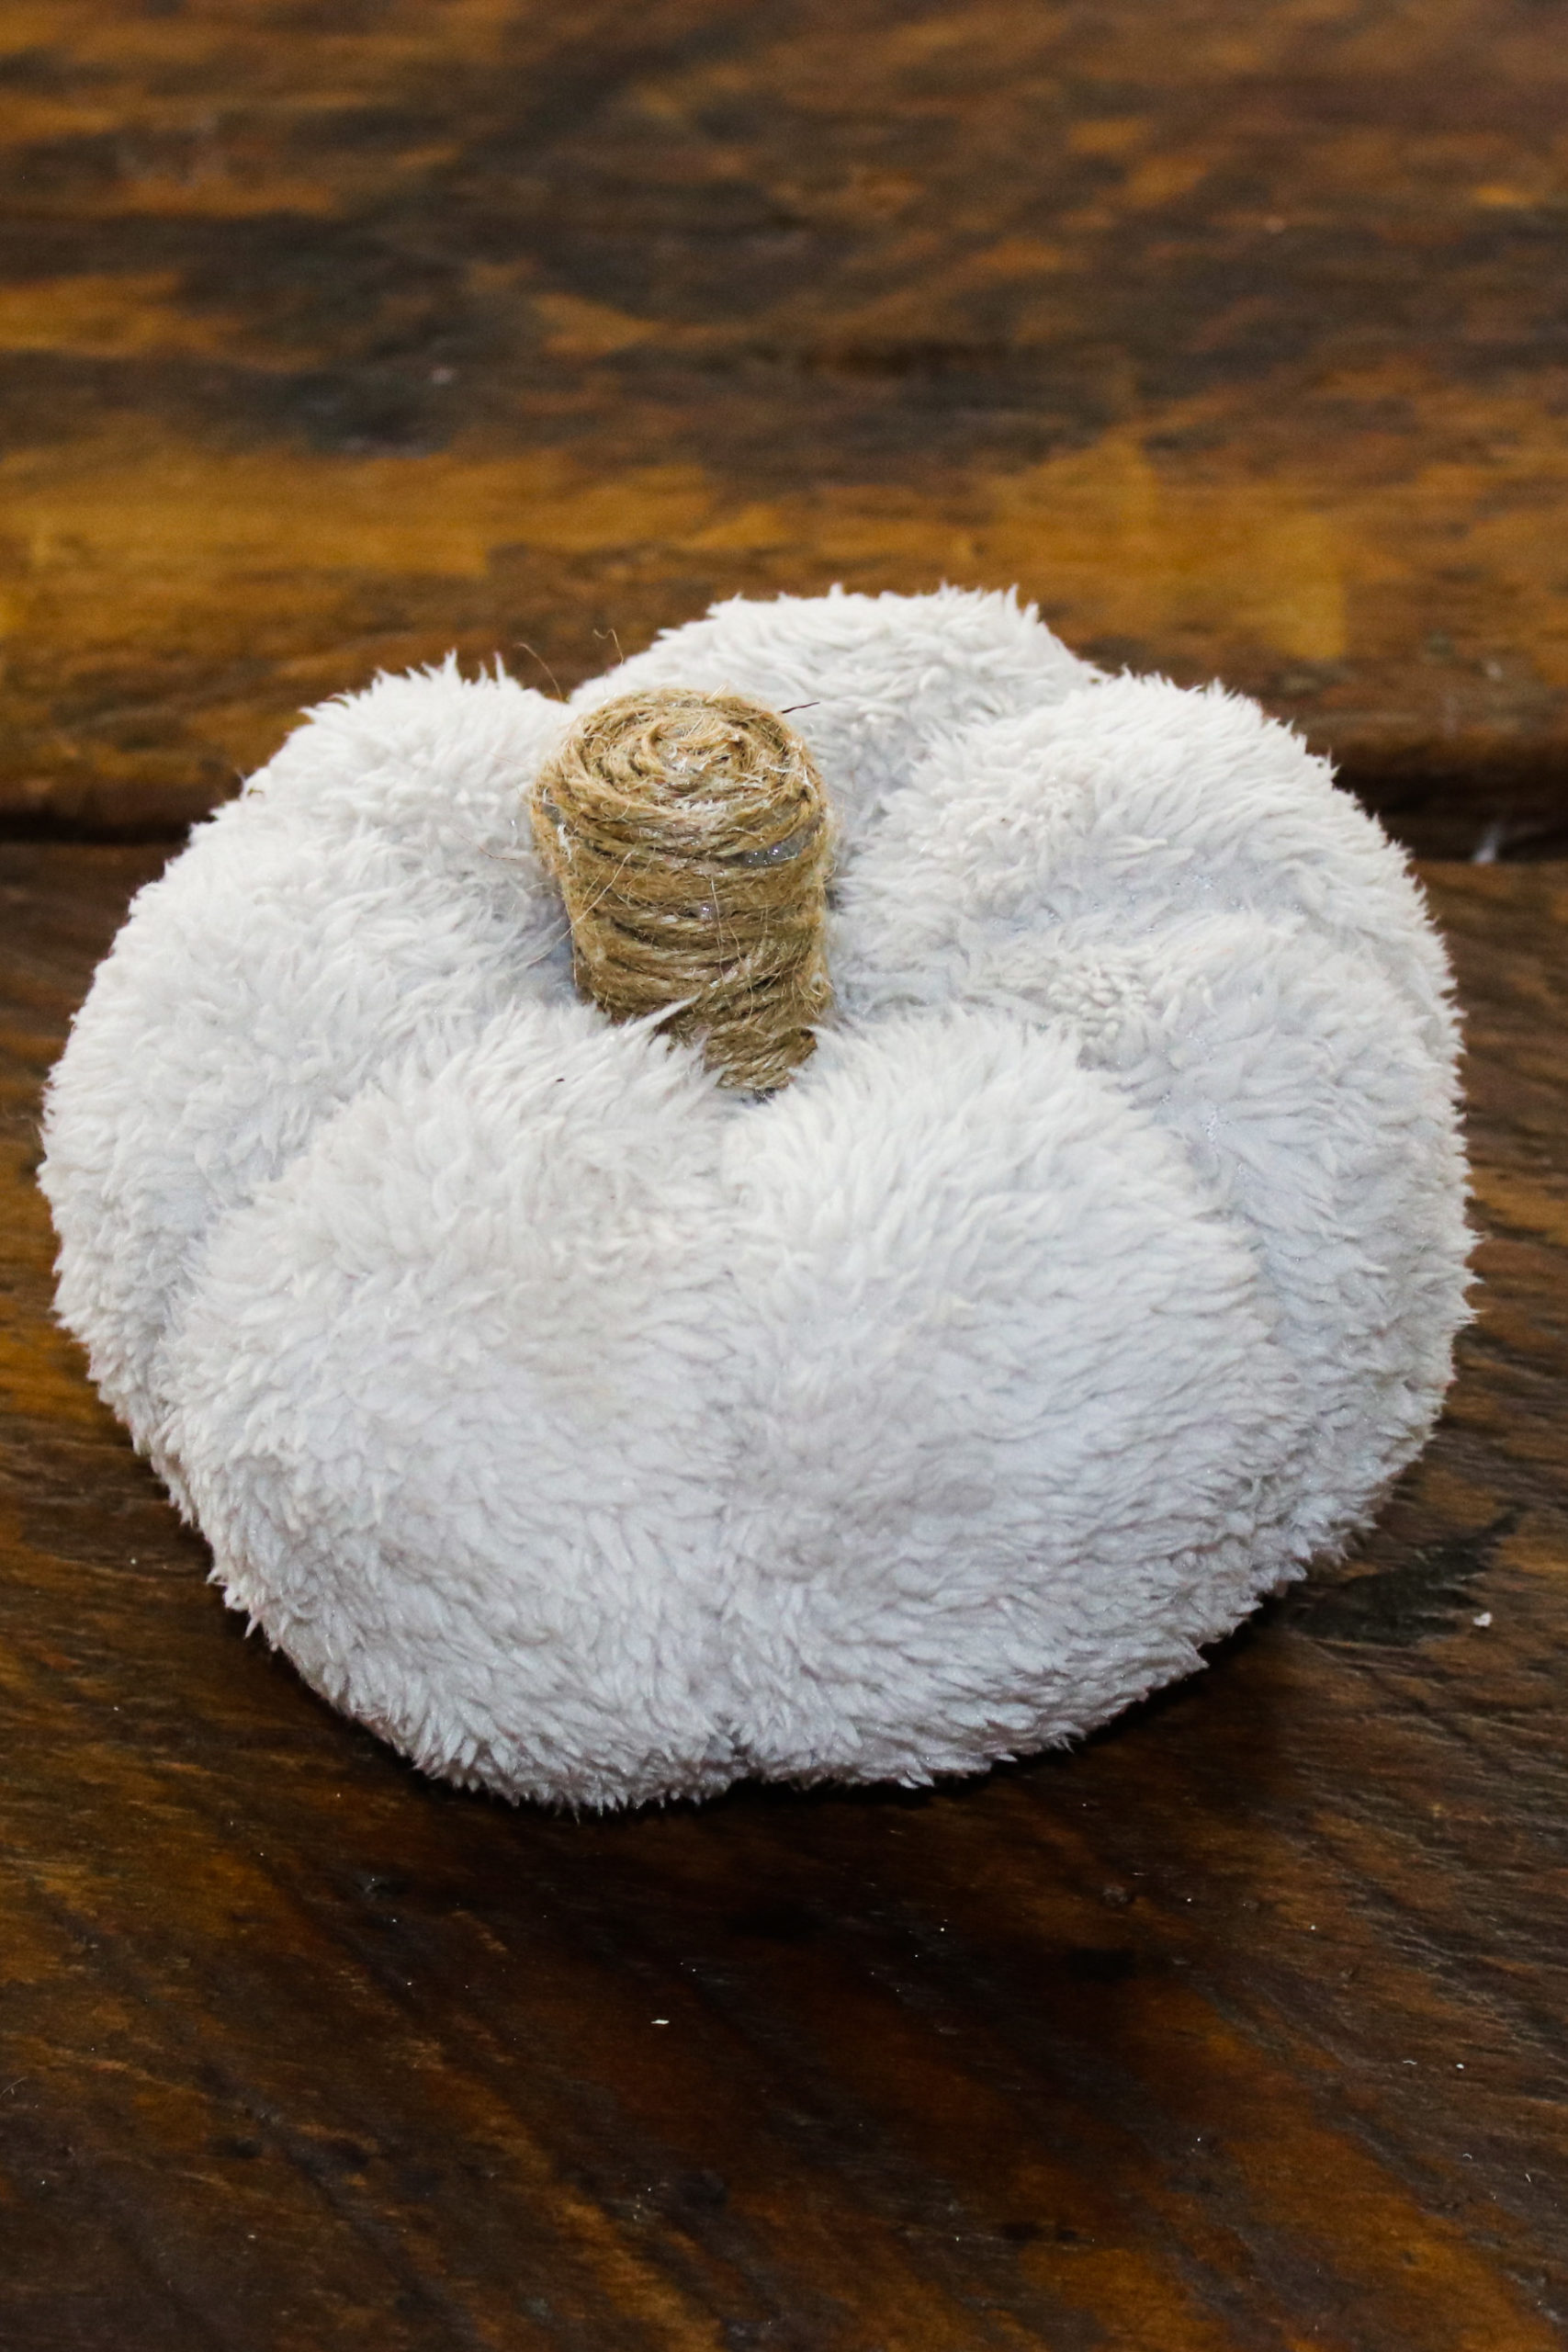
Steps For Making a Smaller DIY Pumpkin Pillow
- Choose an old sweater. Measure out about 1 foot from the edge of the sleeve and cut off the sleeve and turn the part you cut off inside out.
- Secure the end you just cut (not the cuff end but the end that was just cut)with a rubber band and then turn back right side out.
- Stuff the sleeve with Poly-fil (or old pillow stuffing).
- Once the sleeve is stuffed to your liking, secure it with another rubber band, leaving about 2 inches of the extra sleeve material above that rubber band. This extra material will become the pumpkin stem.
- Now, it should look like you have a round-ish ball with a little stem on top.
- Thread your needed and secure it dead center of the top (near the base of the stem). Loop it around the sweater material a few times to make sure your knot doesn’t pull out right through the material. Once secured, push the needed down through the center and out the bottom of the pumpkin. Now, pull the thread out and up around the side (this makes a section) pulling tightly and then threading it down through the pumpkin (in the middle) at the base of the “stem” again. Repeat this 5 or 6 times, moving around the outside of the pumpkin pillow each time. As you pull tight, the thread will create sections in your pumpkin pillow.
- Once You have all your sections, knot your thread really well so that it’s secure.
- Next, we are going to wrap the extra material with twine and create a stem
- Heat up your glue gun. Dab a little glue at the base of the “stem” (the extra fabric) and carefully secure the end of your twine to the stem. DO NOT CUT the twine off the roll yet. Just secure the end. Once it is cooled and secure…apply a little glue and follow around the stem with the twine, going upward and pulling fairly tight as you move along.
- Be careful not to burn yourself! To keep my fingers out of the hot glue, I like to use an extra glue stick to push the twine into the glue (instead of my fingers) as I wrap the stem.
- Decide how long you want your stem to be. If you have too much material, just use your fabric sheers to trim some off. When you reach your desired length, apply glue over the entire top, and twist the twine spiraling inward toward the center. When you reach the middle of the stem, trim off the twine.
- ENJOY your cute new DIY pumpkin pillow… and maybe make another one!
Steps For Making a Larger DIY Pumpkin Pillow
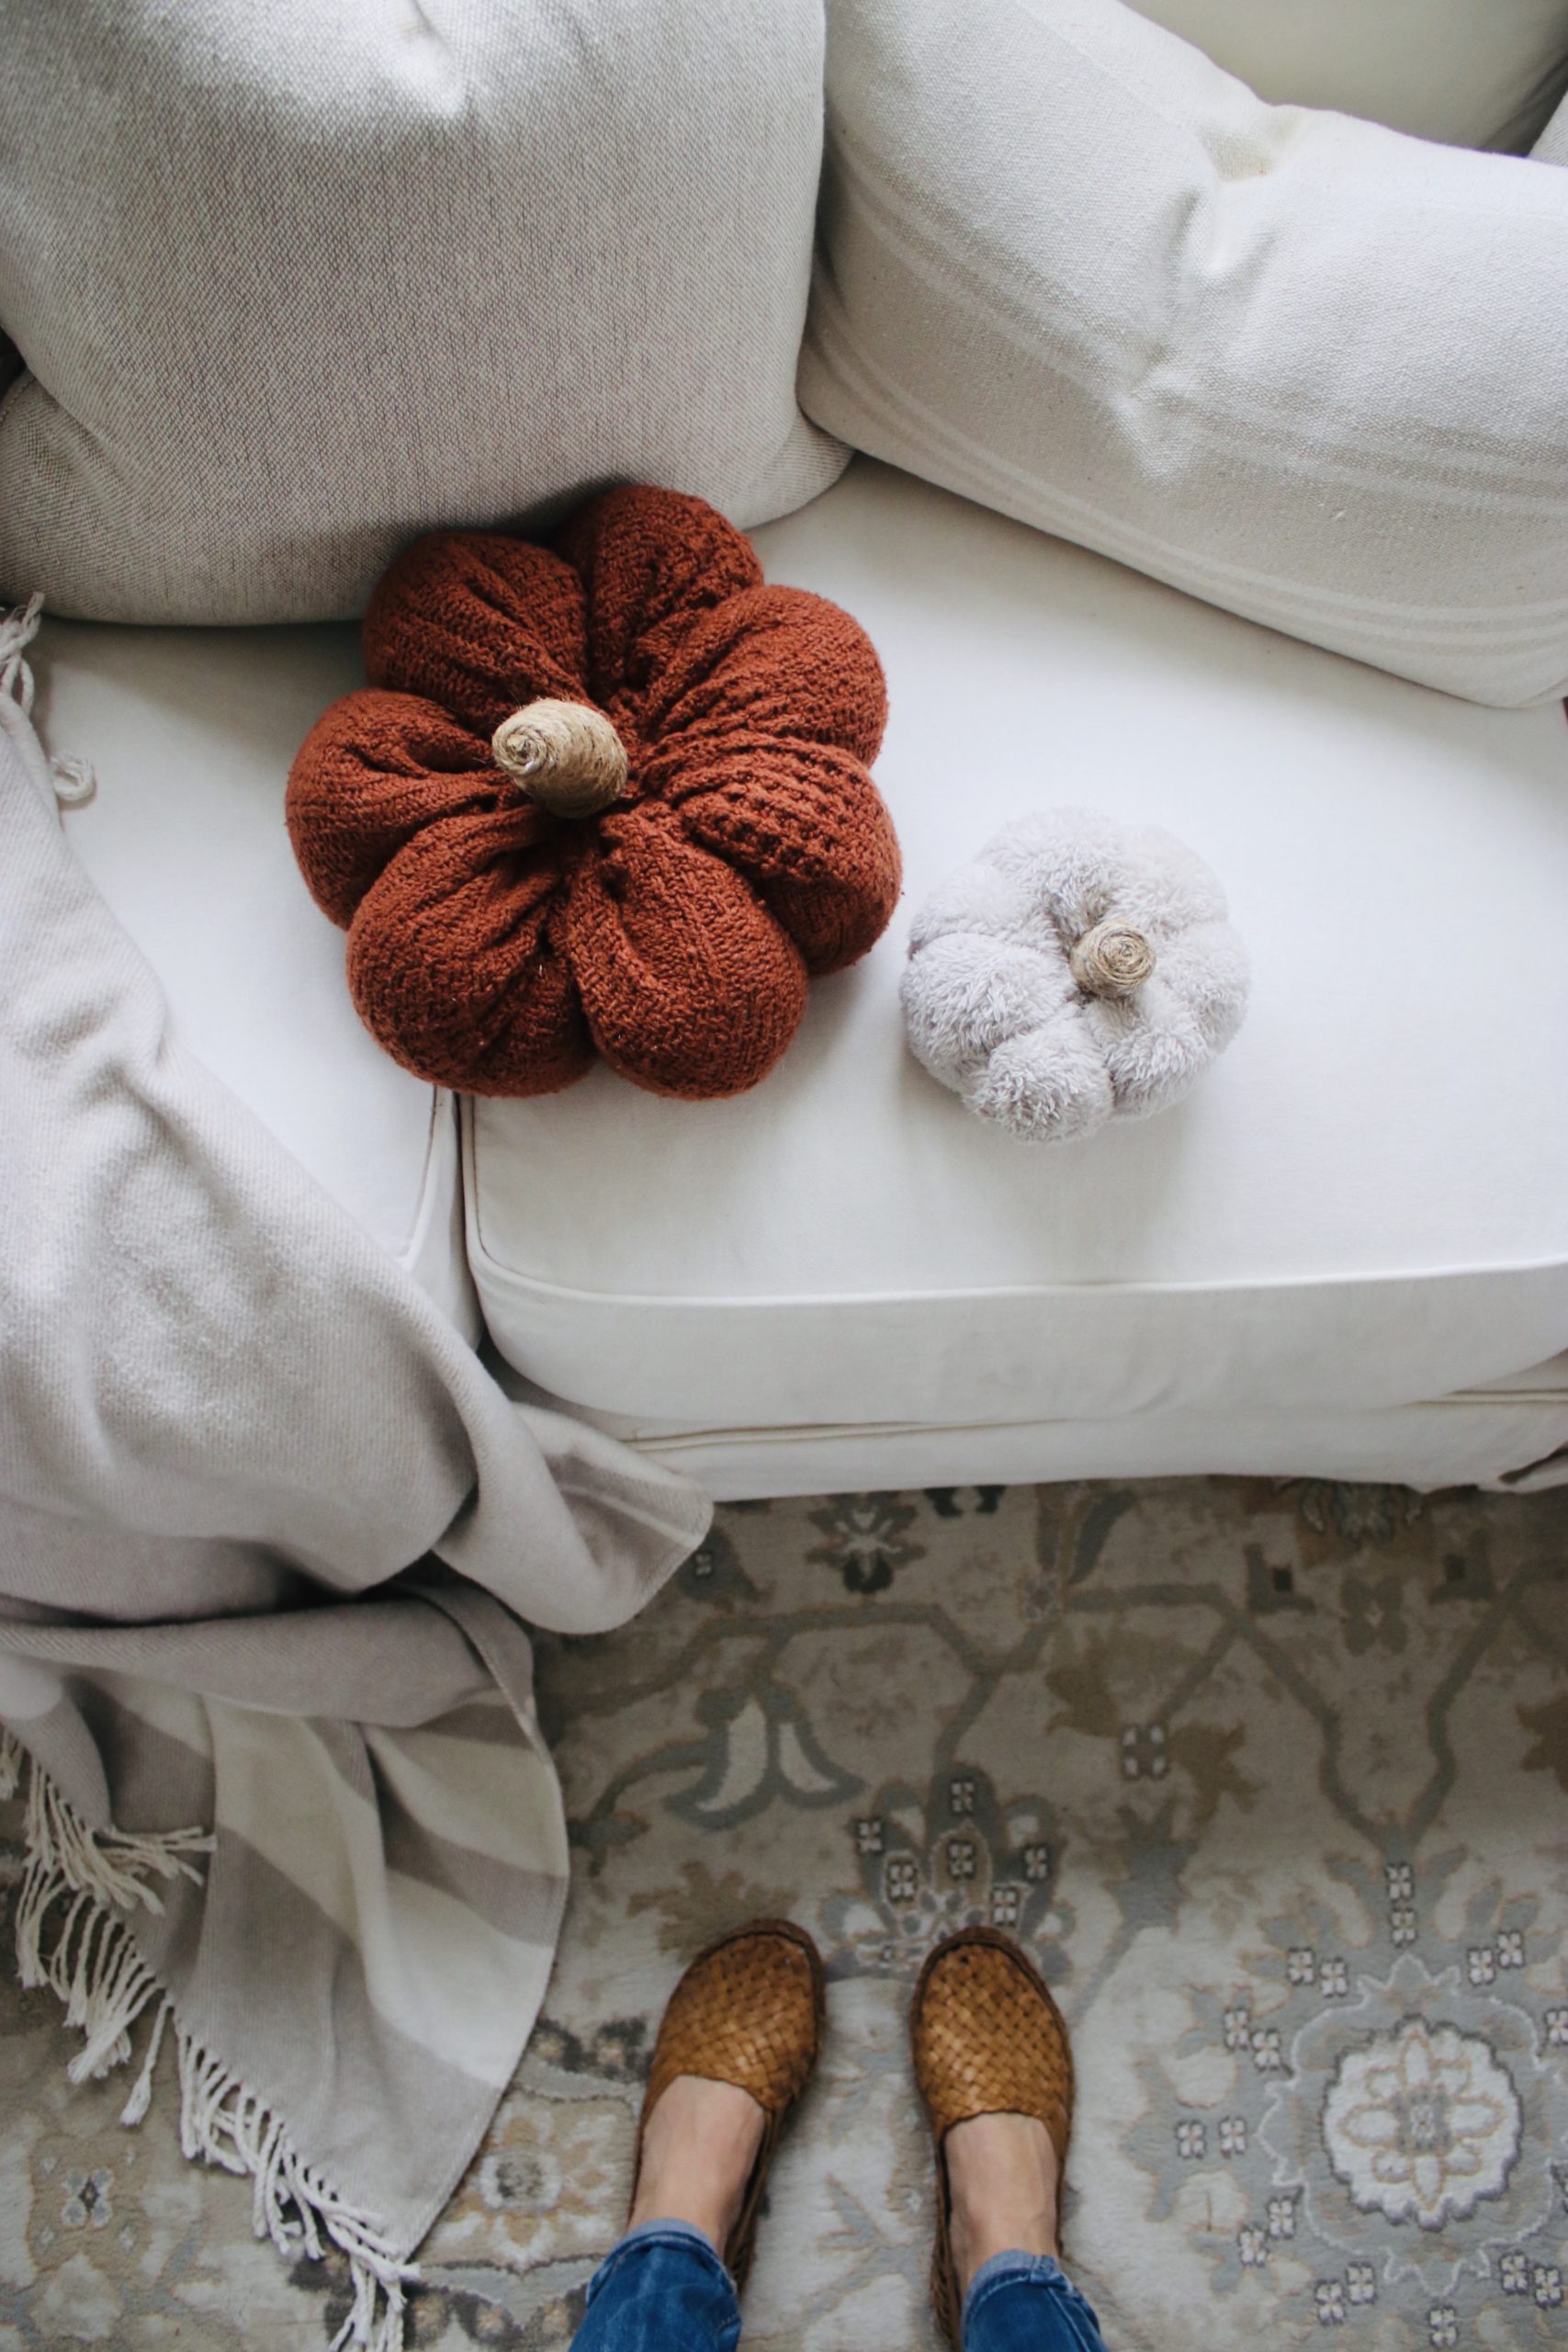
- Choose an old sweater but this time we are going to cut out the entire back of the sweater to make our DIY pumpkin pillow instead of the sleeve.
- Once you have a large circle cut out of the back, place a large pile of Poly-fill in the center of the sweater fabric.
- Gather all the edges up and around the fill and secure it with a rubber band (just like putting a ponytail in your hair). Make sure to leave out 2 inches or more past the rubber band because this will become the stem.
- Follow steps 5-12 listed above!
- ENJOY!