
DIY Concrete Countertops
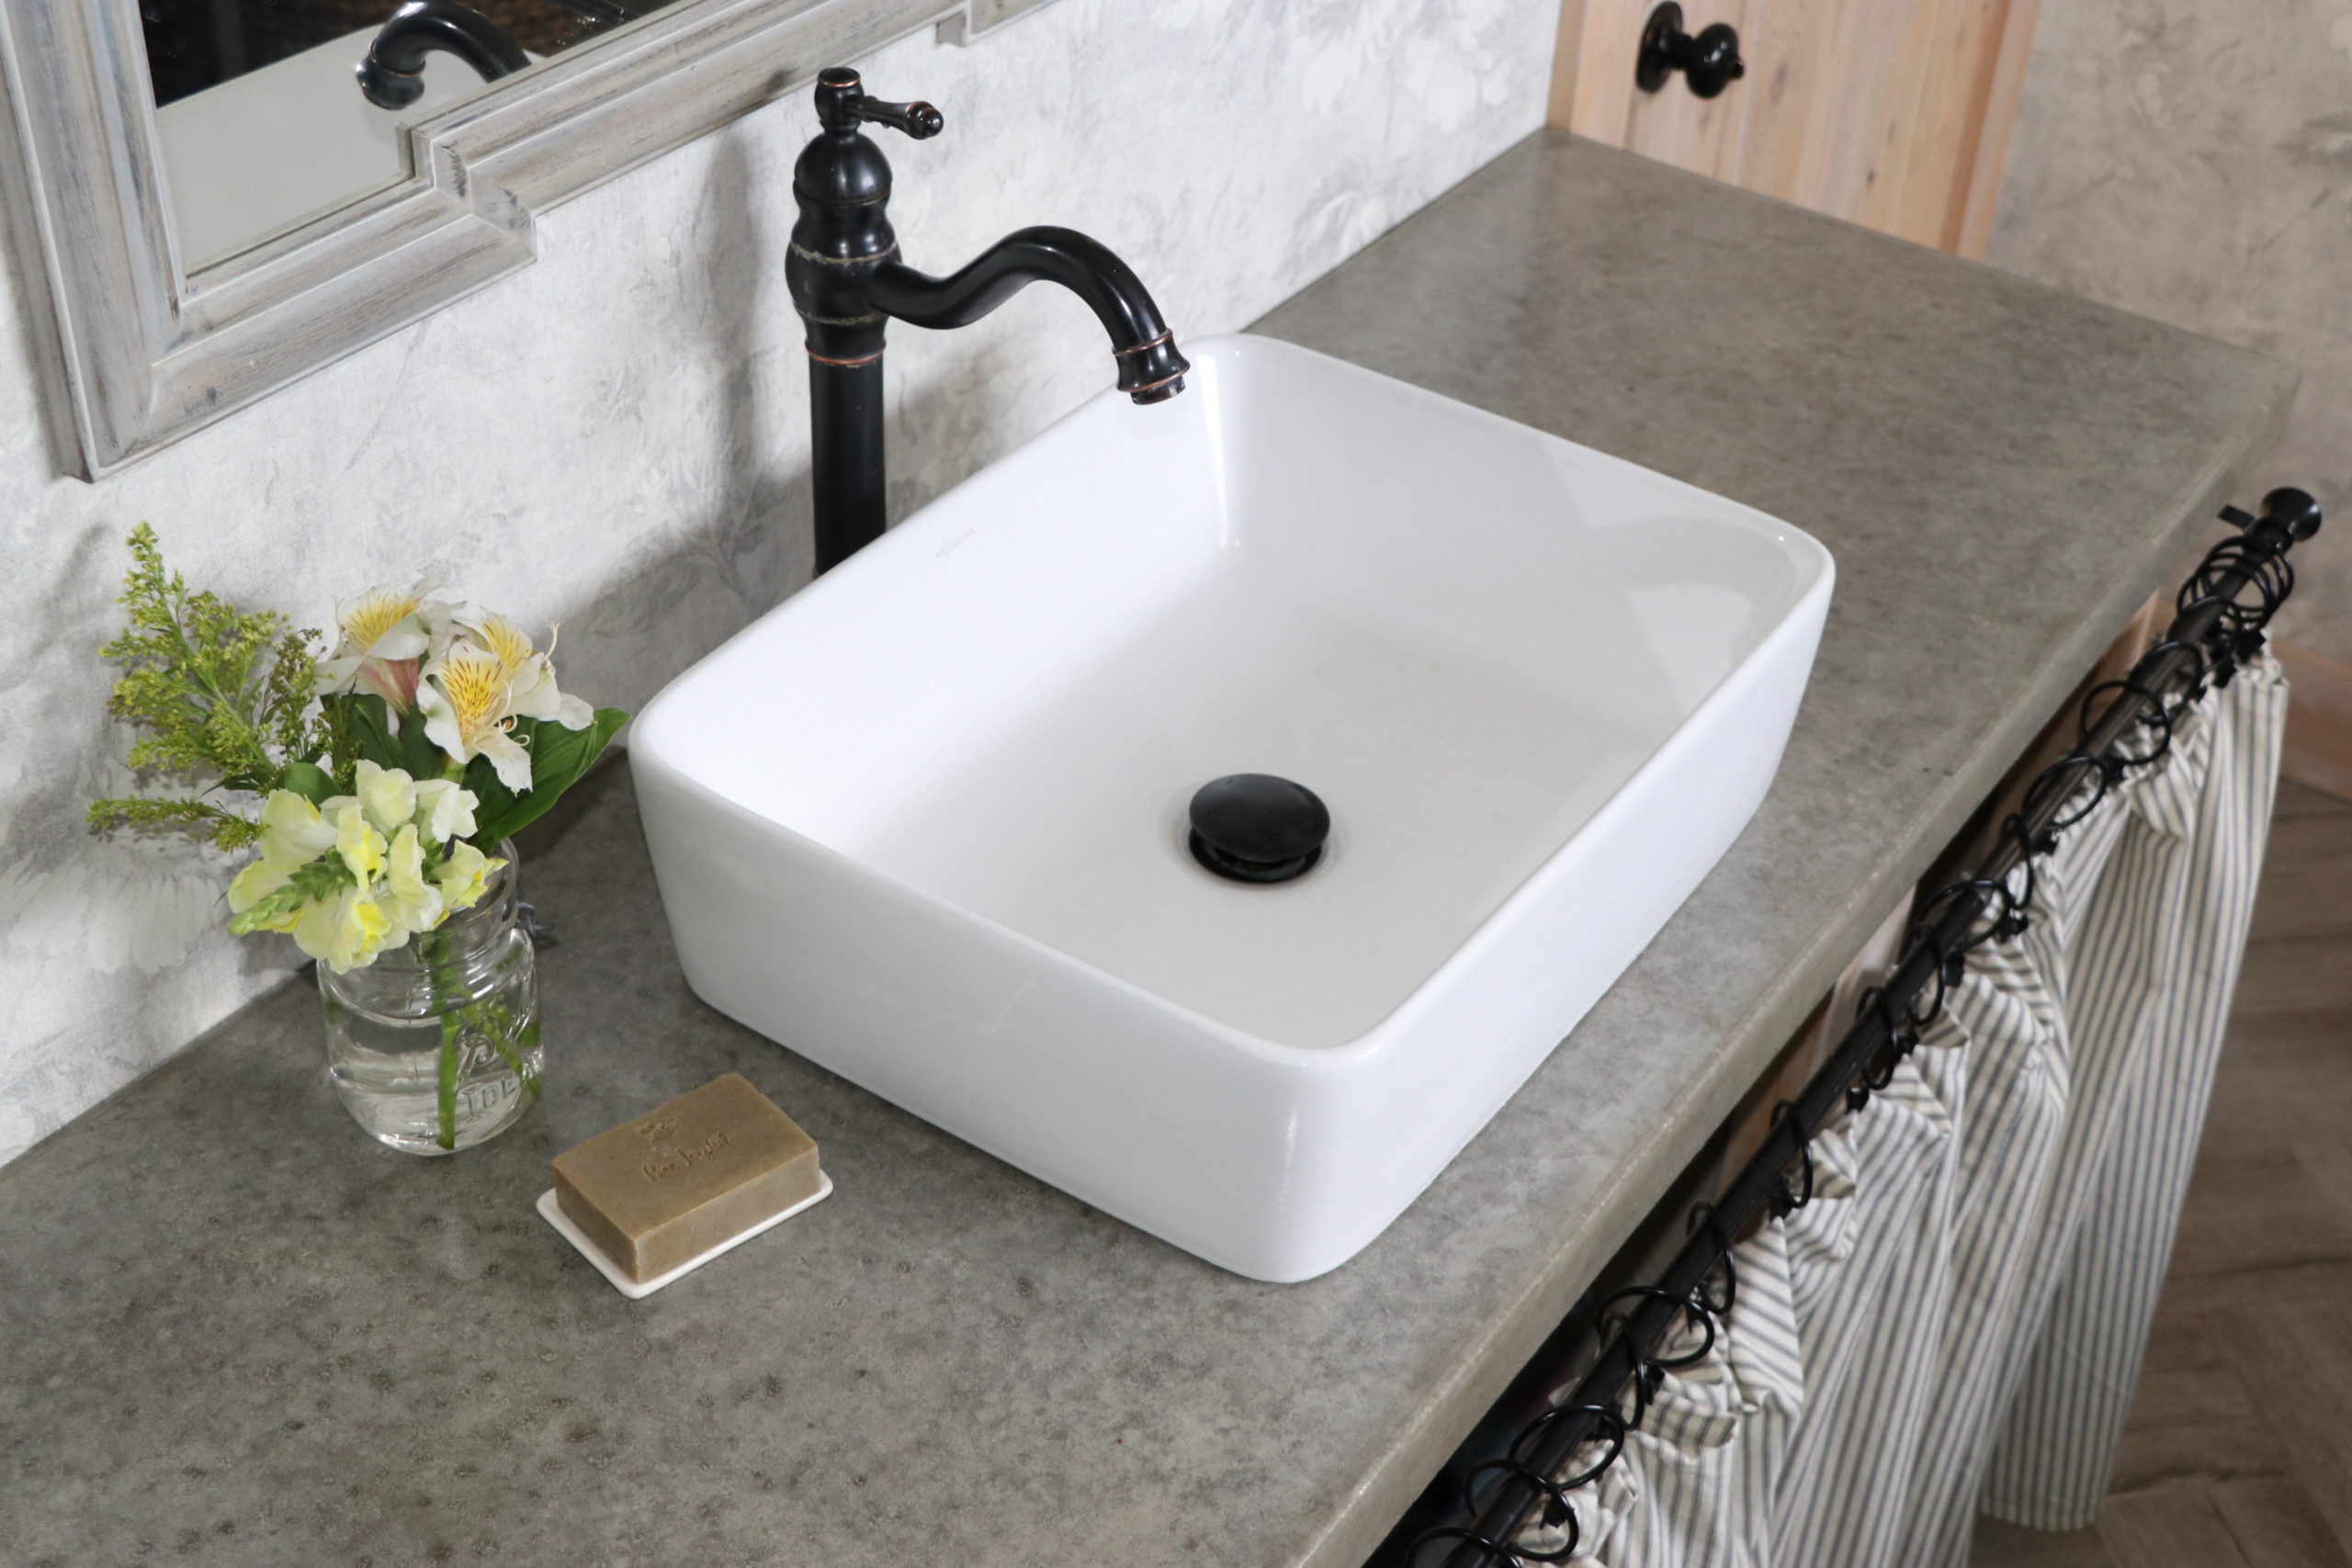
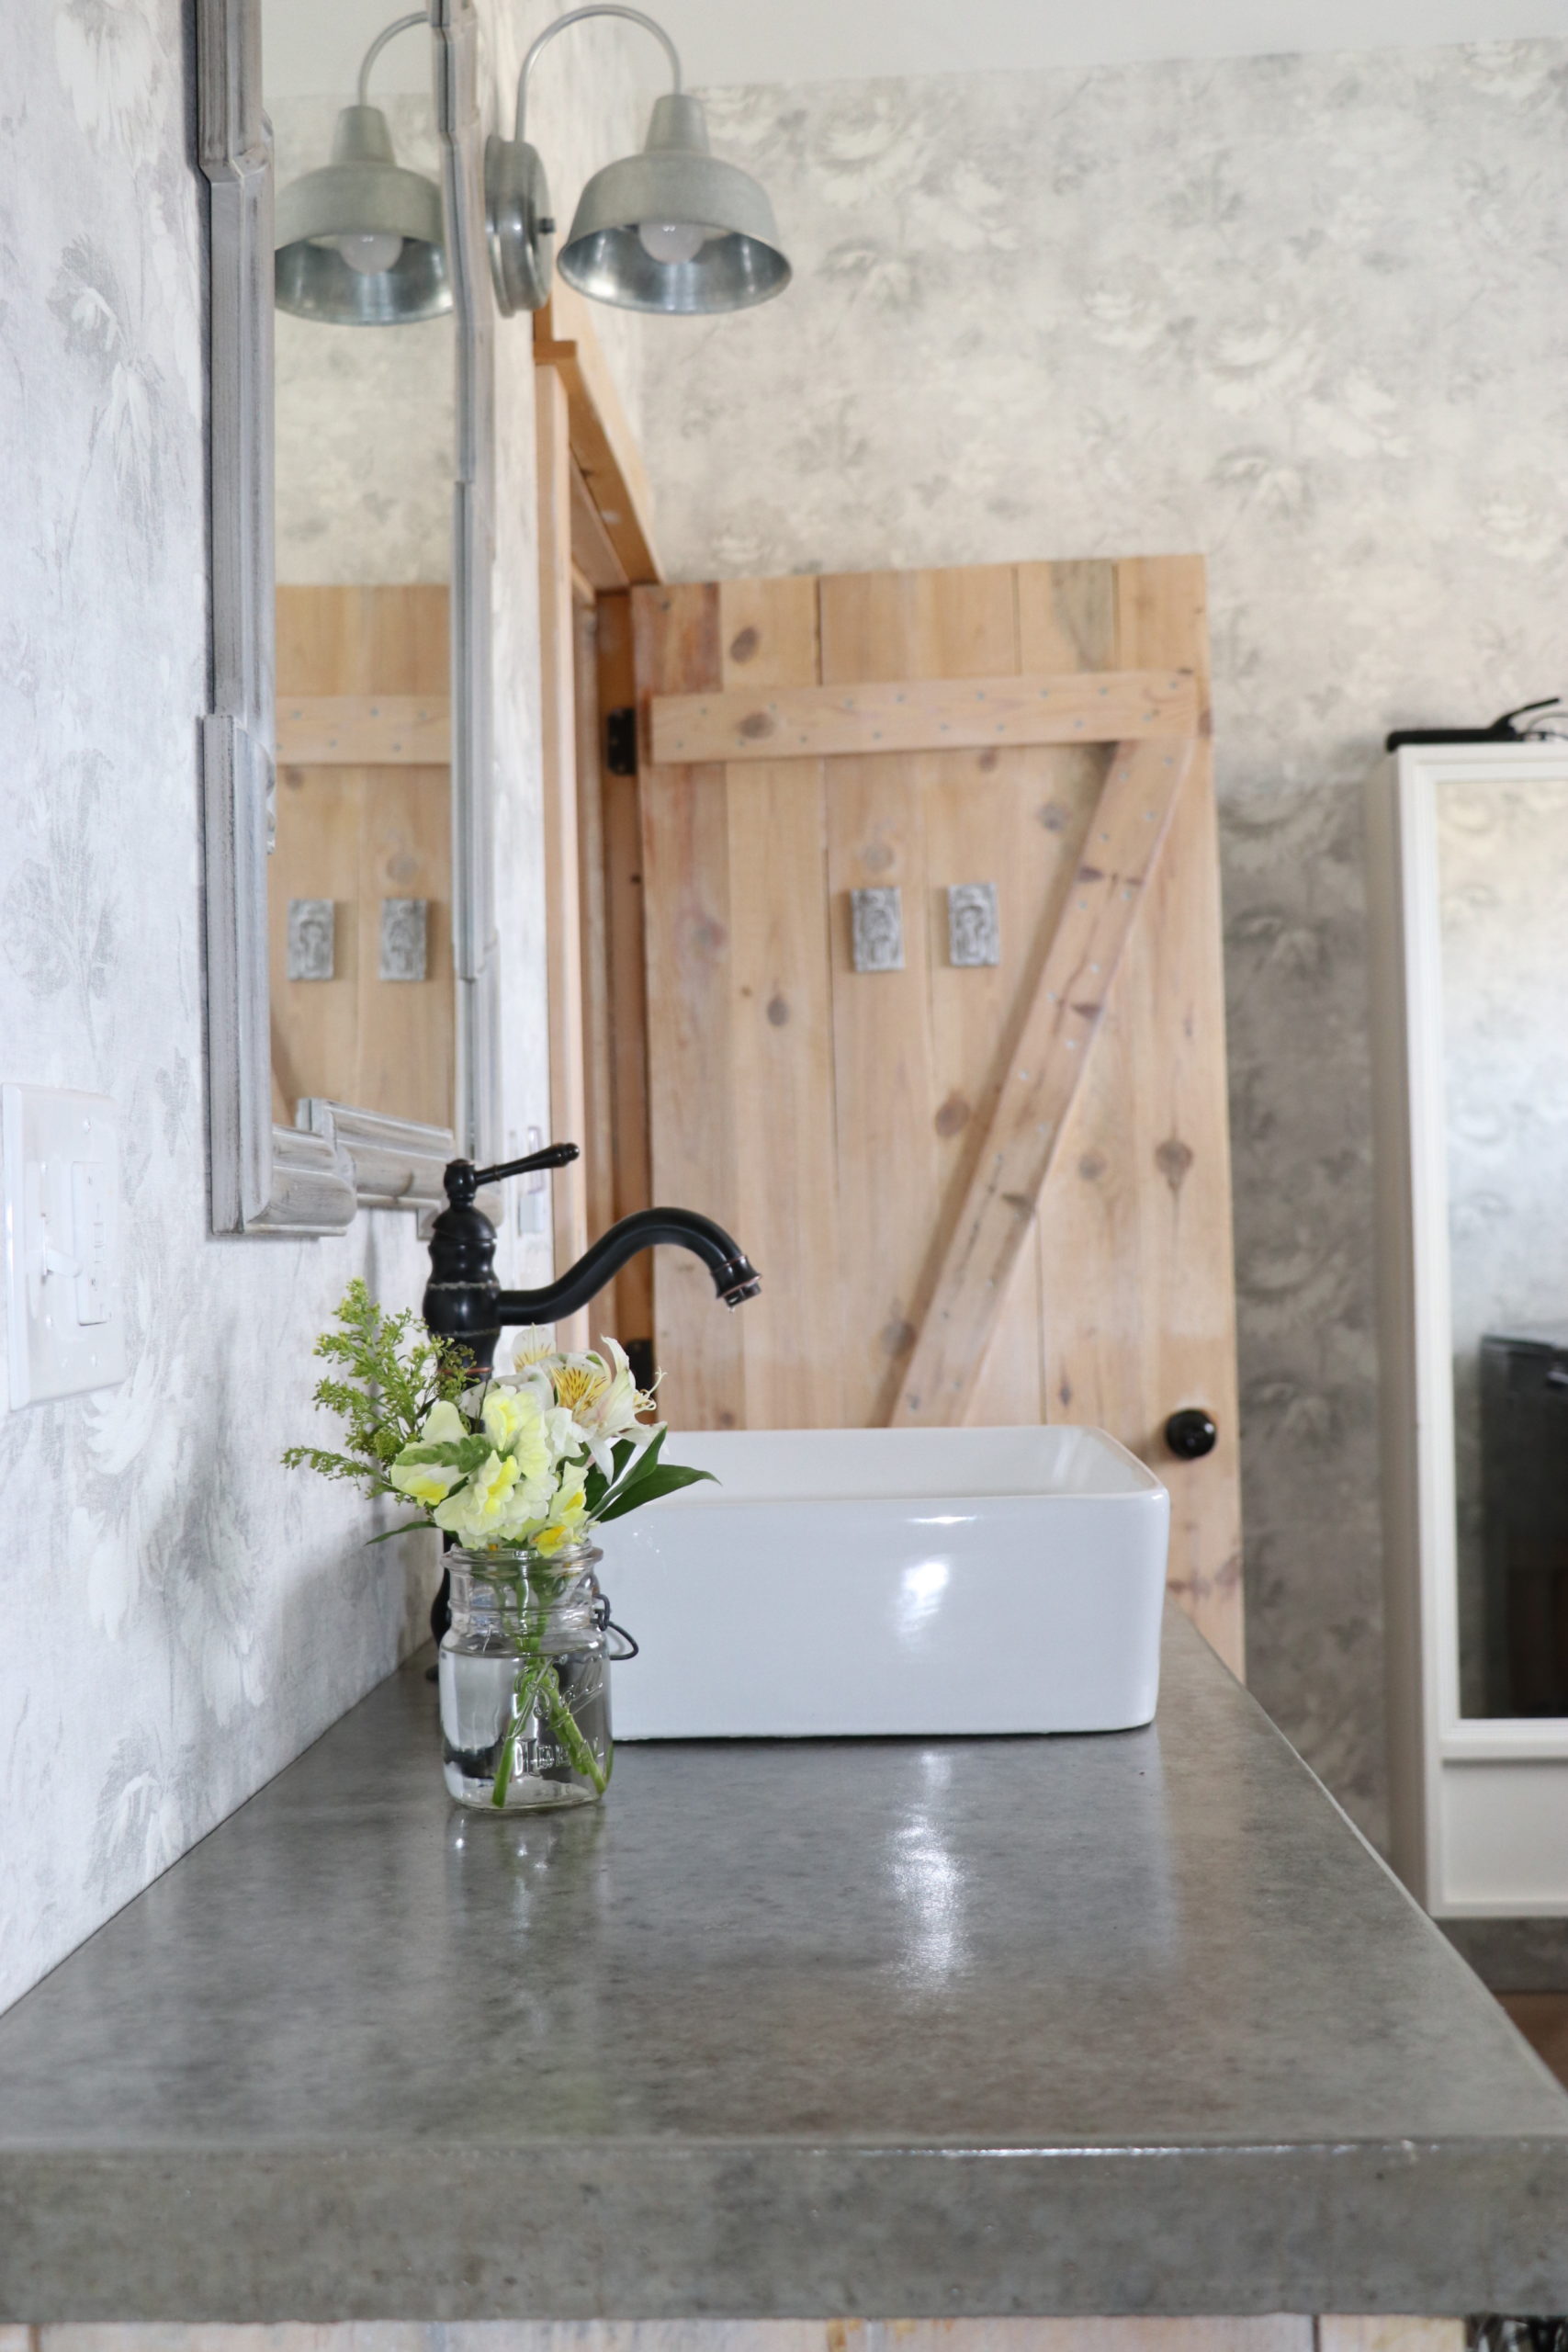
I’ve shared a lot about how we DIYed our entire home and that we built our own cabinets and countertops. Whenever I share a photo of our kitchen or one of our previous kitchens, I get asked how we make our concrete countertops. If you follow me over on Instagram then you know that we recently made a 6 foot long, DIY concrete countertop for our bathroom vanity! Today I’m sharing the steps on how to make DIY Concrete Countertops as well as some important things to consider before tackling this DIY project for your kitchen or bathroom.
If you’d like more information on how to know if
DIY Concrete Countertops are right for you, be sure and check out THIS POST as well.

How To Make DIY Concrete Countertops The Most Cost-Effective Way
I know there are all kinds of ways to make concrete countertops but in this post, I will just be sharing how we’ve always done it and what works best for us. We have found that this is the easiest and most cost-effective way to get concrete countertops.
Here’s The SHORT Version Of What We Do…
We make our concrete form out of melamine, caulk the seams, use foam for the faucet/drain, and add wire or rebar. Then we mix regular Quikrete concrete mix (not concrete countertop mix) with water in a wheelbarrow and fill the form. When it’s cured we remove the slab and flip it over so the rough side is down. We fill any small holes with portland cement, lightly sand, and then seal it with either a food-safe sealer (when going in a kitchen) or with any concrete sealer (when going in a bathroom). Making your DIY concrete countertops this way will give you all new kitchen counters for only about $200-4oo hundred dollars (depending on how large your kitchen is) and they’ll look AMAZING!
Important Things To Consider Before Building DIY Concrete Countertops
Before we get started on the tutorial, I want to talk about a few things to consider before attempting to build your own DIY concrete countertops. The most important thing to take into account is the weight of the concrete. I prefer the look of two-inch or even two &1/2 inch thick countertops. The concrete caps we made for the pavilion pillar caps were 4 inches think …you can see an example of that HERE. Concrete is super heavy and the thicker you make your countertop the more weight you’ll have on your cabinets and floor joists (if your home is on joists and not a concrete slab foundation). That being said, if your cabinets are old or your home is older, they probably won’t be able to support the weight of concrete countertops. I highly recommend checking into that before you get started!

Another thing to consider is transporting them into place once they are built. One countertop slab can easily weigh upward of 600lbs and it’ll need to be flipped over after cured and moved into your kitchen…so keep that in mind. You may need to call in some favors to help you get your new countertops into place. If you’d like to DIY concrete countertops and don’t have a way to install them. I would recommend looking into Z Counterform products. They allow you to DIY your countertops in place instead of in a form off-site. I’ve never used them, but I have heard great things about them so it’s worth looking into.

Let’s Go Over The Detailed Version Of This Tutorial Now…
Step 1: How To Build The Concrete Form Structure
1.The first step is to decide how thick you want to make your countertops. You will also need to take very precise measurements of the countertop you plan to build and make a materials list. I have included our materials list at the end of this post for reference. To build the concrete form we used a 3/4 in. 4×8 Melamine sheet. We measured the surface of the counter we wanted to replace and then ripped down our sheet of Melamine on our table saw. We wanted our countertop to be 2ft. by 6ft. by 2 inches thick. We cut the base of the form into a 2ftx6ft sheet. After we had to bottom of the form cut out of the sheet, we then cut our edges making the two long sides 73.5 inches each allowing it an extra 3/4 inch of overlap on each end. The two shorter sides we cut at 2 ft. (the length of each end of the base).

2.To attach the sides to the base, we predrilled all the holes (if you skip this step it will crack the melamine so be sure to predrill) and then used screws to secure the sides. Be sure to add plenty of screws and pay extra attention to the corners. The longer your countertop is the more risk you run with the sides bowing in the center from the weight of the concrete. If you’re worried about bowing, you can predrill a hole and run wire through it, twisting it together to hold the sides in place.

Ours was 6 feet long and we didn’t have any trouble with bowing so you should be good unless yours is super long.

3.Once you have a base and all four sides you need to think about any plumping areas. Our slab needed a hole for a faucet and a sink drain. We use a thick piece of styrofoam for this. We used a —–inch drill bit for the faucet hole and a ——inch for our sink drain hole. We then wrapped the styrofoam in duct tape to keep the concrete from eating away the styrofoam as it cured. We secured the styrofoam using —-inch screws and were careful not to split the circular styrofoam when attaching them.


4. Next up, we used silicone caulk in all the seams. Just apply a thin bead of caulk and then run your finger over it to smooth it out. This is what gives the edges of the countertop a smooth finish on the corners and keeps the concrete from sticking in the seams. Don’t skip this step…it’s super important.

Step 2: Adding Strength To Your Countertop
1.Your countertop may need some help strengthening it up depending on how thick and how large the concrete countertop is. In the first kitchen, we ever made DIY concrete countertops for, we made a large island and a peninsula with a 16inch overhang for bar stools. Anytime you have an area that will overhang you will need to add support inside the concrete as well as underneath the bar. I recommend adding 1/2 inch rebar every 12 inches or so in cases like this right inside the concrete. You will have to string the wire through the form to hold the rebar in place. You want to make sure the rebar is in the center of the form (not too close to the top or bottom)otherwise the rebar may show on your surface after removing the slab from the form. Be sure to run each piece of rebar all the way across the countertop to the end of the overhang.

2.We also recommend adding wire mesh no matter what size of a countertop you’re making. It adds a lot of strength to your slab and better safe than sorry. It would be such a bummer to go to this work only to have your concrete slab crack. We used wire mesh in this slab. We did not use rebar because we don’t have a large overhang. If you do have a bar overhang make sure to use some kind of corbel or bracket like this to support the countertop as well. Make sure the bracket you use is rated for granite. Granite is close to the same weight as concrete.

Step 3: Mixing The Concrete/Finishing The Concrete Countertop
1. When your form is all complete and the caulk is dry it’s time to mix your concrete. Like I said earlier, we used basic $4/per bag Quikcrete from The Home Depot and this is what we have used each time we’ve made DIY concrete countertops. Break the bag open in a wheelbarrow with a garden hoe and then mix your concrete according to manufacturers’ instructions. And I wanted to mention that I am not sponsored in any way for this project…I’m just recommending what I always use! If you wanted to use Countertop grade concrete mix or add in a concrete stain/color I imagine it would turn out great regardless and the steps would be the same either way.

2.Once the concrete is thoroughly mixed, use a shovel or a 5 gal. bucket to scoop the concrete and pour it into the form. Making sure to spread it out evenly under the wire mesh and making sure to keep any larger stones out of the edges or corners.


3. Once the form is full you’ll need to tap/vibrate the edges and bottom of the form to encourage any air trapped in the concrete to move to the surface. I have done this using a hammer and just tapping it repeatedly around and around the form until I can see that all the bubbles have risen to the surface. If you have a reciprocating saw/Sawzall that works the best. Just take the blade out and run the saw around the form a few times.
I’ve also used an Orbital Sander without the sanding disks on it. As long as you get the air pockets out…you’ll be fine! Once you’re confident that all the air bubbles have surfaced, use a cut piece of 2×4 to screed the top of the form, removing all the extra concrete. Again, vibrate the form a few times around before screeding it again. As the concrete sets up (in the first 30 min) you will want to have all the vibrating and screeding done. You’ll now leave the concrete to cure for 24 hours before removing the sides from the form.

4. The side that you are screeding will be the bottom of the countertop so make sure you get it as level as you can. If there are any accidental chunks or drips left on the slab be sure to sand or chip them off before installing it otherwise your countertop may not want to sit level on your cabinets.
HELPFUL TIP: You don’t want a larger stone to get stuck in the corner because it will weaken the corner of the countertop making it more likely to crumble or chip when you remove it from the form.
Step 4: Removing The Concrete From The Form and Filling Small Holes
- Once the concrete has sat for 24 hours you can remove the sides. Let your concrete countertop cure for another 2-3 days before flipping it over. When you’re ready to flip the countertop, make sure to have enough strong helpers there to help you lift it…because it will likely weigh hundreds of pounds (depending on its size).

- Once you’ve flipped it out of its form you’re ready to finish it and install it!

- If you have any small holes or little pinpricks that need to be filled that’s OKAY, don’t worry! I’m going to walk you through how to fill them. You will need a bag of Portland Cement, a bowl, gloves, and some water. Mix about a cup of Portland cement into a bowl and mix in a little bit of water until the mixture is like a slightly runny paste….like toothpaste. Work the mixture into the concrete countertop anywhere you see a small hole. Make sure to wear gloves because the best way to do this step is by just using your hands. I like to apply it in a circular motion applying pressure to make sure that the hole is actually filled and not just covered on the surface. If your mixture dries a little in the bowl as you’re working, just add a touch of water.

- The Portland Cement will dry fast on your countertop. Once it’s dry, use a sanding block of about 220 grit to remove any surface mixture. When you’ve sanded all the areas you filled, wipe the entire countertop down really well with a dry paper towel or rag. Make sure your slab is super clean and free of dust before sealing it.

Step 5: Finishing the Countertop With Concrete Sealer

- Before sealing the countertop you’ll need to decide what sealer to use. If the DIY concrete countertop is going to be installed in a bathroom I recommend Behr Premium Concrete Sealer. It comes in “Wet Look” and “Low Lustre”. I chose the “Wet Look” for this project and because we installed it in a bathroom, the sealer didn’t need to be food safe.

- If you are installing your new concrete countertops in a kitchen, I recommend using a food-safe sealer such as THIS or THIS.
- To apply the sealer I like to use a 3-4 inch Foam Roller and I always apply at least 3 coats. Be sure to follow the manufacturer’s instructions on application and to allow for recommended drying time in between coats.
- Also, make sure when you’re applying the sealer NOT to leave any stripes…like this picture below…

- If you apply too much just gently run the roller over the strips removing any extra sealer.

Step 6:Installing Your New Countertop
- When we installed some of our concrete countertops, we used liquid nails and just set them in place. They are SO HEAVY and they will never move once you’ve set them into place. The countertops we have in our kitchen now, we didn’t even use liquid nails, we just set them in place and they don’t budge. So use your own judgment on this.
- Just like when installing any other kind of countertop you may need to shim these to make them sit level. If shimming is needed, I would use liquid nails to hold the counter and shim in place.

Once your countertop is installed you’re ready for installation of the sink and plumbing.
Now you get to ENJOY the fruits of your labor!

MATERIALS LIST:
- A Level and strong surface to work on large enough to hold the entire concrete form. It must be a level surface. We leveled up sawhorses in our driveway and built a 2×4 structure to support the form for the concrete.
- 3/4x4x8 sheet of Melamine (amount will depend on how large of countertops you are making)
- 2×4 for screeding the concrete
- Wire Mesh
- Screws
- Drill
- Wood Drill Bits
- Silicone Caulk– To seal all the seams inside the form
- Caulk Gun
- Some kind of foam insulation board use as filler for a drain, faucet hole, or even a sink opening. If your concrete counter is going to be 2″ thick make sure the foam board is also 2″ thick.
- Duct Tape- To wrap the foam board cutout with.
- Concrete Mix (use a concrete calculator found HERE to decide how much you’ll need)
- Wheelbarrow
- Shovel/Garden Hoe- to mix concrete
- 3-4 inch Foam Roller
- Sanding Block
- Concrete Sealer
- Wood Shims- may not need them if your countertop and cabinets are level enough.
- Liquid Nails– If you want to secure the countertop to the cabinet, or if you want to secure a vessel sink to the countertop (like we did)
DISCLAIMER: I AM NOT A PROFESSIONAL, A STRUCTURAL ENGINEER, OR A CONTRACTOR. I DO NOT RECOMMEND DOING THIS WITHOUT CONSULTING A PROFESSIONAL. This post is merely sharing what I have done in the past and what has worked for me. I do NOT recommend that you follow my instructions listed above without the help of a professional.
I HIGHLY recommend asking a professional or hiring a professional to install your new countertops for you because of the weight of them. I highly recommend that you consult a professional in regard to the structure of your cabinets and floor joists before installing heavy concrete countertops. The cabinets and floors of older or poorly built homes may not support the weight of these countertops. I do not recommend this for a modular home, a trailer, or a mobile home…etc.It is my (Dena) recommendation that you consult a Structural Engineer and Licensed Contractor before building these concrete countertops or putting them in your home.


What sink did you use for this project? Do you like it? Would you have preferred a different shape, size, wall height, etc…? Thank you so much!
That’s a phenomenal concrete countertop you made right there! Love the step-by-step guide, too. Also, the concrete sealer you used is just perfect. Great job!
Great step‑by‑step guide—now I feel confident tackling a DIY concrete surface.