DIY Art and Building a Simple DIY Frame
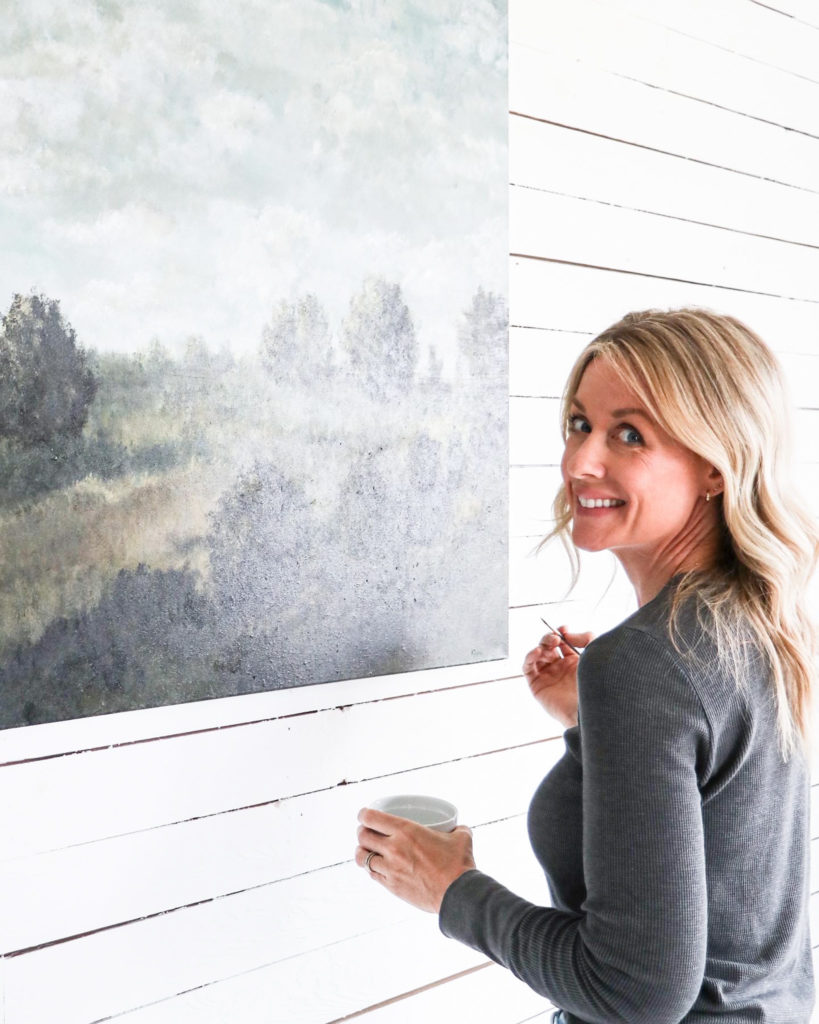
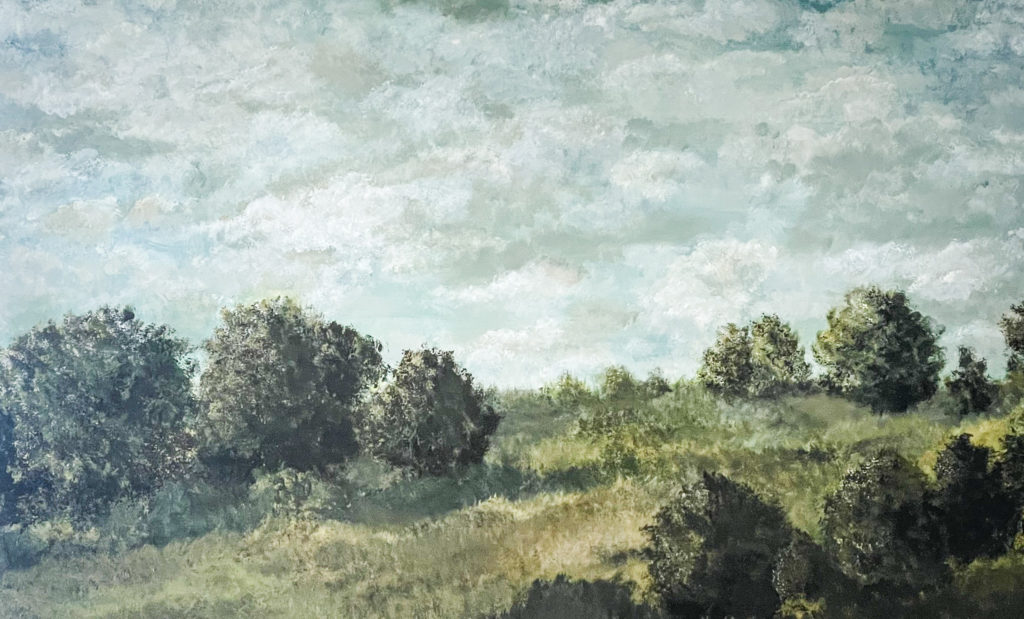
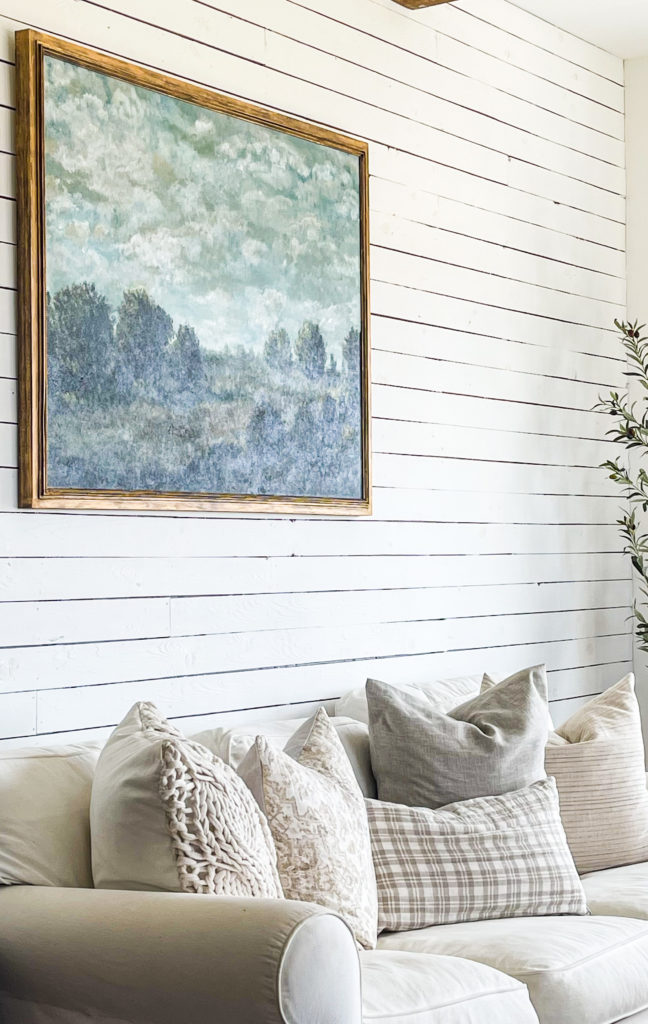
I recently painted my first ever large, landscape acrylic painting, and today I’m sharing all about how I went about making my DIY art and simple DIY frame for our home! I was on the lookout for a huge piece of art for my living room refresh. I thought about buying digital art online and downloading it and having it printed on canvas, but the price to print something 4ft wide would have cost hundreds. To have it framed out was hundreds more… totaling over $900 for a framed print on canvas.
I wanted a really large landscape painting for the Living Room Refresh
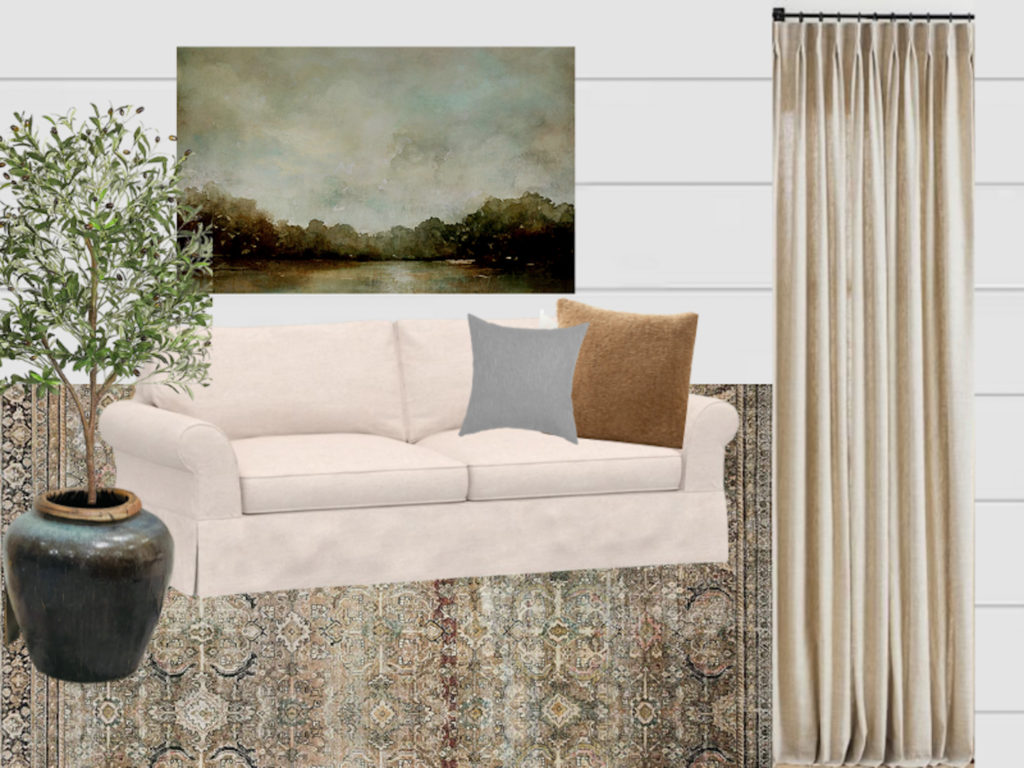
Below is a mood board of a general idea of what I wanted the tones to look like in the painting as well as the rug, pot, and tree I got for the living room and curtains I made.
I’m a DIYer so of course, I thought “I’ll just try to paint something myself!”
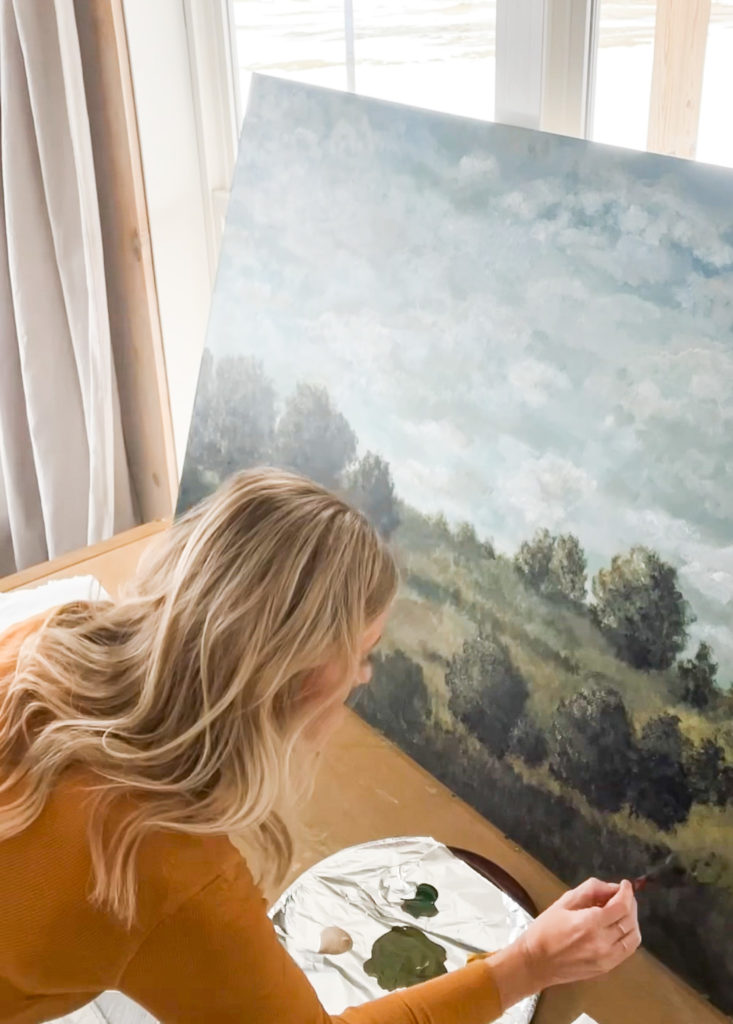
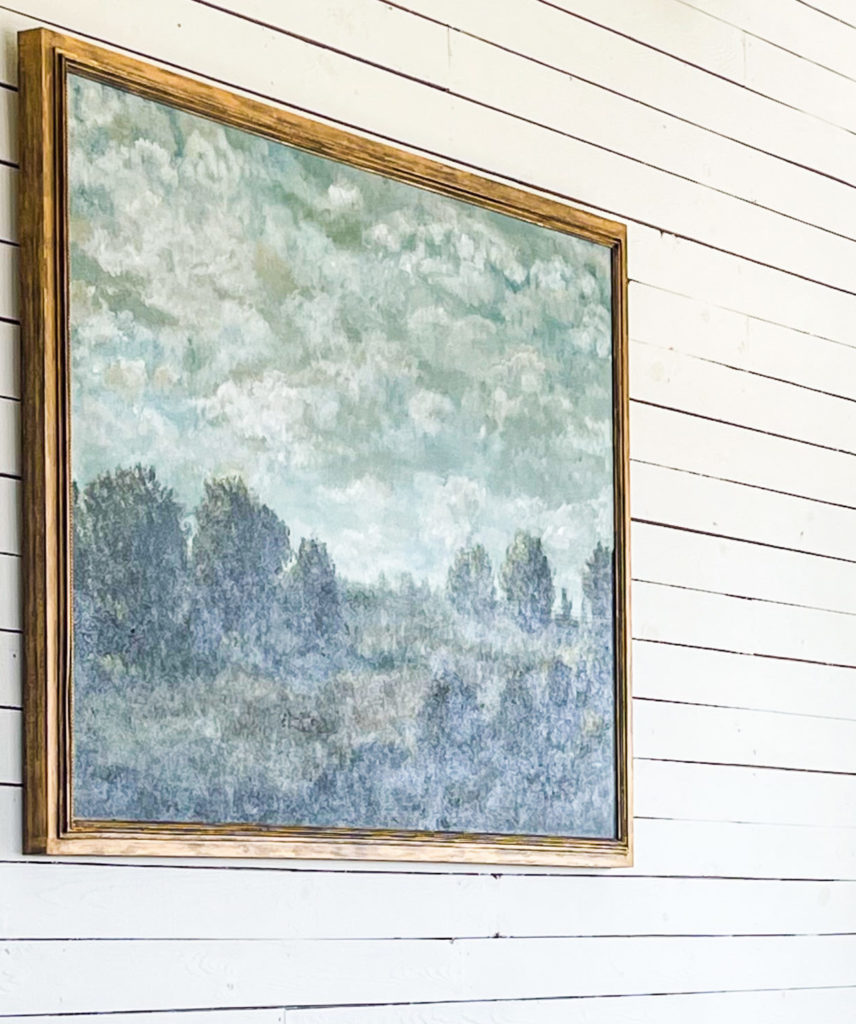
I gathered inspiration for my landscape painting mostly from looking outside my window and seeing how the rolling clouds look when they move across the sky here at Fletcher Creek. I also found a lot of antique landscapes of European paintings that had a lot of greens and blue/gray colors I loved and wanted to incorporate into my painting.
I didn’t look at any photos or copy any pictures while painting this…I just painted the landscape and the sky that I envisioned in my mind. It took me a few weeks to create this DIY art, but it was so worth it! I am thrilled about how it turned out!
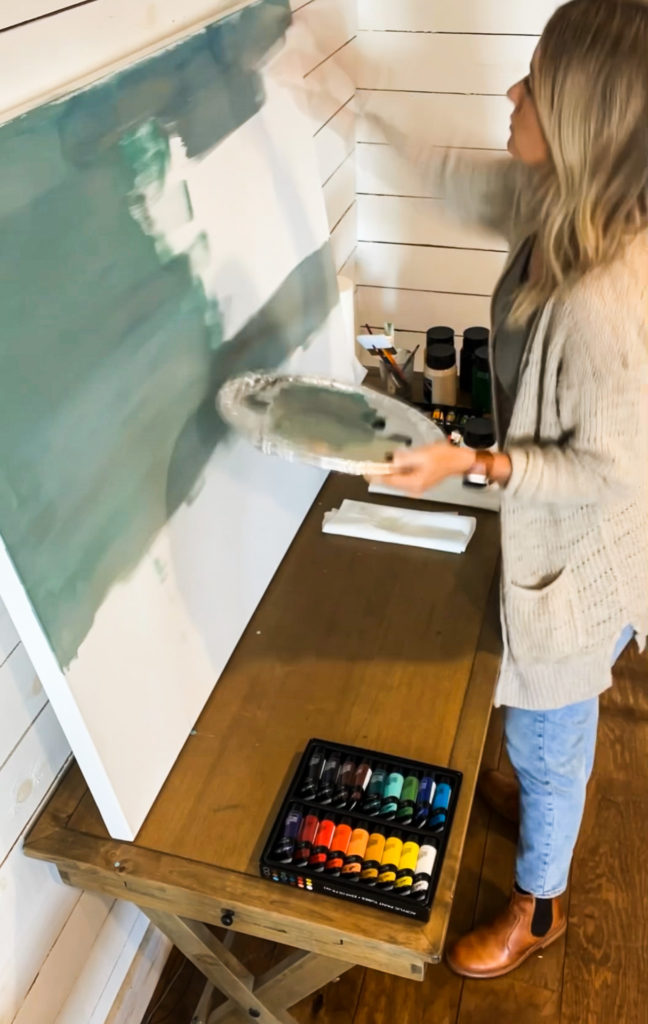
I used acrylic paint to make my DIY art and bought six colors in large tubs so that I could mix my own colors from them. They were $6 each. I used black, dark green, brown, white, bright blue, and mustard yellow. The canvas was 36×48 and was 50% off!
I totally forgot to buy paintbrushes, so when I got home I raided my kid’s old craft supplies and ended up using an old craft brush for just about the entire painting. Rookie mistake! It would have been a lot easier if I had invested in a set of paintbrushes! LOL! I definitely will before I paint again. All in all my DIY art supplies cost me $90.
Building a Simple DIY Frame
Once the painting was finished I started shopping around for frames. I found that large canvas frames are very pricey, so I decided to check out my local hardware store to see if I could find any pretty trim molding that I could use to make a simple DIY frame. I went with 1×2 pine, and small “L” shaped trim piece, and a thin beaded-looking piece of trim.
Before making the frame, I painted all the little thin trim pieces with Fusion Mineral Paint in the color “Cole Black”. I figured it would be easier to paint those pieces before attaching them to my canvas, that way I wouldn’t risk getting black paint on my painting. I didn’t paint the 1x2s until after I attached them.
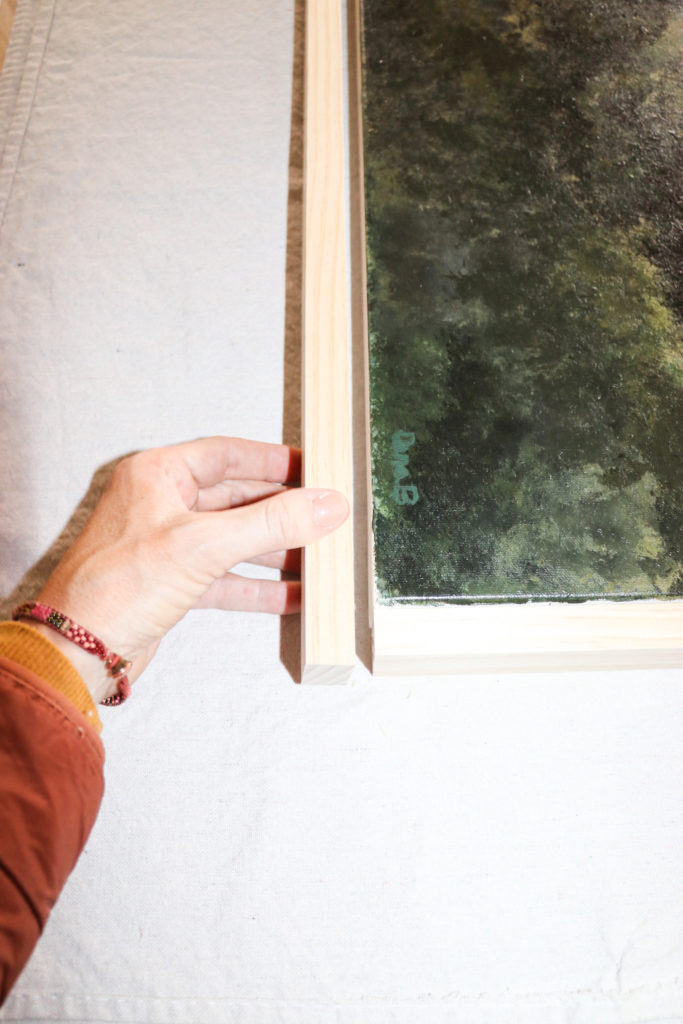
When the paint was dry, I took a measurement of the frame and I am glad I did because the 36″ sides were not both 36″. One side was 1/16 shy of 36″ so I decided to cut the two sides the length of each side (blunt cut, not at a 45 angle). Next I cut the two pieces of 1×2 for the top and bottom (48″ each +the extra 1 each per side-total was 50″).
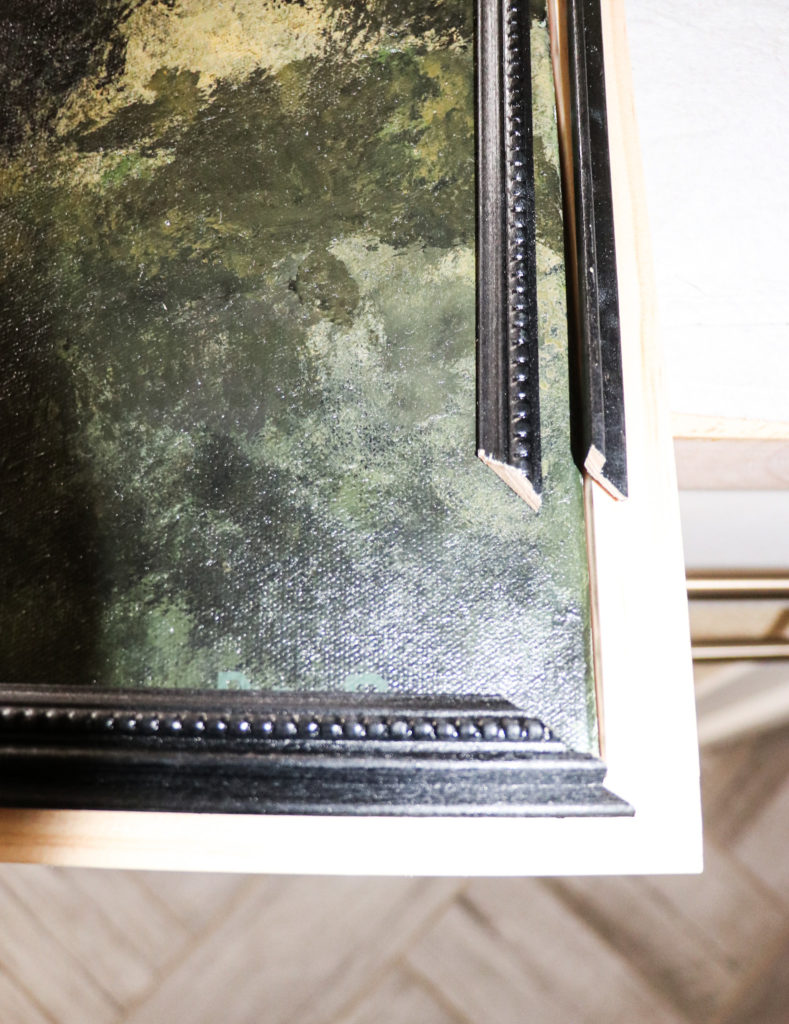
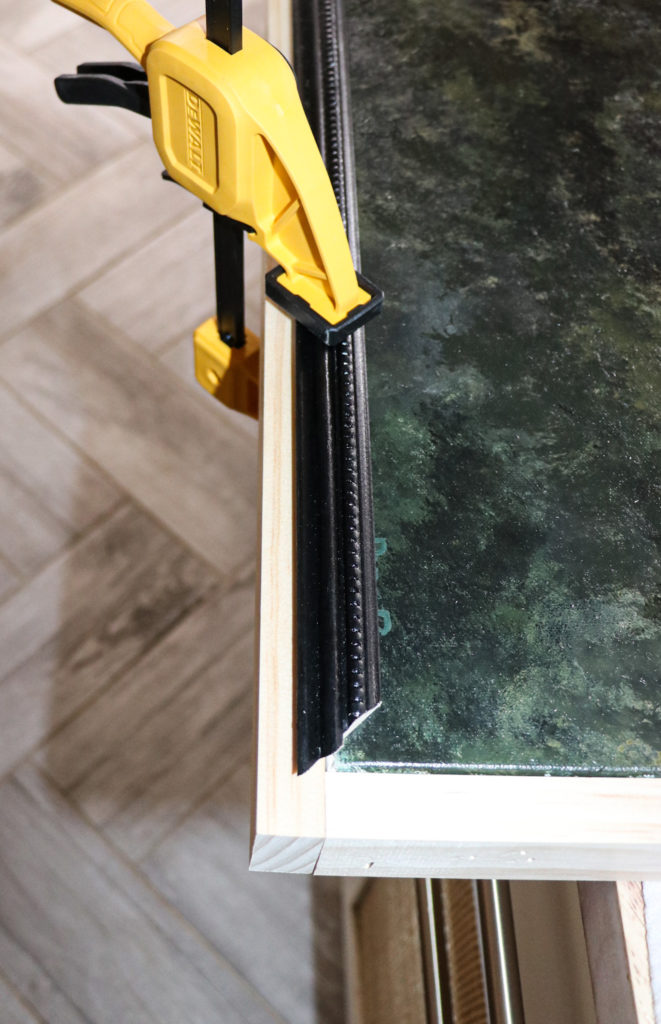
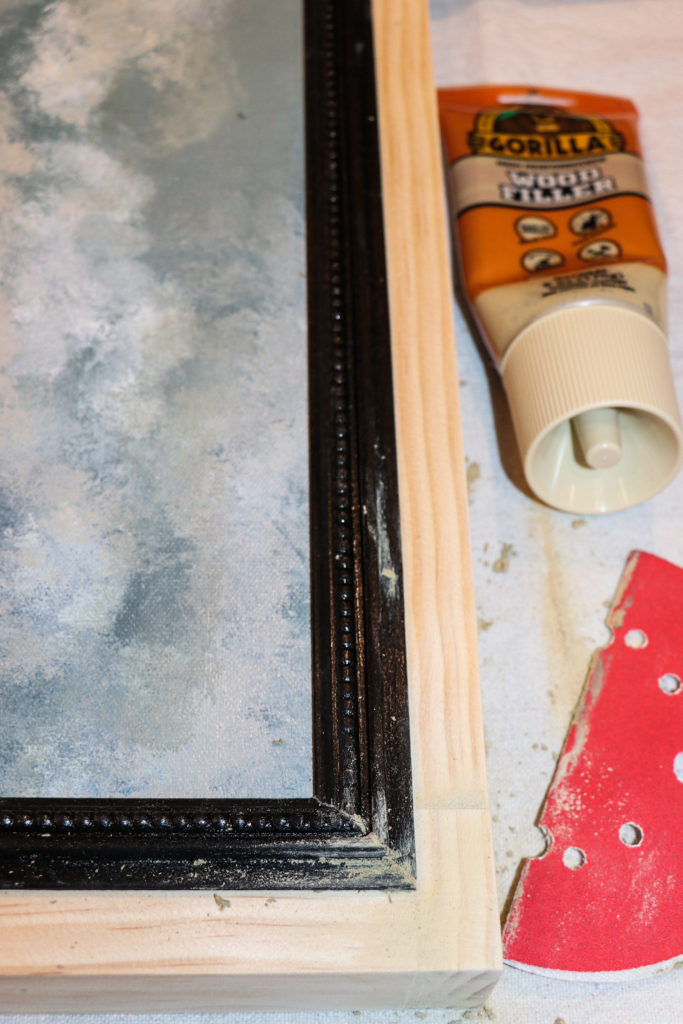
I used my brad nailer to attach the 1×2 directly to the side of the canvas all the way around. Then cut the smaller thin trim at a 45 angle on each end. I used clamps to hold them in place on my canvas while nailing theM downward into the canvas and 1×2. I used the two different thin trims to cover the seam between the edge of the canvas and the 1×2 on the side of the canvas.
After all my trim pieces were on, I used a small amount of wood filler to fill all the holes that were obvious. The holes that were in the beading detailed trim were not at all obvious, so I didn’t bother to fill any of those ones. I moved on to painting all the areas of the frame that had any wood filler and the 1×2 on the edge as well.
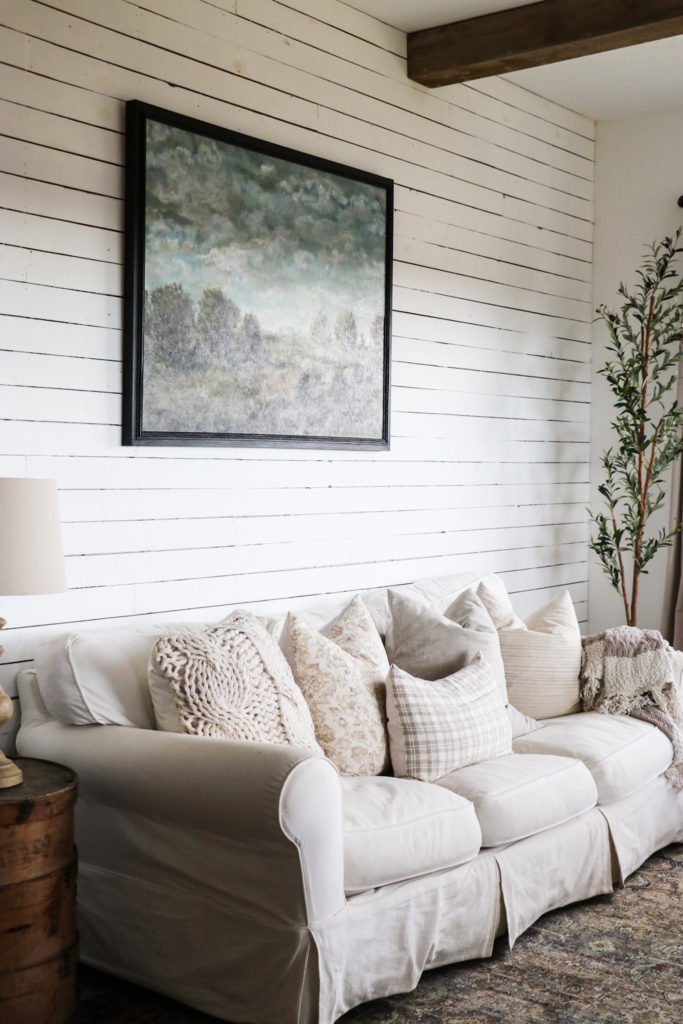
After it was dry I hung it up in the living room and lived with it for a few days. The black frame on the painting looked so good, I really loved it, except I couldn’t really see the beaded detail in the small trim. A friend on Instagram suggested that I use a gold shade of Rub N Buff on the frame to make the detail stand out more and she was SO right!
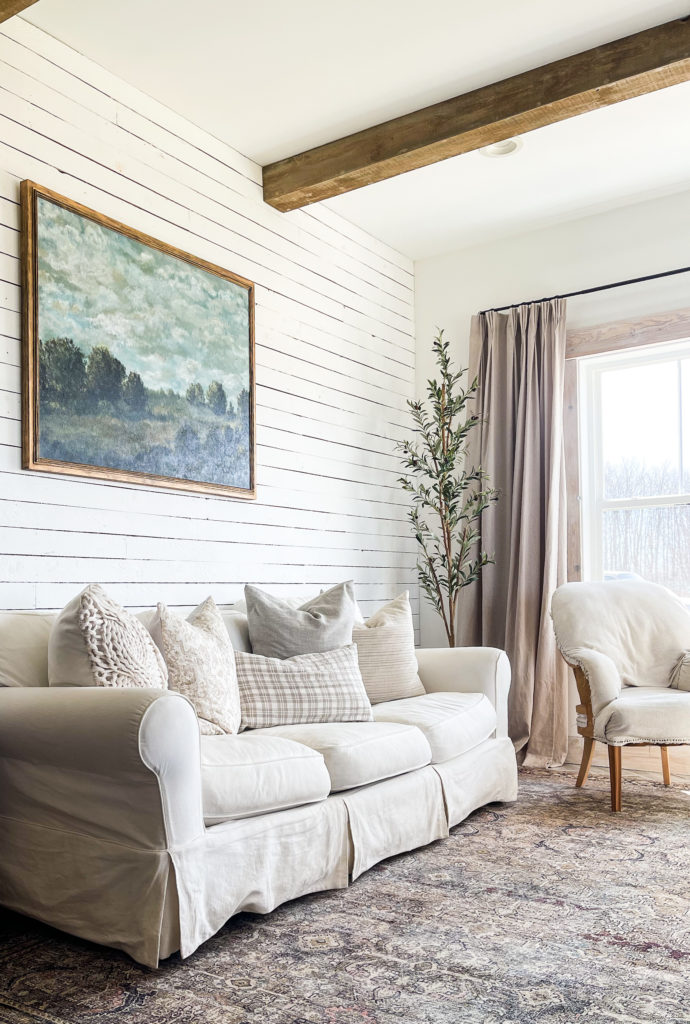
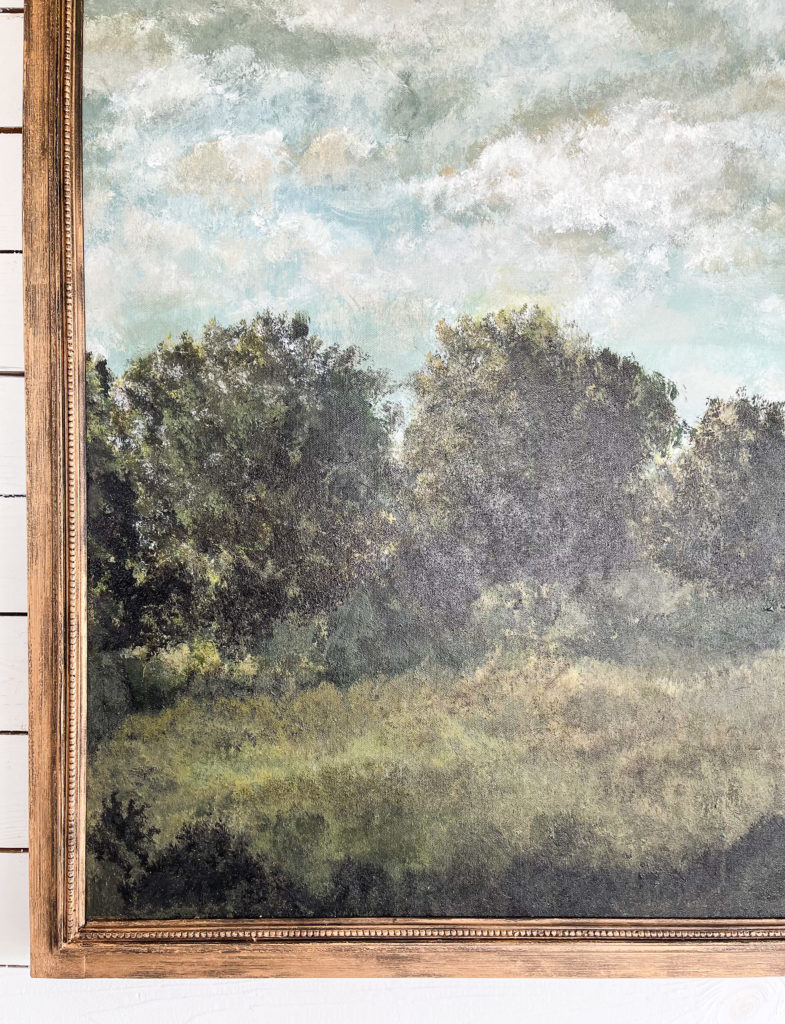
I practiced using it on a scrap piece of trim before trying it on my frame. I chose the color “Antique Gold”. I ended up using a toothbrush to lightly brush it on and a Q-Tip to get in the smaller areas. It worked perfectly! I love how all the little beads are so much more visible now and it looks exactly how I had hoped it would!
This project was SO easy to do! I’m not sure I’ll ever buy a large frame again now that I know how simple it is to build a DIY frame! My plan was to refresh my living room this spring with a few simple changes. You can watch how I made the DIY Pinch Pleat Curtains here for the living room and you can see the process of how I painted my first large landscape EVER, over on Instagram @fletchercreekcottage.
DIY is such a creative outlet for me and I love sharing that here with you, so thank you so much for visiting the blog and hanging out here with me! Be sure to check out my YouTube channel, subscribe and make sure to watch the video all about building this frame as well!
*Disclaimer
-This post is not sponsored.
-Links may include affiliates.
