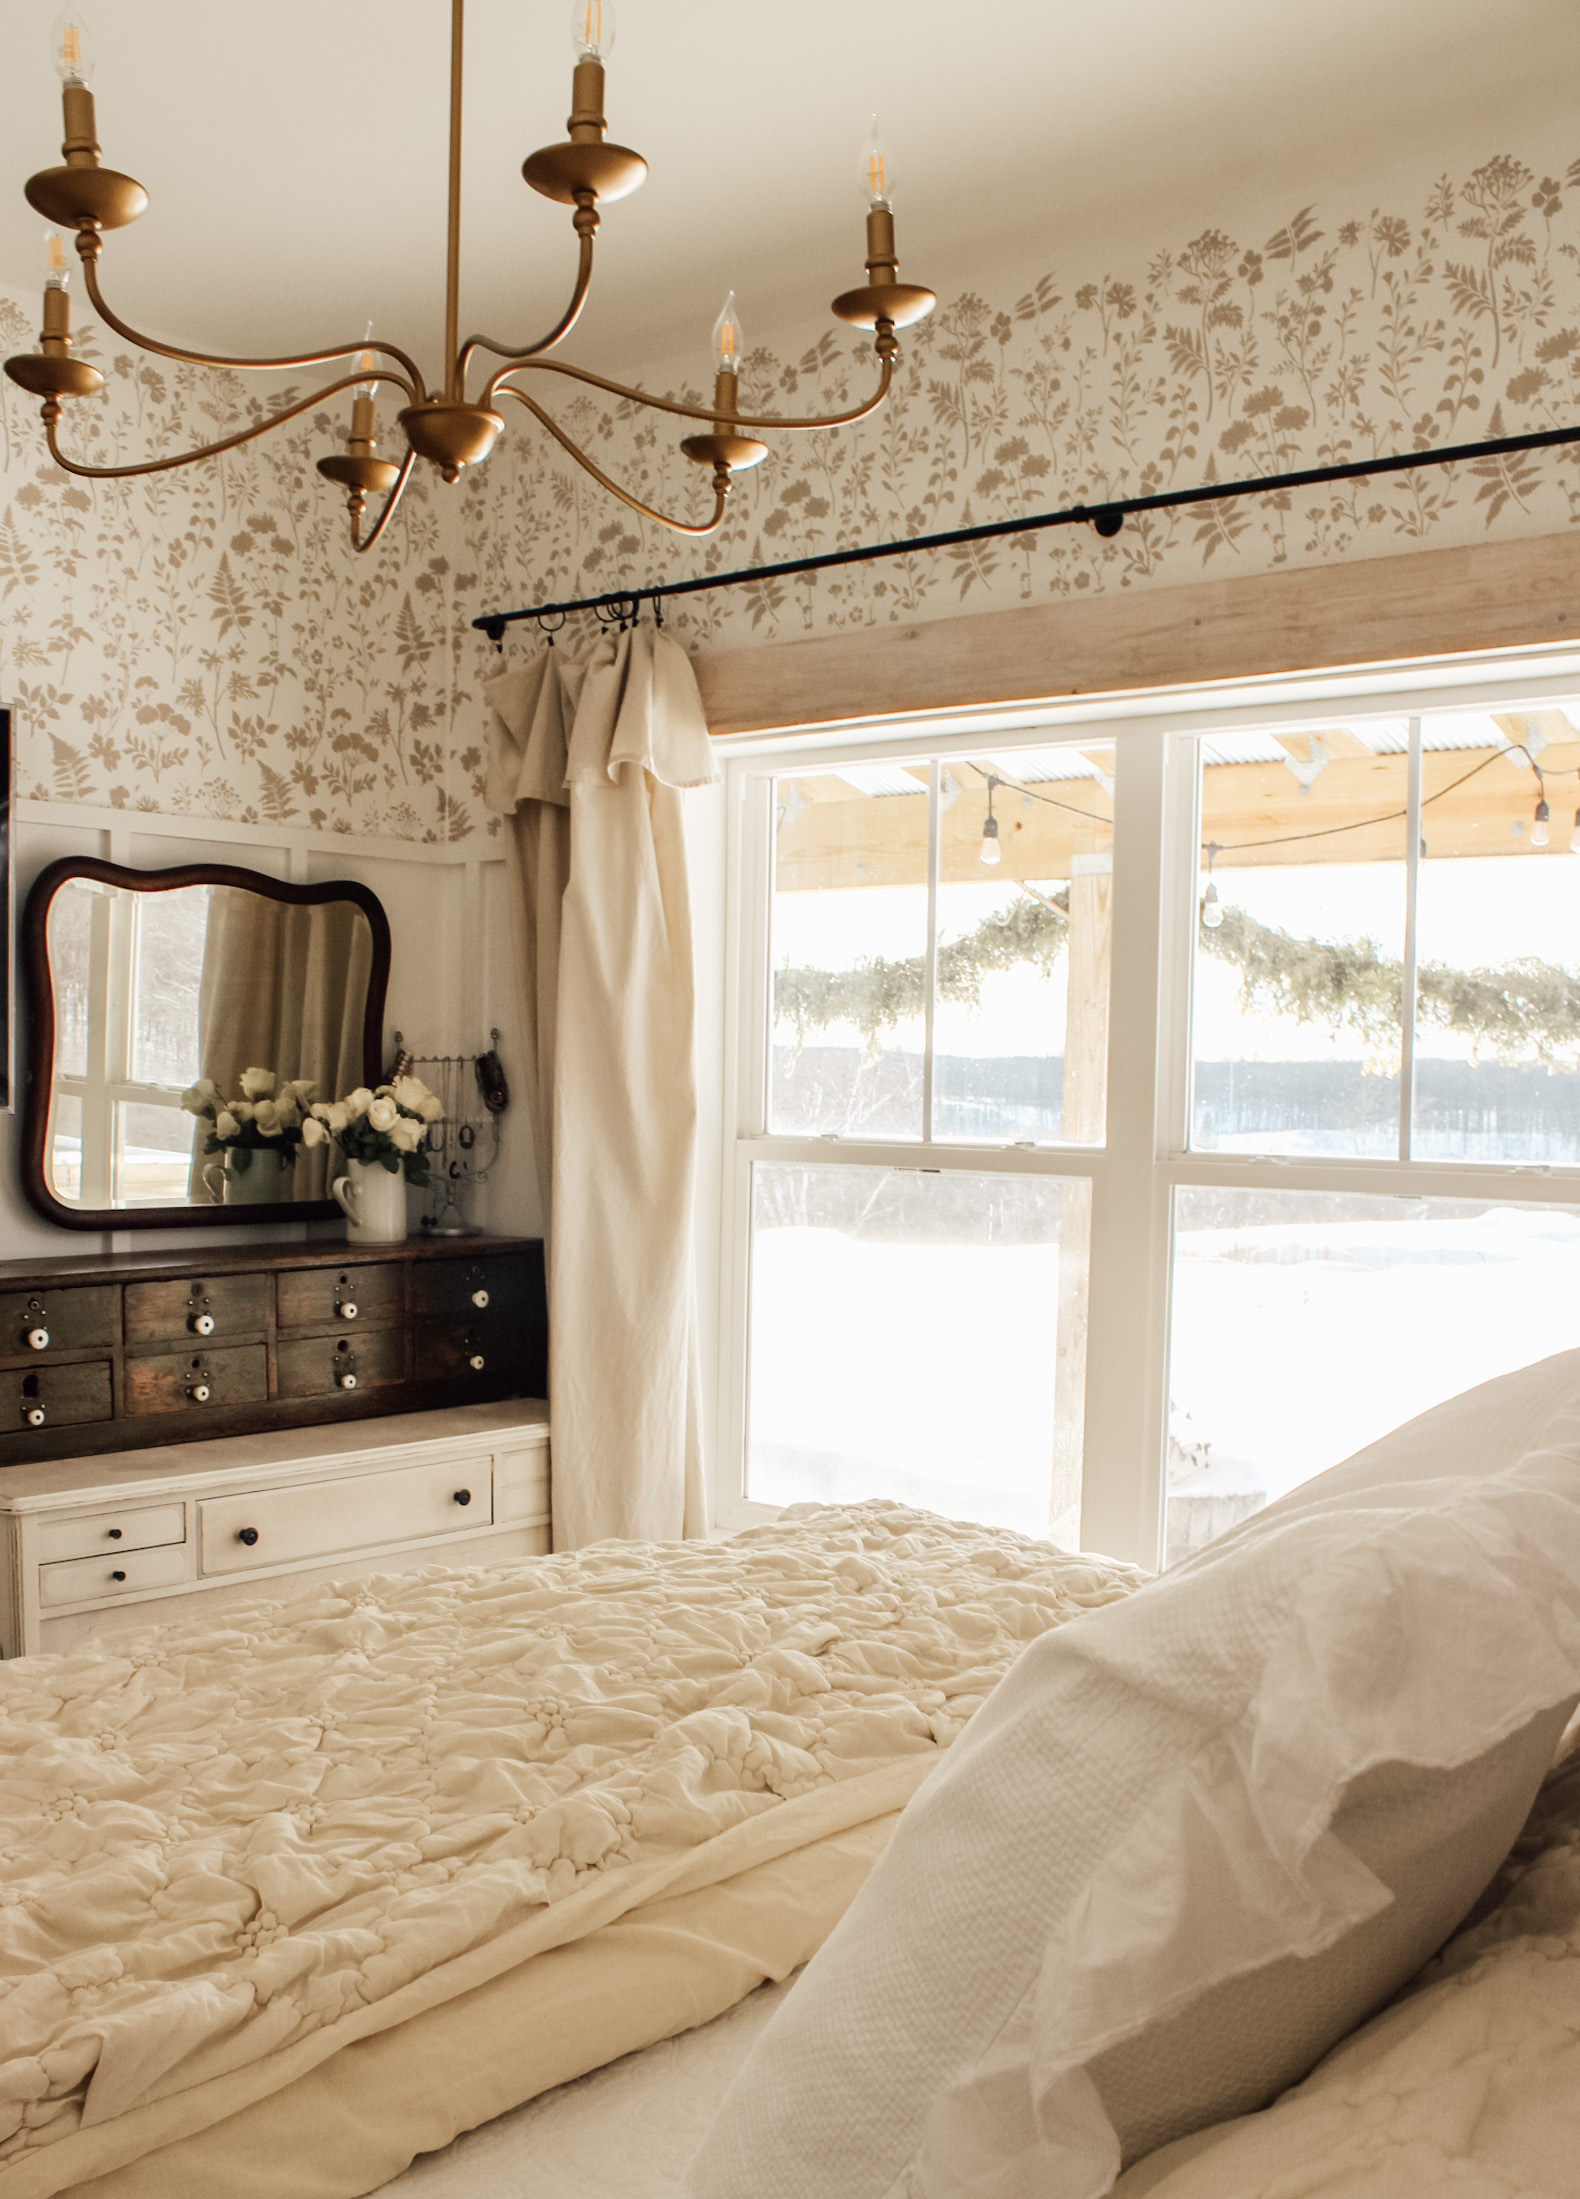
Do you love the look of wallpaper but you’re not ready to commit? Today I am sharing all my tips for how to stencil a wall to look JUST like wallpaper for a fraction of the price!

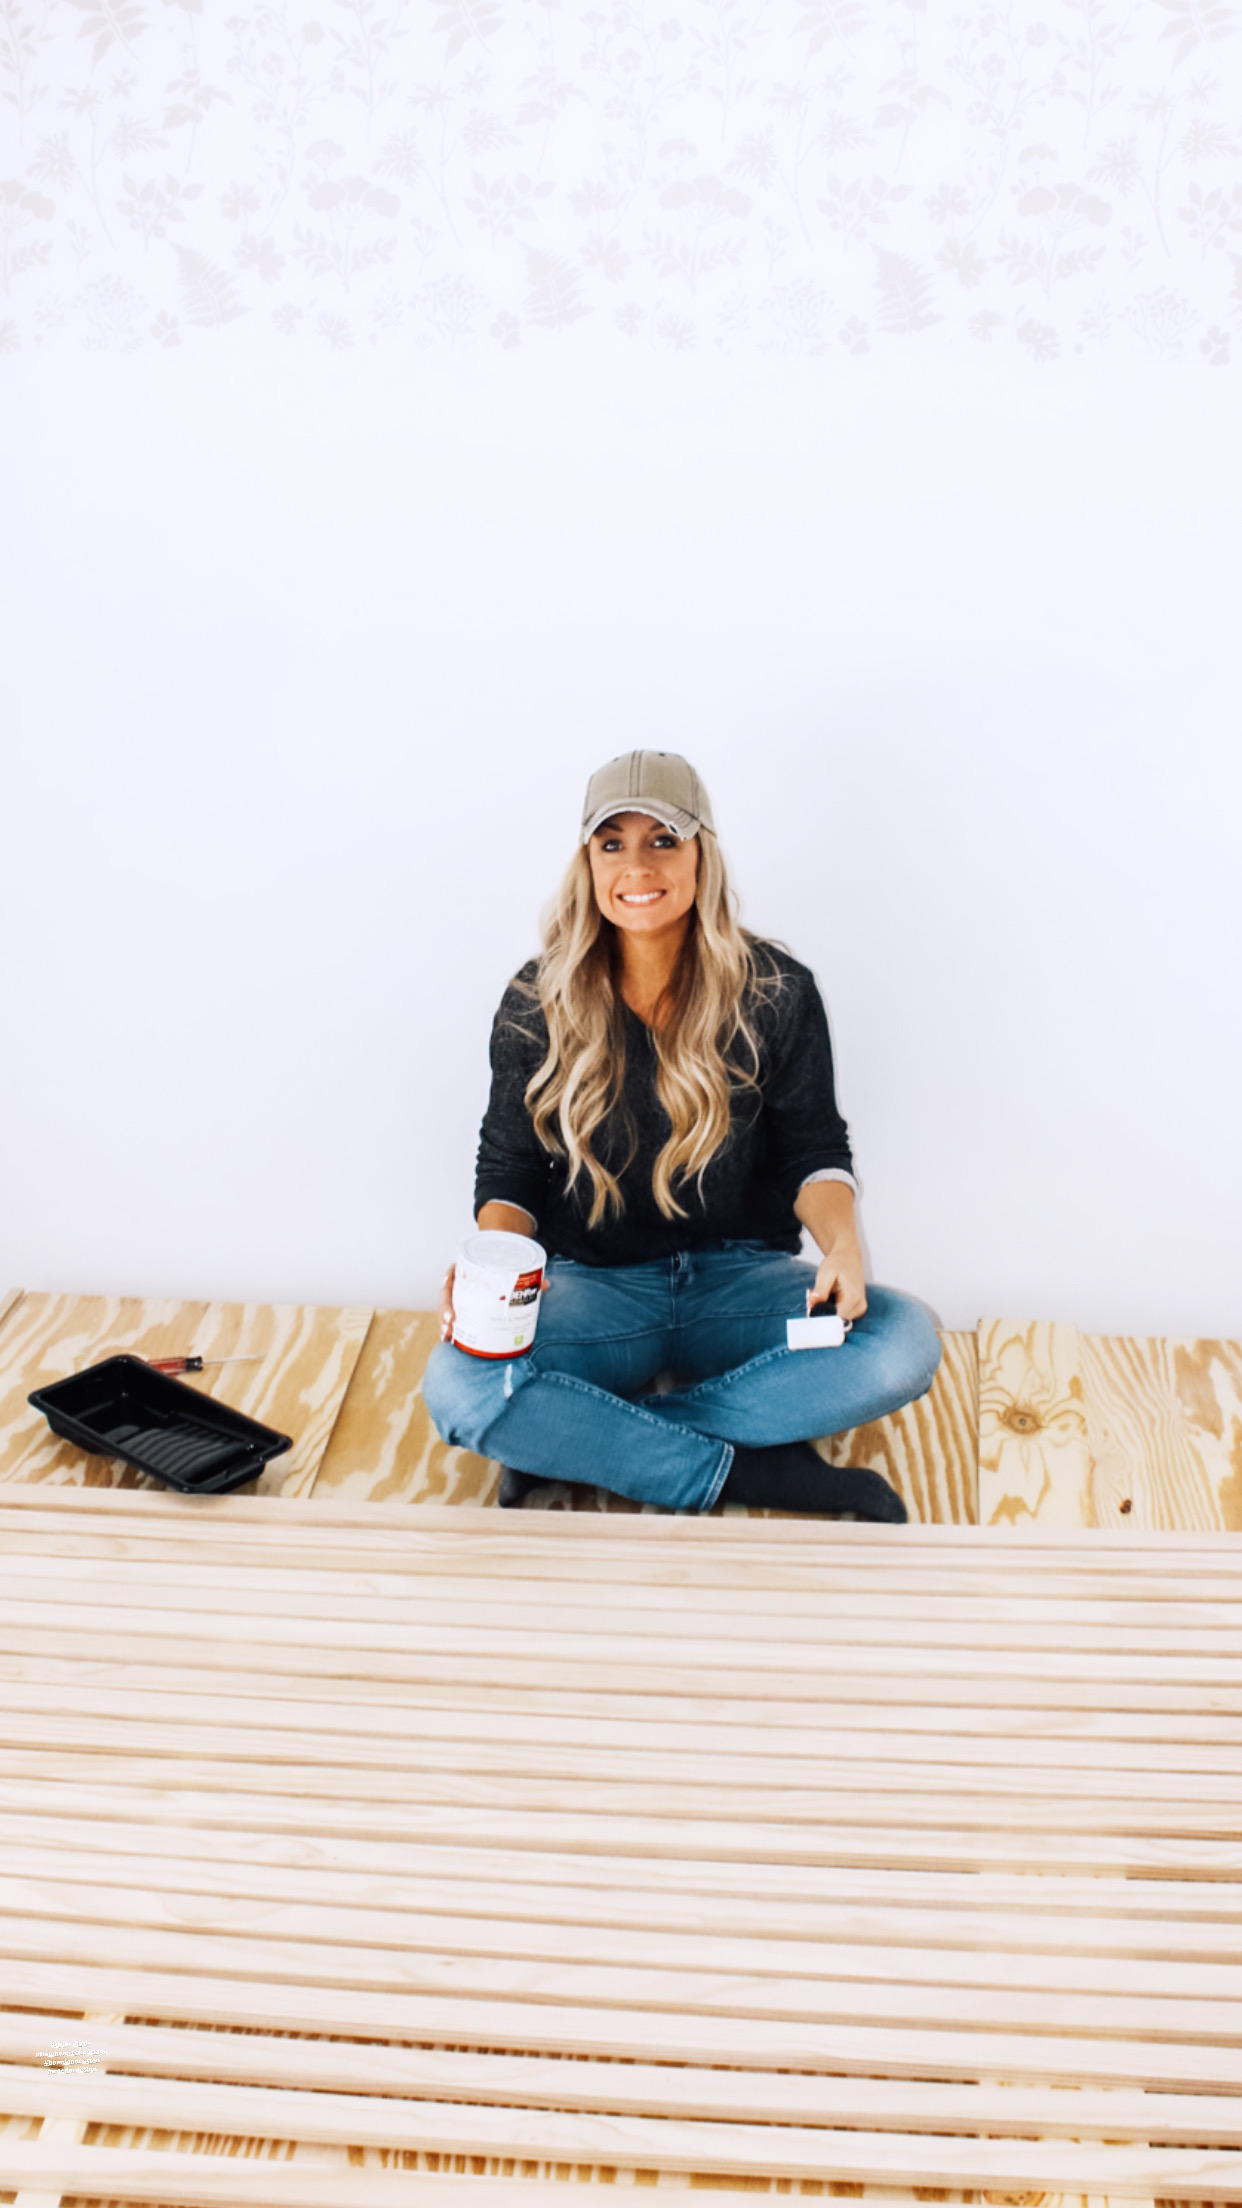
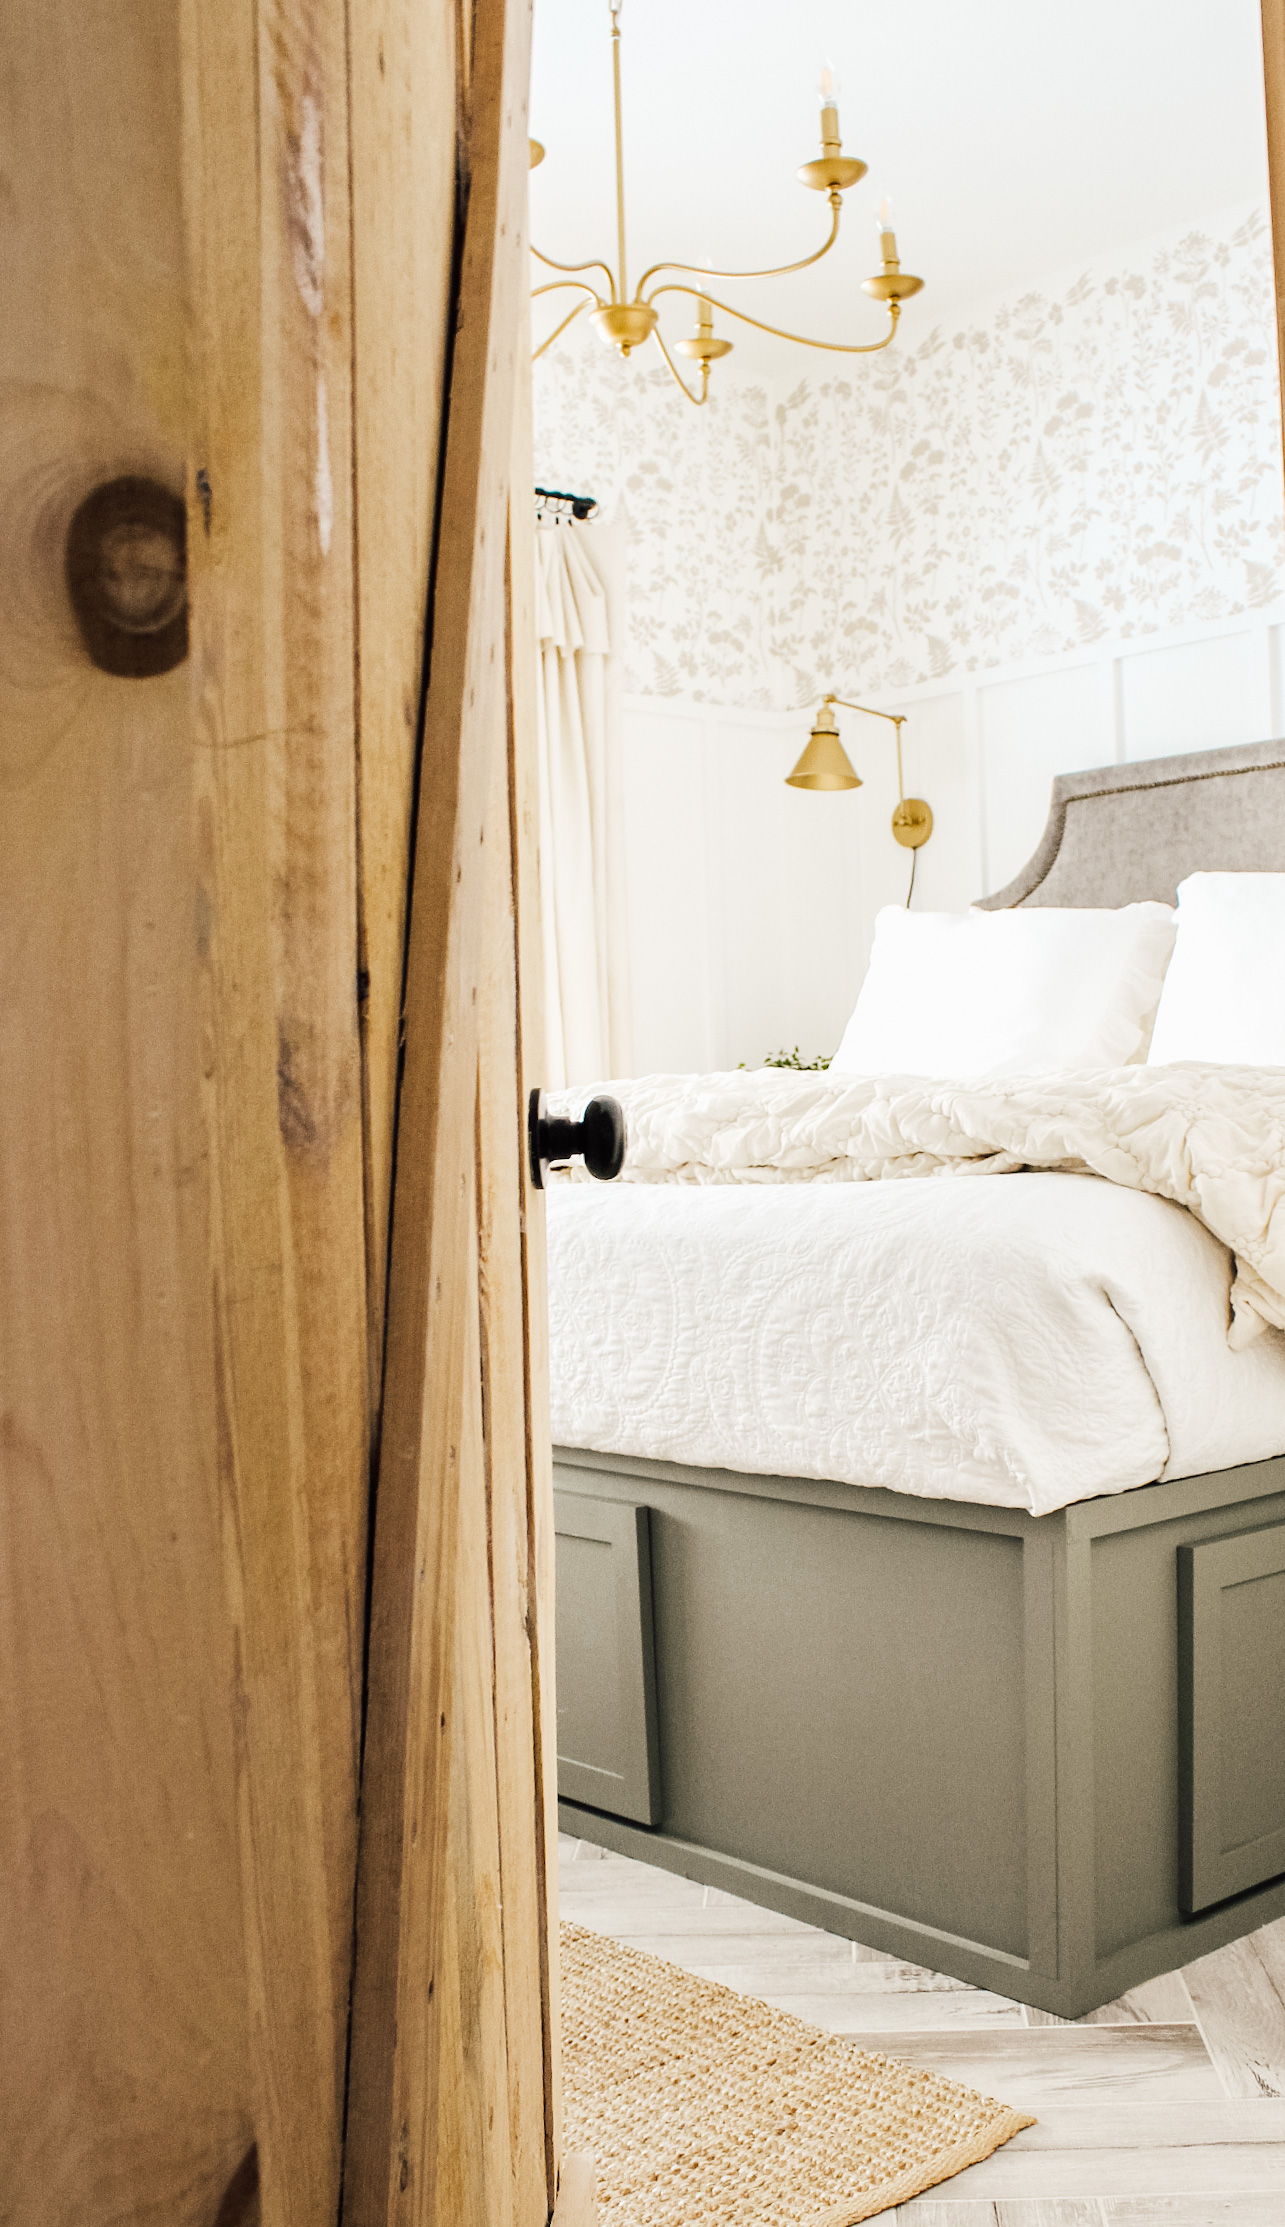
I recently gave our master bedroom a DIY makeover and tried my hand at stenciling for the FIRST TIME EVER! Can you believe that?! In all my DIY project days…I had never stenciled a wall!!!
This project was super easy, inexpensive, fun AND I truly love the outcome! If you’re thinking of giving stenciling a try, keep reading my friend! This post is for you!
MATERIALS NEEDED FOR YOUR STENCIL PROJECT:
- Painters Tape – For taping off any baseboards, trim, or crown molding as well as taping the stencil to the wall.
- Drop Cloth – Better safe than sorry!
- Drywall Spackle – To fill any nail holes or nicks in your wall.
- Sand Paper – To smooth out the areas you’ve filled.
- Paint – You may only need one color or you may want to use many.
- Stencil -This is NOT sponsored… but I highly recommend Cutting Edge Stencils! Their stencils are super easy to work with!
- 4″ Foam Roller/ Stippling Brush – Choose a smaller or larger size brush or roller depending on the size of your stencil. The brush will be helpful in getting a crisp line and allow you to get real close to the ceiling or baseboards.
- Paint Tray – A disposable tray liner always works just fine.
- Level – Walls are not always perfectly straight. A level helps to get you started.
- Step Ladder – Depending on your ceiling height.
- Scissors – You may need to cut your stencil to finish up.
- Cardboard or Trash Bag – Or something to set your stencil on while you are not using it.
- Paper Towel – For removing excess paint off your roller before applying it to the wall.
PREPARATION:
- Gather your materials.
- Prep Your Walls by removing any nails or hooks, filling all holes with drywall spackle, sanding those areas once dry.
- Be sure your walls are clean after sanding by giving the walls a thorough wipe down with a slightly damp rag.
- Tape off any trim that you want to avoid getting paint on.
- Cover your flooring with either a drop cloth or a plastic tarp…I like to use a large trash bag when I don’t have a drop cloth on hand!
- Remove switch plates
- Paint your wall desired background color (optional) if it is not already the color you want.
CHOOSING A STARTING POINT FOR YOUR STENCIL:
Once you choose your design layout then you can choose a starting point. The layout will vary depending on the size of your stencil, your wall height, and width. If you are working with a large stencil (like I was), it may help you to use a level to draw a faint pencil line on your wall so you can tape the stencil up easily without having to hold the long level and the stencil all at once…unless of course, you have a helper (which I did not…lol)!
Next, attach the stencil to the wall using painters tape. I have read about people using a fabric spray adhesive on the back (I DID NOT DO THIS, so I can’t recommend that). I simply used painters tape “FROGTAPE” and it worked great! The stencil I used was 21.6 by 33.6. Because it was so large it did pull away from the wall a little in the center if I didn’t have the corners taped tightly enough, but it wasn’t a problem.

TIME TO PAINT:
Now that you have your starting point, you’re ready to paint! You will want to make sure you have a stack of paper towels next to your paint tray. Roll your foam roller in the paint and then roll your paint on your paper towel to remove any extra paint. You’ll want to take a less is more approach with the paint. Too much paint on your roller (or stippling brush) will cause “bleeding” (when the paint seeps underneath the stencil and runs).
TIP: If you notice any areas that did bleed through, NO WORRIES, you can always go back with a small paintbrush later and touch it up!
Once you have the entire desired area filled in on the stencil, carefully remove the taped corners and allow the paint to dry for a min or two before moving onto the next row. When you are ready to move onto the next row, overlap the corner area from the previous stencil. The stencil will align itself with the last one. I did check the with my level for the first few just to be sure that I was keeping it straight, and I was! I allowed my paint to dry for more like 3-5 min just to be on the safe side before moving on!

HOW TO STENCIL A WALL AROUND THE CORNERS:
For my project, I stenciled a 3 ft. a border around the top of my room so I had to continue the pattern in all the corners. When I got to the corner I simply taped the stencil to one wall (making sure to line it up with the previous stencil) and then used my free hand to press and gently fold the stencil into the corner while painting. After that side was complete I moved to the other wall and taped it to that wall making sure the stencil was as close to the corner as possible.
TIP: A smaller stippling brush works better in corners and along the top and bottoms of walls (a roller is too large).

FINISHING TOUCHES:
Once you are finished with the main portion of your stencil project you most likely will have an area or two that need a partial stencil (like up in a corner or the very lasts row on the bottom of the wall). You will have to cut or fold your stencil to finish any remaining empty spaces.
TIP: If you are stenciling a room that has lots of windows/doors or obstacles you may want to purchase more than one stencil because they may need to be cut and used in more than one place.
Now it’s time to sit back and basque in the beauty of your handiwork! You DID IT! You have created a one of a kind, custom piece of wall art and you should be proud!!! And if by some chance you are not loving your new artwork…NO WORRIES… its just paint and it can be changed with very little time and expense!!!!
I can’t wait for my next stenciling project! This was so much fun and I am so glad I gave it a go!
- The stencil I used is called WOODLAND BOTANICALS and it is from CUTTING EDGE STENCILS.
- The white paint I used for the walls was BEHR ULTRA PURE WHITE. Paint & Primer in one.
- The paint I used for the botanical flowers was BEHR “Gravelstone” MQ2-50 in an Eggshell finish.
DISCLAIMER: THIS POST IS NOT SPONSORED, BUT DOES CONTAIN AFFILIATE LINKS.
Cottage Bathroom Refresh: Installing new flooring and wallpaper completely transformed our space.


[…] « HOW TO STENCIL A WALL […]