
If you’re looking for a way to dramatically improve your outdoor patio in as little as one afternoon, you’re going to want to check out our latest backyard project! We recently created this outdoor pergola oasis in half a day. I’m going to walk you through how to build a DIY pergola with the Sage System from Simpson Strong-Tie Outdoor Accent line.
The Sage System consists of ZMAX®-galvanized steel connectors with a black powder-coat finish to fit both a 4×4 and 6×6 post pergola. It offers color match screws, Sage sunshade with connectors and screws, and the option of building a 8×8 or a 10×10 pergola with a single or double bay.

The Sage pergola system is designed to build directly over a patio.We didn’t already have a patio space so we had to start from scratch. We chose to build a 10×10 double bay pergola using 6×6 cedar stained treated posts, so we needed our patio space to be just slightly larger than 10’x20′.

The first thing we did to prepare our space was decide on a location and take a few measurements. Then We dug holes (over three feet deep), made forms, and then poured them full of concrete and finished the tops as well as we could.

A double bay pergola requires six posts so we made six footers and used our transit to make sure each footers were exactly where they needed to be before pouring the concrete.

After the concrete footers cured, we used landscape fabric, crushed stone, and edging to construct our patio space. We could have poured a 11′ by 21′ concrete slab for a patio, but we wanted the look of crushed stone so we went with pouring footers (instead of an entire slab of concrete).

Next, we measured and marked the footers with a chalk line and set each post base on their lines. We traced each hole on all four sides of the post bases before predrilled the concrete.

Then we secured the post bases to the concrete with the included Titan Turbo concrete screws.


Once we had all six post bases installed, we moved on to the posts. We decided to install all the top corner connectors to four of the 8 ft tall, 6×6 posts and secured them with screws before sliding each post into a corner post base.


The Sage connectors have a stop on them, so their really easy to just slide into place and secure with the Sage color matched screws.

Then, we repeated that step with the two center “T” connectors and installed them into their post bases.


After we had all six posts installed, the next step was to install all the top beams into each connector. We used cedar stained treated 6x6x10 posts for all the top beams. The beams were quite heavy, but my husband and son had no trouble at all lifting them into place.

Once each top beam was secured to the connectors with screws, it was time to install the sunshade. We attached the SAGE System brackets for the two sunshades all across the top and then clipped the shades into place and adjusted them as needed.


The Sage sunshades come in two sizes (8×8 & 10×10) and two colors, tan and gray. We chose the color “Tan”.

We moved our grill, bar cart, portable pizza oven out to our new “grilling/outdoor kitchen” space.

Then built an outdoor dining table using 2x6s, pocket screws, wood glue and four turned legs. I sanded the table down really well and gave it a couple coats of outdoor stain.


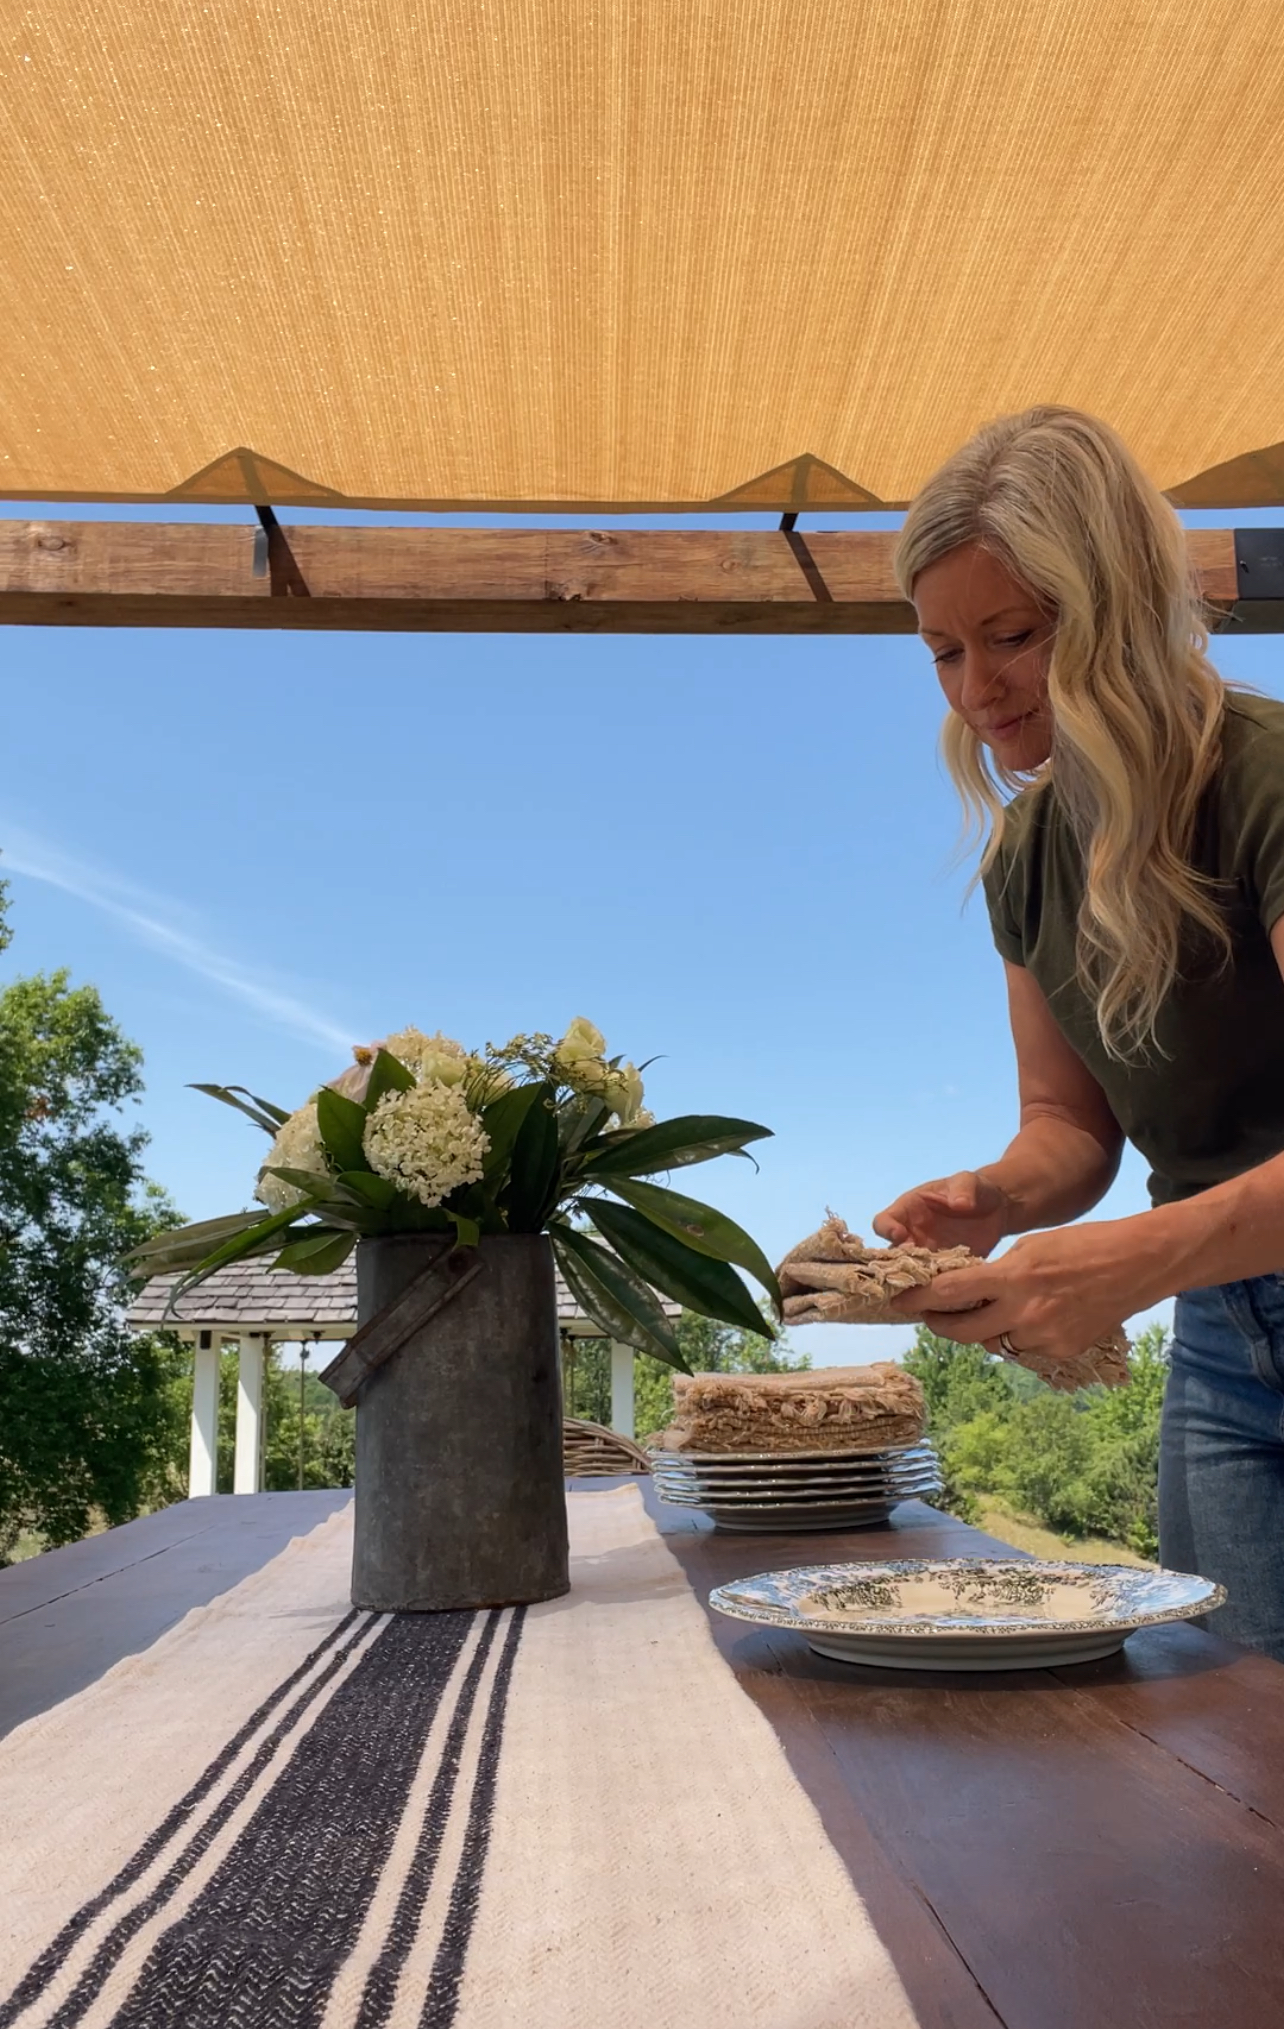
Once the table dried, we moved it into the pergola space and added these natural wicker outdoor dining chairs.
After everything was in place, we planted some grass seed around the perimeter (where we had dug for the footers) and planted wisteria on each of the four outside corners in hopes that they’ll grow 20+ feet and climb their way up the posts and over the top. We can’t wait to see how beautiful it looks in the years to come!

It’s been so fun thinking of new ways to make our summers more enjoyable by adding something special to our yard each summer. In addition to our cottage and DIY dream home, we’ve hand built a pavilion, a greenhouse, a garden fence, a chicken coop, a daybed swing, and now this pergola dining space!

Every time we eat in our new outdoor dining space, it feels like we’re on vacation and we couldn’t be happier with how it turned out! The sunshade offers the perfect amount of sun protection and the Heavy-duty ZMAX® galvanized steel connectors look great with a black powder coat they provide durability and corrosion resistance to the elements!

If you have a small, backyard patio, a pool area or are really lacking shade, the Sage pergola is a fantastic solution. This versatile pergola can be easily customized to fit your outdoor living space and can turn your forgotten backyard patio into a shaded oasis for your family and friends to enjoy! I still can’t get over how easy the installation was and that we built in in under 4 hours!

Head over to Simpson Strong-Tie to check out the SAGE System and their complete Outdoor Accent line and be sure to check out my latest YouTube video to see the entire process of my family and I assembling our new SAGE pergola!


