
DIY Pavilion Project:
Here it is friends! Our summer DIY project!
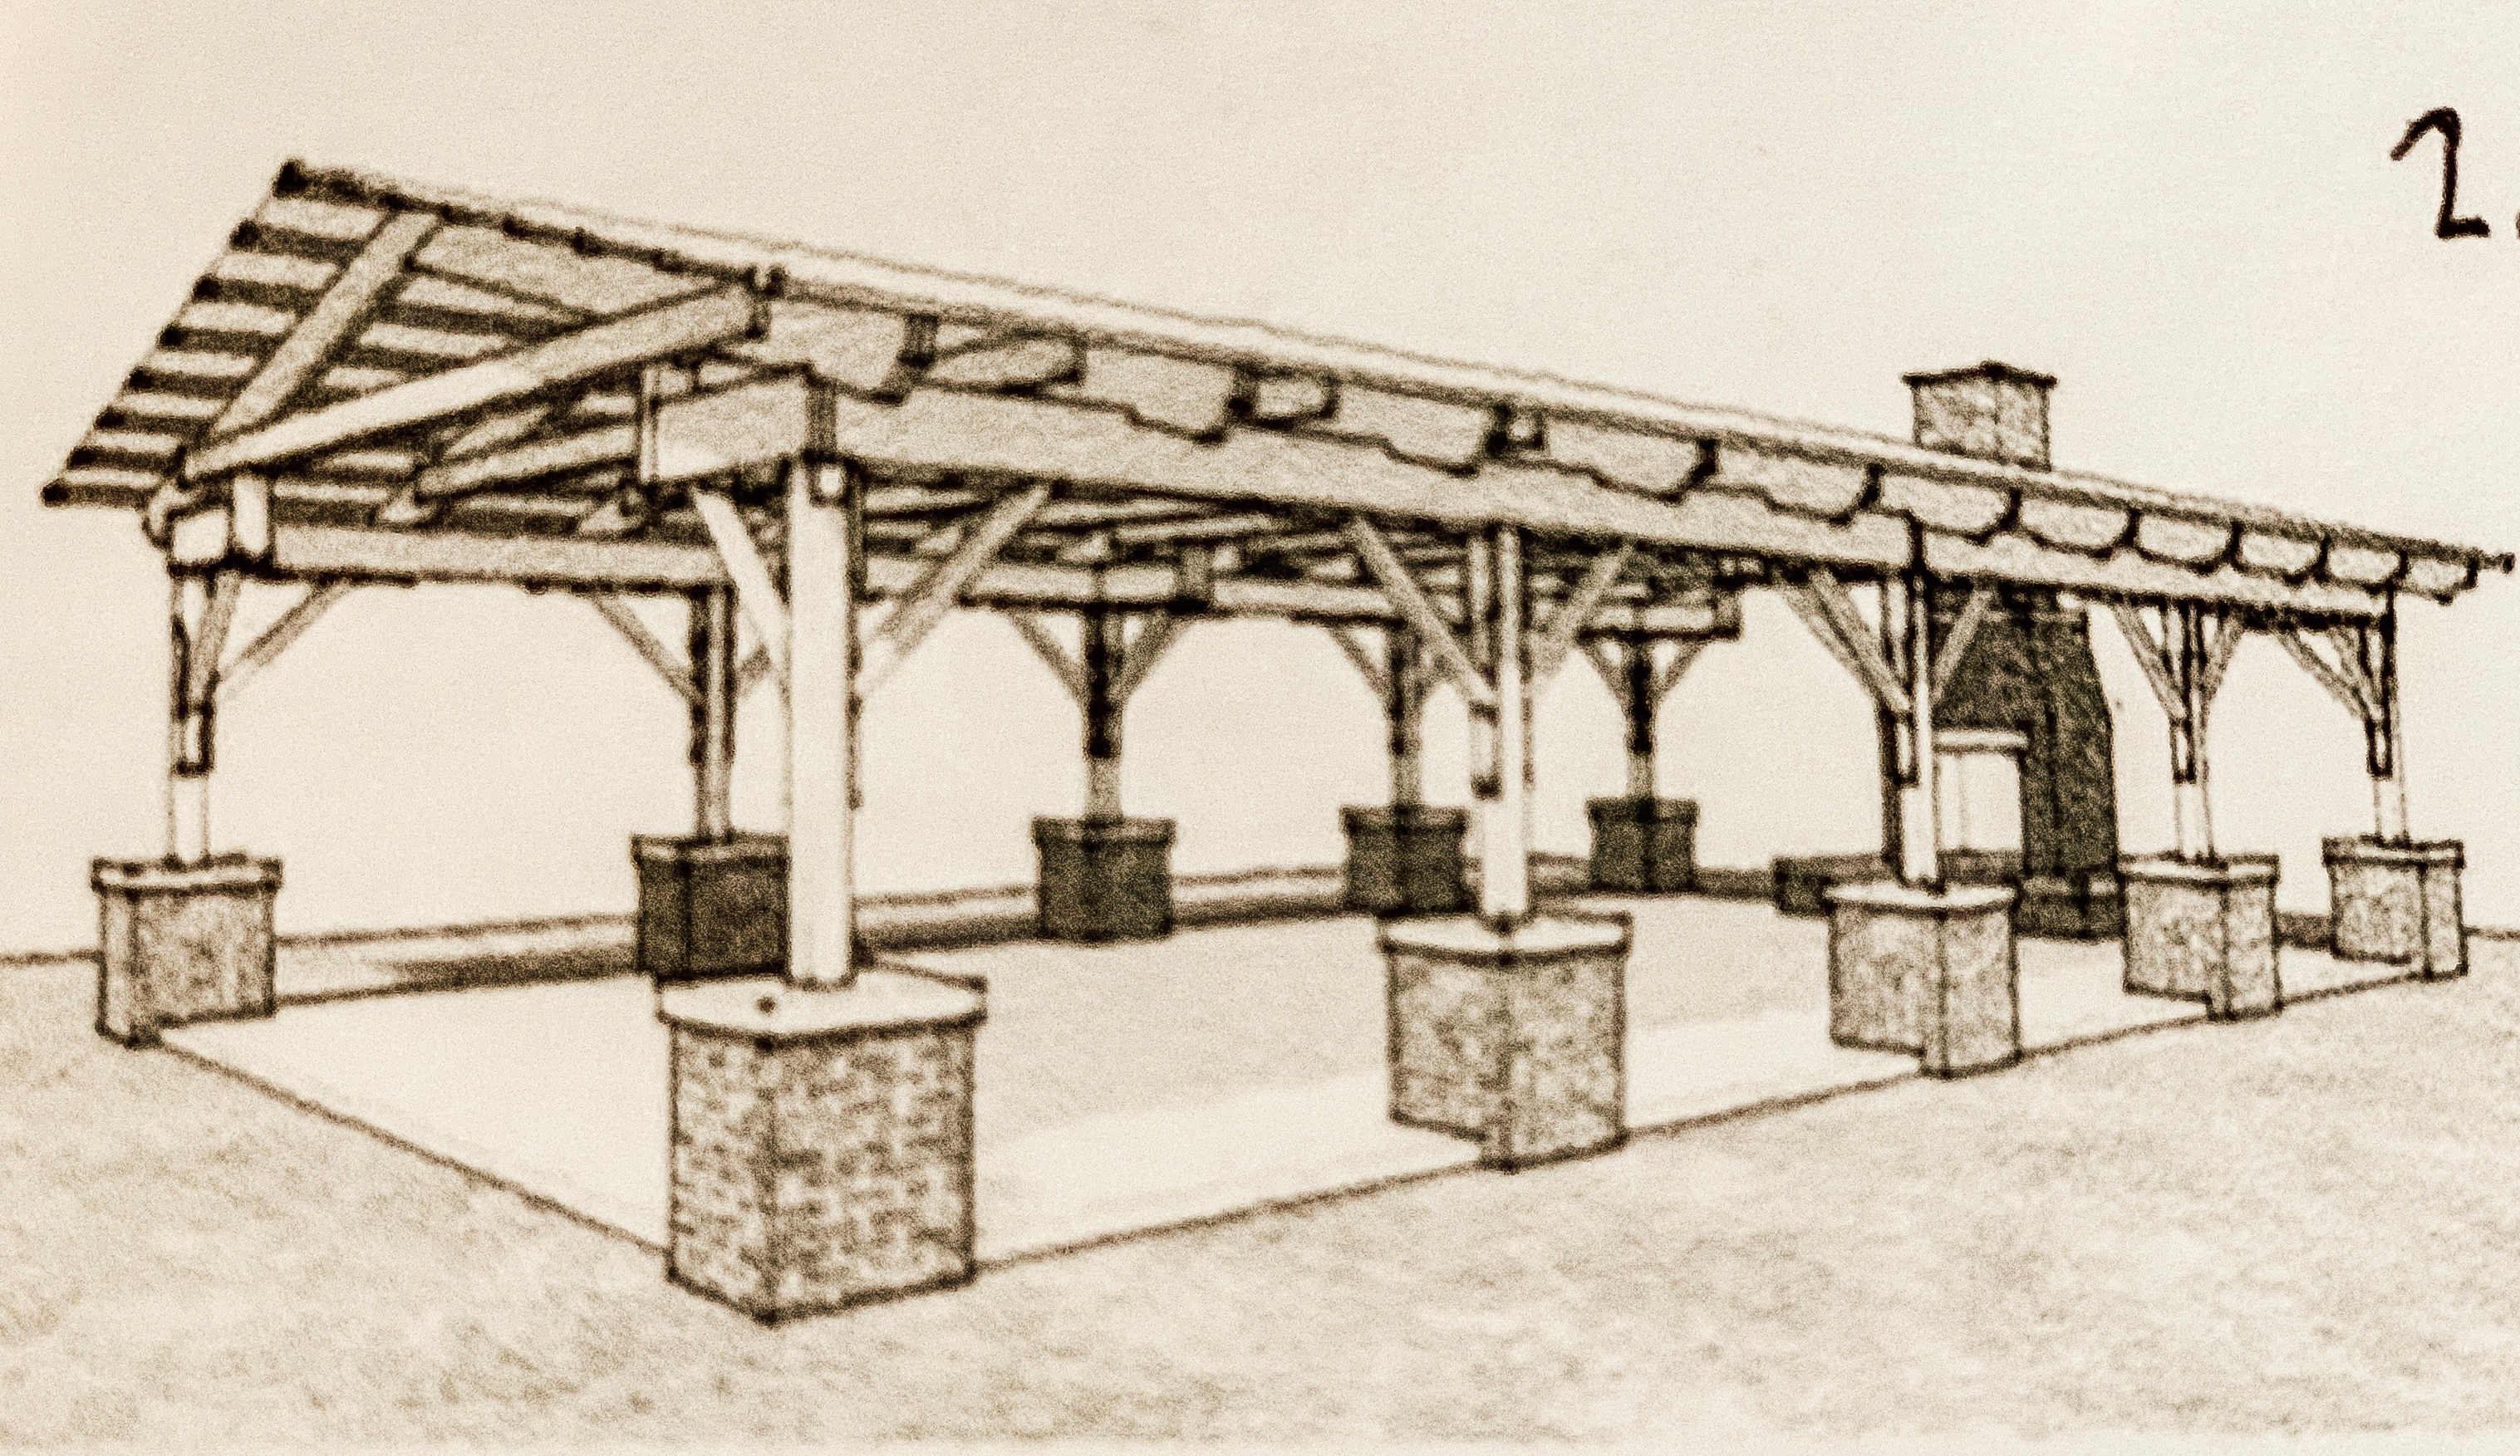
Have you ever wanted to add an outdoor oasis to your backyard? This summer we are tackling our backyard and walking you through the process step by step on how we are building an outdoor pavilion complete with fireplace! Follow along as we share the build of our outdoor pavilion and how we build it all DIY!
Prepping for the Foundation & Pouring Footings for our Outdoor Oasis Pavilion Project
We have dreamed about having an outdoor space for years and we are finally getting to work on this project! To say I’m excited about building an outdoor pavilion would be a huge understatement!
Building this outdoor oasis is a project we’ve been really looking forward to and I know it’ll be a huge blessing to us for years to come!
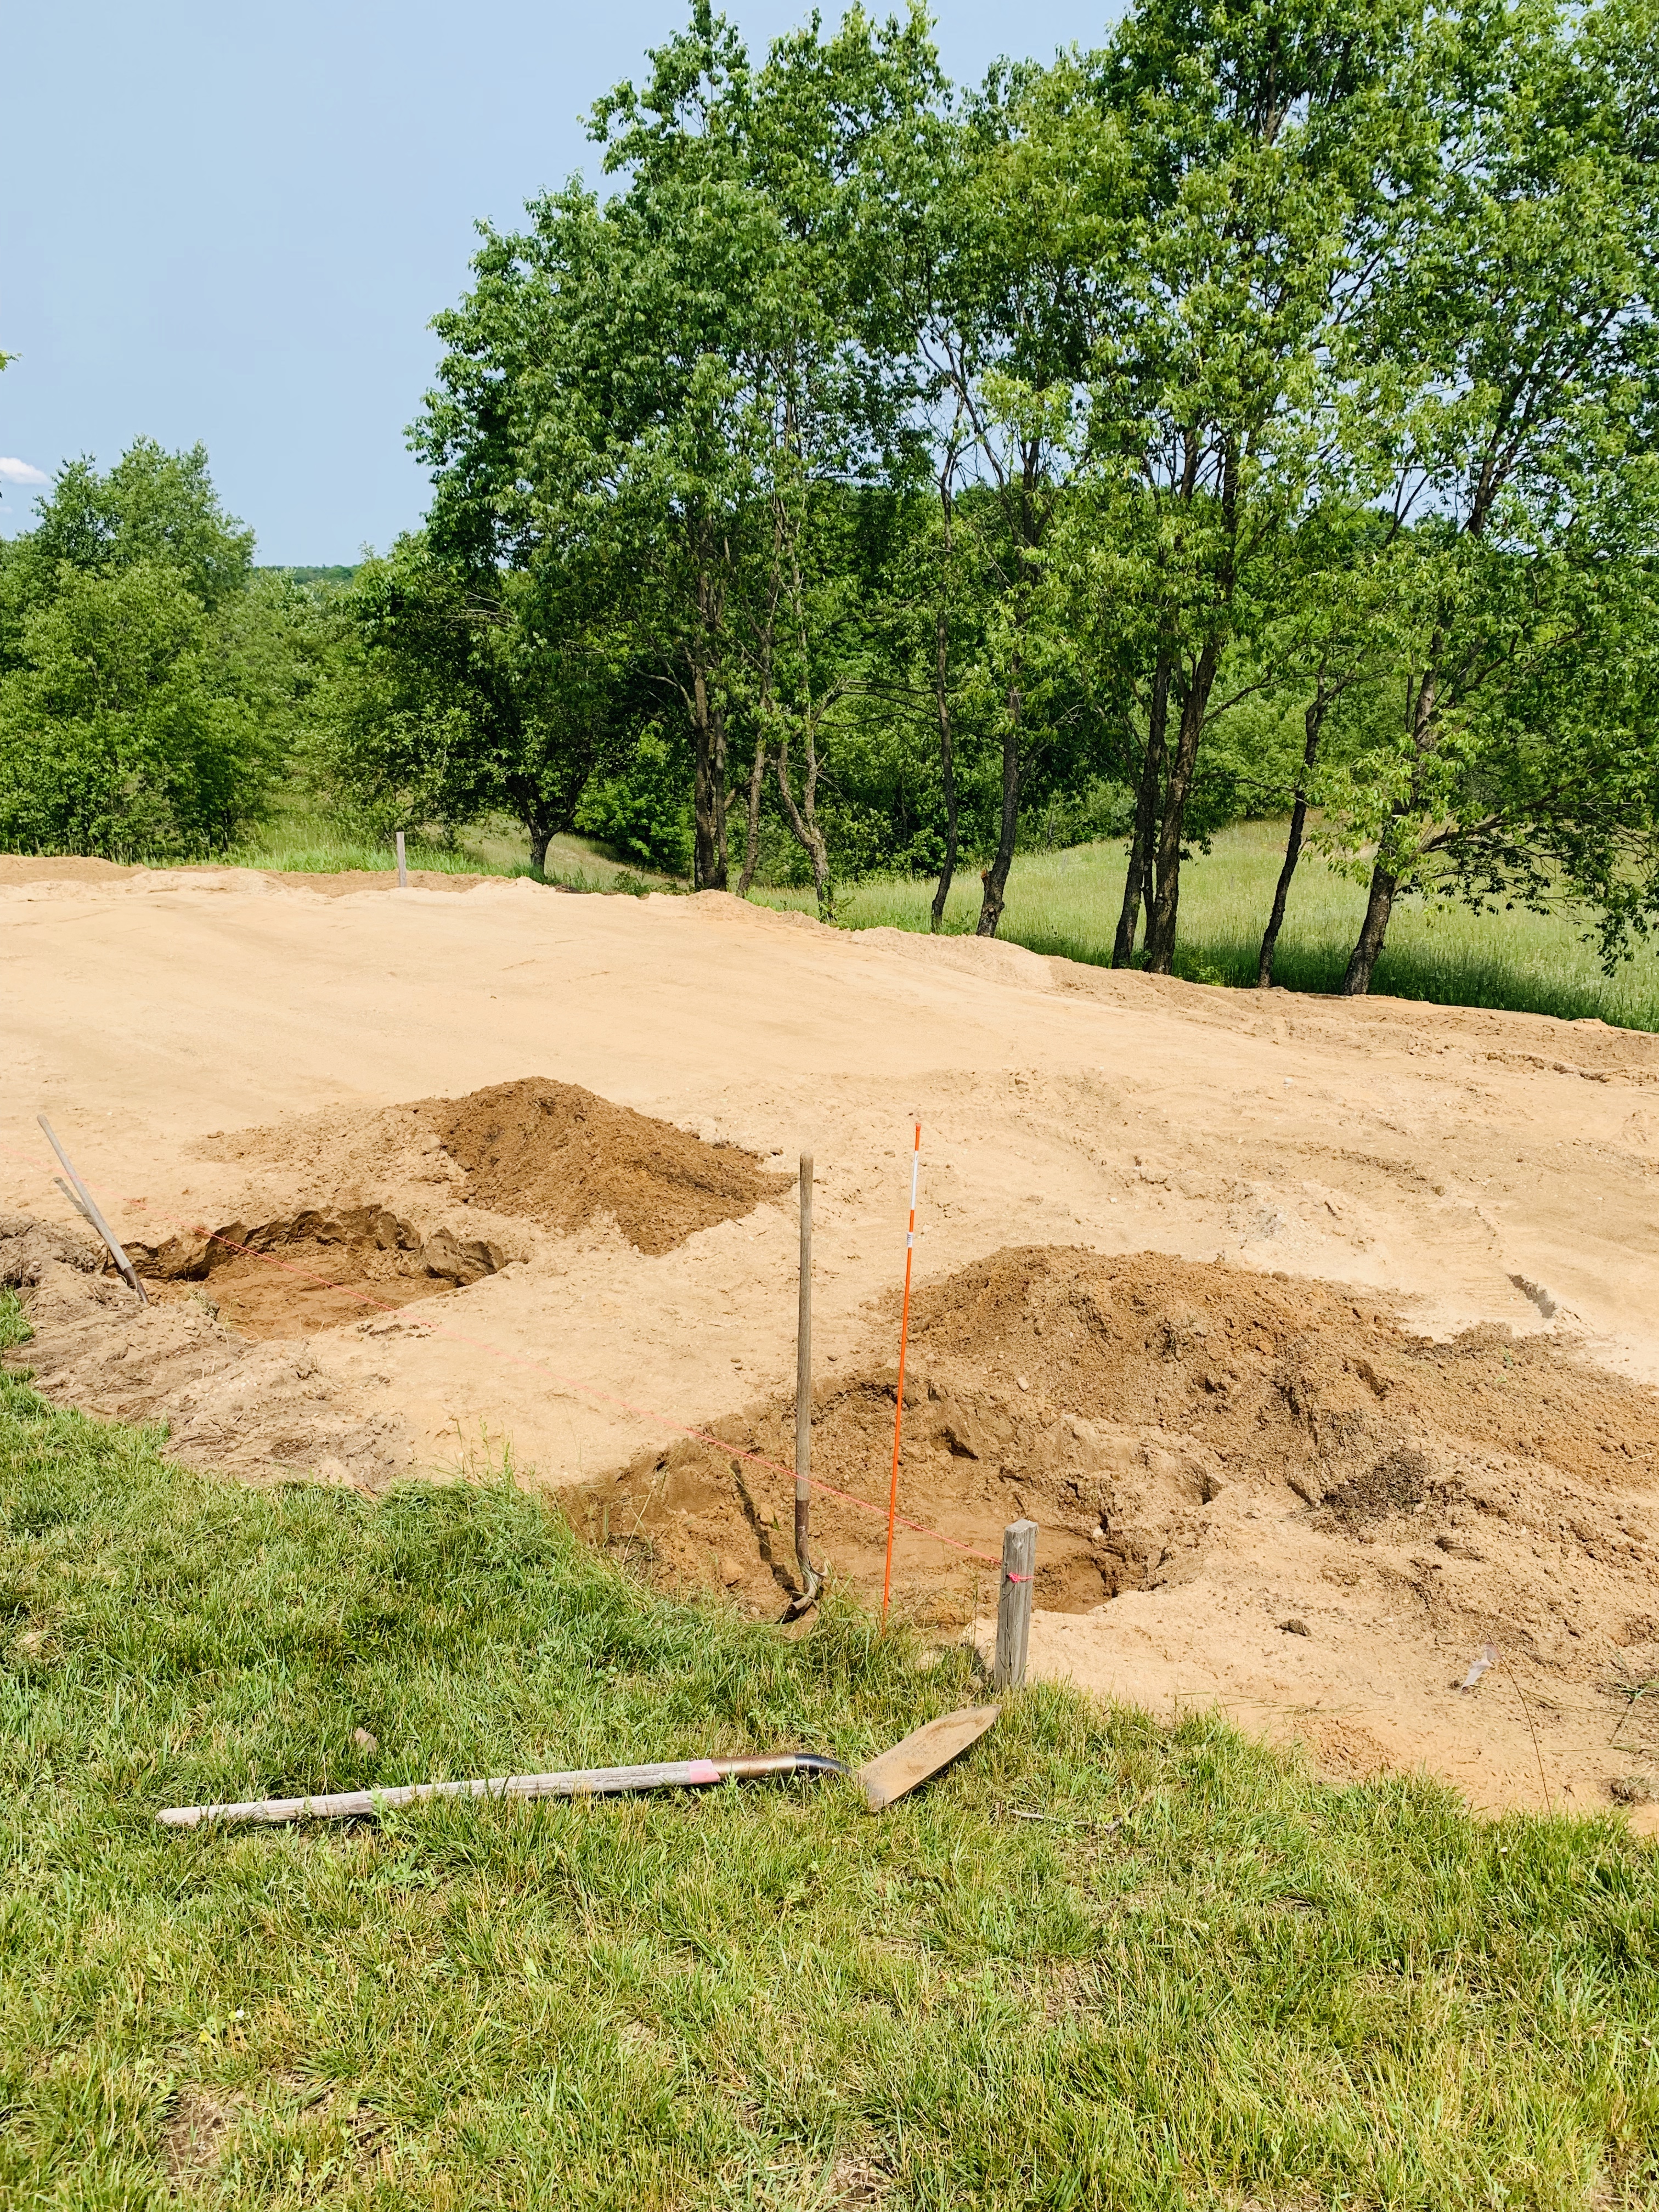
Excavation & Prepping Job Site
We decided on the location of the pavilion based on the views and we wanted it to be near the pool and in between the cottage and our dream home that well build next year. Unfortunately, this meant that a whole lot of sand had to be brought in because it happens to be on a hill. Because our soil is nearly all sand, we didn’t have to buy fill and we were able to rent equipment and bring in some sand on our own!
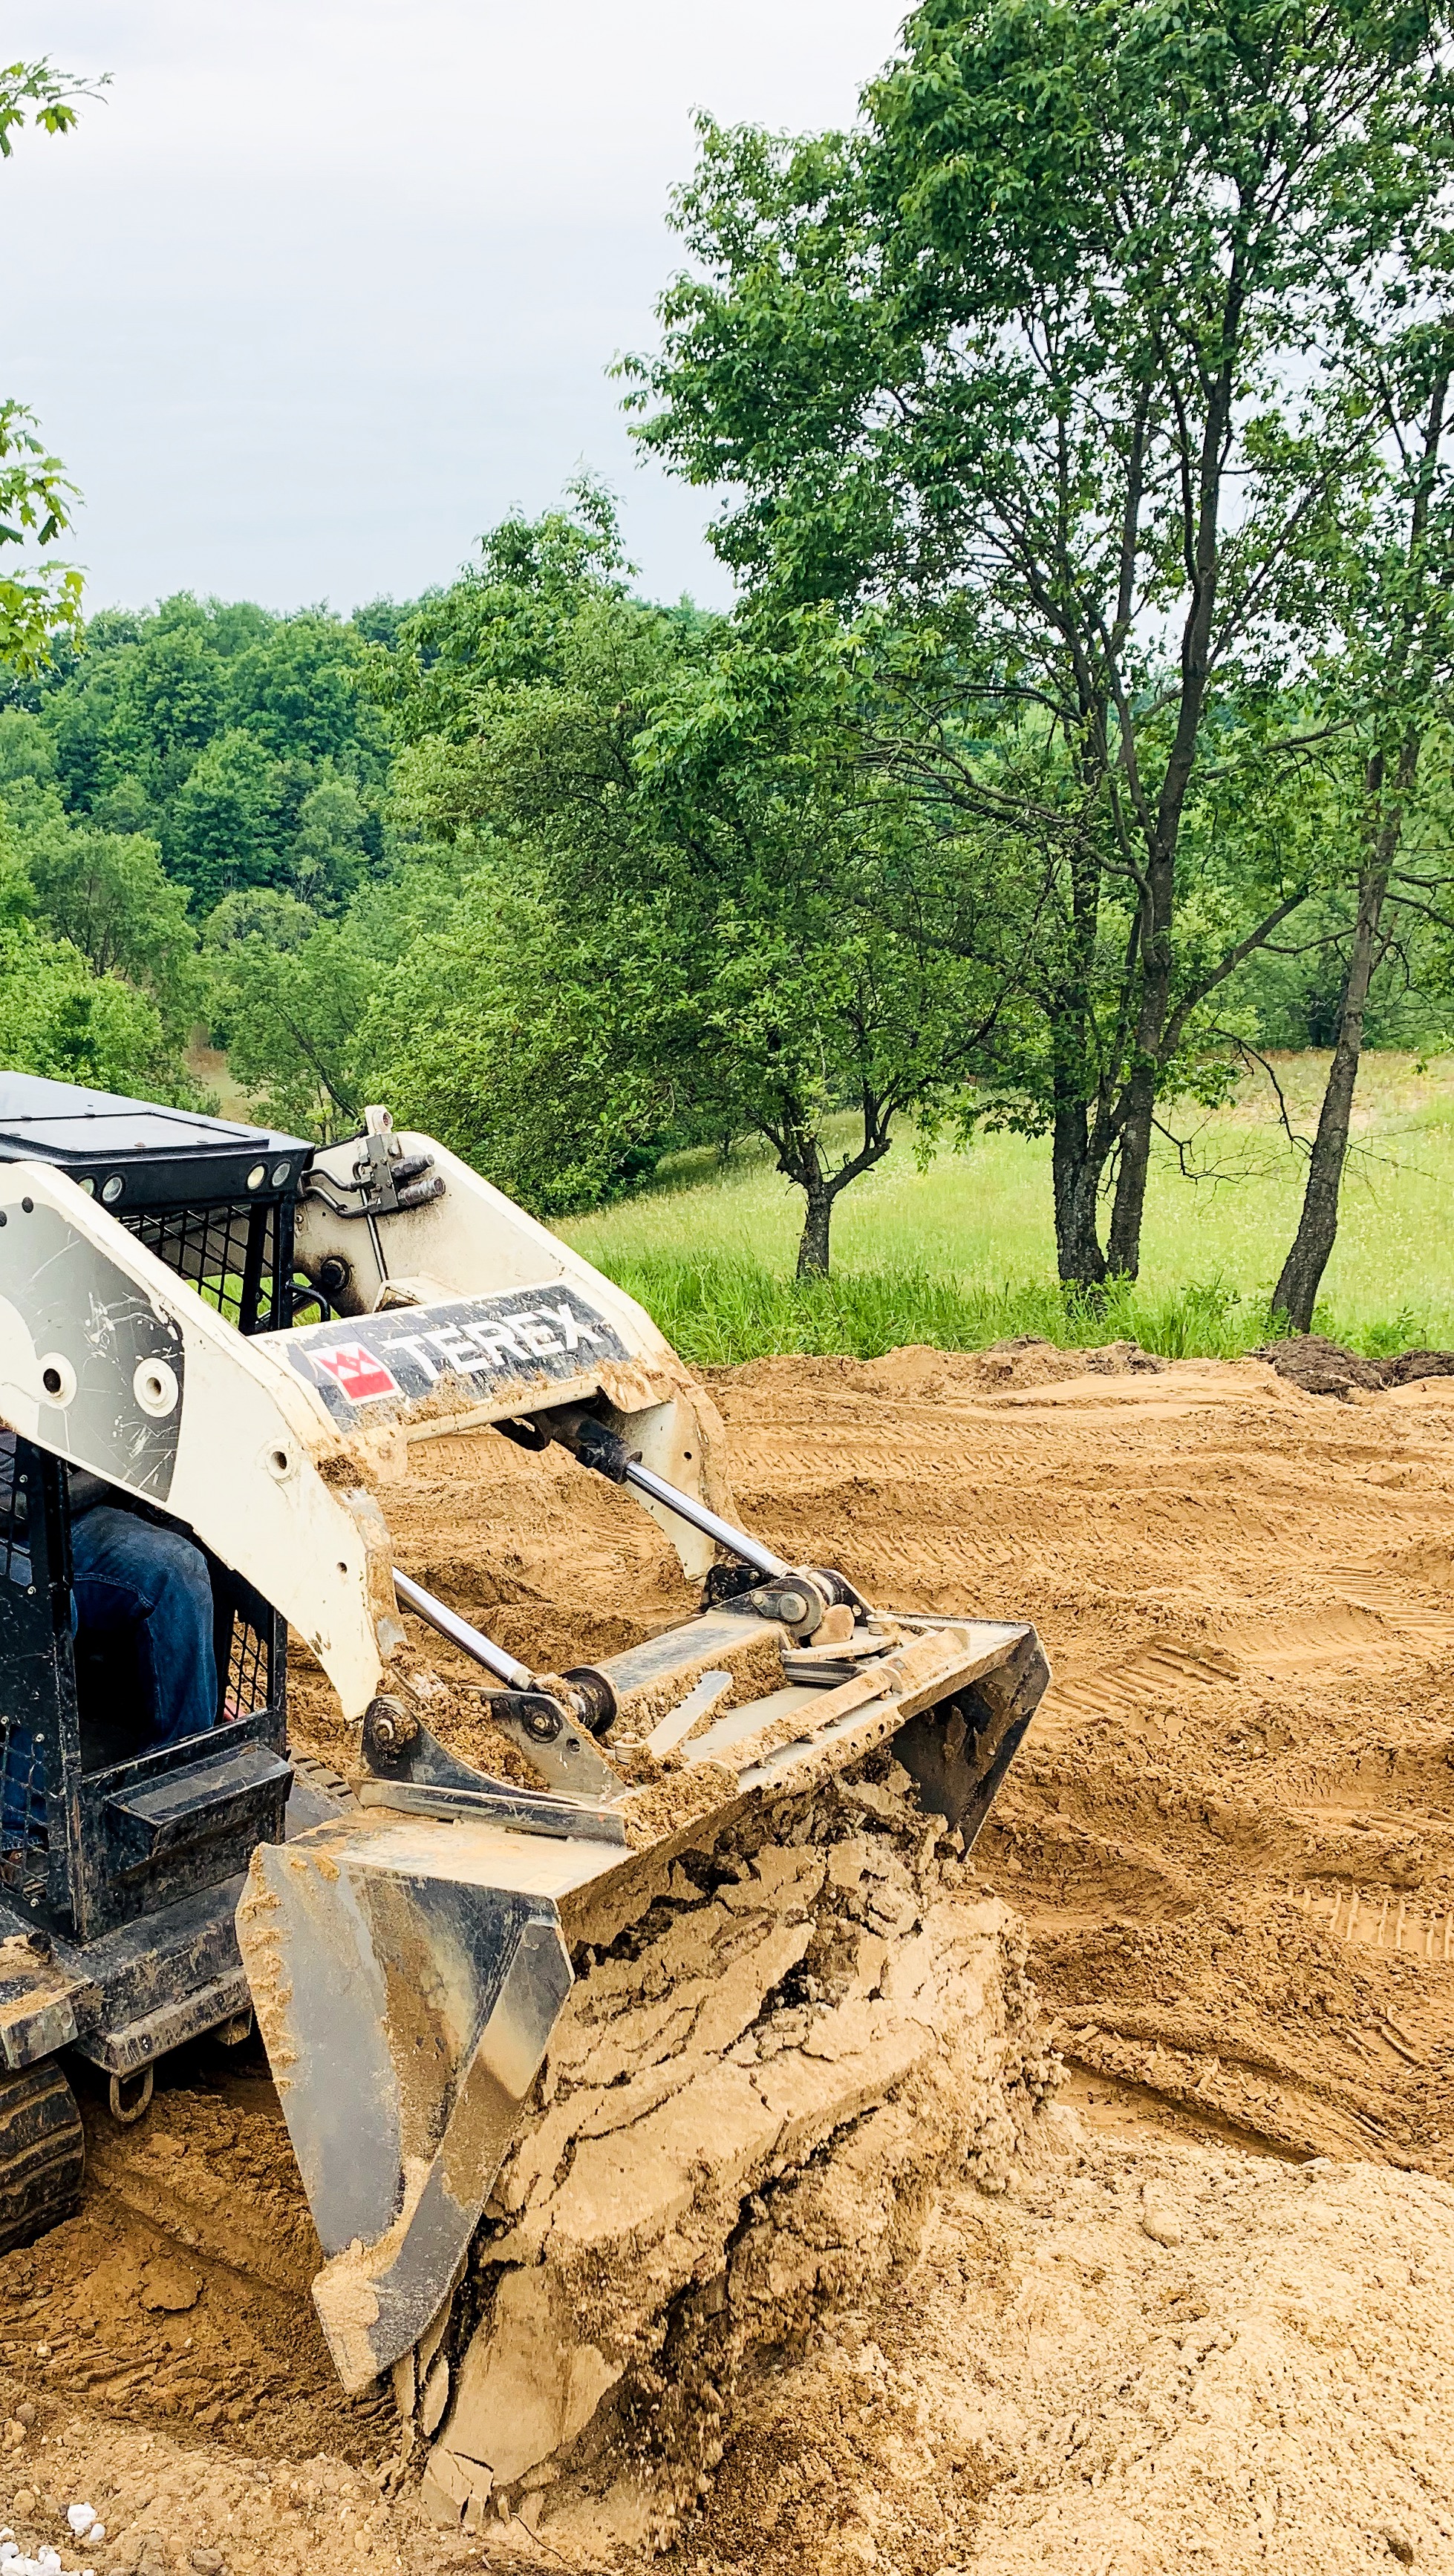
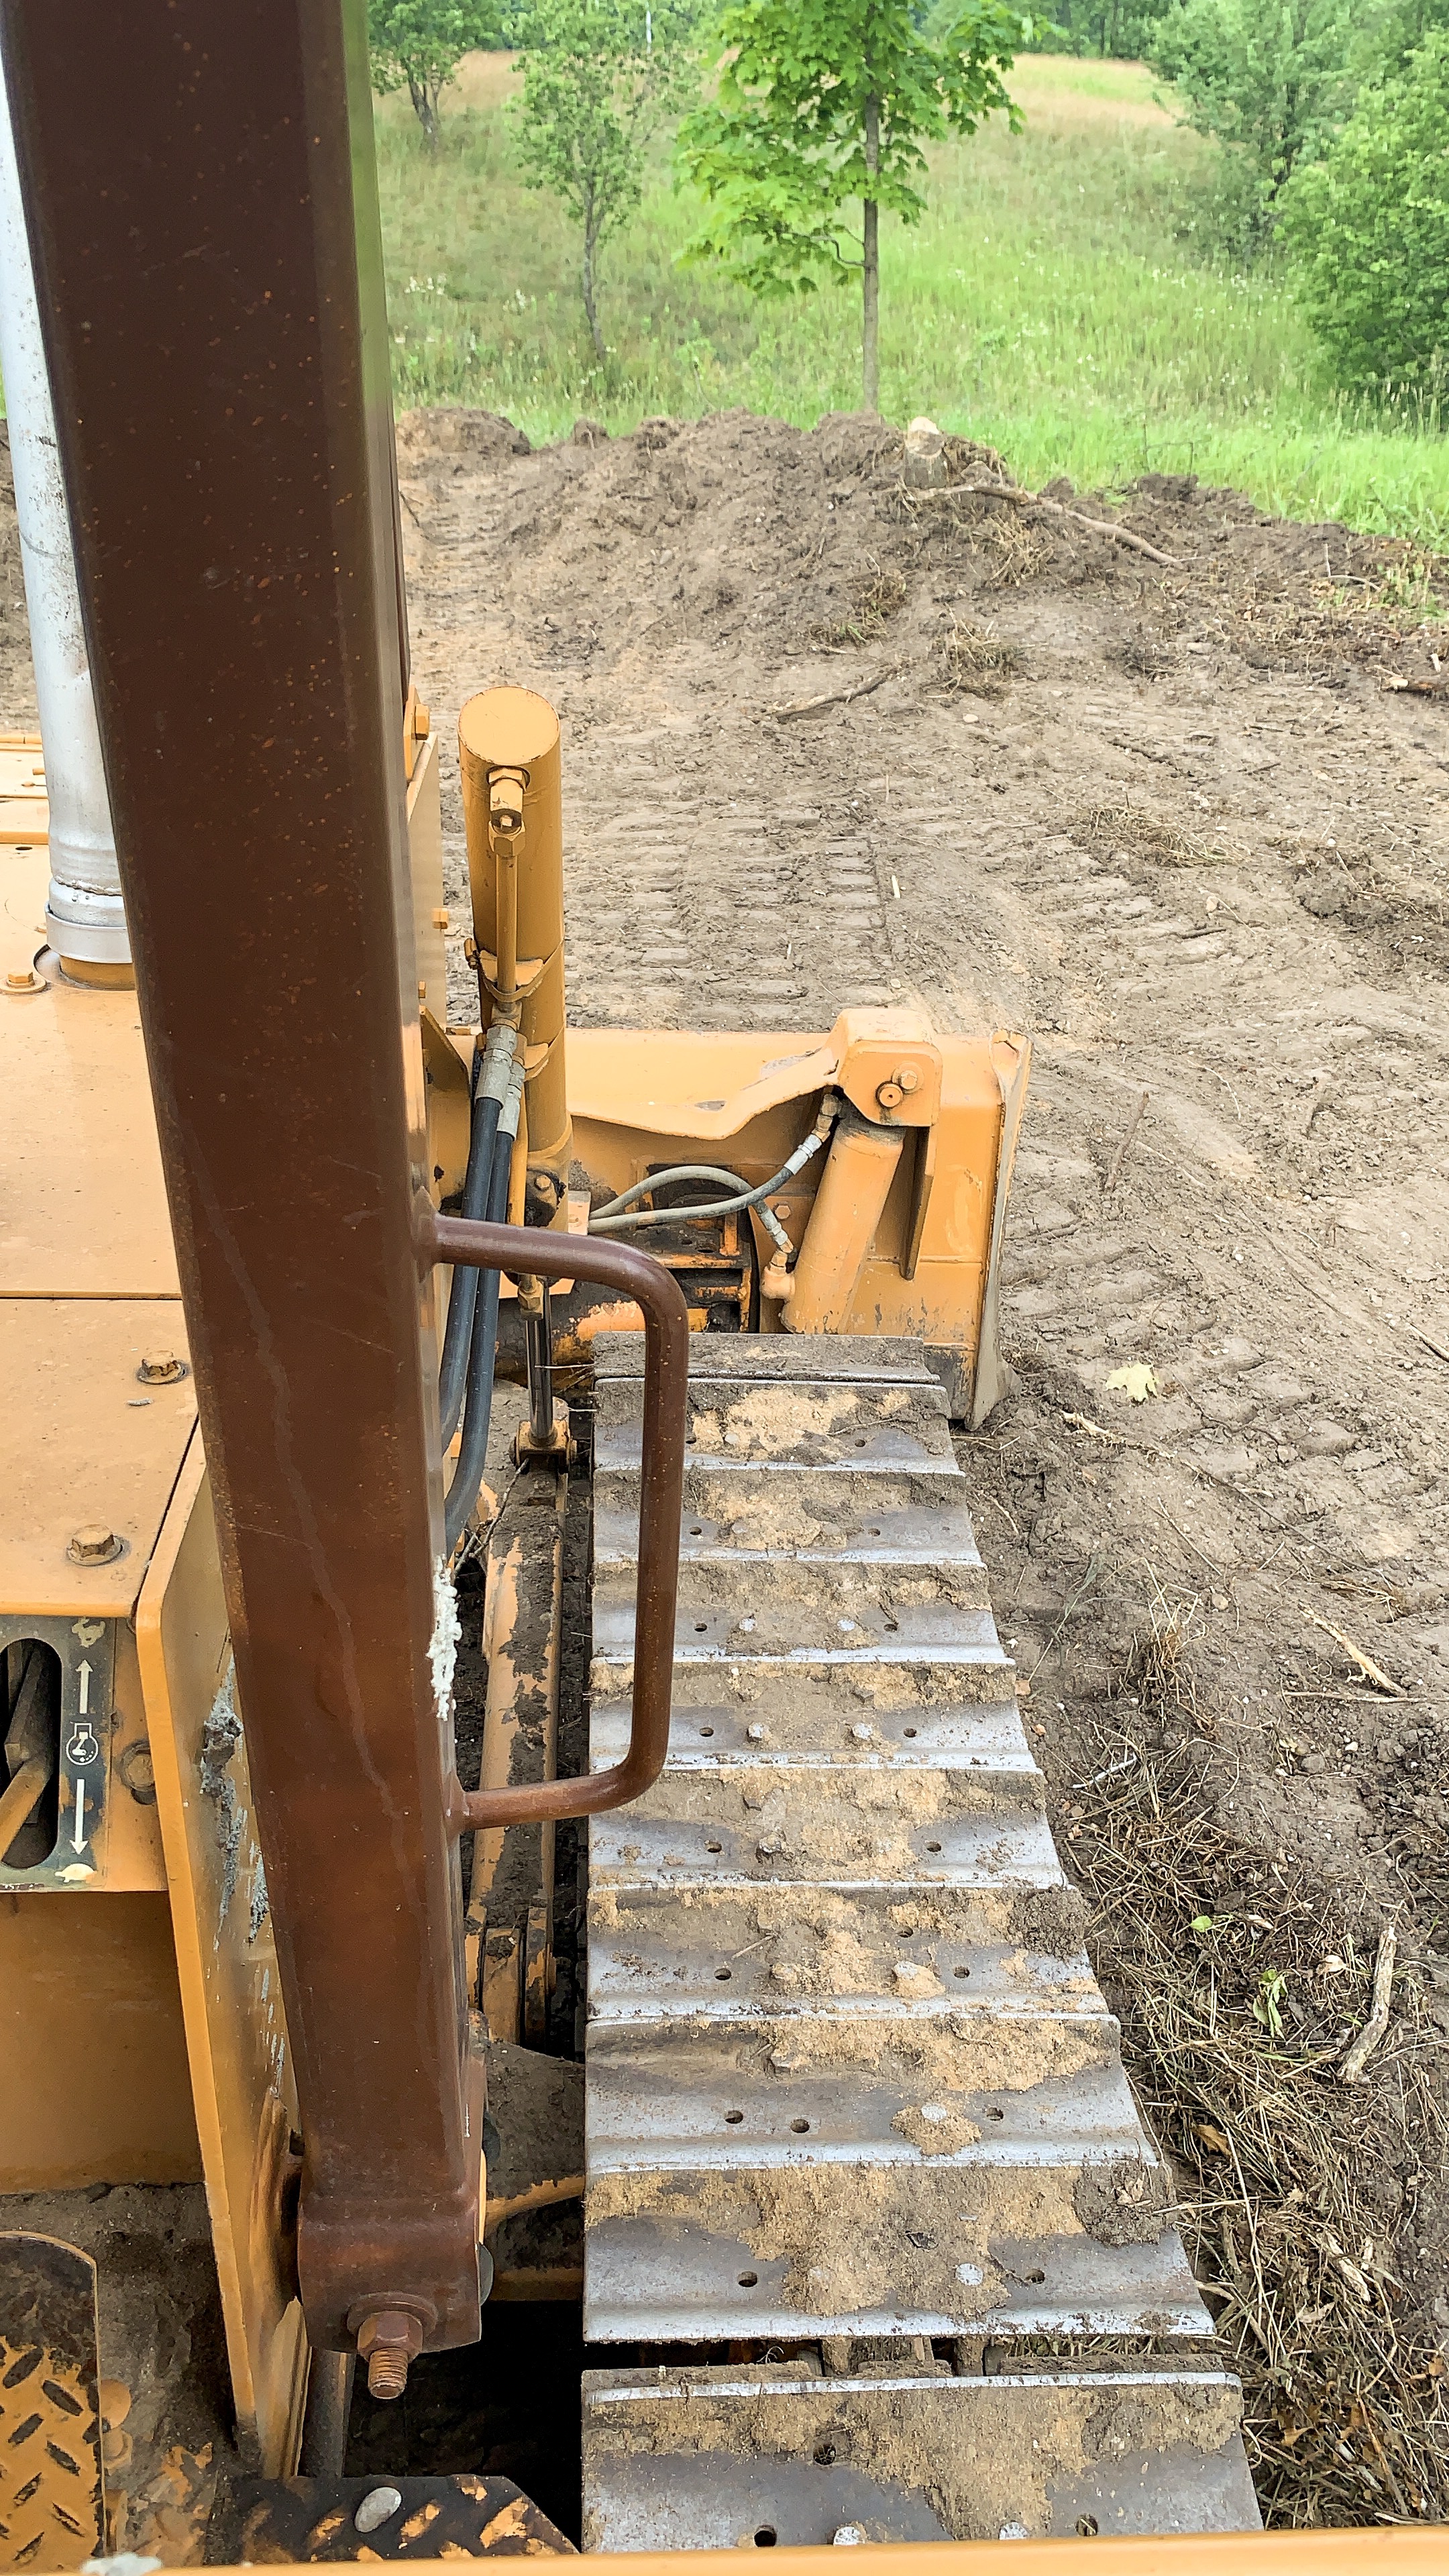
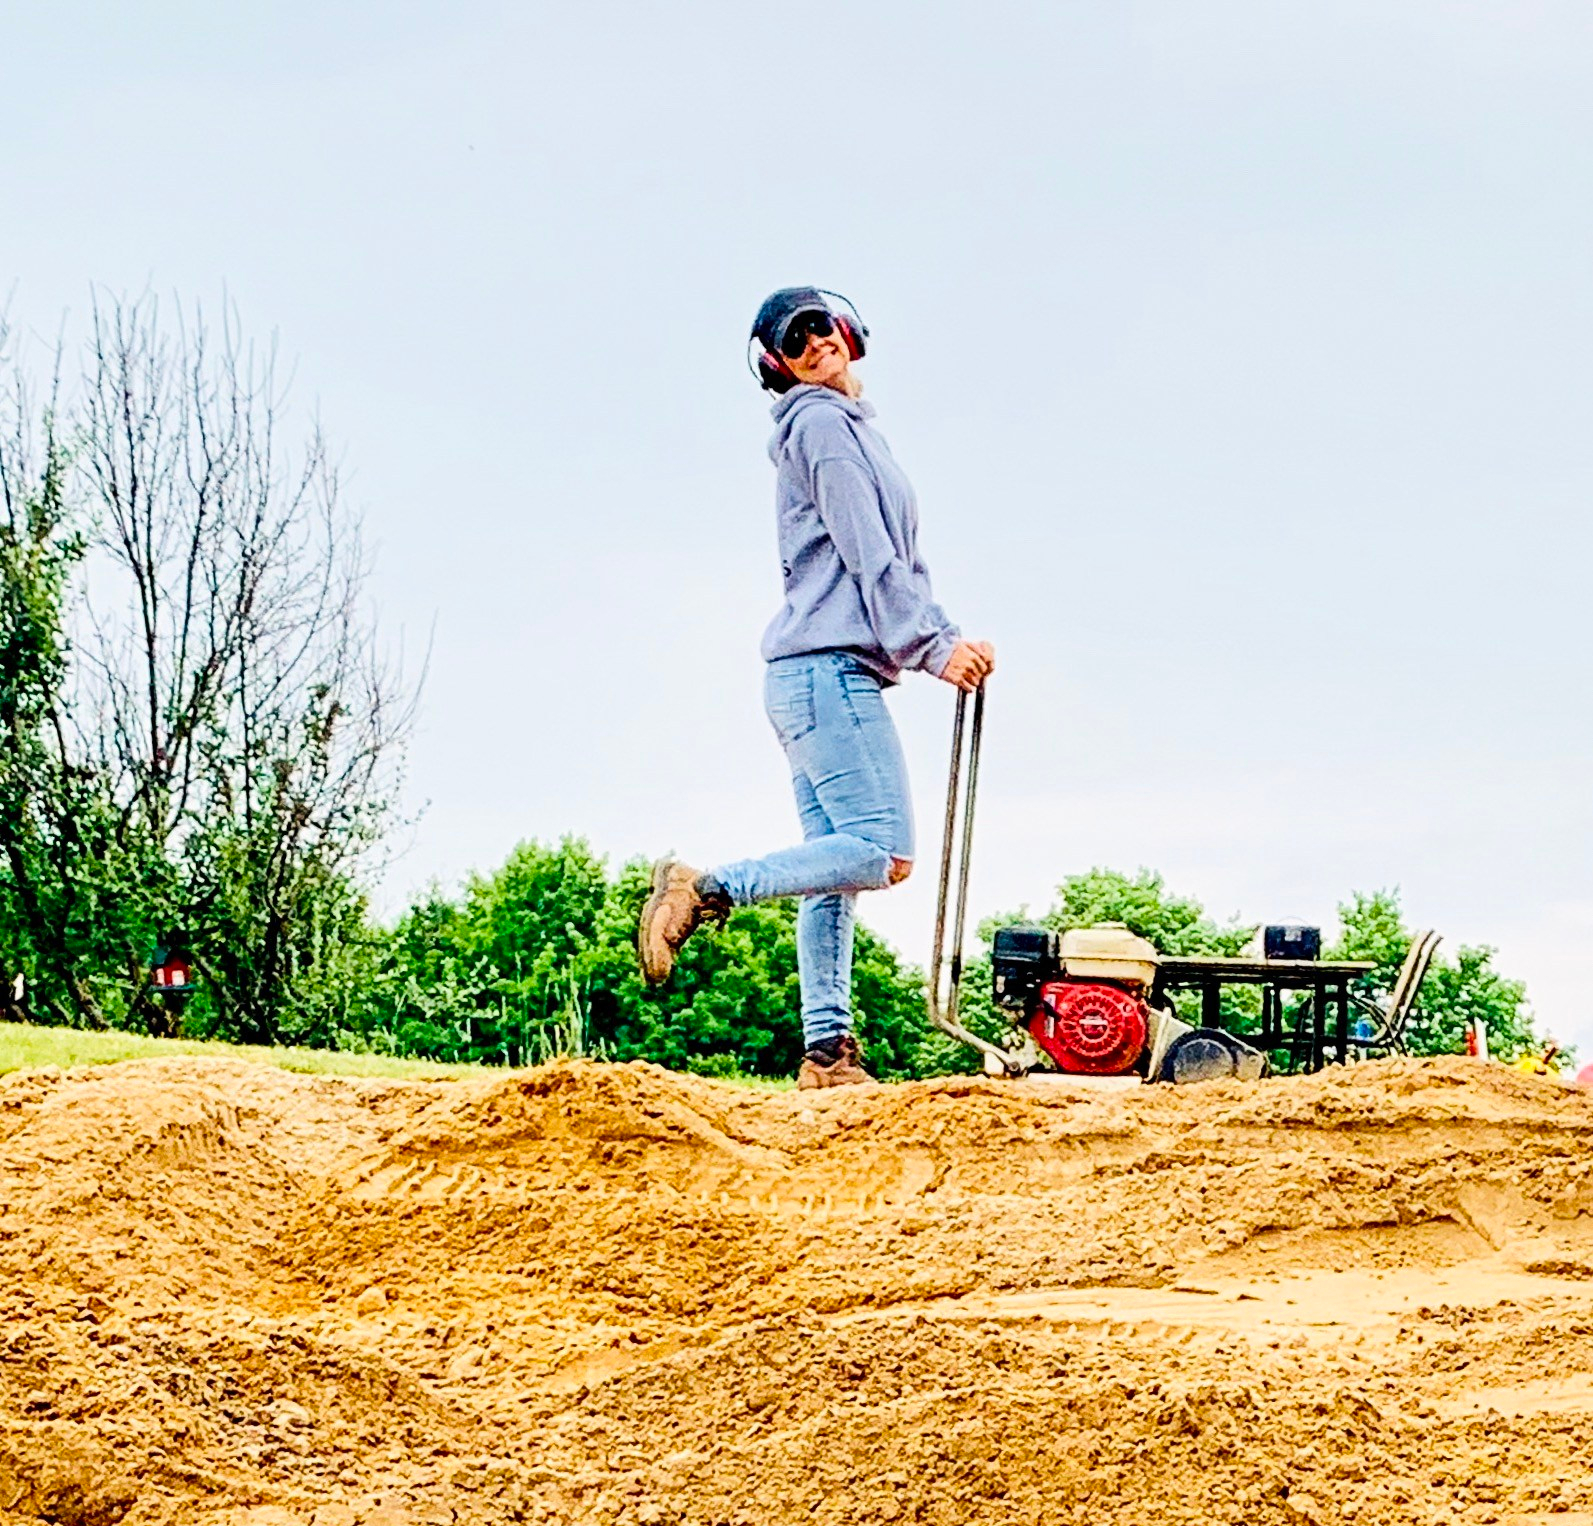
We rented a bulldozer, a skid-steer, and a compactor from a local rental center and they all worked great! I love using rental centers for big projects like this one! It saves a ton of money by just renting the machinery you need for a day or two, instead of hiring the job out!
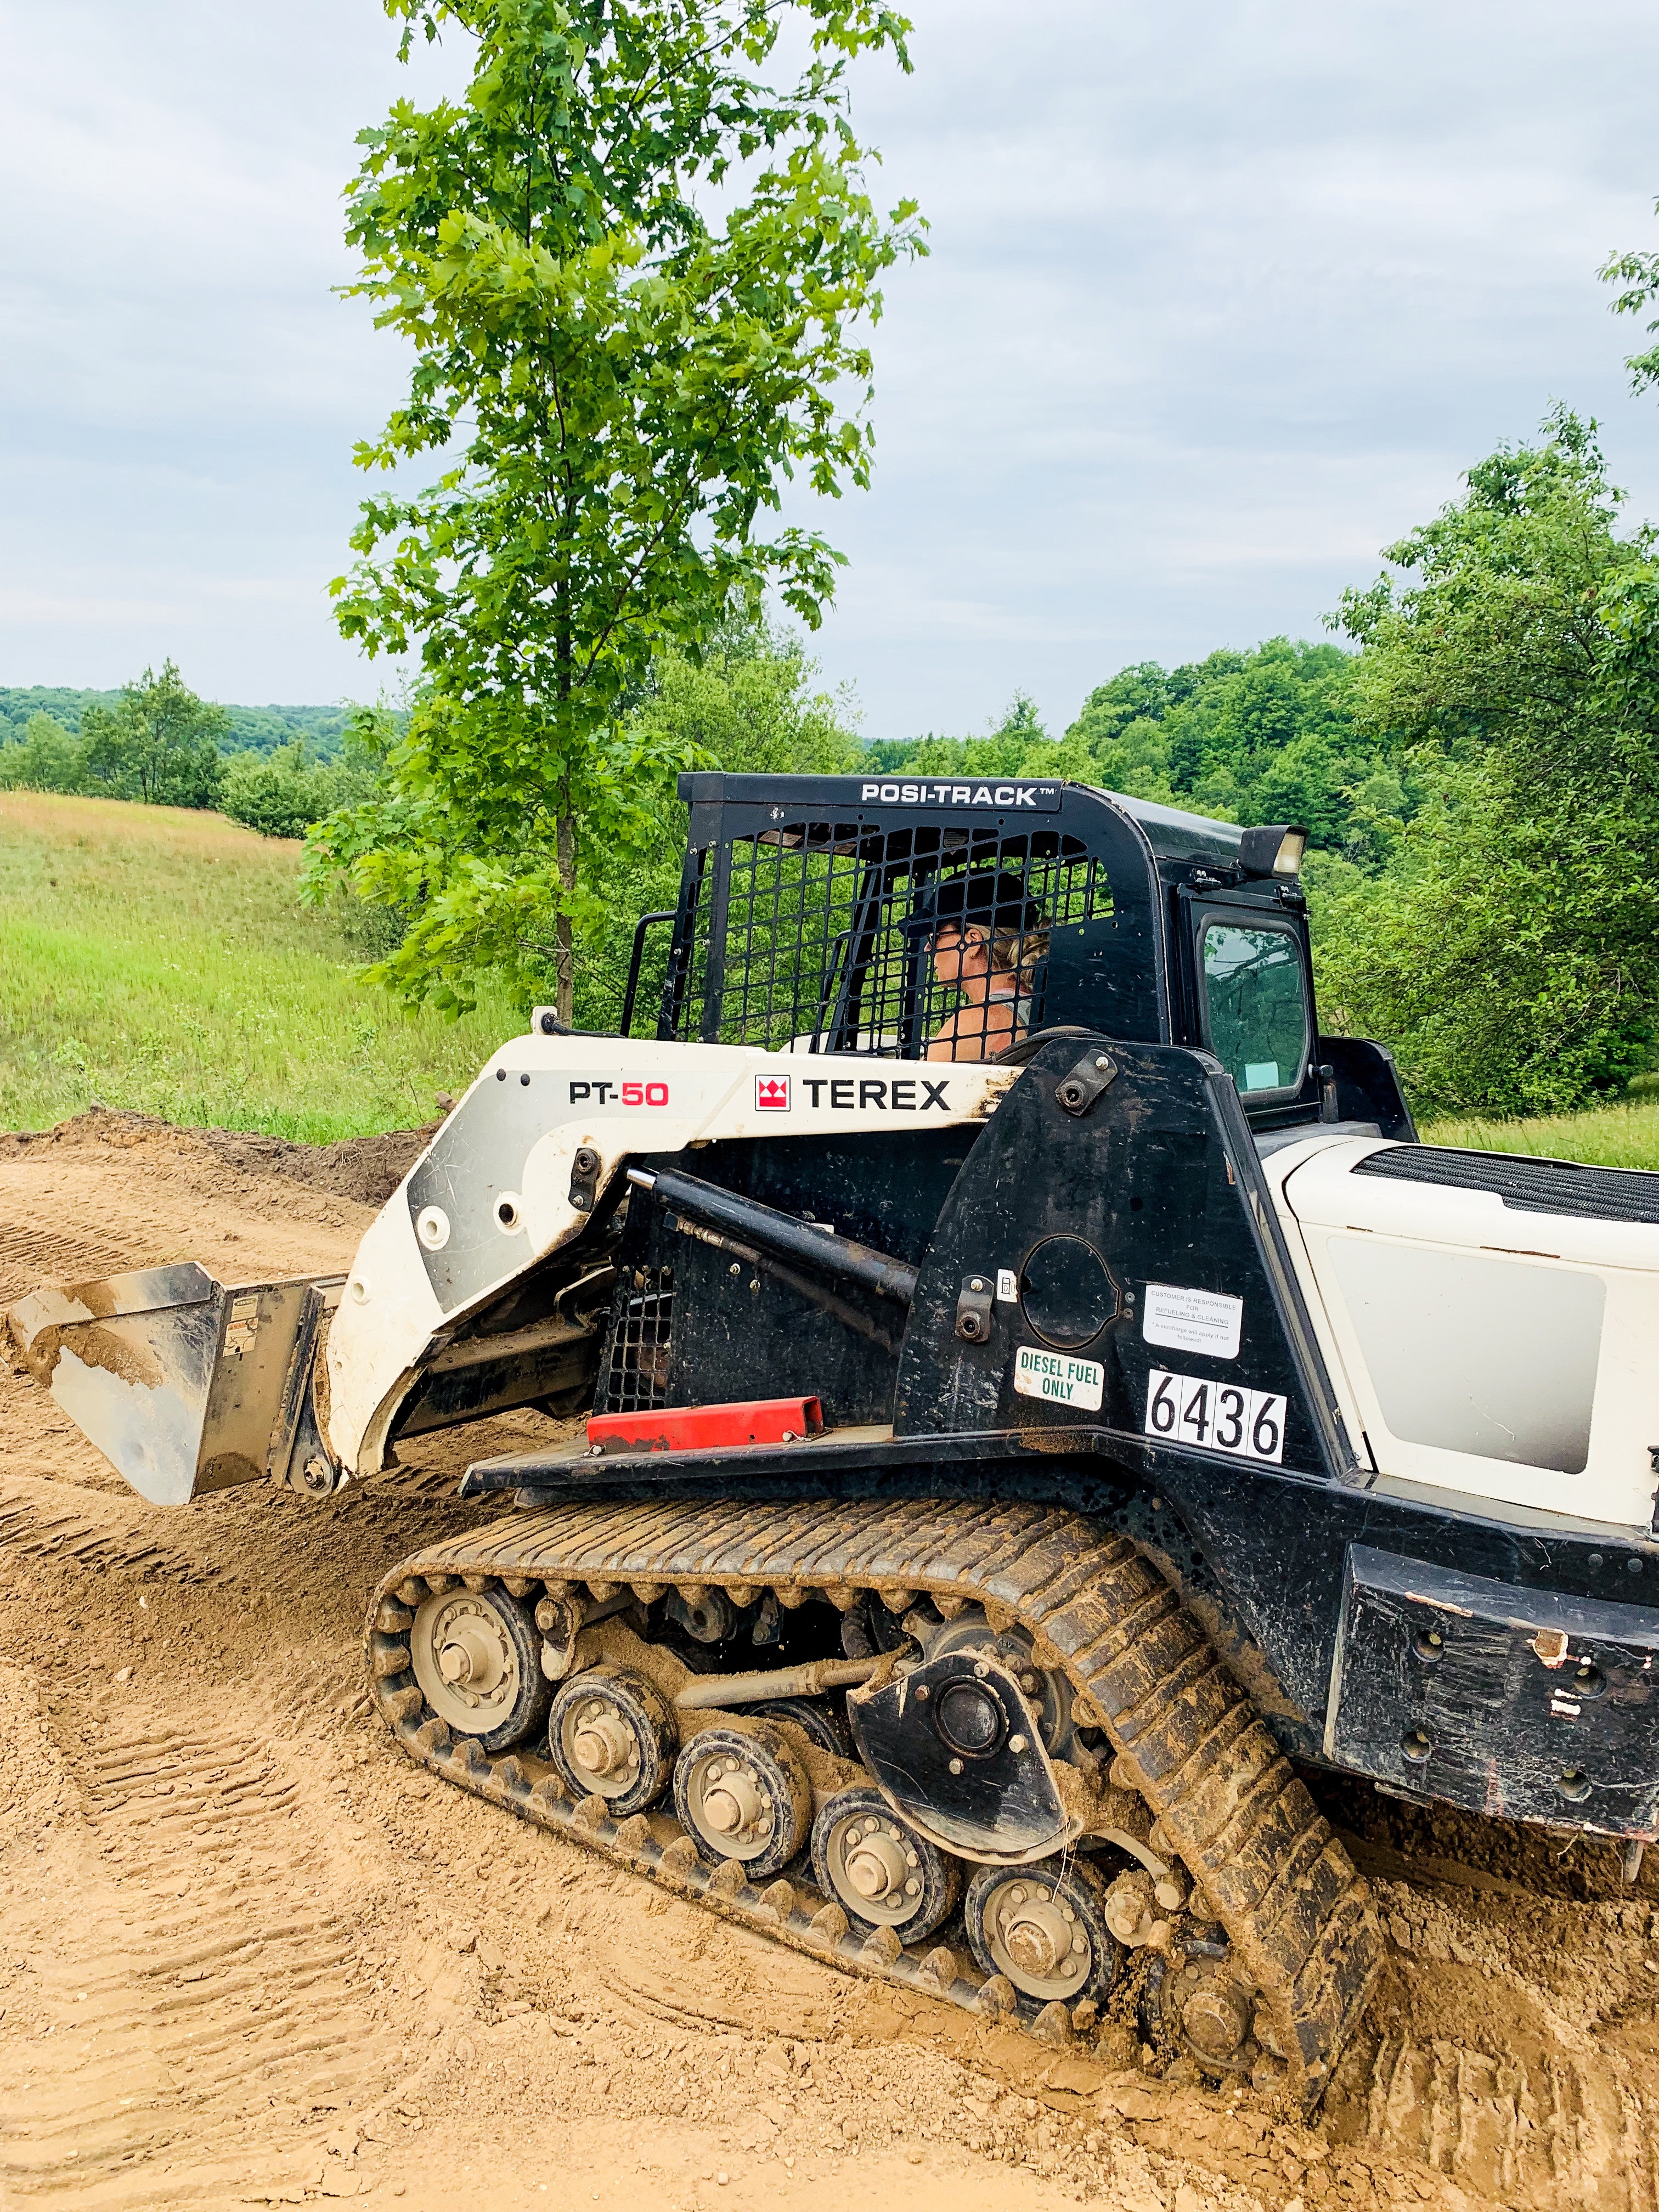
It took my husband and I two full days of moving fill to bring in enough sand to start on our footings. Even though I wasn’t as fast at moving fill as my husband was, I had a blast learning how to operate the dozer and skid-steer! We saved thousands by doing this part ourselves and that’s a huge reason why I LOVE DIY so much!
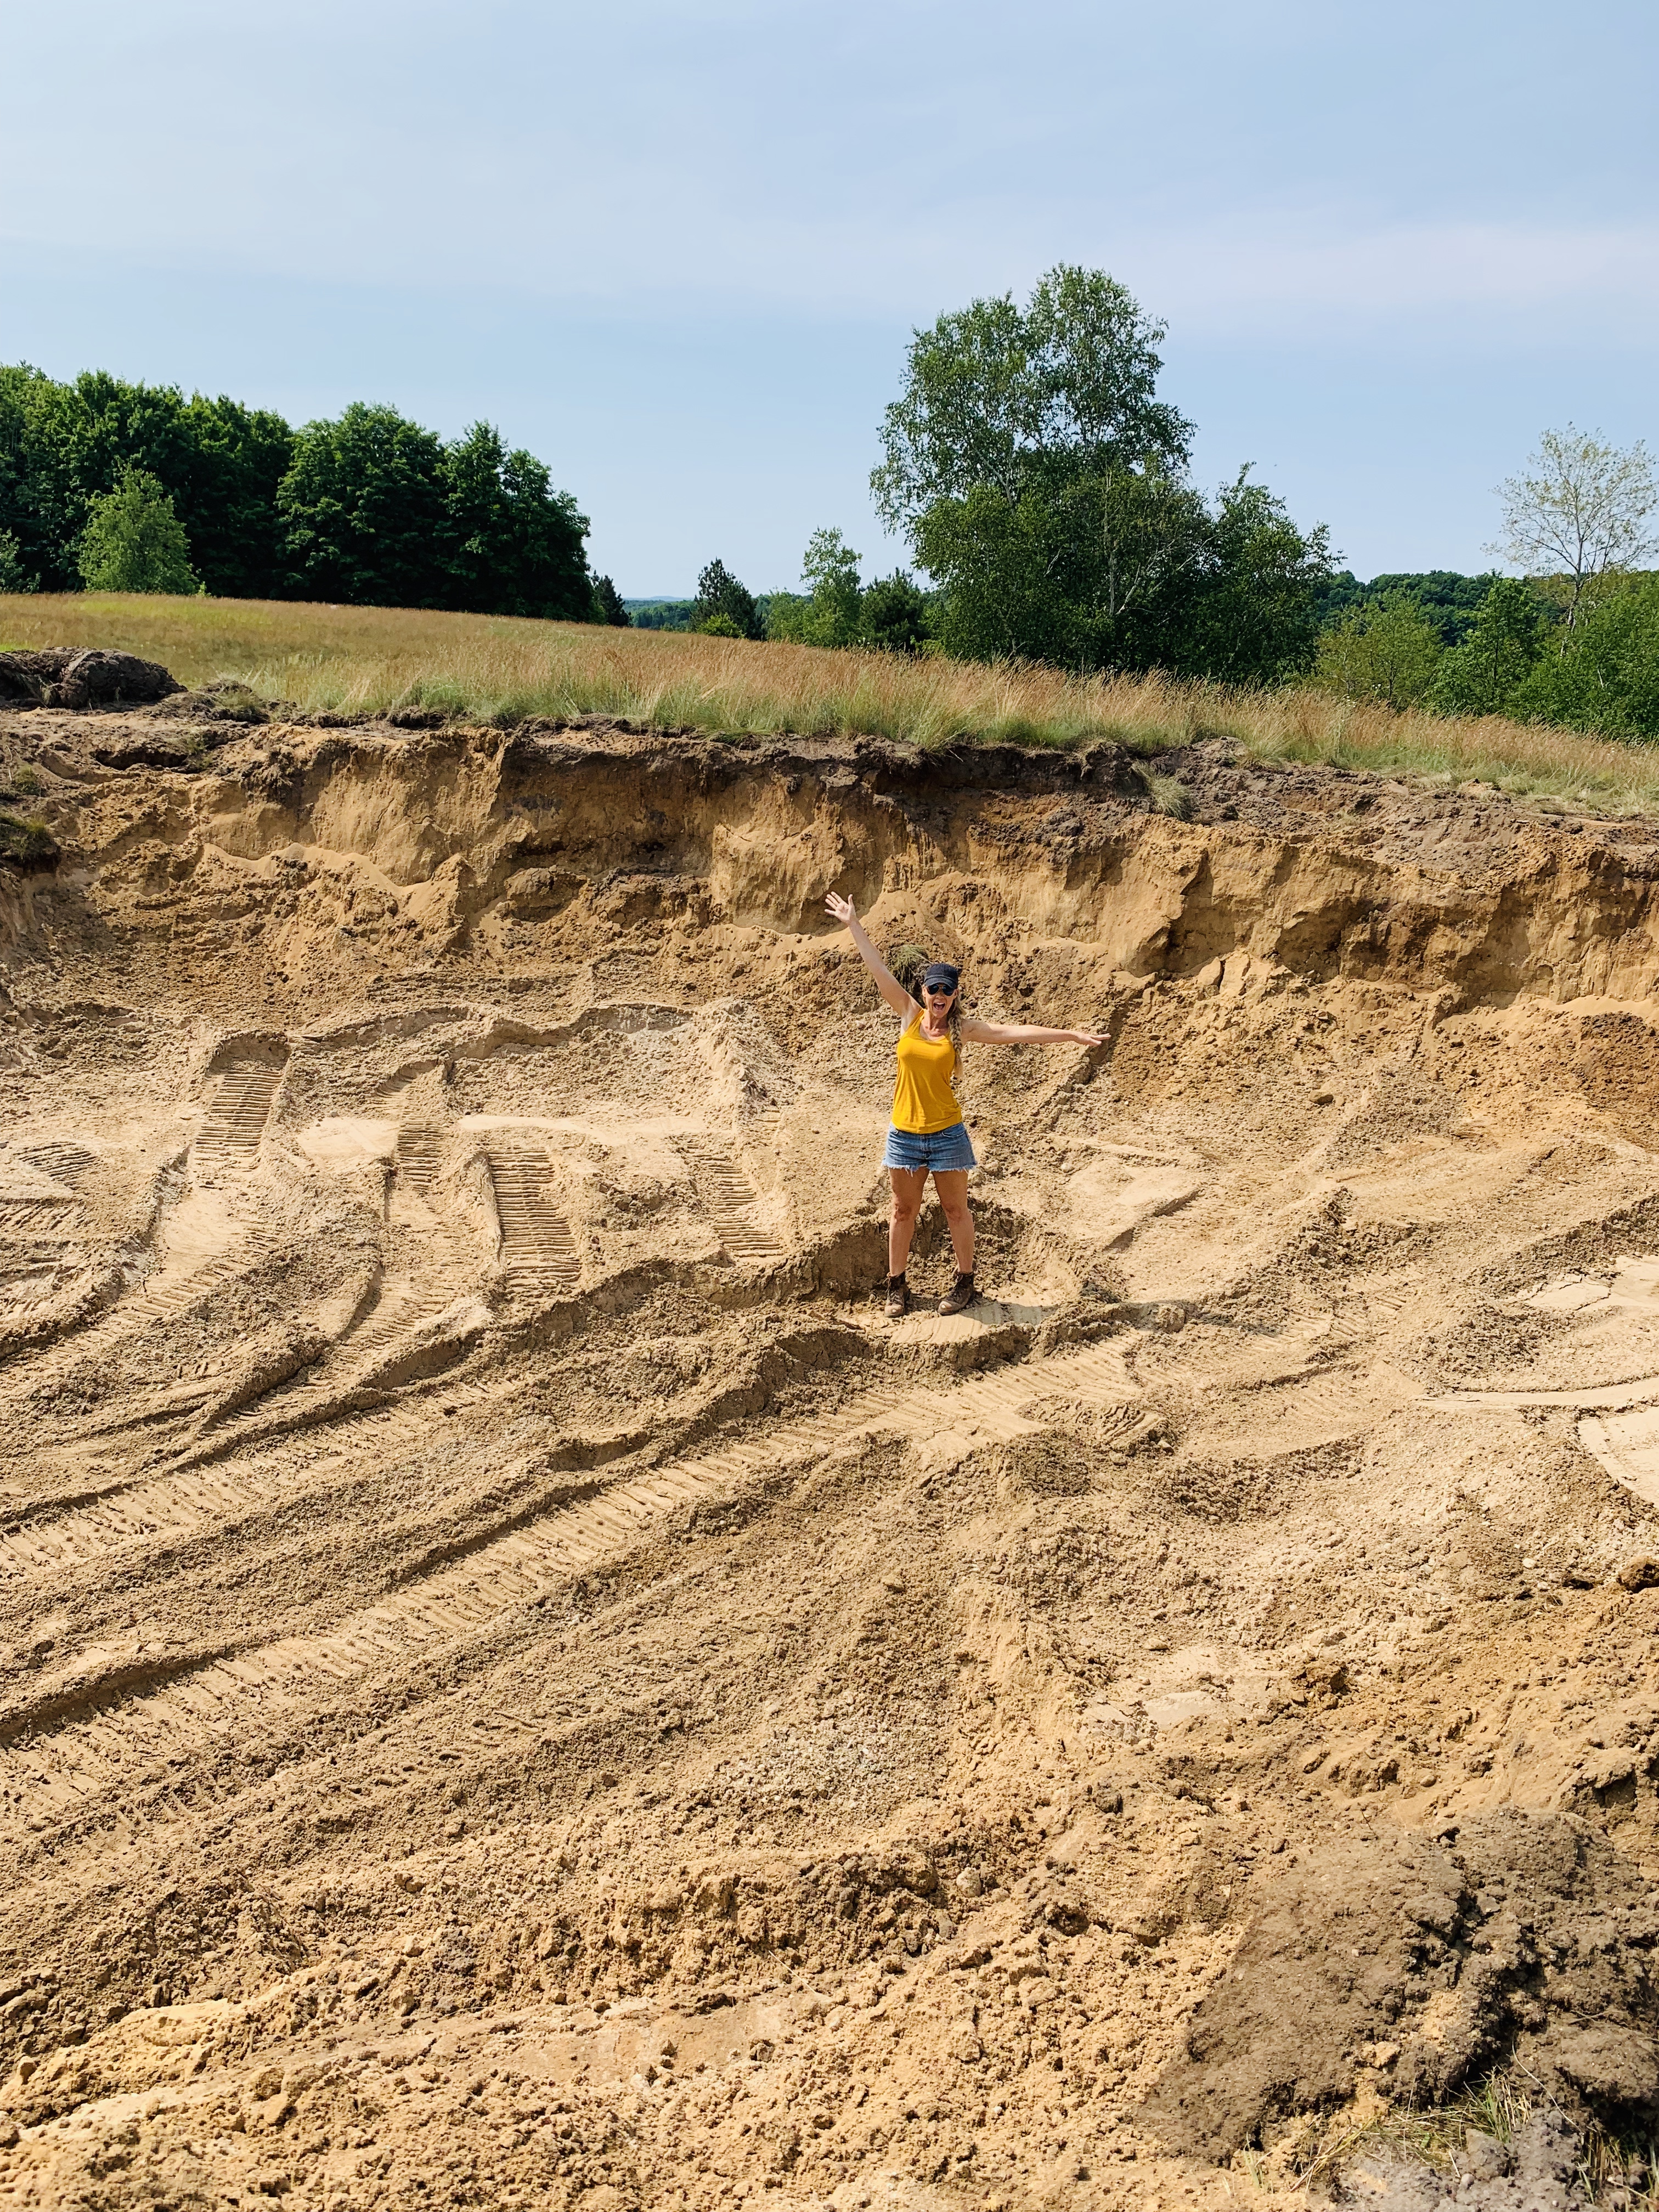
We moved the sand from where our basement will be…so we feel like we’ve got a head start on that! Hooray for almost having our basement dug out!
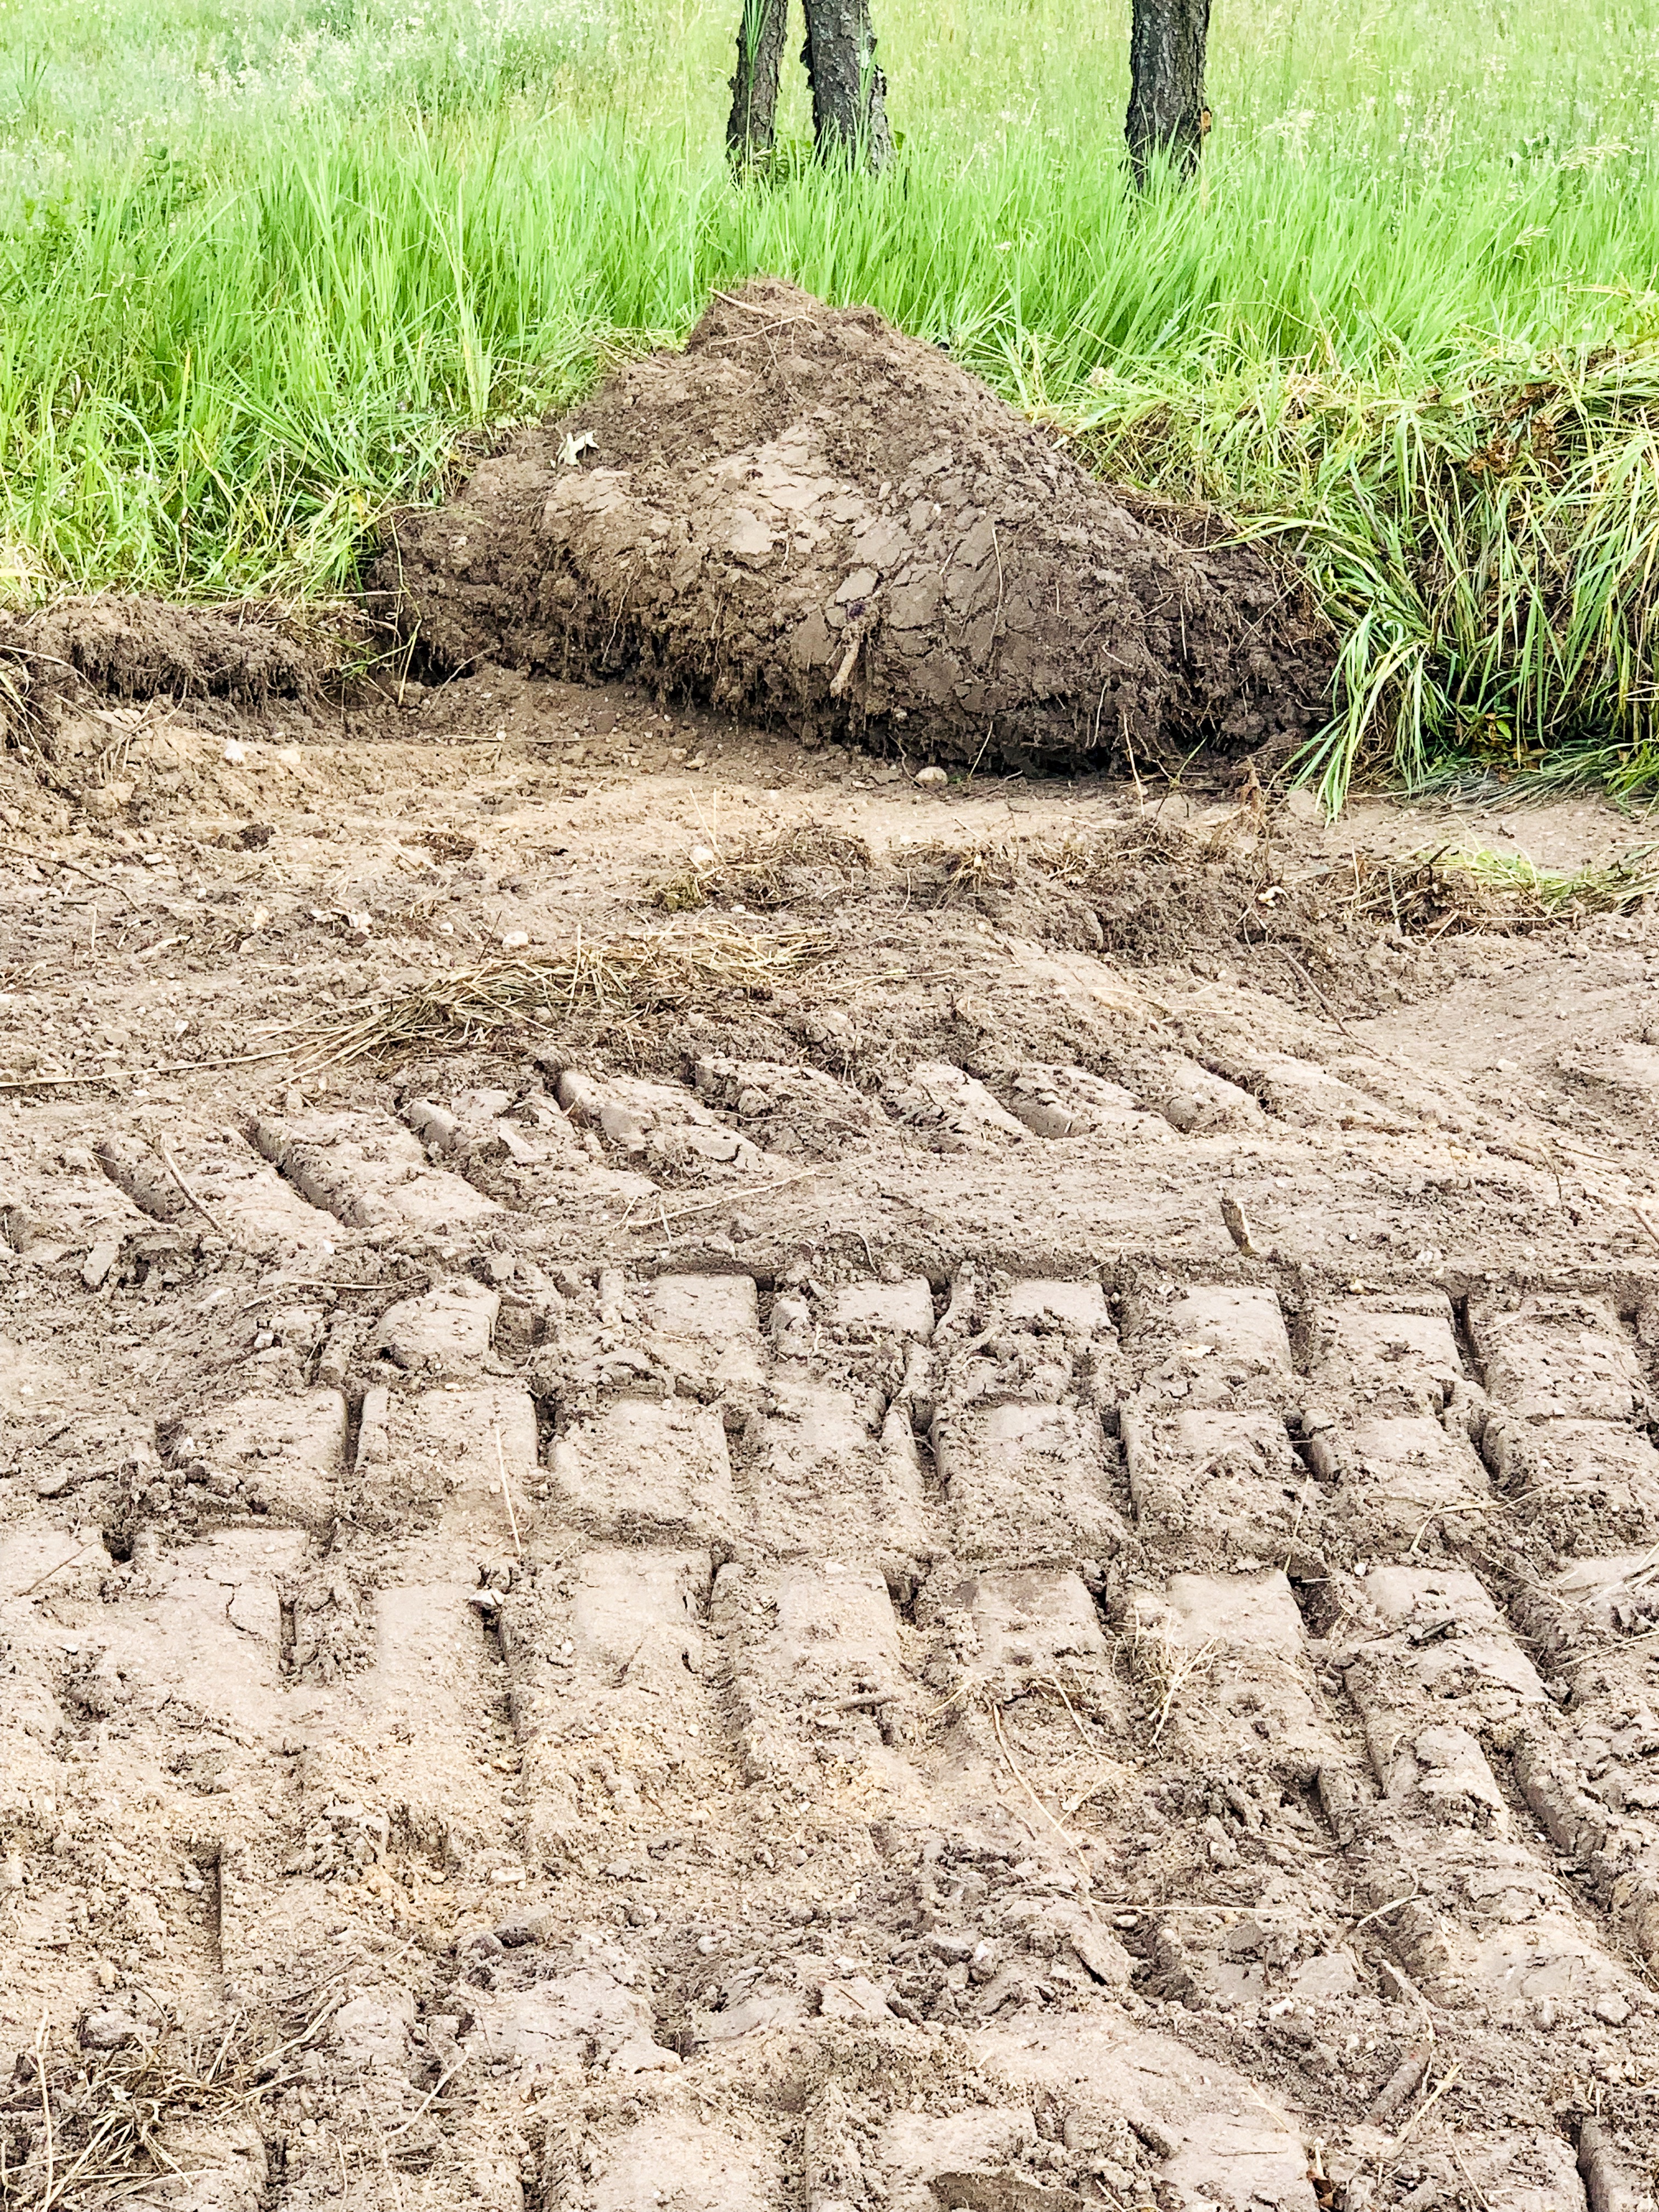
Job Site Prep TIP:
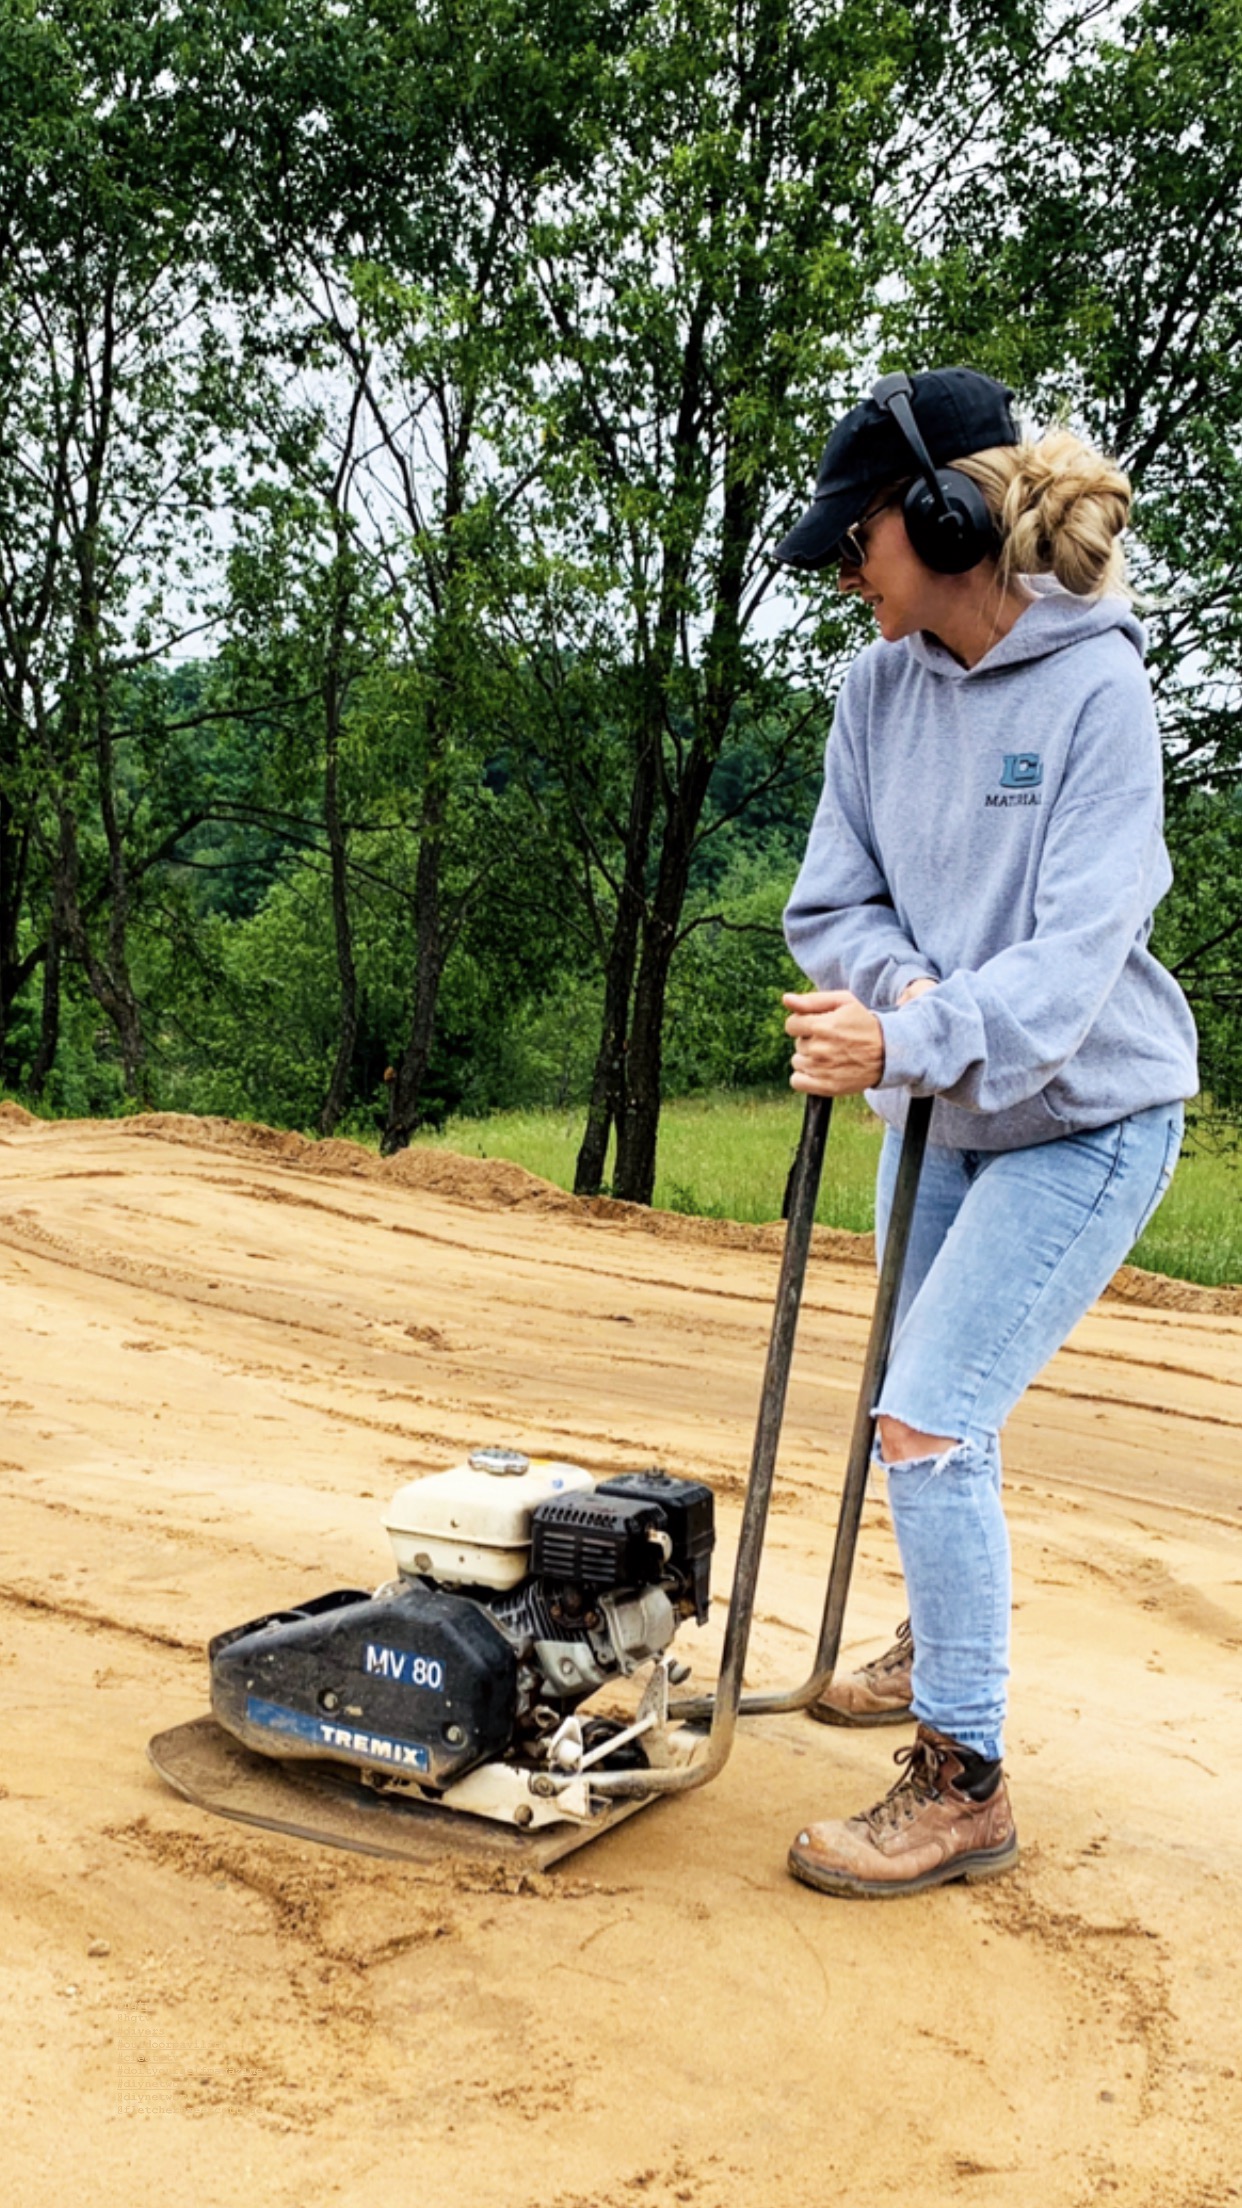
If you’re considering DIYing a backyard project and you need to bring in a lot of fill like we did. Be sure and use a compactor to settle the fill every 6”. Otherwise, over time the gound will settle a lot. Without using a compactor you will have cracks in your foundation and concrete slab.
We used this method when building the Cottage and almost thee years after pouring our concrete slab, we still don’t have a single crack (even in the garage or porch slabs). You can read HERE all about how we build our whole house from the ground up for only 70k!
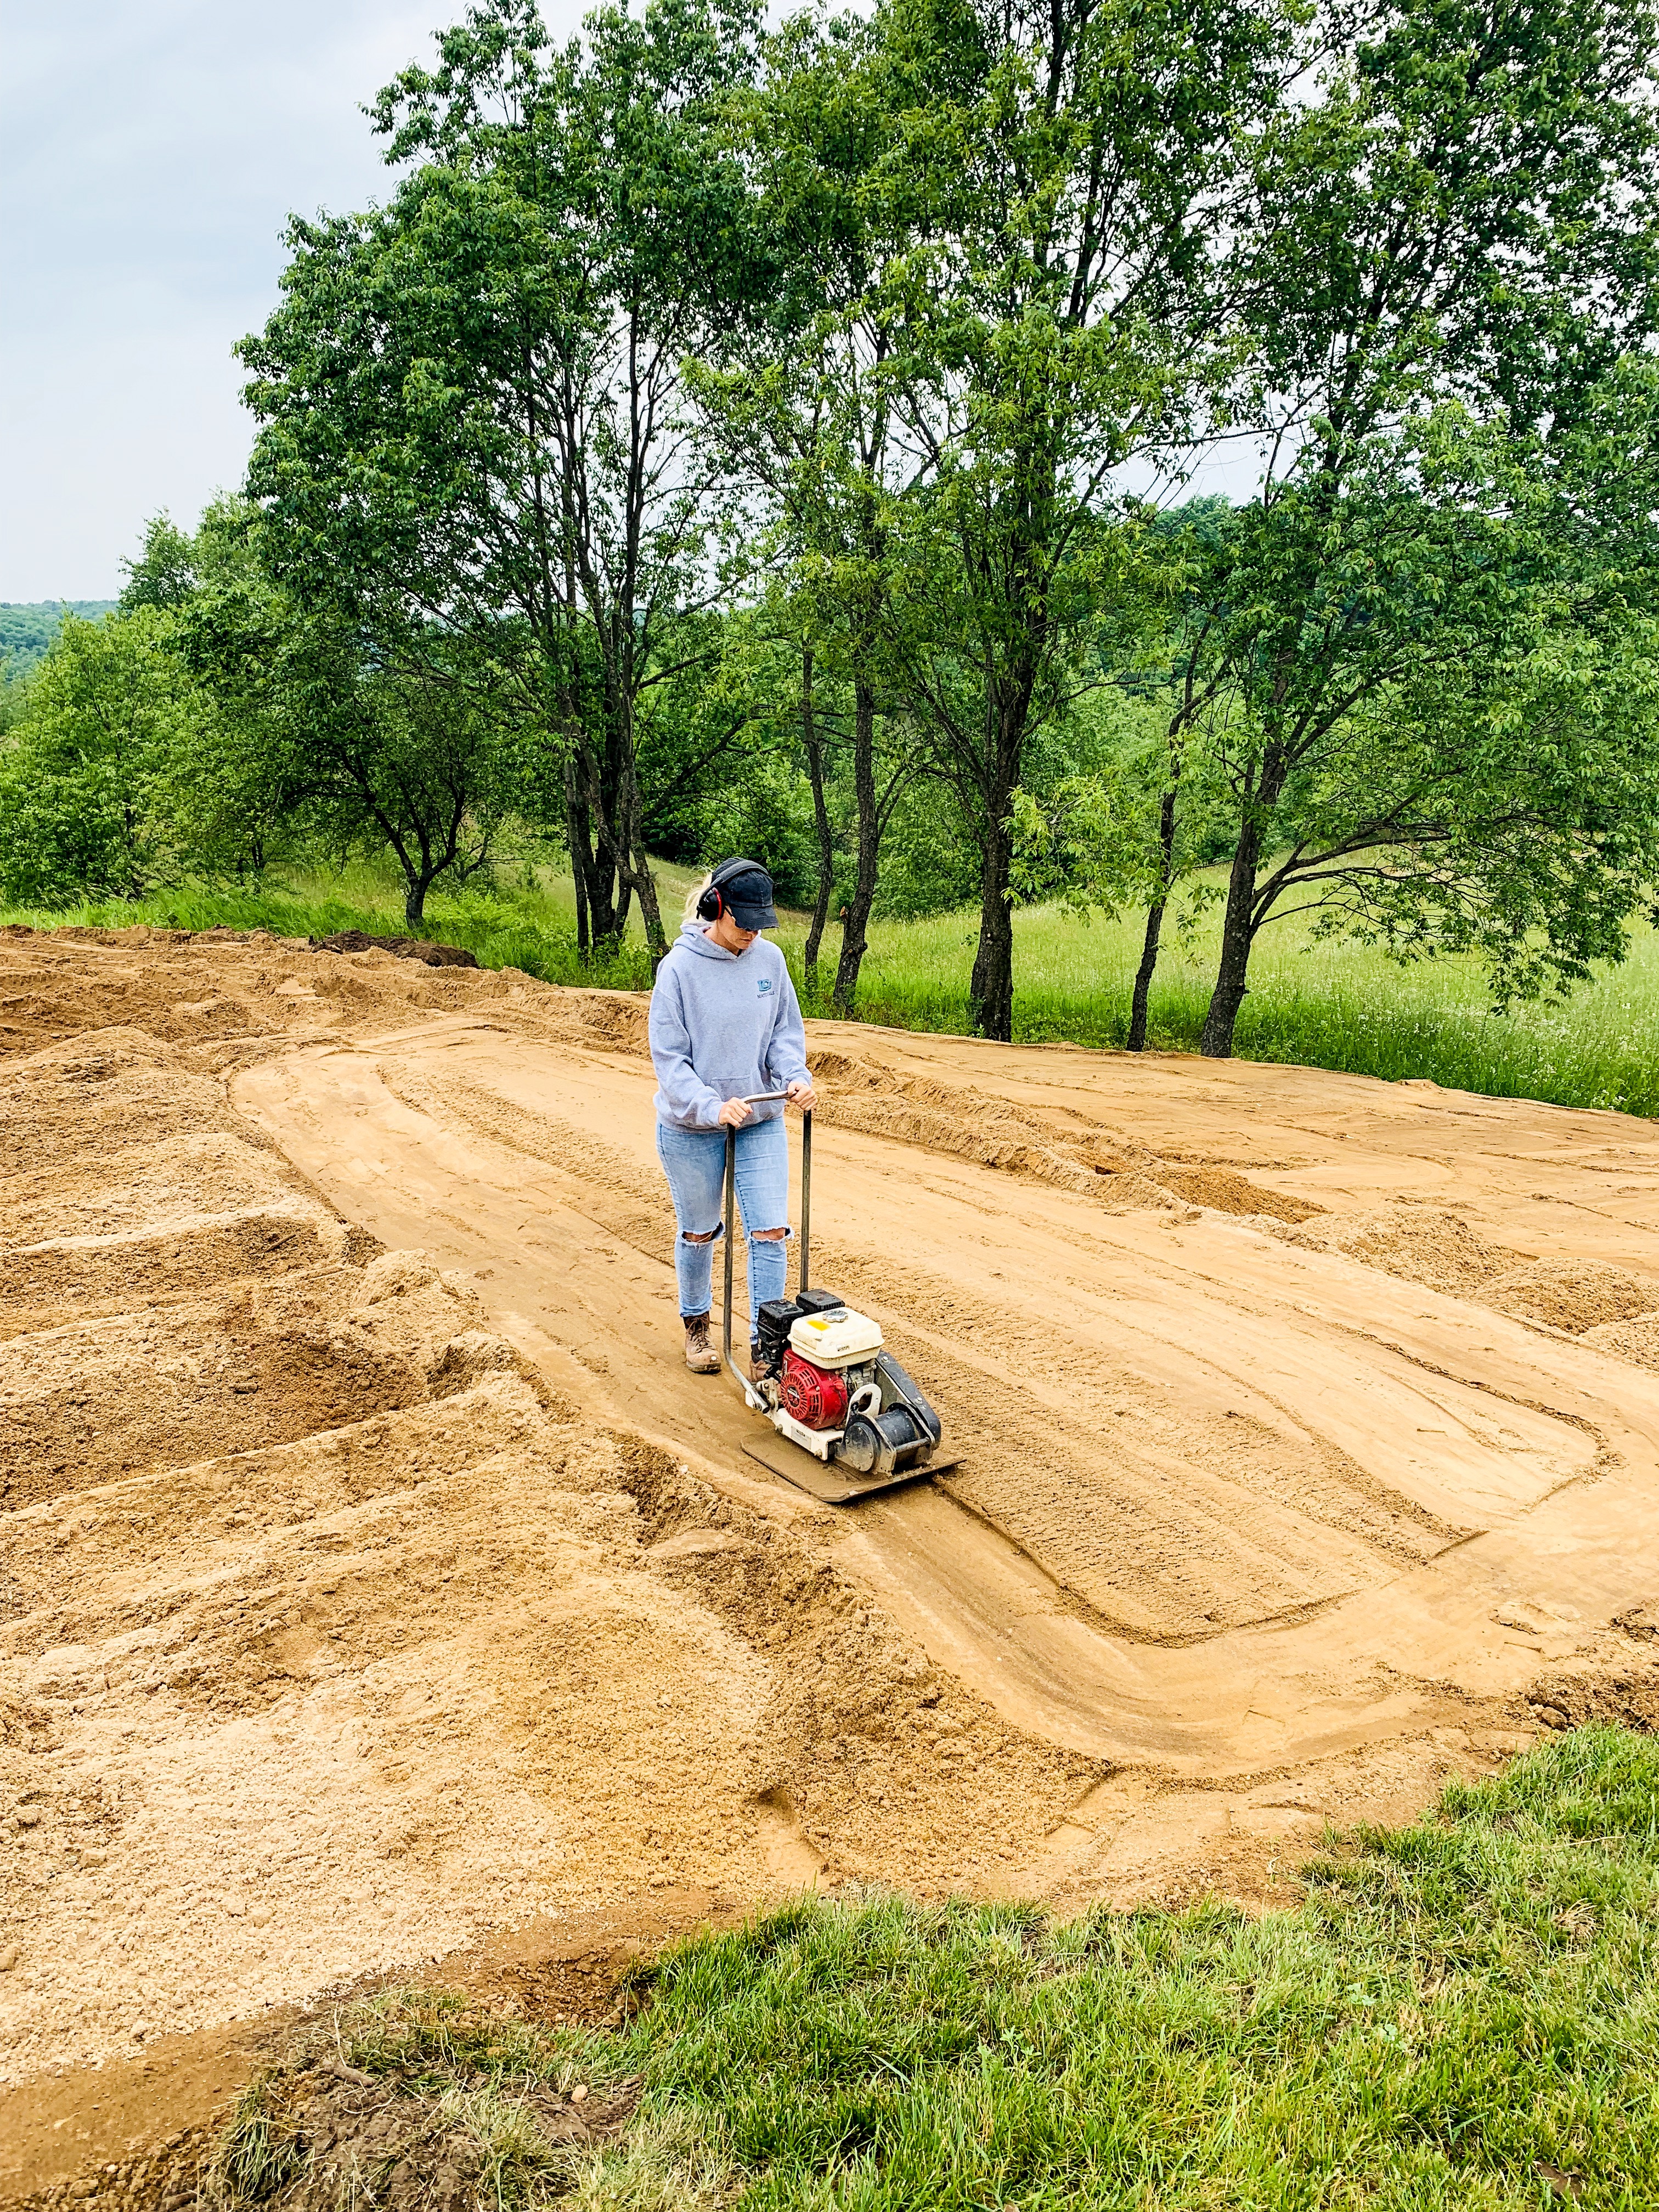
This compactor is the smallest one I’ve ever rented but it did get the job done! Usually, I use a larger one but this is the only one that was available at our rental center.
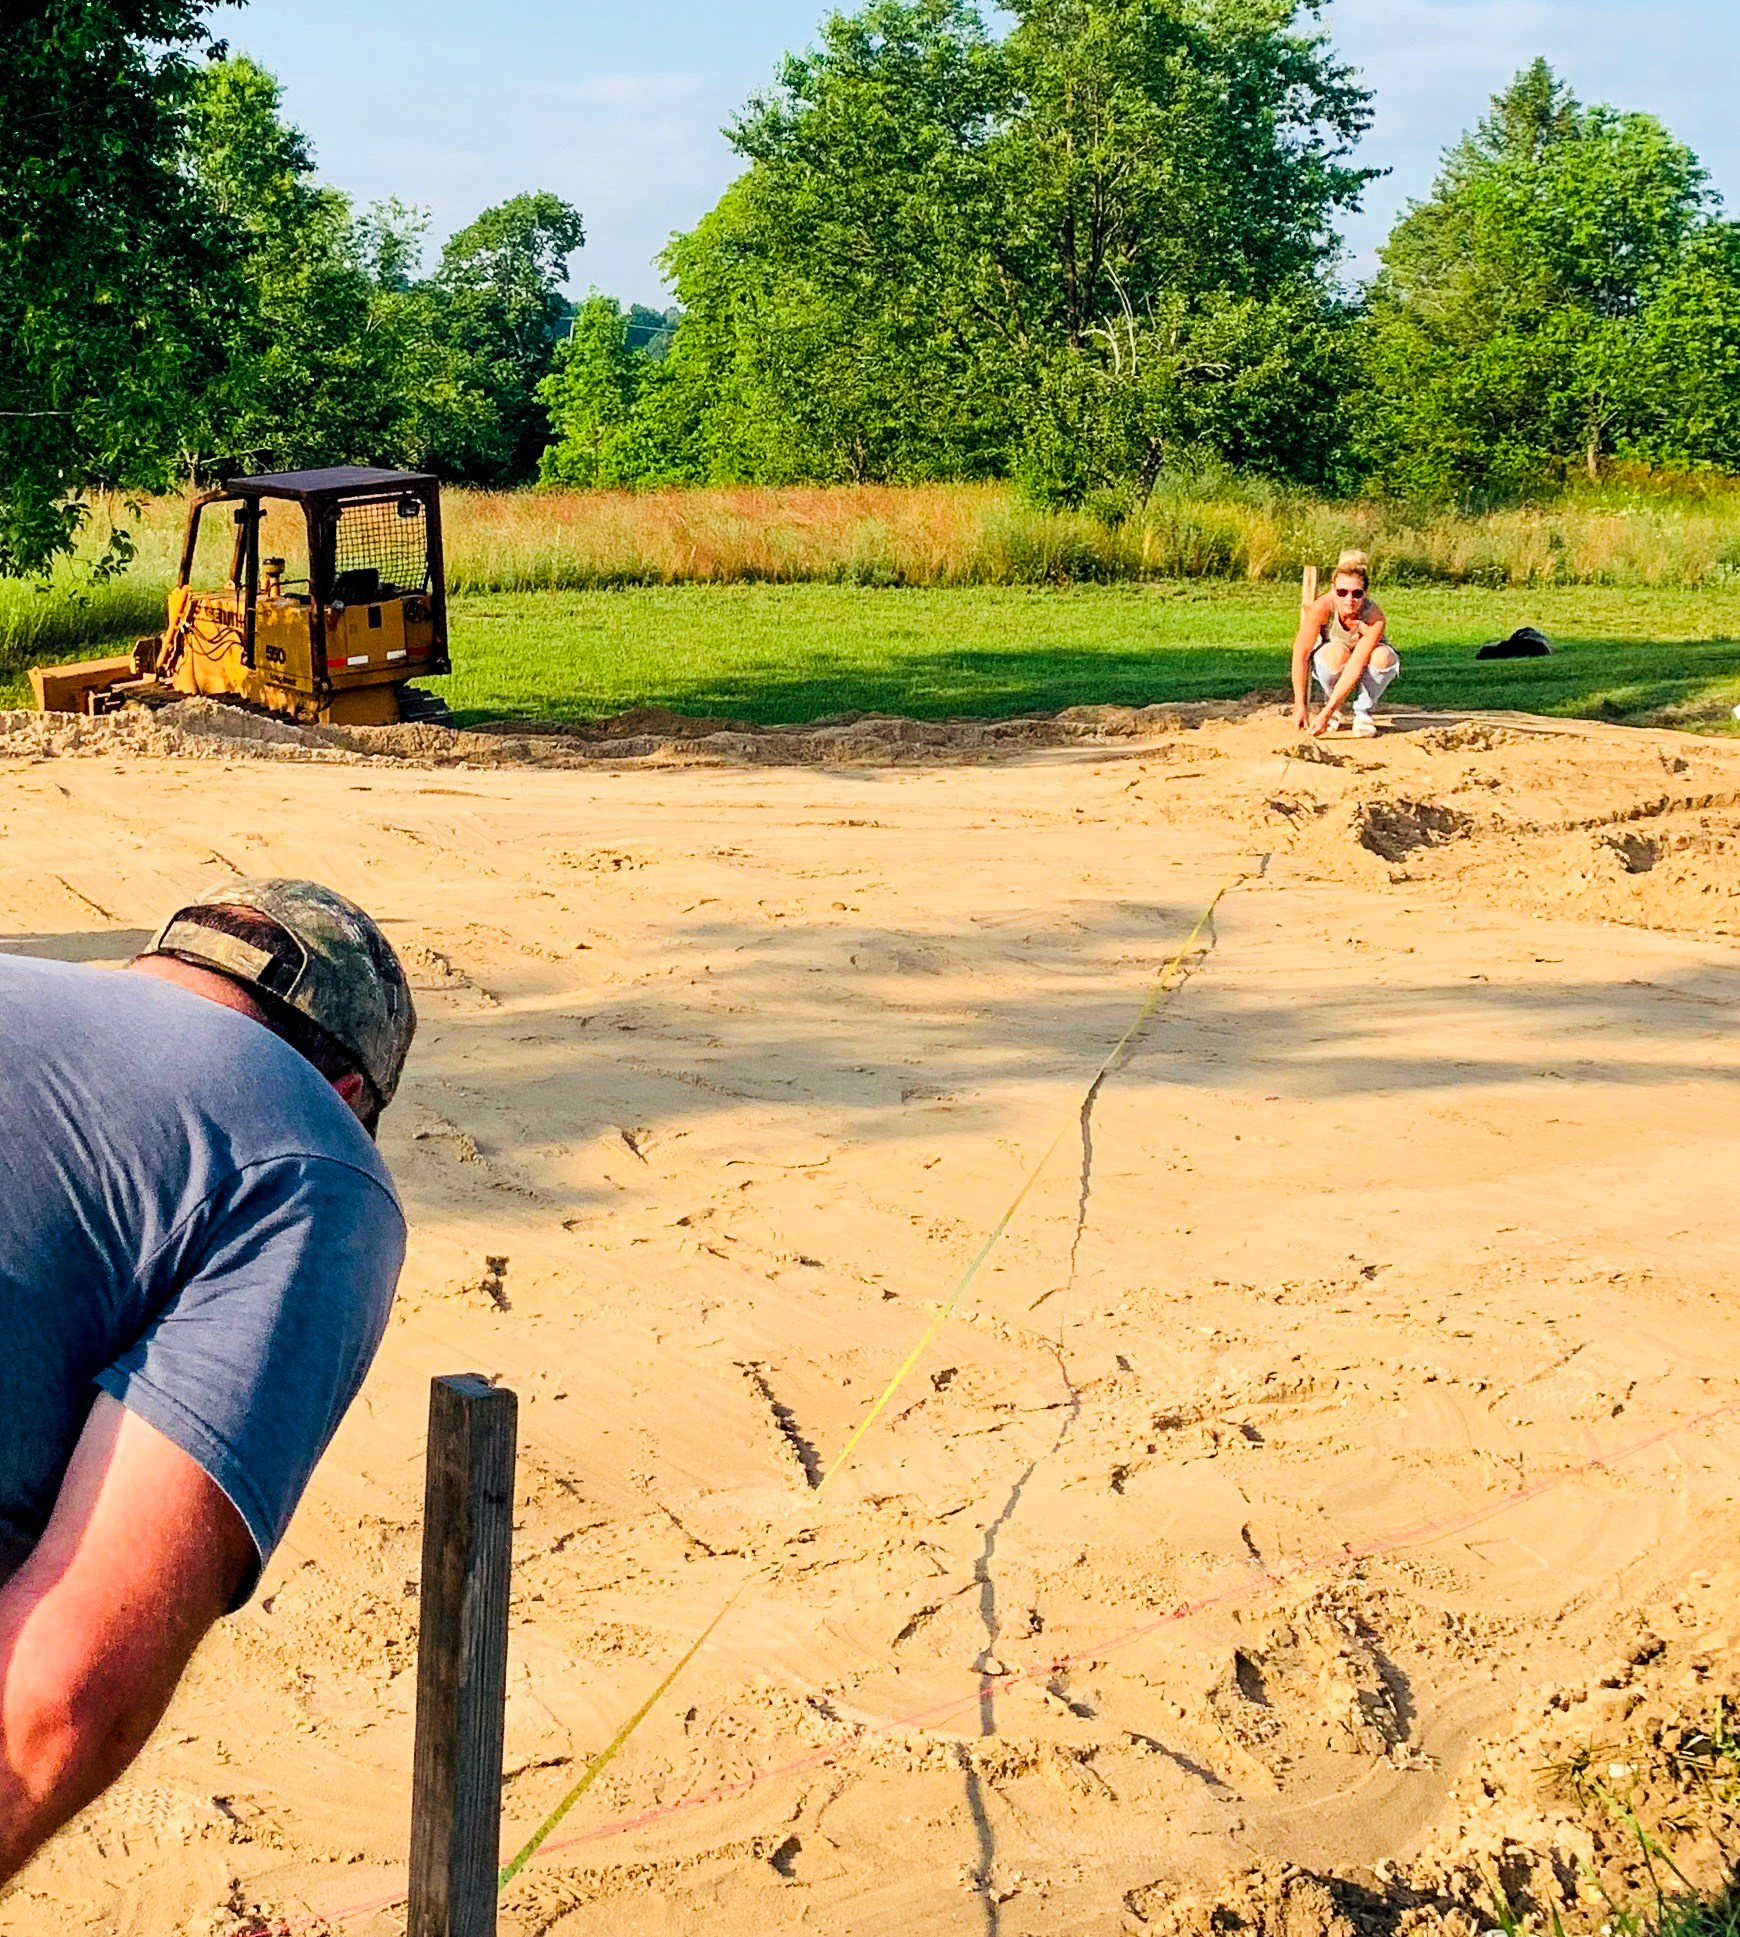
Leveling up the Foundation & Finding Grade
We used a self-leveling laser transit to keet our footing depth at grade. We have used this one before and it gets the job done. There is no way we could have ever kept each footing perfectly at grade level without this product.
We purchased ours at Home Depot because it was significantly lower in price than on Amazon. This is NOT an affiliate link or sponsored…just sharing what we use!
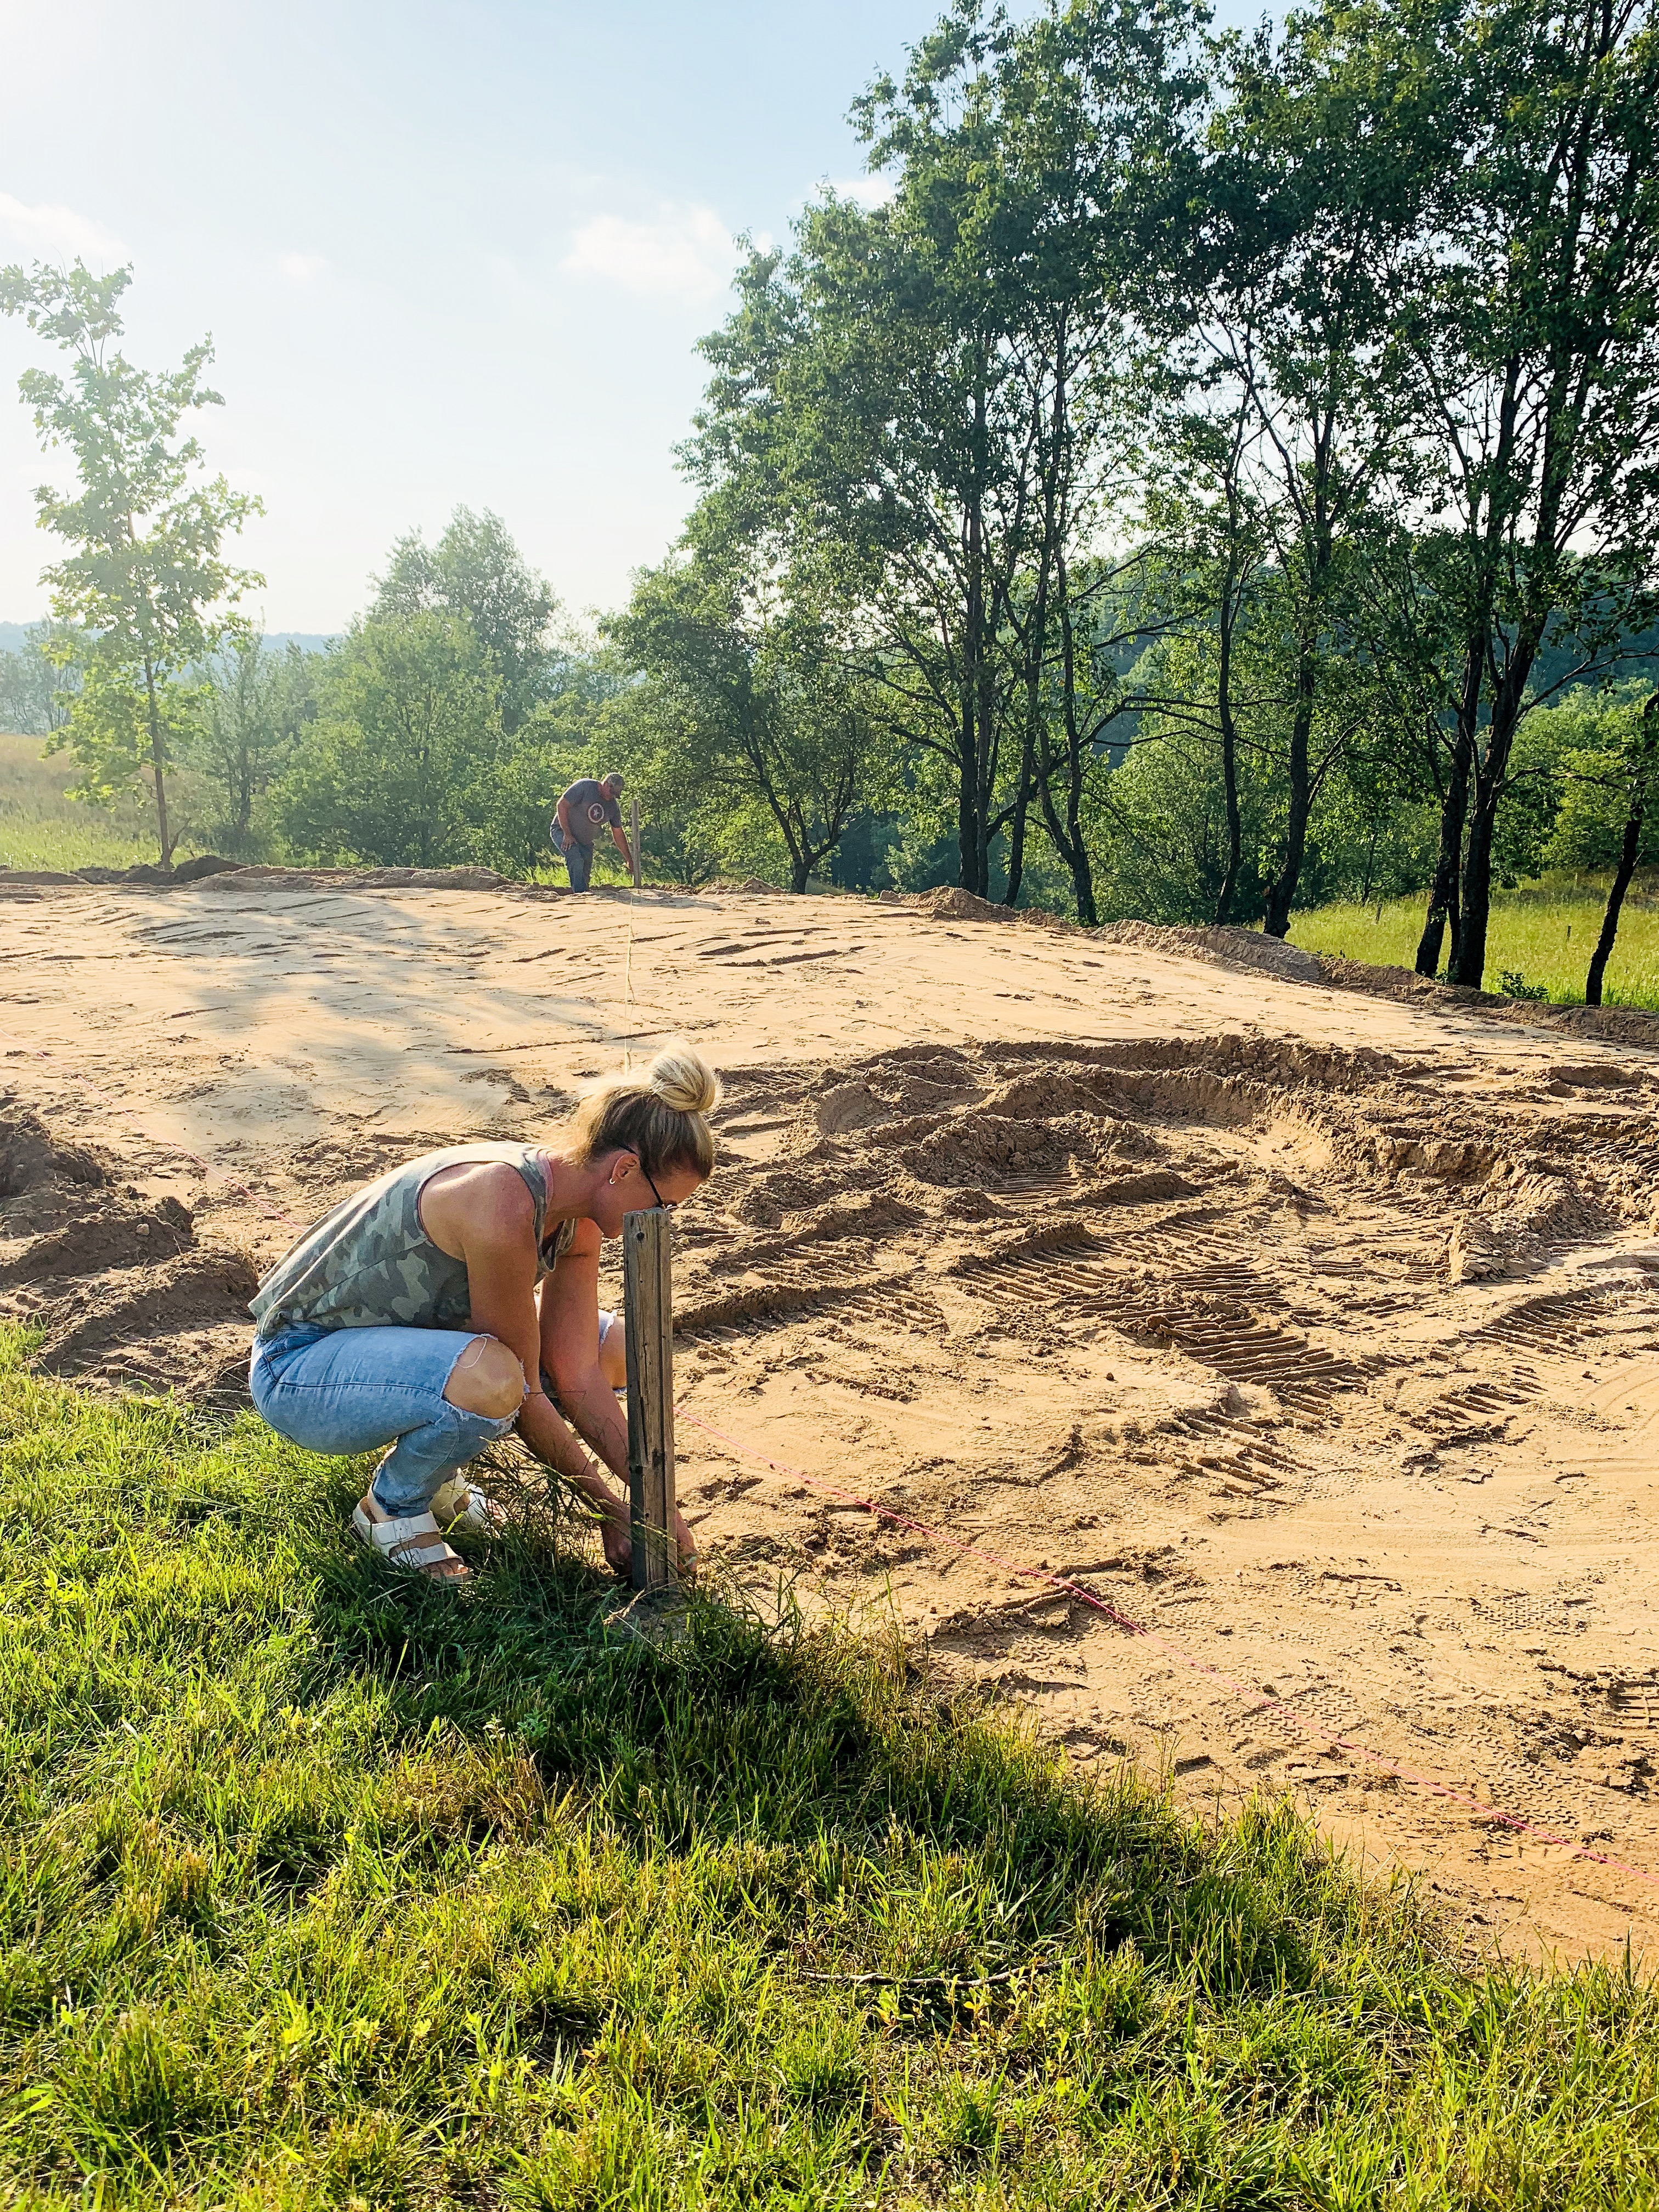
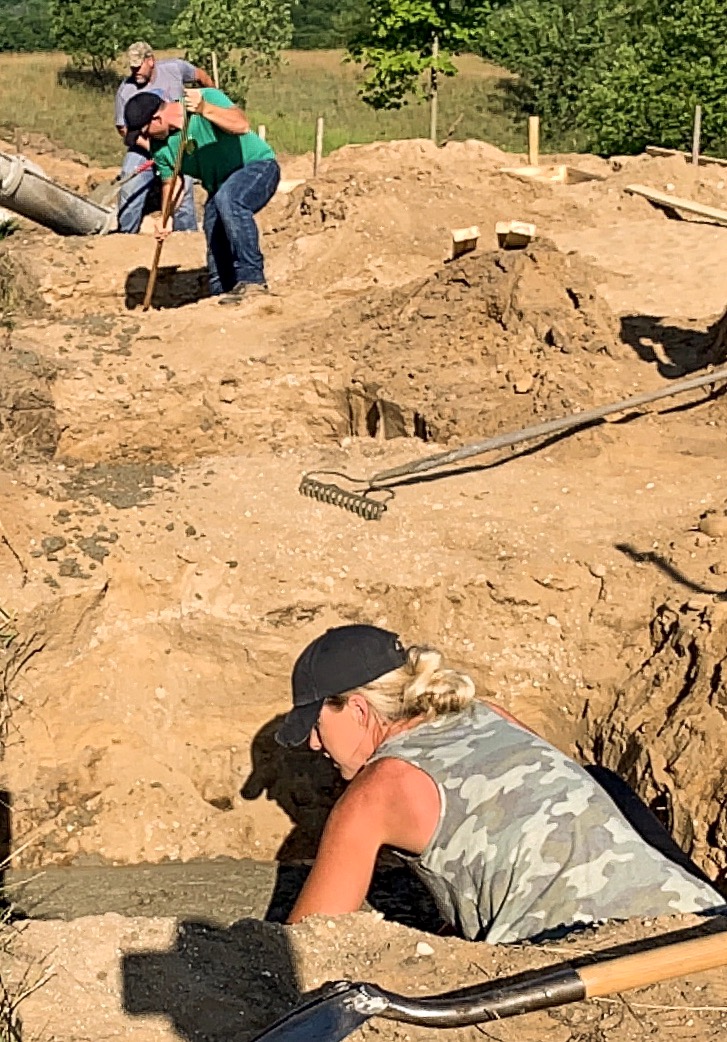
I don’t have a picture of the transit, but its right behind me. We drove a stake at grade. Then set the transit stick to the right depth and used a string and measuring tape to square it up and drove our stakes in each corner. This took us quite a while to get it perfect. Good thing my hubby is fantastic with math!
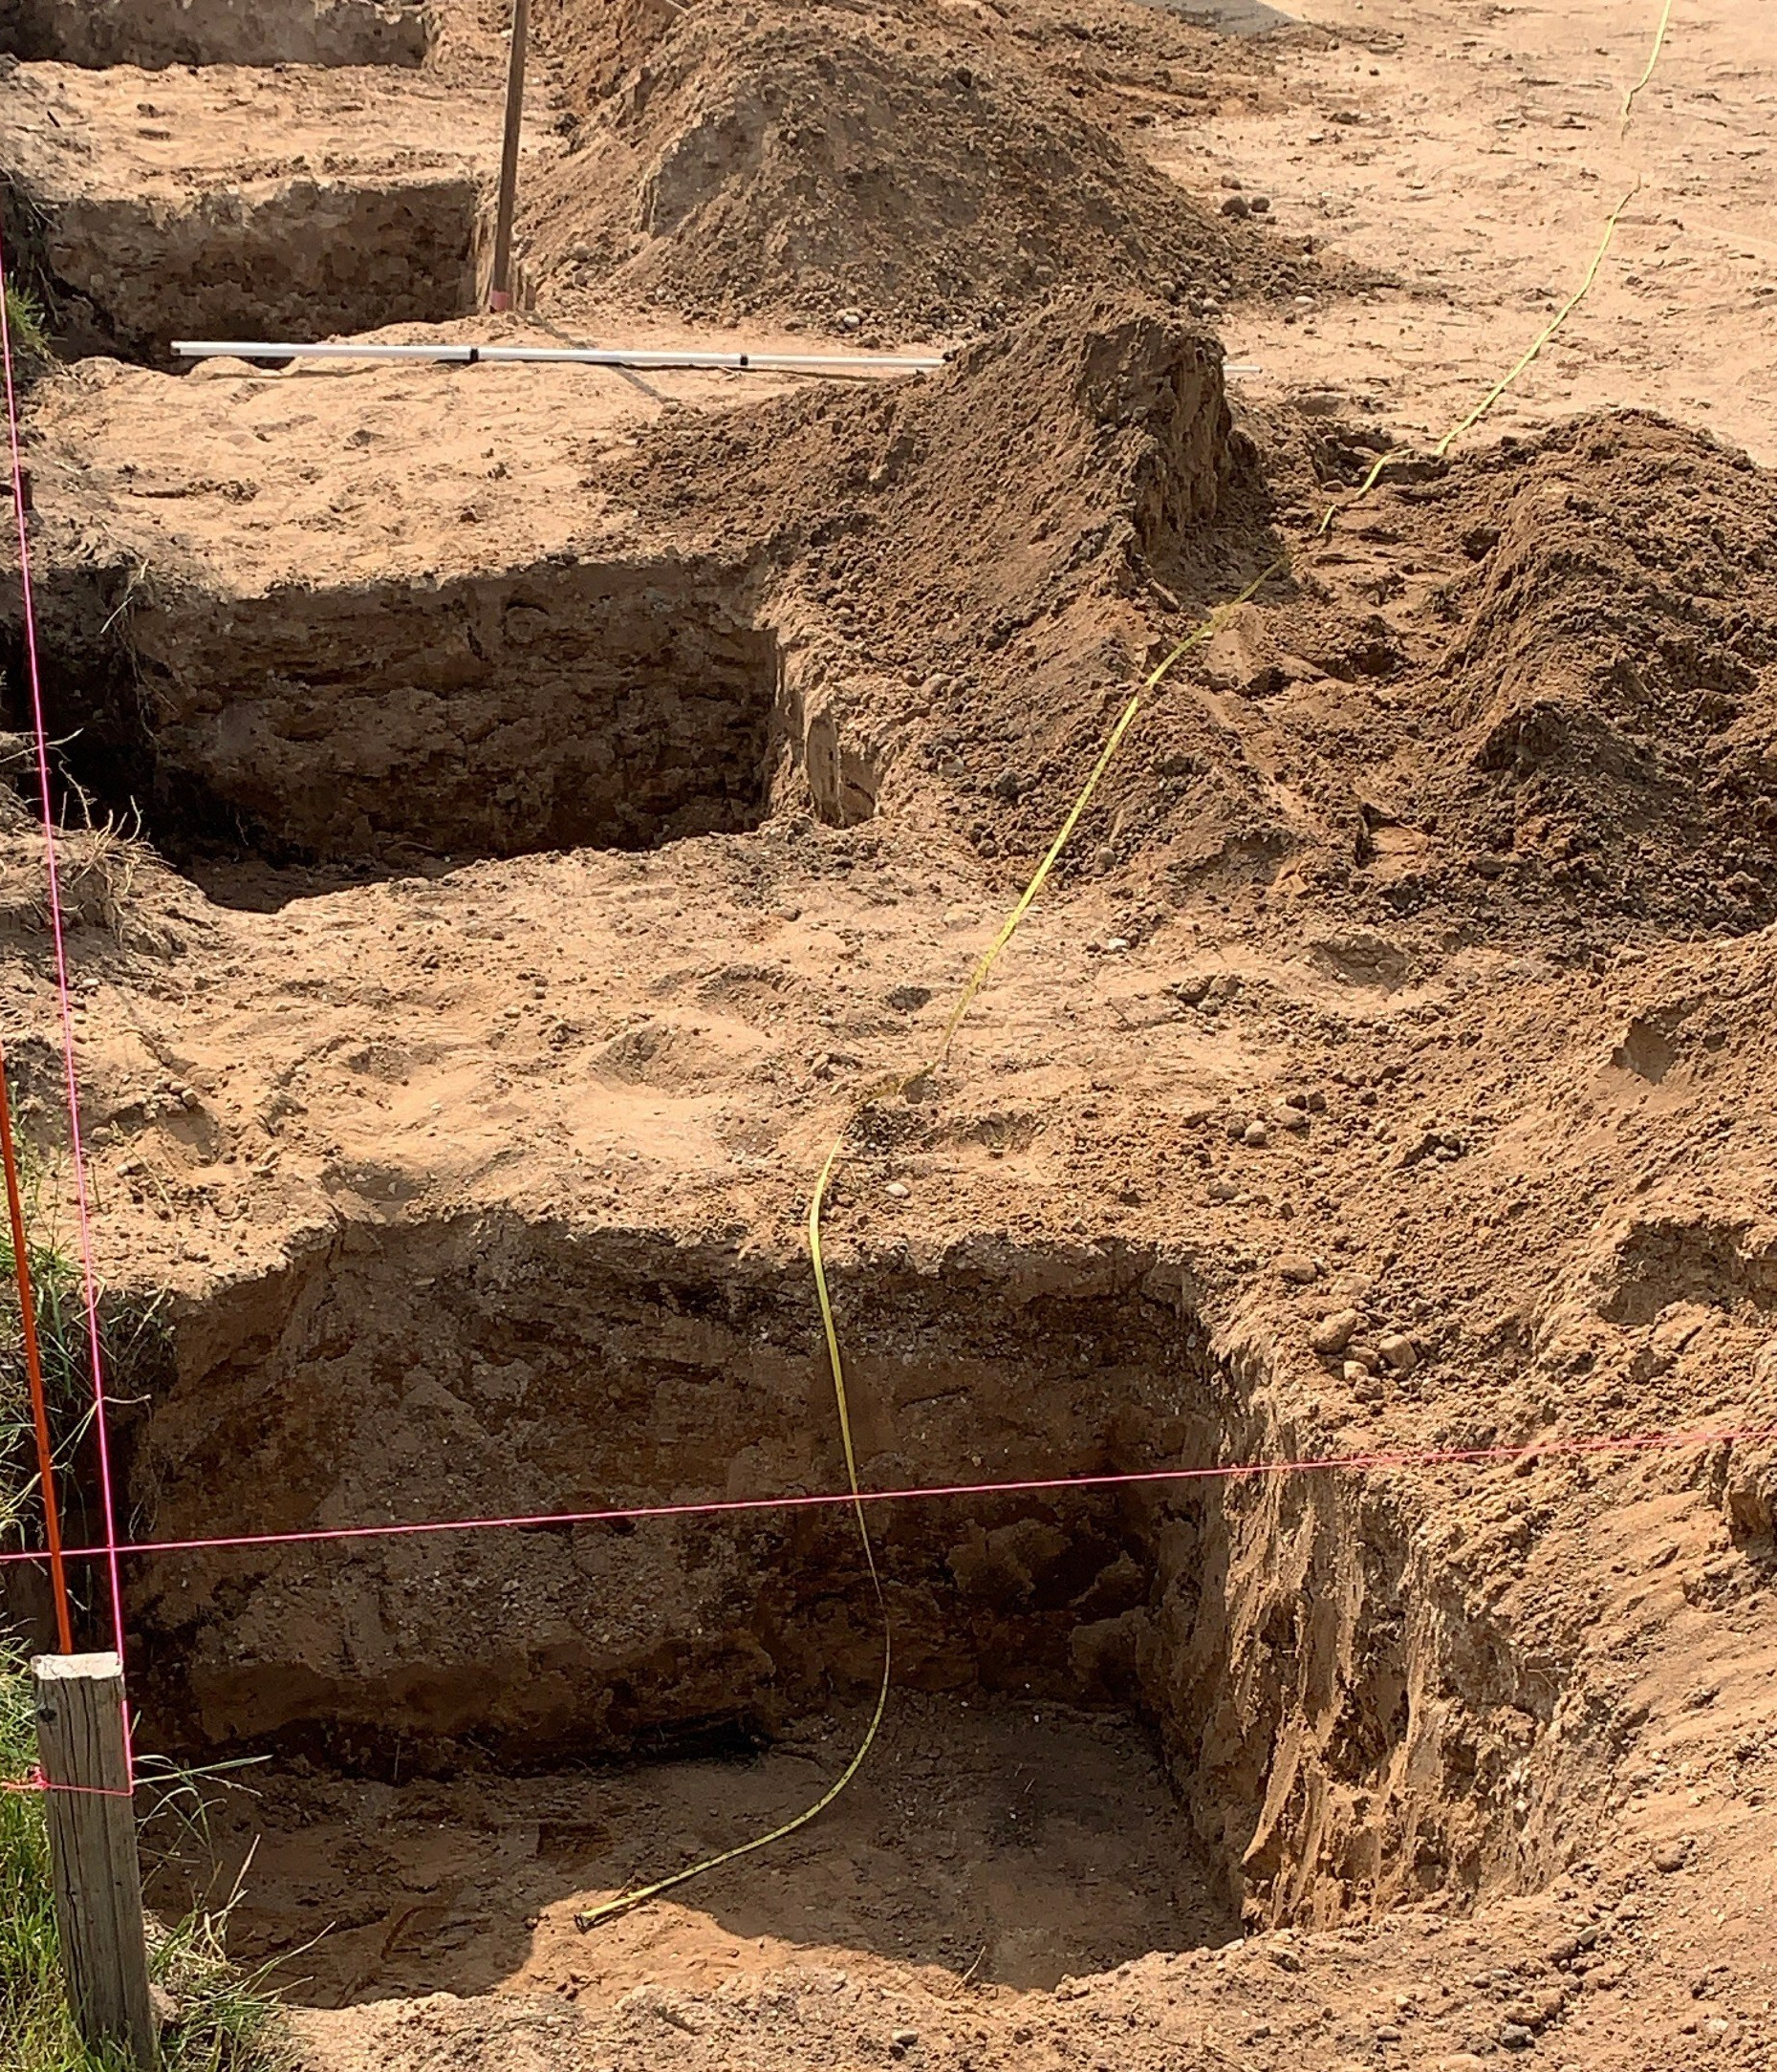
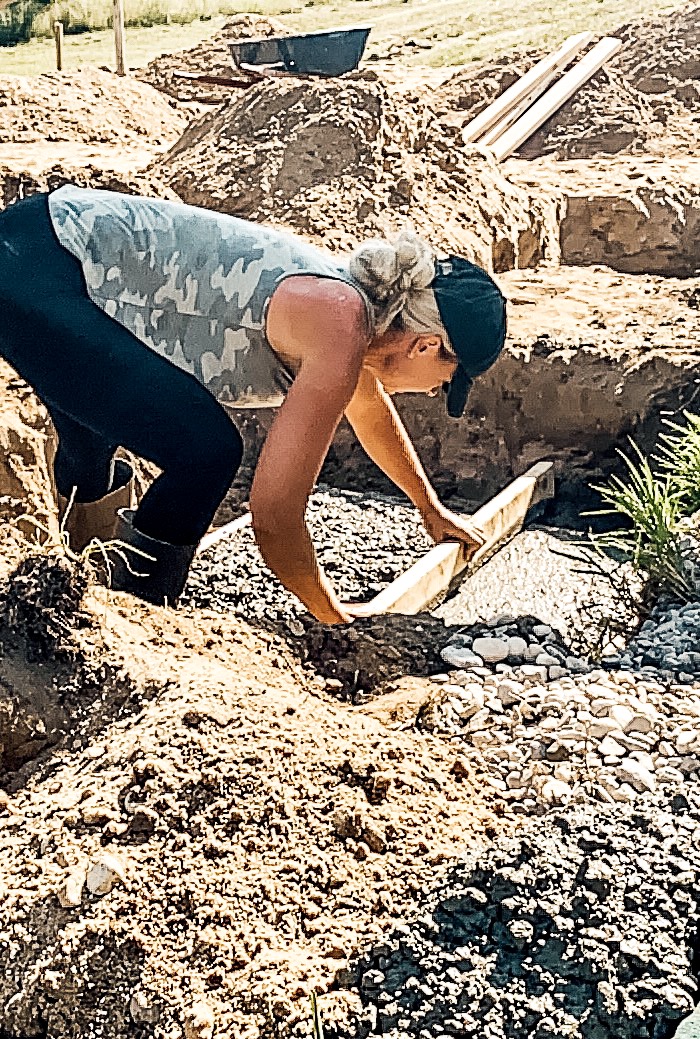
Digging Footings
Our blueprints for this pavilion project call for a total of 11 footings. Ten 3×3 footings for the columns (five per side) and one 8×12 footing for where the outdoor fireplace will be. The footings are 8” thick and 3′ below grade.
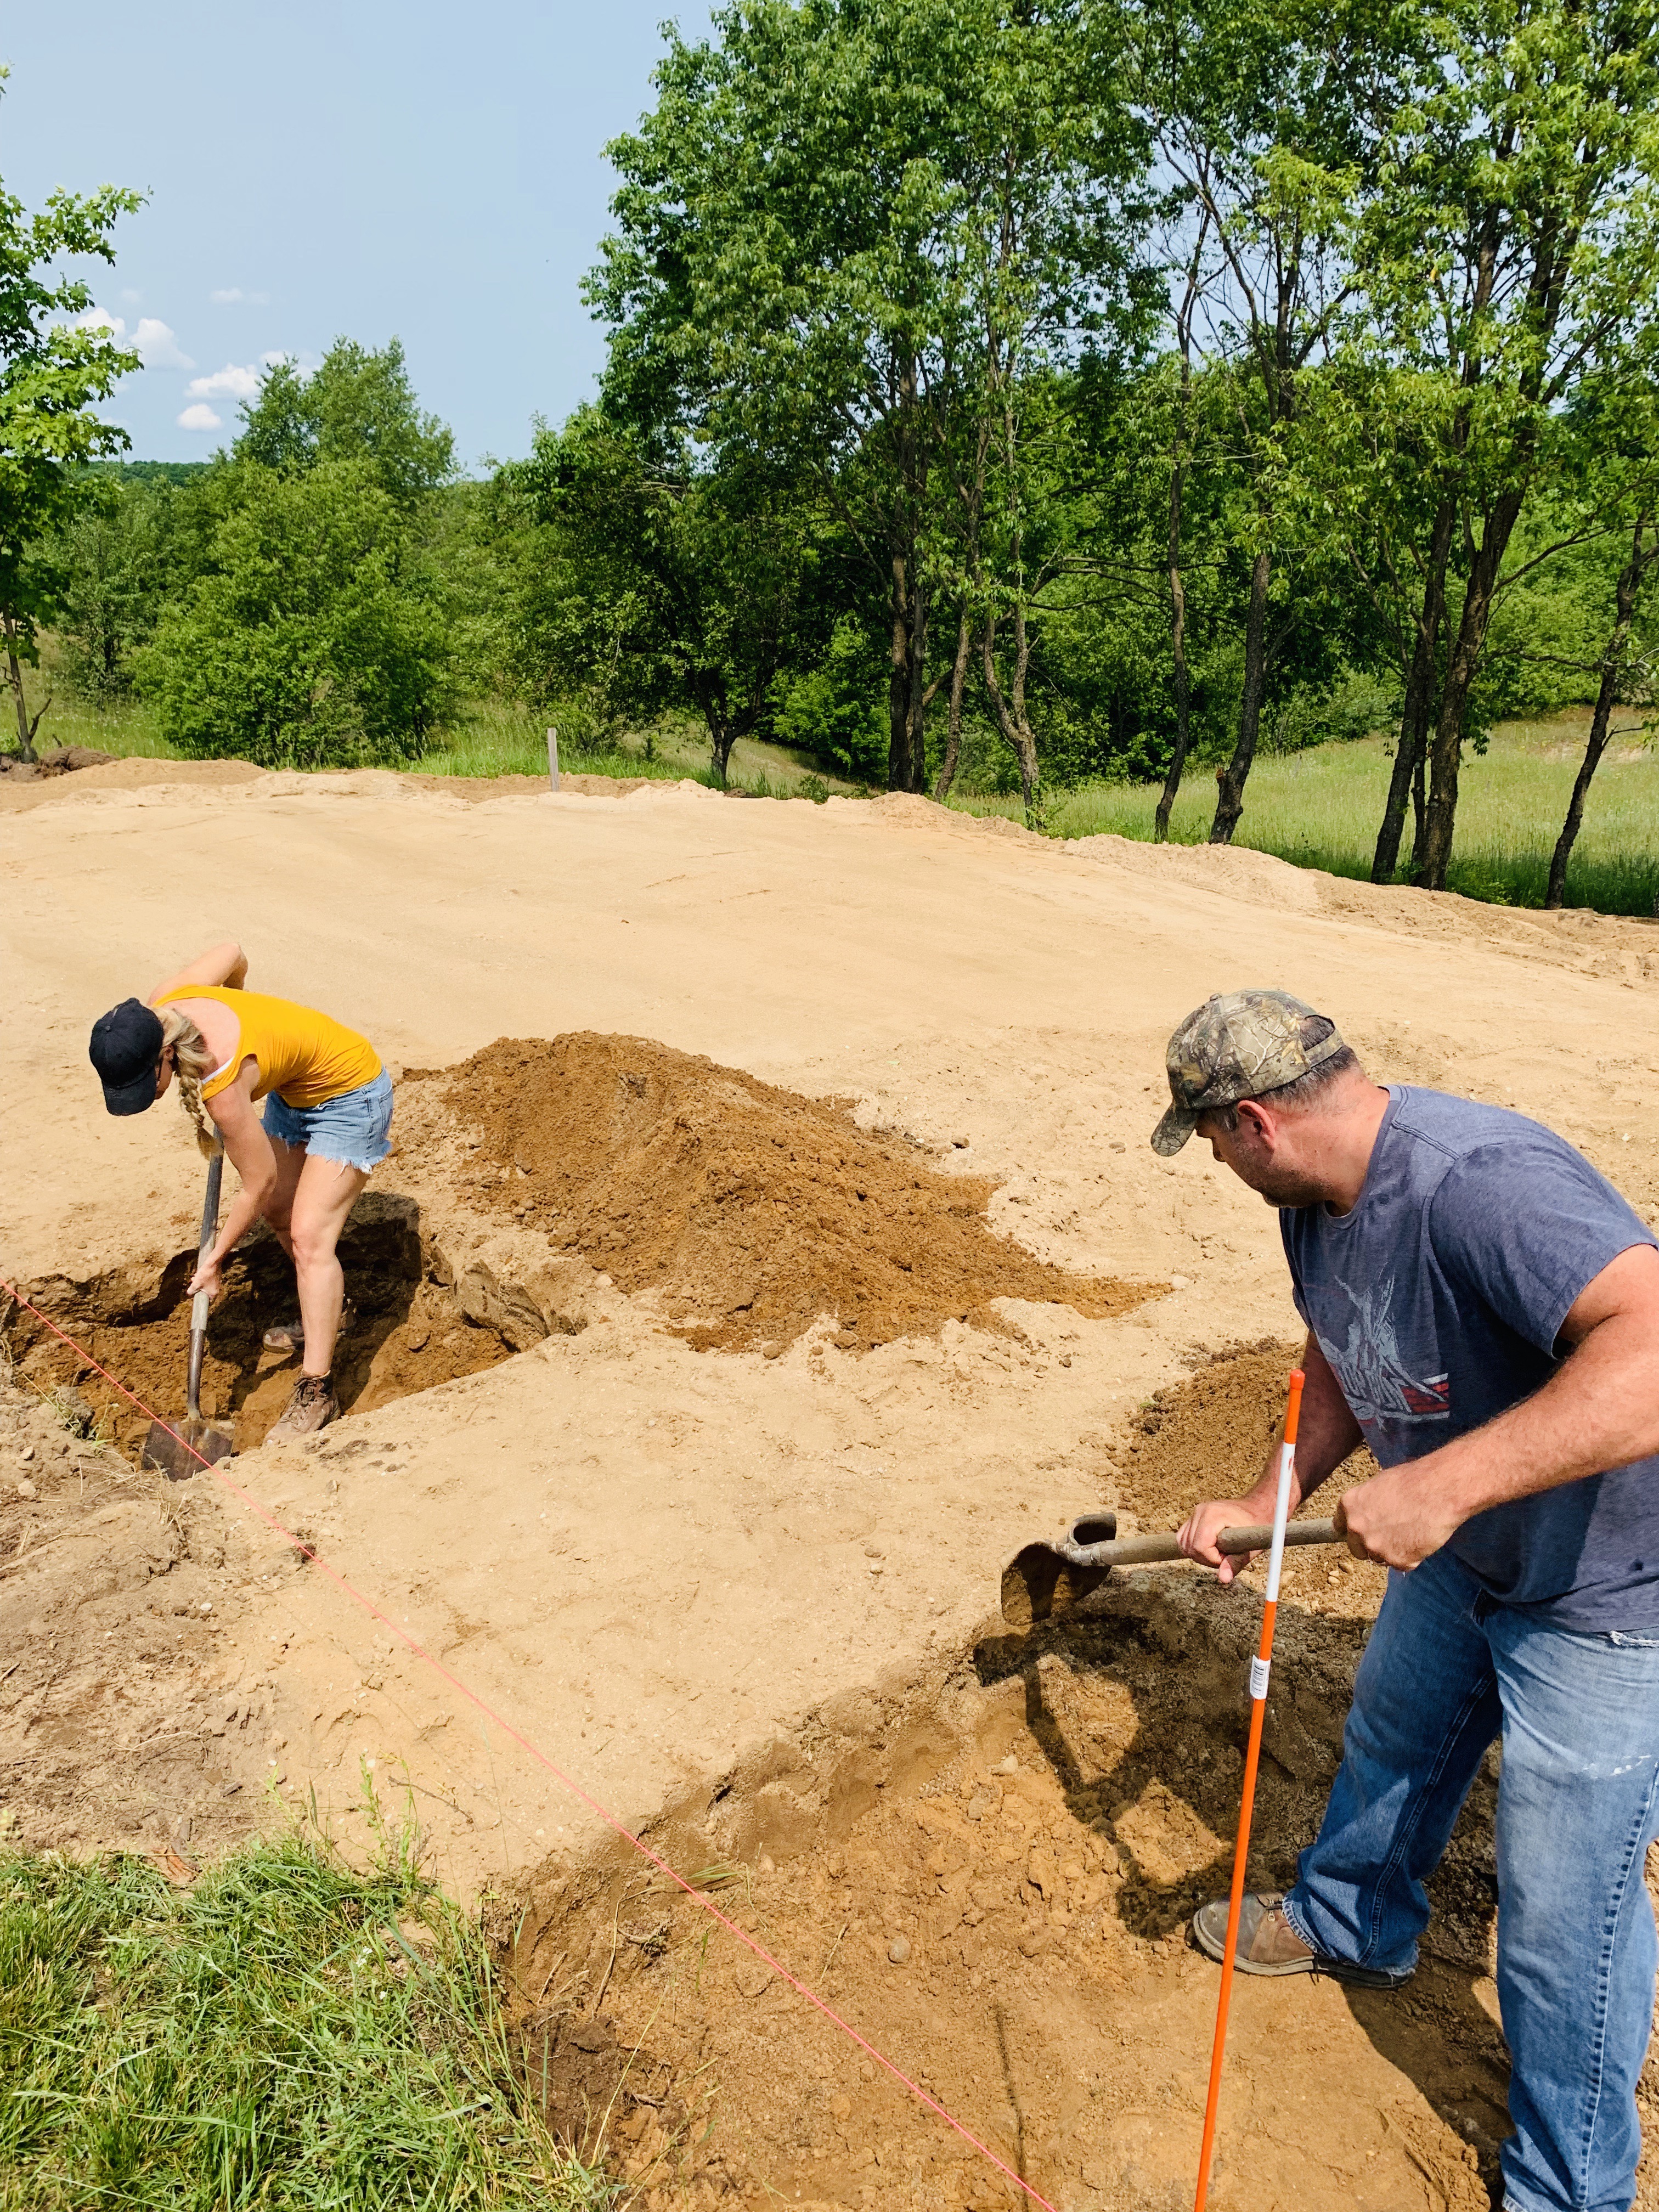
If you did the math then you know that we had to hand dig a LOT because the holes we dug had to have enough room around the area to be able to stand in the hole while pouring and screeding the concrete!
Because we had brought in all the fill we didn’t want to disrupt our site by renting equipment to dig the footings out…but trust me, I asked my hubby more than once if we could just rent something to get the job done faster!
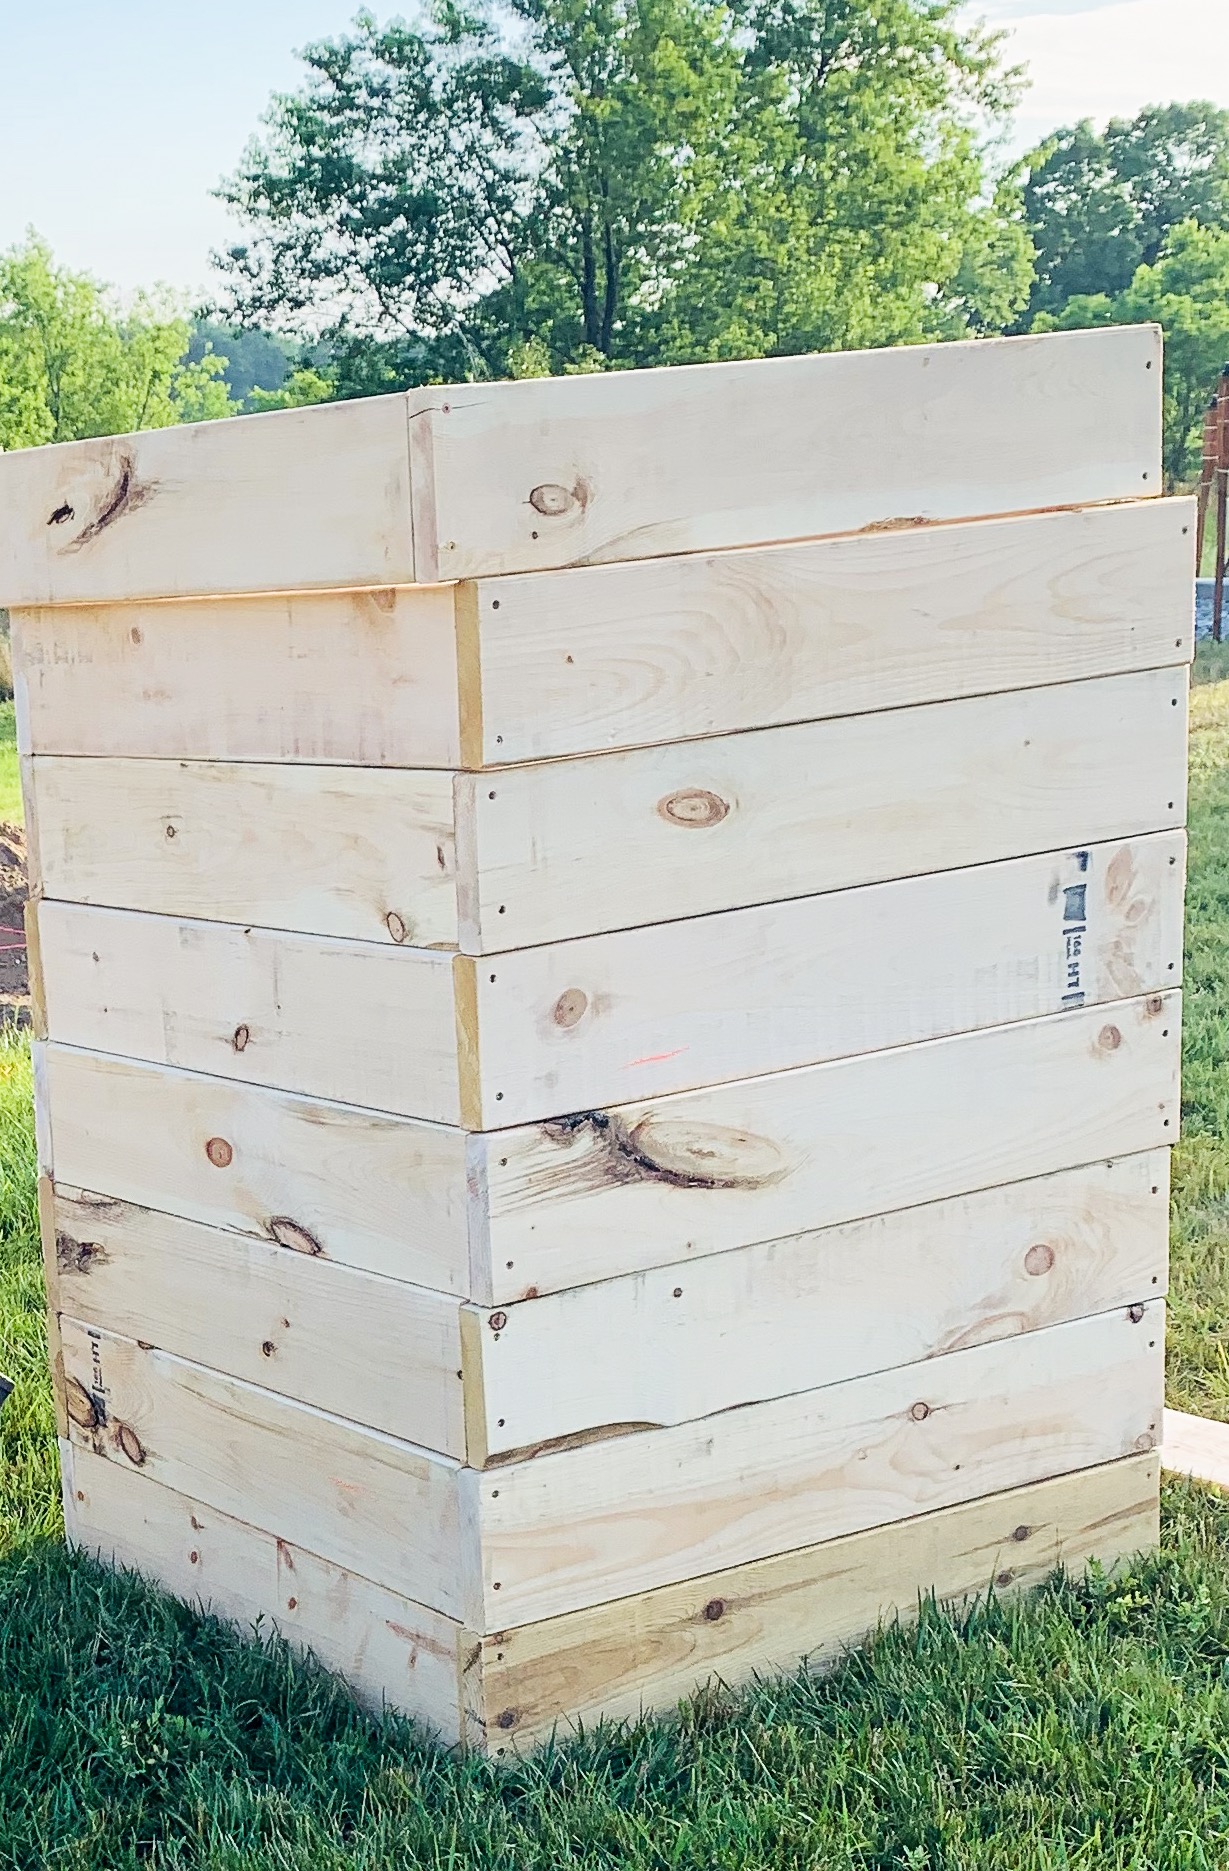
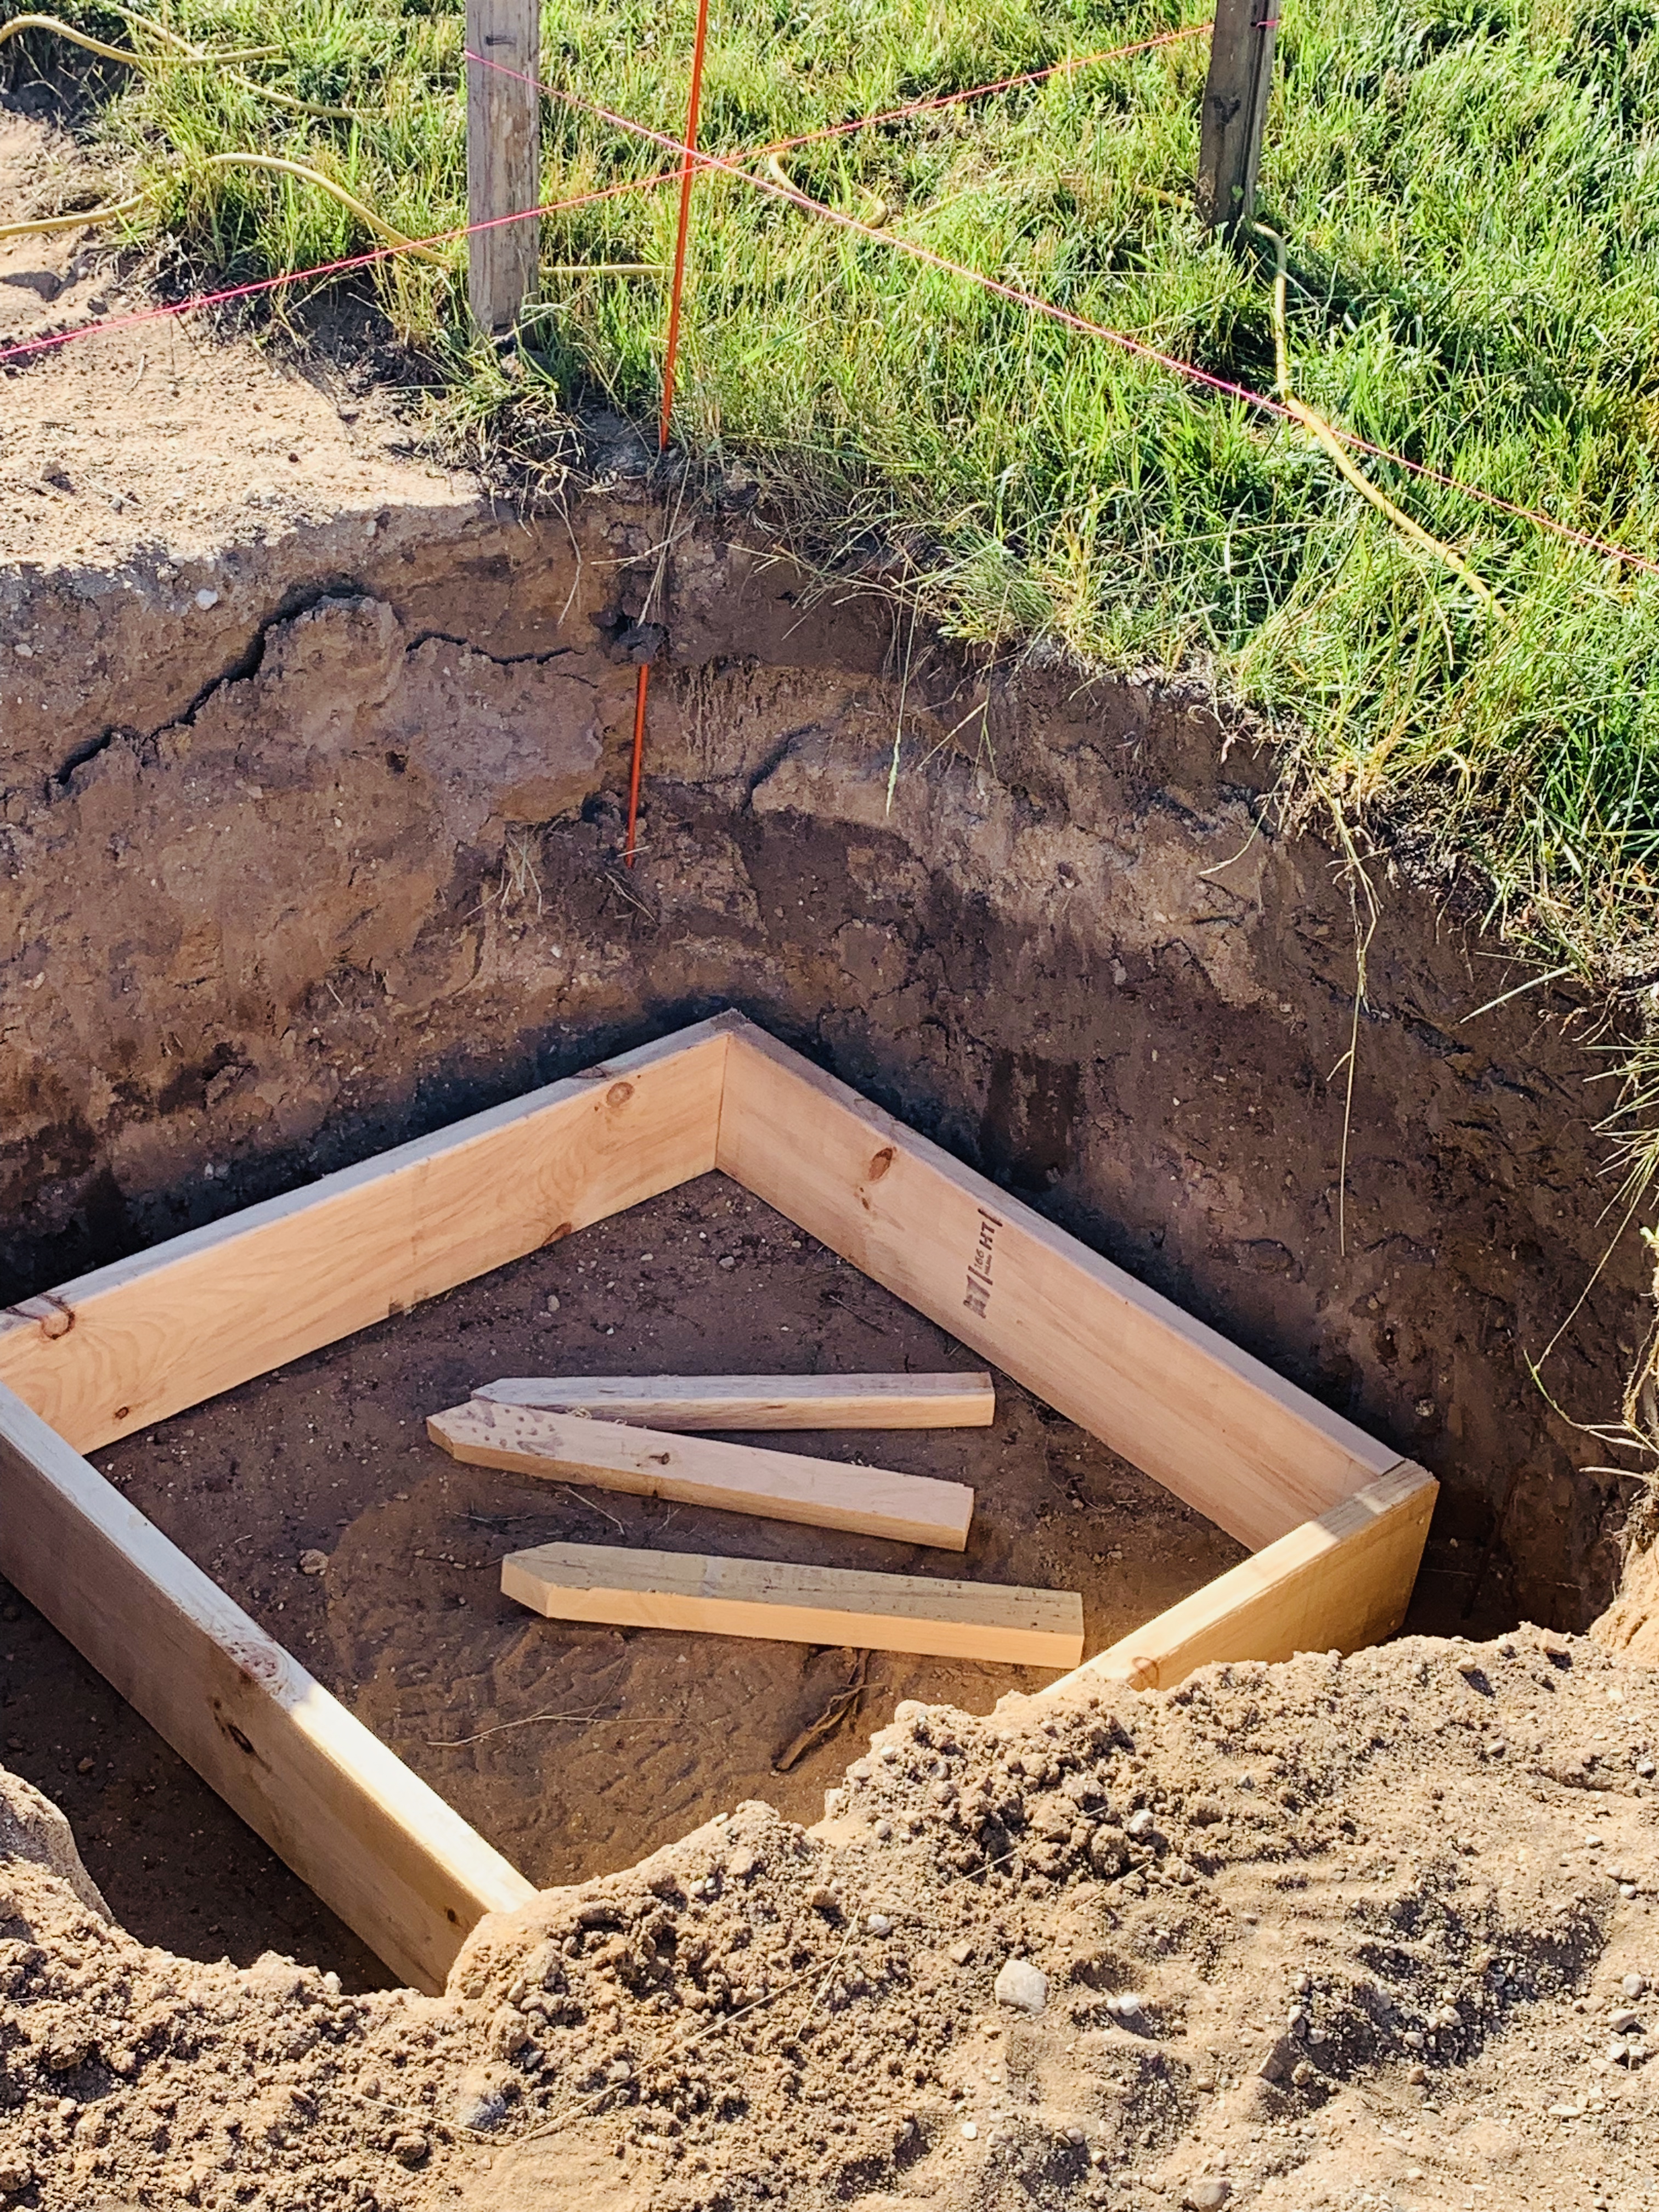
Forming Up Footing Forms
This part was the easiest…because my hubby did it while I took his picture…Haha!
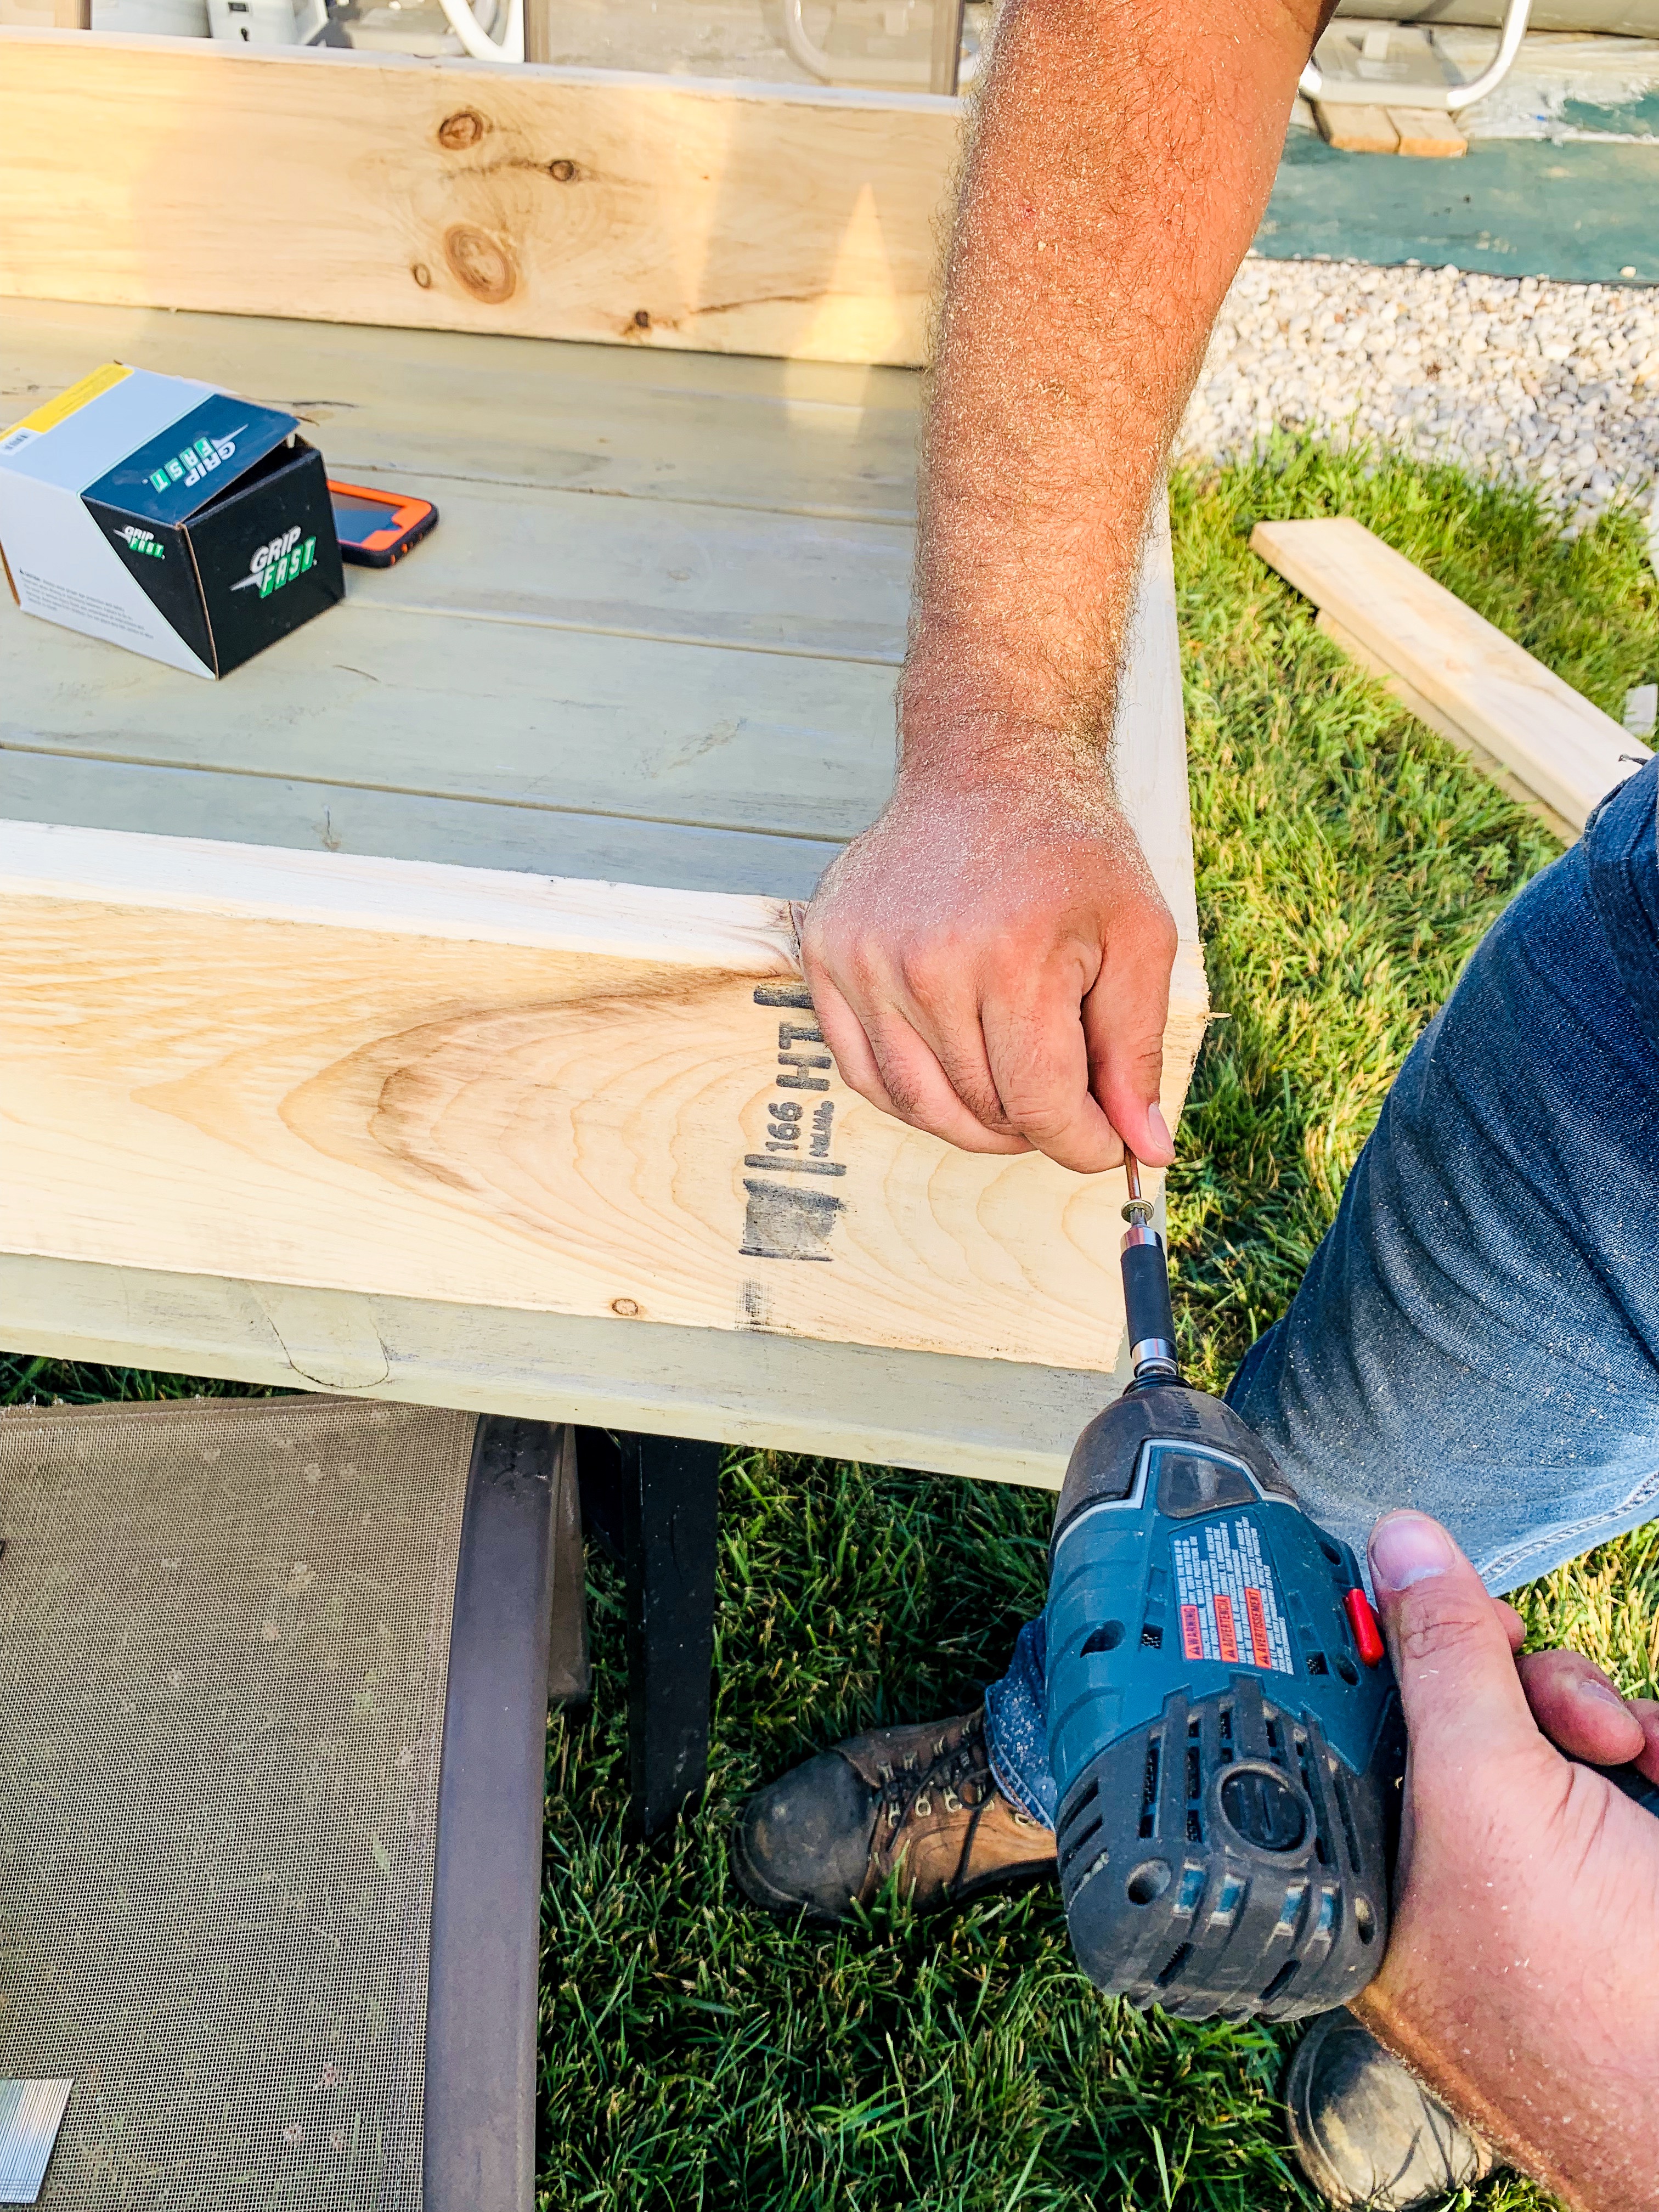
For real though, it was easy. He used 2x8s and wood screws to build all 10 3×3 boxes and the same 2x8s to build the large 8×12 box as well.
Once the boxes were built he cut a few boards up to use as stakes to hold the forms in place while the concrete set up.
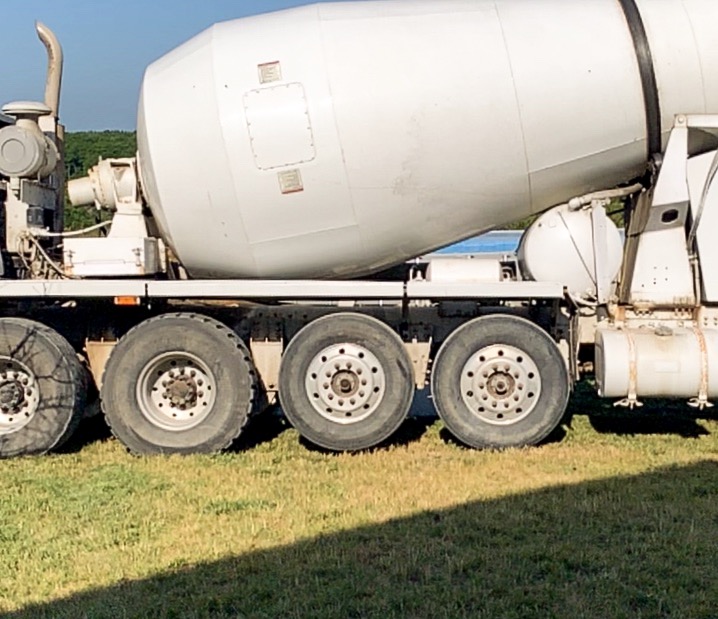
Pouring Concrete Footings
Sometimes when we pour concrete we mix it ourselves, but because we need 4 1/2 yards we ordered it from a local concrete service company.
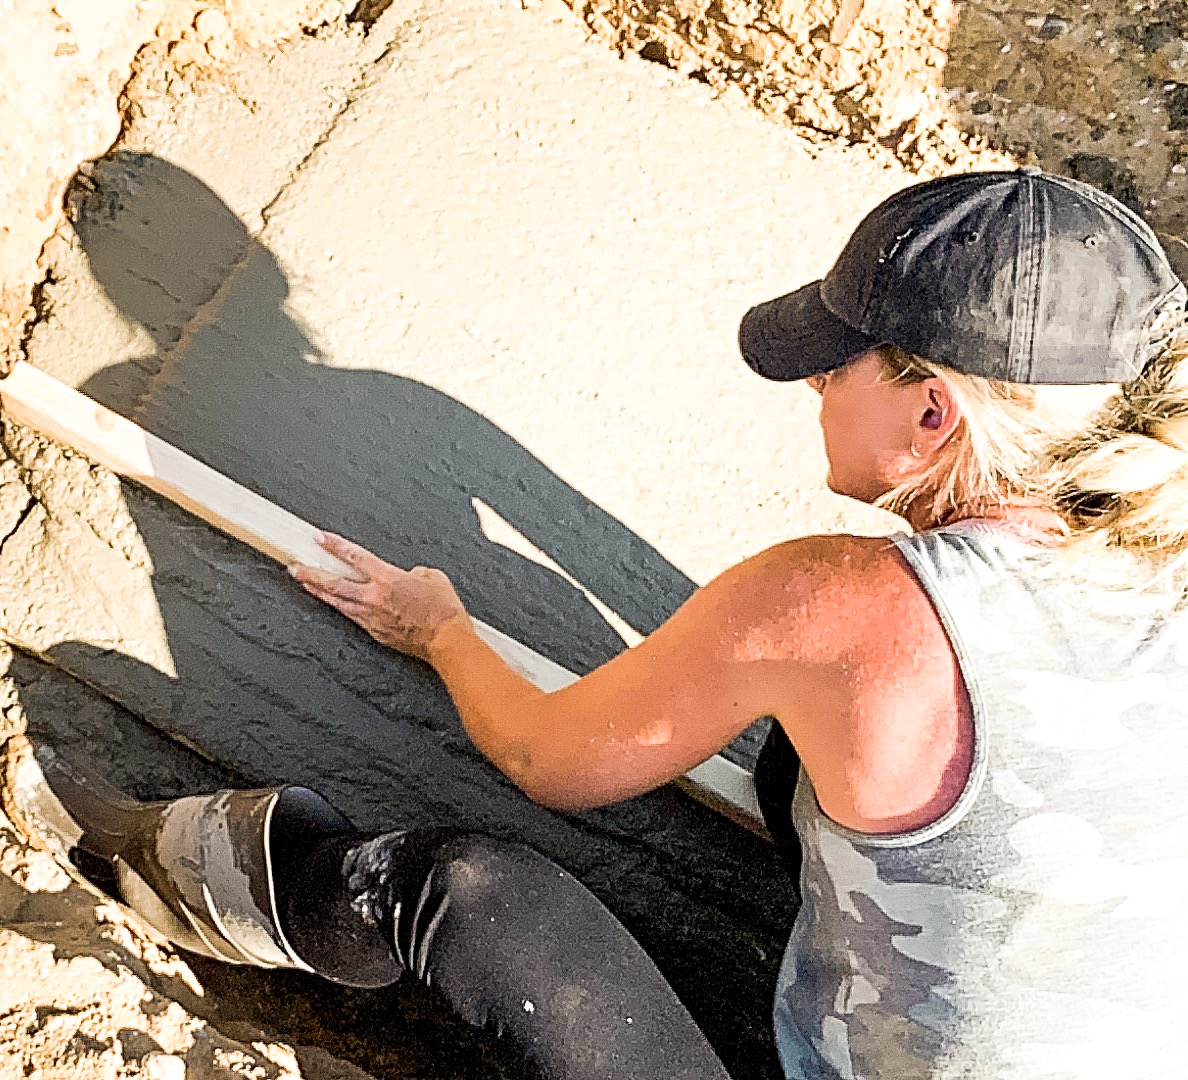
I am nowhere near a pro. but I have done concrete work enough to take on footings for sure! They don’t have to be beautiful as long as they’re level.
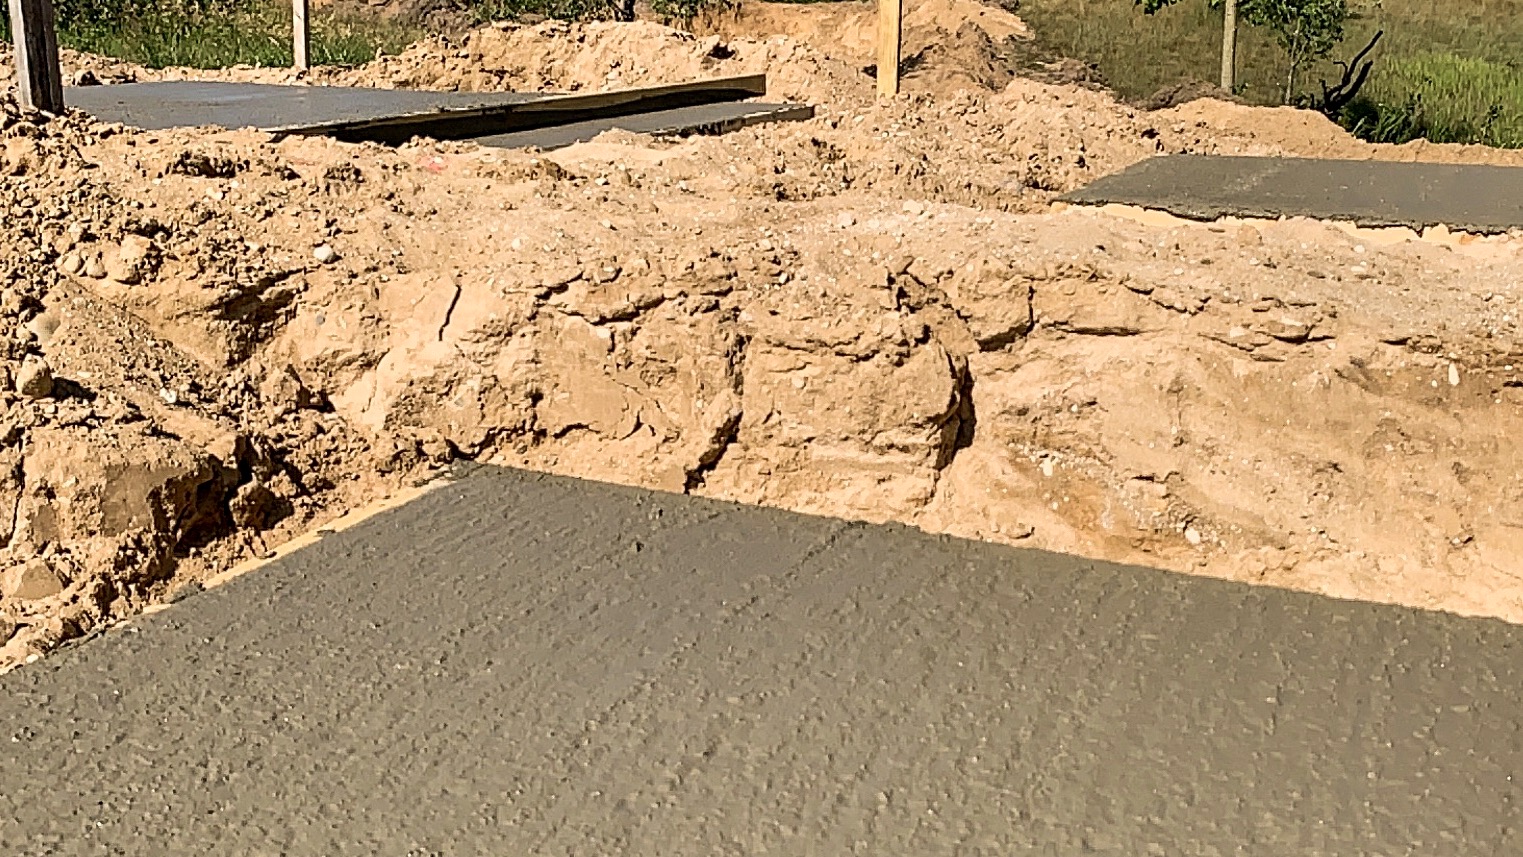
We reached out to a few of our brothers-in-laws and they were more than happy to help us on pour day! We started early Saturday morning and had all the forms poured and screeded in under two hours!
I am so grateful for family who is always willing to give us a hand on days like this! I’m pretty sure I owe them each a homemade pie… or better yet a night of babysitting so they can take their wives on a date!
Now that the footings are poured we are ready to lay block! Our materials are scheduled to be delivered this week! For all of you who are budget-minded like we are, I’m working on another post with a full breakdown of the expenses of this project so far. Knowing the cost of materials can be really helpful when deciding whether or not to DIY or to hire the project out.
We hope this was helpful! As soon as the block is delivered we’ll be back at it! Thanks for following along with us on this project!


Hi Dena and Aaron! Y’all are major DIYers! What a huge task this is! So fun to see all the steps you are taking and looking forward to the finished project! Off to visit more of your site!
Hi Julie! Thank you for checking out Fletcher Creek Cottage! We loved connecting with you at Haven this year! I can’t wait to be able to host large gatherings here when we finish this project!
[…] the laying the block for the columns! Wish us luck and be sure to check out my previous post HERE for all the info on how we did each […]
[…] « DIY Outdoor Pavilion Project […]
[…] to our yard each summer. In addition to our cottage and DIY dream home, we’ve hand built a pavilion, a greenhouse, a garden fence, a chicken coop, a daybed swing, and now this pergola dining […]