We Built a DIY Outdoor Pavillion:
Materials List & Expenses
We are so excited to share with you how we save thousands of dollars on our DIY backyard pavilion! Follow along as we share every step of turning our backyard into an outdoor oasis and living space!
My husband and I bought our first fixer-upper 18 years ago and have been DIYing projects pretty much non-stop ever since. Before we start any project we like to get 2-3 quotes from local professionals before deciding if the project is something that we’d like to hire out or do it ourselves.

To be honest, I could count the number of times we have hired someone to work for us on one hand. To give you an idea of the kinds of jobs we hired out, they were things like drilling our well and pumping the septic tank at one of our old farms!!! Both jobs that would be totally impossible for us to do ourselves! We know our limits!

We then quote the materials needed for the project and compare it to the professionals’ quotes, look at our calendar and usually end up doing the project ourselves!
We often see there are just better uses for our finances and if we can save money on a DIY project that allows us to be more generous with our finances! For us, that alone makes it worth the extra work!

In this post, I’m breaking down the cost of materials for the pavilion project up to this point (basically week one). Keep in mind that the cost of materials and permits are going to vary from place to place, but this will hopefully give you a pretty good idea of what things cost as well as how much we’ve saved doing this project ourselves. Let’s get started!

Pavilion Architectural Blueprints :$1,440
I have shared on my Instagram account @fletchercreekcottage that my son helped design this pavilion in SketchUpPro and interned with my cousin to draw up the entire design and blueprints! We used the same architect (my cousin) for the cottage and we are also working with him for our dream home as well! He is an outstanding architect and of course, we love supporting family and local business owners whenever we can. Knowing that what we are building is structurally sound is SO important to us as DIYers, so we think this is money well spent!
Permits: $400
Land Use Permit $70.00
Building Permit: $209.00
Electrical Permit: $121.00
Plumbing: We will be pulling this permit later this week. We will only be running a cold water line to the east end of the pavilion. We plan to have a small sink for our outdoor kitchen and water is a must!
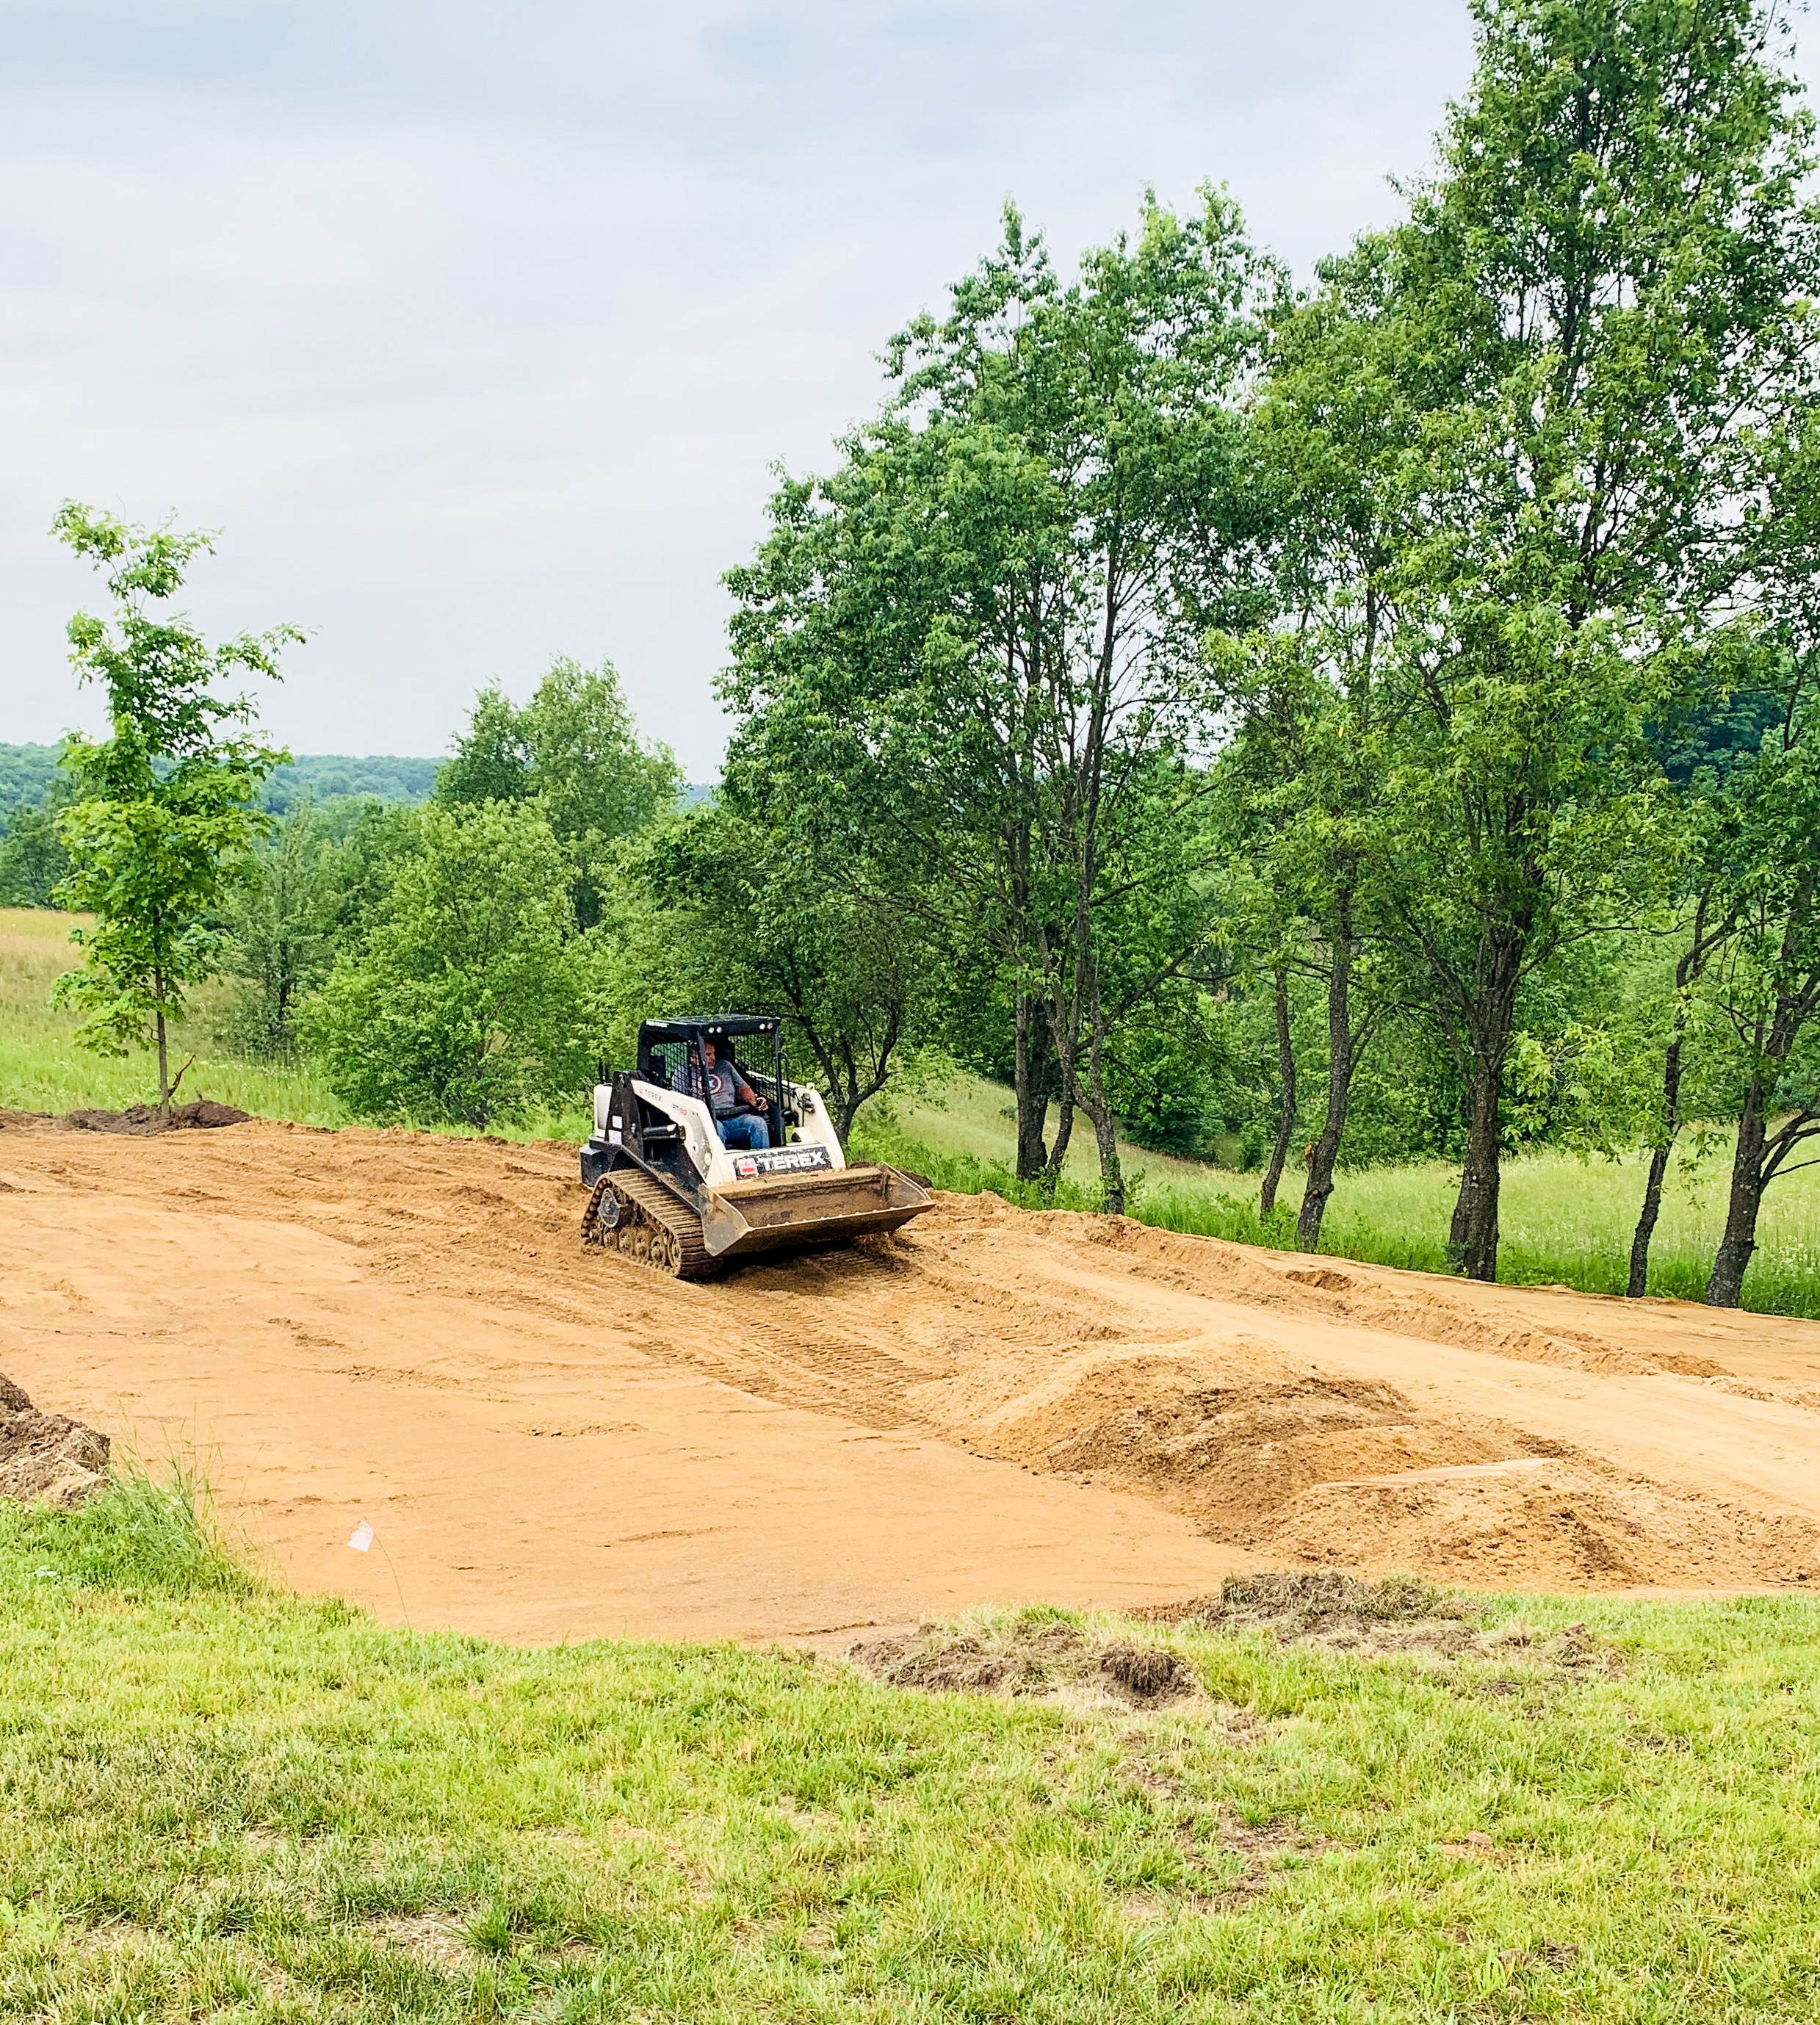
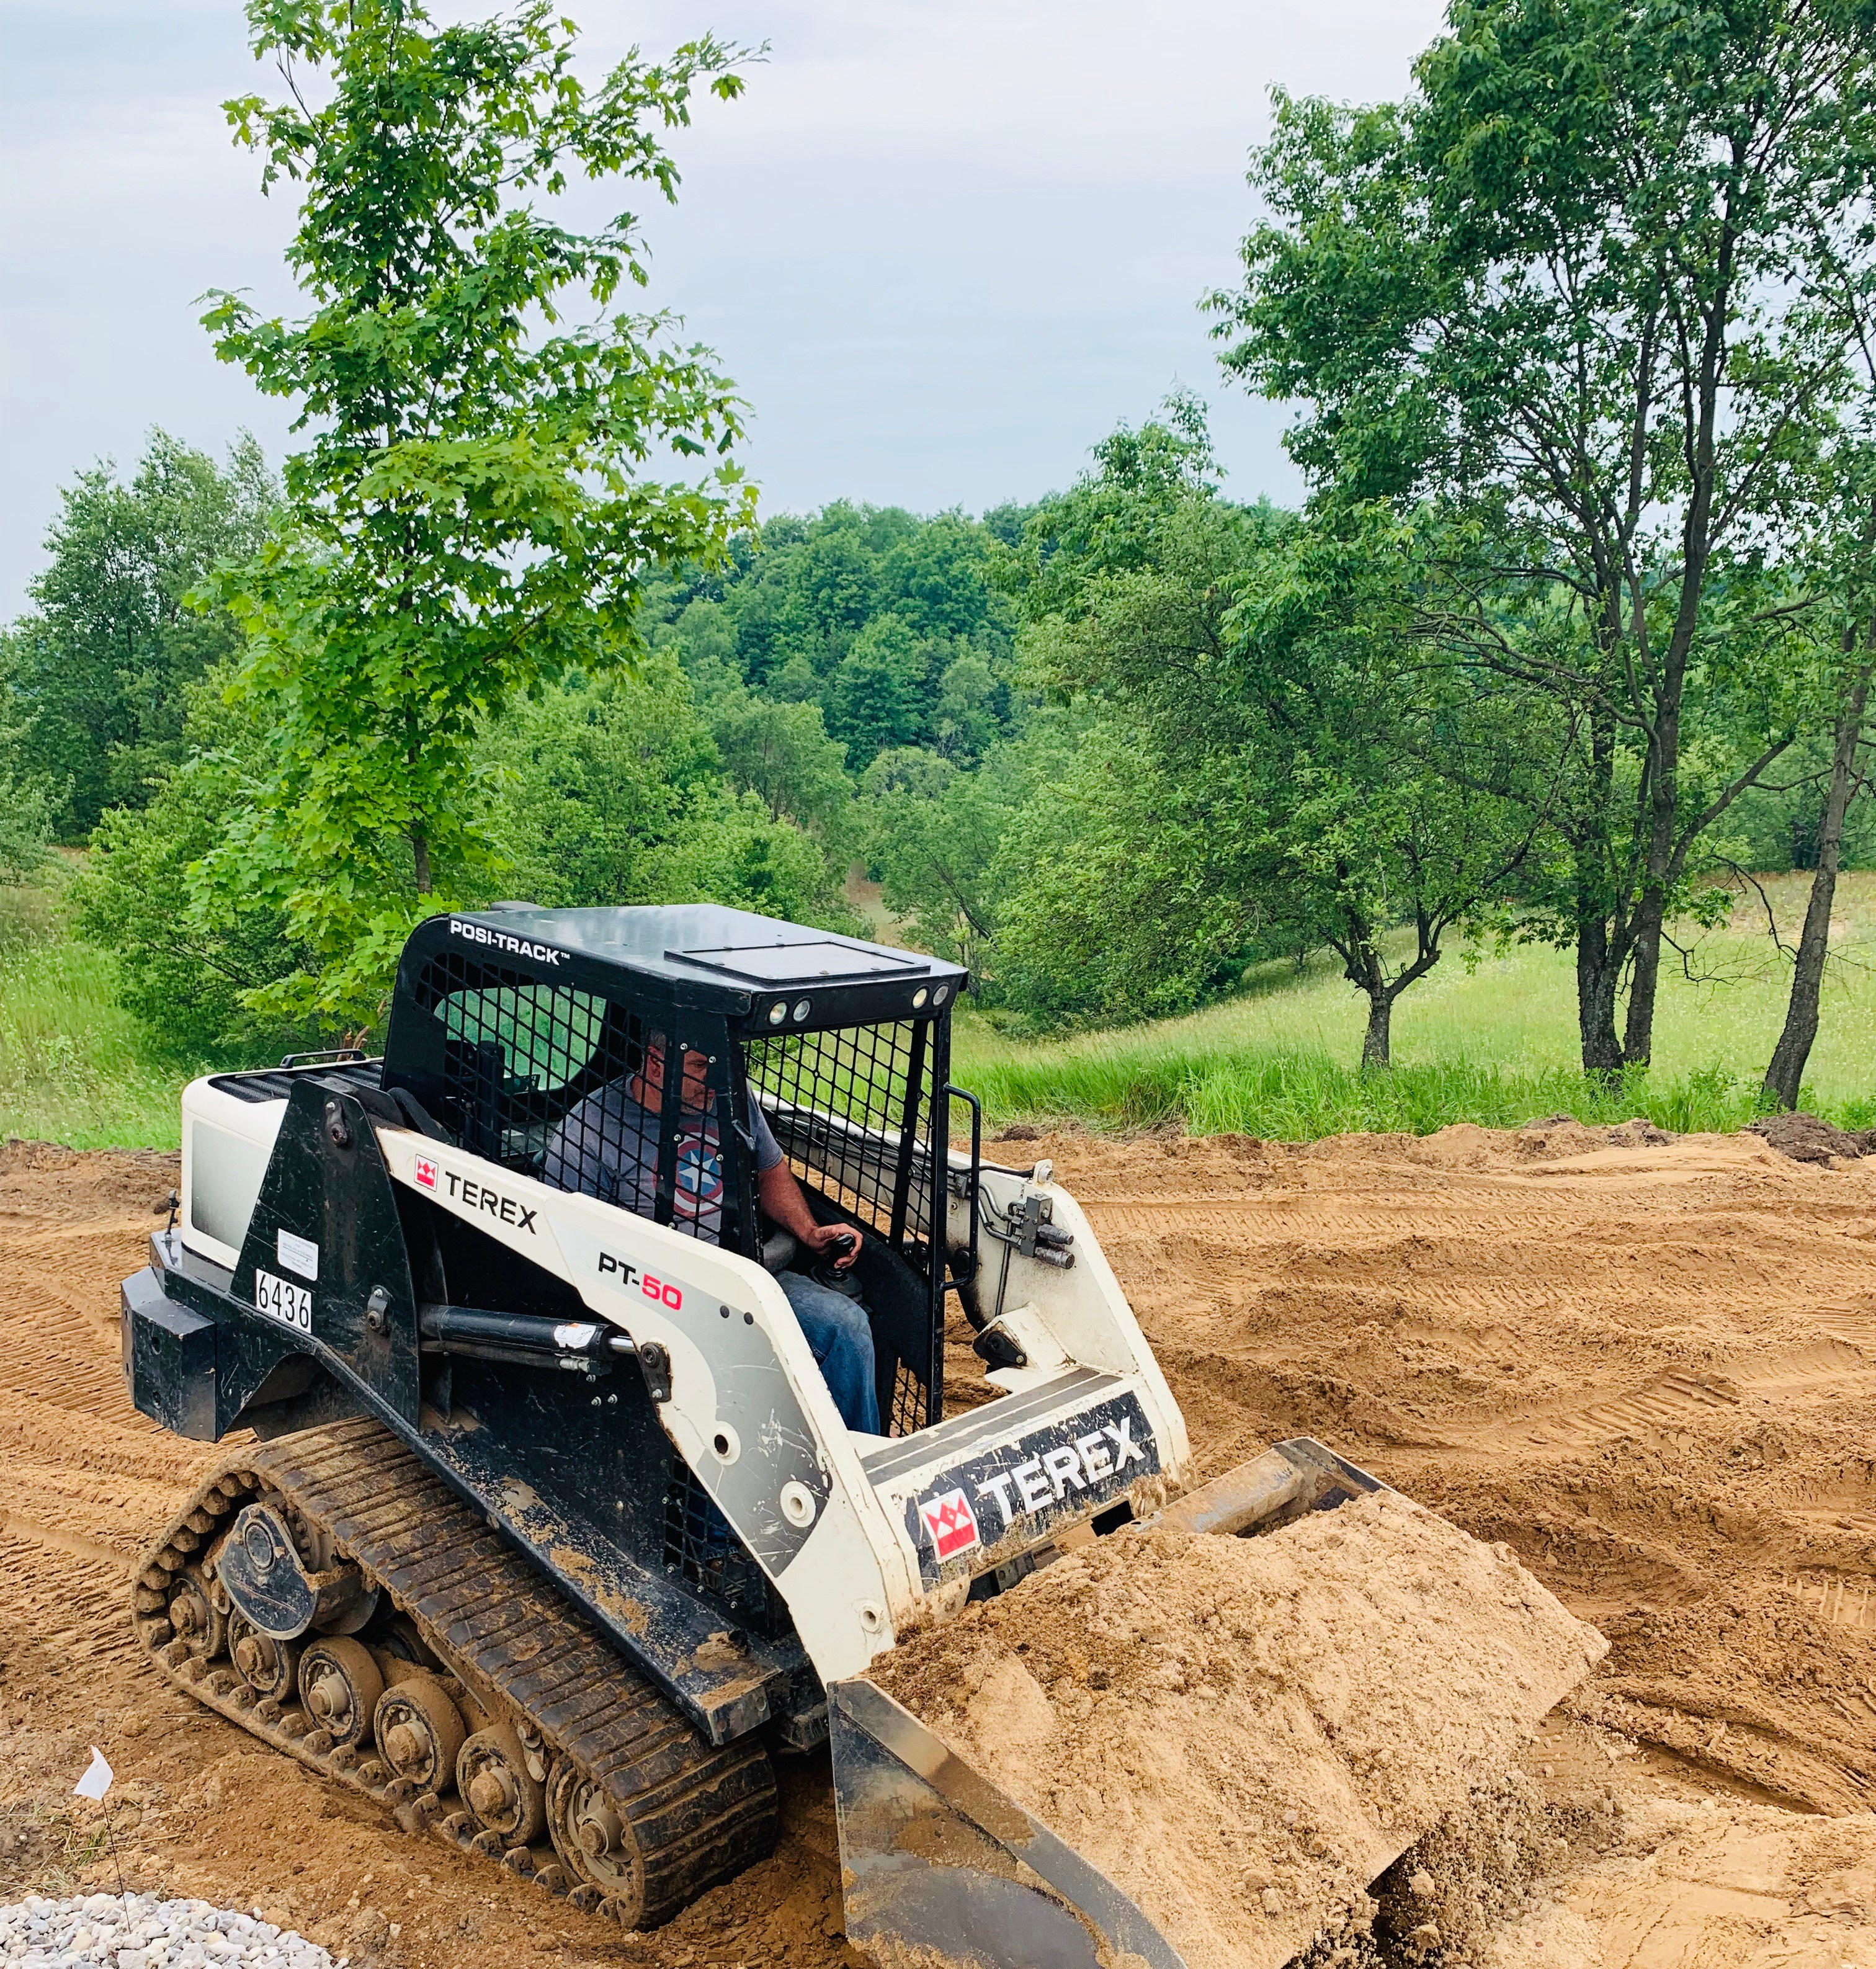
Excavation & Rental Equipment: $474.60
Here is a breakdown of what we rented to get the job done! We moved a whole lot more fill that we originally thought we’d have to. Thank goodness we had a bulldozer, skid-steer and a compactor to prep the site!
Gasoline for the machinery: $40
Compactor : $63.60
Terex (Skid-Steer) :$371
Bulldozer: FREE (a friend lent it to us)

Lumber For Framing Footings: $100
My husband is a plant manager for a Sawmill so he just purchased the 2×8 boards we needed (to frame the footings) at work. However, he does not really receive a significant discount, it was just more convenient for him to bring them home from work and not make a trip into Home Depot.

Self-Leveling Transit: $449.00
Having a self-leveling transit is so important when working on a project with a foundation. We purchased this one from Home Depot and it did the job! We plan to use the transit again when we build our main house in the spring, but if you only needed it for one project I know that some rental centers do rent them out, so that may be a better option for you.
Rebar & Wire For Footings :$98
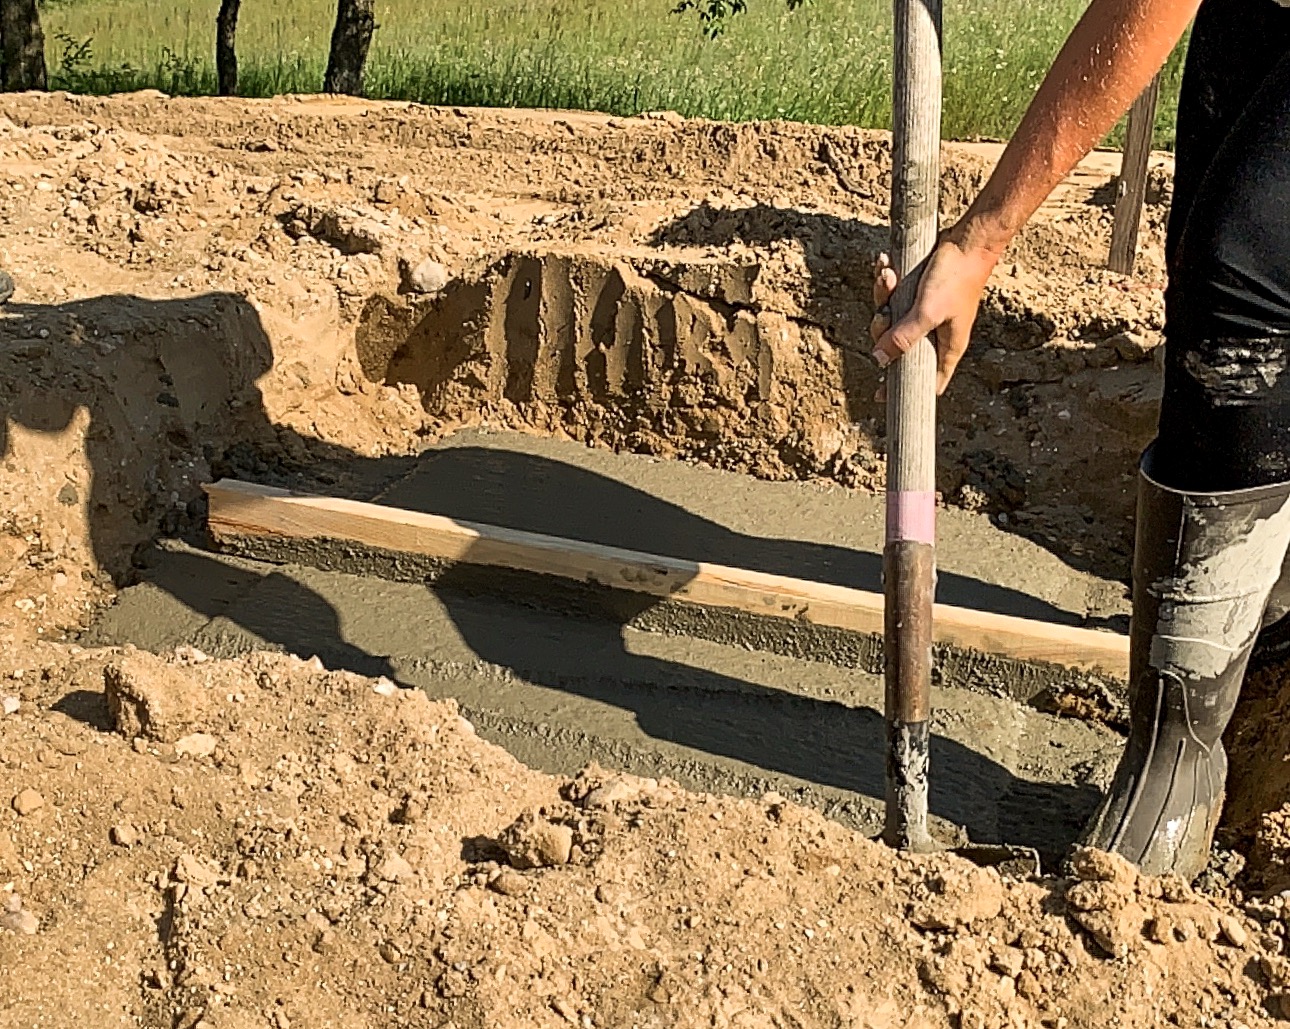
Anytime you’re pouring footings, concrete sidewalk, countertops or a slab, it’s important to add an adequate amount of support to the concrete with rebar. We drill holes in the side of the footing form boards and run small wire through it just to hold up the rebar. The wire is also needed to secure any rebar that crosses another piece of rebar so that the grid doesn’t shift while you’re pouring the concrete.
Concrete For Footings: $563.39 /4.5 yards
When we calculated the cost of mixing the concrete ourselves and the cost of just ordering a truck to deliver it and it was a no-brainer. We needed 4.5 yds and the cost of the delivery wasn’t much more than buying the bags…so we had it delivered! I am so glad we did because it saved us a ton of time and hours of back-breaking work. Two of my brothers-in-law came to help and that made 5 of us. With their help, our sons, my husband and myself, we had all 11 footings done in an hour and a half!
 So there you have it …the grand total for the first week is $3,524.60.
This part of the DIY pavilion project was a lot of hard work!
We definitely had blisters and digging was less than fun, but you guys we saved around thousands just in the first week of this project! I’d say it was well worth the effort! Everything we need to start the next step had been delivered so this week we’ll be tackling the laying the block for the columns! Wish us luck and be sure to check out my previous post HERE for all the info on how we did each step!
The Home Depot ProjectColor™️ App: Choosing The Perfect Paint Color
I love that you shared the details! It’s so important to know where to spend money and where to save money! You are amazing friend!
karianne
Thank you! I really hope that it helps to see it all broken down like this! By the way…you are AMAZING too my dear!
[…] DIY Saves Us Thousands/ Our Backyard Pavilion Project […]
[…] DIY Saves Us Thousands/ Our Backyard Pavilion Project […]
[…] Last summer we started building a pavilion in our backyard that is 24×40 feet. We prepped the site, brought in fill, dug out for footings, and poured the footings. You can read all about that step HERE. […]
What a fantastic addition to your back yard, and an inviting place for our big family to visit. The photos and descriptions are so informative and inspiring! Great job!
Thank you! I can’t wait to have everyone over…this sure has been a long 7 weeks! We are missing everyone so much!