I recently spent a few days helping my parents install their gorgeous new Luxury Vinyl Plank Flooring in their home. Today, I’m going to walk you through all the steps of this simple “do it yourself” project!
The Vinyl Floors We Chose and Why:
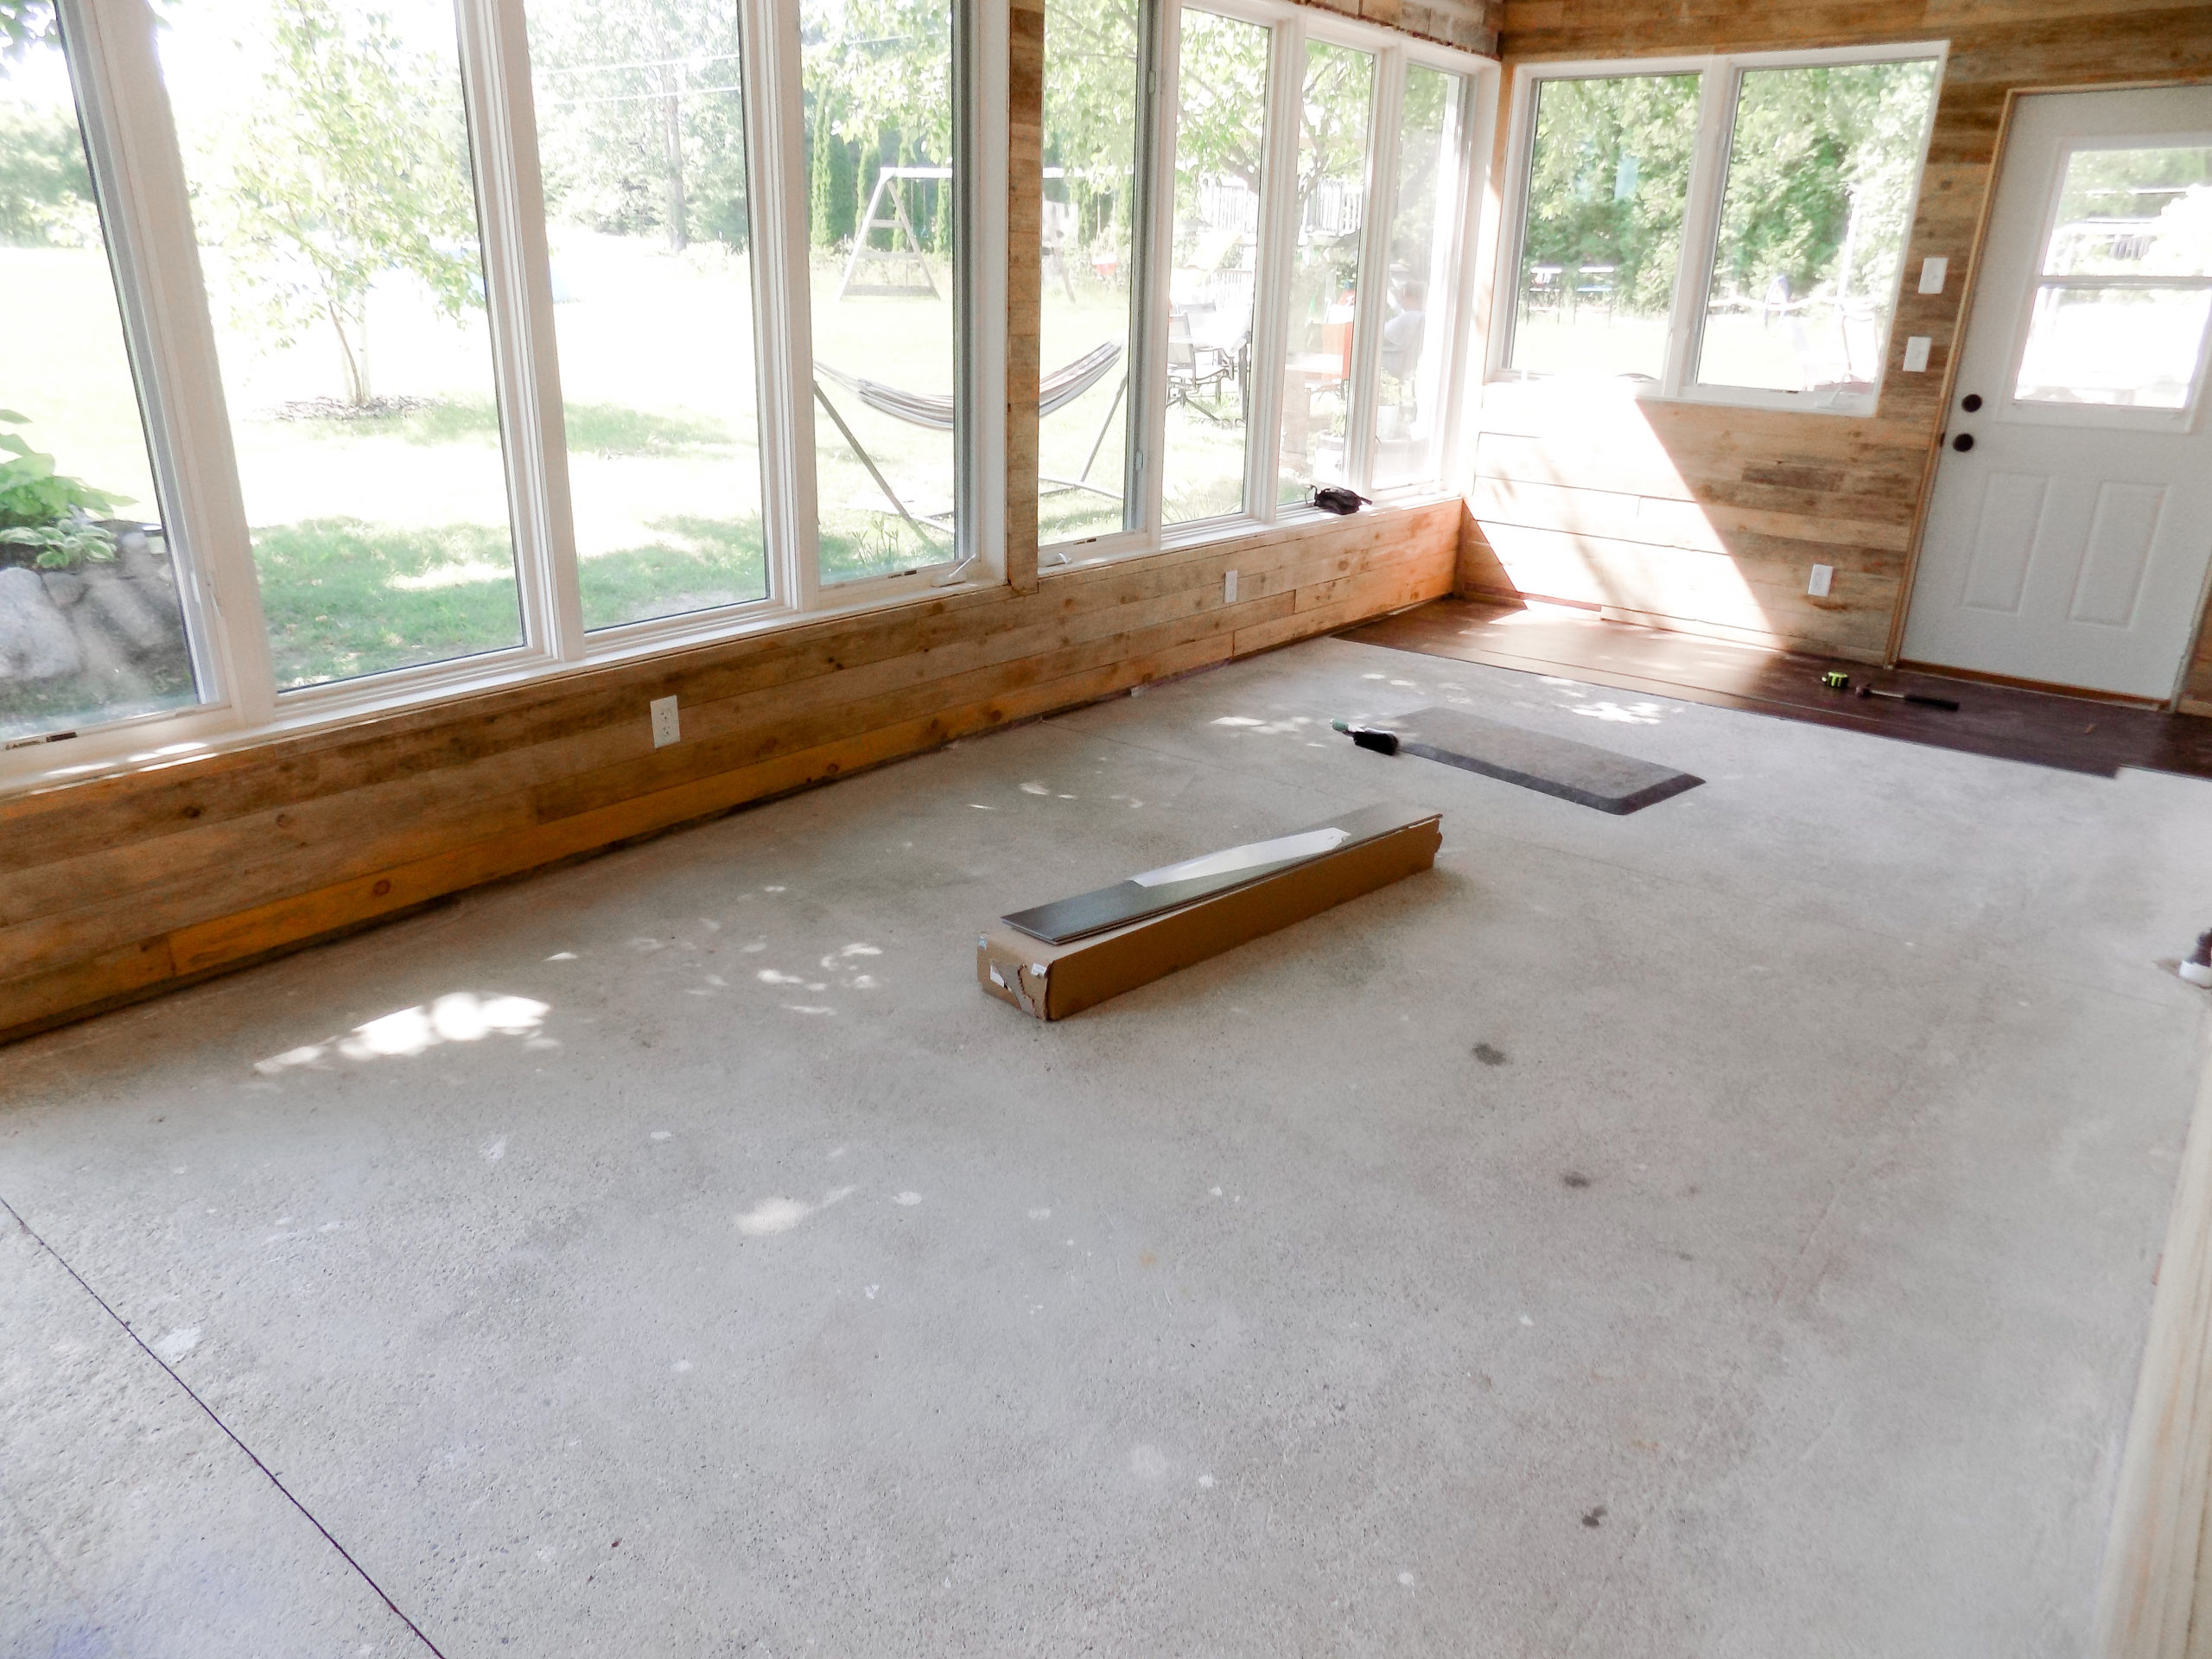
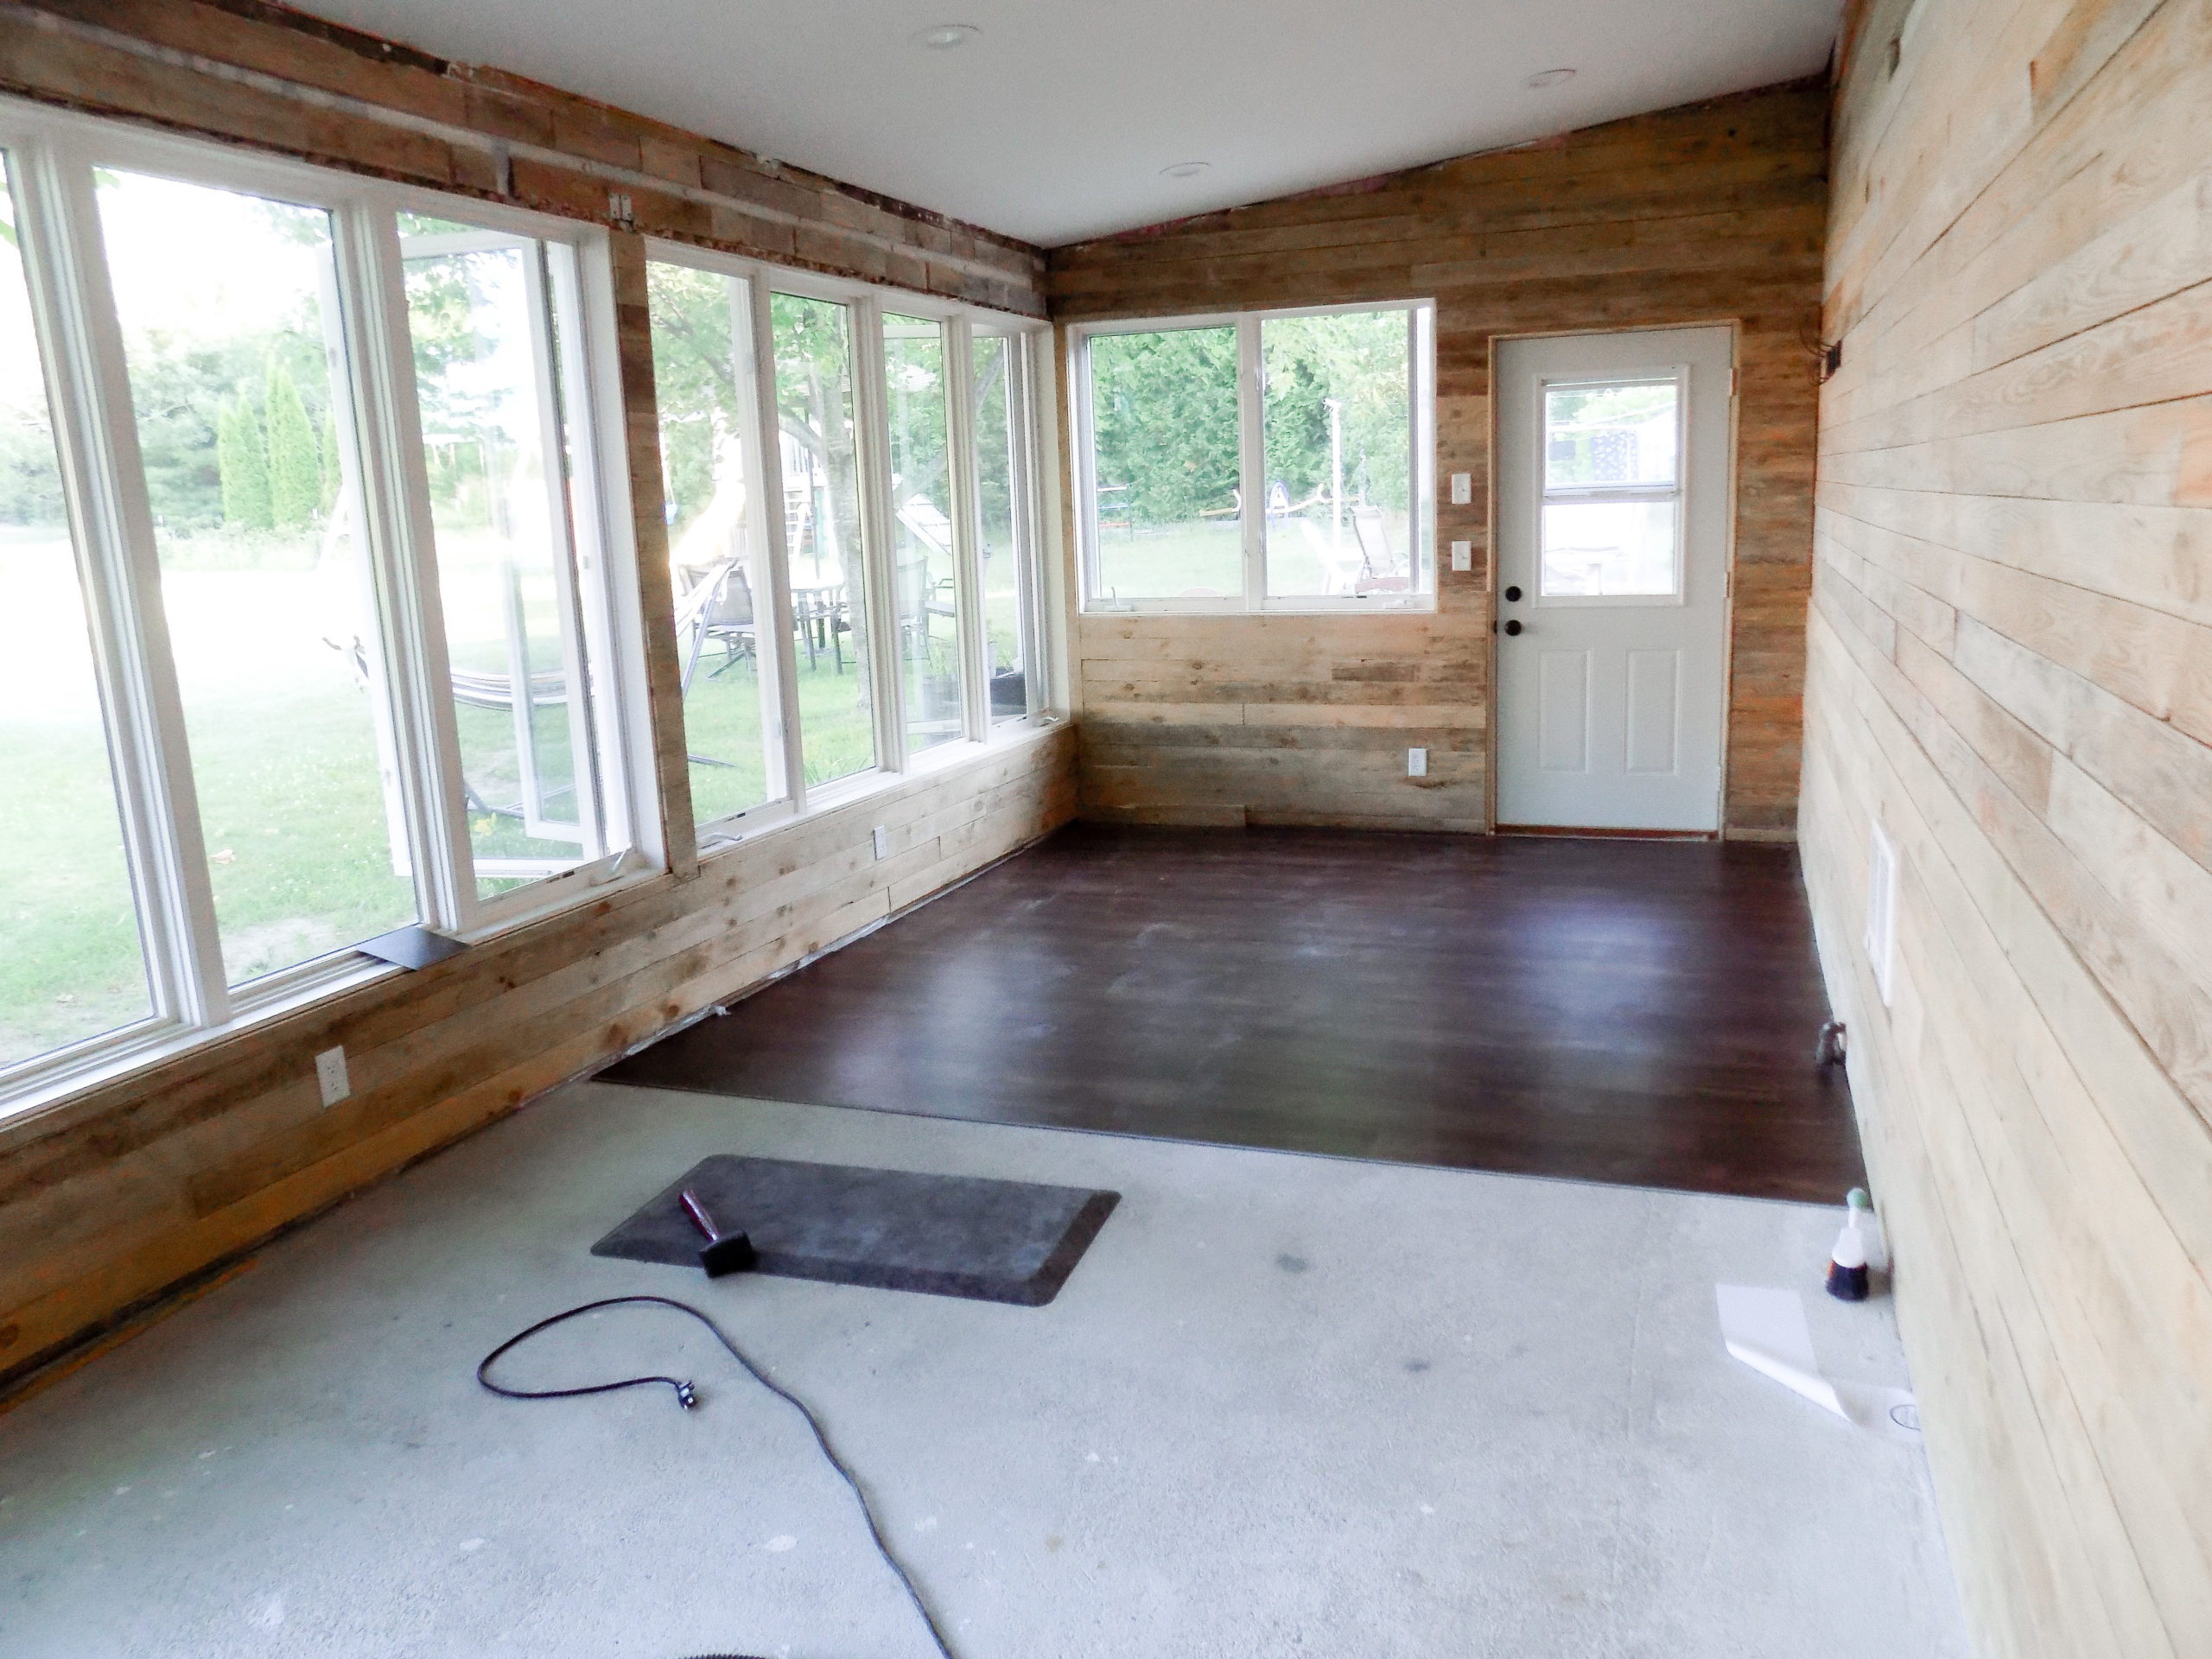
My parents recently added a new sunroom to their home. They needed to install flooring in the new sunroom and really wanted to find a product to replace all the main level flooring all at the same time.
Luxury Vinyl Plank Flooring:
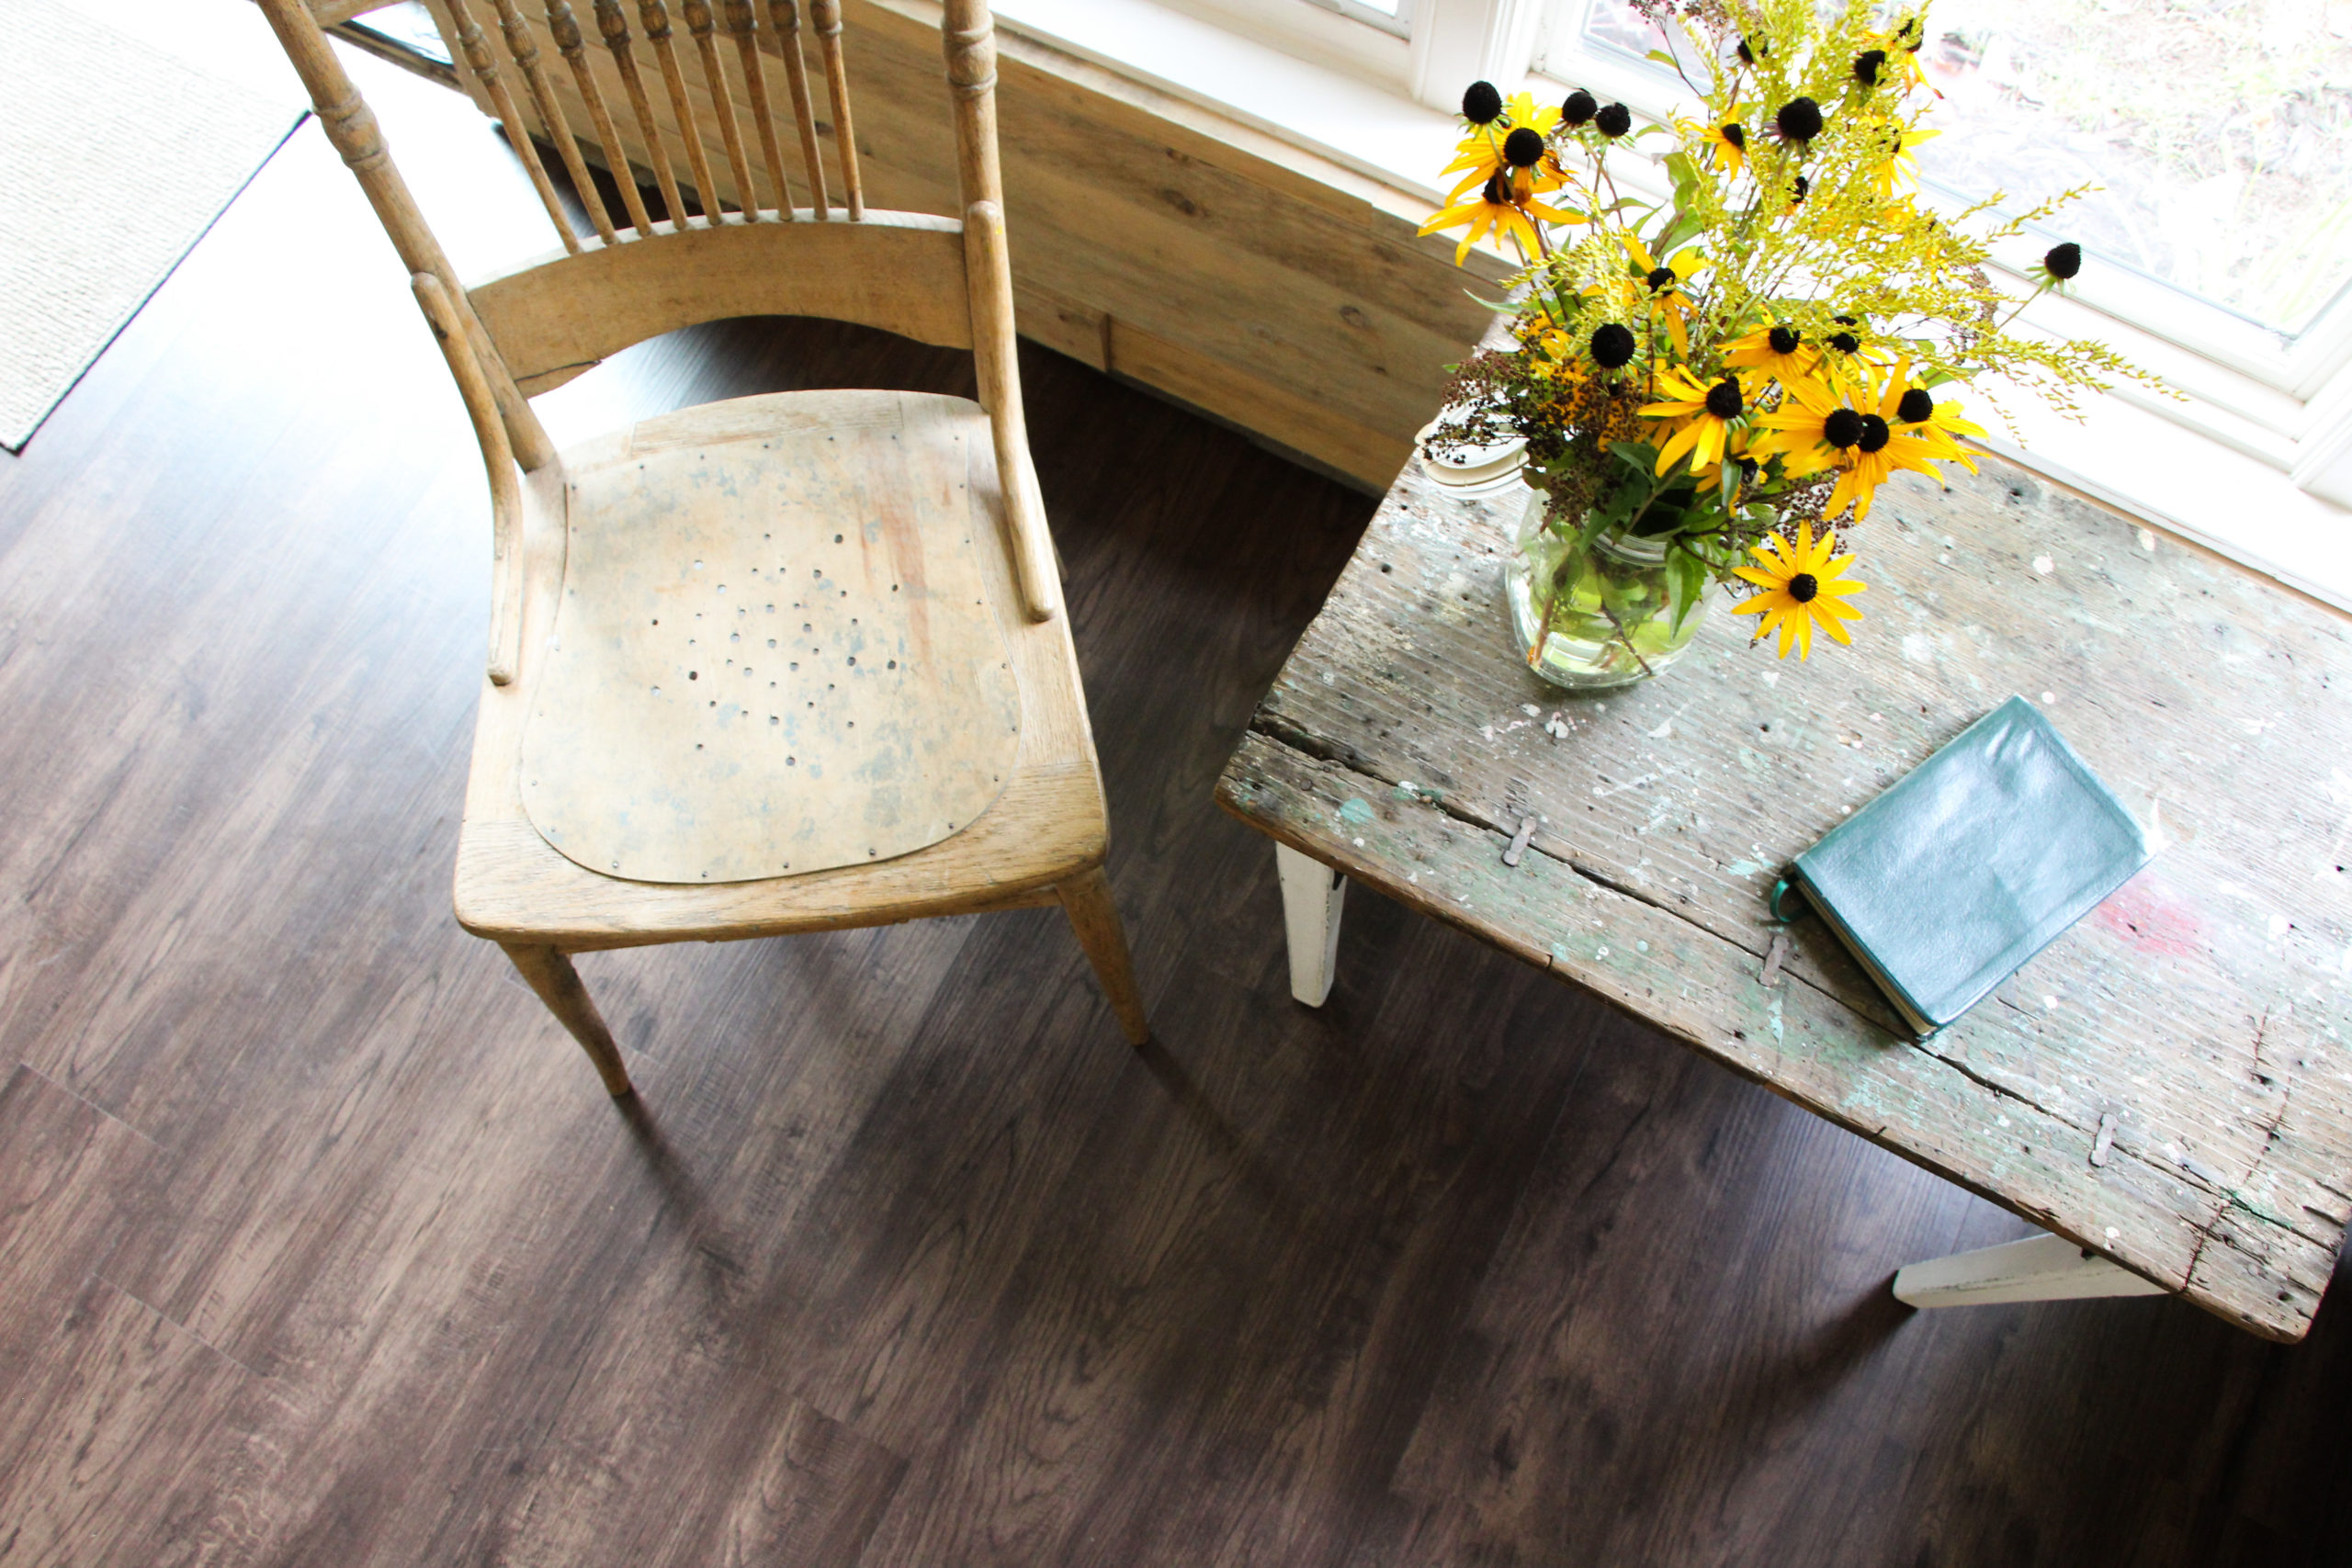
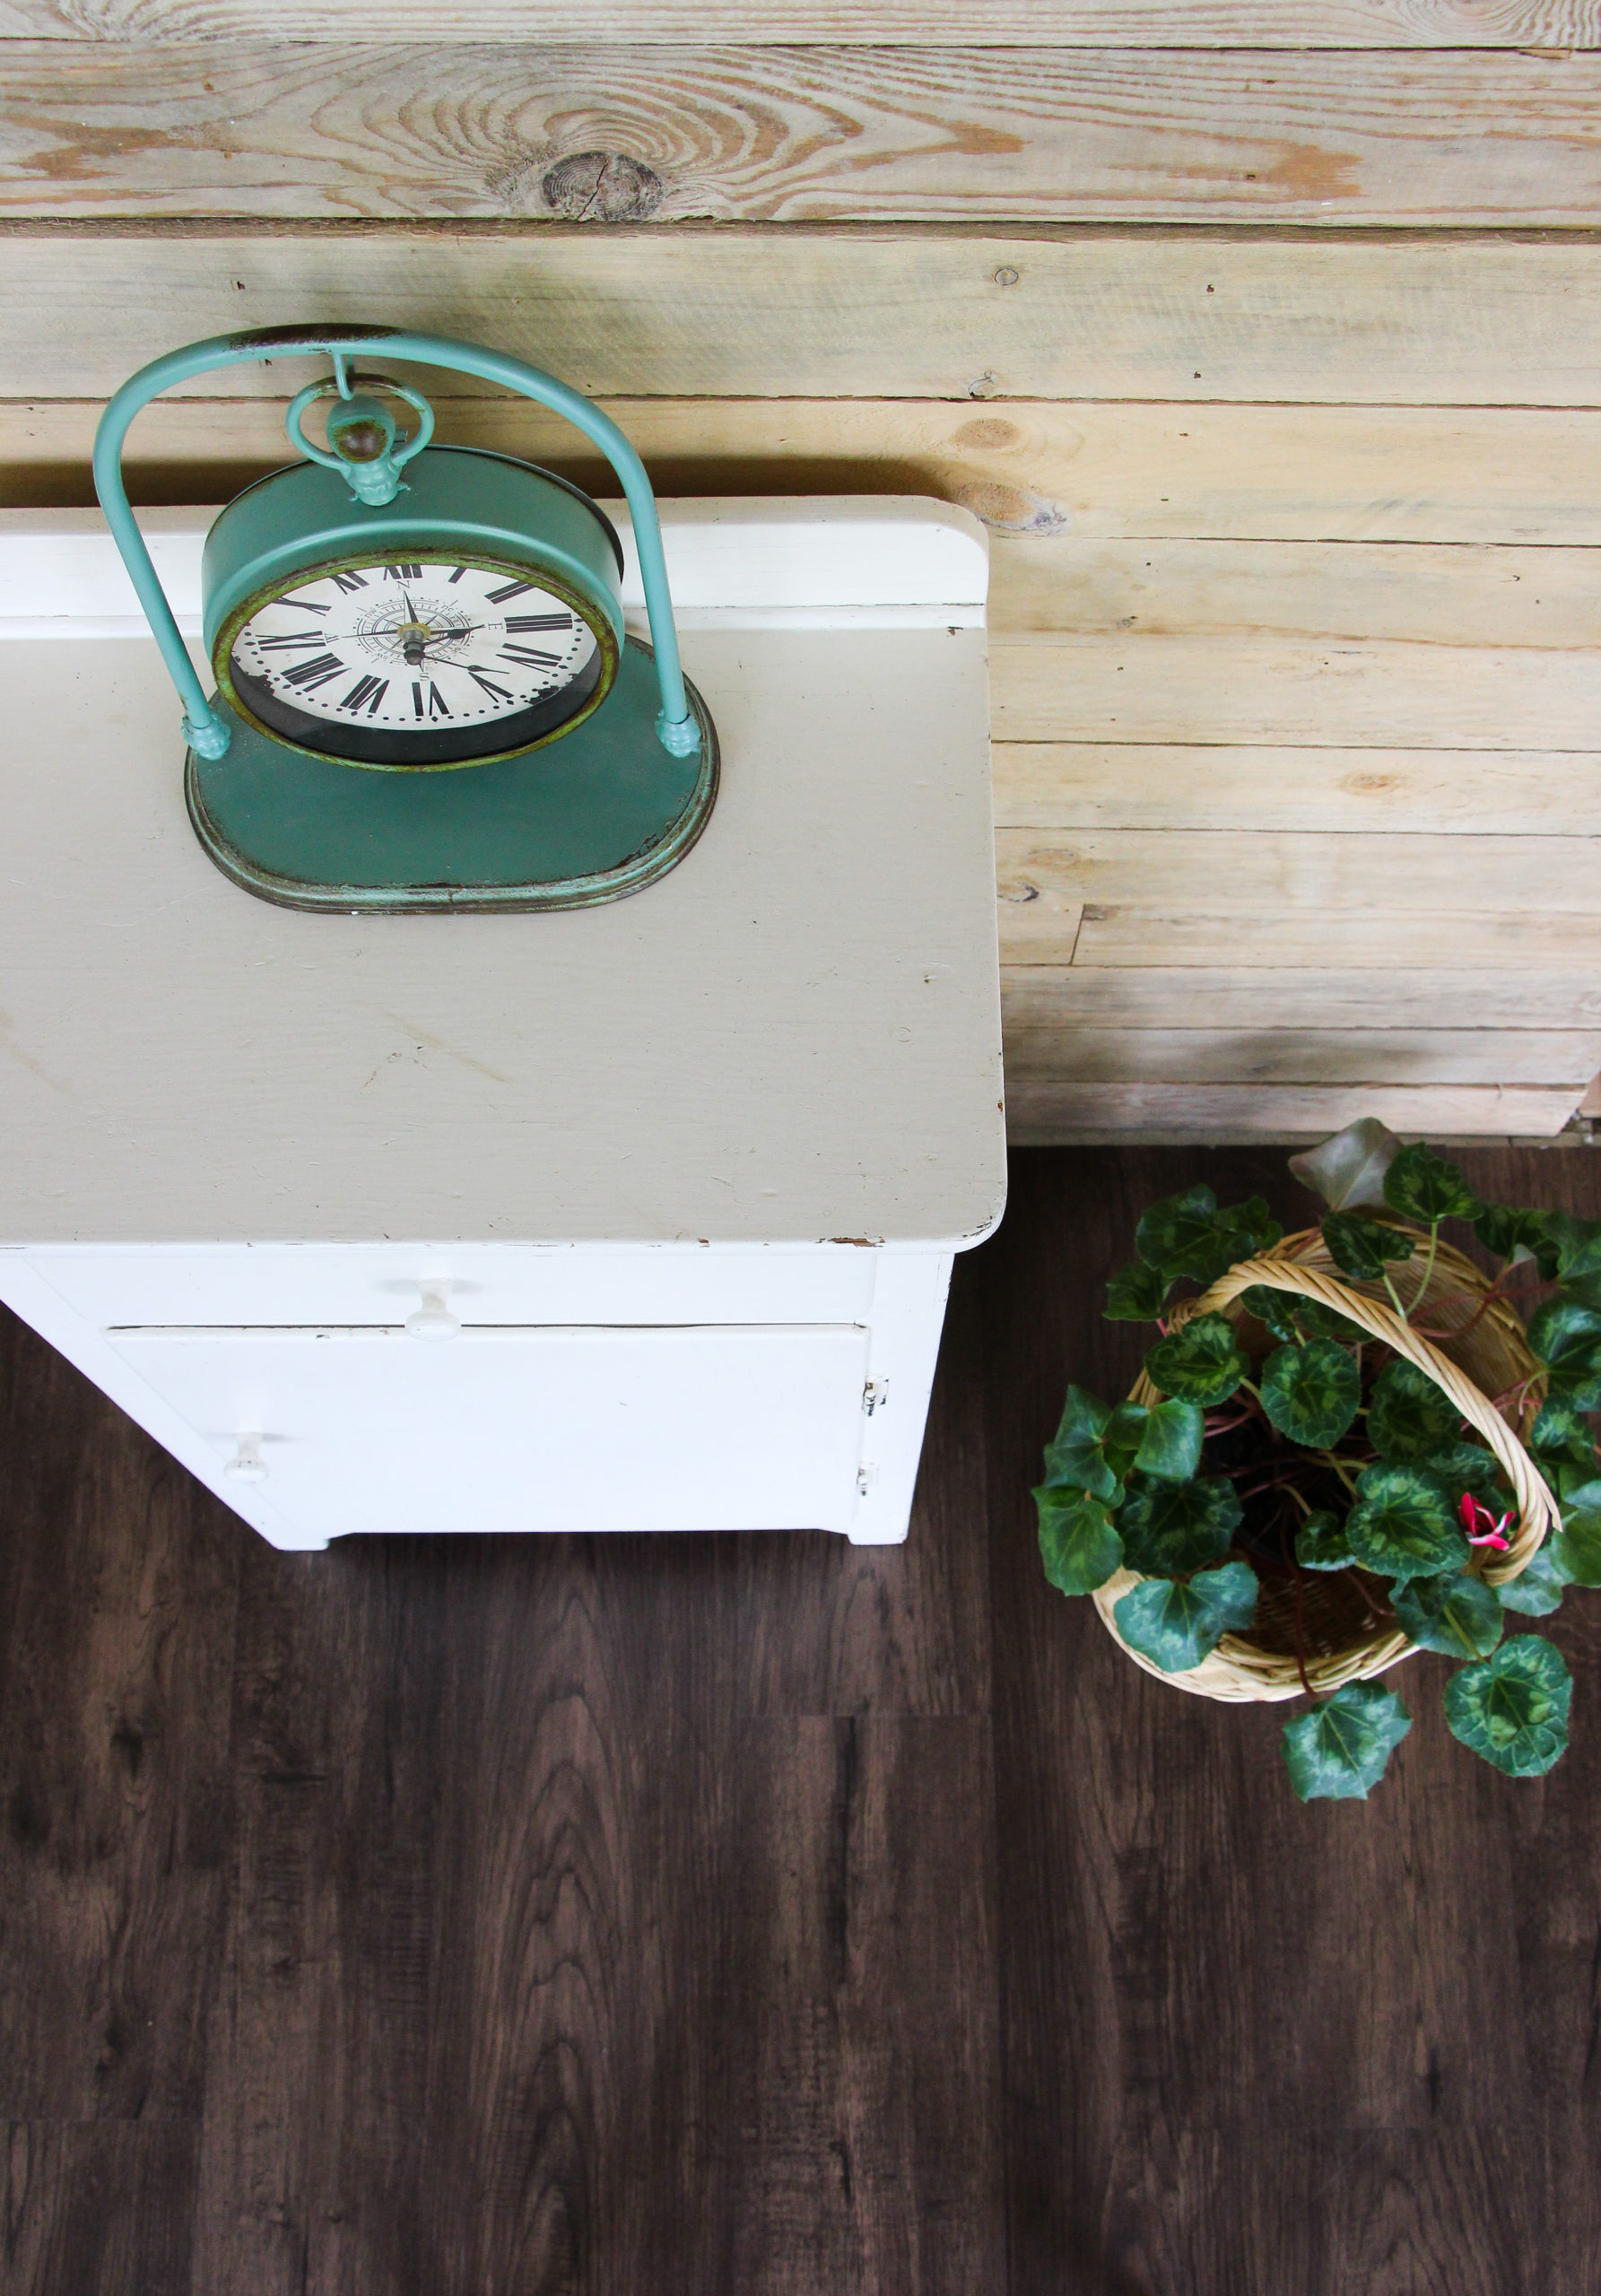
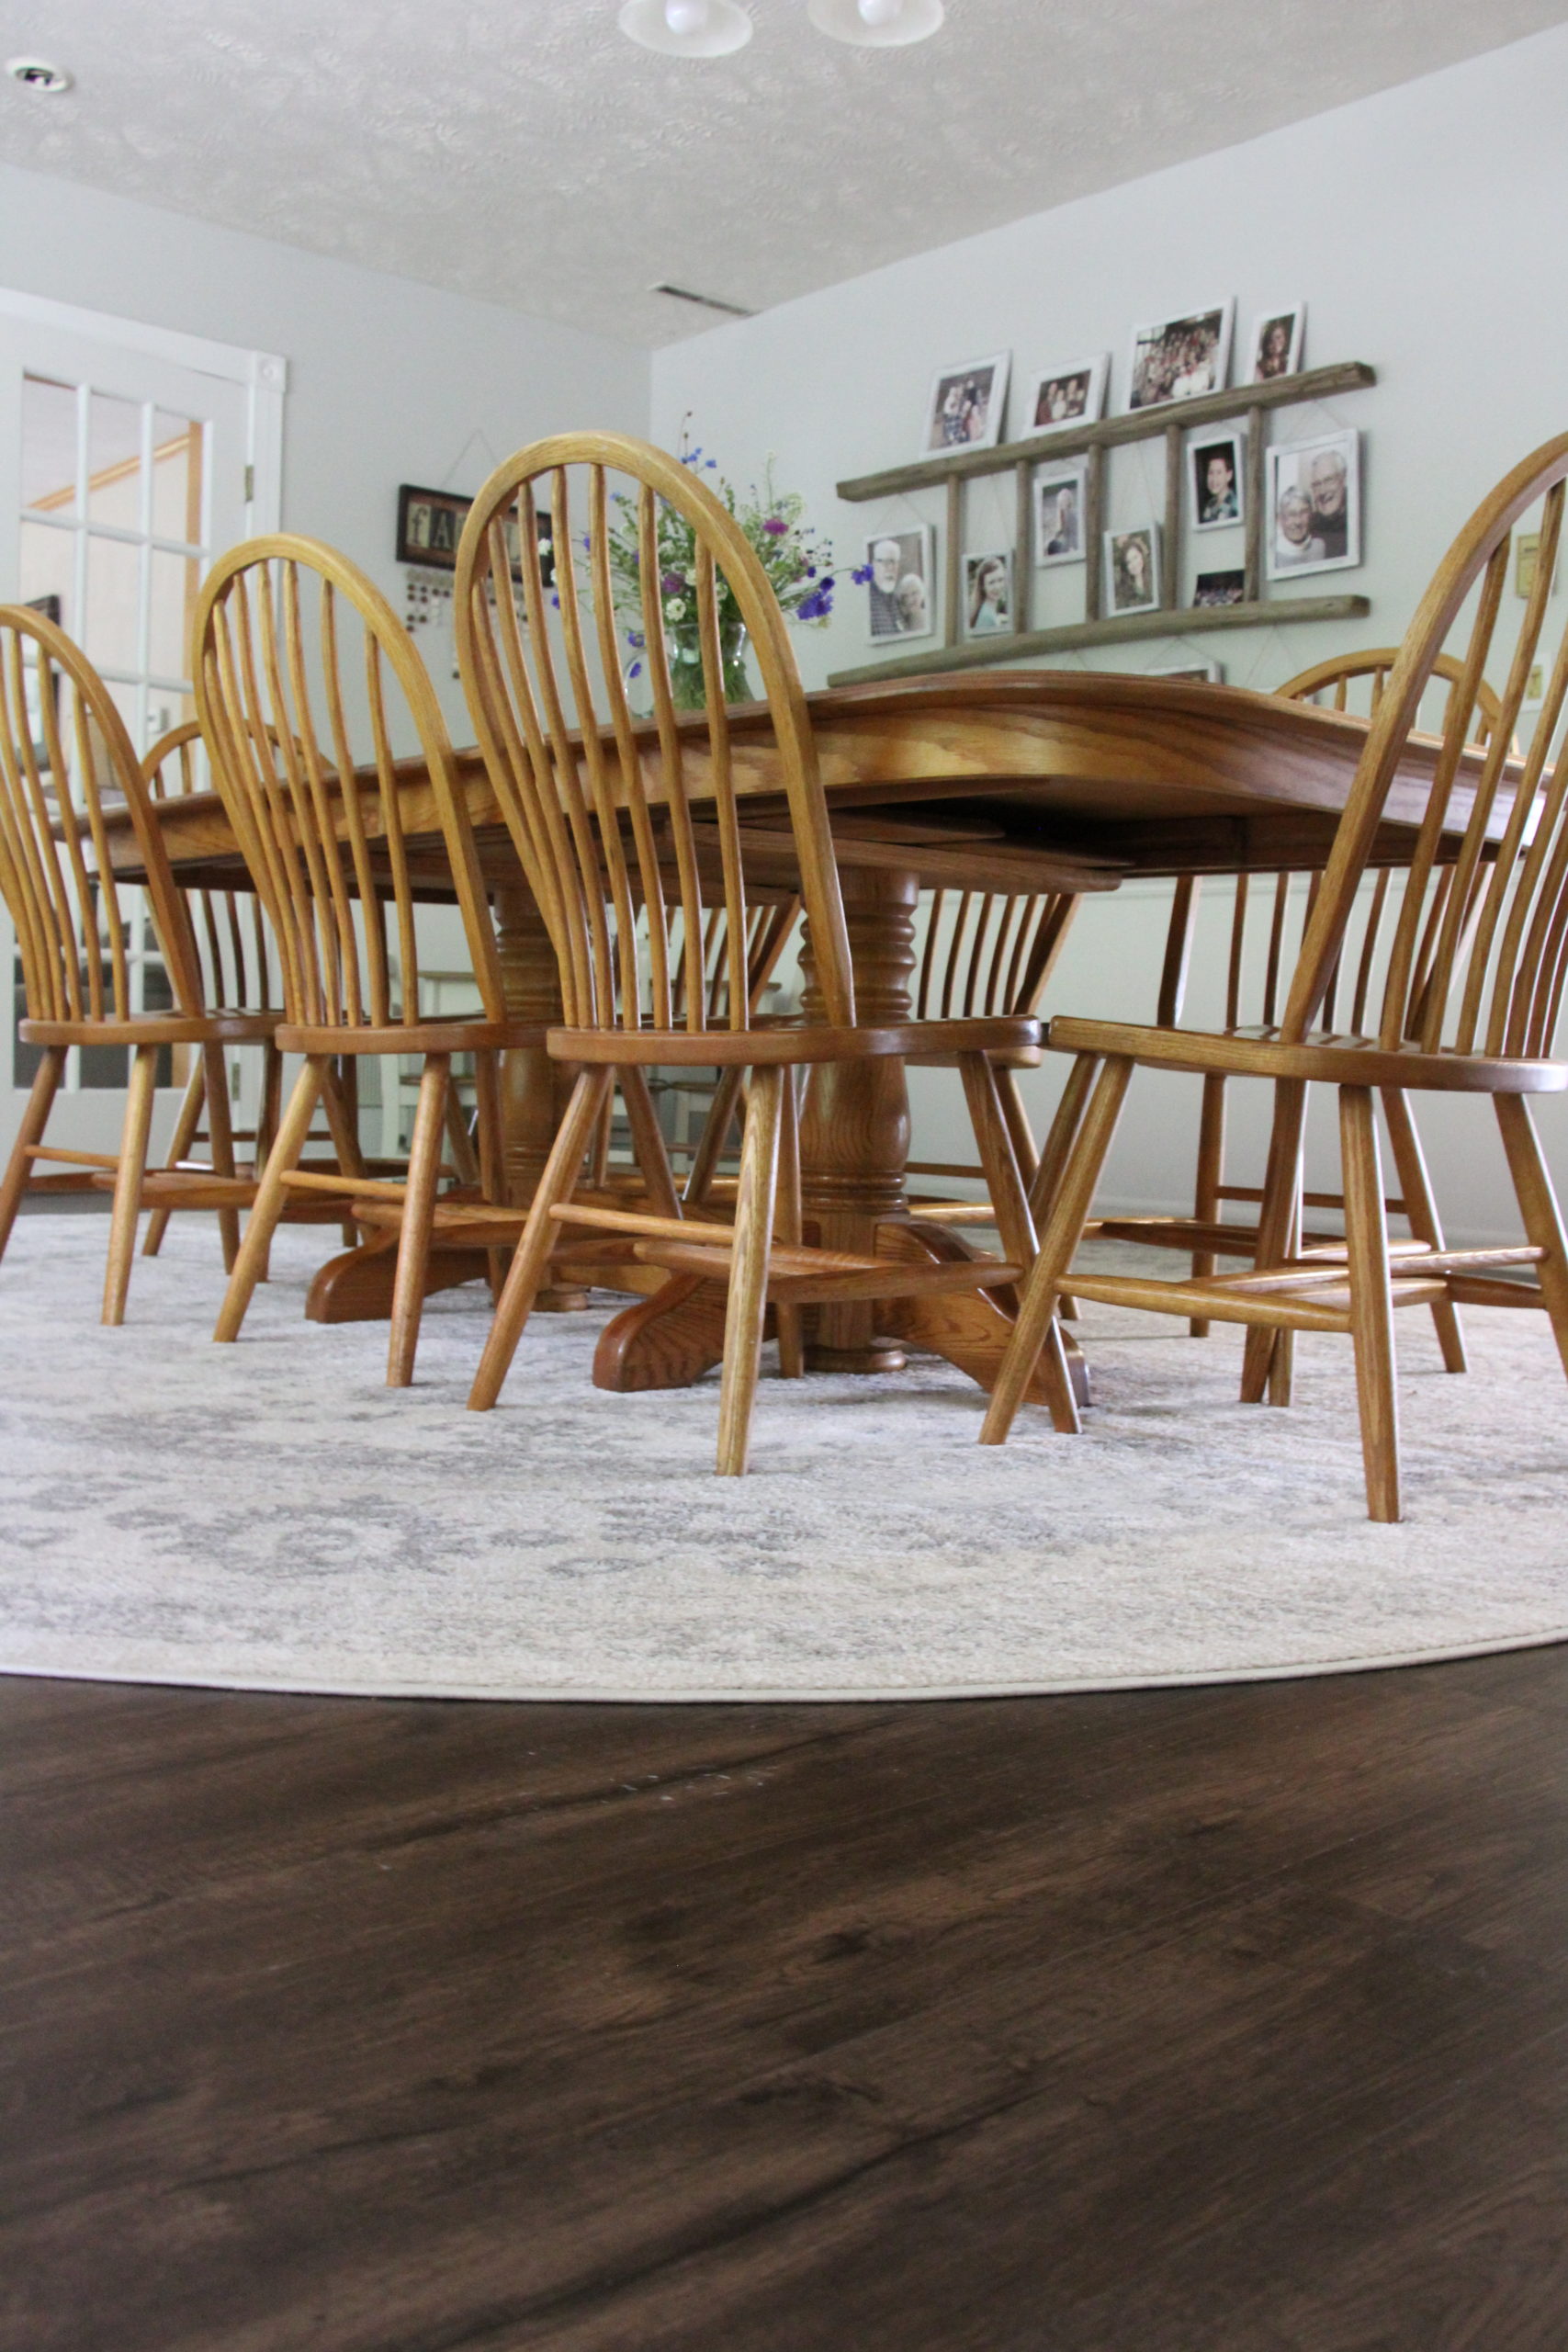
For their new flooring, they chose a beautiful wide plank Rigid Core Luxury Vinyl Plank Flooring from Select Surfaces in the color “CHESTNUT”. The Rigid Core Vinyl Flooring is super simple to install with it’s “angle-click” system. Also, there is no glue or nailing involved and it looks just like hardwood! It’s a floating floor that can be installed over most surfaces (cutting down on demo). Most importantly (for my parents), it’s stain-resistant and is 100% waterproof!
My parents are always hosting get-togethers and their home always has grandchildren coming and going! The floors take a beating and they need to be able to withstand lots of foot traffic. They also needed their floors to hold up to muddy shoes and snowy boots in the winter months as well as clean up easily. This flooring was the perfect choice for them.
To calculate the amount of Rigid Core Vinyl Flooring you will need for your project visit Select Surface Flooring Calculator
For our project, we calculated that we’d need 1,700 square feet of Vinyl Flooring (allowing for some waste). Because this flooring was going throughout the entire main level we had some prep work to do. We had to remove the all carpet in the living room and make sure all floors were very clean. The amount of prep work you will have to do will depend on what subfloor/flooring you have in your home already that’s being replaced. The most important thing is that the subfloor is level. Visit HERE if you are unsure about your subfloor.
The Rigid Core Vinyl Flooring is designed to be a floating floor:
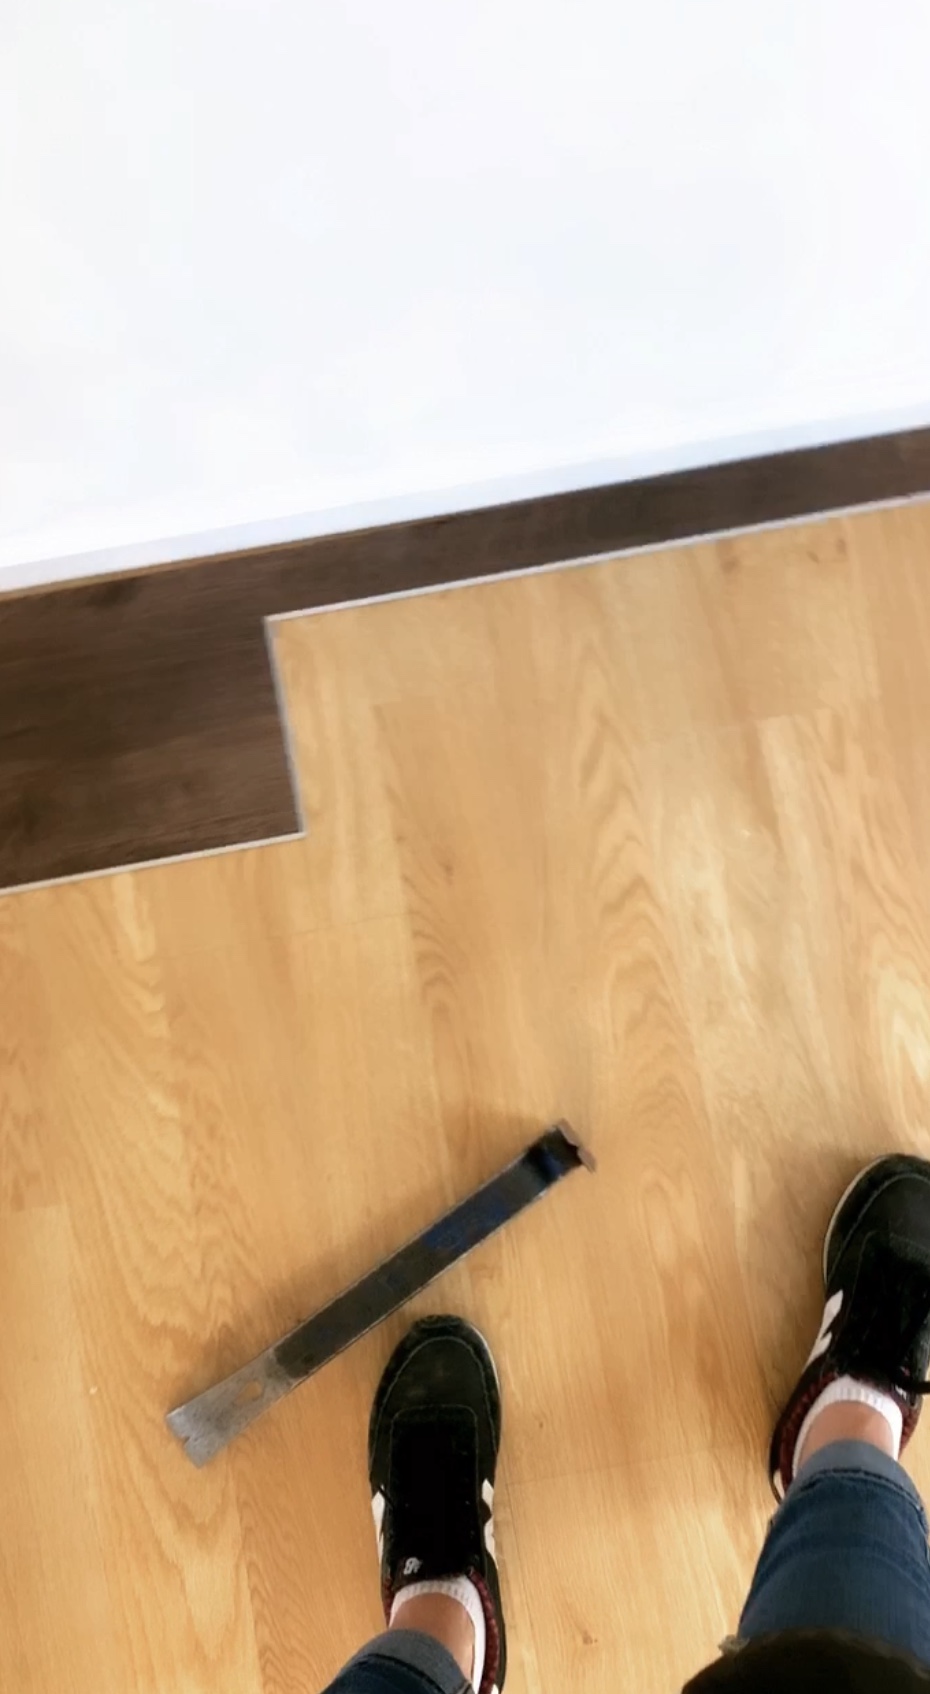
The Rigid Core Vinyl Flooring is designed to be a floating floor. This means it can be installed right over other vinyl flooring, tile floors, subfloor, concrete, wood floors, or almost any other flooring. However, you will need to make sure that there are no high spots or low spots in the subfloor.
Another thing to keep in mind…you don’t have to remove your baseboards (trim) to install this floor if you don’t want to. You can install the floor, keeping it 1/4 in away from the wall to allow for expansion and contraction, and then install quarter round trim to cover the edges. For full details on this please visit HERE.
Important Tip: When you receive your Rigid Core Vinyl Flooring, be sure to let it acclimate in a climate-controlled space for at least 48 hrs before installing.
Getting ready to install the Rigid Core Vinyl Flooring:
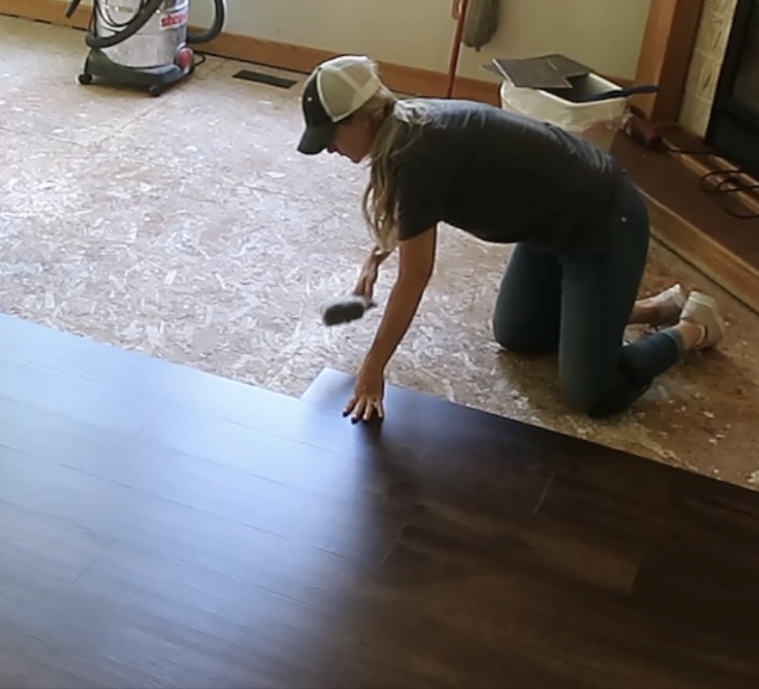
After the flooring had acclimated and all the carpeting had been removed from the living room, we took extra care to make sure all the floors were as clean as possible. We also cleaned the floors as we worked simply because dirt and dust would get brought in on our shoes as we worked. It wasn’t a big deal. We just kept the shop-vac handy and used a small dust broom as we went.
Because this flooring already comes with a foam backer you don’t have to worry about rolling out any kind of foam roll under this flooring…simply clean your subfloor and you’re ready to install!
Choosing a starting point:
First, you’ll need to decide on a starting point and which direction you’d like your floor planks to run. Once you’ve decided where to start be sure and use a chalk line to make a mark on your subfloor. This is a floating floor and when you get started it will move around a bit until you have enough planks down to hold it in place. Having a line on the subfloor to refer to will ensure that you keep the flooring running straight as you work. Remember, the floor will NOT be tight to the wall. You MUST keep 1/8-1/4 inch distance from all walls to allow the floor to float. It needs room to breathe so make sure you’re careful not to make that mistake!
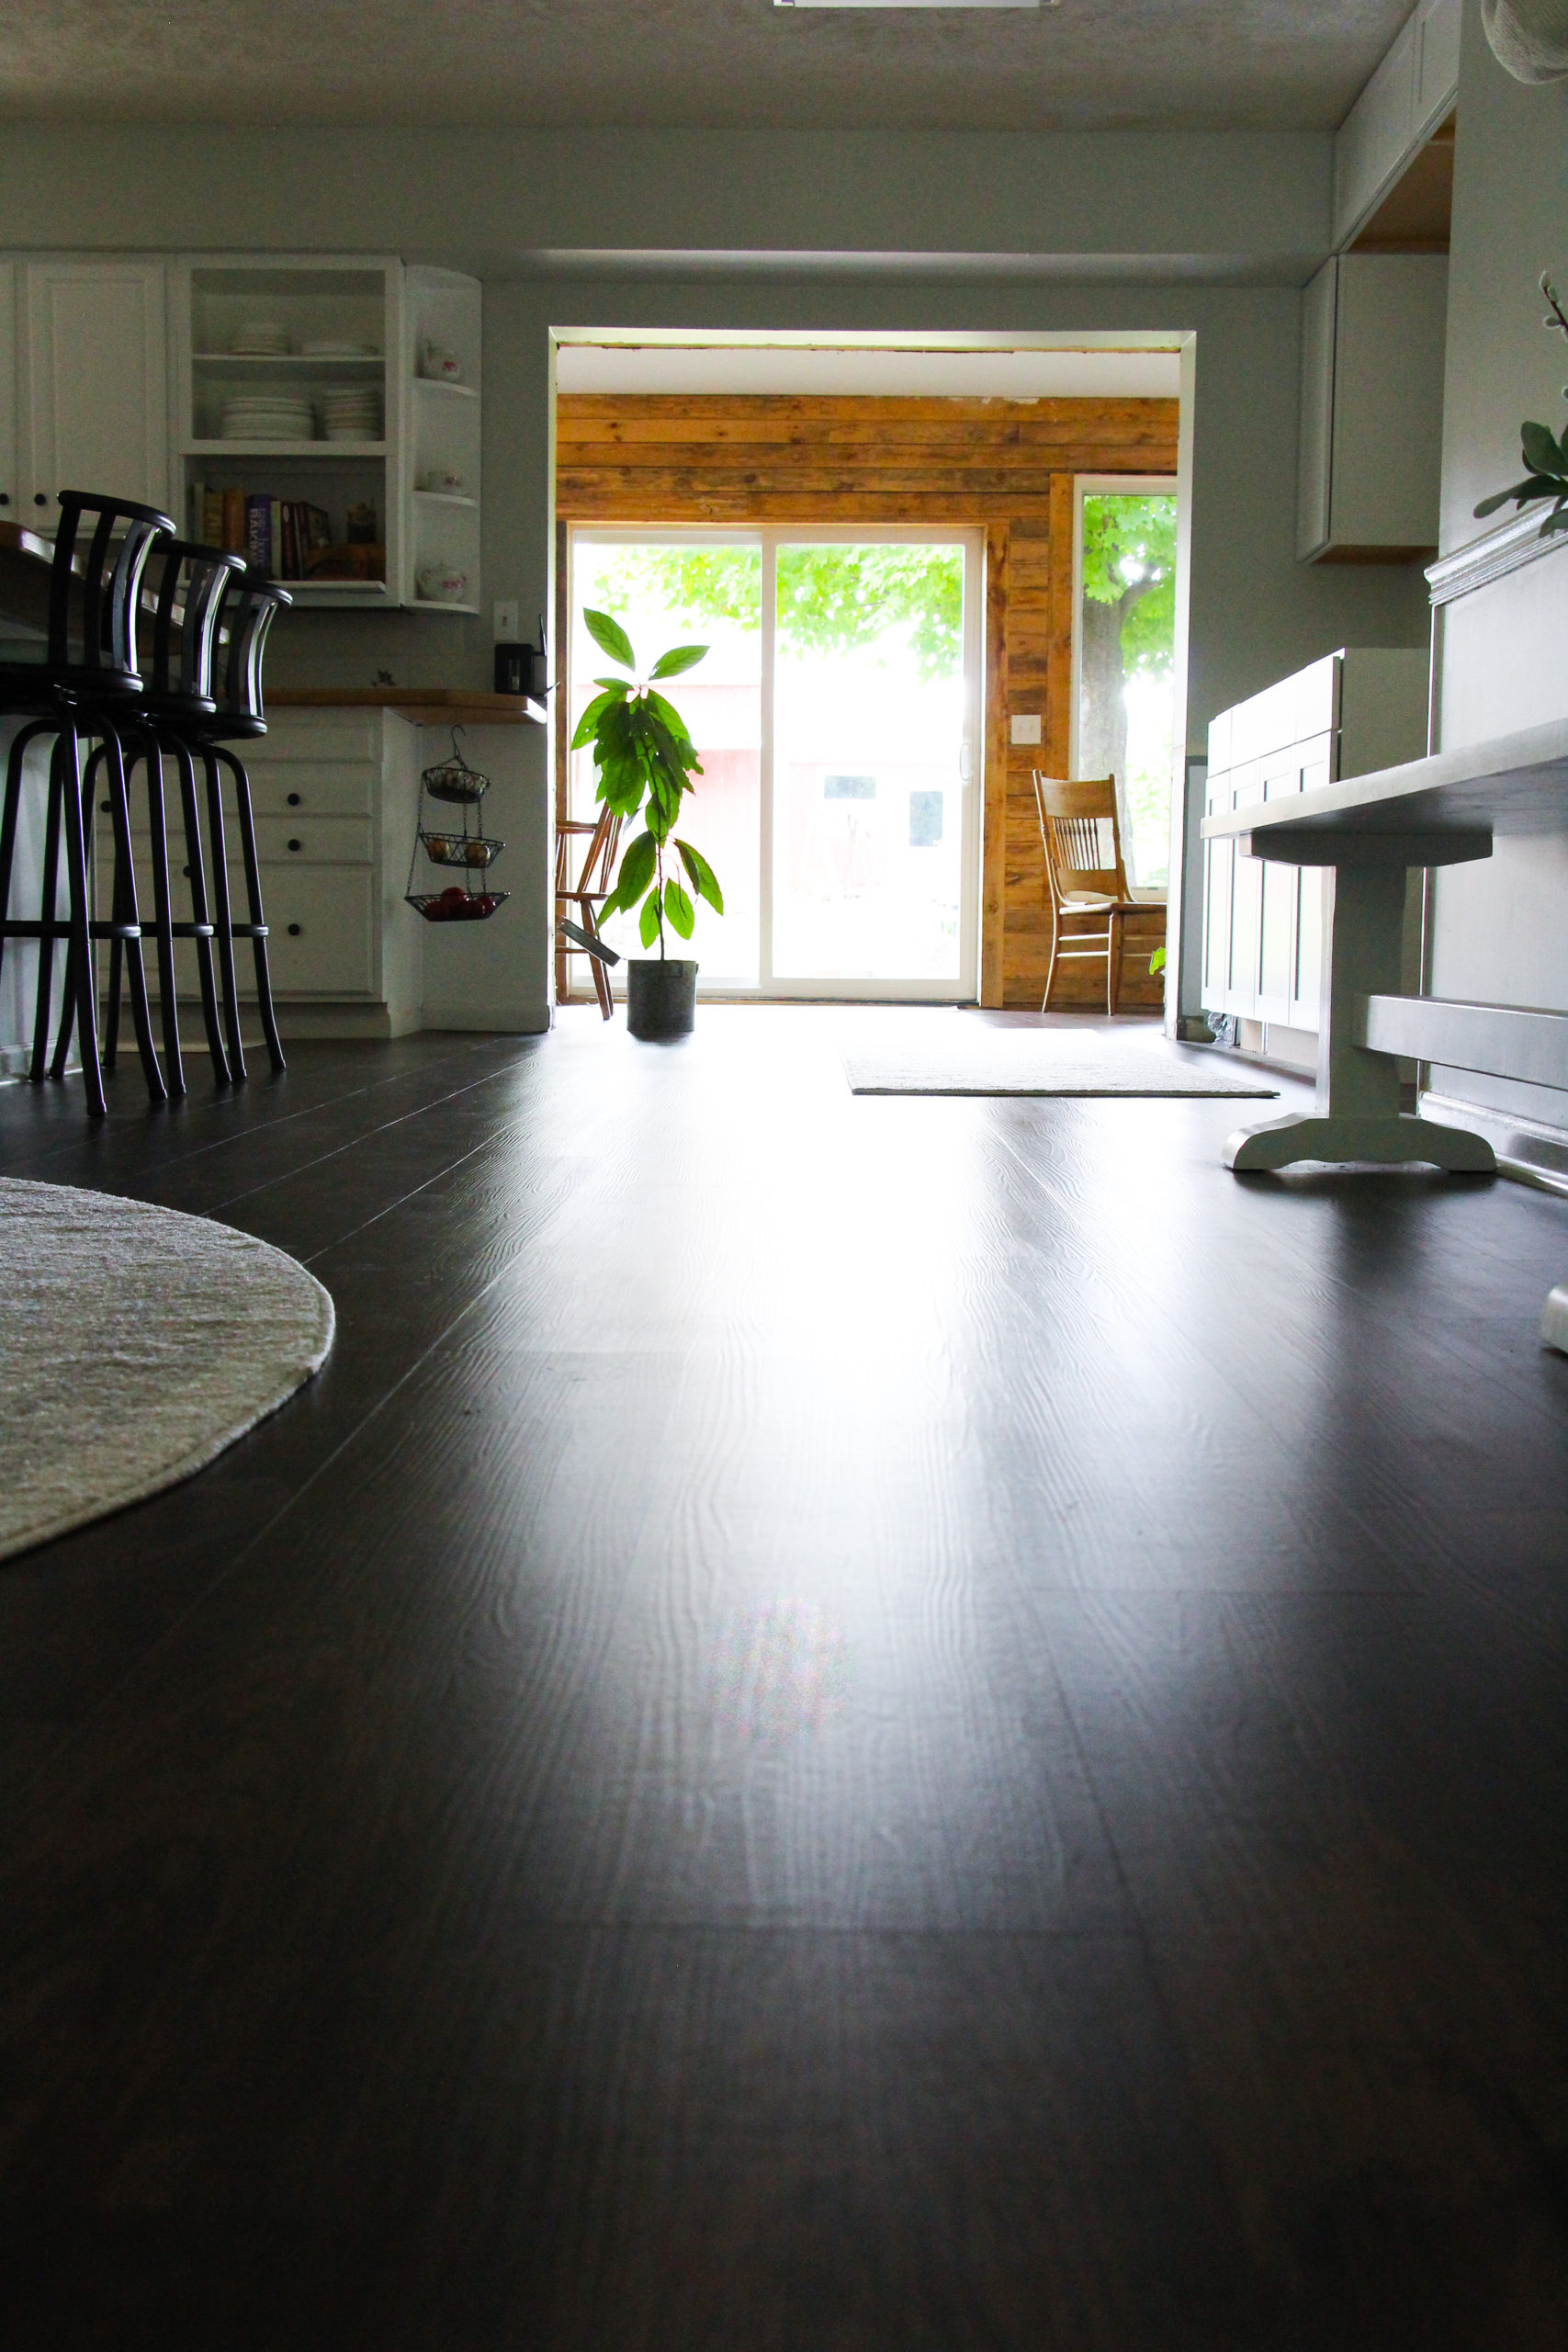
Because we were installing the flooring on the entire main level we could have run the flooring either way. This home is very large and is an open concept. Because the front door and the back door are in line with one another, we decided to run the plank from the front entry straight through to the back entry. This way we had a straight run of flooring from the front of the home all the way through to the back of the home!
Vinyl Planks Layout:
You will want to make sure that you lay out a few planks and that they are ending in the right place on either end. You don’t want to end up with too short of a piece on either end. Preplanning is key. Once you have your layout figured out it’s time to install the first few rows.
How To Install The Rigid Core Vinyl Planks:
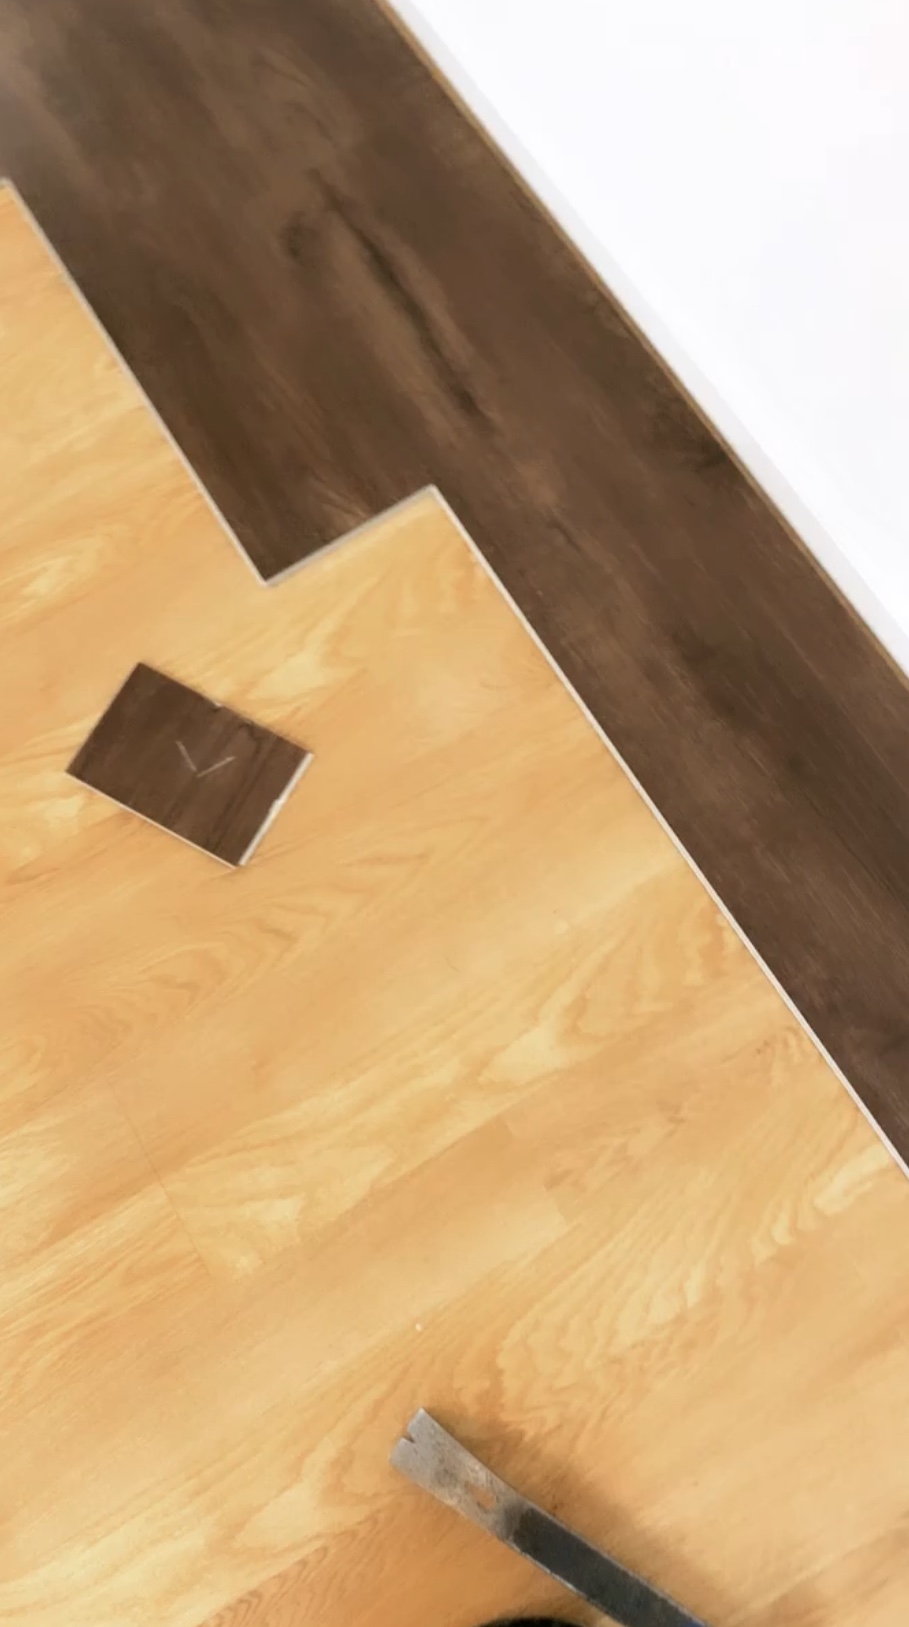
Each plank has a tongue and a grove on all four sides. The planks need to be installed from Left to Right. In the top left corner of the room, put the first plank in place so that both the head and side seam grooves are exposed. Starting from the left with the tongue facing the wall.
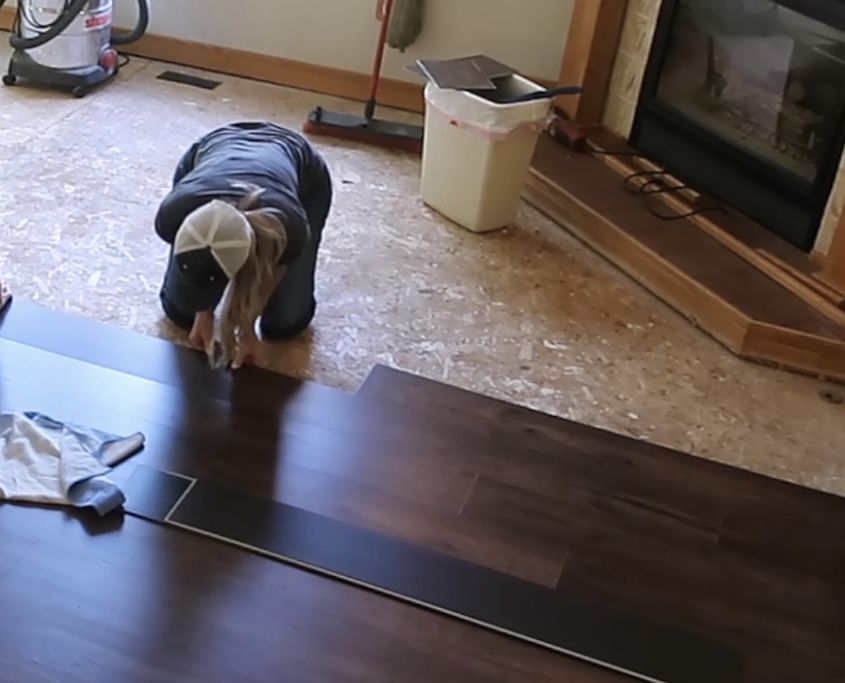
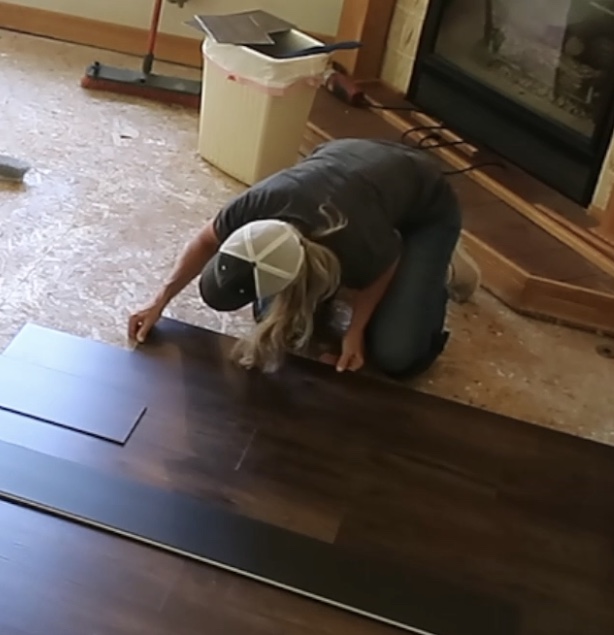
Next, place the short end tongue of the second plank into the groove of the first plank. Push down firmly making sure that you feel that “click” as it falls into place. If you don’t hear/feel the click, it is not completely in place. A few times I got ahead of myself and thought the plank was fully installed but had to go back and push a little more to get that “click”. If the flooring doesn’t quite seem to be laying flay, that may be your problem.
As you come to the end of a row near the wall you’ll need to use your saw to cut the plant. Make sure to use the cut pieces from previous rows as the starter plank on the next row to reduce waste! Once you have a few rows down you’ll be amazed at how fast the flooring will go down in the remainder of the room!
For full installation instructions be sure to visit the SELECT SURFACES RIGID CORE VINYL PLANKS installation guidelines page HERE.
Things To Keep In Mind When Installing Your Vinyl Plank Flooring :
- The planks are 48 inches. long. You will want to pay attention to where you place the seems. I like to keep the seams at least 8″ apart from row to row. I also make sure not to repeat the seem any closer than every 4th plank.
- When you reach the end of a room you will most likely need to rip the last planks a long way to fit the last row in. Keep in mind that you may need a table saw for this.
- Even though this luxury vinyl is waterproof and perfect for bathrooms and kitchens…make sure NOT to place this flooring under any cabinets in bathrooms or kitchens. Remember that this flooring is a floating floor and needs to be able to expand and contract with the changing temperatures.
- You may want to pay attention to the pattern on each plank to ensure that you are not placing to exact pieces right next to one another. This flooring does have a large variety of boards in each box…so this wasn’t really a problem. It’s just something to be aware of.
- When your new flooring is all installed it’s time to either add back the base molding you took off or add the quarter round molding. Make sure to nail the trip to the wall or to the other trim…NOT to nail the trim to the floor.
- For information on cleaning your beautiful new floor click HERE!
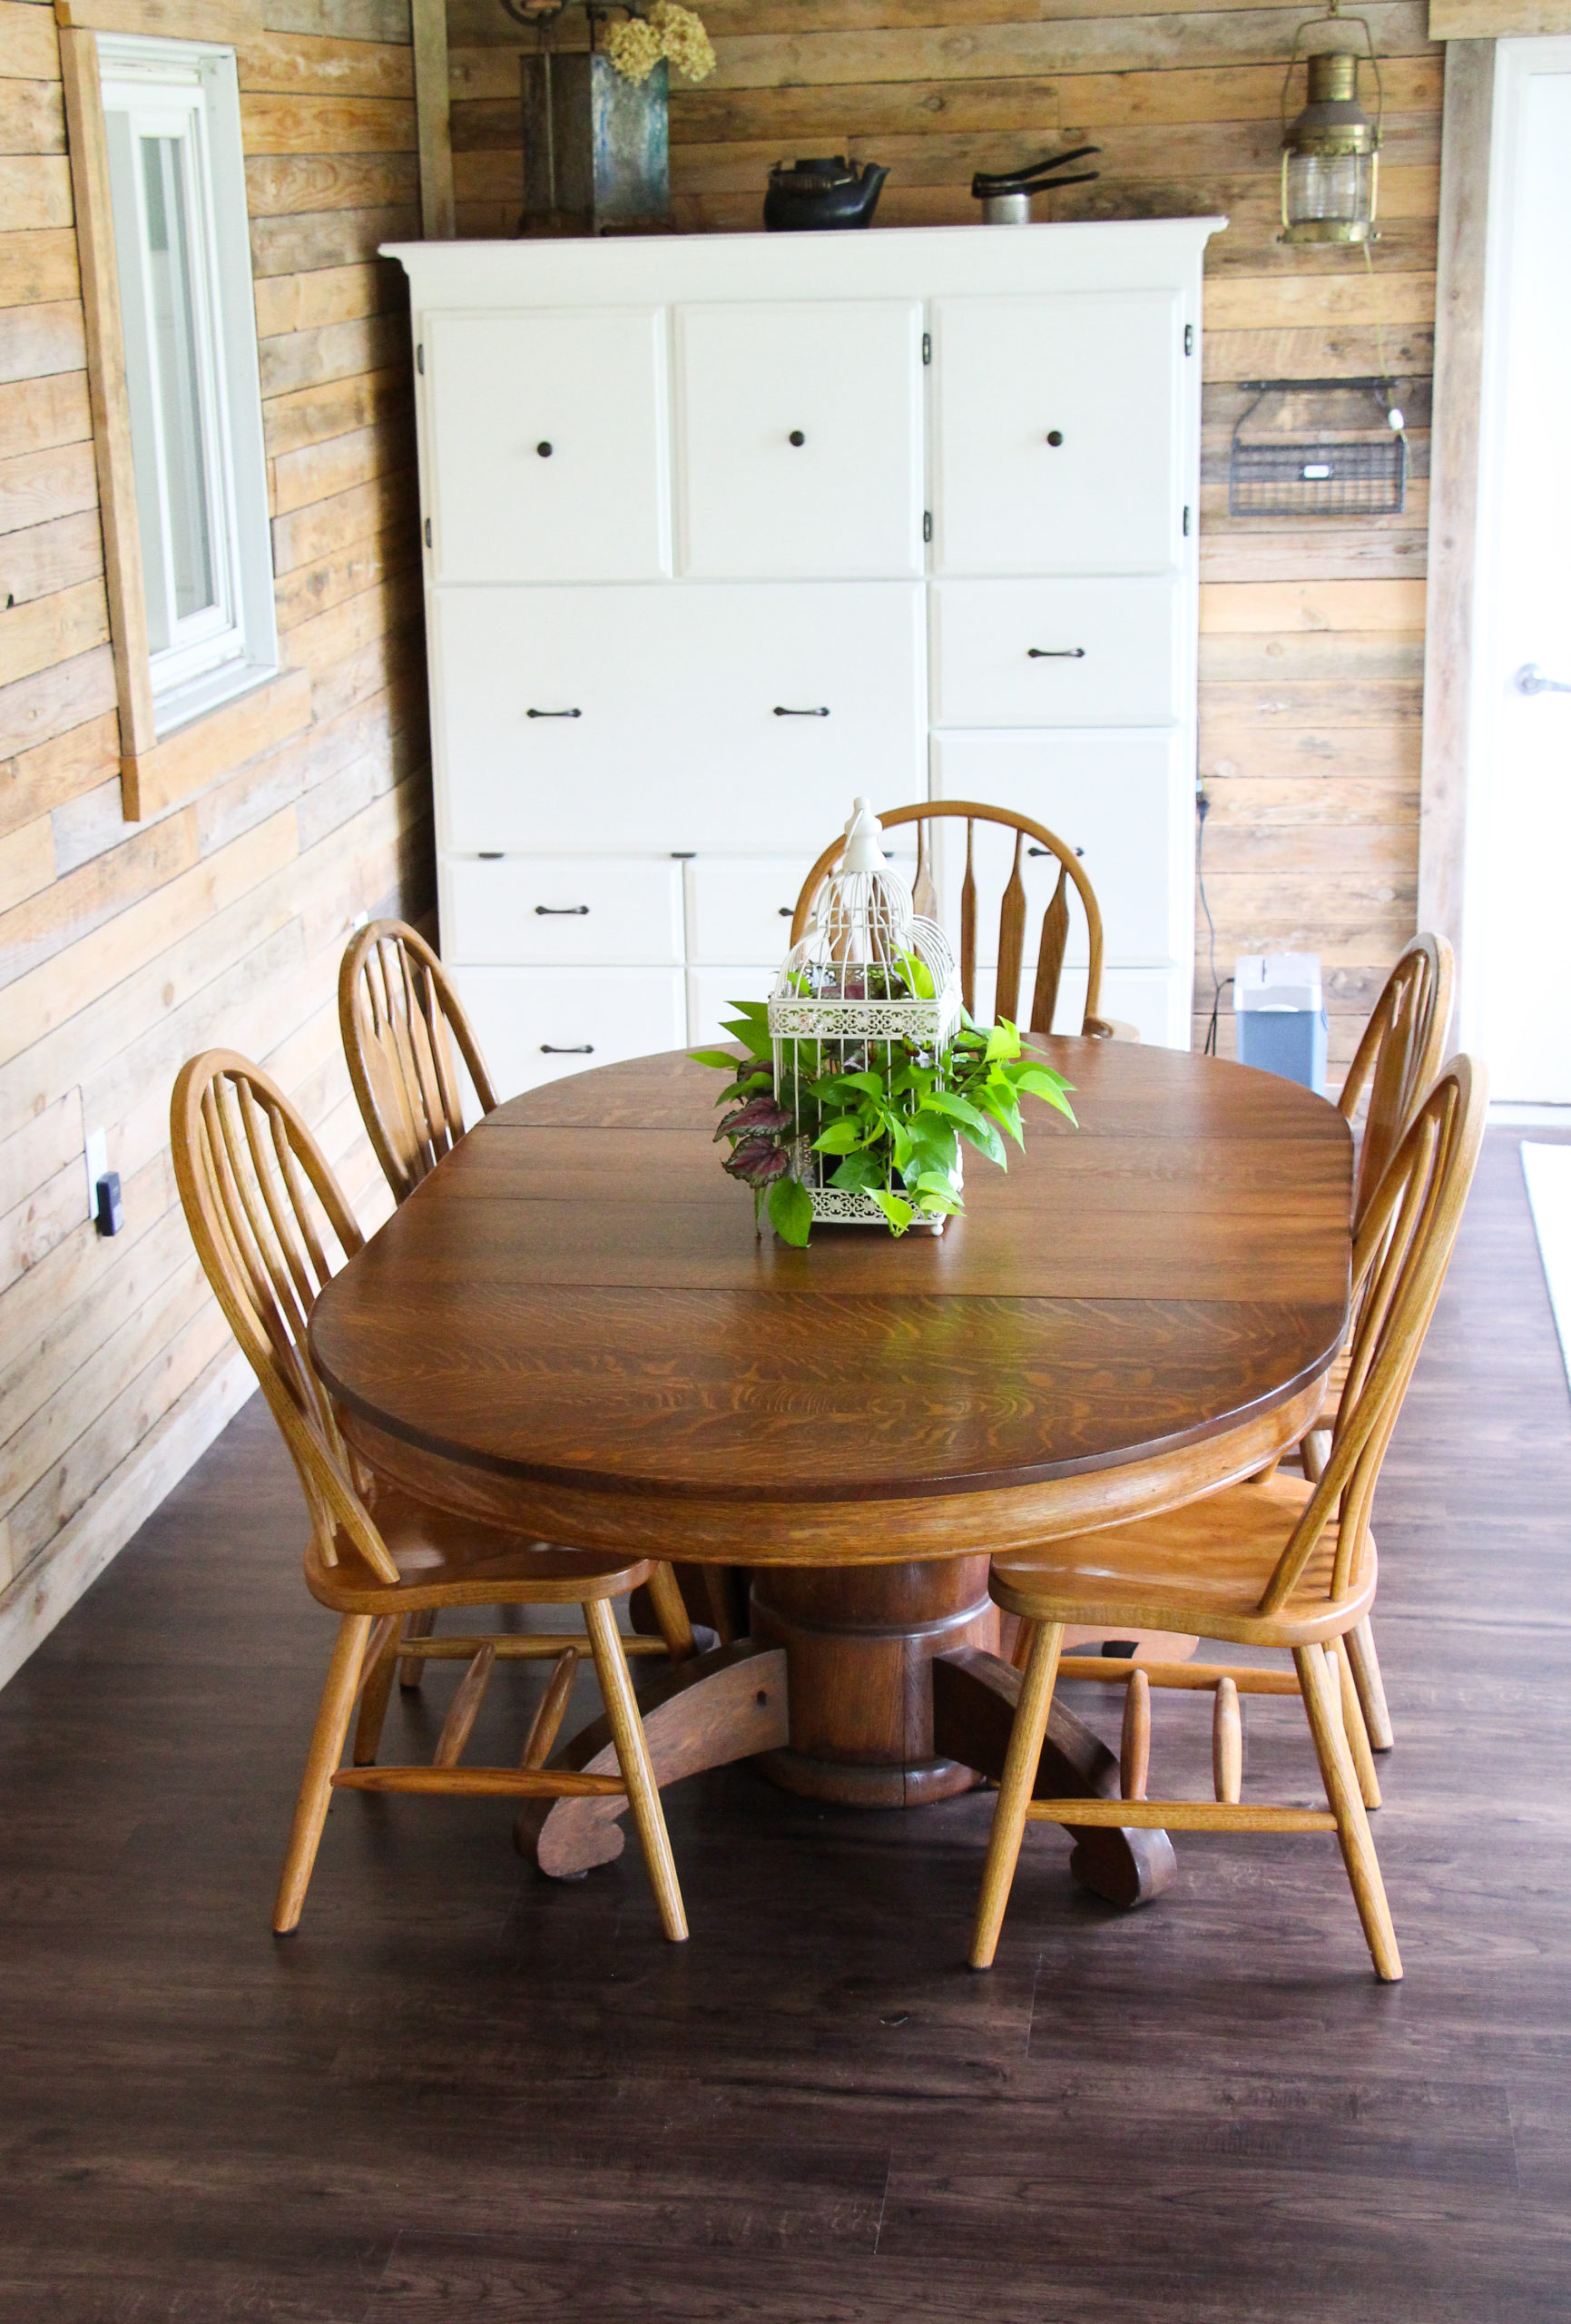
The New Rigid Core Luxury Vinyl Flooring from Select Surfaces was the perfect choice for this home! Between the new paint and new flooring, my childhood home is looking amazing!
*DISCLOSURE: This blog has affiliate links and paid promotions. All shared information is my own opinions and these opinions do not reflect the ideas, ideologies, or points of view of any of my affiliates. I am not claiming to be an expert in any field and I always recommend you refer to manufacturer instructions and seek the counsel of a professional. Readers that follow any advice written here, do so at their own risk. All blog posts here at Fletcher Creek Cottage are authentic to the best of my knowledge. It is possible to have occasional errors or the absence of some key information.


This is so helpful! I may do this is our kitchen. Do you think it’s OK for a fridge and appliances and such to be on top of it? I know you said not to lay under cabinets. Thanks!
Hi Christine,
I’m so glad it was helpful! The manufacturer’s instructions do NOT recommend having appliances on top of the flooring. The floor is designed to float and it will expand and contract. If you have a super heavy appliance on the flooring when it expands or contracts, it could buckle up near the appliance causing the flooring to no longer lay flat.
Your folks are fortunate to have you! As a mom who is so thankful for our SIL who helps us out, I know they must be too. Thanks for the good tips and highlighted instructions.
Thank you, I feel the same way about them…so fortunate to have each other! My parents are SO generous and it felt amazing to be able to help them with a project this time!
[…] replaced all 5 different floors with Vinyl Plank Flooring (click HERE to read all about how we installed this […]