I am so excited for todays post! After countless requests on Instagram, I am finally sharing the steps to how we built our interior barn doors!
When we built our home I didn’t have a blog and wasn’t sharing on Instagram so I wasn’t taking very many pictures of the process. Whenever I share a photo with our doors in the background I always get asked “do you have a tutorial for those doors?”. Since I get asked about our doors so often, I’m going to try and do my best to explain how we built our interior barn doors so that you can too!
Deciding To Design and Build Our Own Barn Doors:
We were nearing the end of our DIY house build project and it was time to pick our doors. Our main floor is pretty small at just over 900 sq ft. We were concerned about noise and privacy. We knew having solid wood interior doors would help block sound from room to room. We also really wanted doors that had some character and looked custom. We shopped around and found all doors like that were WAY out of our price range!
We had never built a door in our lives but we did have a large stack of 2×6 pine on hand that we wanted to put to good use. My husband was confident we could make some pretty cool looking doors ourselves so I sketched up a design and we went from there.
Materials List To Build Our Z Barn Doors:
- 1x4x8 (2 per door)
- 2x6x8 (six per door)
- Screws (box of 2 ” wood screws)
- Wood Glue
- Caulk (paintable/stainable)
- Sander
- Clamps
- Tape Mesure
- Drill
- Table Saw
- Miter Saw
How We Assembled Our DIY Barn Doors:
- Run each 2×6 through the table saw taking only a blades width off either side so that the boards will lay closer to one another after assembled. If you skip this step the doors will have the manufacturers rounded edge and it will not look as good.
- Cut all 6, 2×6 boards to length. Our doors opening is roughly 7 ft tall so we made our doors 6ft, 8 3/4 inches tall.
- Lay the boards out on your garage floor or a workbench and double-check that they are all EXACTLY the same length.
- Run a bead of wood glue all down the side of one 2×6 (on the 2″ edge) and then clamp it to another 2×6.
- Repeat this step for all the following boards making sure that the boards stay perfectly flat.
- After you secure the final (6th board) you will add the “Z” to the front of the
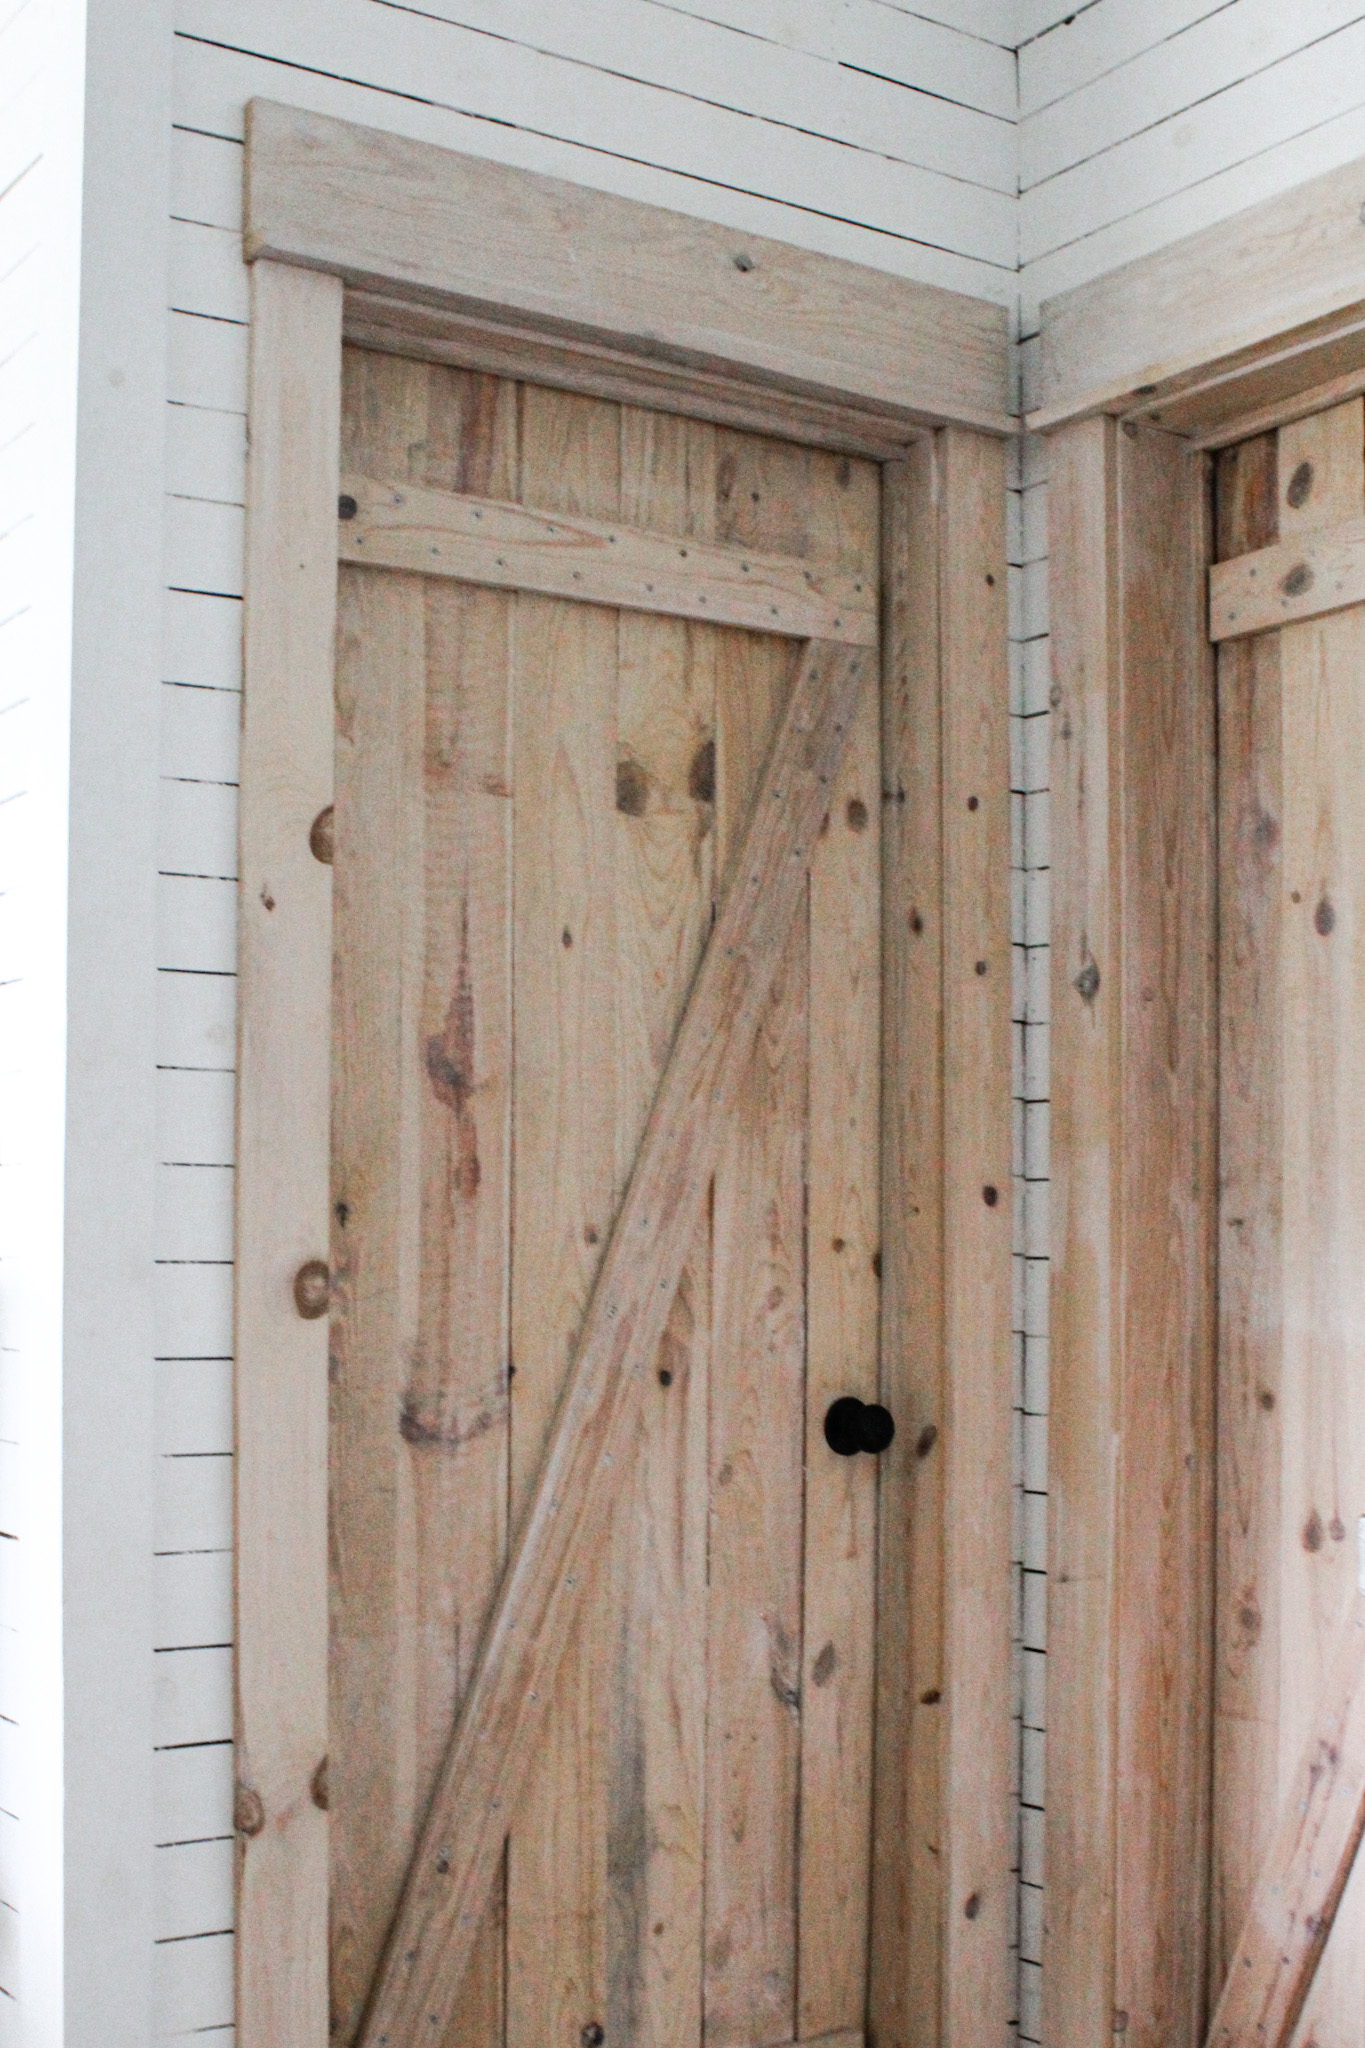
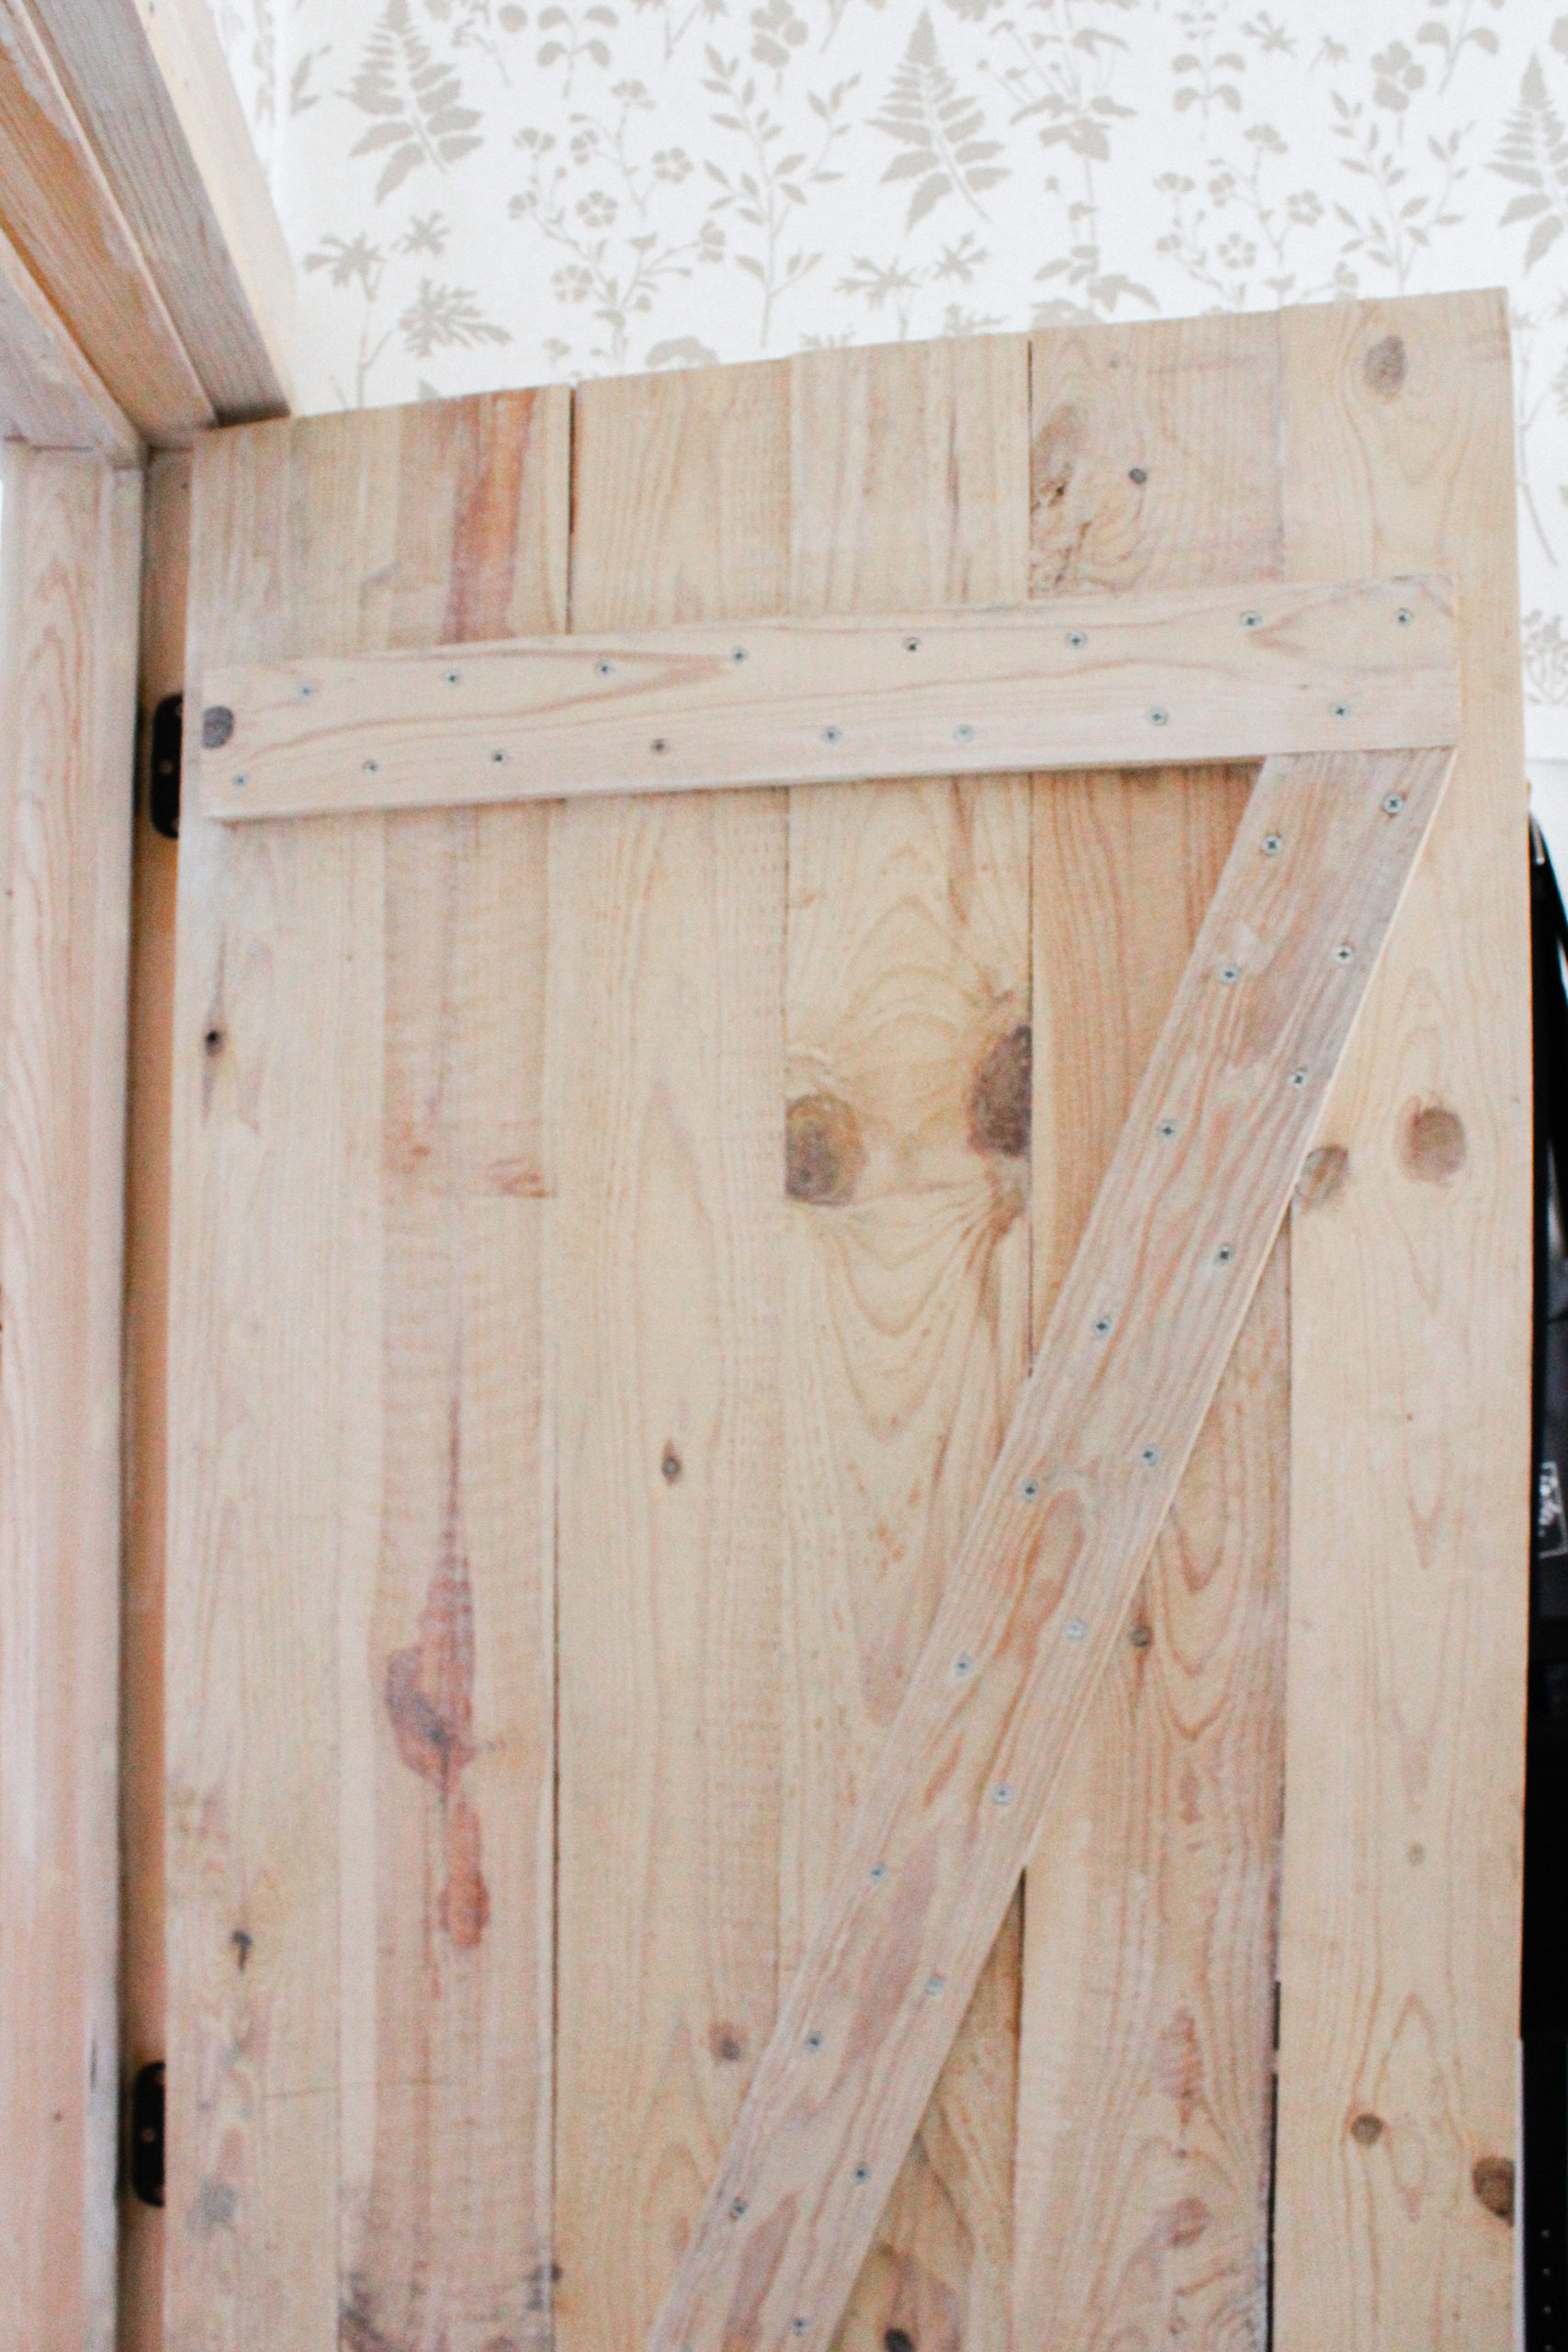
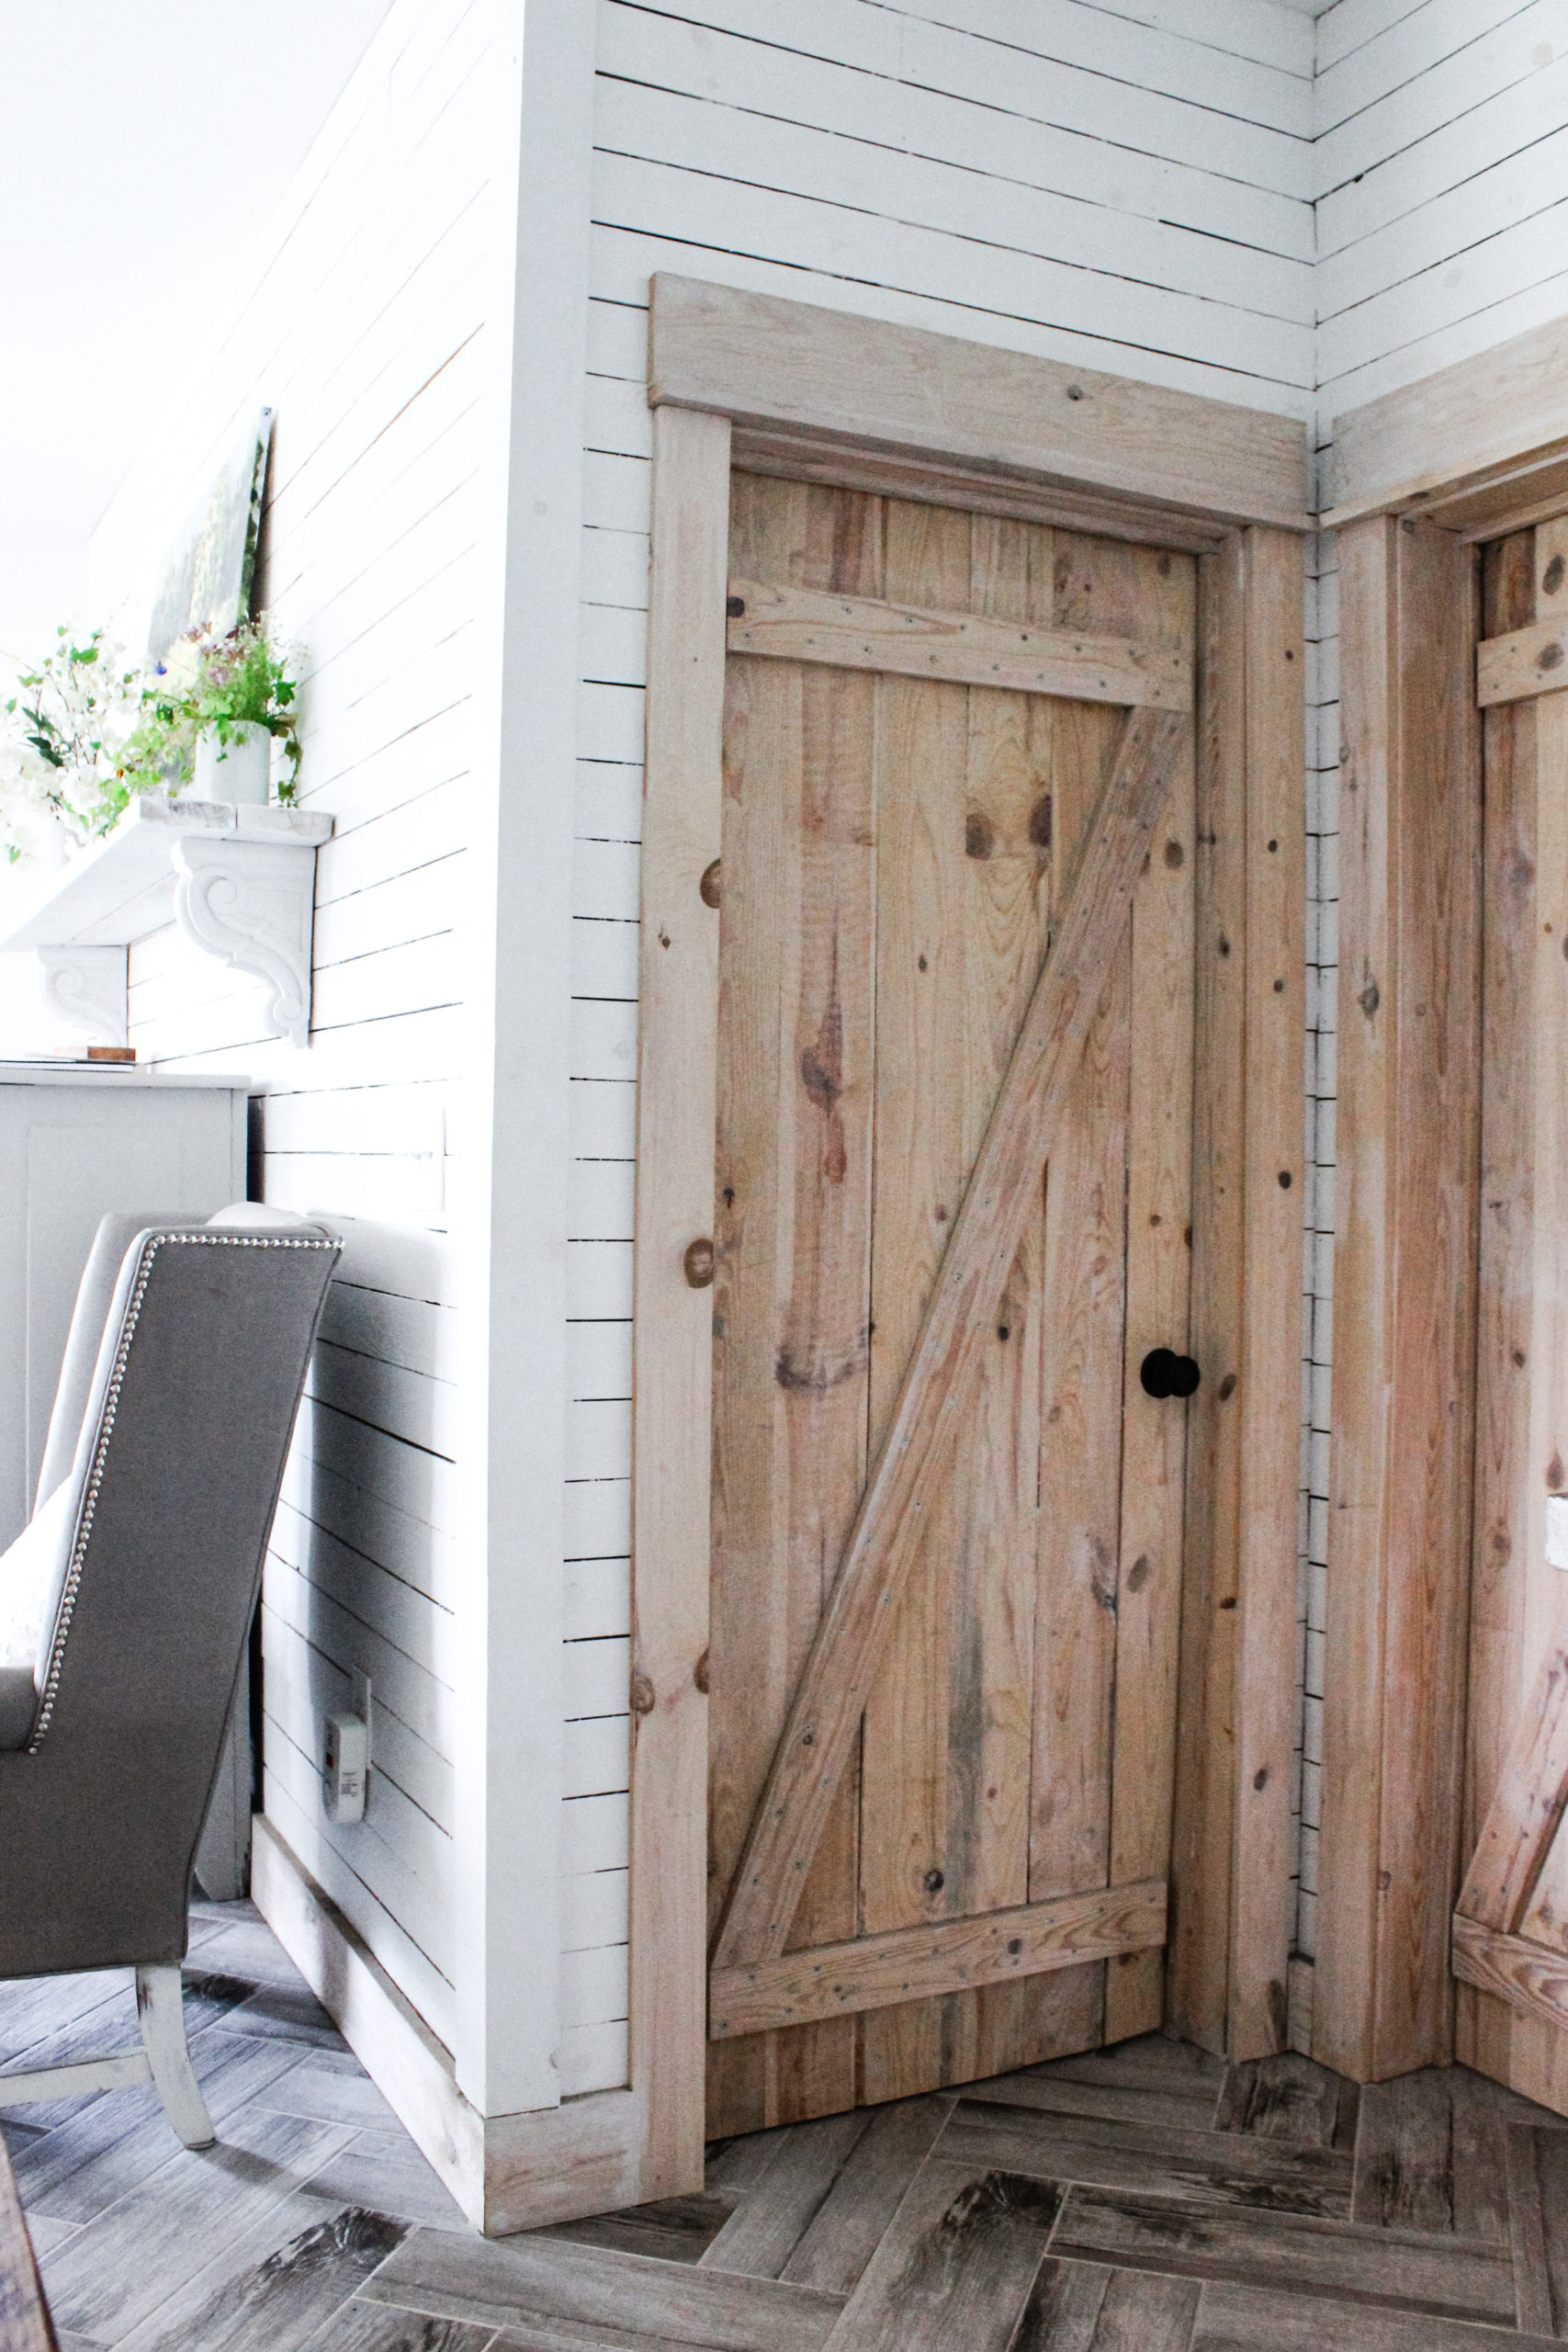
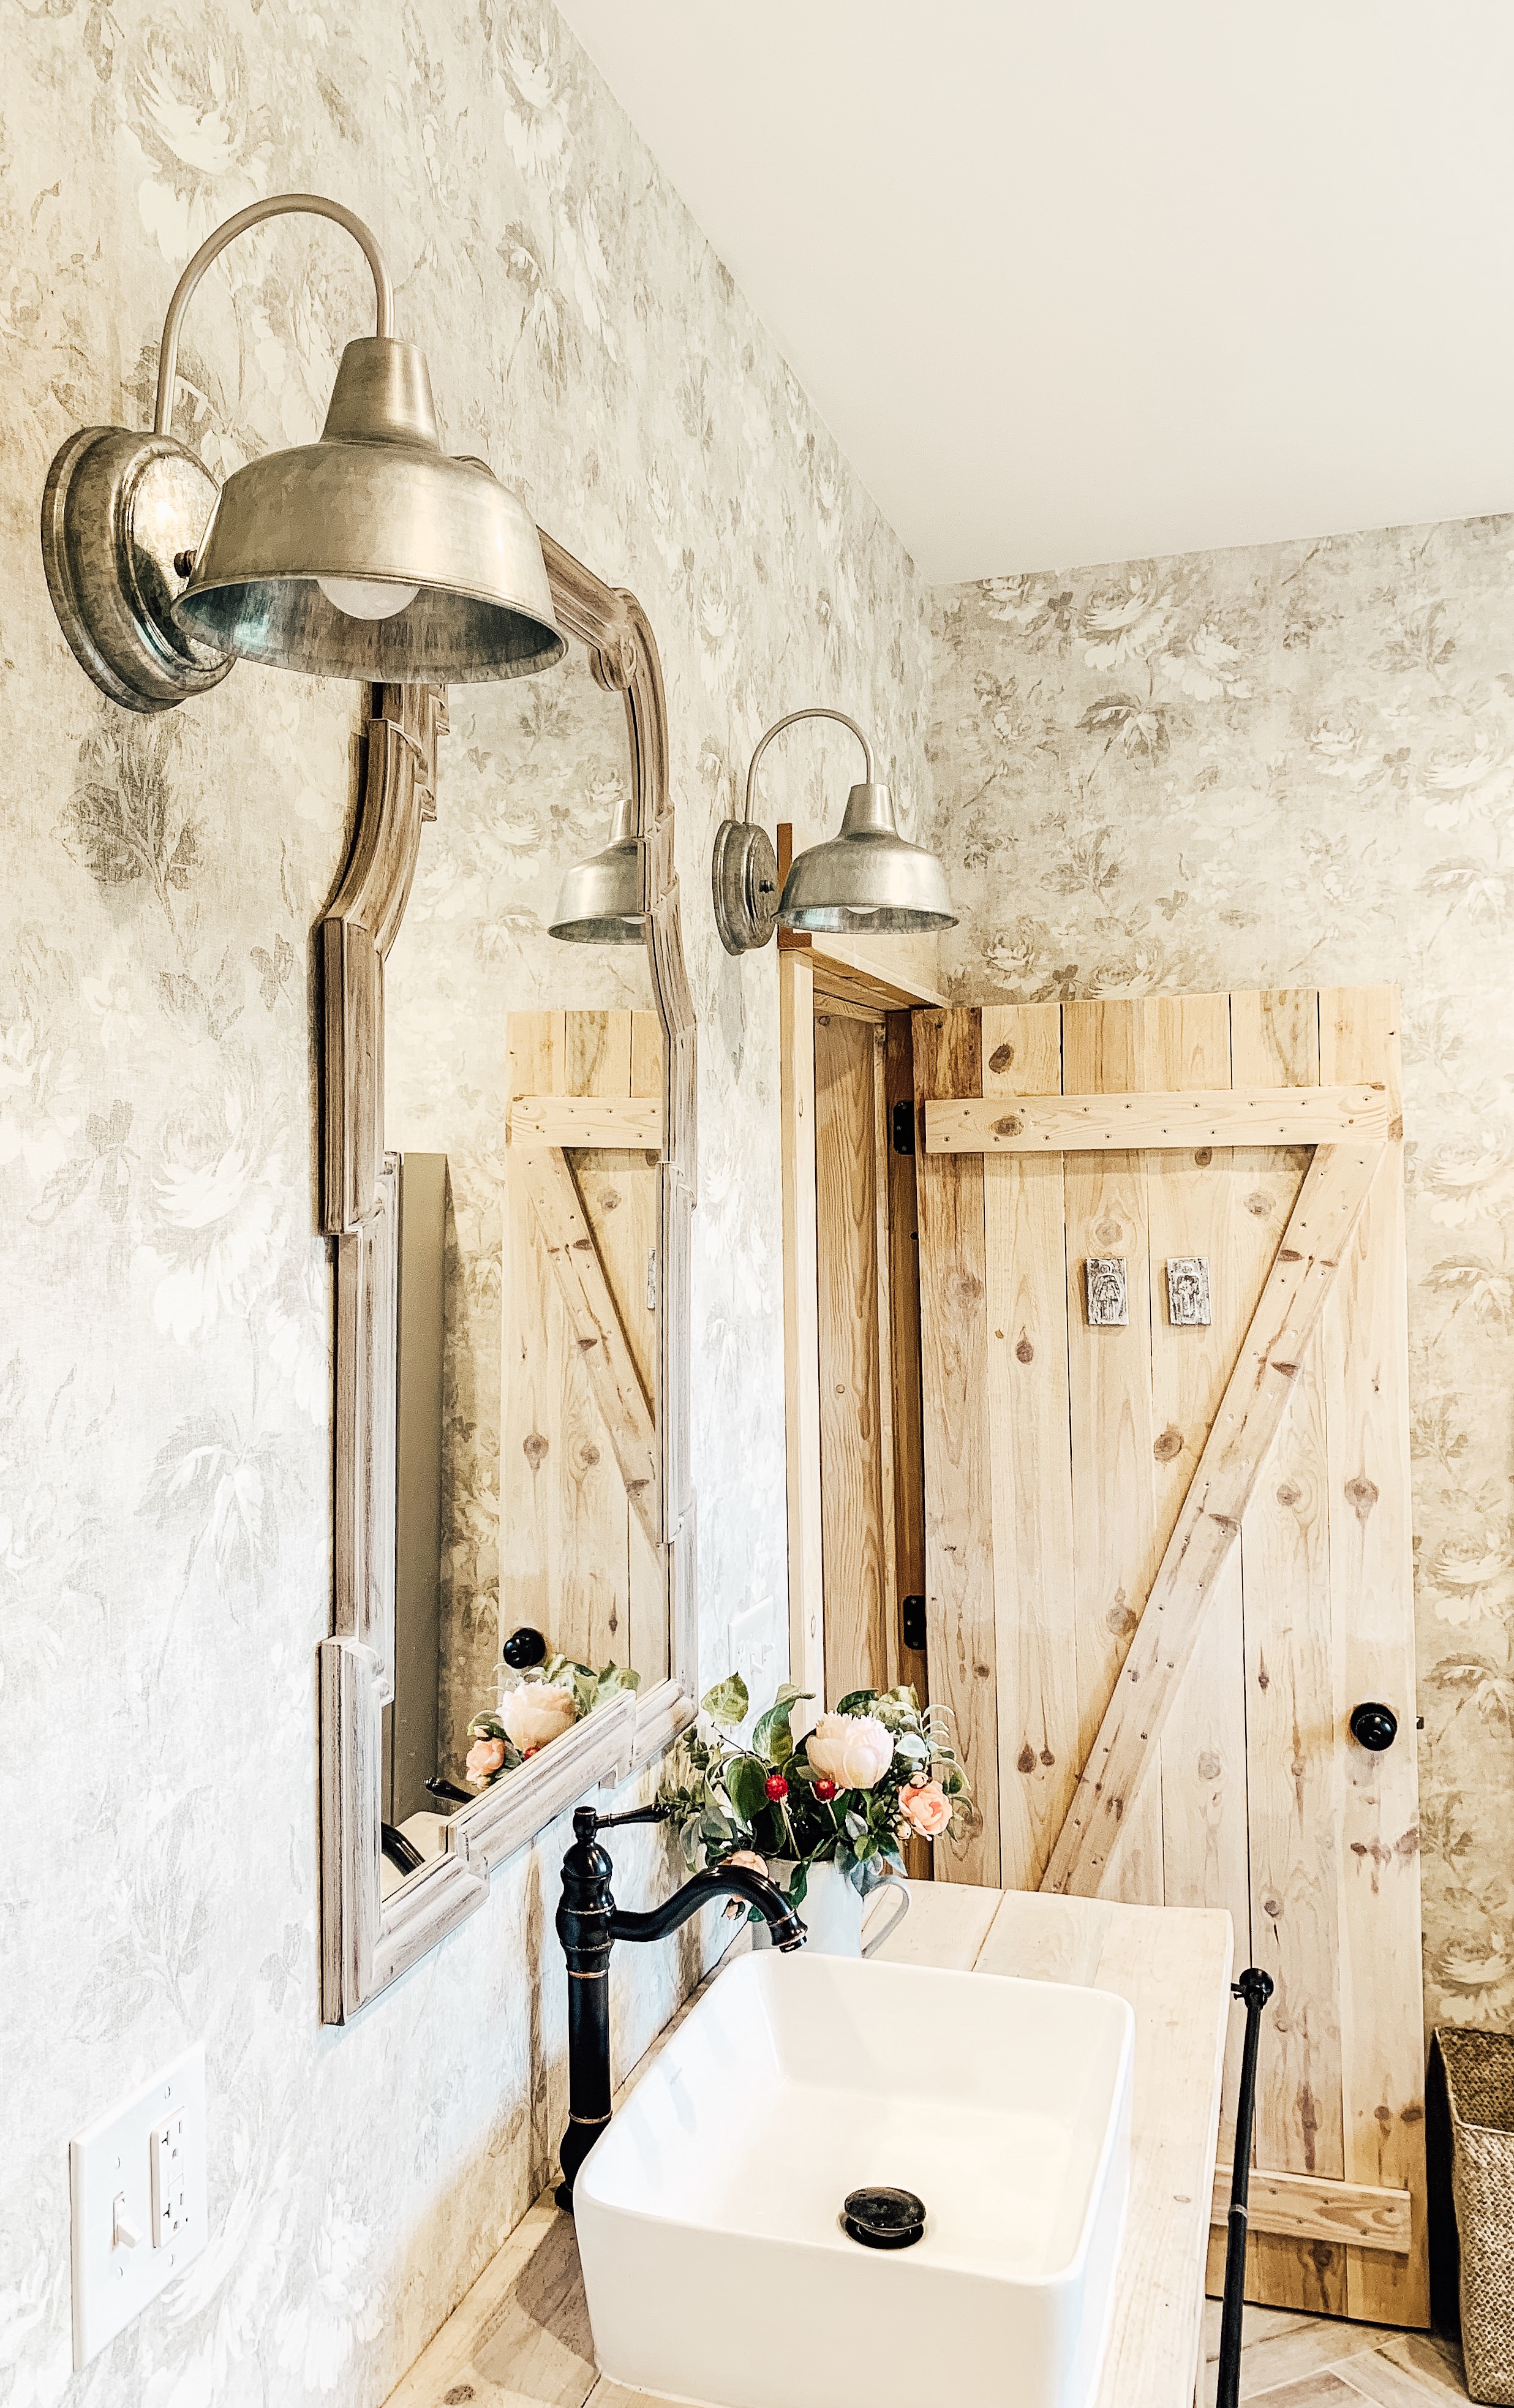
- I liked the look of the “Z” not going all the way to the end of the door, so we held it back 1 inch but made sure to span all 6 of the boards. The “Z” is what really holds the door in place. We opted to only put the “Z” on one side of the door and they have held just fine. You could add a “Z” to the backside of the door if you wanted to (but it doesn’t actually need it for support).
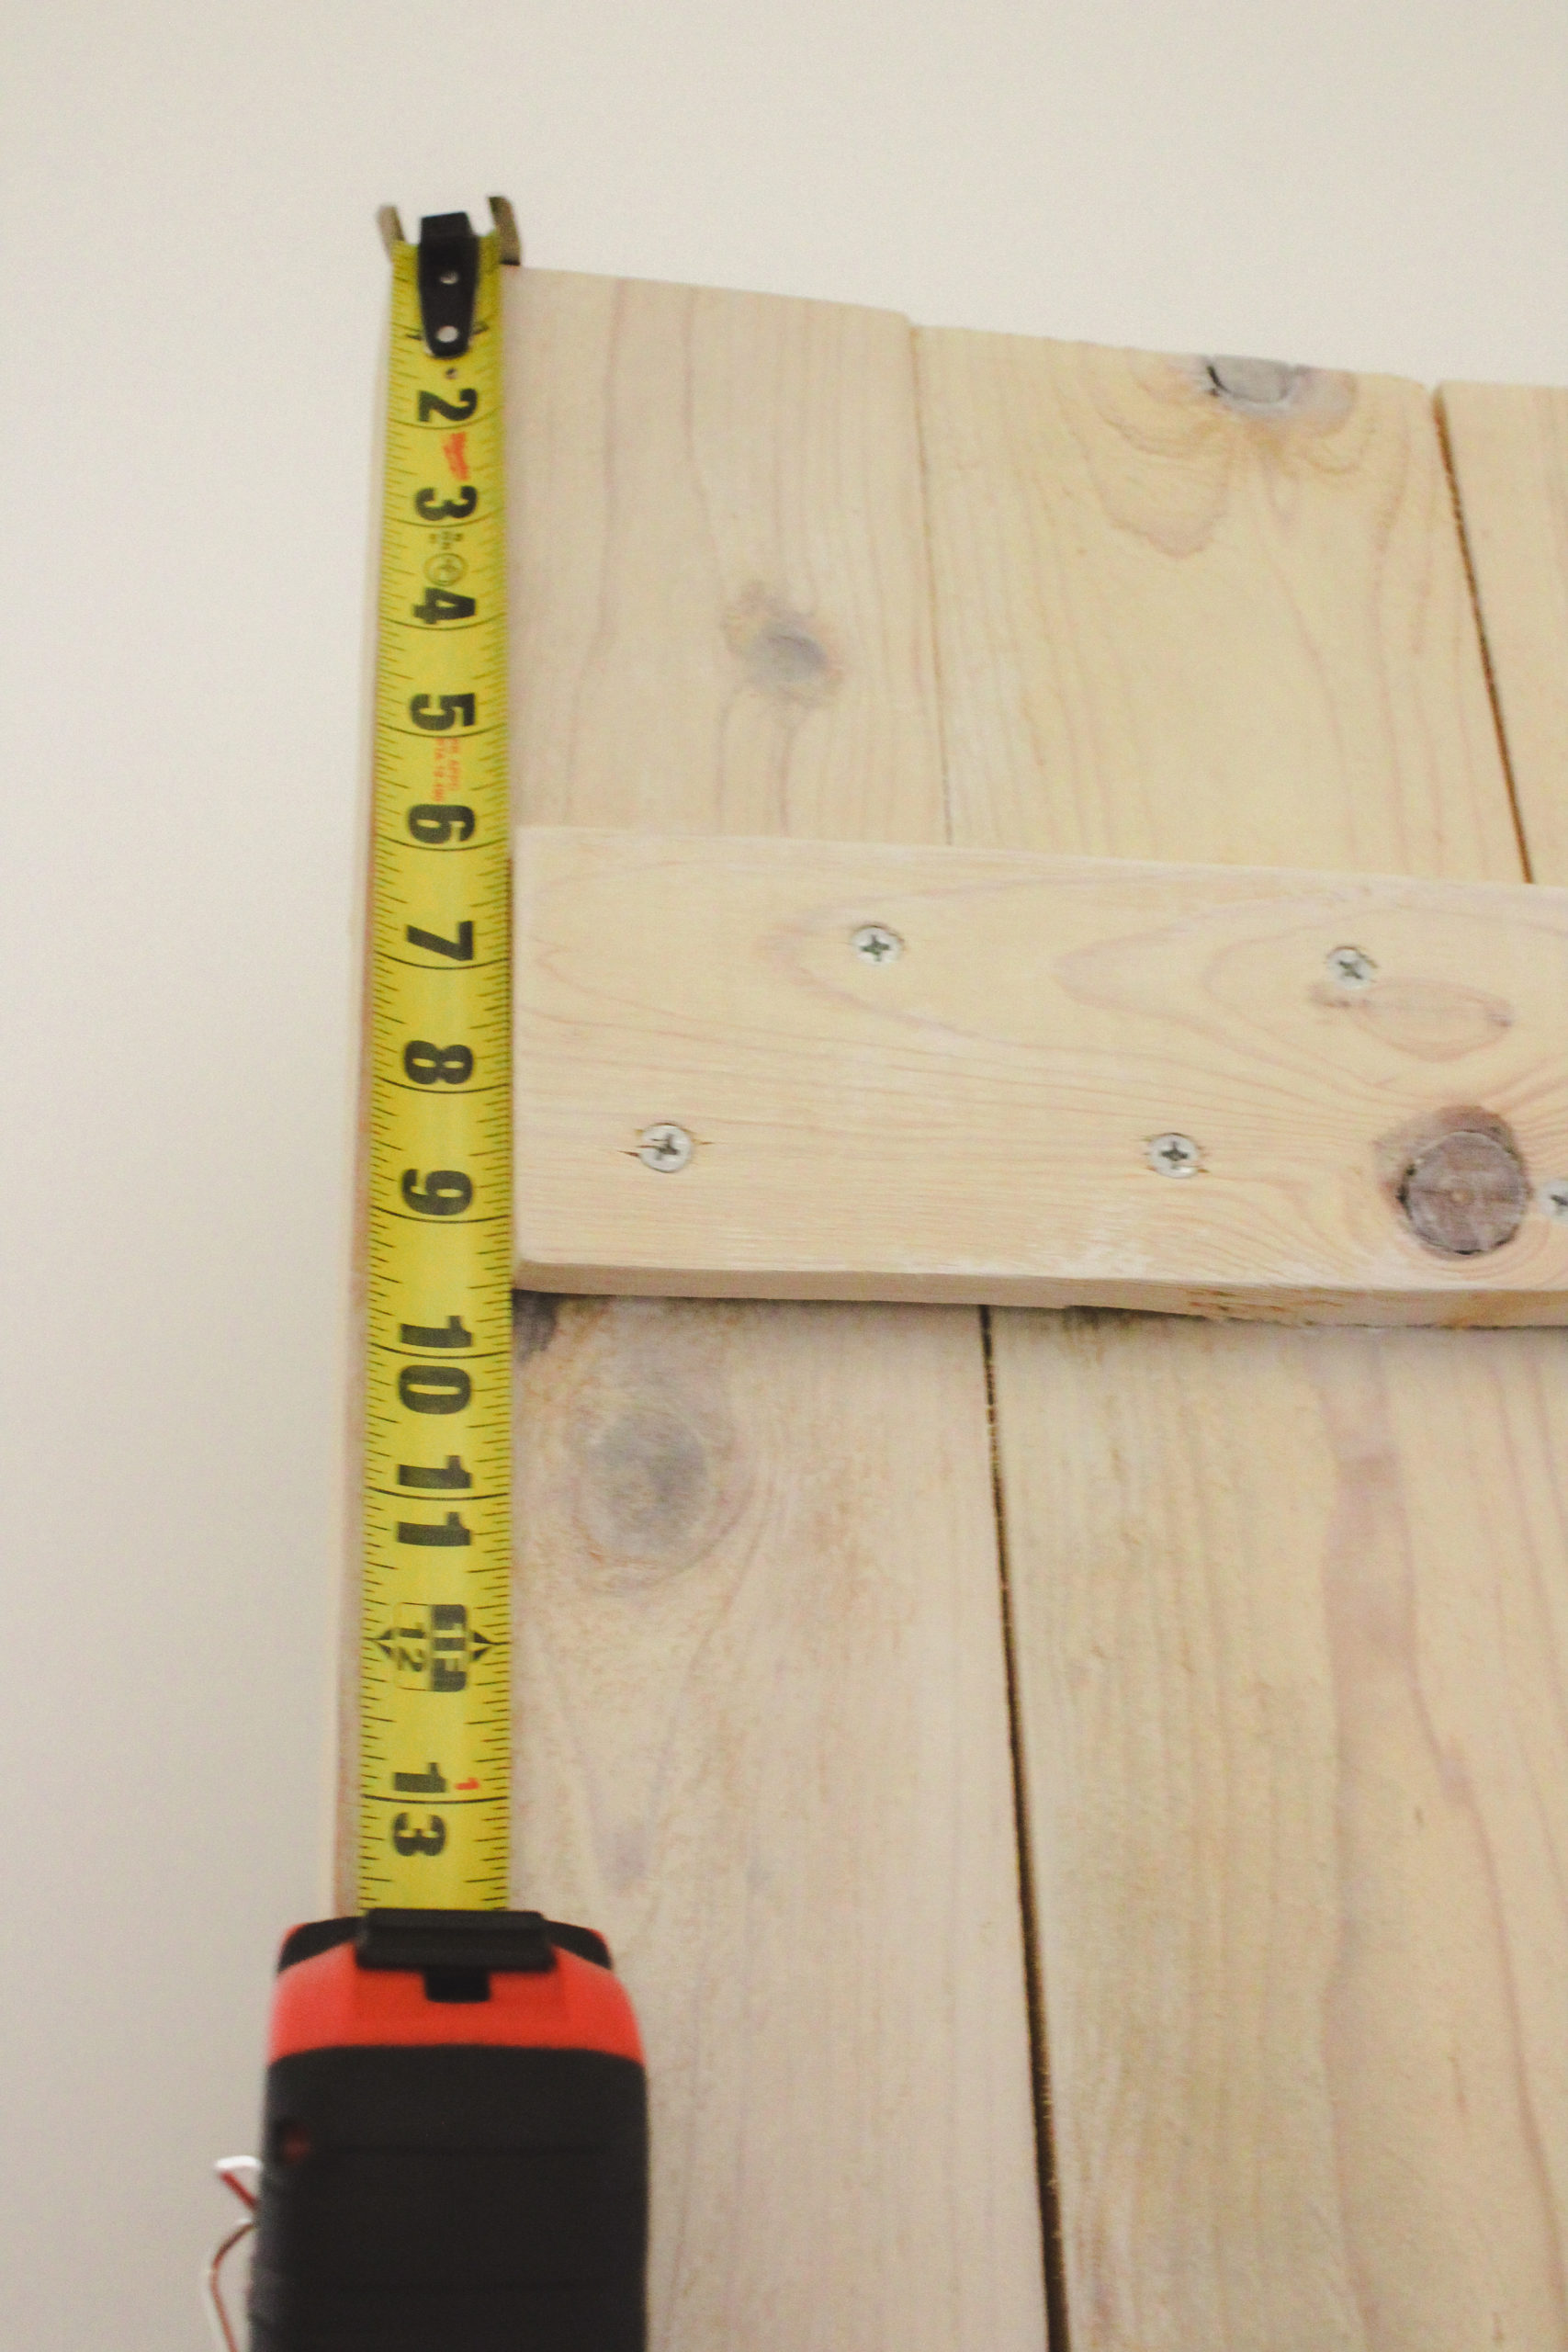
- Next, place the top and bottom 1x2s boards SIX inches from the top and bottom and screw them to the front of the door. We took a measurement from corner to corner and cut the center of the “Z”. Then we screwed that in using the 2-in screws. We used a total of 65 screws in the entire “Z” part of the door. I was worried they’d stand out and be too noticeable, but they really blend in and look great.
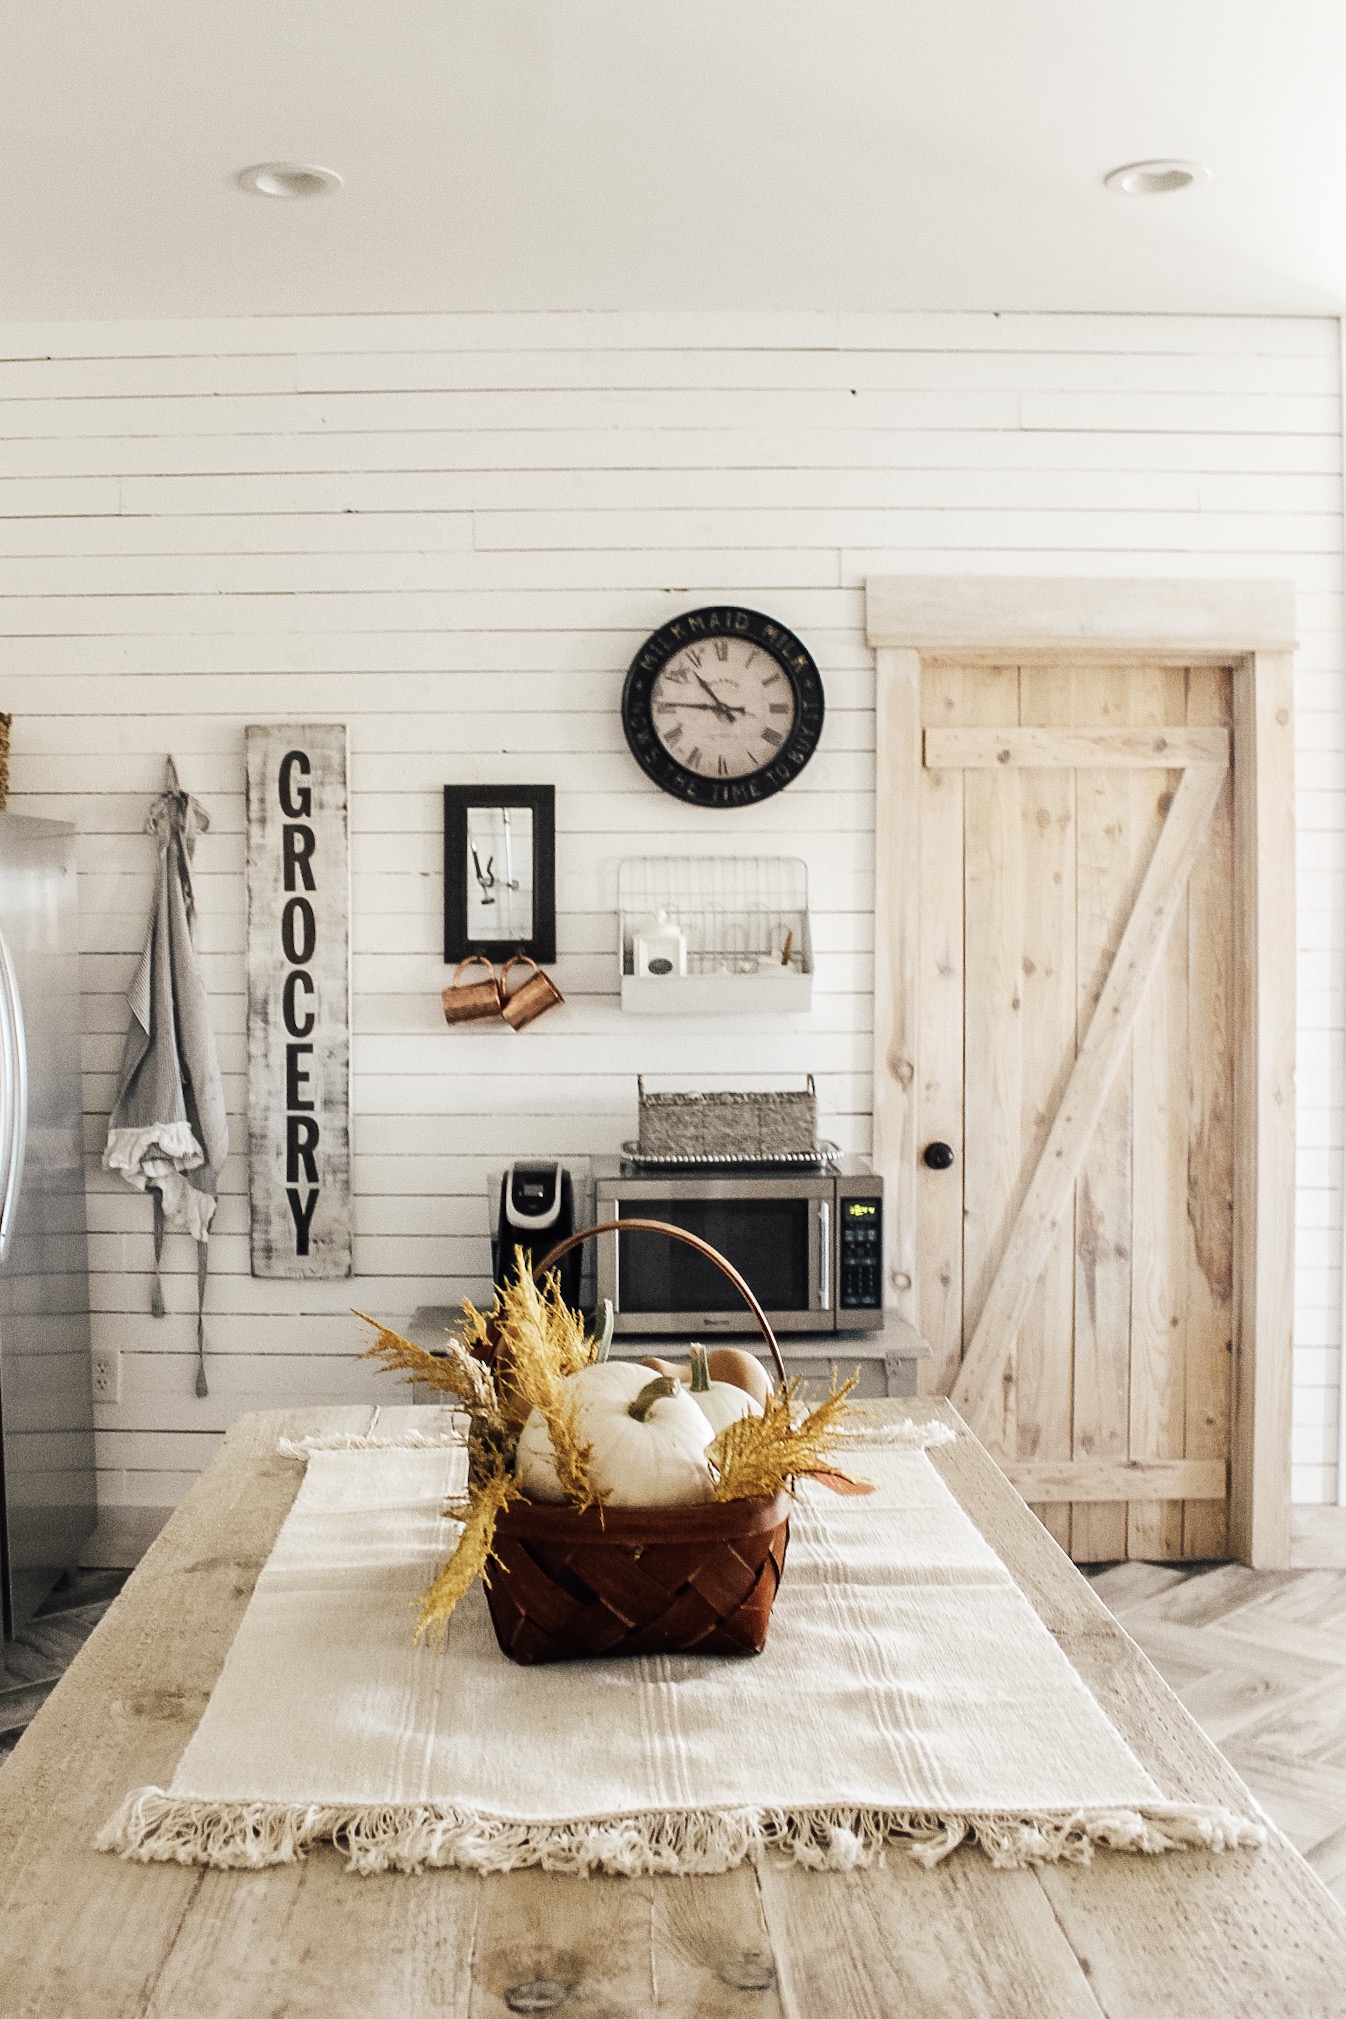
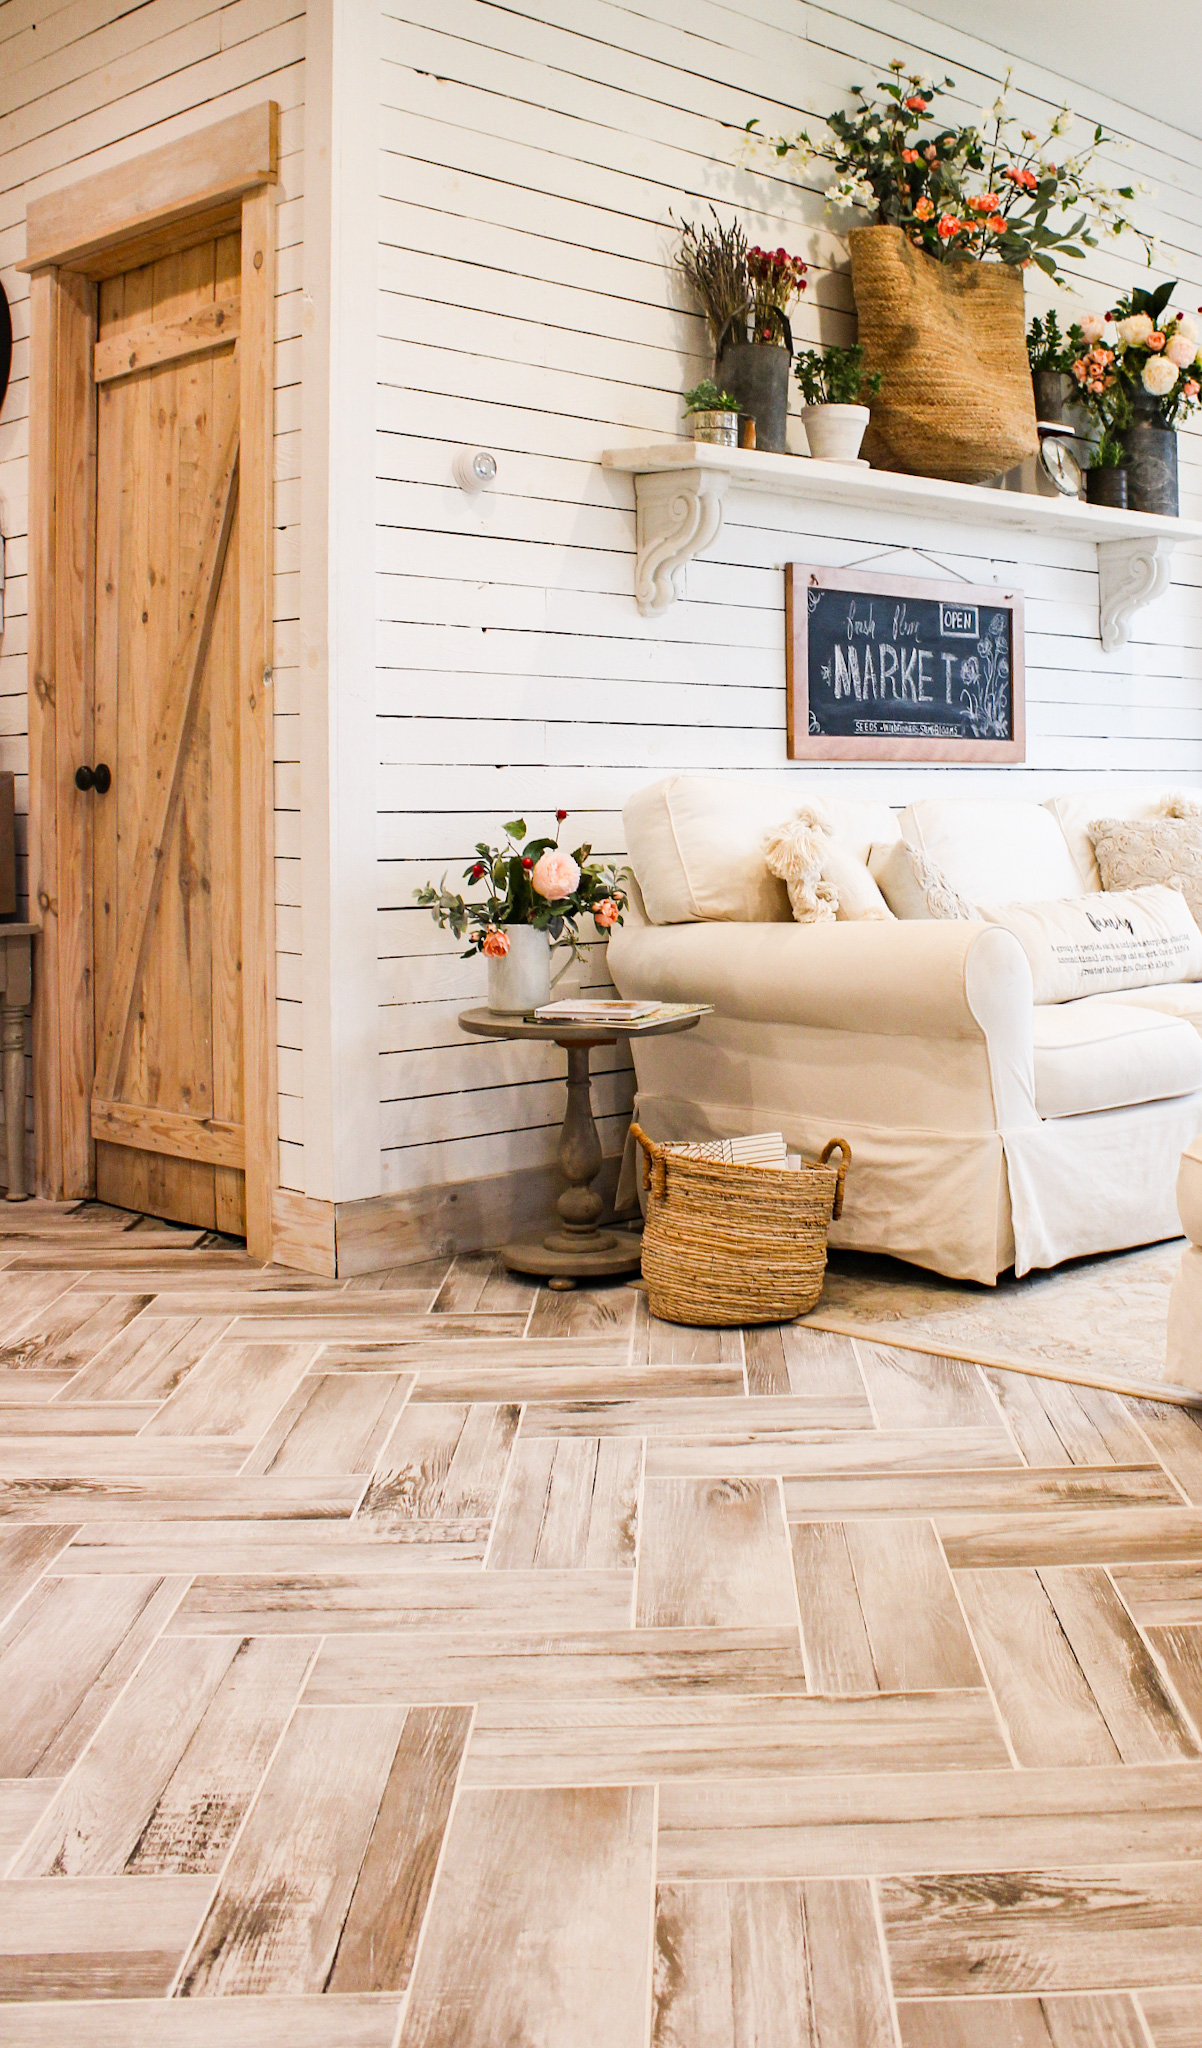
- We left the clamps on the doors until they had fully dried. I gave them a light sanding, filled a few hairline cracks with some caulk, and then whitewashed them just to take the yellow out of the wood.
Things You’ll Want To Consider Before Building Your Own Barn Doors:
Pros:
- Saving $$$- That was our main reason for building the doors. Building our barn interior barn doors saved us a few thousand dollars!
- You can make the doors to fit any size opening.
- You can make your doors as custom as you want by changing the stain/paint color of the doors.
- The doors are very solid and will last a long time…and yes, they help keep sound out!
- They add a ton of character!
- You can build them fairly quickly (the glue needs to dry, but after that, they can be hung)
Possible Cons:
- If the lumber you purchase is not completely dried down…the doors may warp over time leaving small cracks, especially if you live in a climate where the temperature fluctuates a lot from winter to summer.
- If you don’t have a wood plainer (like we don’t) you will have to run the 2×6 on a table saw to get a straight edge and to ensure a tight fit between boards.
- If You do end up having shrinkage in the boards you can fill the cracks with caulk. We stained our doors with a whitewash and used an off white caulking in a few places where the boards had shrunk and left a hairline gap. You may want to make sure you don’t have this problem (or that the doors have acclimated and dried down as much as they are going to) before picking the staining or paint color for your door. If painting the door, make sure to use paintable caulk to fill any hairline cracks.
- You will have to build a casing if this door is for a new home. If you already have a door casing then it’s no problem. You can just build the door to fit the casing you already have.
My Overall Thoughts On Building These Barn Doors:
I love them and I am SO glad we built them! We plan on building more just like them when we build our dream home in the near future! I love how heavy and rustic they are. One really cool thing about these doors is that the lumber we used to build them were boards that a local sawmill couldn’t sell because there was metal in the wood. The metal in these particular boards is from ammunition. The lumber had come from an area near a shooting range. My son thinks it’s pretty cool that we can see the bullets in our barn doors!
Where to shop for Custom Barn Doors if you want the look of a beautiful barn door but you prefer NOT to build your own doors.
Custom looking barn doors are the perfect way to add so much character and style to any space! If you are looking for that one of a kind barn door and would rather NOT build your own I highly recommend checking out all of the amazing barn door options available at WHITE SHANTY.com.
White Shanty offers high-quality interior sliding barn doors to fit every style and home. Whether you’re looking for Modern, Rustic, Reclaimed Wood, French, Mirrored, Glass …you name it, they’ll have what you’re looking for. They have the largest selection of barn doors I’ve seen. They have gorgeous hardware options as well as track sets and everything you need for your barn door. They build custom doors as well. If you can dream it…they can build it.
Some of my favorites sliding barn doors from White Shanty.com are …
Light Chevron Sliding Barn Door
The Kennedy Arched 3 Panel Shaker Custom Sliding Barn Door
If you are looking for a Barn Door that is the most similar to the doors we built, I think the Oak Z Sliding Barn Door is the closest replica…only this door is Oak and our doors are pine.
I really love the selection at White Shanty and that they have bypass barn doors as well as double door options.
Summing It All Up:
They really could be finished a hundred different ways and you can make them truly unique to your home! I think they would look fantastic painted black with brass hardware in a more modern home! The sky is the limit when it comes to making a custom door for your home and I hope that this post helps you decide if building your own doors is something you’d like to try!
FULL DISCLOSURE: THIS POST CONTAINS PAID PROMOTION HOWEVER THE LINKS IN THIS POST ARE NOT AFFILIATE LINKS. ALL OPINIONS ARE MY OWN.

I love the look of these doors and you make it sound pretty easy to do. Pinned to like 5 boards! Your home is beautiful and seems so inviting and loved.
Thank you Cindy! I’m so glad you found the post helpful. We had never build anything like them before this and we really like how they turned out! The savings is definitely worth the effort to DIY this project!
Did you have to reinforce your existing door casing?
We are thinking about replacing our existing doors (lightweight plain brown door). I’m worried that the 2×6 are going to be too heavy for my existing door casing.
Another question, what size of table saw should we buy? Home Depot has a RYOBI 15 Amp 10 in. Table Saw with Folding Stand for $189, but husband says it’s too small.
Thanks and great job. I love your project.