Week #2- Building Custom Solid Maple Kitchen Cabinets for the Island for the
Jeffrey Court Renovation Challenge
Week #2 of the Jeffrey Court Renovation Challenge is COMPLETE and we only have short 4 weeks left to completely finish renovating my kitchen! Oh my goodness! It’s crazy how fast time is flying by! I guess that just goes to show that so far…I’m having a whole lot of fun and I hope you’re having fun watching all the designers in this competition transform their spaces!
Remember… the WINNER of this Design Competition is chosen based on the most votes …so we need YOU!!!! Votes can be cast HERE once per DAY all the way until MAY 16th!!!
Week #1 Recap (click here)
If you remember, in week #1 I focused all my attention on prep and demo and I’m happy to have all that work (I was dreading) behind me! Let me tell you, mudding drywall is NOT my favorite DIY project…that’s for sure.
Building Custom Cabinetry
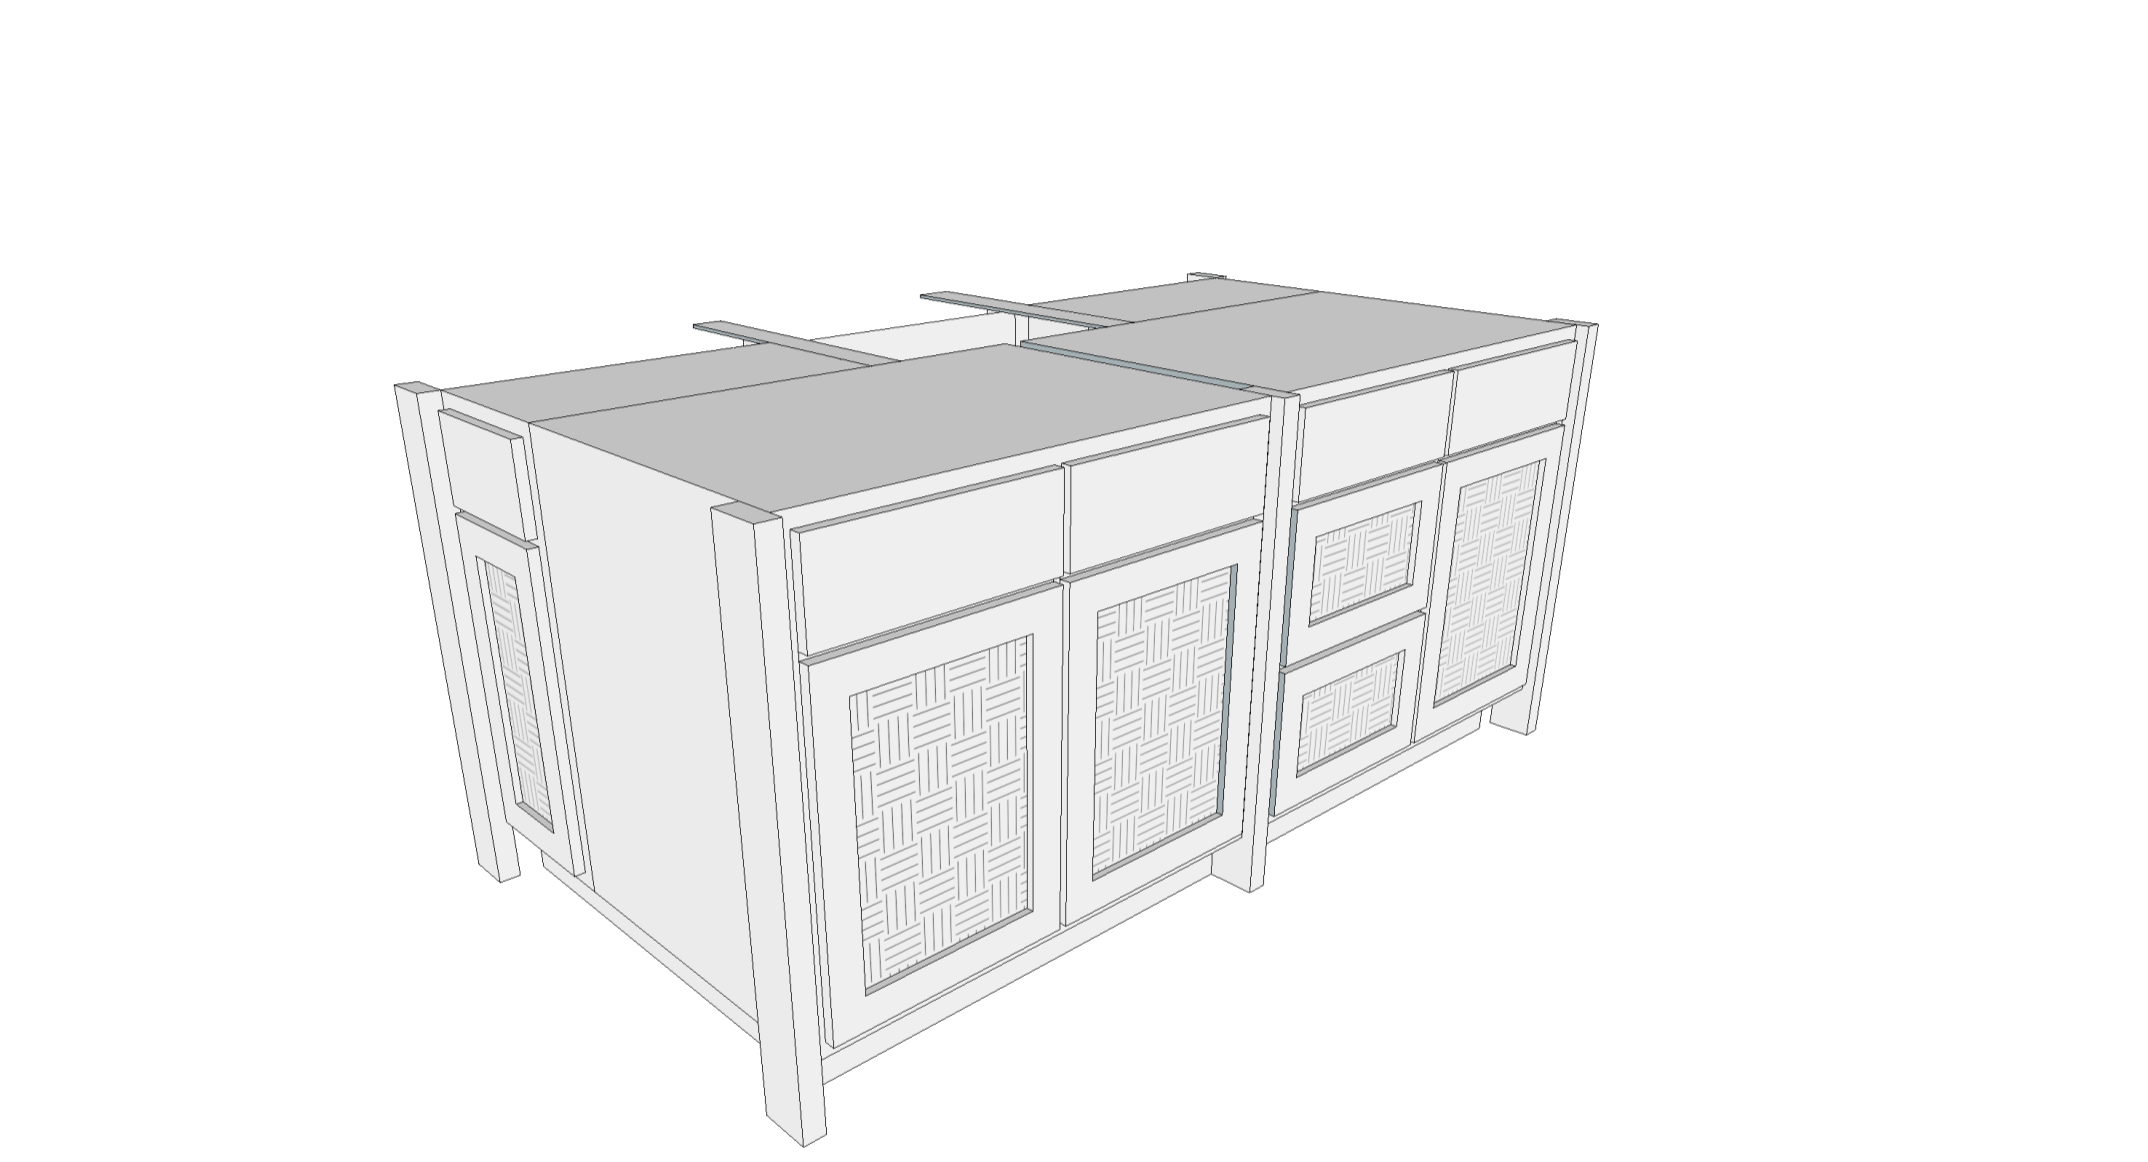
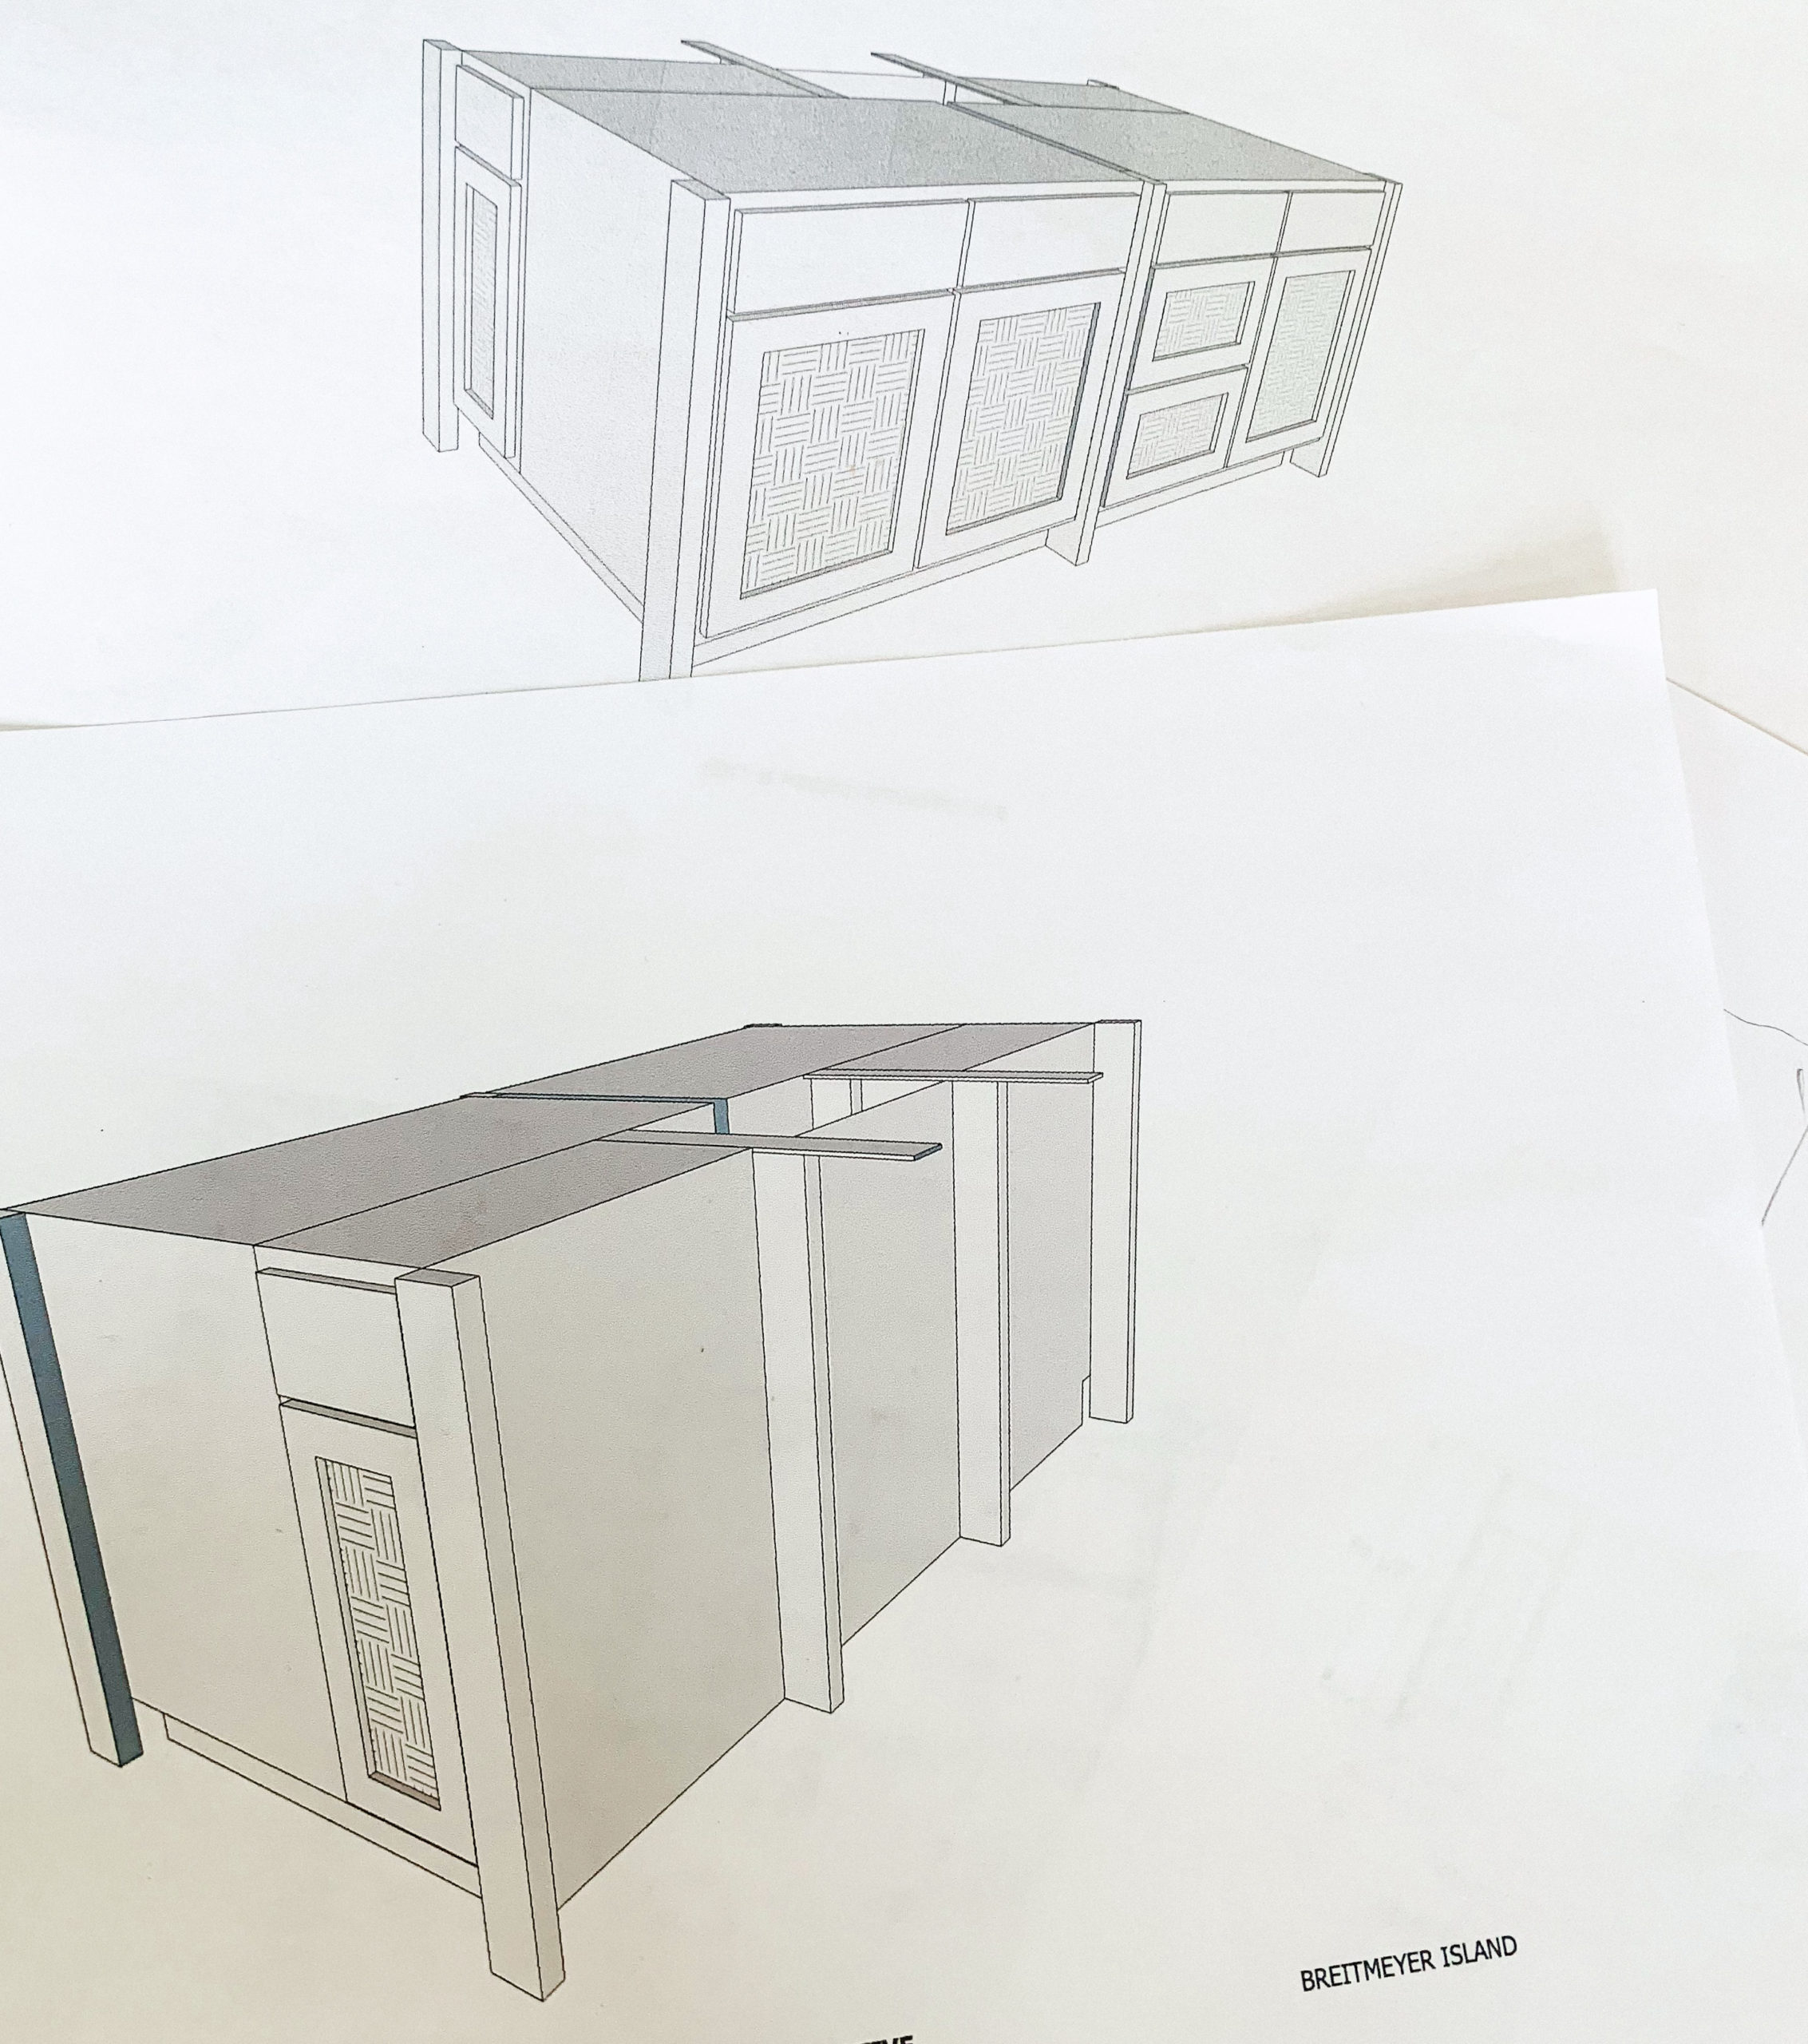
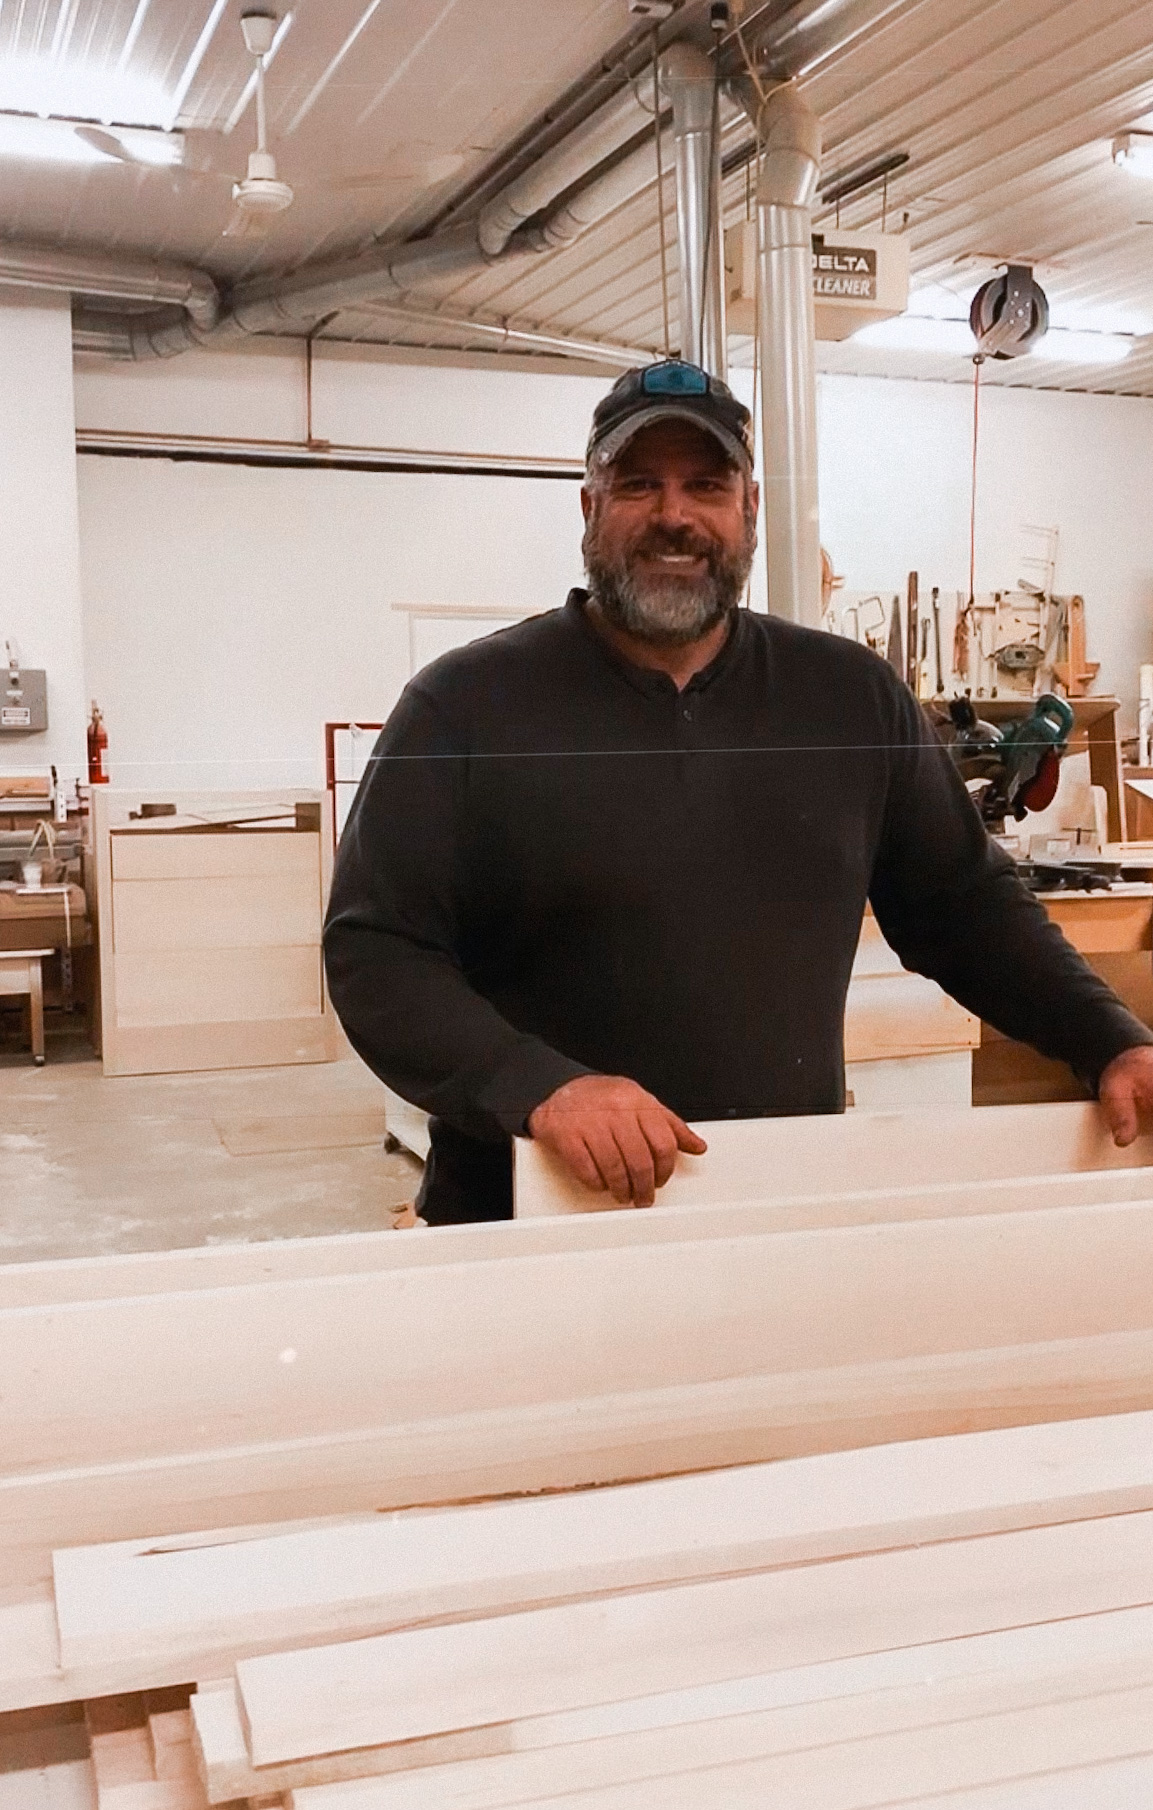
This week, we switched gears to cabinetry. We have been using a vintage piece of furniture as a kitchen Island for while, and even though I LOVE it…I really wanted a larger Island. I needed something that had more storage and that would allow for bar seating on the backside. So, I sketched up exactly what I envisioned and decided we’d build it instead of buying it. My husband and I LOVE building and we love learning new trades. We can build a basic cabinet, but there are a LOT of things we still needed to learn so we hired my uncle (who is a phenomenal woodworker) to teach us the tricks of the trade.
Cabinetry Design and Materials
We had a design meeting and shared our vision with my uncle as well as what we hoped to learn from him in the process of building our kitchen island. We chose to build the cabinets out of Maple and he just added our material to his weekly order. The island was designed for my specific needs. We also placed an order for all the inserts such as cookie sheet dividers, flatware inserts, trash & recycling pullout, a spice rack insert, and of course all the hardware (YAY for soft-close drawers and door options)
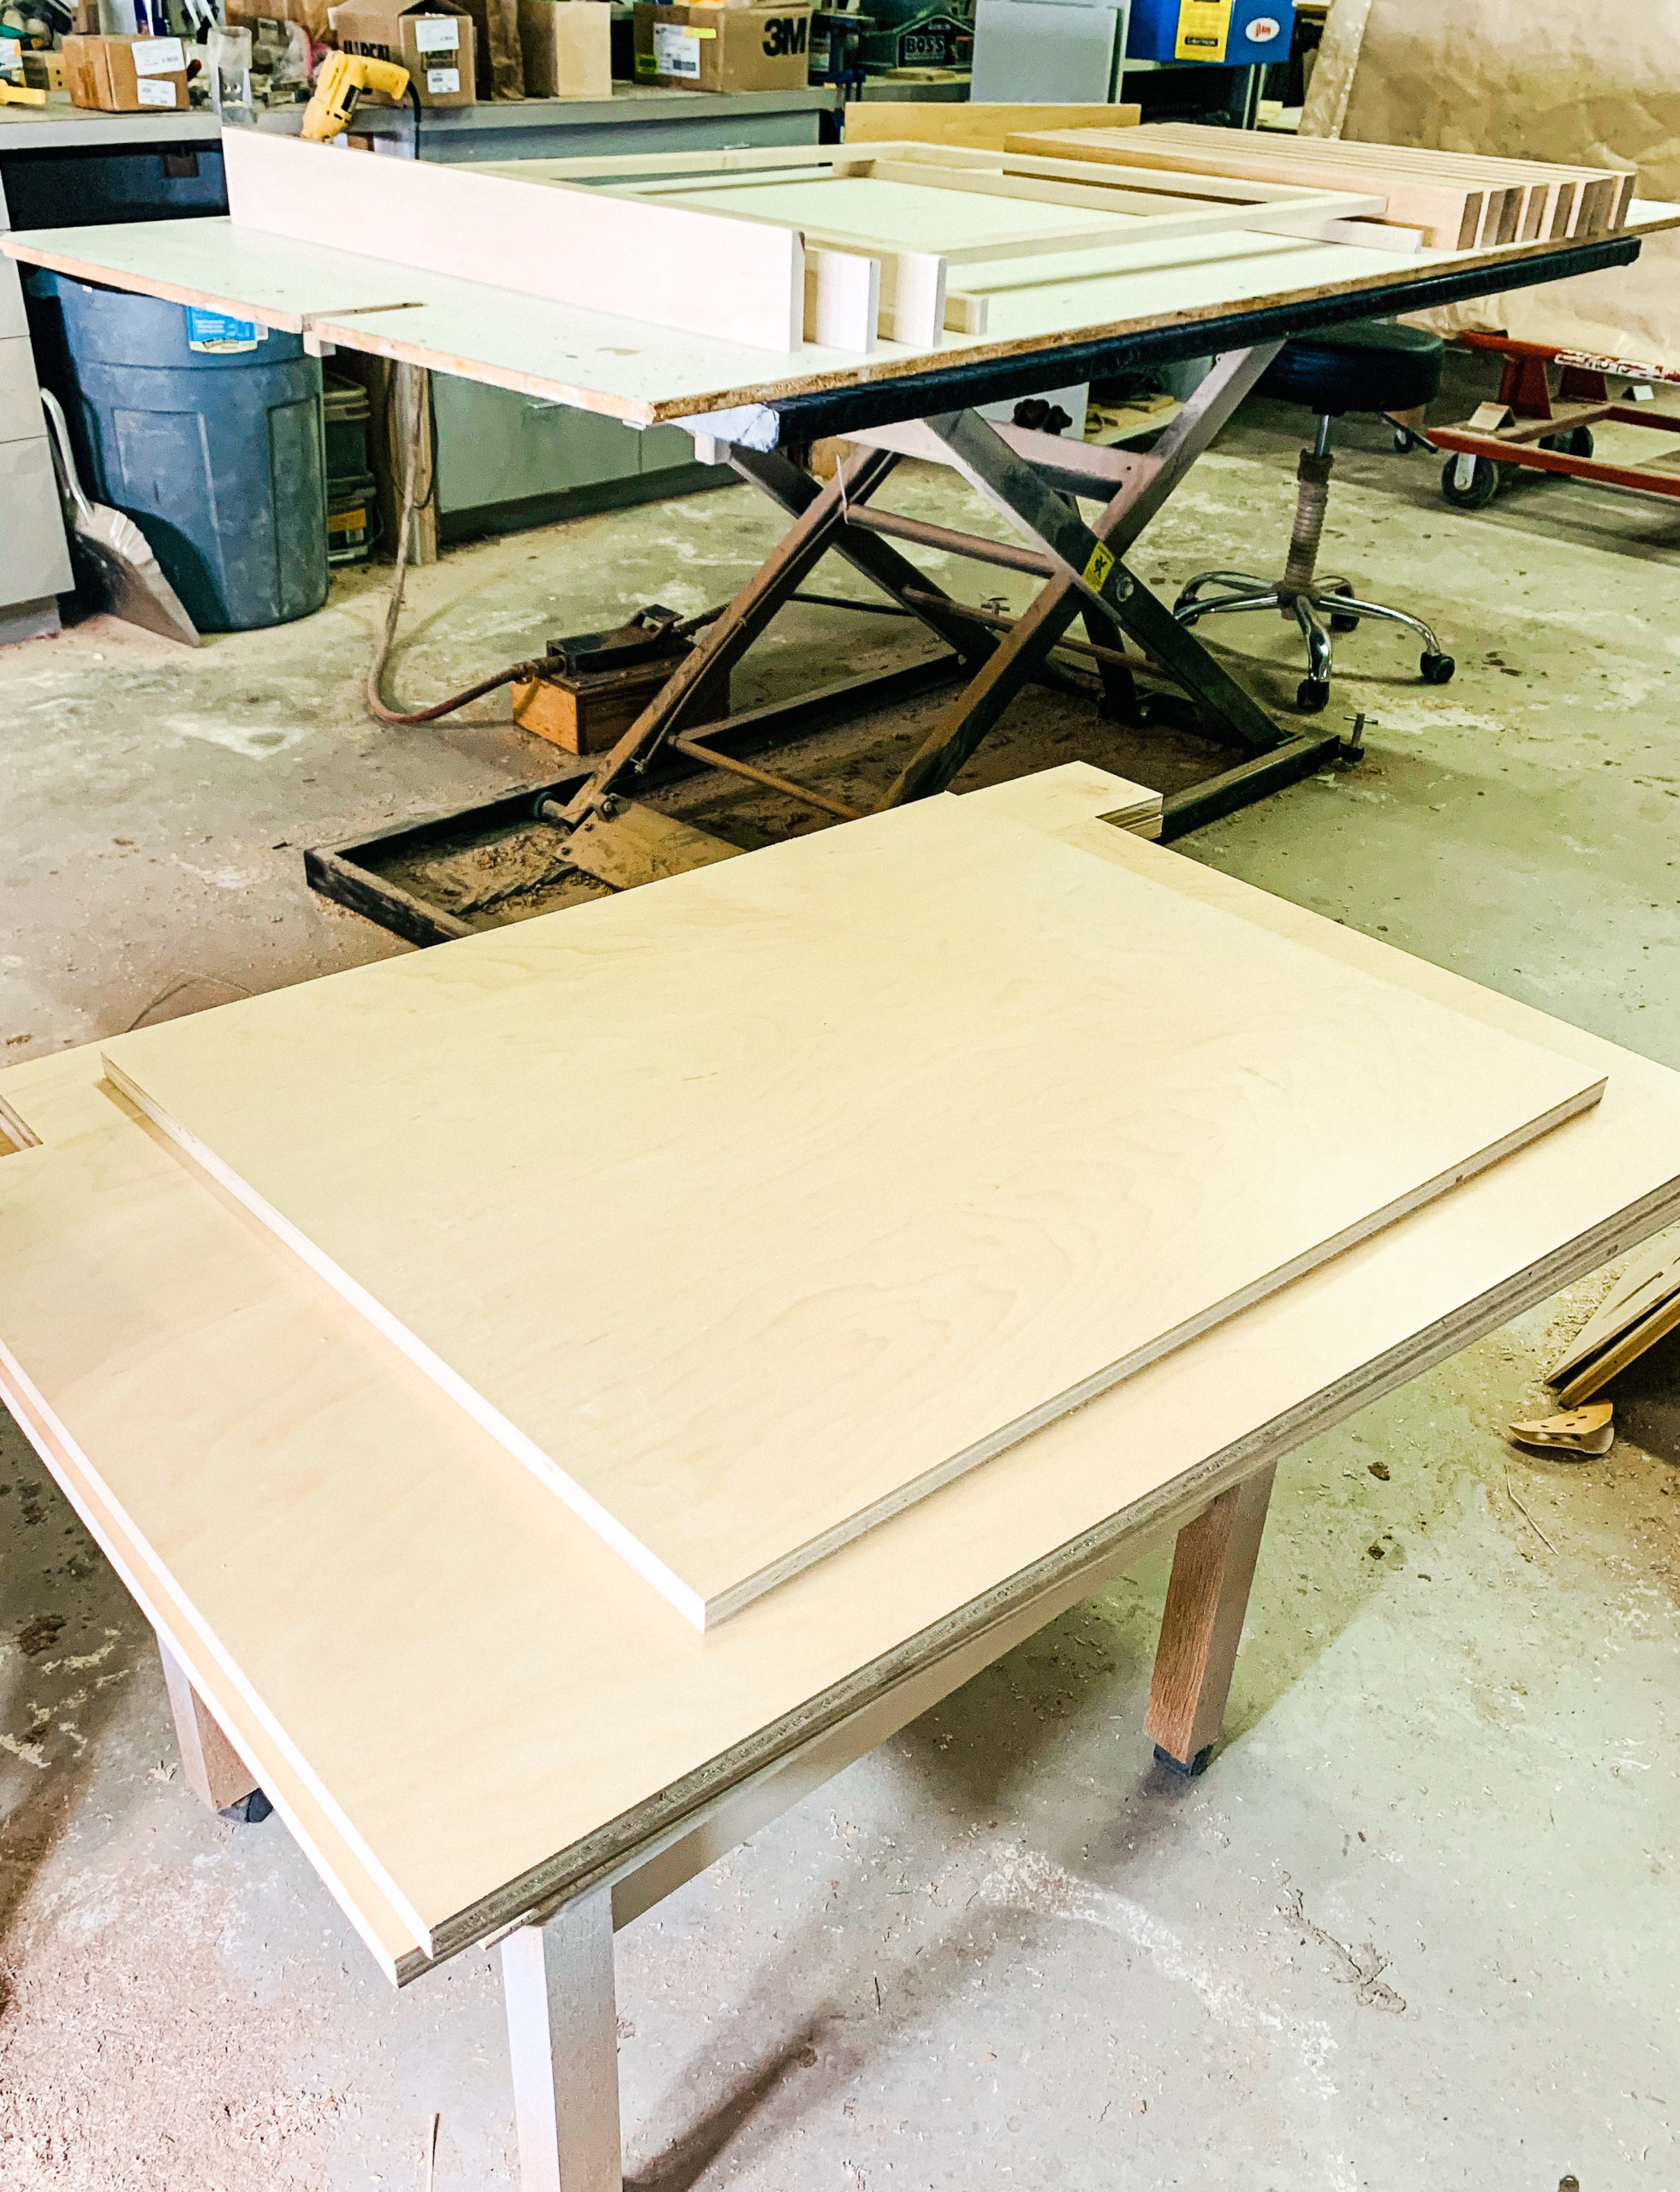
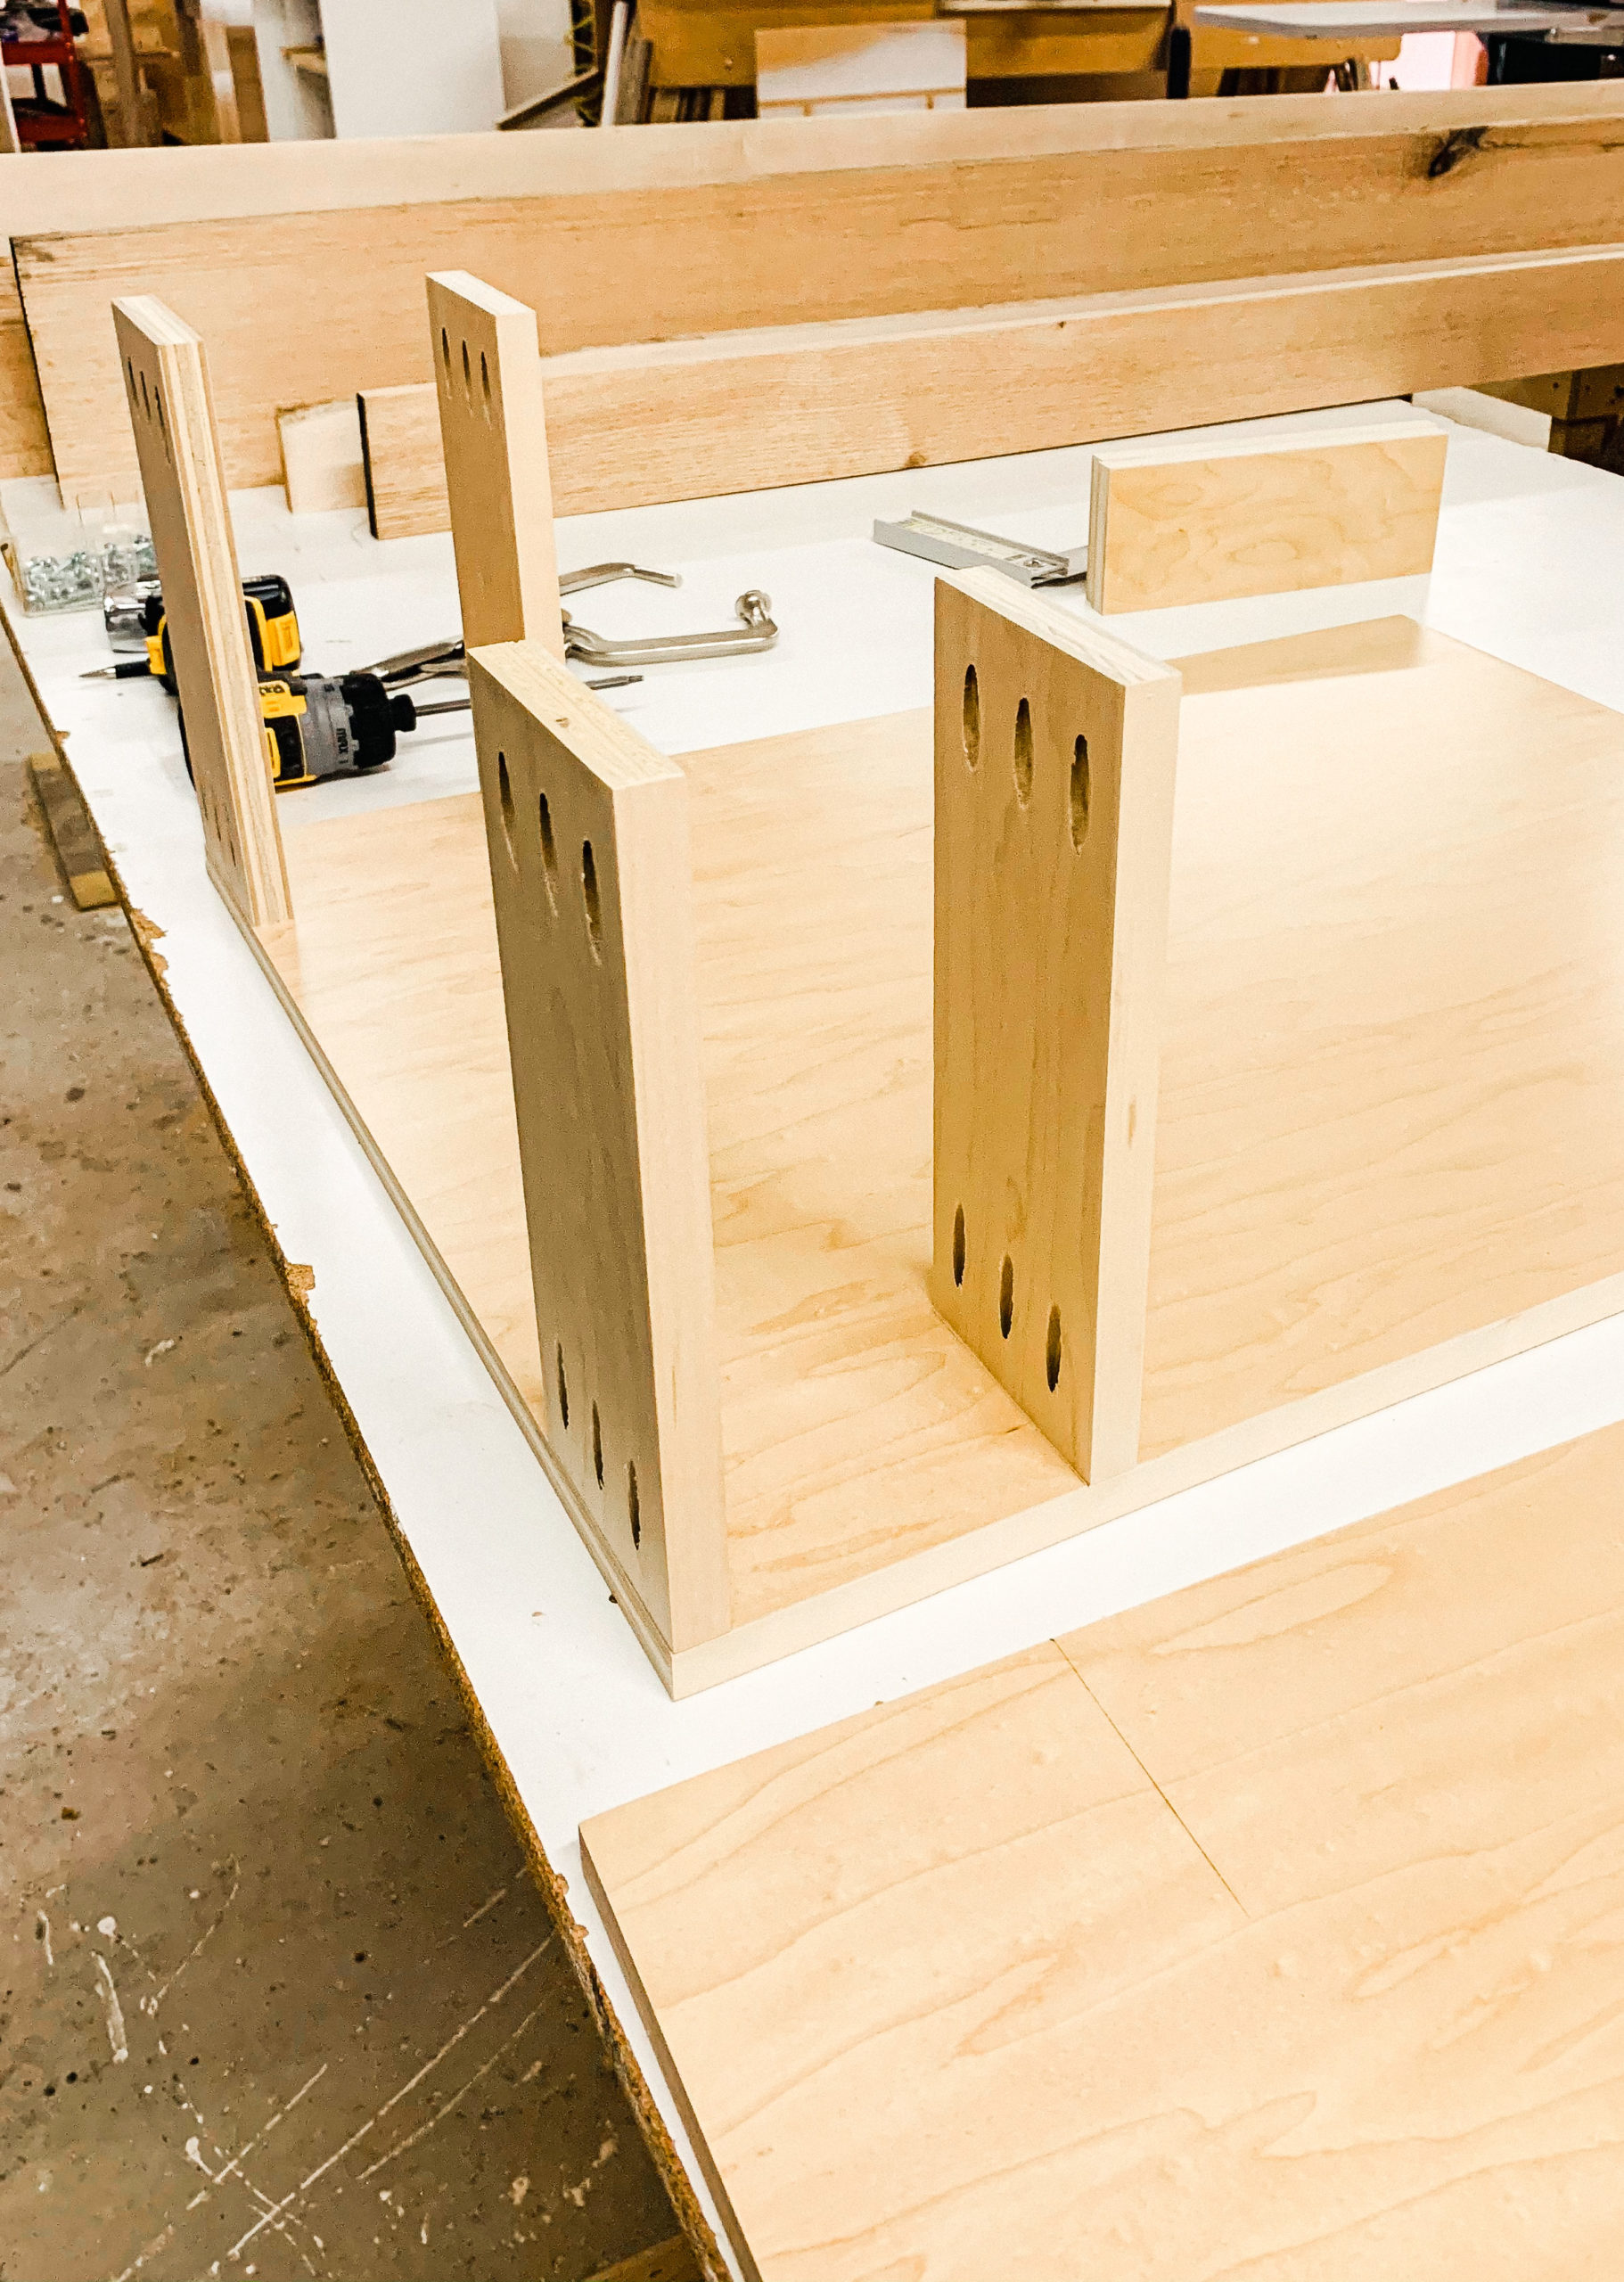
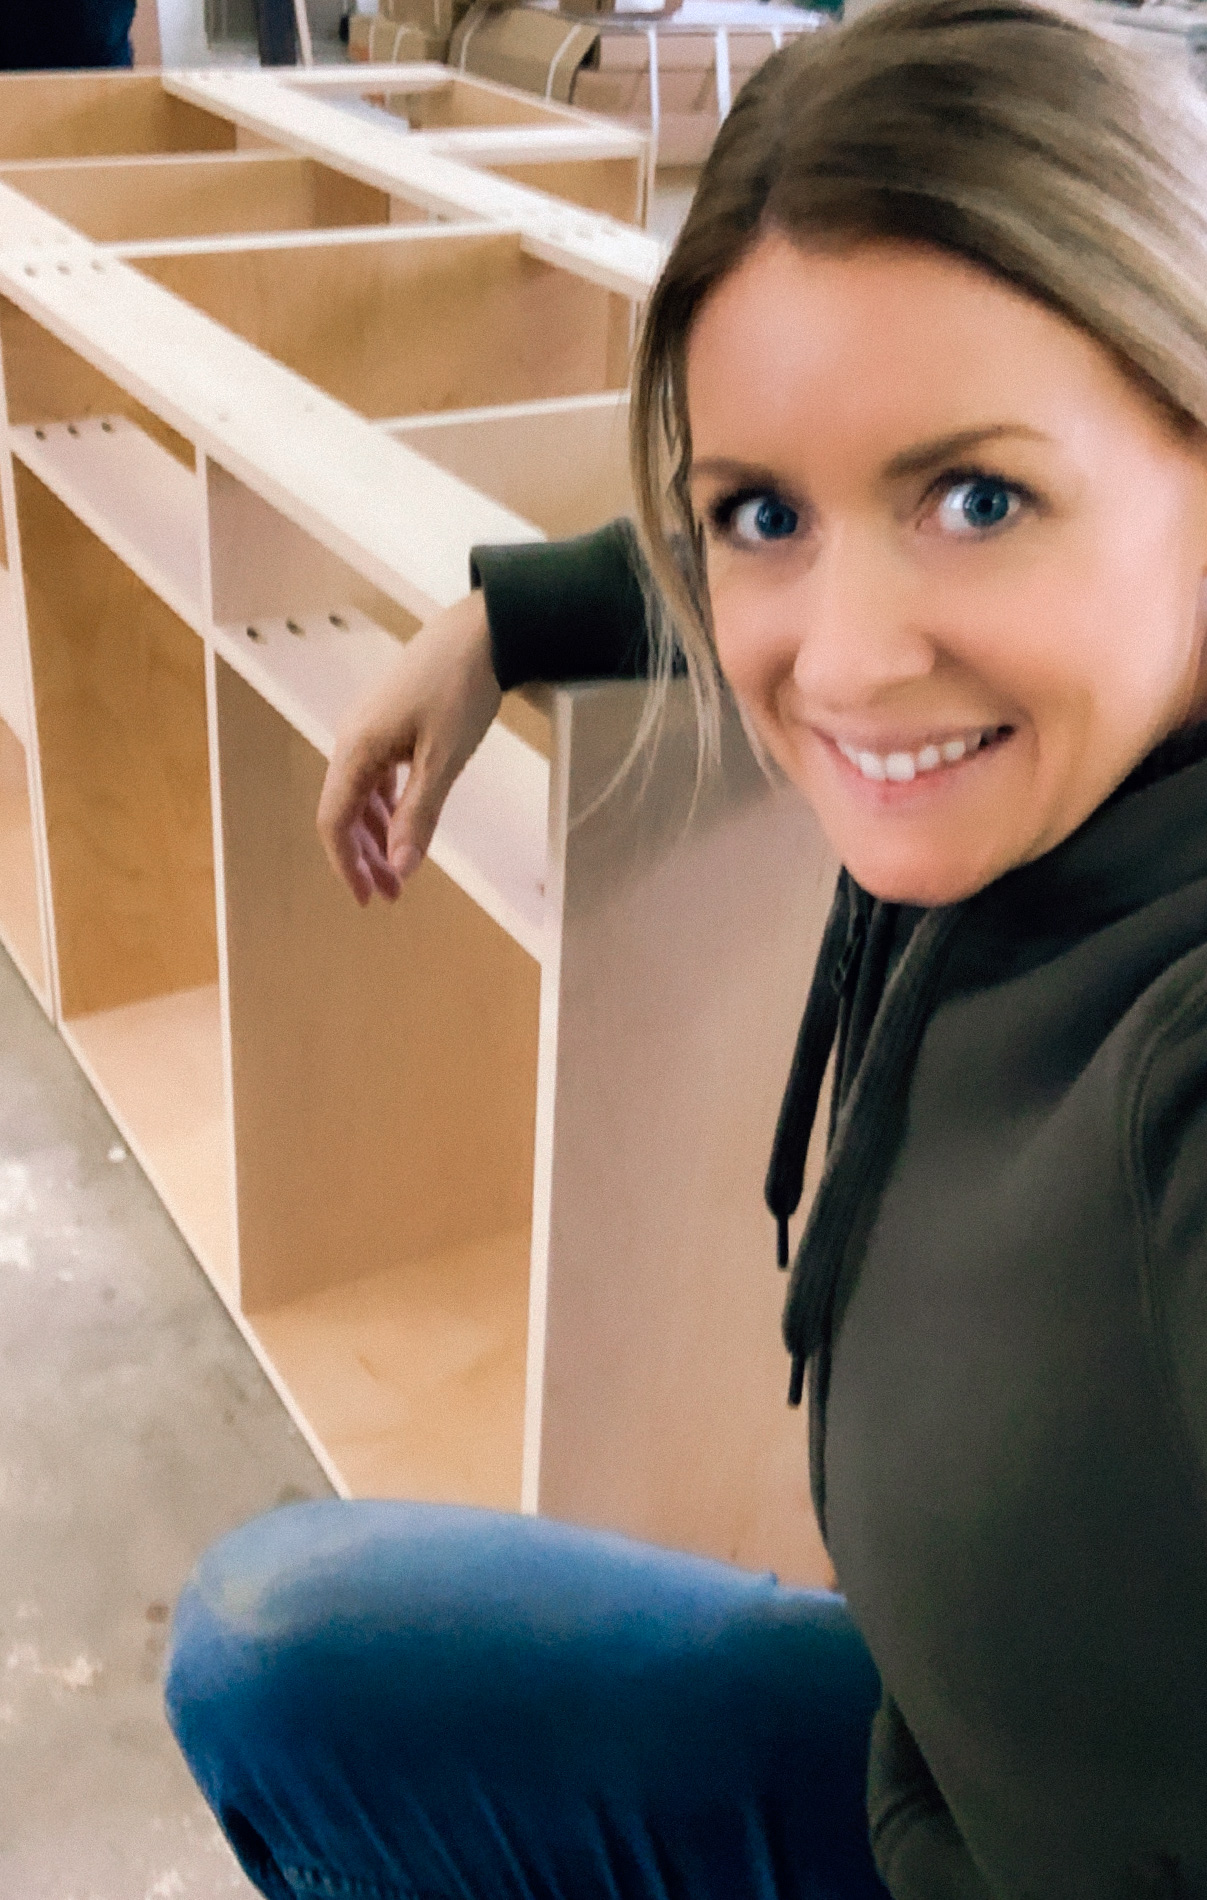
After the lumber was delivered, Aaron and I spent our evenings working with my uncle in his woodworking shop. On day one we focused on cutting the maple plywood and adding a raw veneered edge to all the fronts and started to assemble to cabinets.
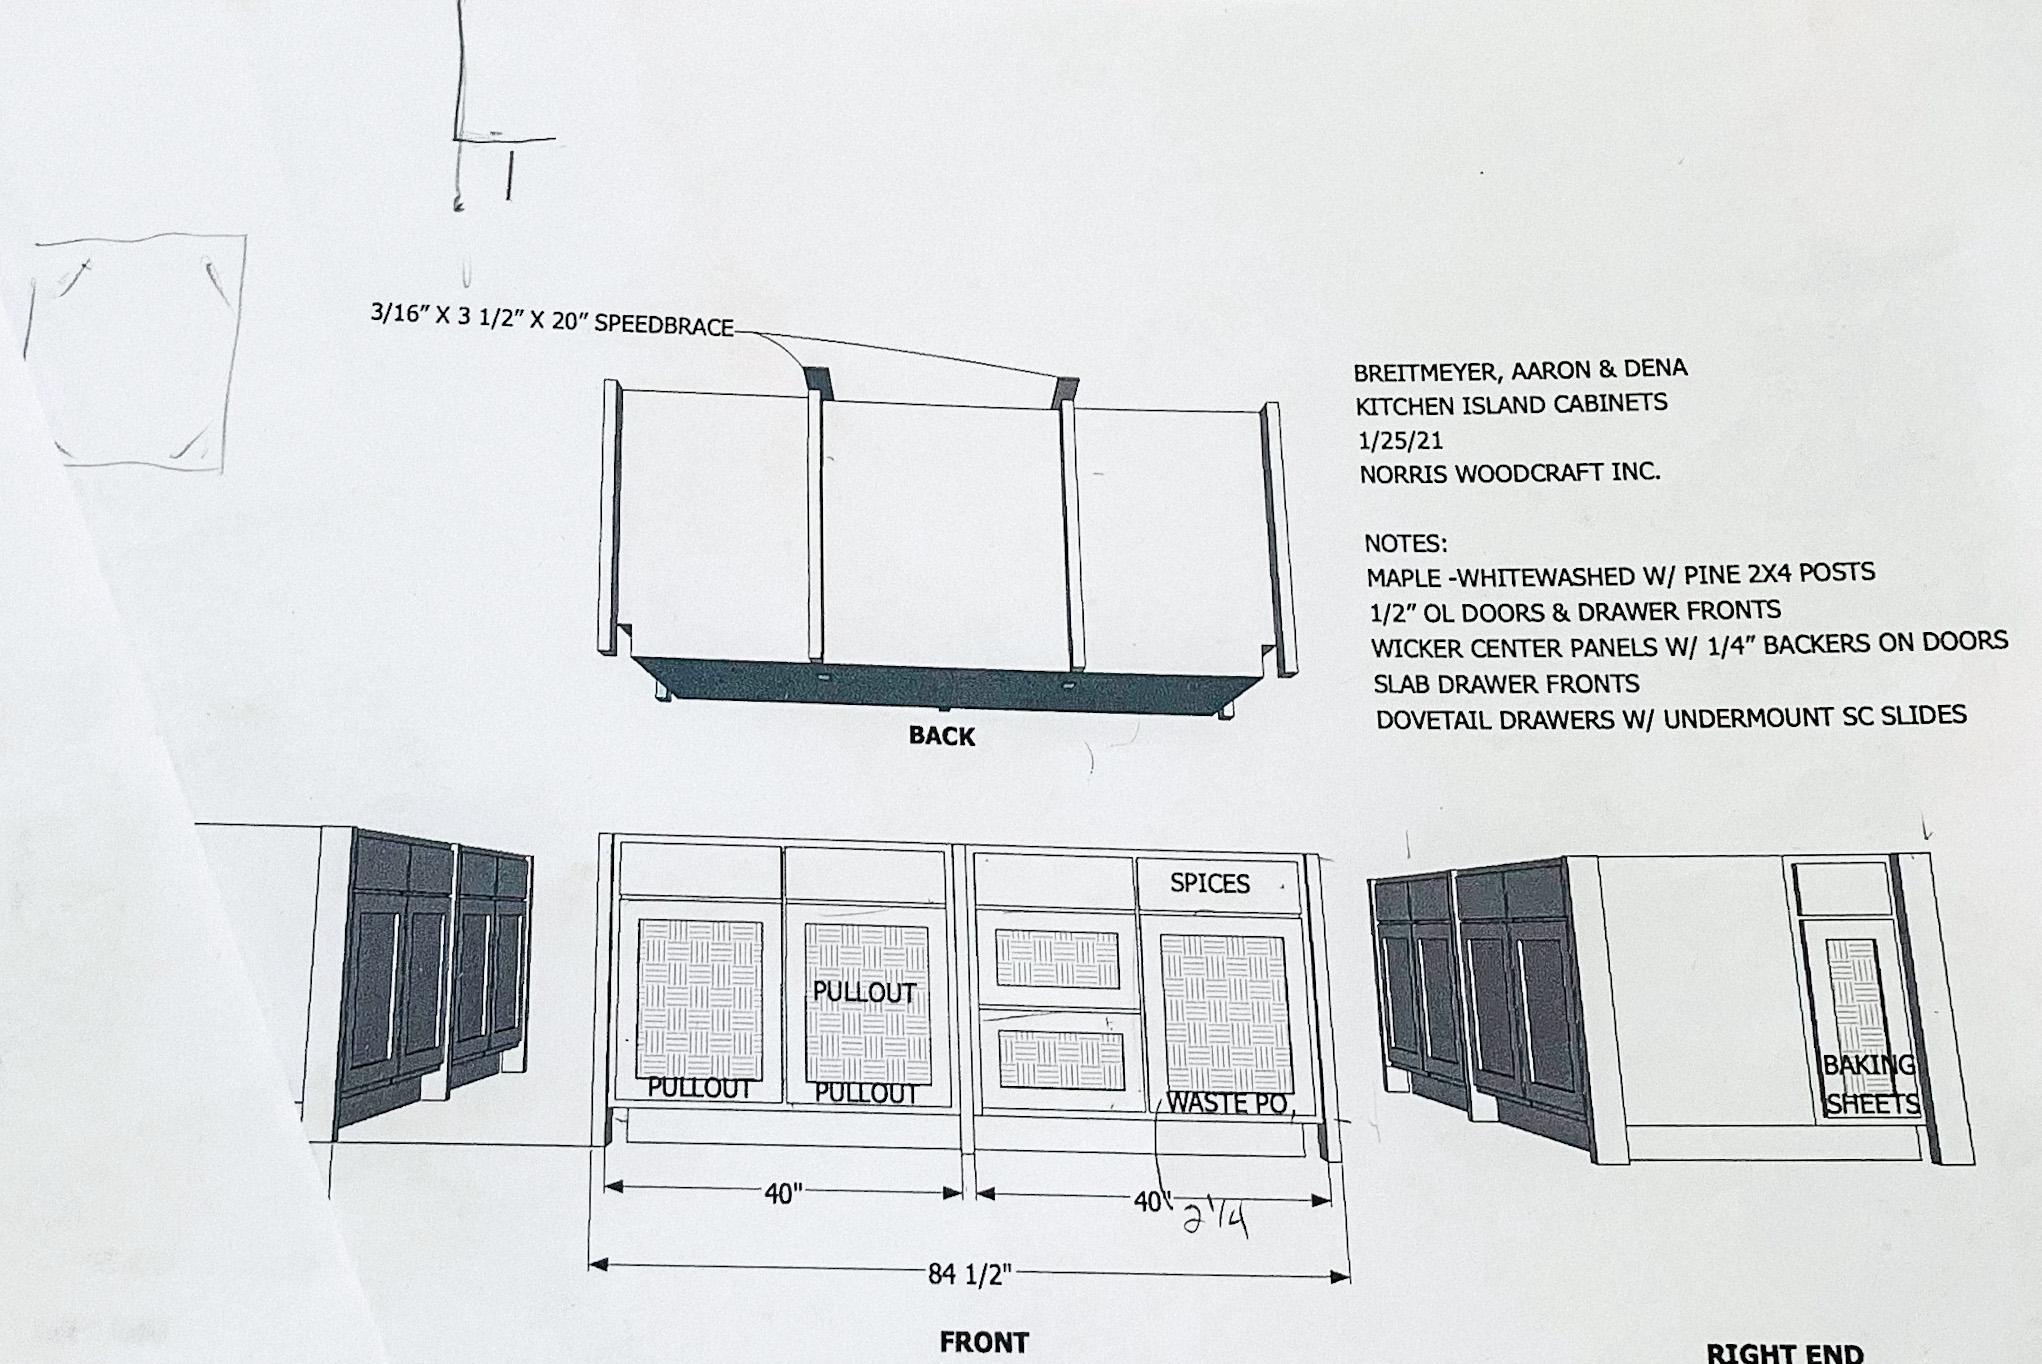
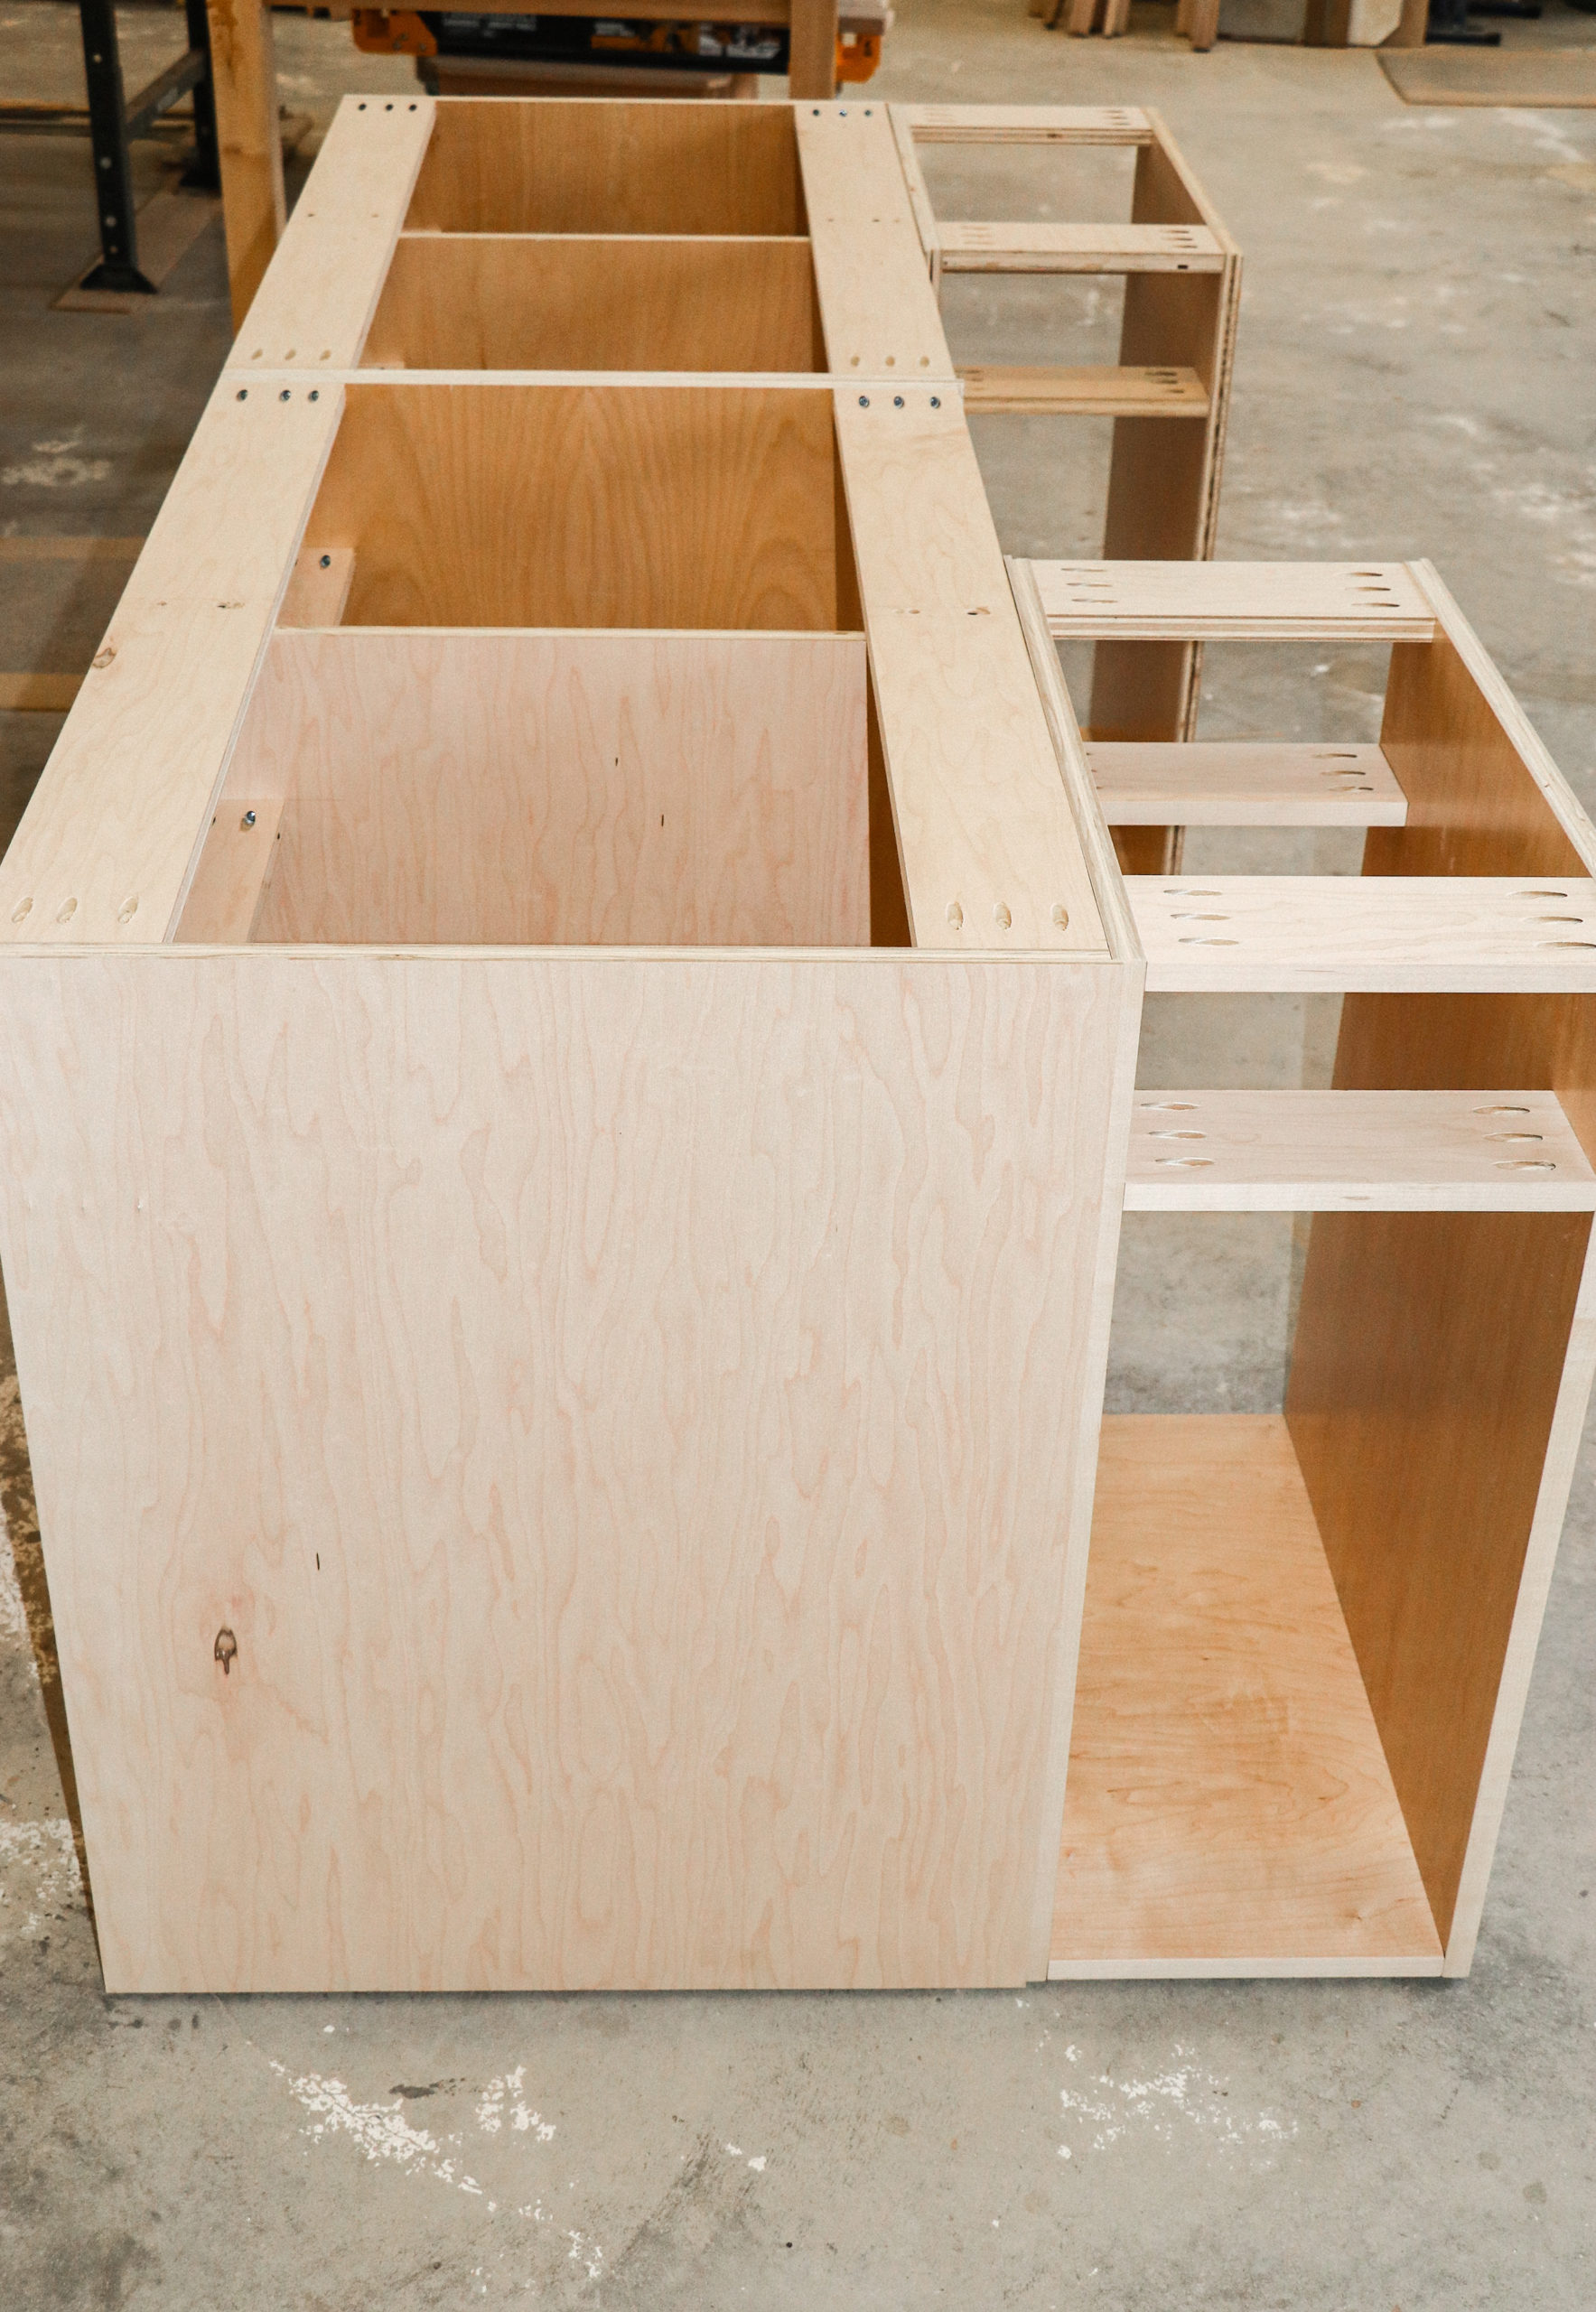
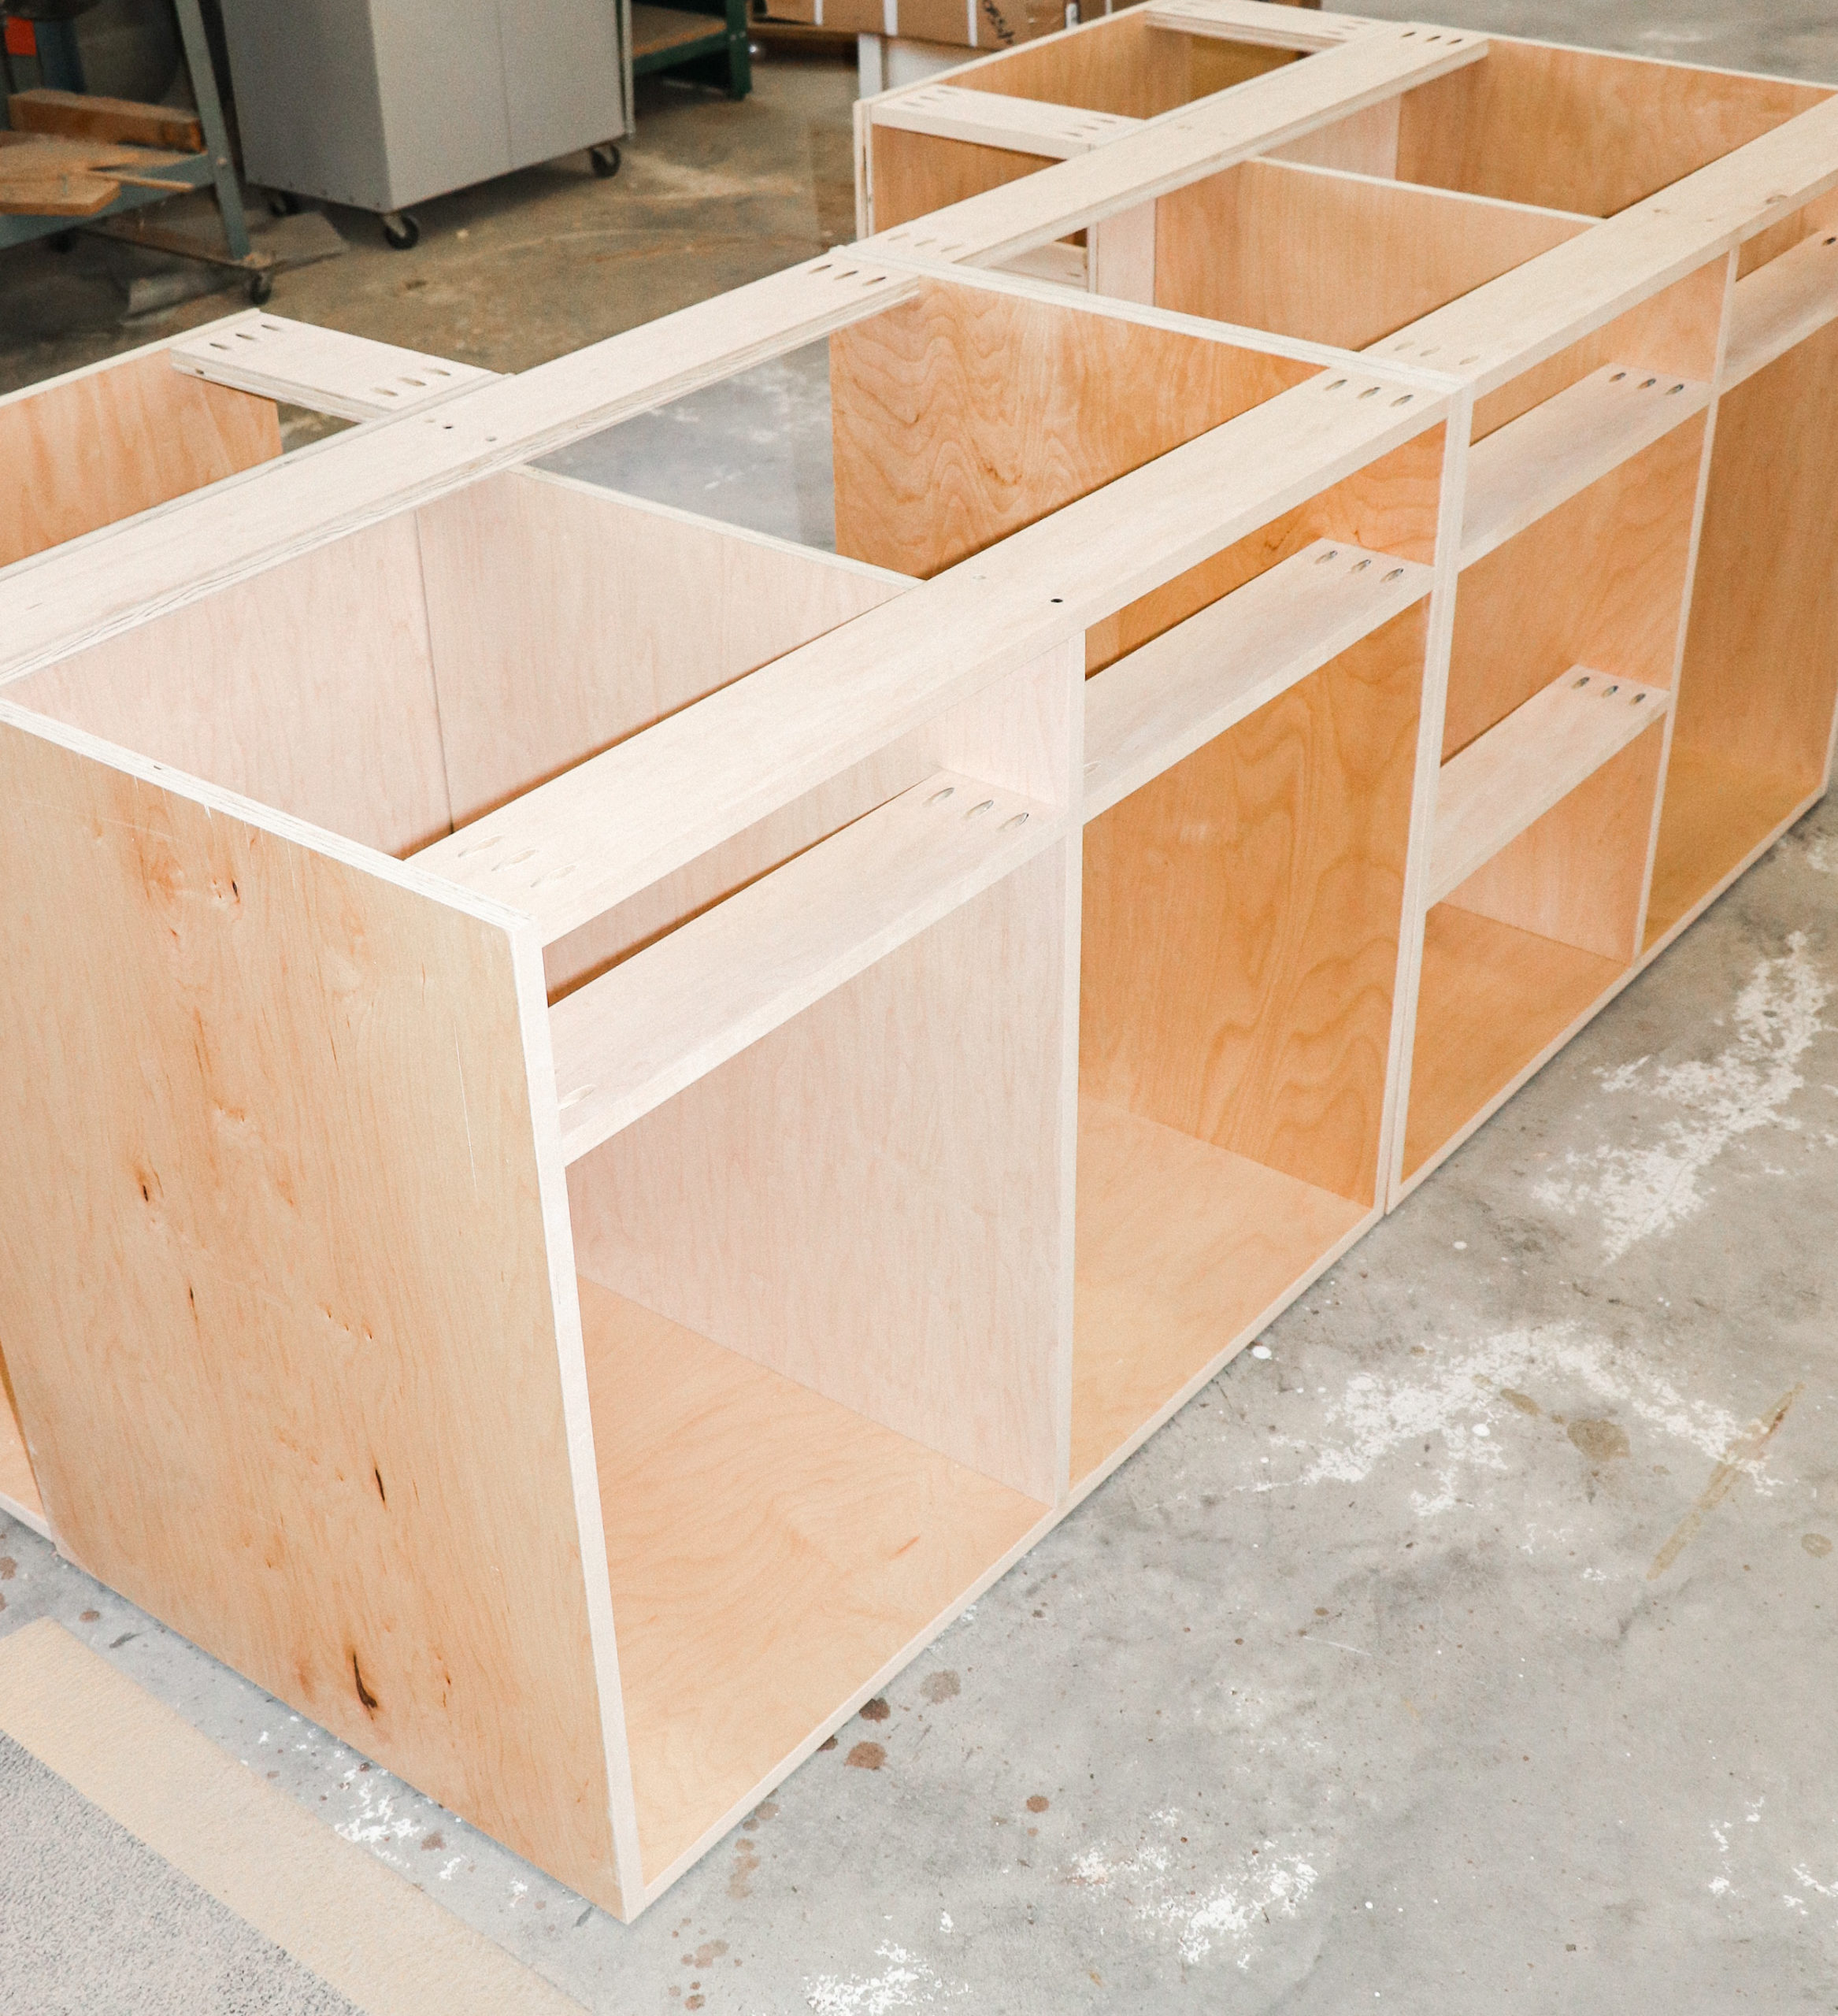
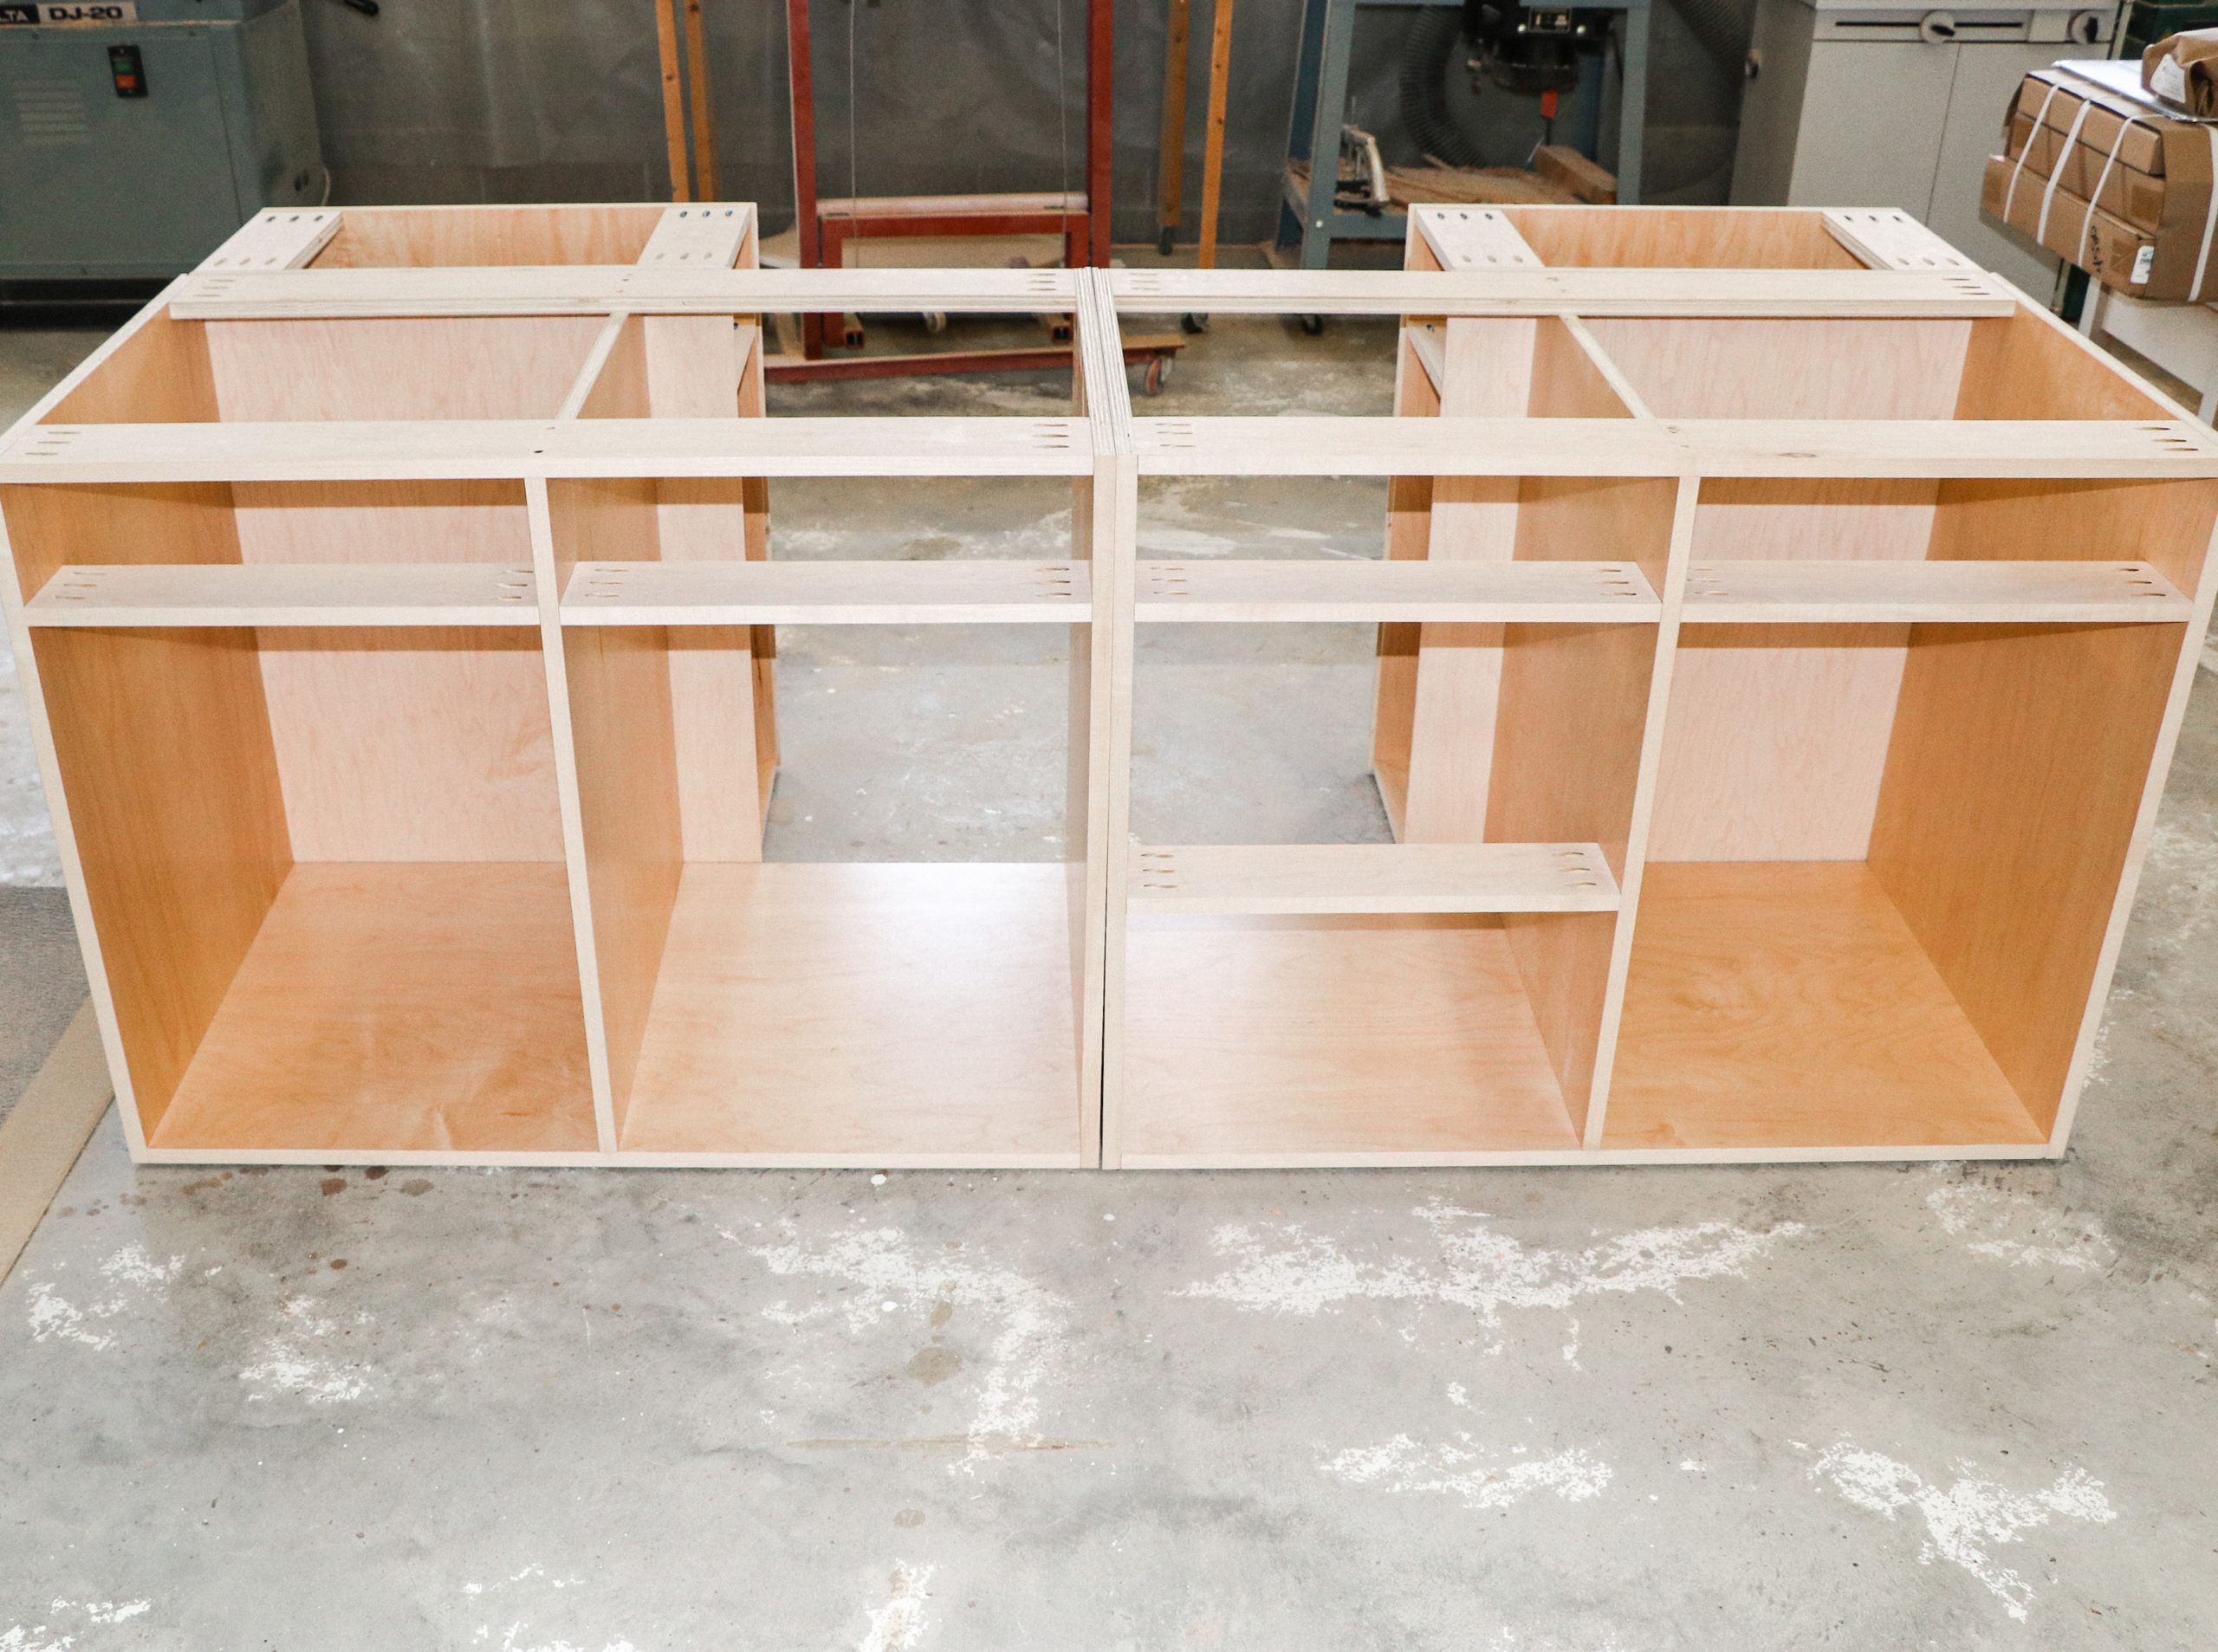
Our island cabinets are 36×80 and a 12″ overhang/bar on the back. The front of the island is made up of two, 36″ cabinets. The cabinet to the left has two side-by-side drawers with a lower cabinet (with 2 doors) with three pullout shelves. The cabinet to the right has two shallow drawers, two deeper drawers, and a double trash pullout.
I wanted my kitchen island countertop to be 4ft including a 12″ overhang so I decided to add a 12″ cabinet to each side end of the island for things like cookie sheets, cutting boards! Each cabinet also has a small drawer above it witch will be the perfect spot for dish towels and oven mitts.
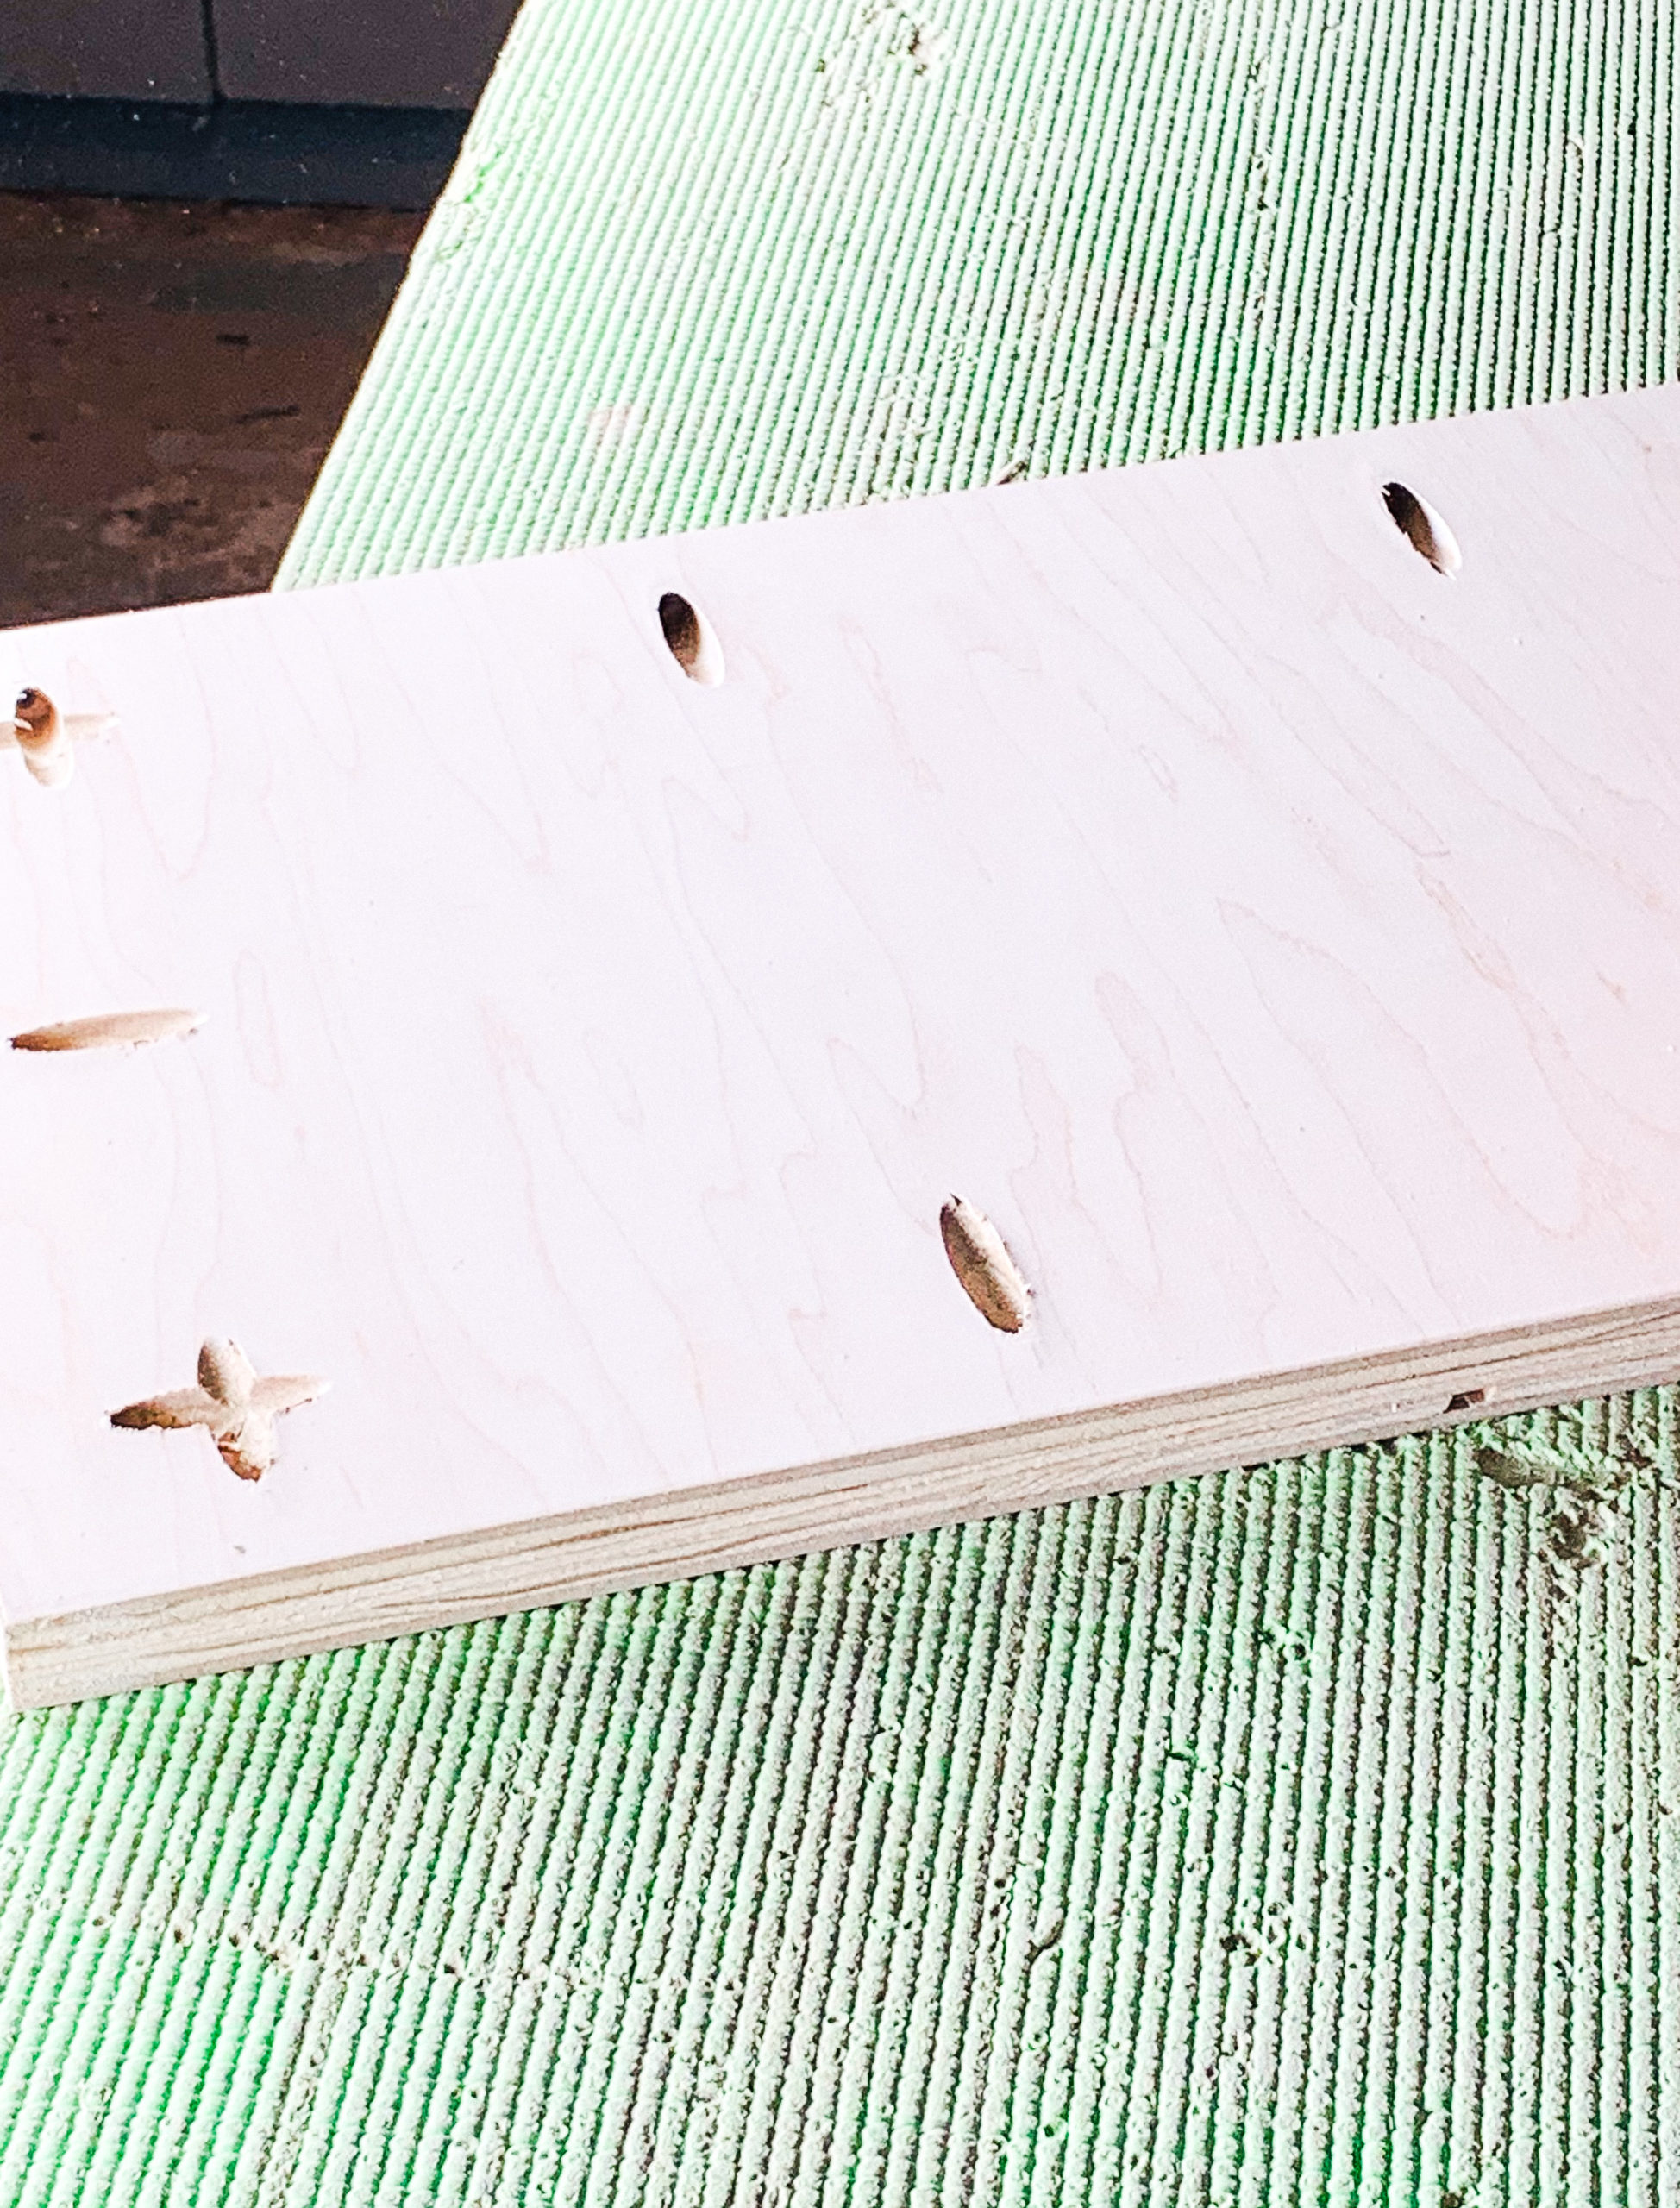
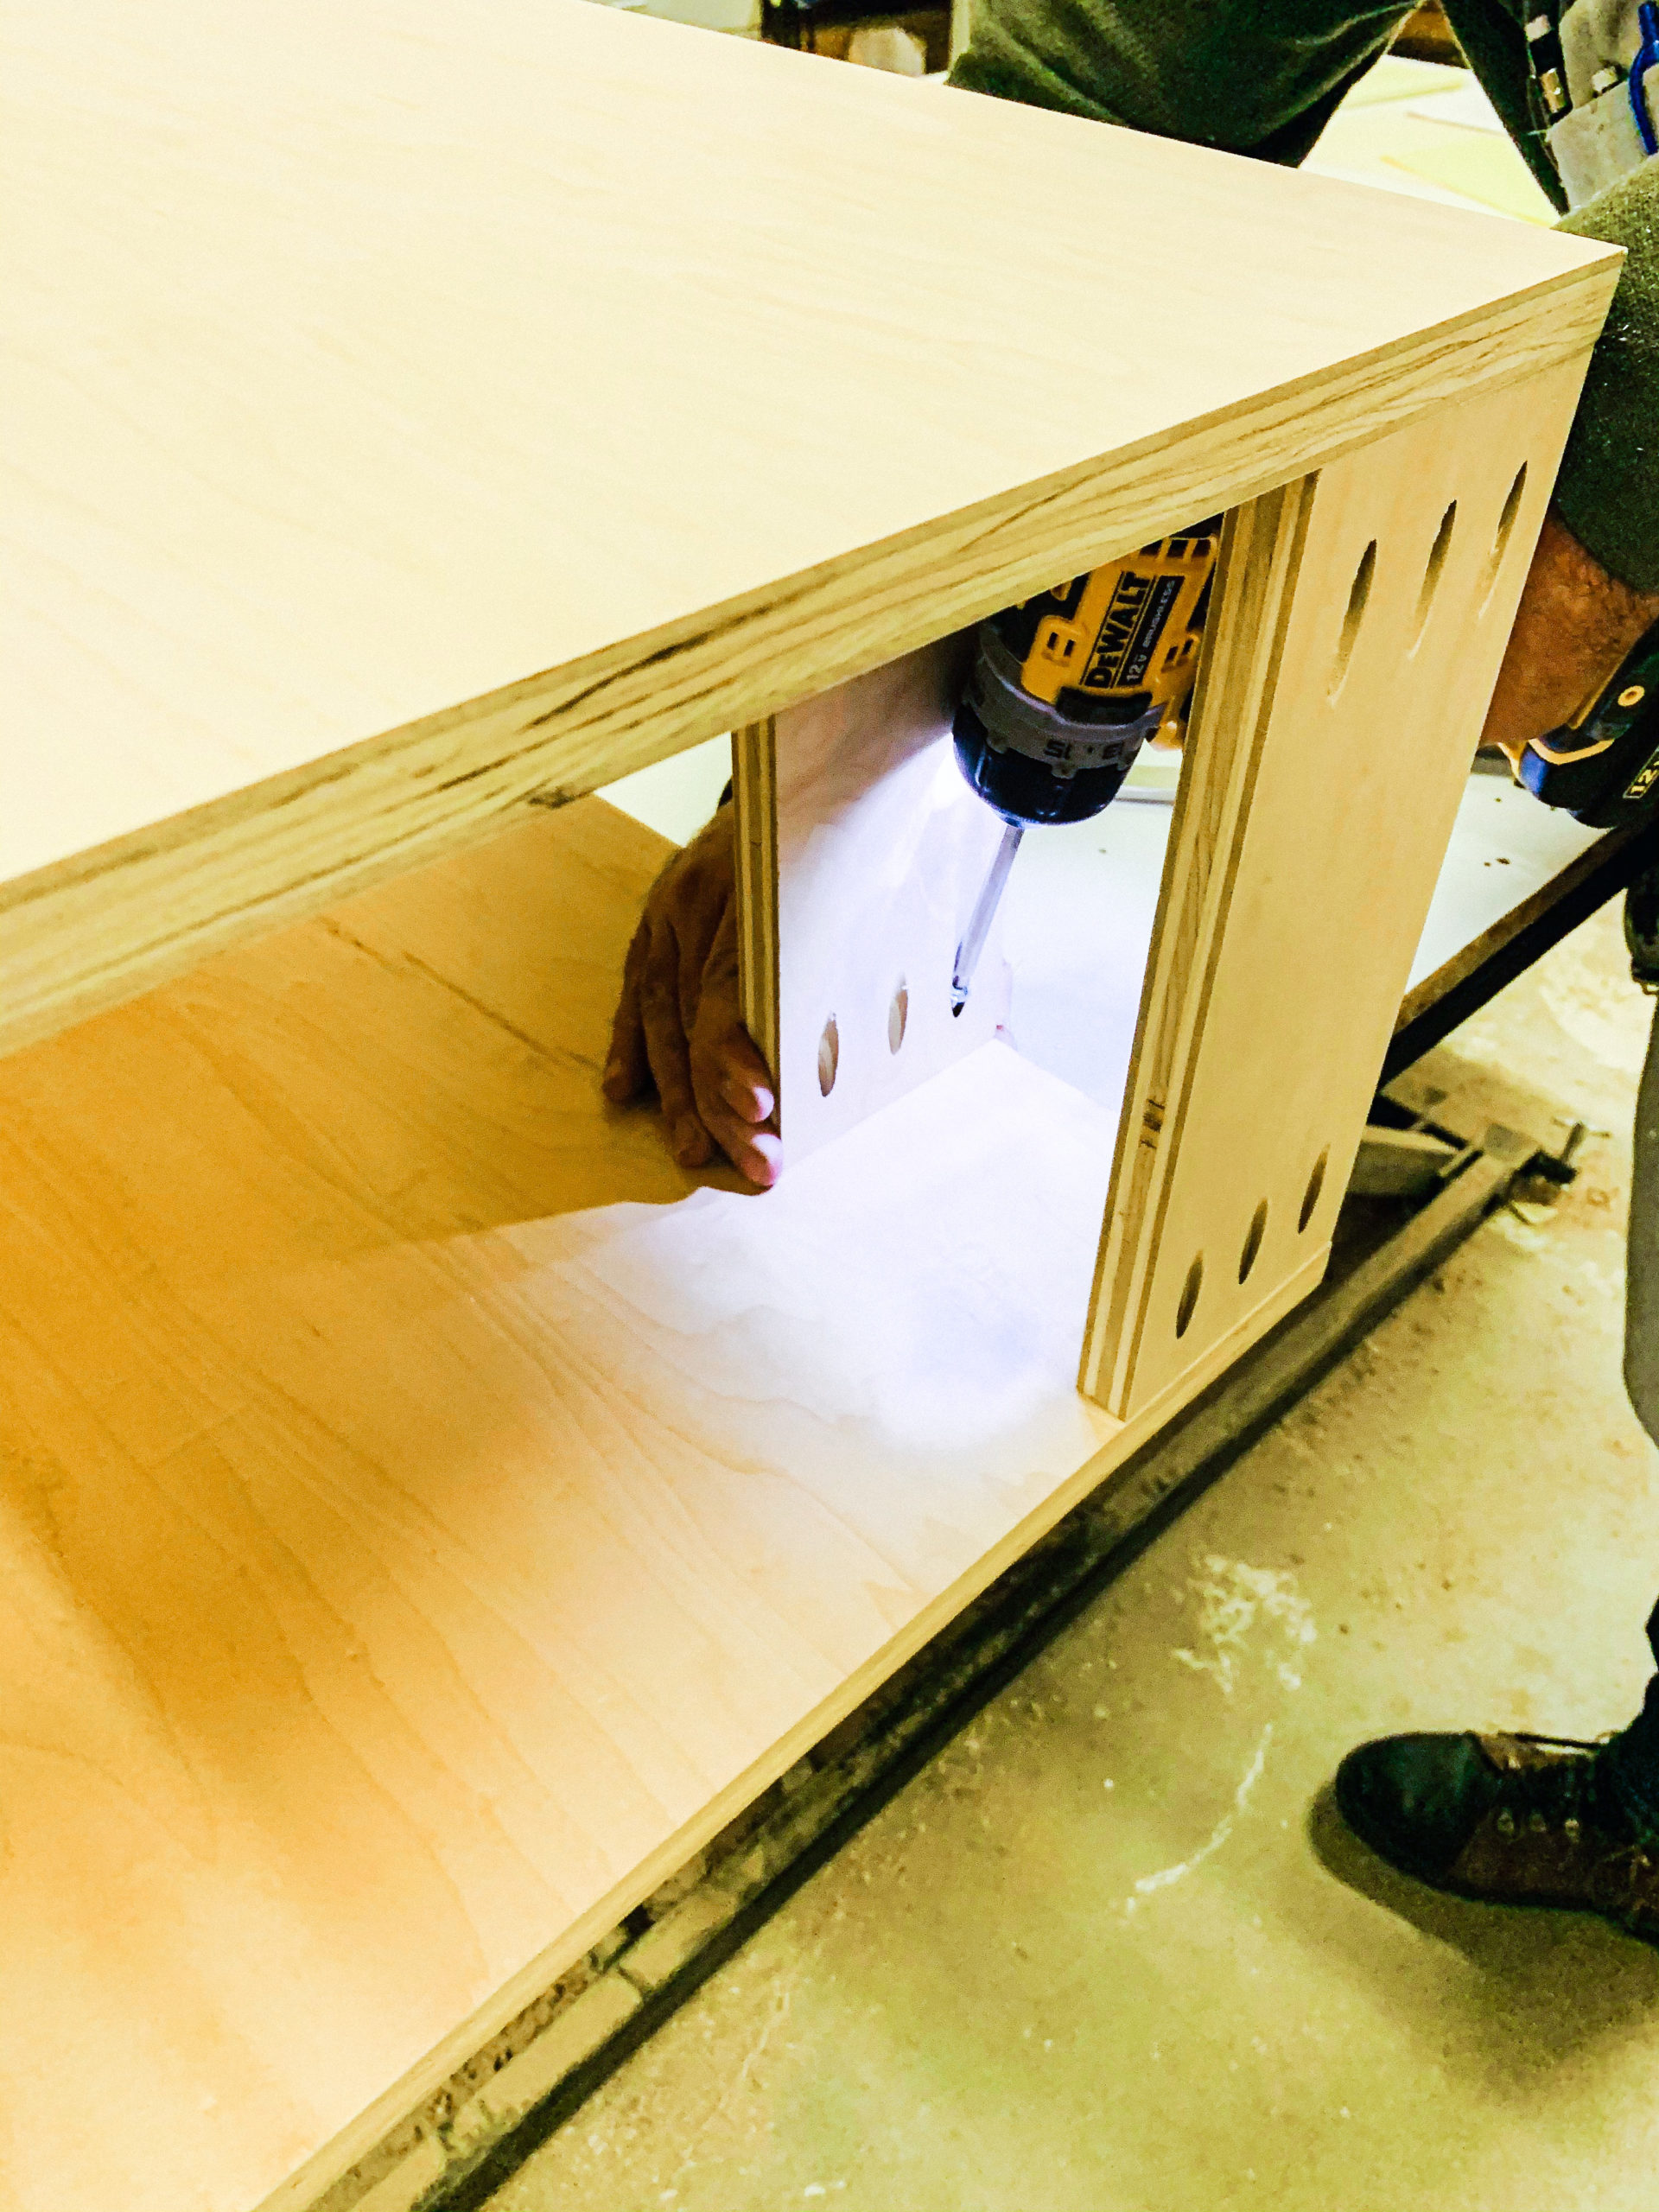
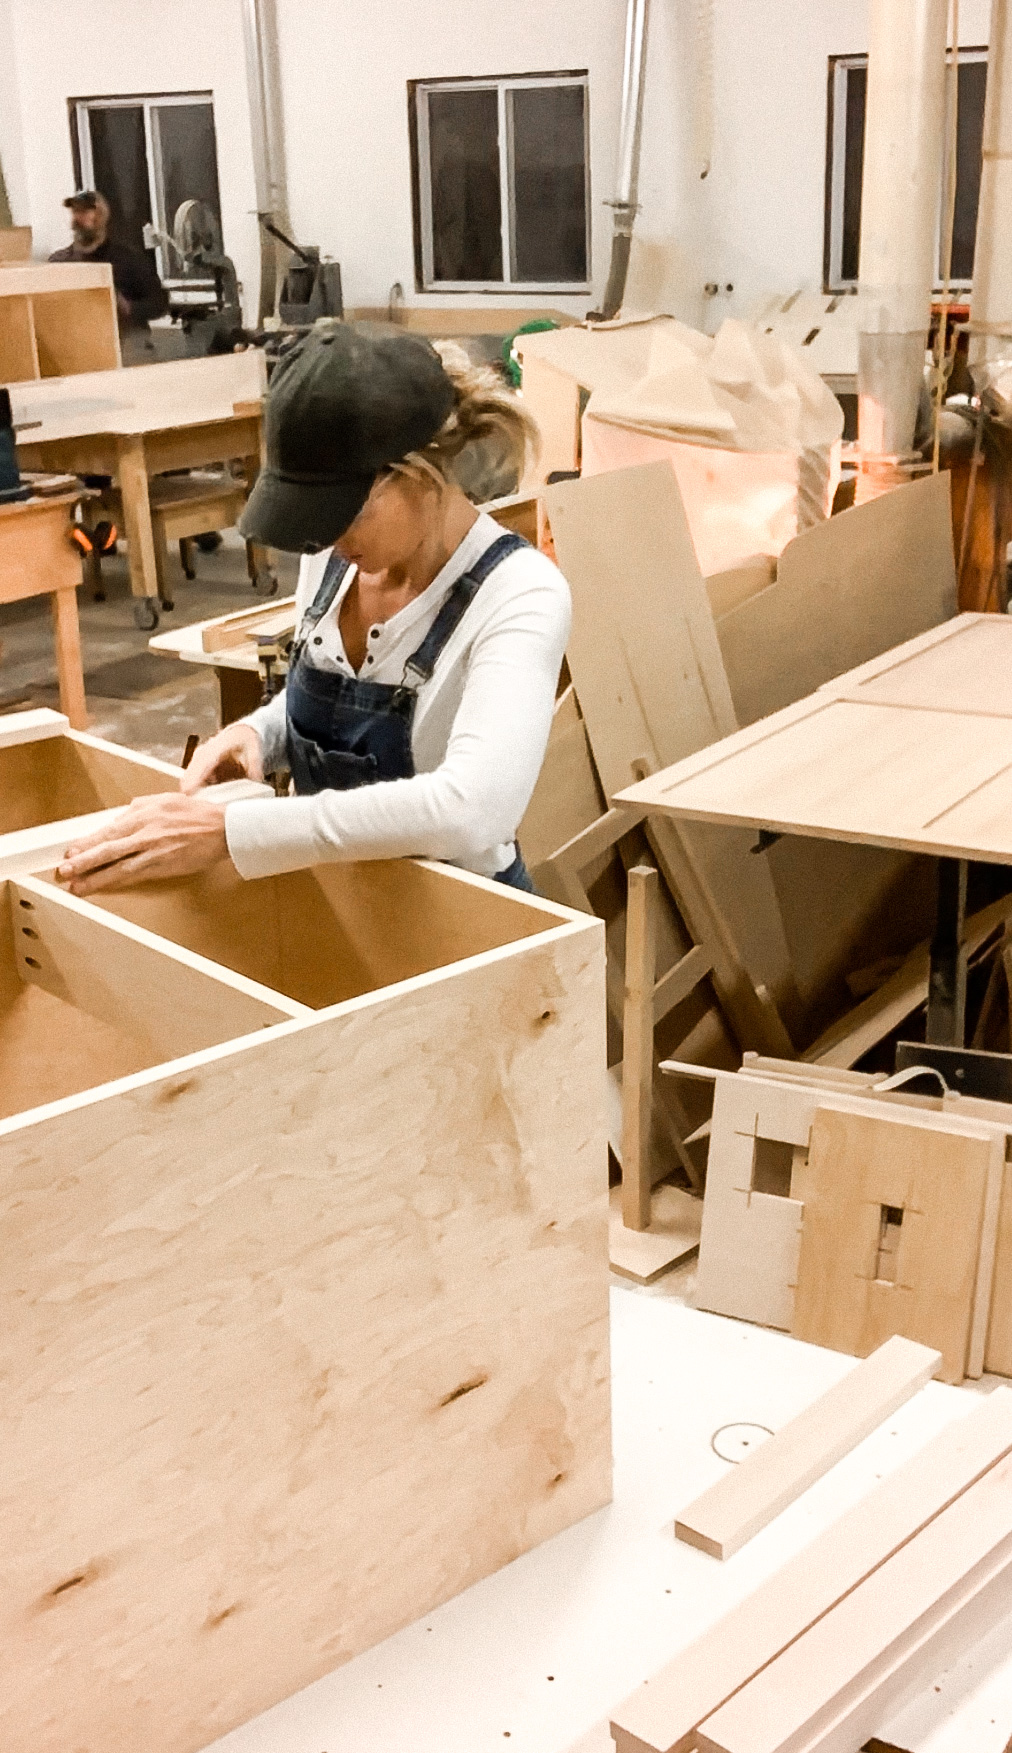
It took an entire day to cut out the materials for the cabinet carcasses before we could start assembling them. Using my uncle’s professional pocket hole machine, making assembly a breeze.
We definitely weren’t super fast assembling them at first but each day that we worked in my uncle’s shop, we learned a little more and got a little quicker.
Working together has been so much fun and working in such an incredible workshop has been a dream!!!
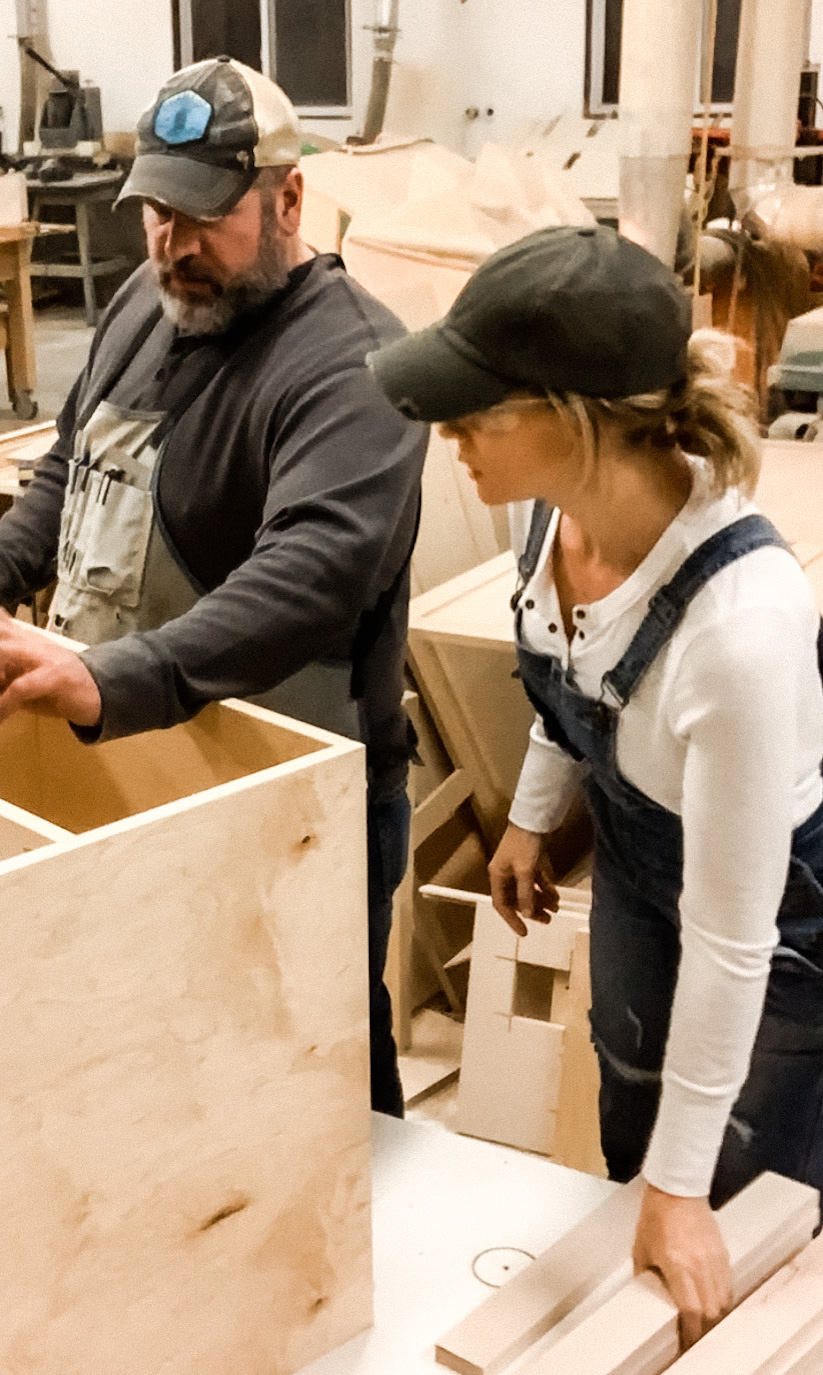
We are so grateful to my uncle for making the time to teach us his craft and for opening up his shop for us! This would have taken us so much longer to try and build without his help and we would have never learned what we have in such a short amount of time without his help!
Once the cabinets were all assembled, it was time to start working on the drawers, pullouts, and doors. We brought all the lumber for the doors and drawers into the shop that night after building the cabinet carcasses (before leaving for the night) that way the wood could acclimate overnight before we started planing it the next morning.
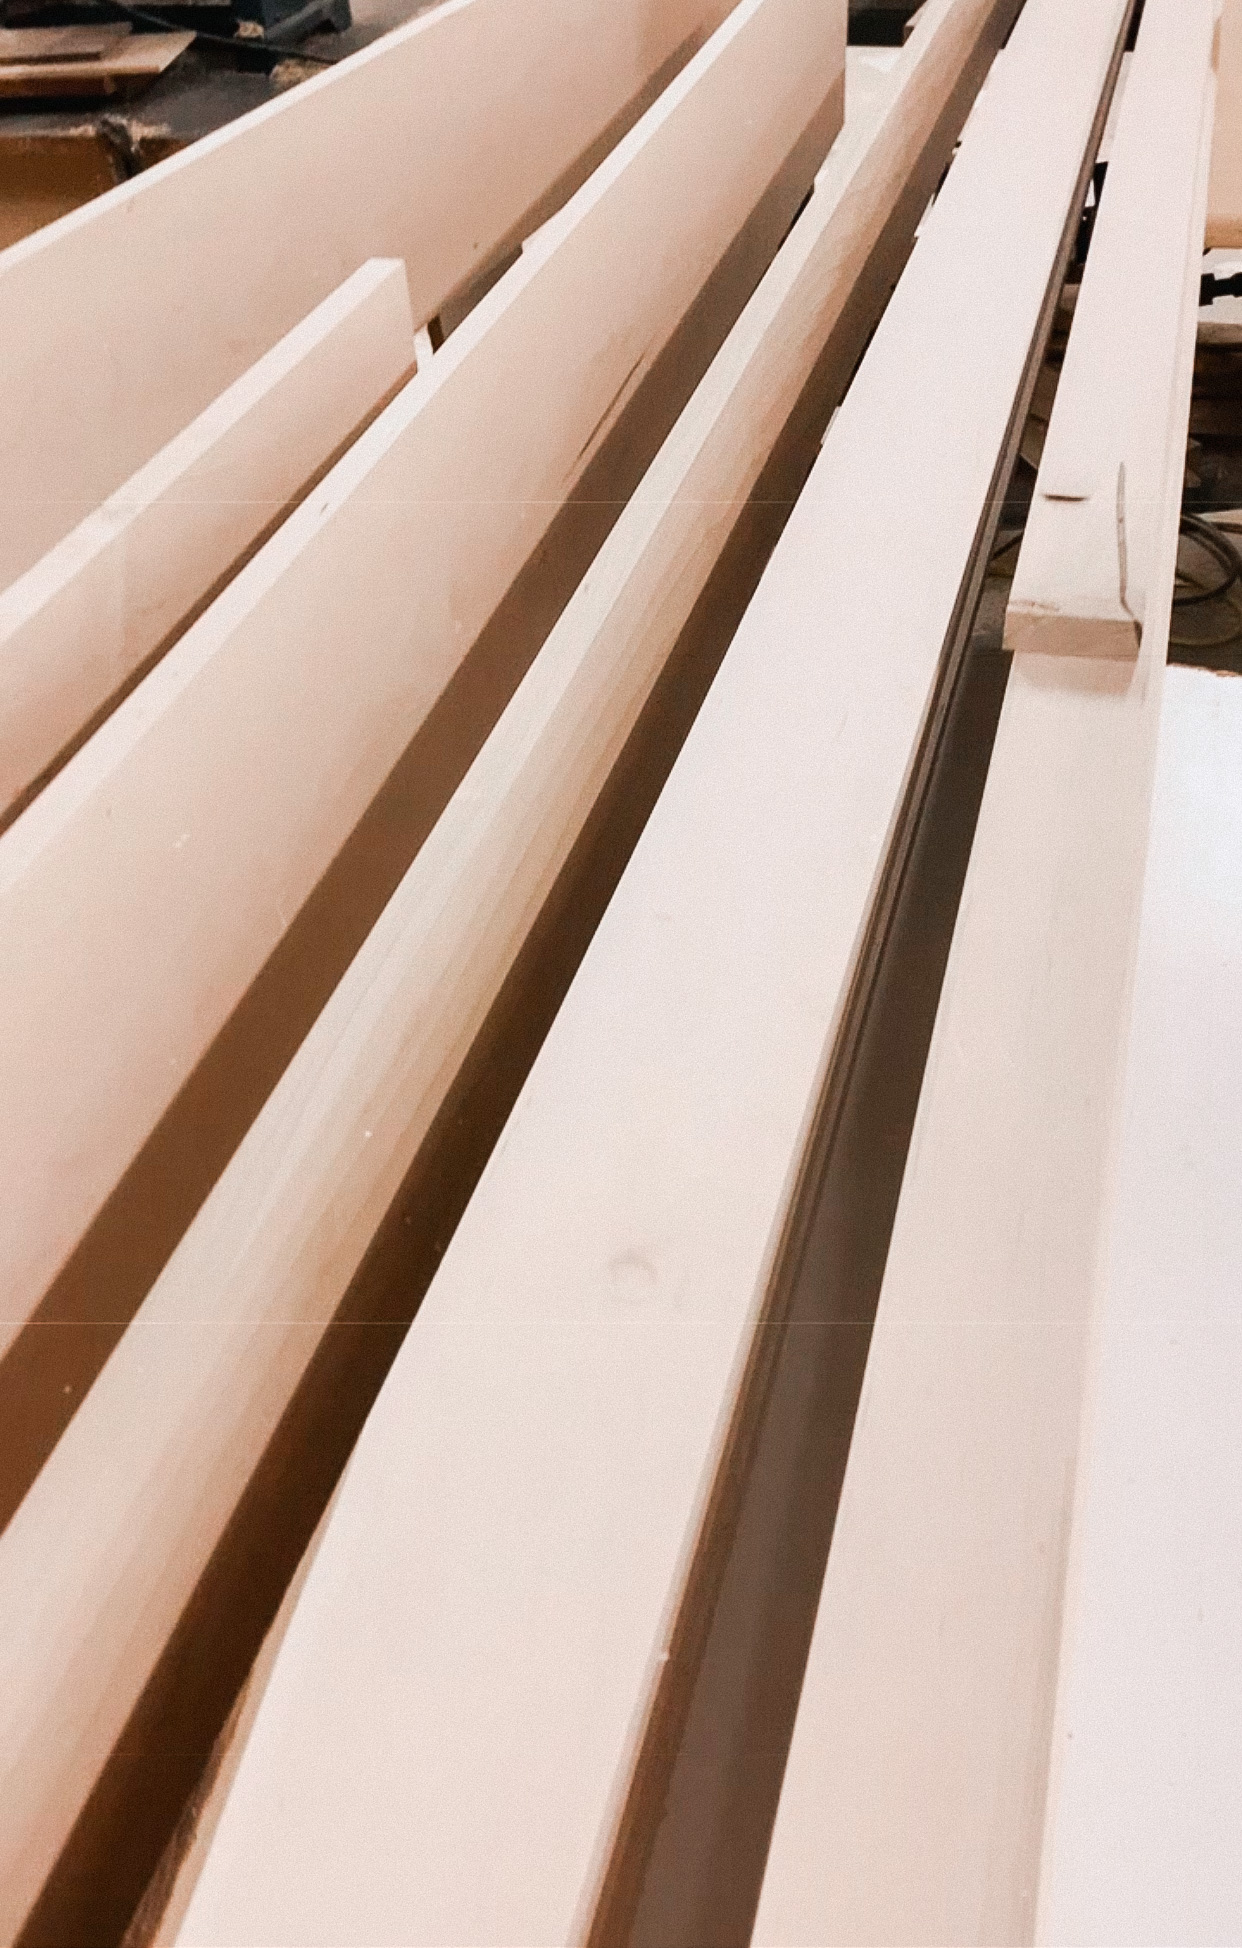
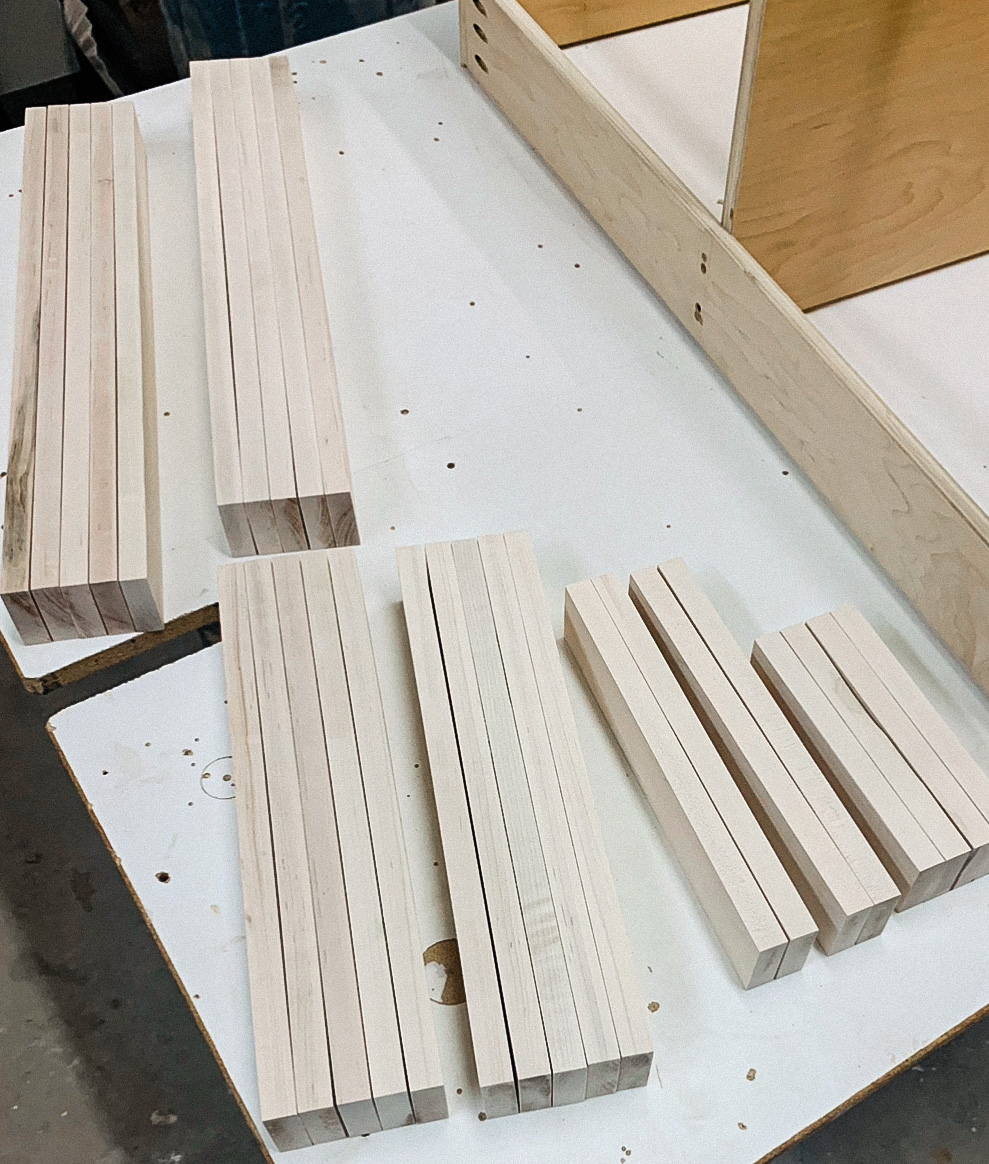
We chose to use solid maple and each piece had to be run through the jointer to give it a straight edge as well as through the planer multiple times until the boards were each the desired height and thickness. This part of the job probably took the longest.
Each board was a little different and Aaron was able to plane each one down so that we ended up with almost NO waste at all in the end. This took about a day and a half to get all the pieces just right. Because that was kind of a one-person job, I was actually able to go run errands and get more supplies while he worked away!
Date Night!
The next day, we made a date out of working in the woodshop! A lot of the time we work on projects as a family and I love it…but once in a while is SO nice to have some alone time and spend the day working together!
I know, not a “typical date”, but it’s what we love to do (and what we’ve always done), and working on projects is something we share (it’s our hobby really)!
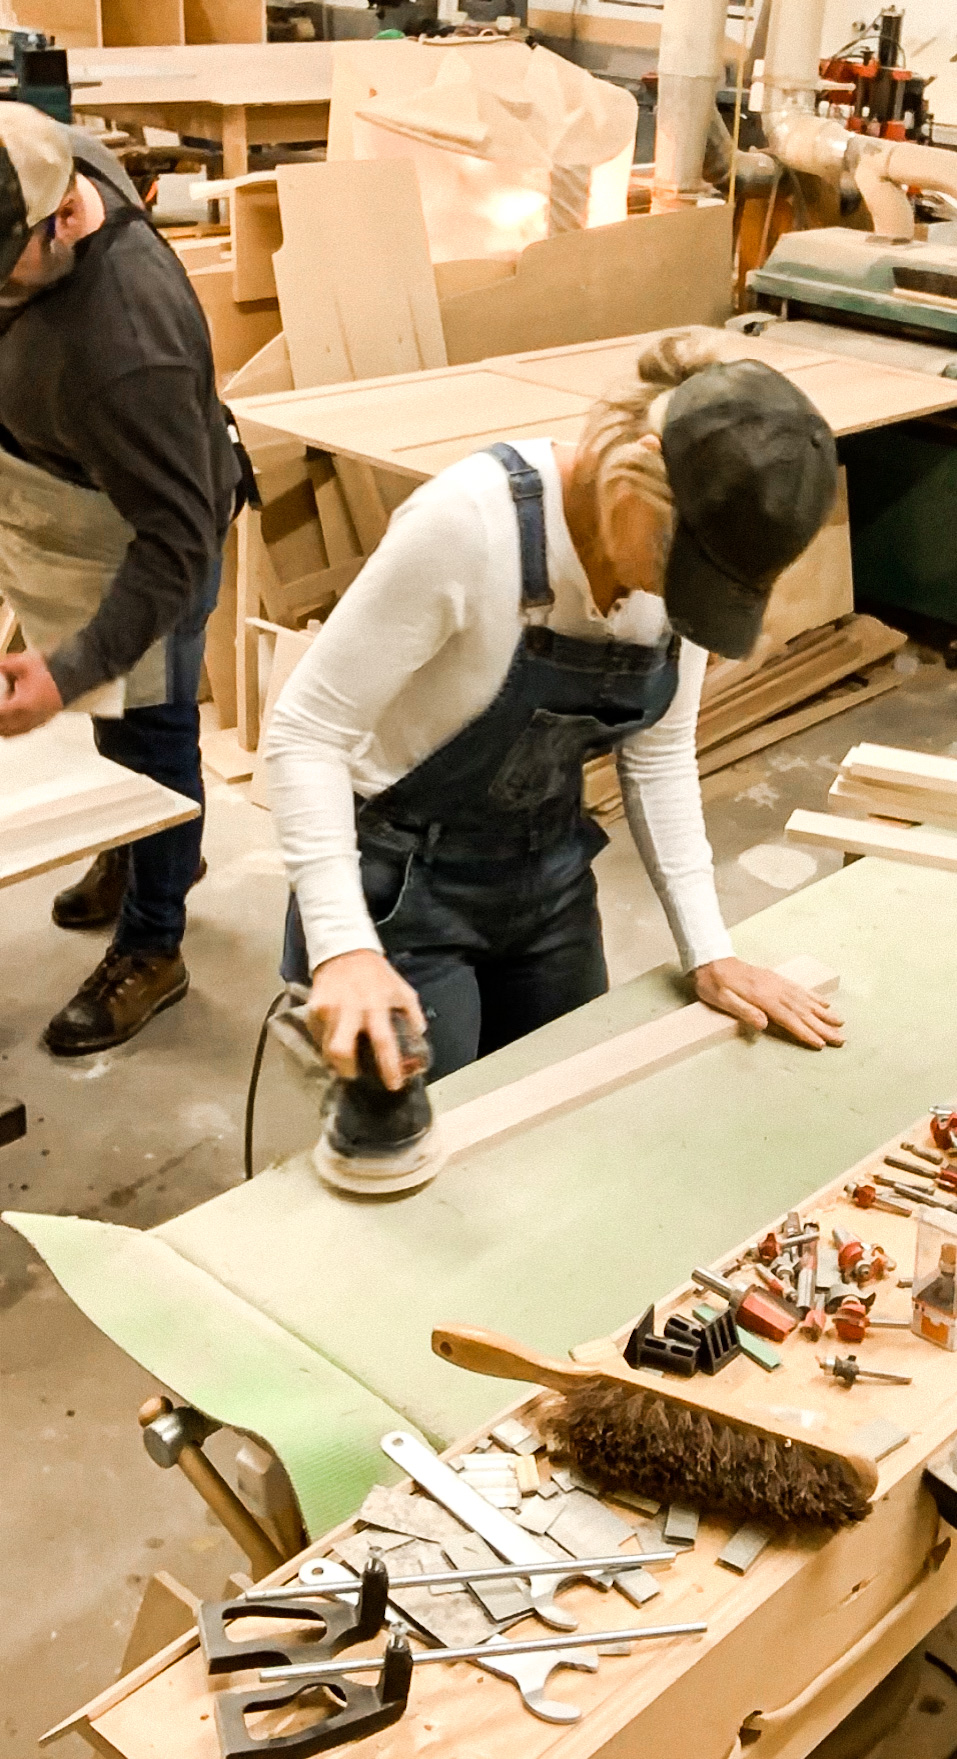
For our “date”, Aaron cut each piece of maple to length and I sanded them lightly with a 120 grit making sure they were smooth, but still rough enough for paint/stain to absorb well.
By the end of the day, we had all the pieces we needed to start building the pullouts, door fronts, drawer boxes, and drawer fronts!
Up Next Week In The Jeffrey Court Renovation Challenge
Now that the materials are all prepped and ready to go, it’s time to start assembling again! We’re both really looking forward to learning how to make dovetail drawers and make tenon and mortise joints (on our door fronts/frames). Since we are working in my uncle’s shop, we need to be super mindful of his work and he will be painting/spraying some cabinetry so we are going to pivot and come back to working on the kitchen island in a few days.
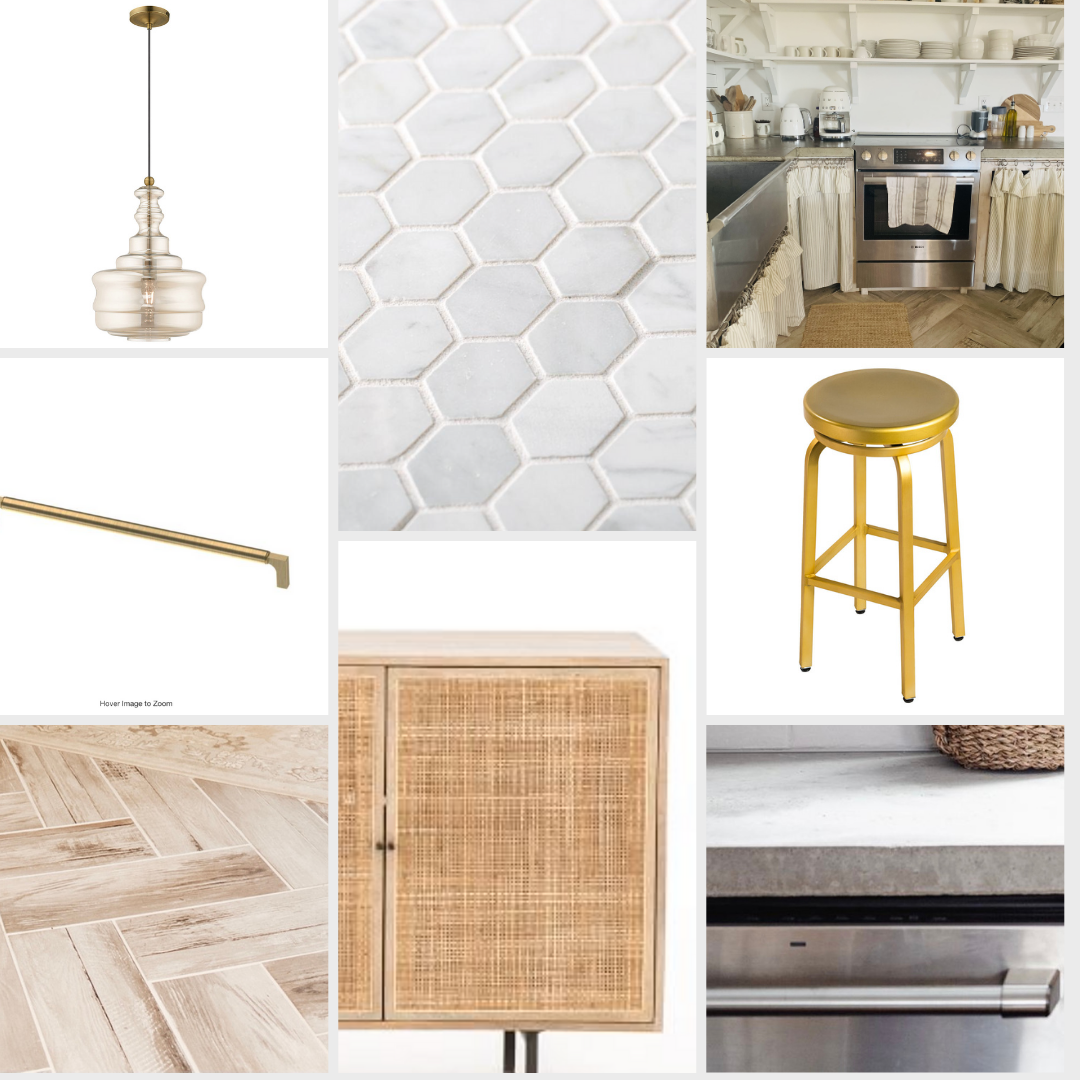
When we start working on them again…we’ll frame the kitchen cabinet doors out with maple and the center panel will be a natural cane with a maple plywood backing (just for durability and to keep from being able to see through the cane. I’m on the fence as to whether I should stain the cabinets or paint the kitchen island and all my cabinets to match. The wood is beautiful and I think it would look amazing stained but, staining the maple might make them a little too monochromatic next to the natural cane. Painting them a bold color or neutral color would make the cane and brass hardware I purchased stand out a little more. What do you guys think? Would you stain the Island or Paint it?
Thank you for following along with our DIY kitchen Jeffrey Court Renovation Challenge!
We are so excited to keep pushing through and we can’t wait to start installing all the beautiful Jeffrey Court tile and share with you all our best tiling tips and tricks…and just a friendly reminder…PLEASE VOTE, VOTE, VOTE!
Here’s a little reminder of our kitchen design!
Being a part of this Renovation Challenge is so exciting and it would be a dream come true to win the grand prize…so if you’ve voted and are voting daily…THANK YOU ever so much!!! You’re the best and we are so grateful for you! If you haven’t yet voted, no worries, it’s simple…just click here to VOTE !!!
All of this would not be possible without the generosity of our sponsors @JeffreyCourtHD, @sinkology, @frogtape
Be sure to check out the “BEFORE” and week #1 of the Jeffrey Court renovation challenge…
Jeffrey Court Renovation Challenge- Week #1 – Demo and Prep Work
