
We’re halfway through our Kitchen Renovation
and we only have three more weeks left in the
2021 Spring Jeffrey Court Renovation Challenge!!!
WEEK #3 -Jeffrey Court Renovation Challenge we focused on building drawers, doors, & painting the kitchen cabinets
Jeffrey Court Renovation Challenge RECAP:
If you’ve been following along you’ll know that I was chosen as one of the designers in the 2120 spring Jeffrey Court Renovation Challenge so we are currently knee-deep in a kitchen renovation! We have a total of six weeks to completely transform one space in our home using our favorite Jeffrey Court Tiles. With the help of Jeffrey Court, Frog Tape, and Sinkology the possibilities for designing an amazing space are endless! We just wrapped up week three and are officially halfway through this challenge and only ONE Designer can be named the WINNER!
The winner will be chosen based on fan VOTES and votes can be cast daily!

DESIGN/MOOD BOARD /BEFORE PICTURES –CLICK HERE- We live on 65 acres on the outskirts of town. We LOVE living in the country and all the beauty in nature…so my goal for our kitchen renovation was to bring the outdoors IN. My design incorporates warm rustic wood elements and lots of natural textures. While I’m mostly keeping with a neutral color pallet, I am adding interest with all the shapes and patterns I’ve chosen. For our tile feature wall, I chose a Marble Hexagon Mosaic Jeffrey Court tile because it reminded me of honeycomb and all the bees that swarm our fruit trees in the warmer months. The cabinet doors will be framed in maple with a natural cane center and the kitchen island will be topped off with a butcher-block countertop…but not just any butcher block…it’s a herringbone butcher block and I can’t wait to see it in space! The island pendant lighting I chose has a hand-blown look and I really think the amber glass will add even more warmth and help make the entire space feel complete!
WEEK #1 –CLICK HERE– In any renovation, things MUST get worse before they get better! Our focus for week #1 of the Jeffrey Court Renovation Challenge was DEMO and a whole lot of PREP work!
WEEK #2 –CLICK HERE– Week #2 We learned how to build kitchen cabinets, designed a new kitchen island, and got busy building the island of my dreams!
REMINDER TO VOTE (CLICK HERE to VOTE daily)
What we were able to accomplish in week #3 of this kitchen renovation
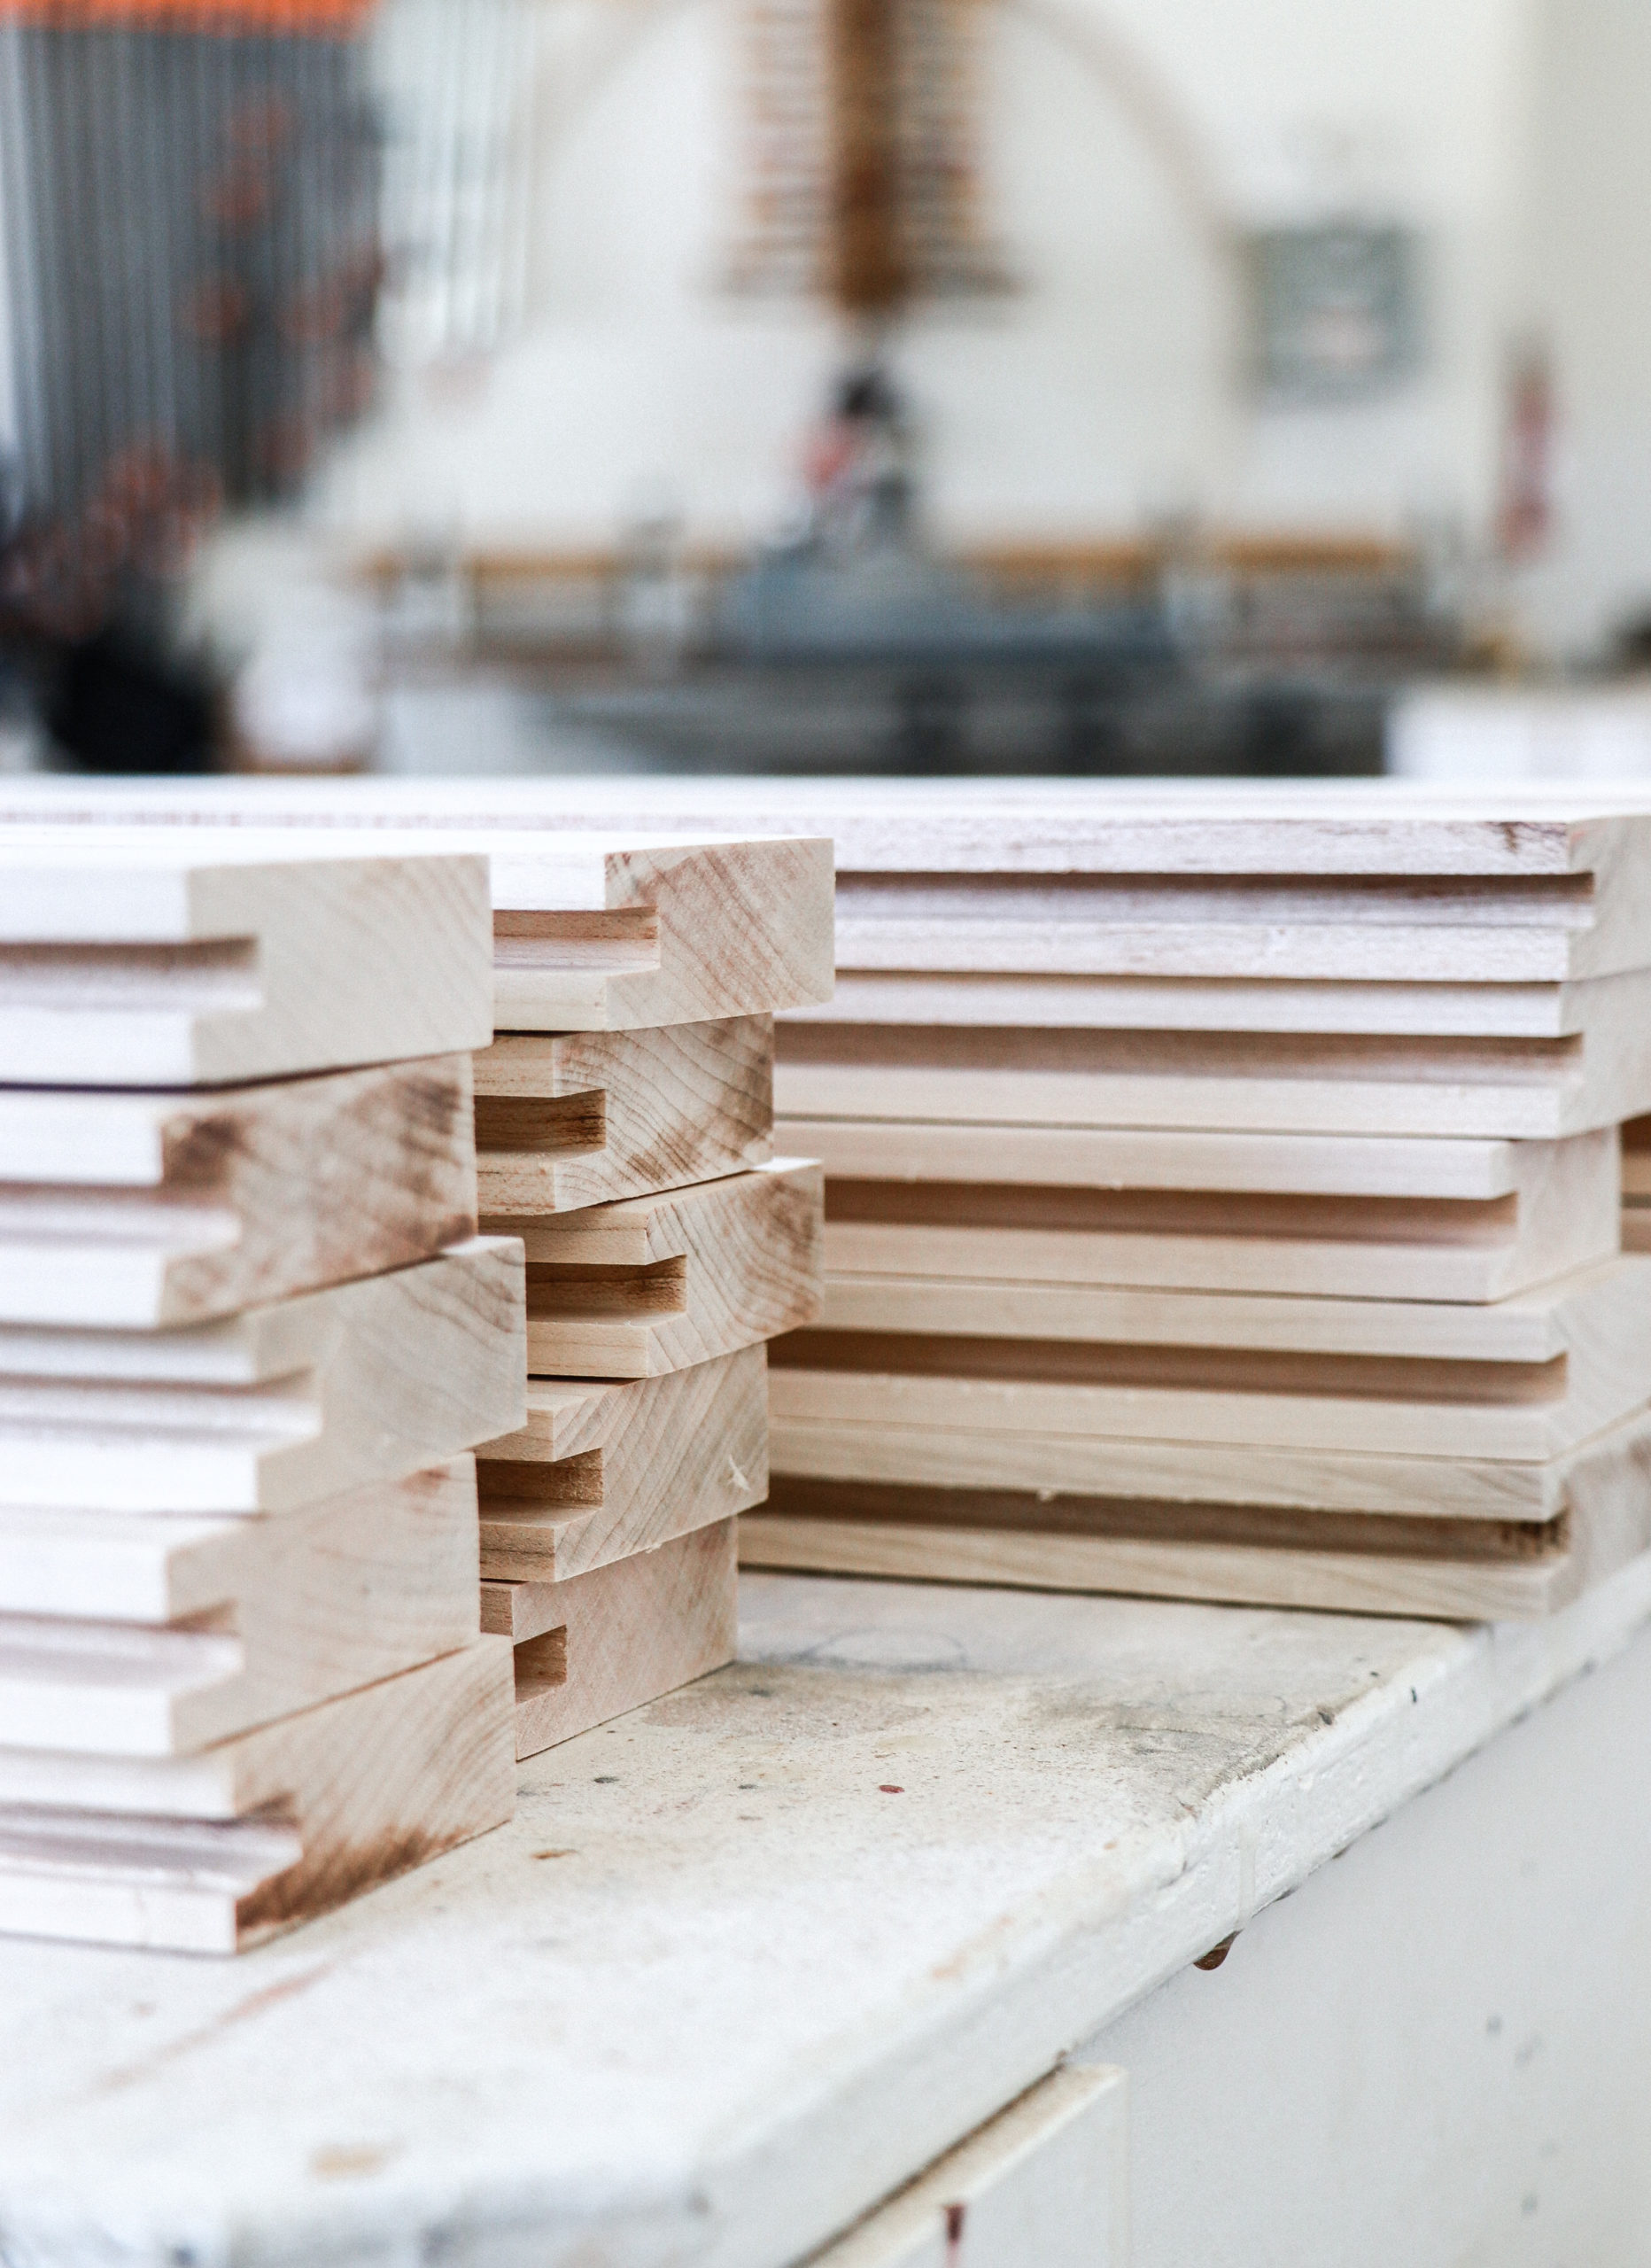
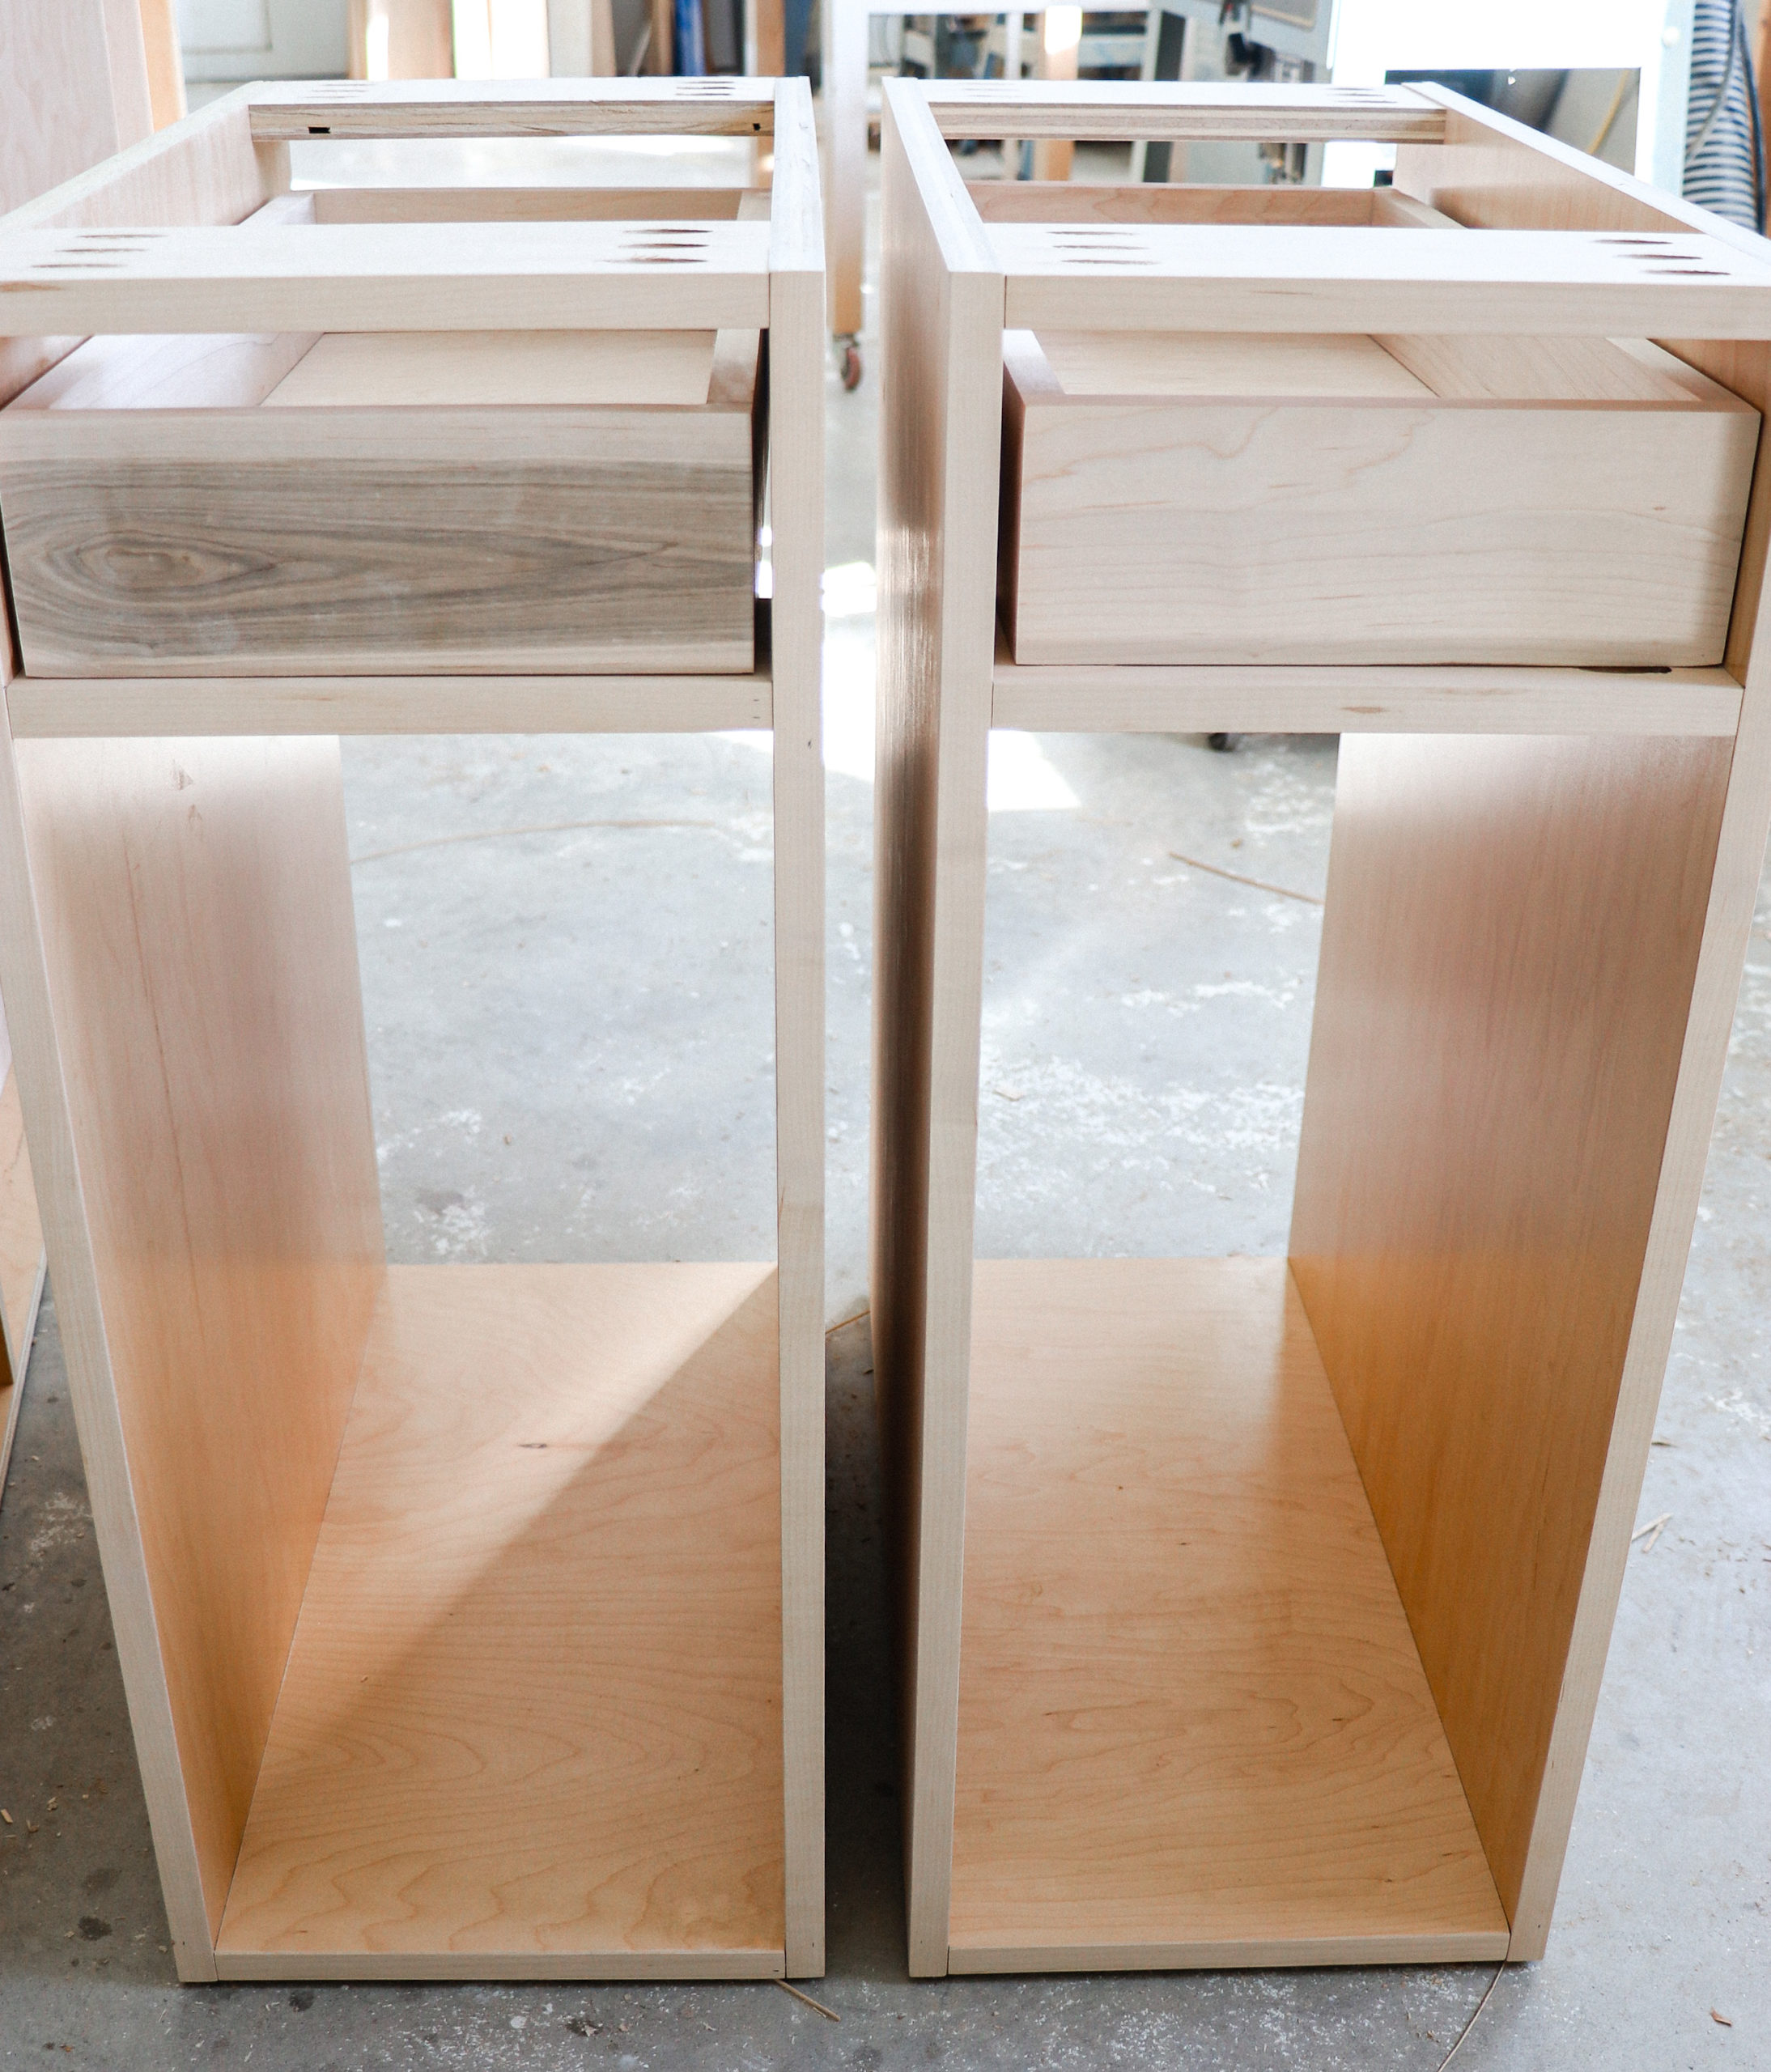
Building Dovetail Drawers

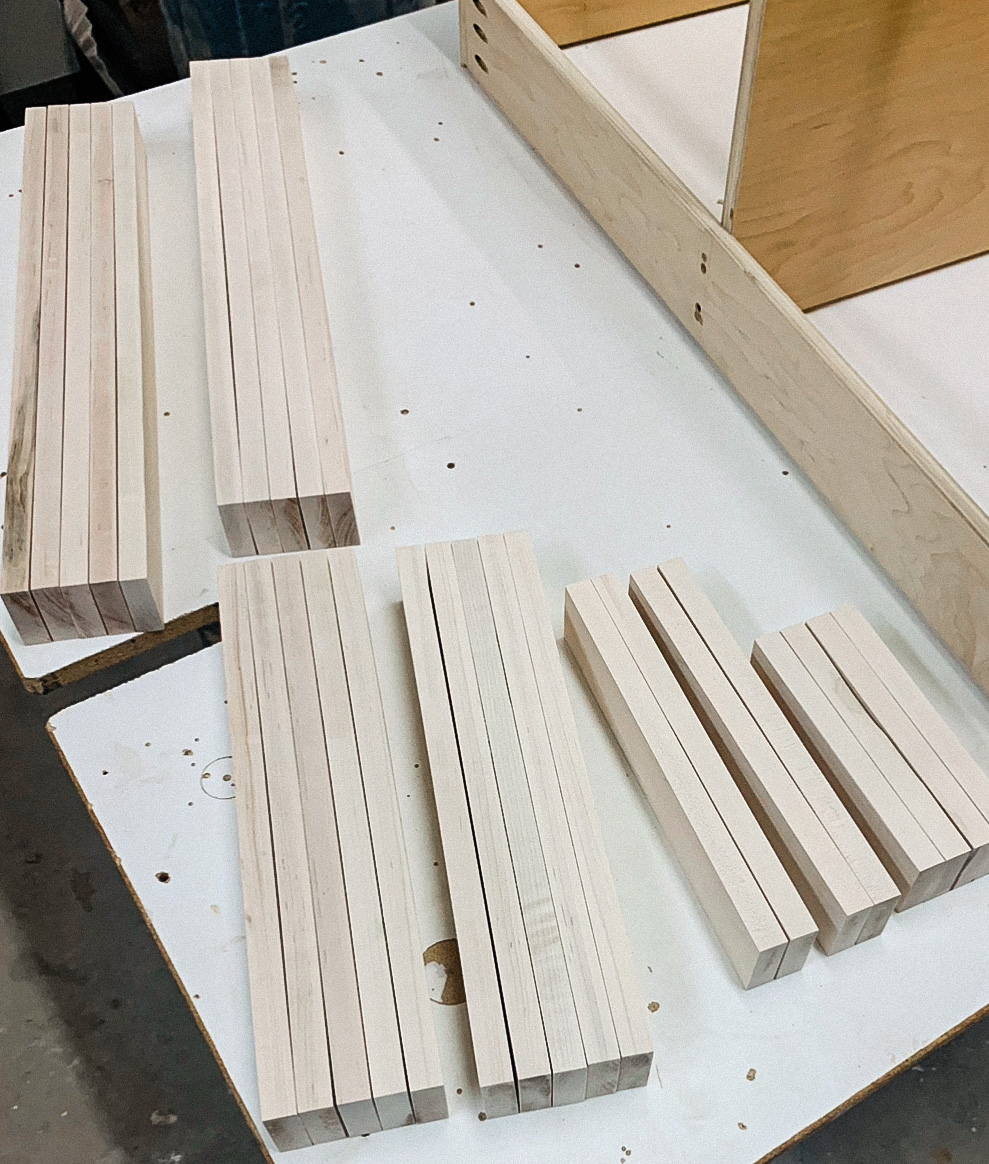
The kitchen island is 84 inches long by 4 ft wide (including a 12in overhang for bar stools). The island has a total of 8 drawers, 3 cabinet pullouts, and one double trash pullout. We really wanted to build our drawers to last and of course, we wanted them to be beautiful so we decided to join the drawers with dovetail joinery.
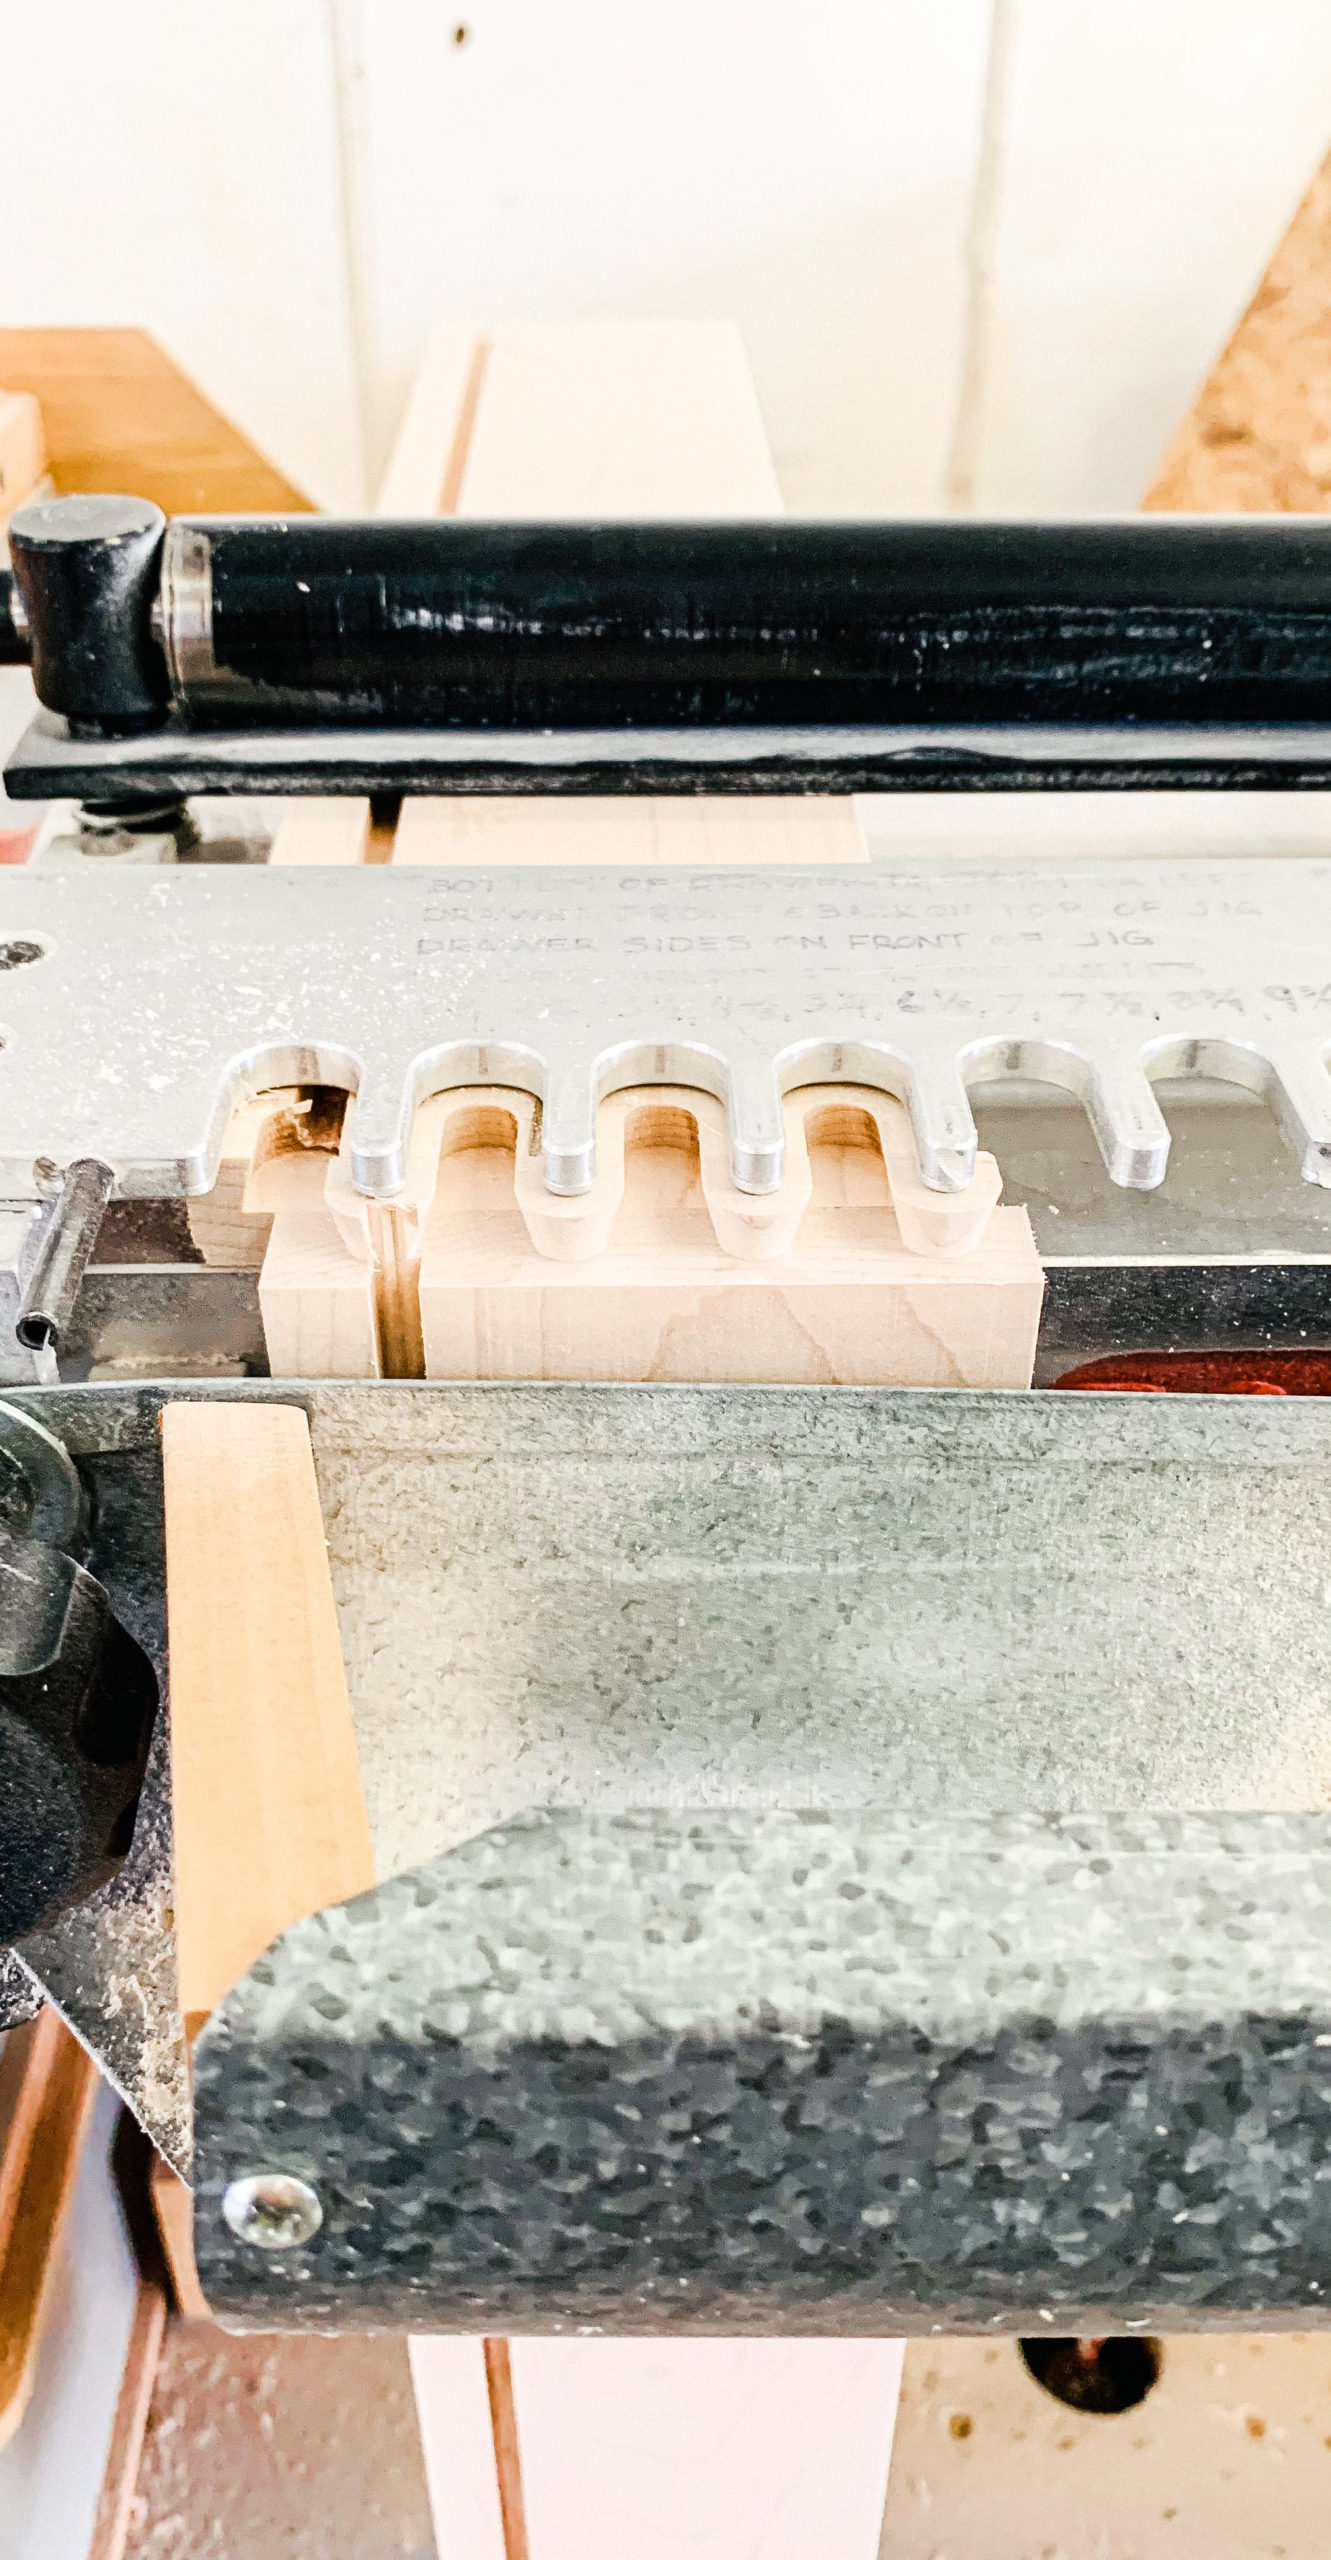
No, we did NOT learn to make dovetail joints with a wood chisel and precision saw work…we didn’t have time for that. We simply used a jig and a router to make the dovetails in each piece before assembling them using a little wood glue and a rubber mallet.
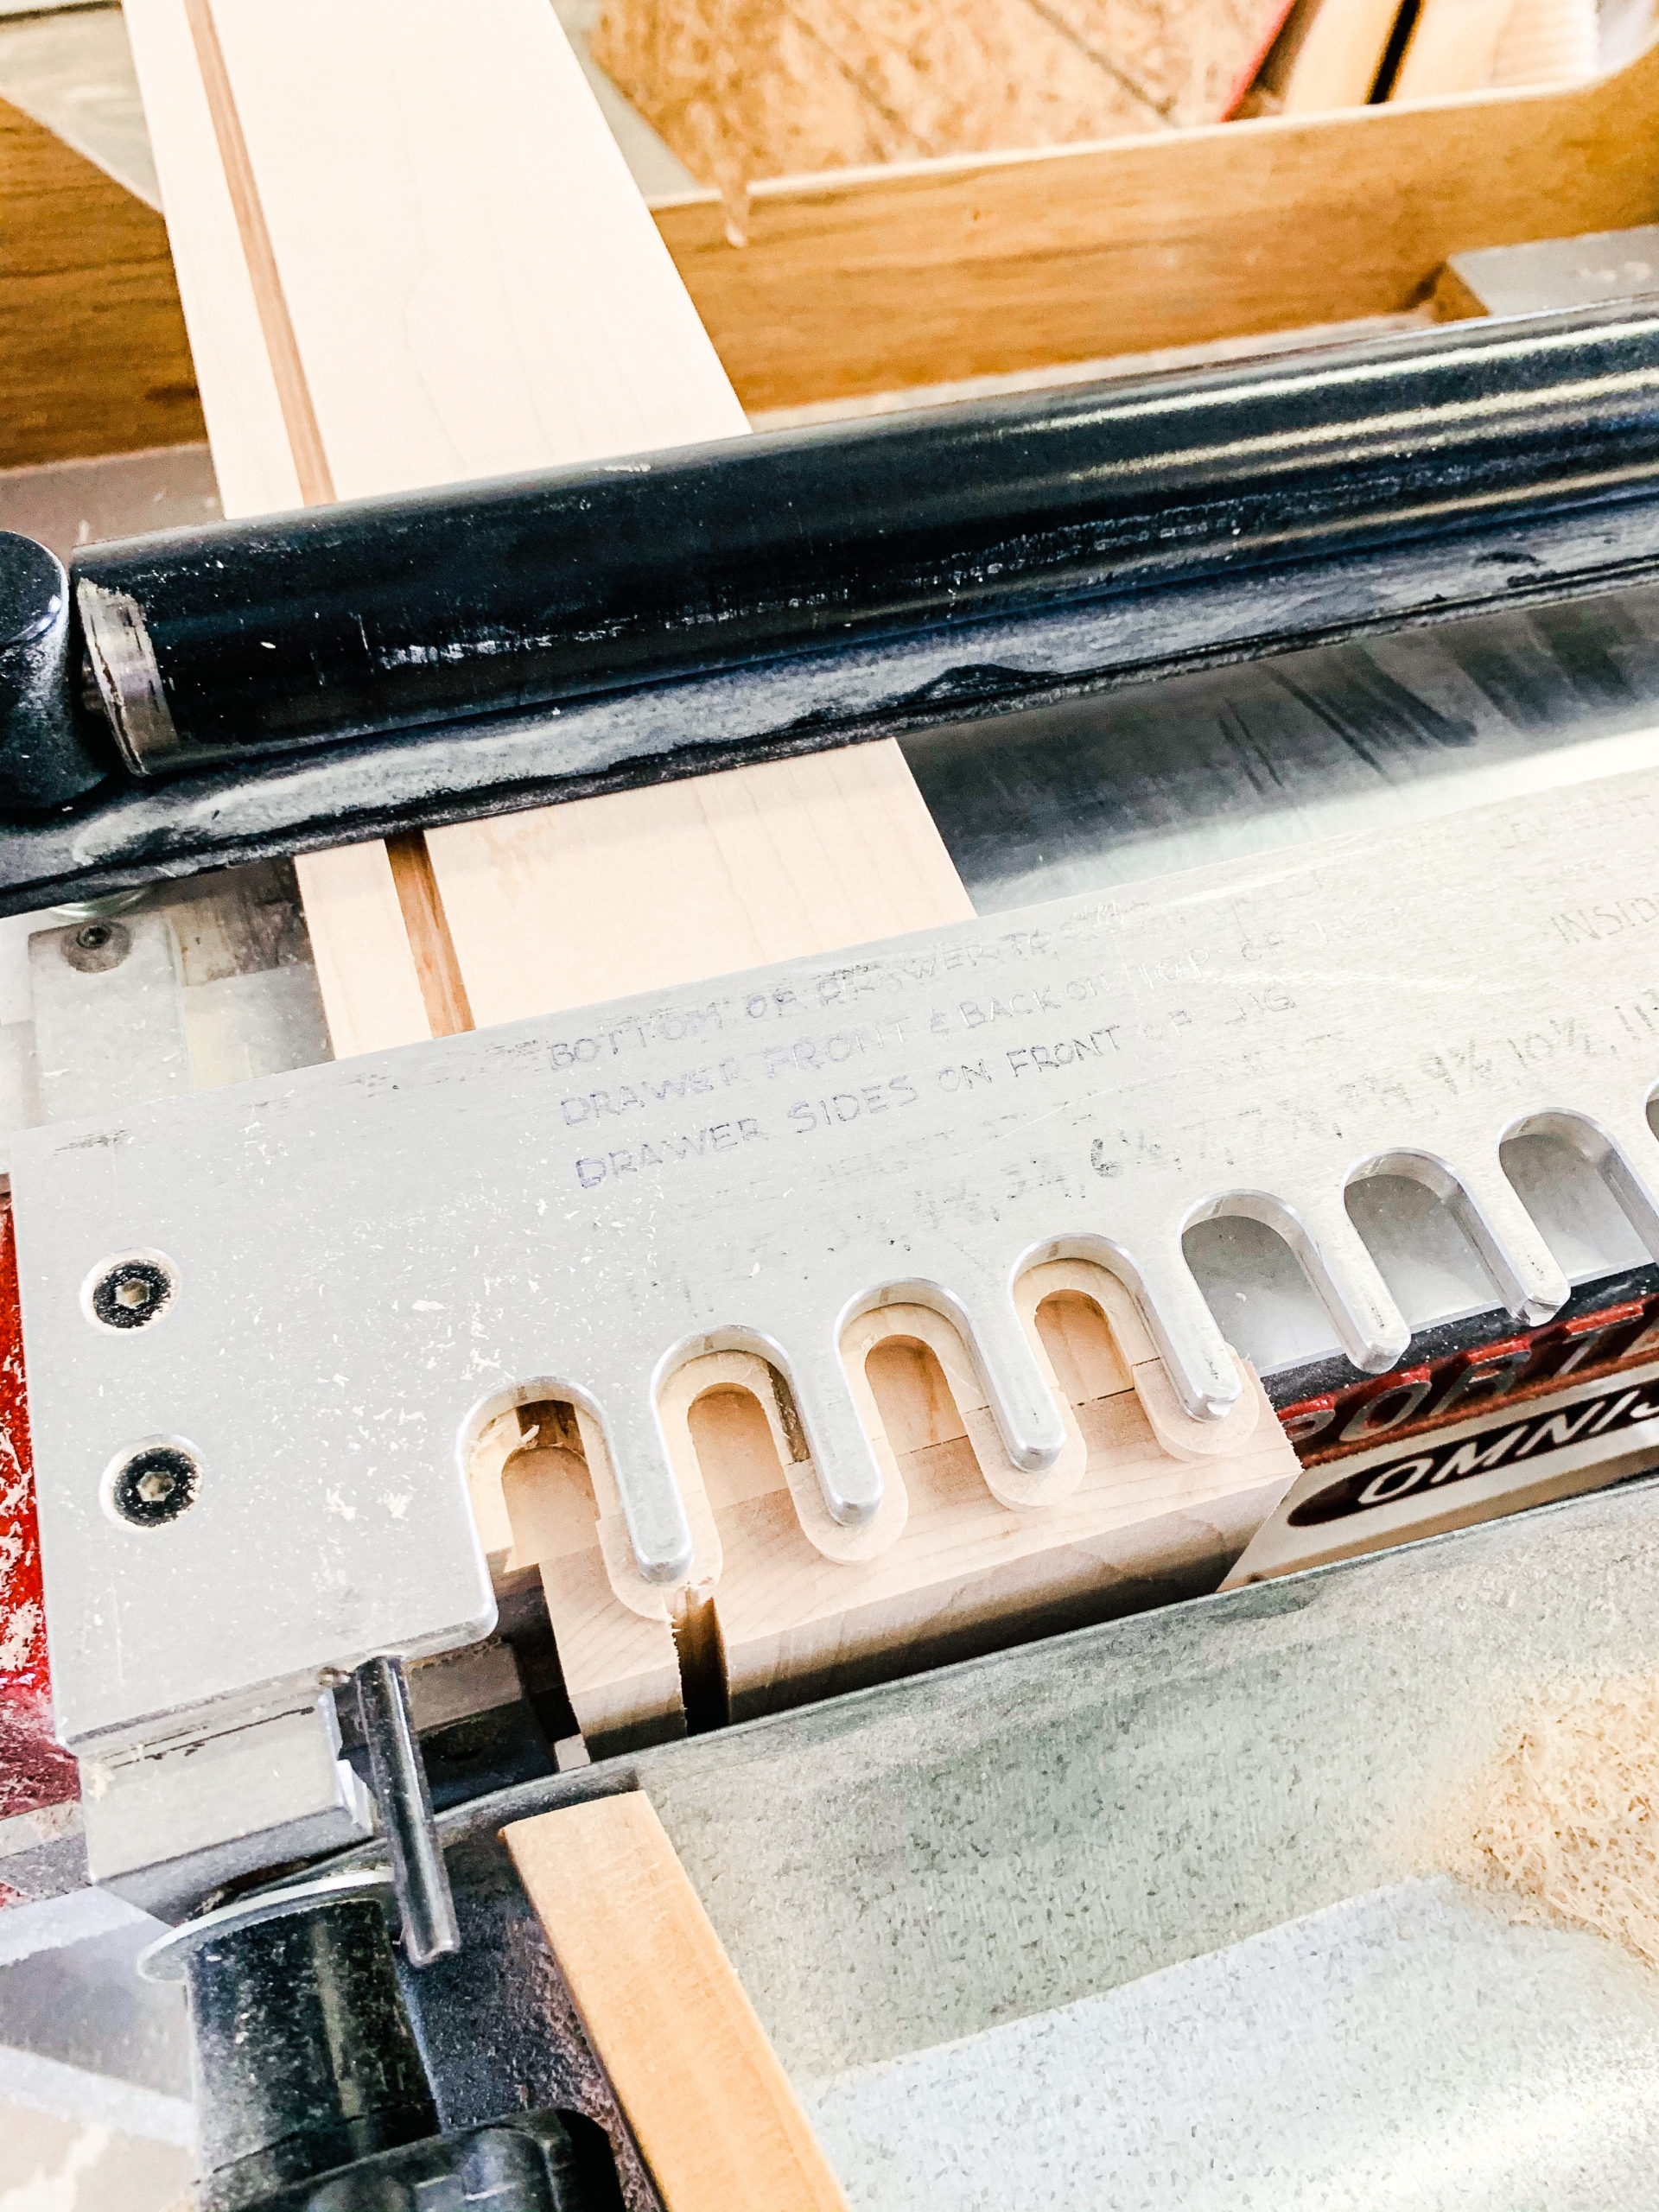
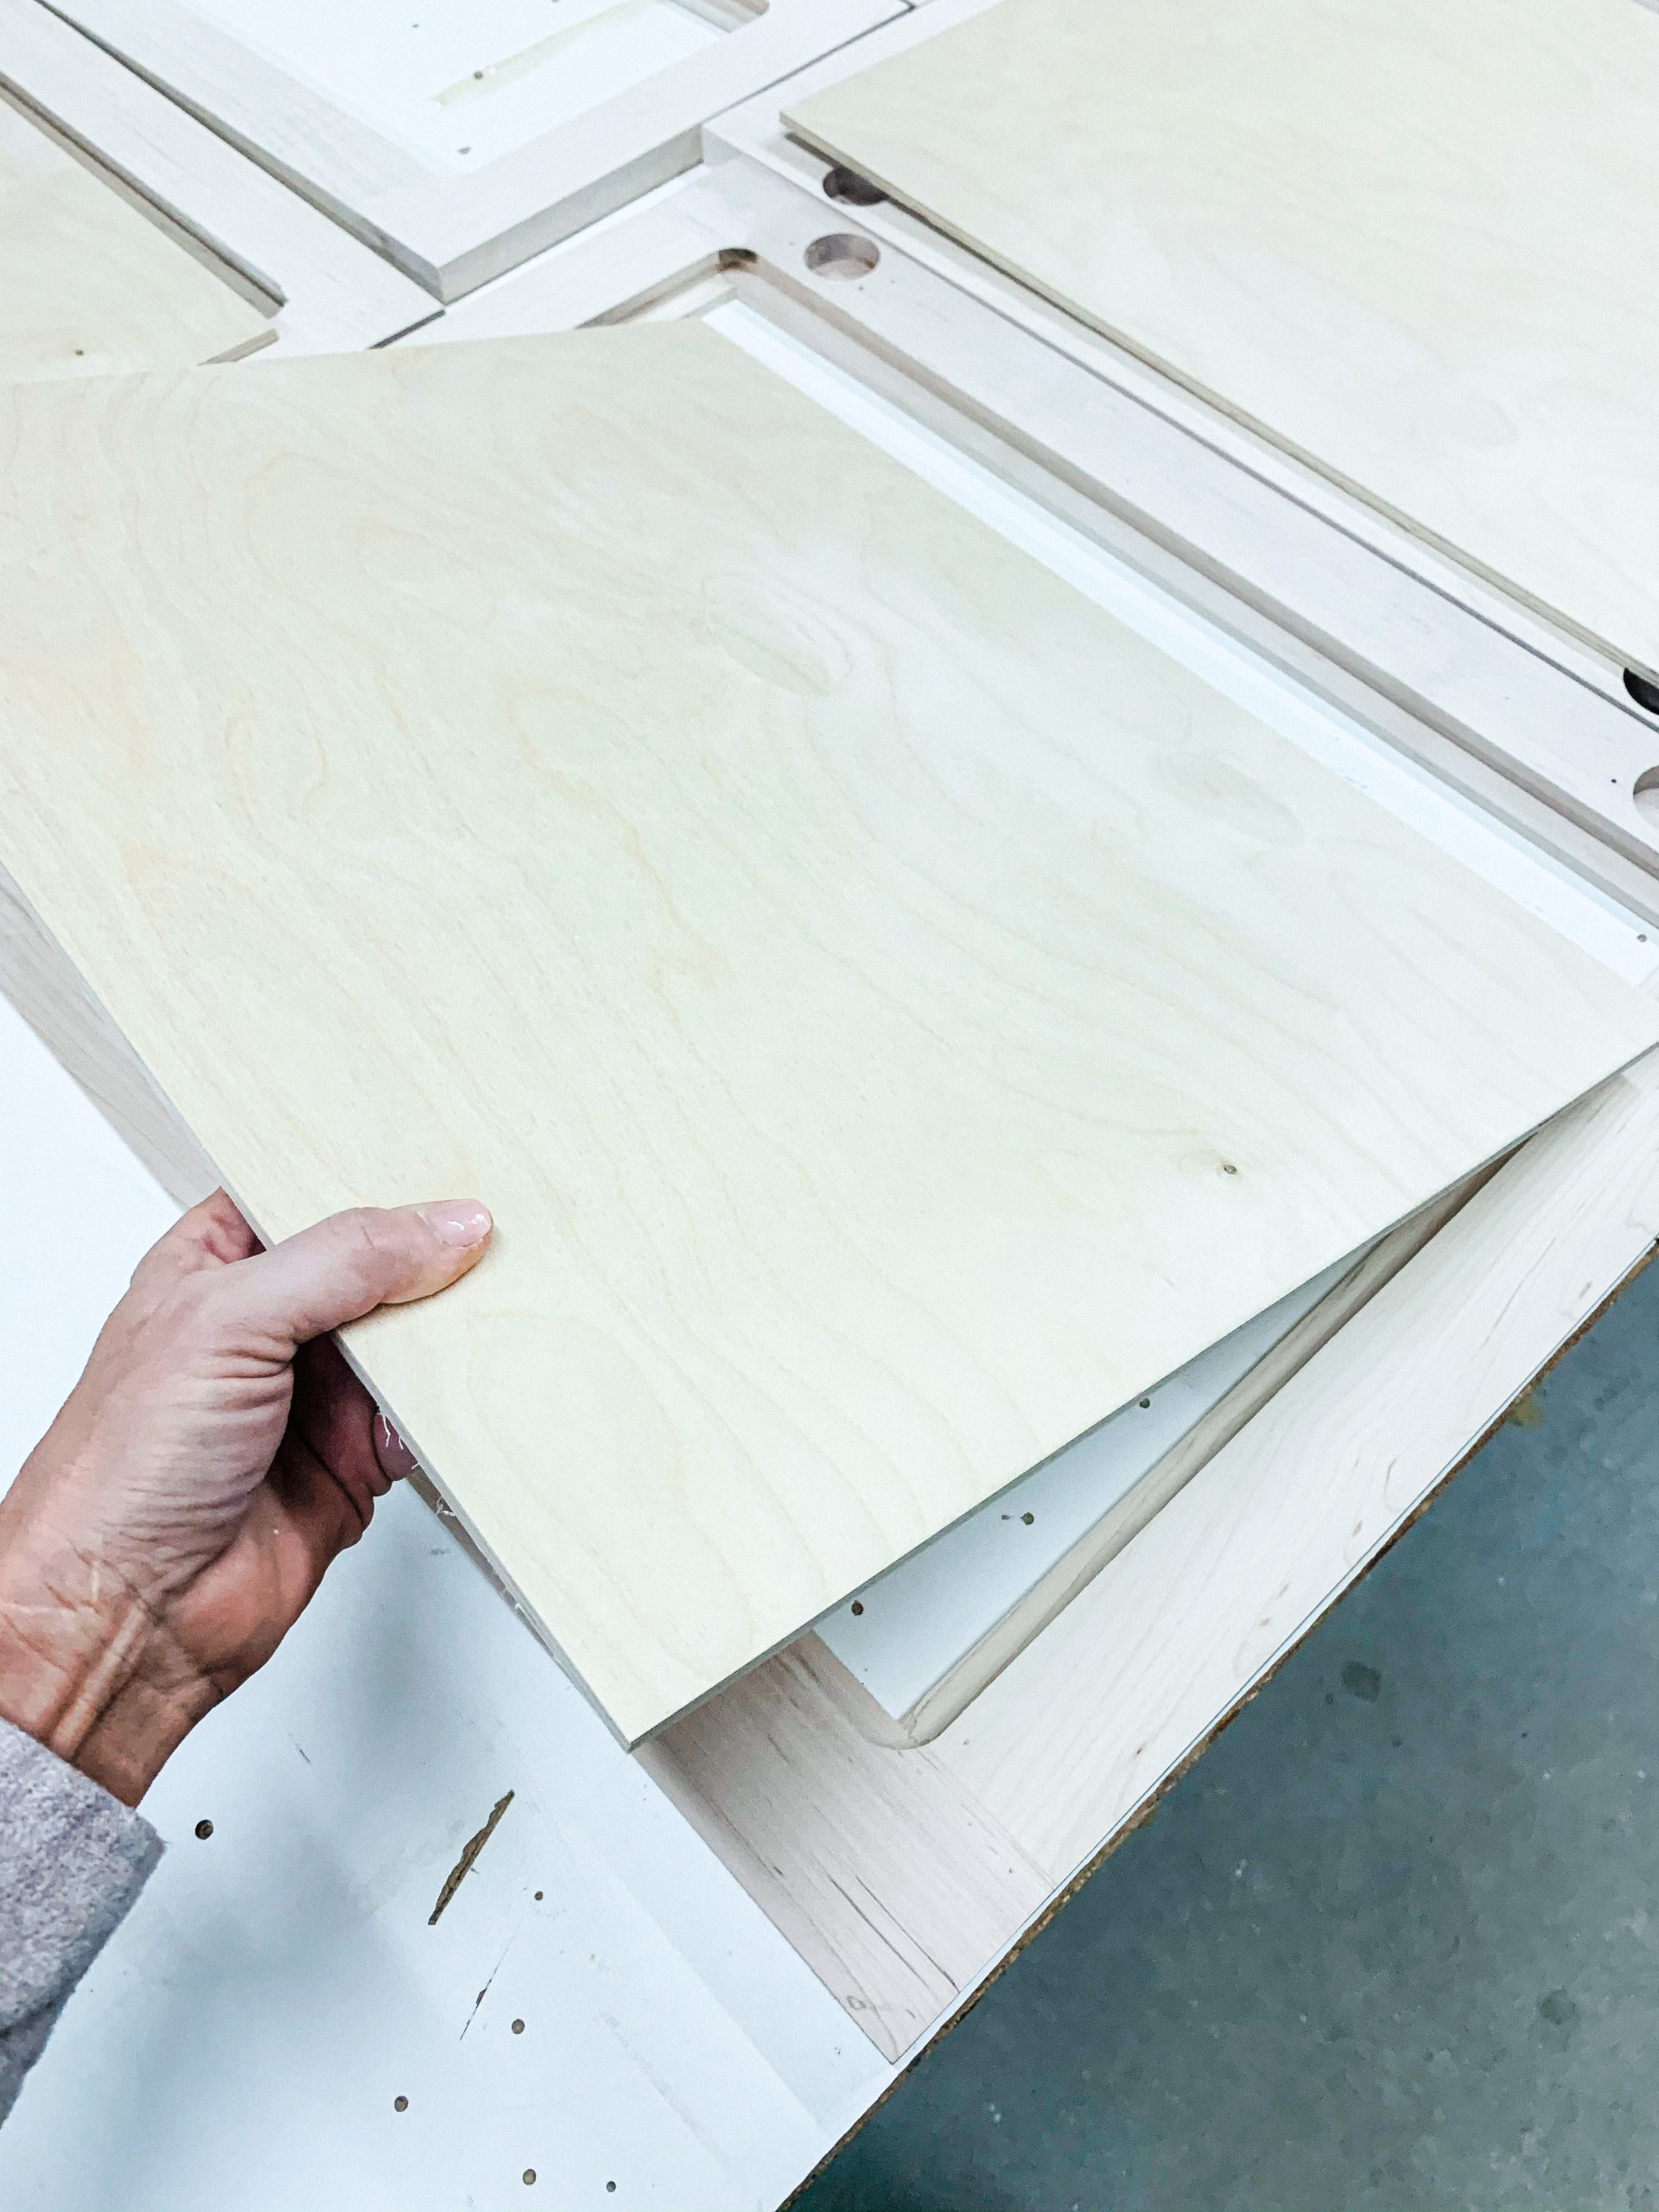
Aaron worked on assembling and when he was done, I sanded each joint for a smooth joint. Each drawer has 5 pieces. The four sides are made from solid maple that we planed and milled down and each side had to be routed on the bottom so we could slide the plywood drawer bottom into it before adding the last side to the drawer.
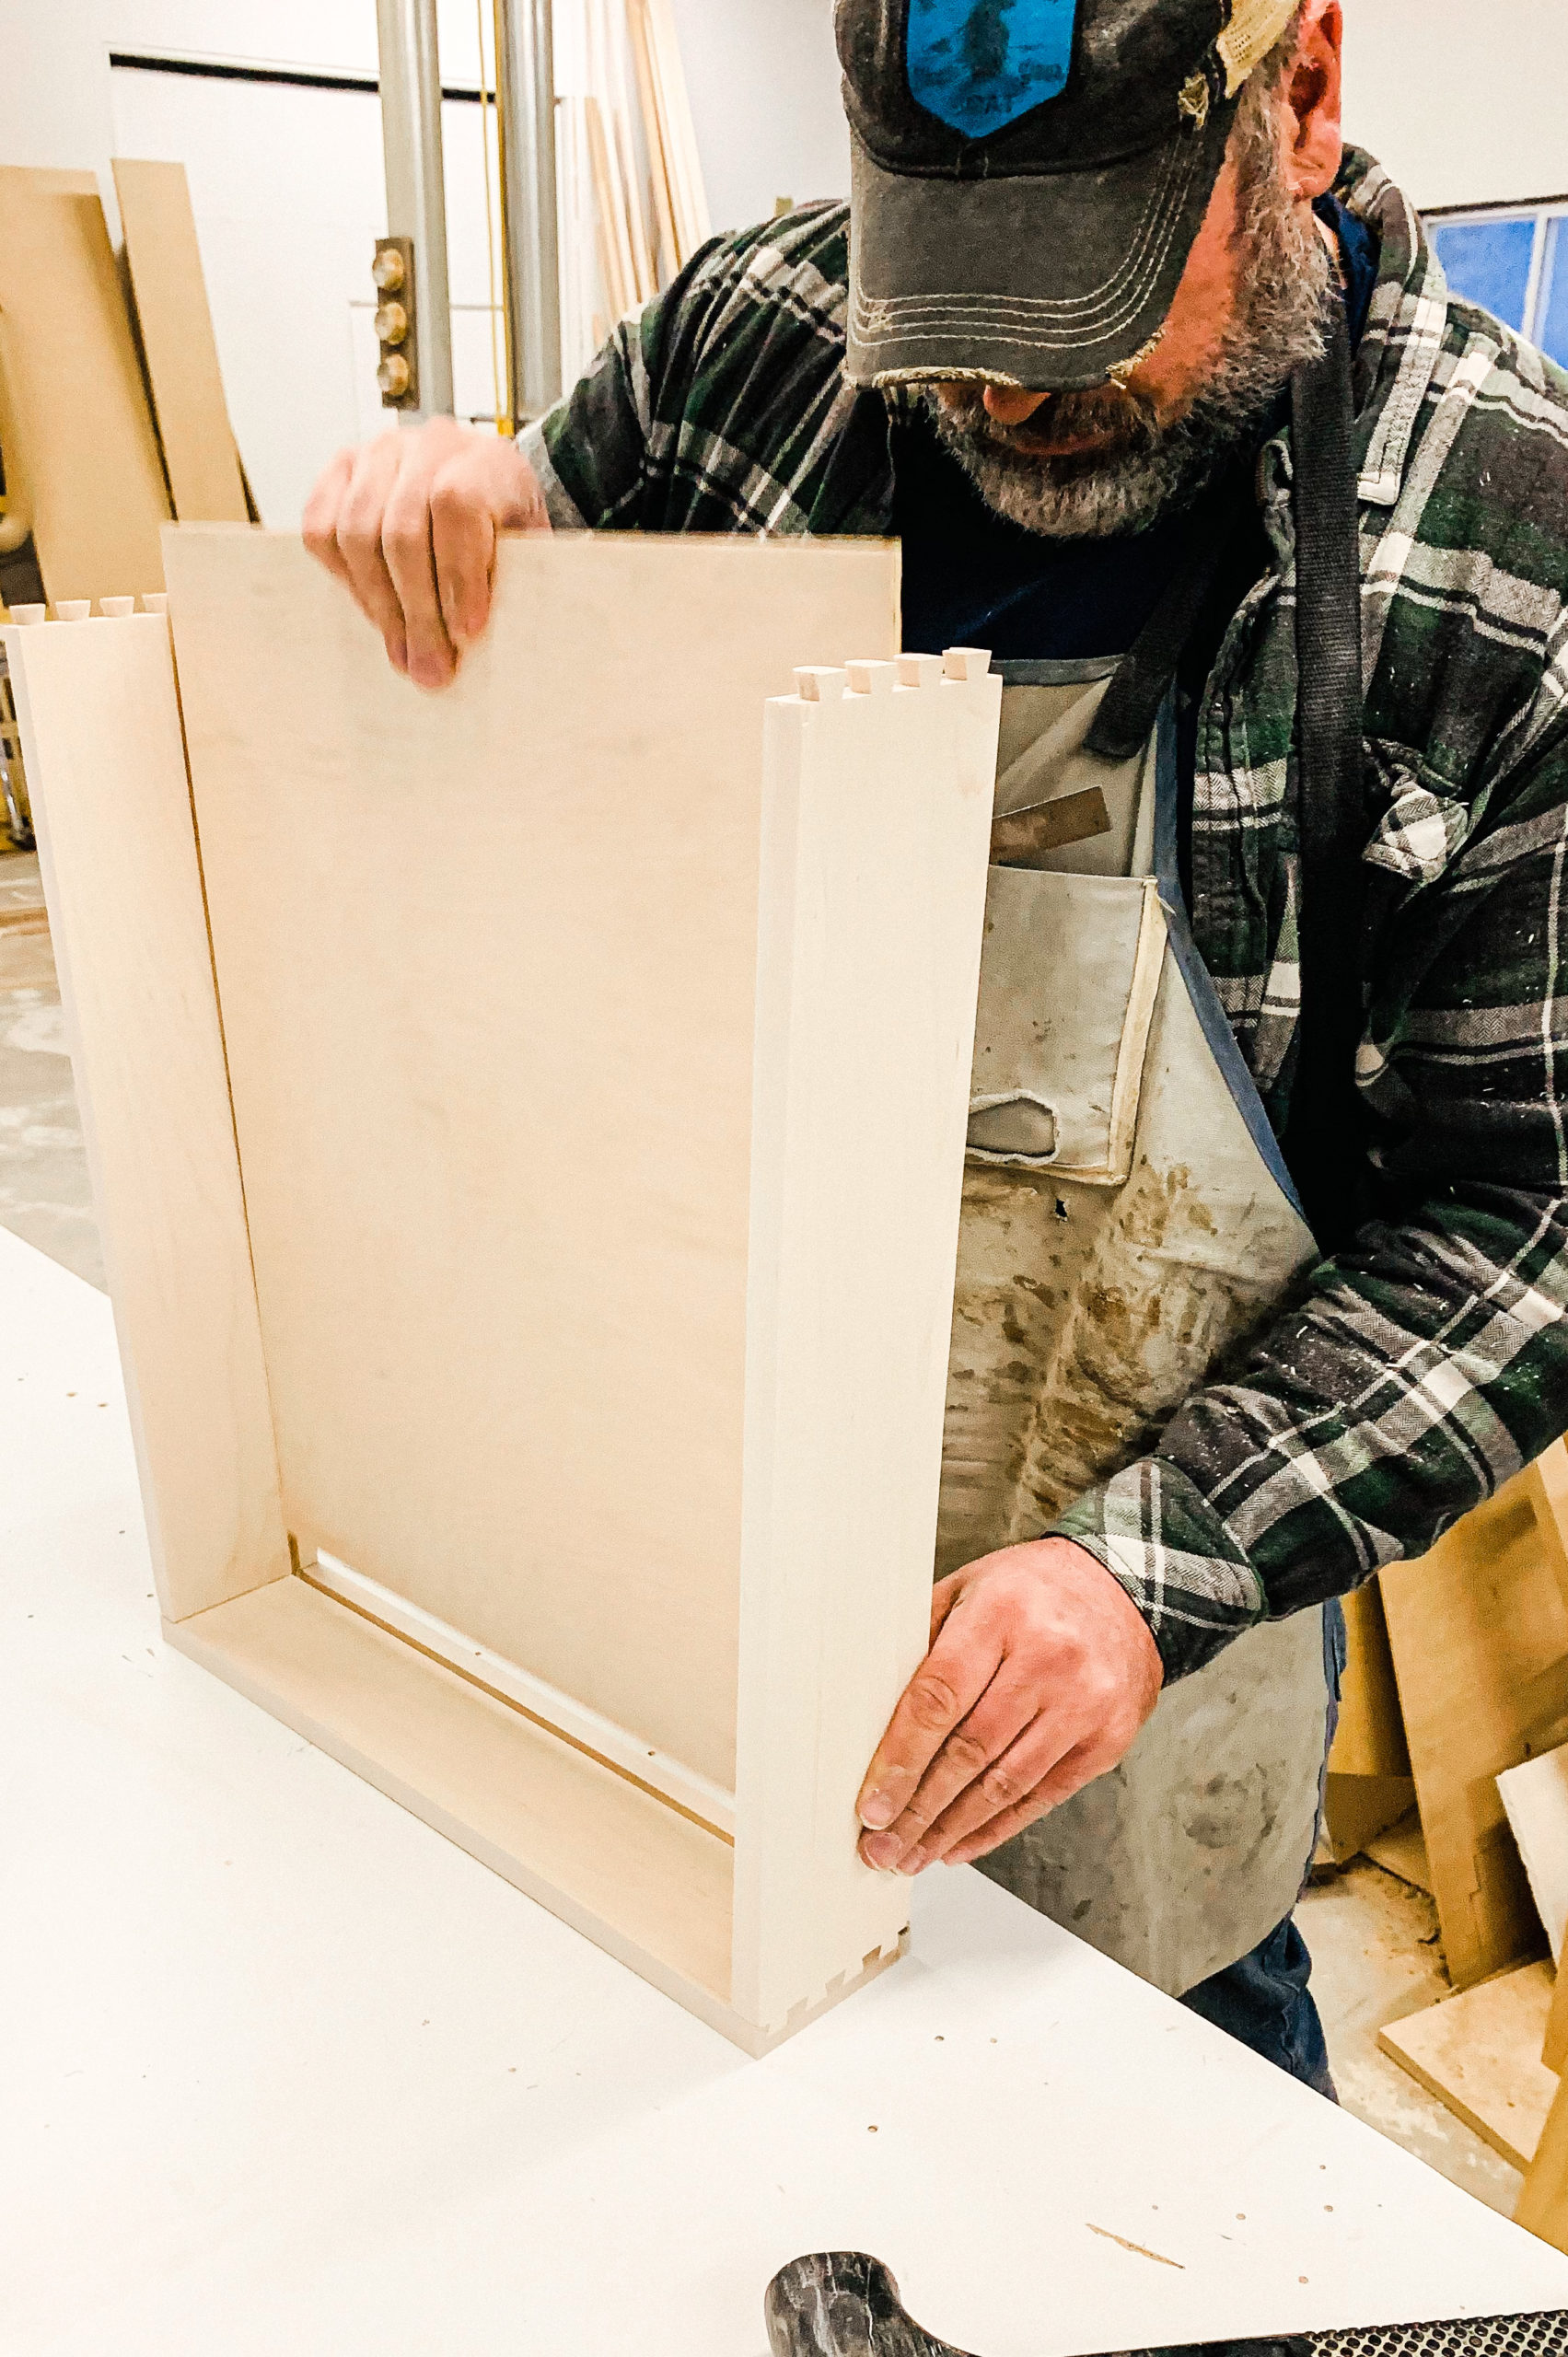
Dovetail drawers can take about 1/2 a day each to make so we worked late into the night all week and finished all 11 of our drawers and pullouts. I opted to buy a trash/recycling wood pullout instead of trying to make it. I’m really glad I did.

Assembling Kitchen Cabinet/Island Door Fronts – Mortise & Tenon Joints
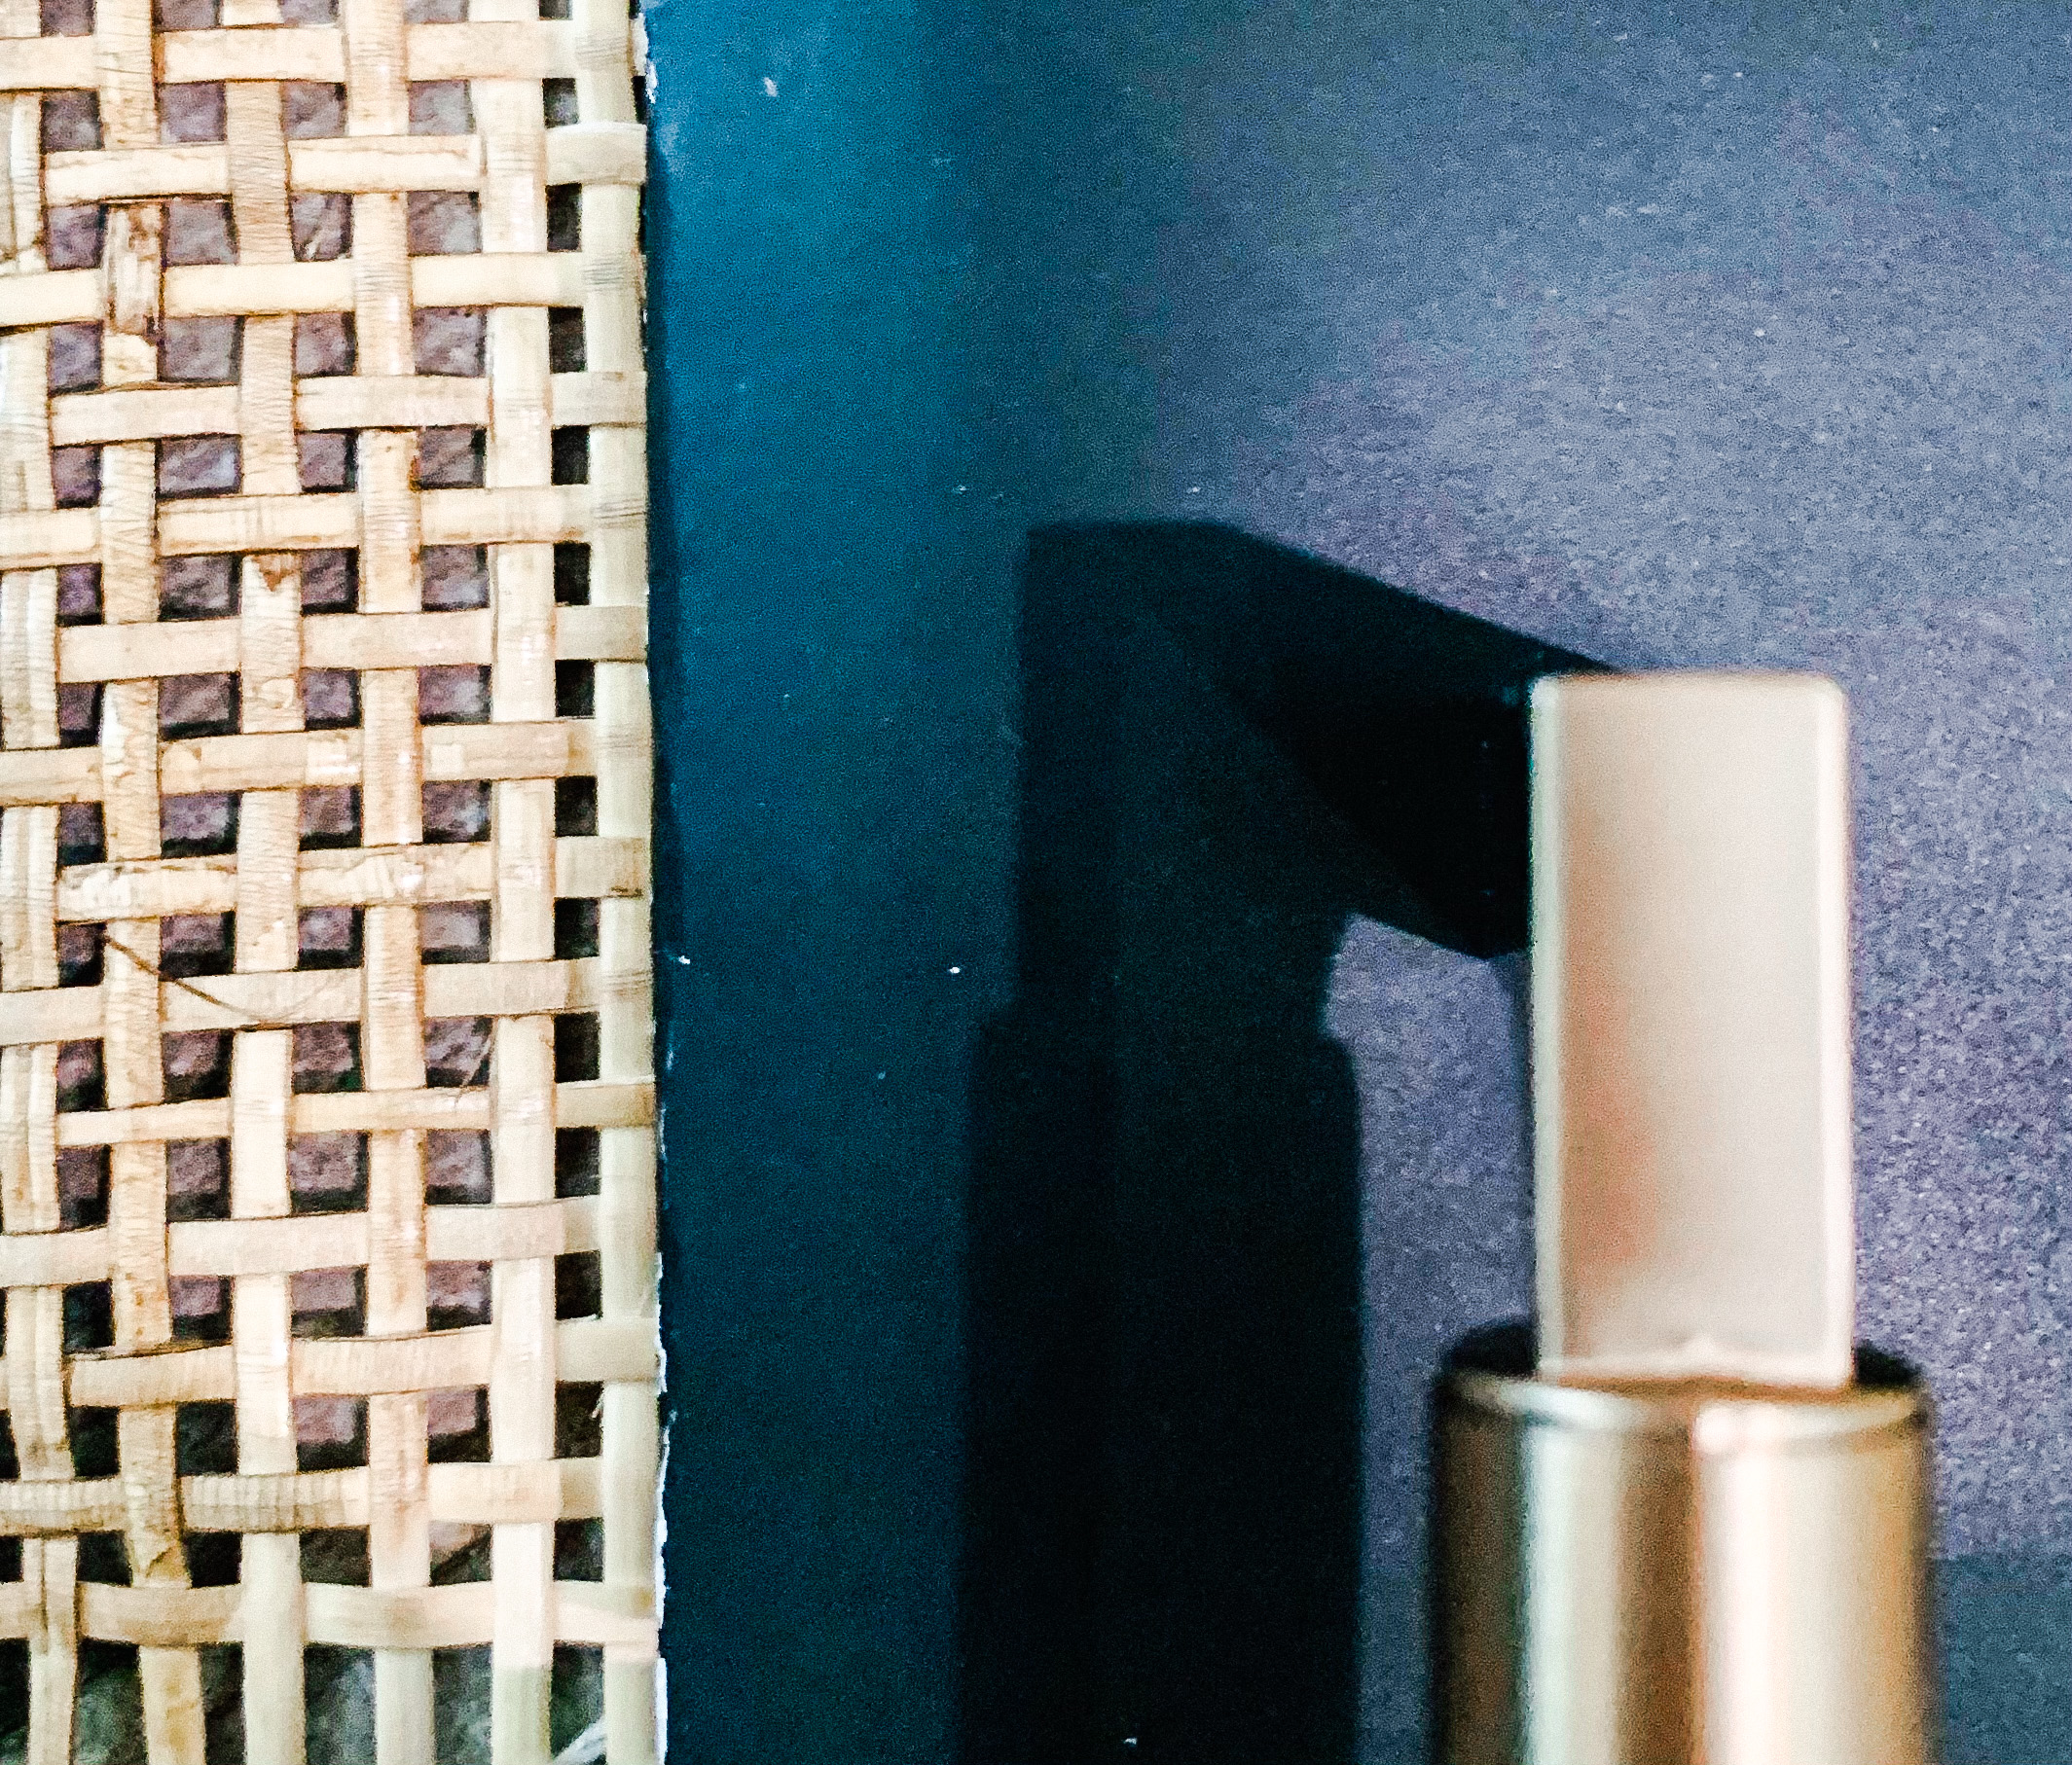
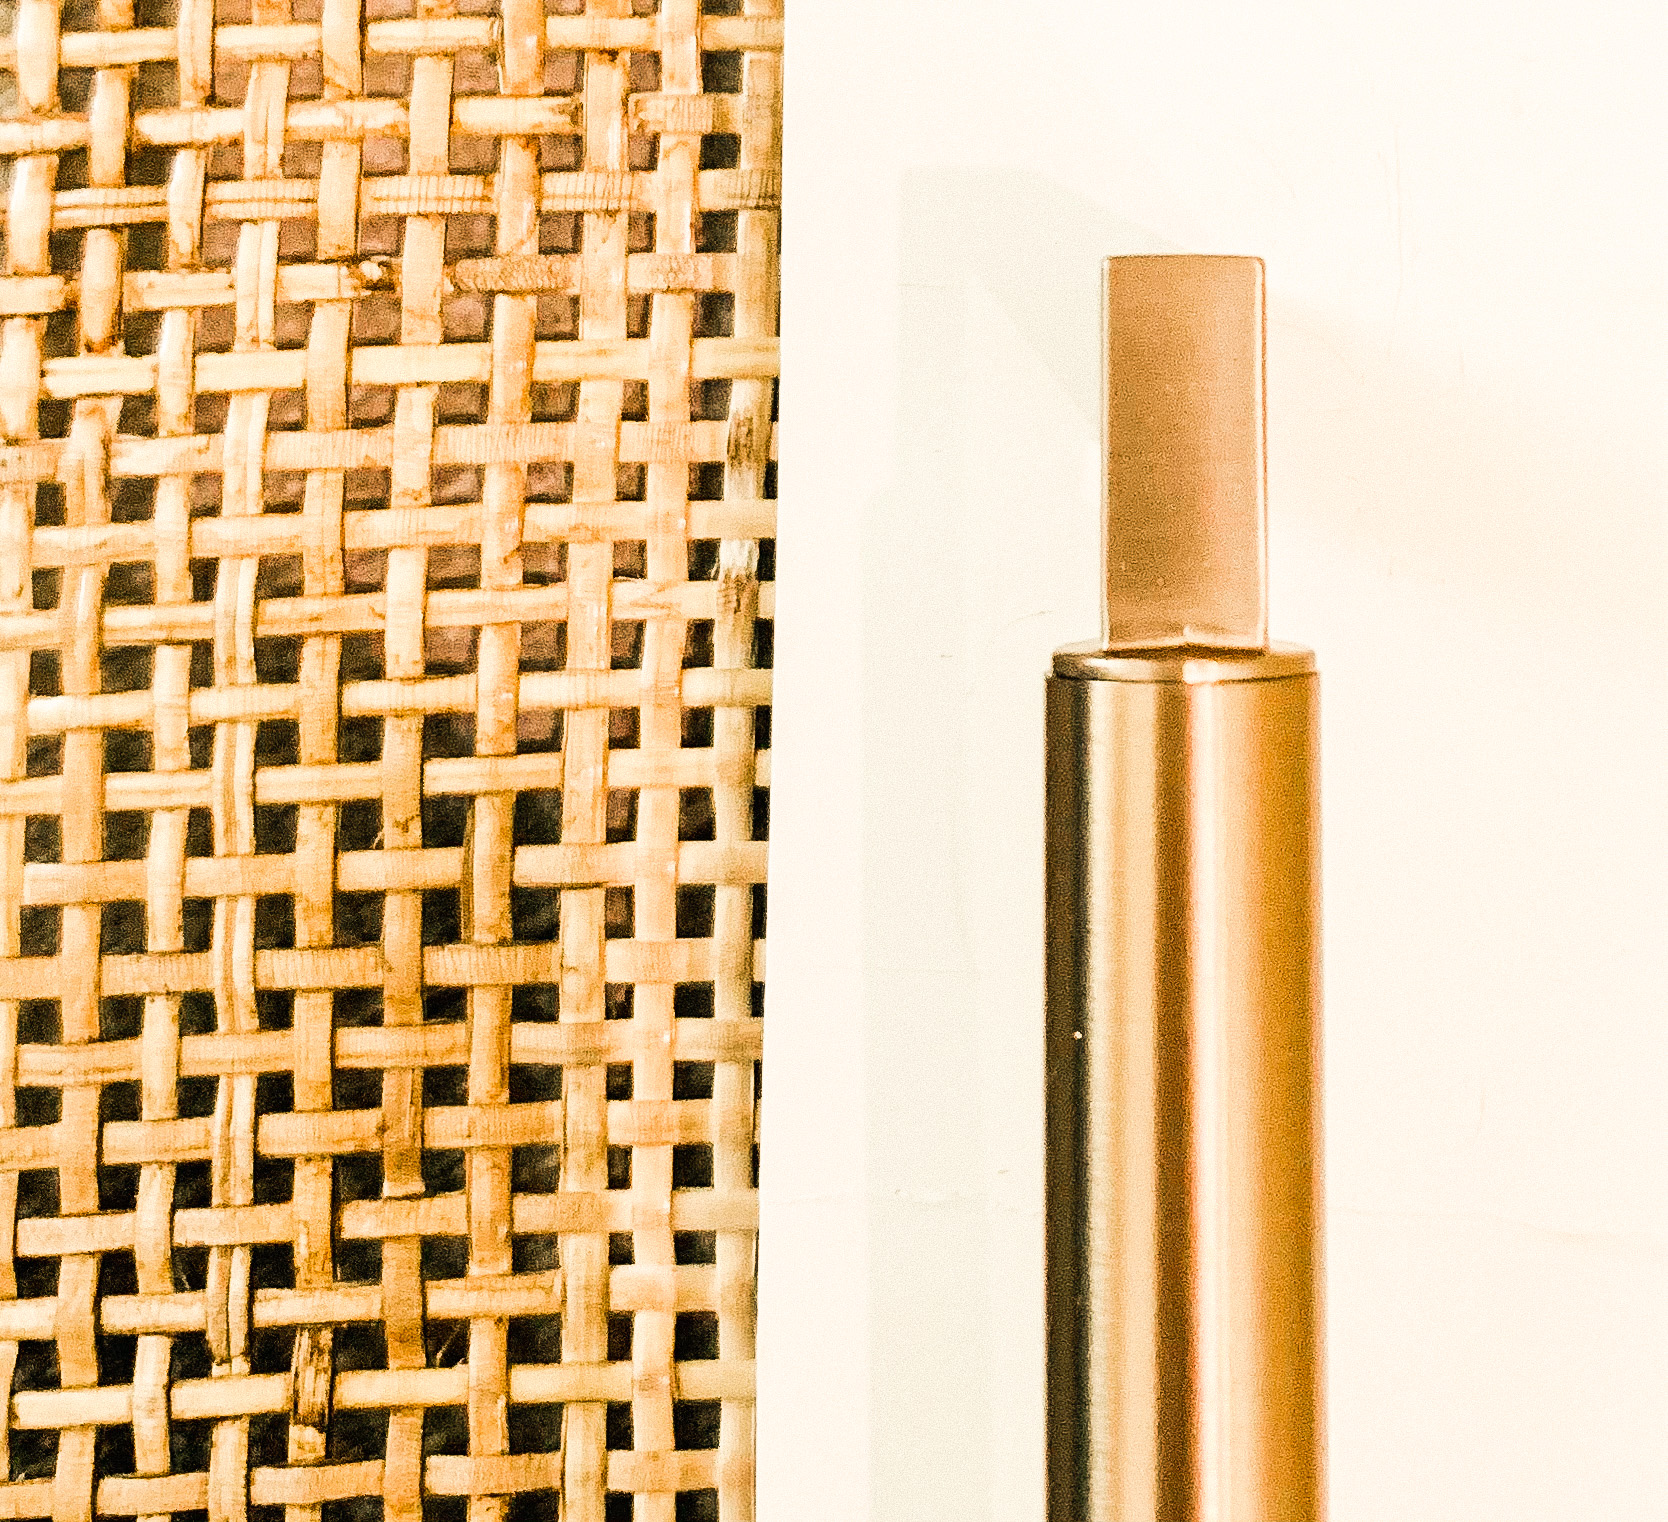
My design for all the kitchen cabinet doors is the same. Each door has a maple frame and will have a natural cane center with a plywood panel behind the cane.
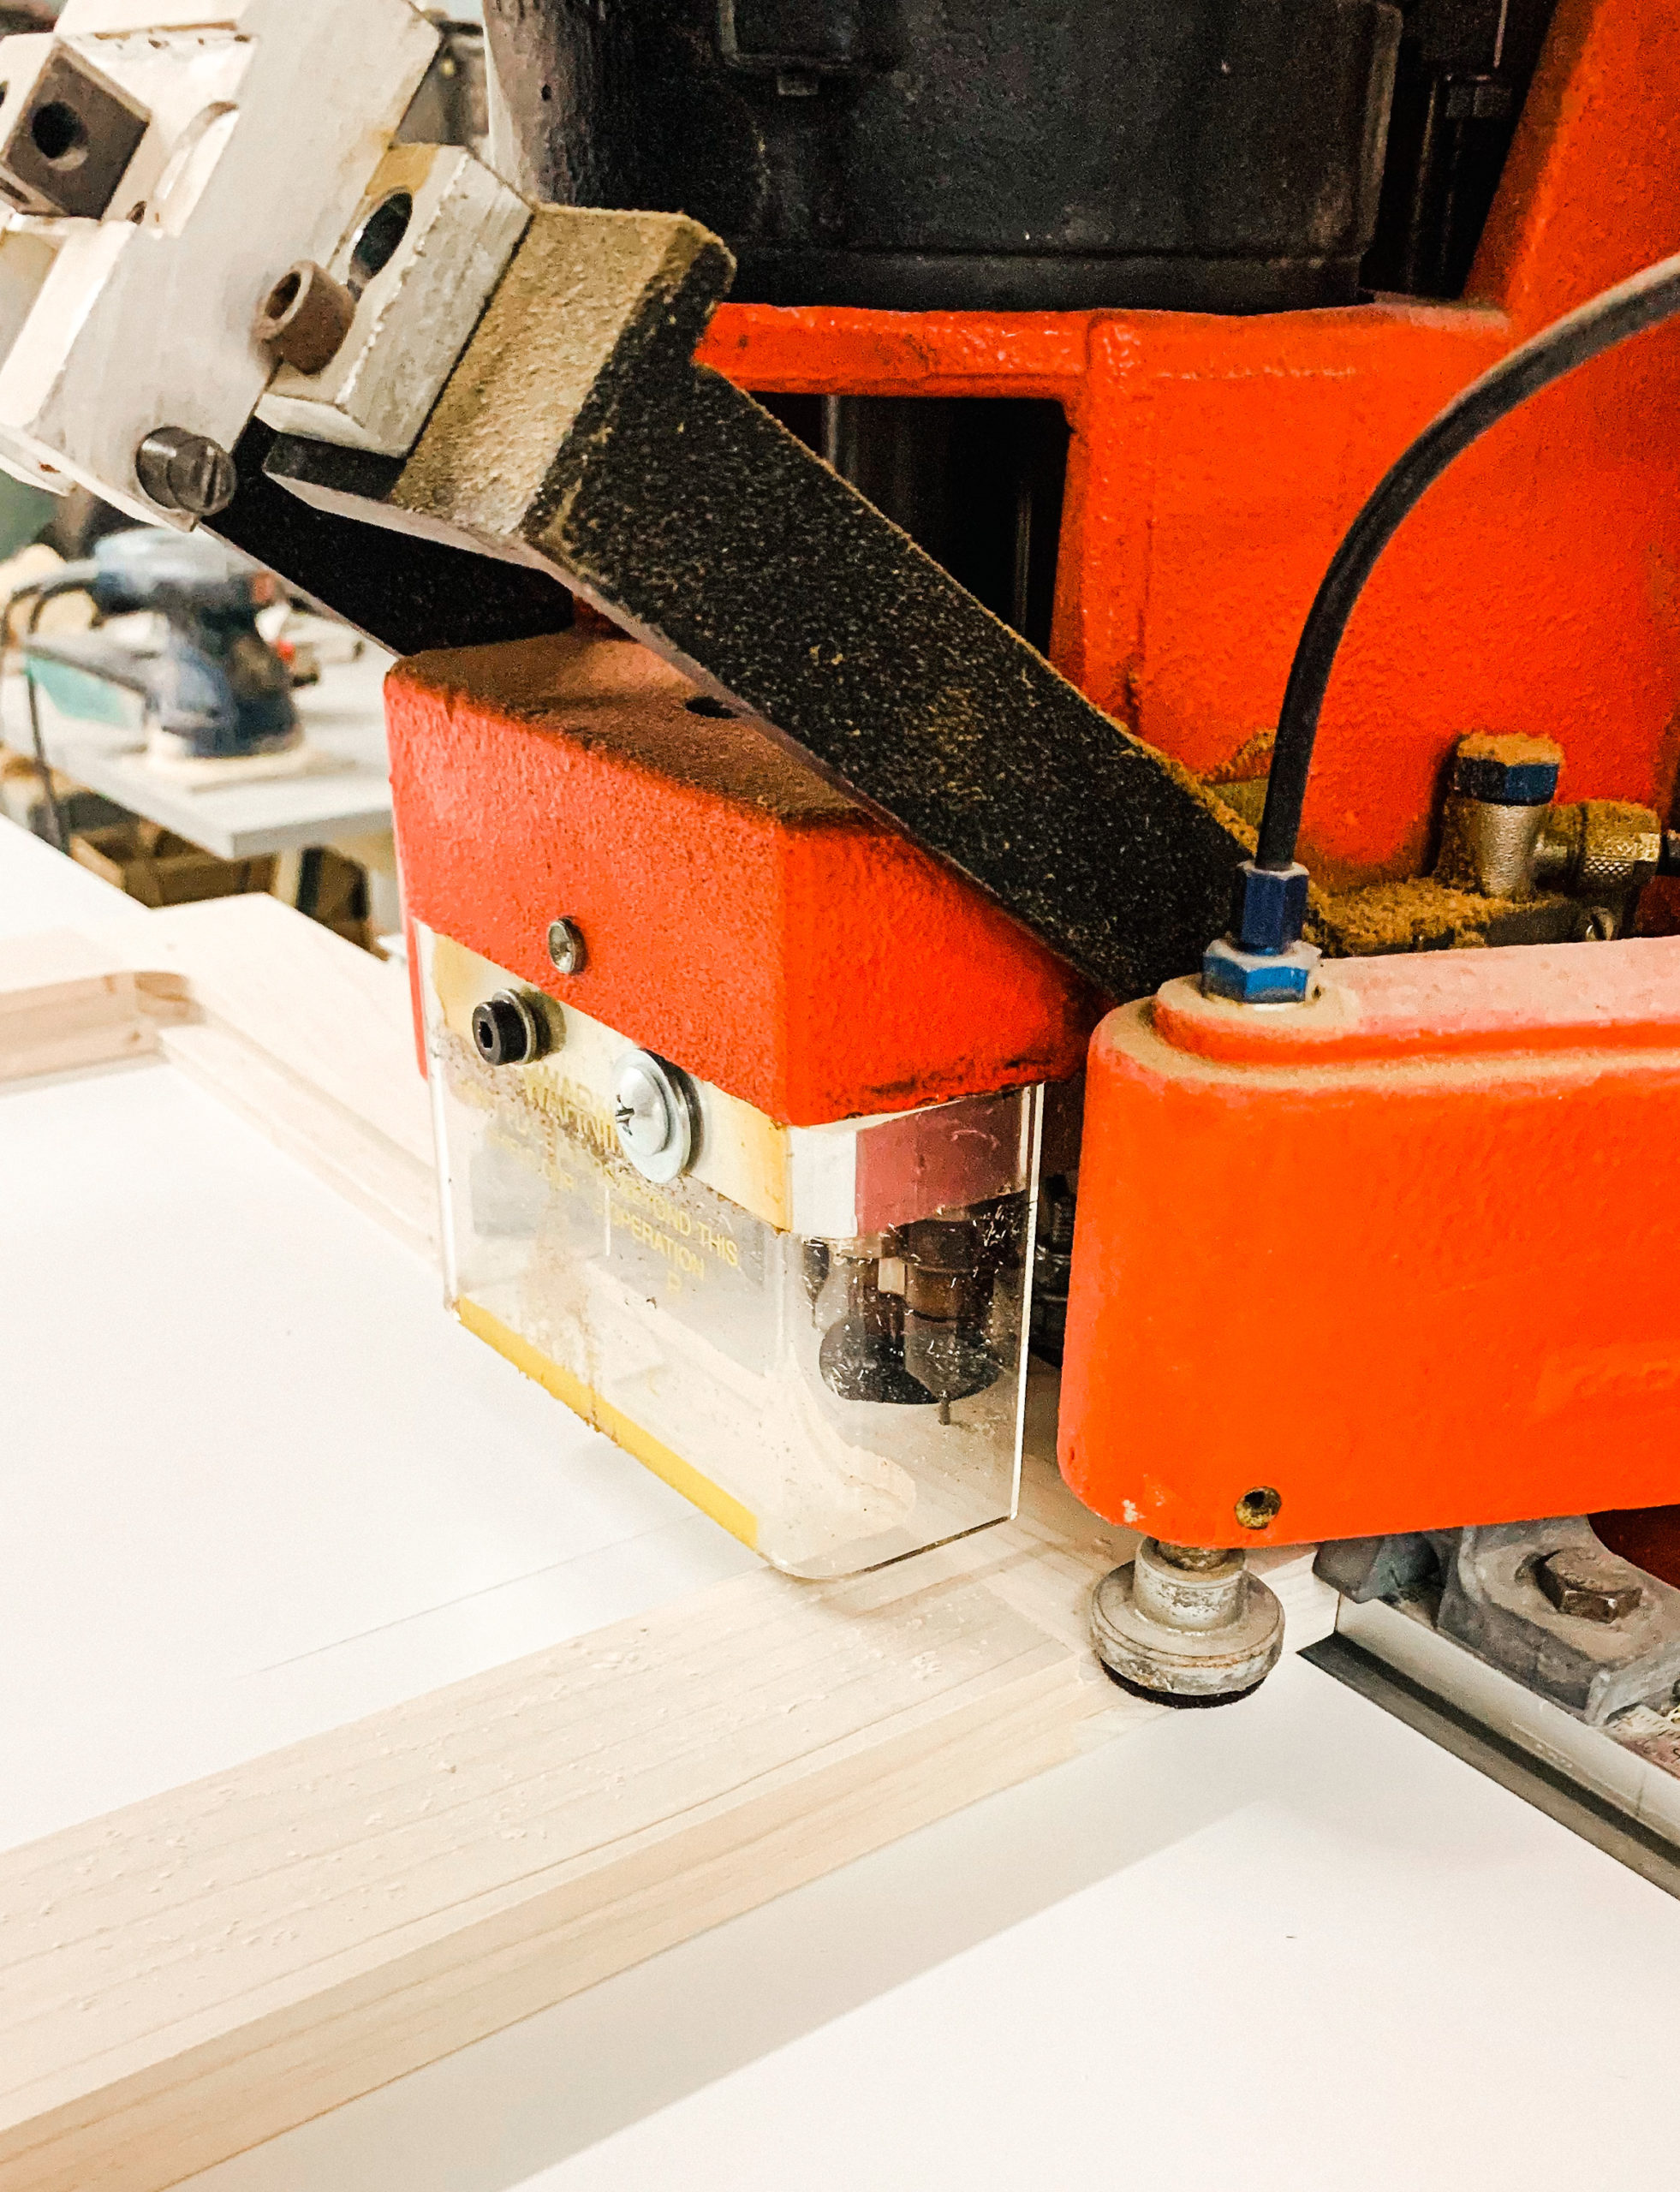
We decided to build the door frames using a mortise and tenon joint. Again we milled and planed all the maple and then ran each piece through the table saw to get the mortise and tenon joint. Each door has two stiles and two rails. The rails are the horizontal (tops and bottoms of the door frame) and the stiles are the two side pieces.
Every step of cabinet making is slow and tedious but worth the time and effort because when you’re done you have a beautiful, solid cabinet that will last years and years!
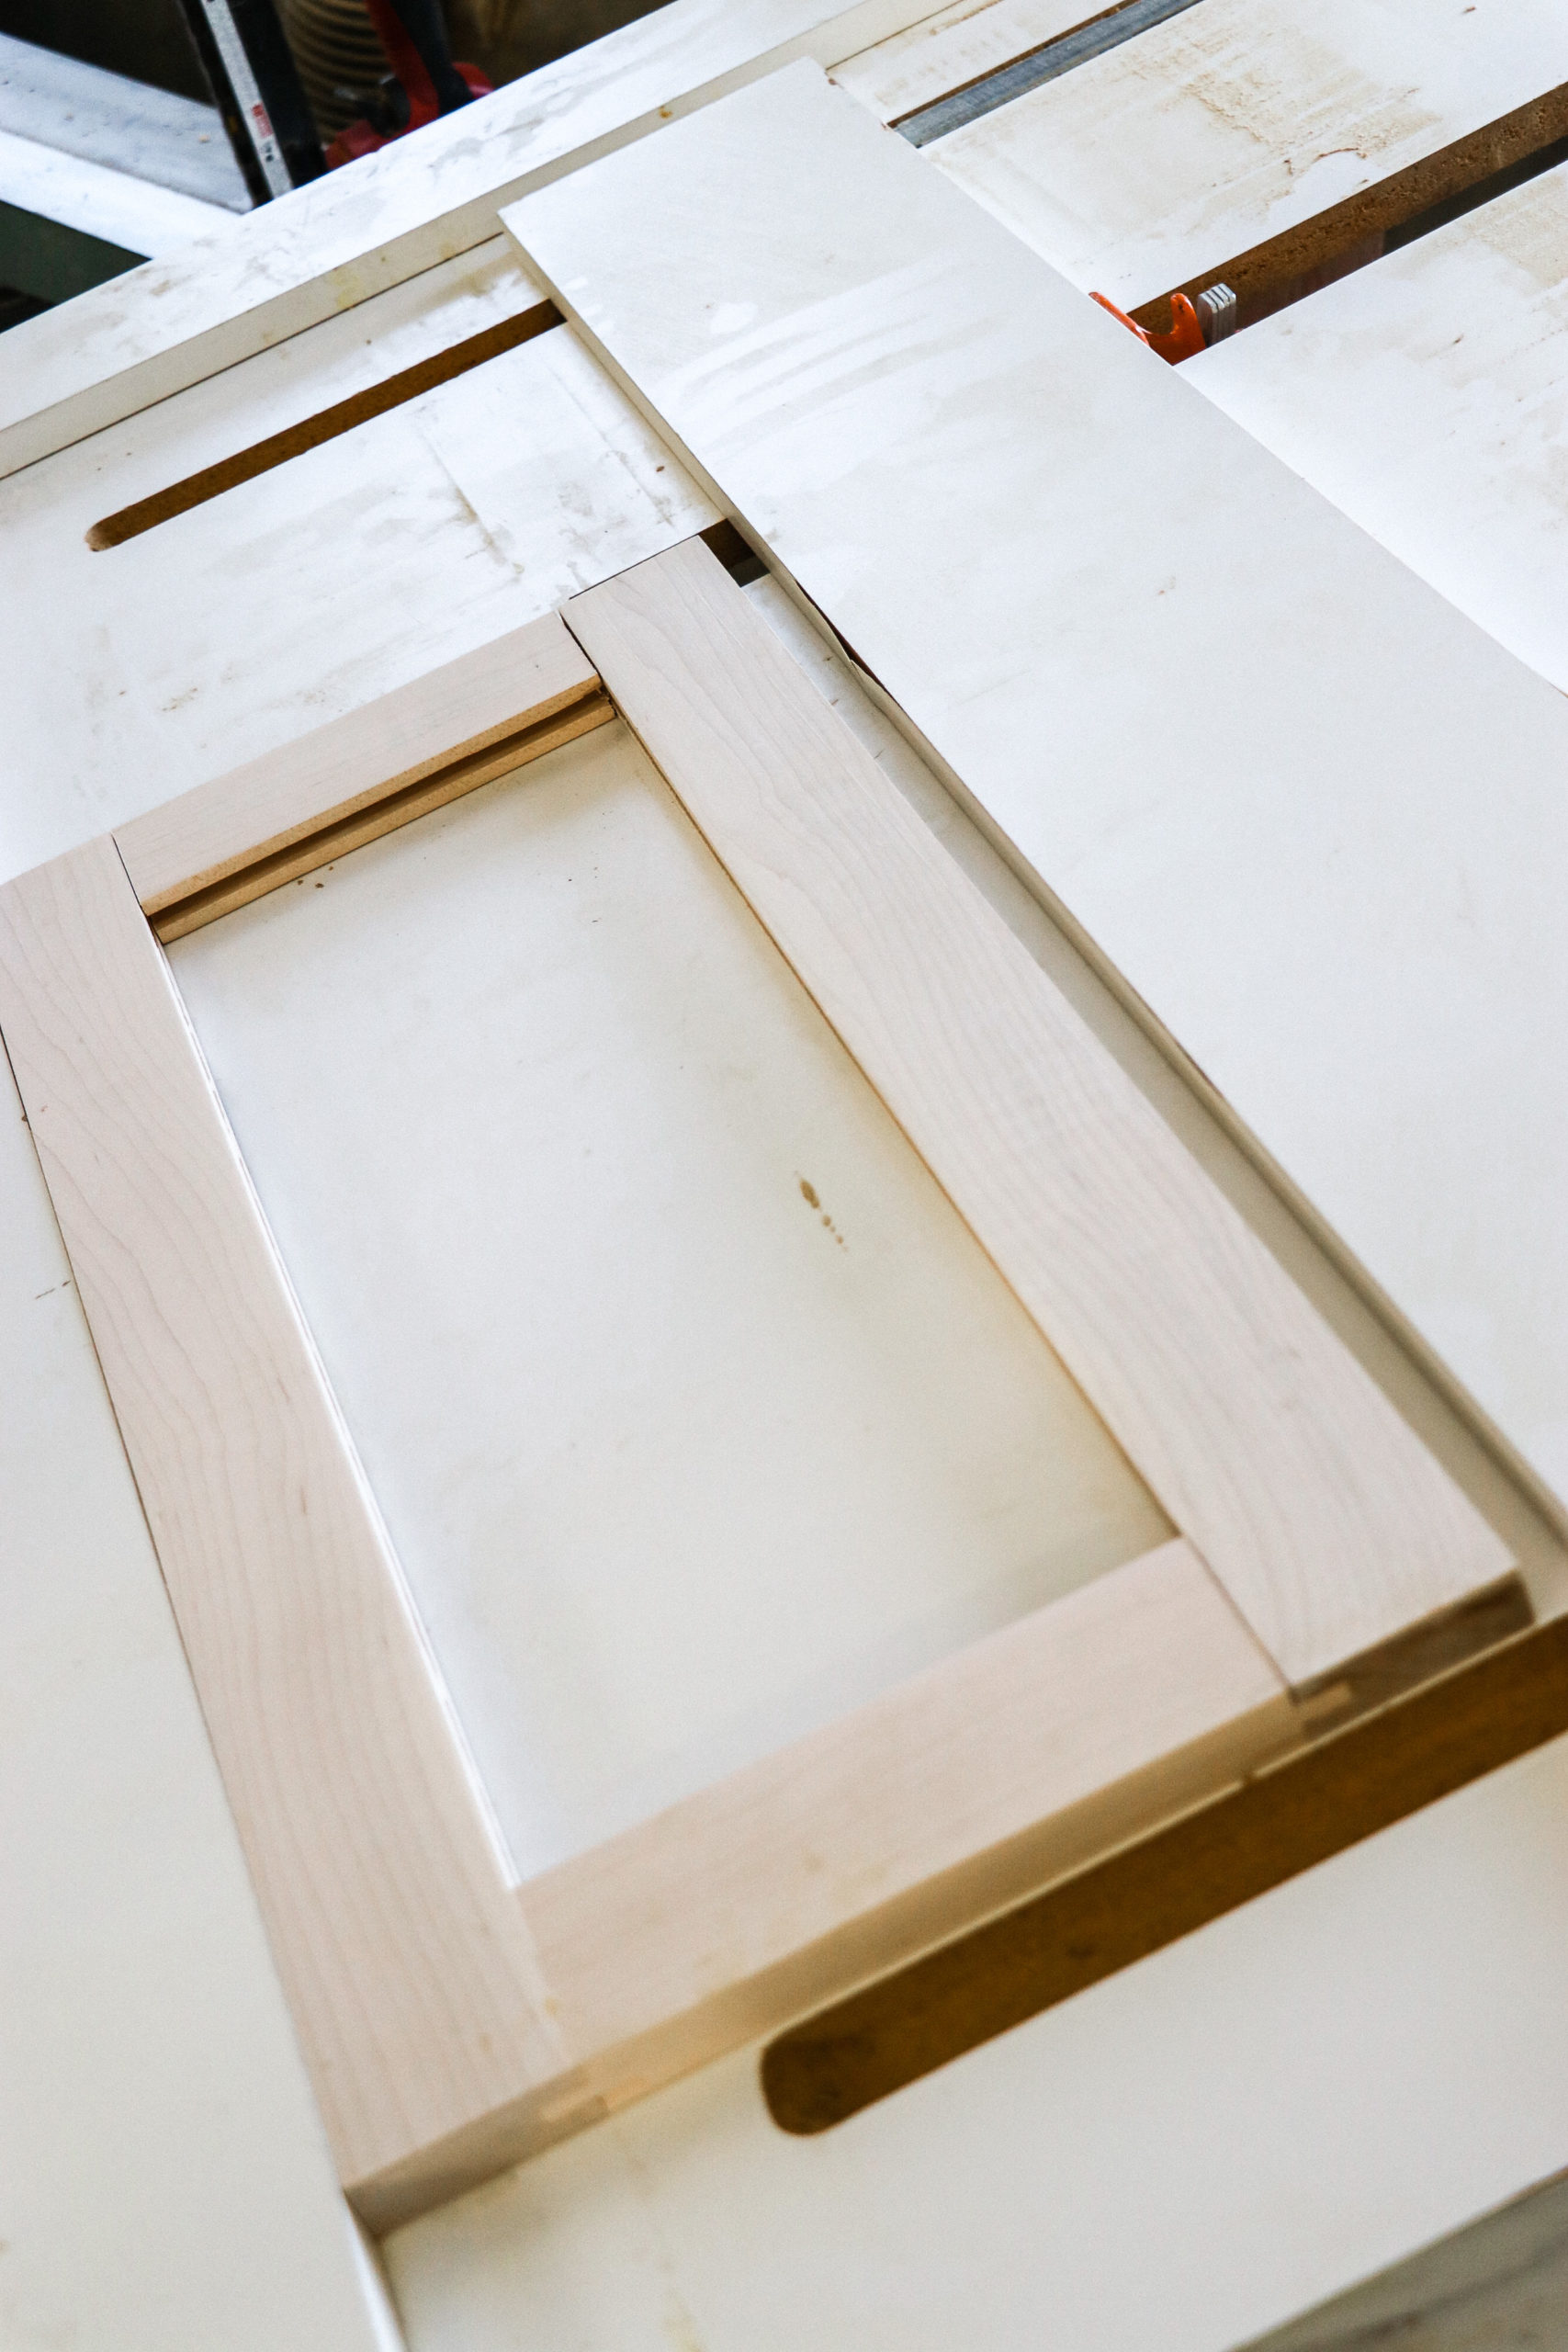
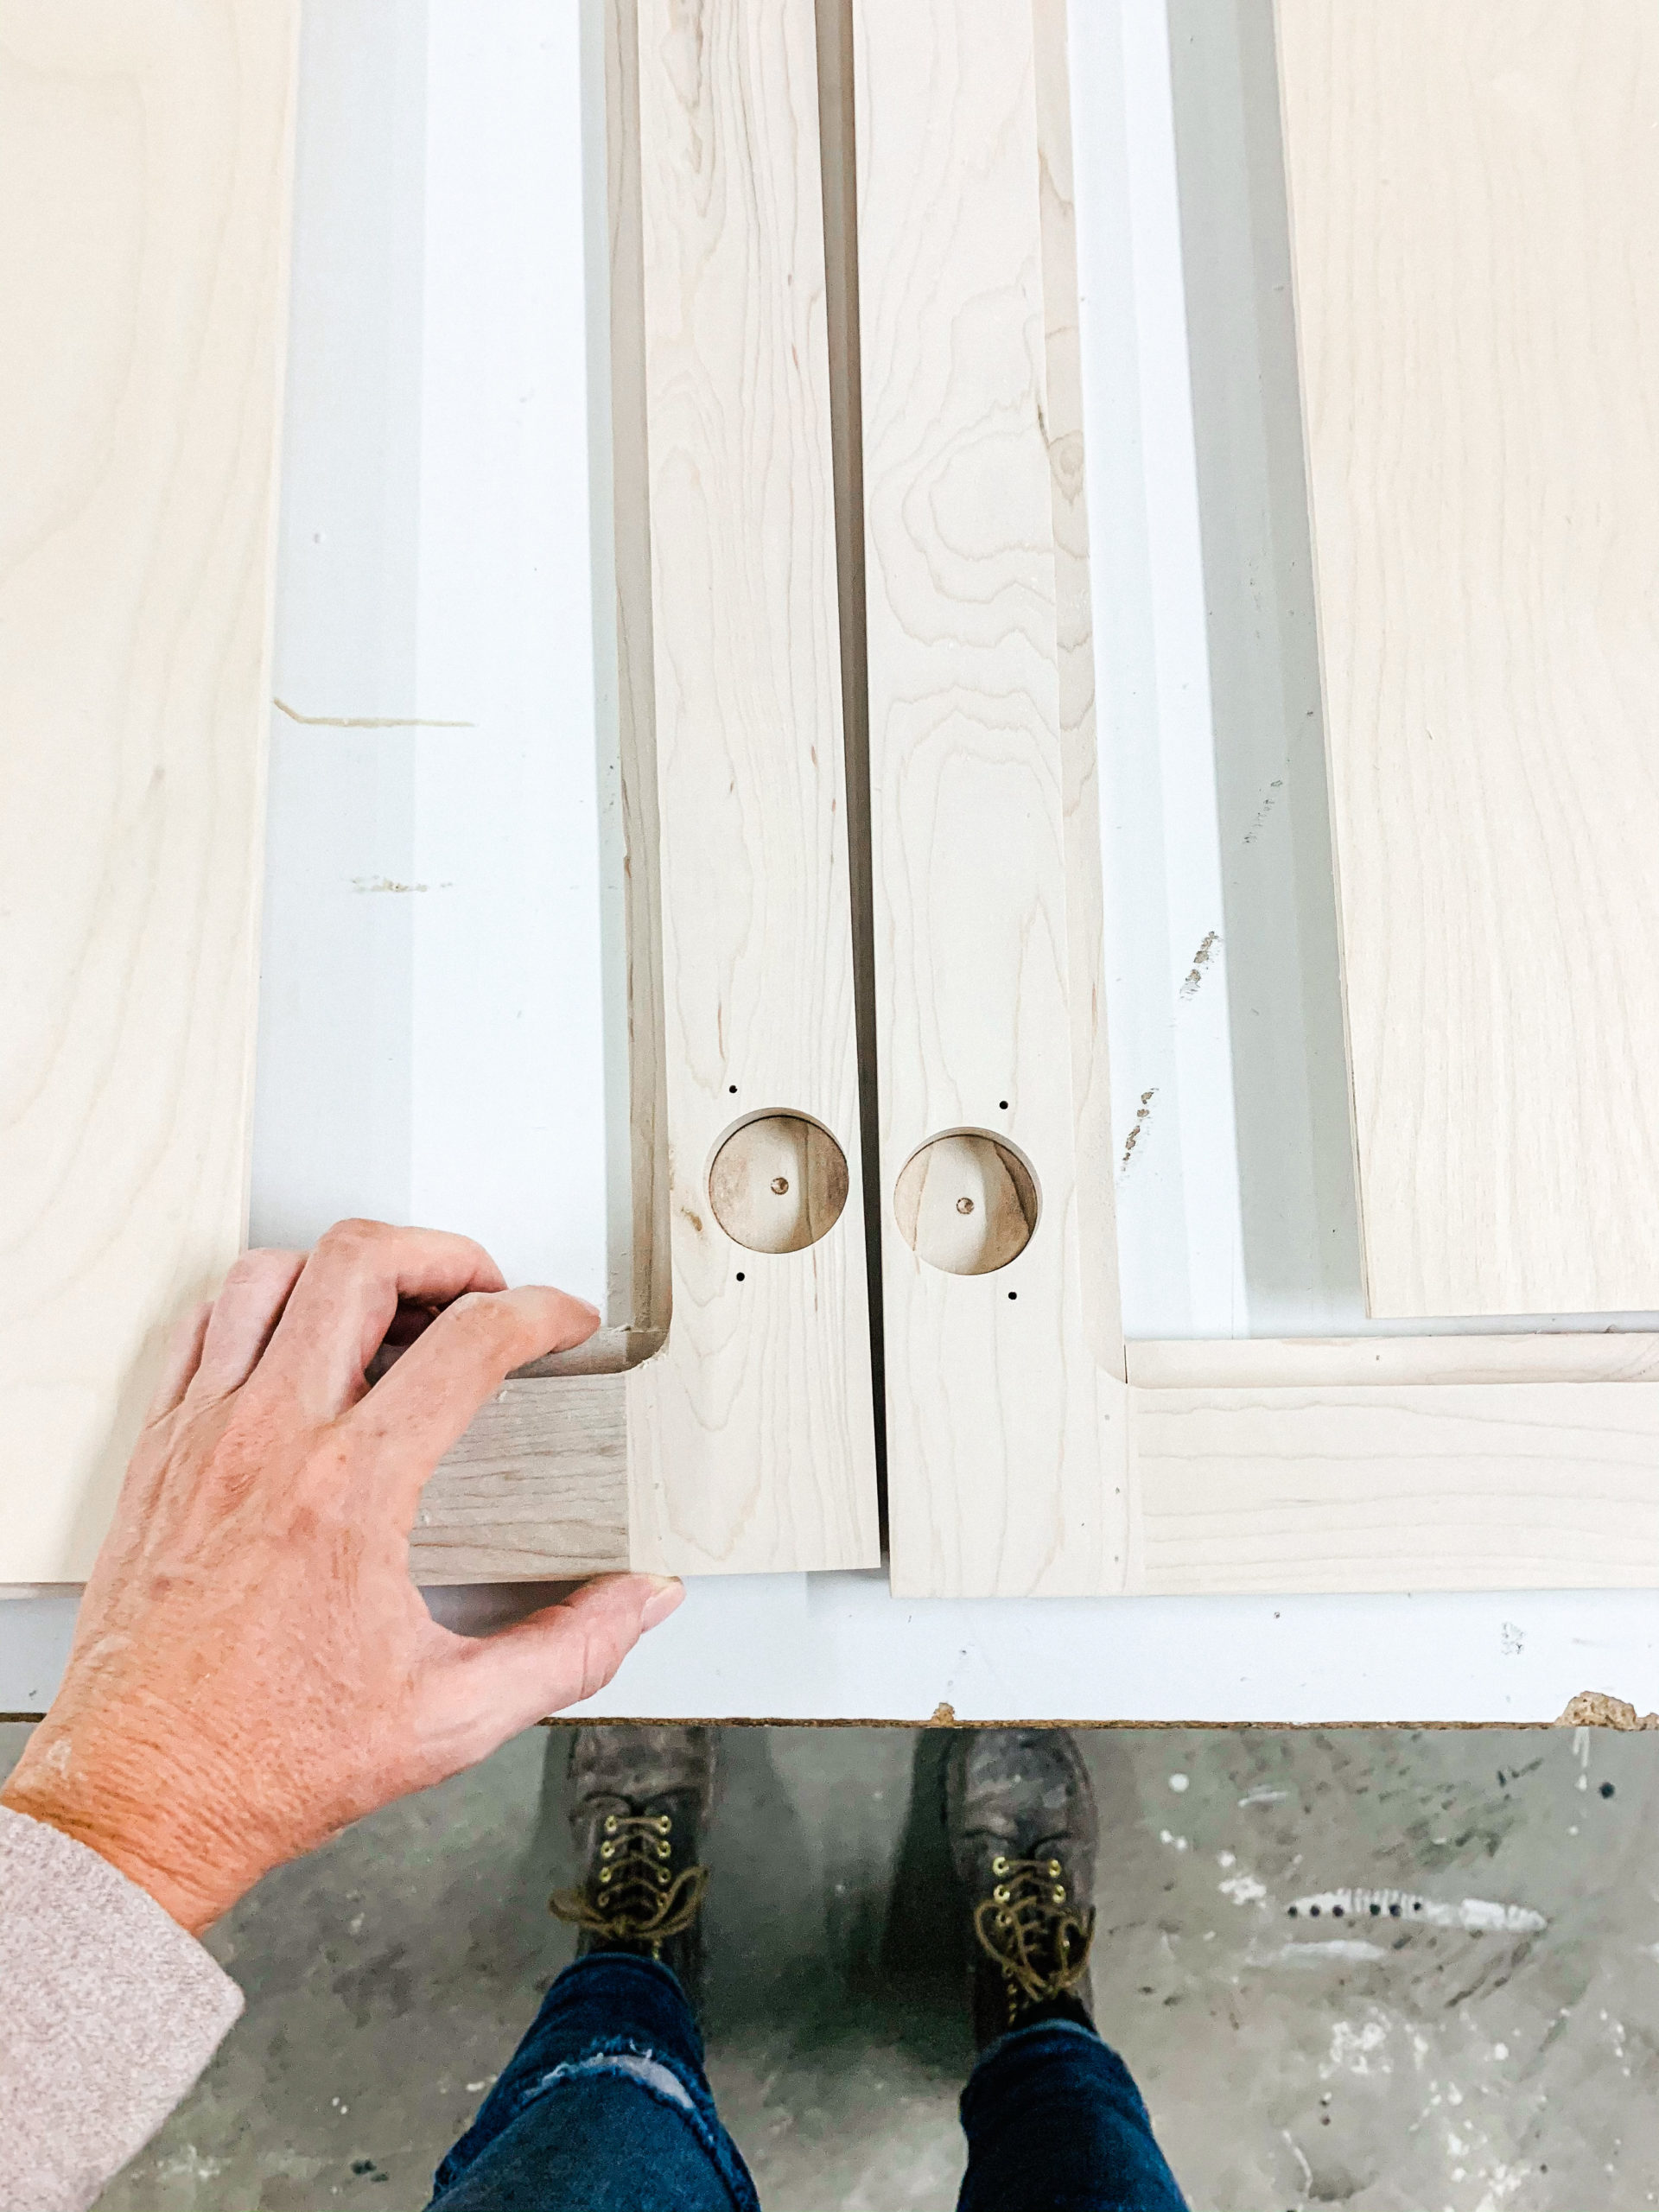
When each door frame was assembled we then needed to router the back of each door to allow for the back cane and panel to fit into. We also had to drill out all the backs where the hinges will be installed. This was another job that we were really happy to be working in a shop with the right tools for the job, this would have taken forever to hand drill each one out!
Plywood Backs (for support in the door behind the cane)
I didn’t want the doors to be just caned for fear that something could hit it and puncture it so I decided adding the plywood backer would be a great way to give them support. And without the backer, I would be able to see through the cane to whatever was in the cabinet and I didn’t like that so adding the plywood back was the way to go.
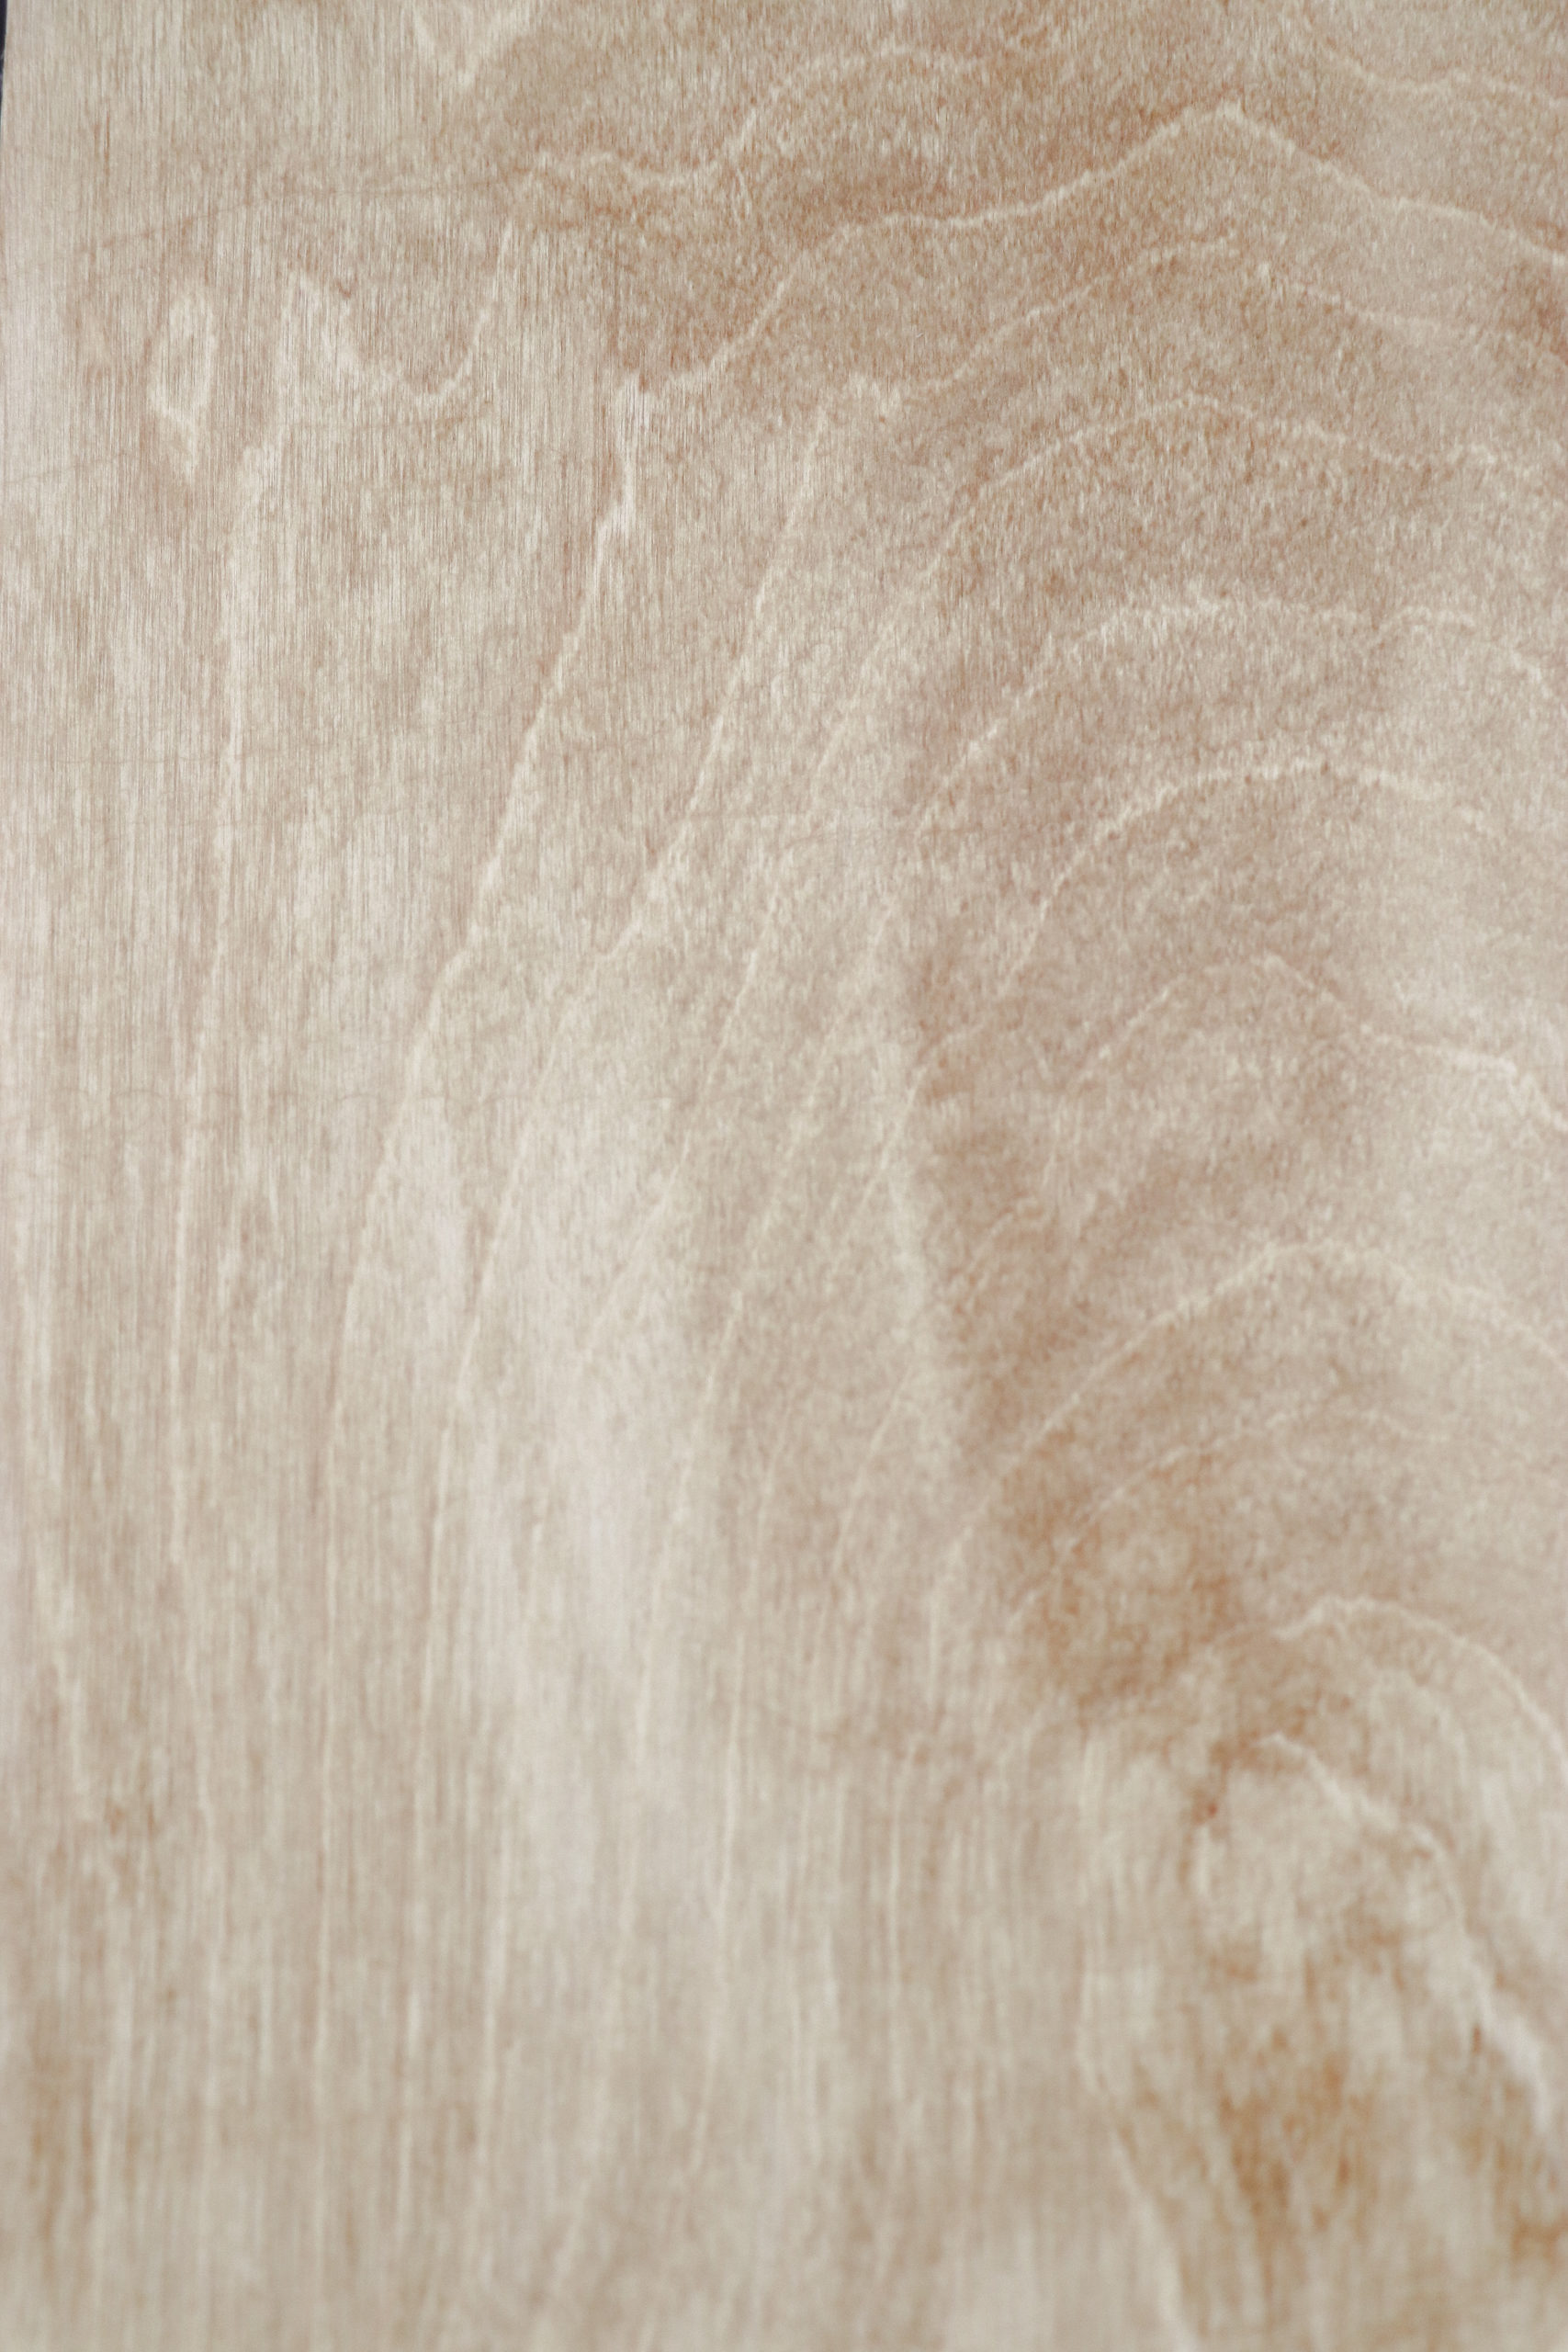
I plan on trying out a few stains and paint colors on these plywood panels to see what color “disappears: behind the cane. I really want it to look like there isn’t a back panel on the door. The natural cane is pretty light in color…so I’m thinking a med brown stain may work well….so we’ll see what we can come up with!
Priming Kitchen Cabinets
We paused working on the kitchen island in the shop for a couple of days and I got busy working on my old base cabinets at home. The old base cabinets we already had (that we made when we built our home) are in great shape. I didn’t want to build new cabinets, I just wanted to paint them to give them a fresh look before adding all the new door fronts.
I removed my old curtains that I was using for doors, filled all the holes in the cabinets with wood filler, sanded, and gave everything a good cleaning.
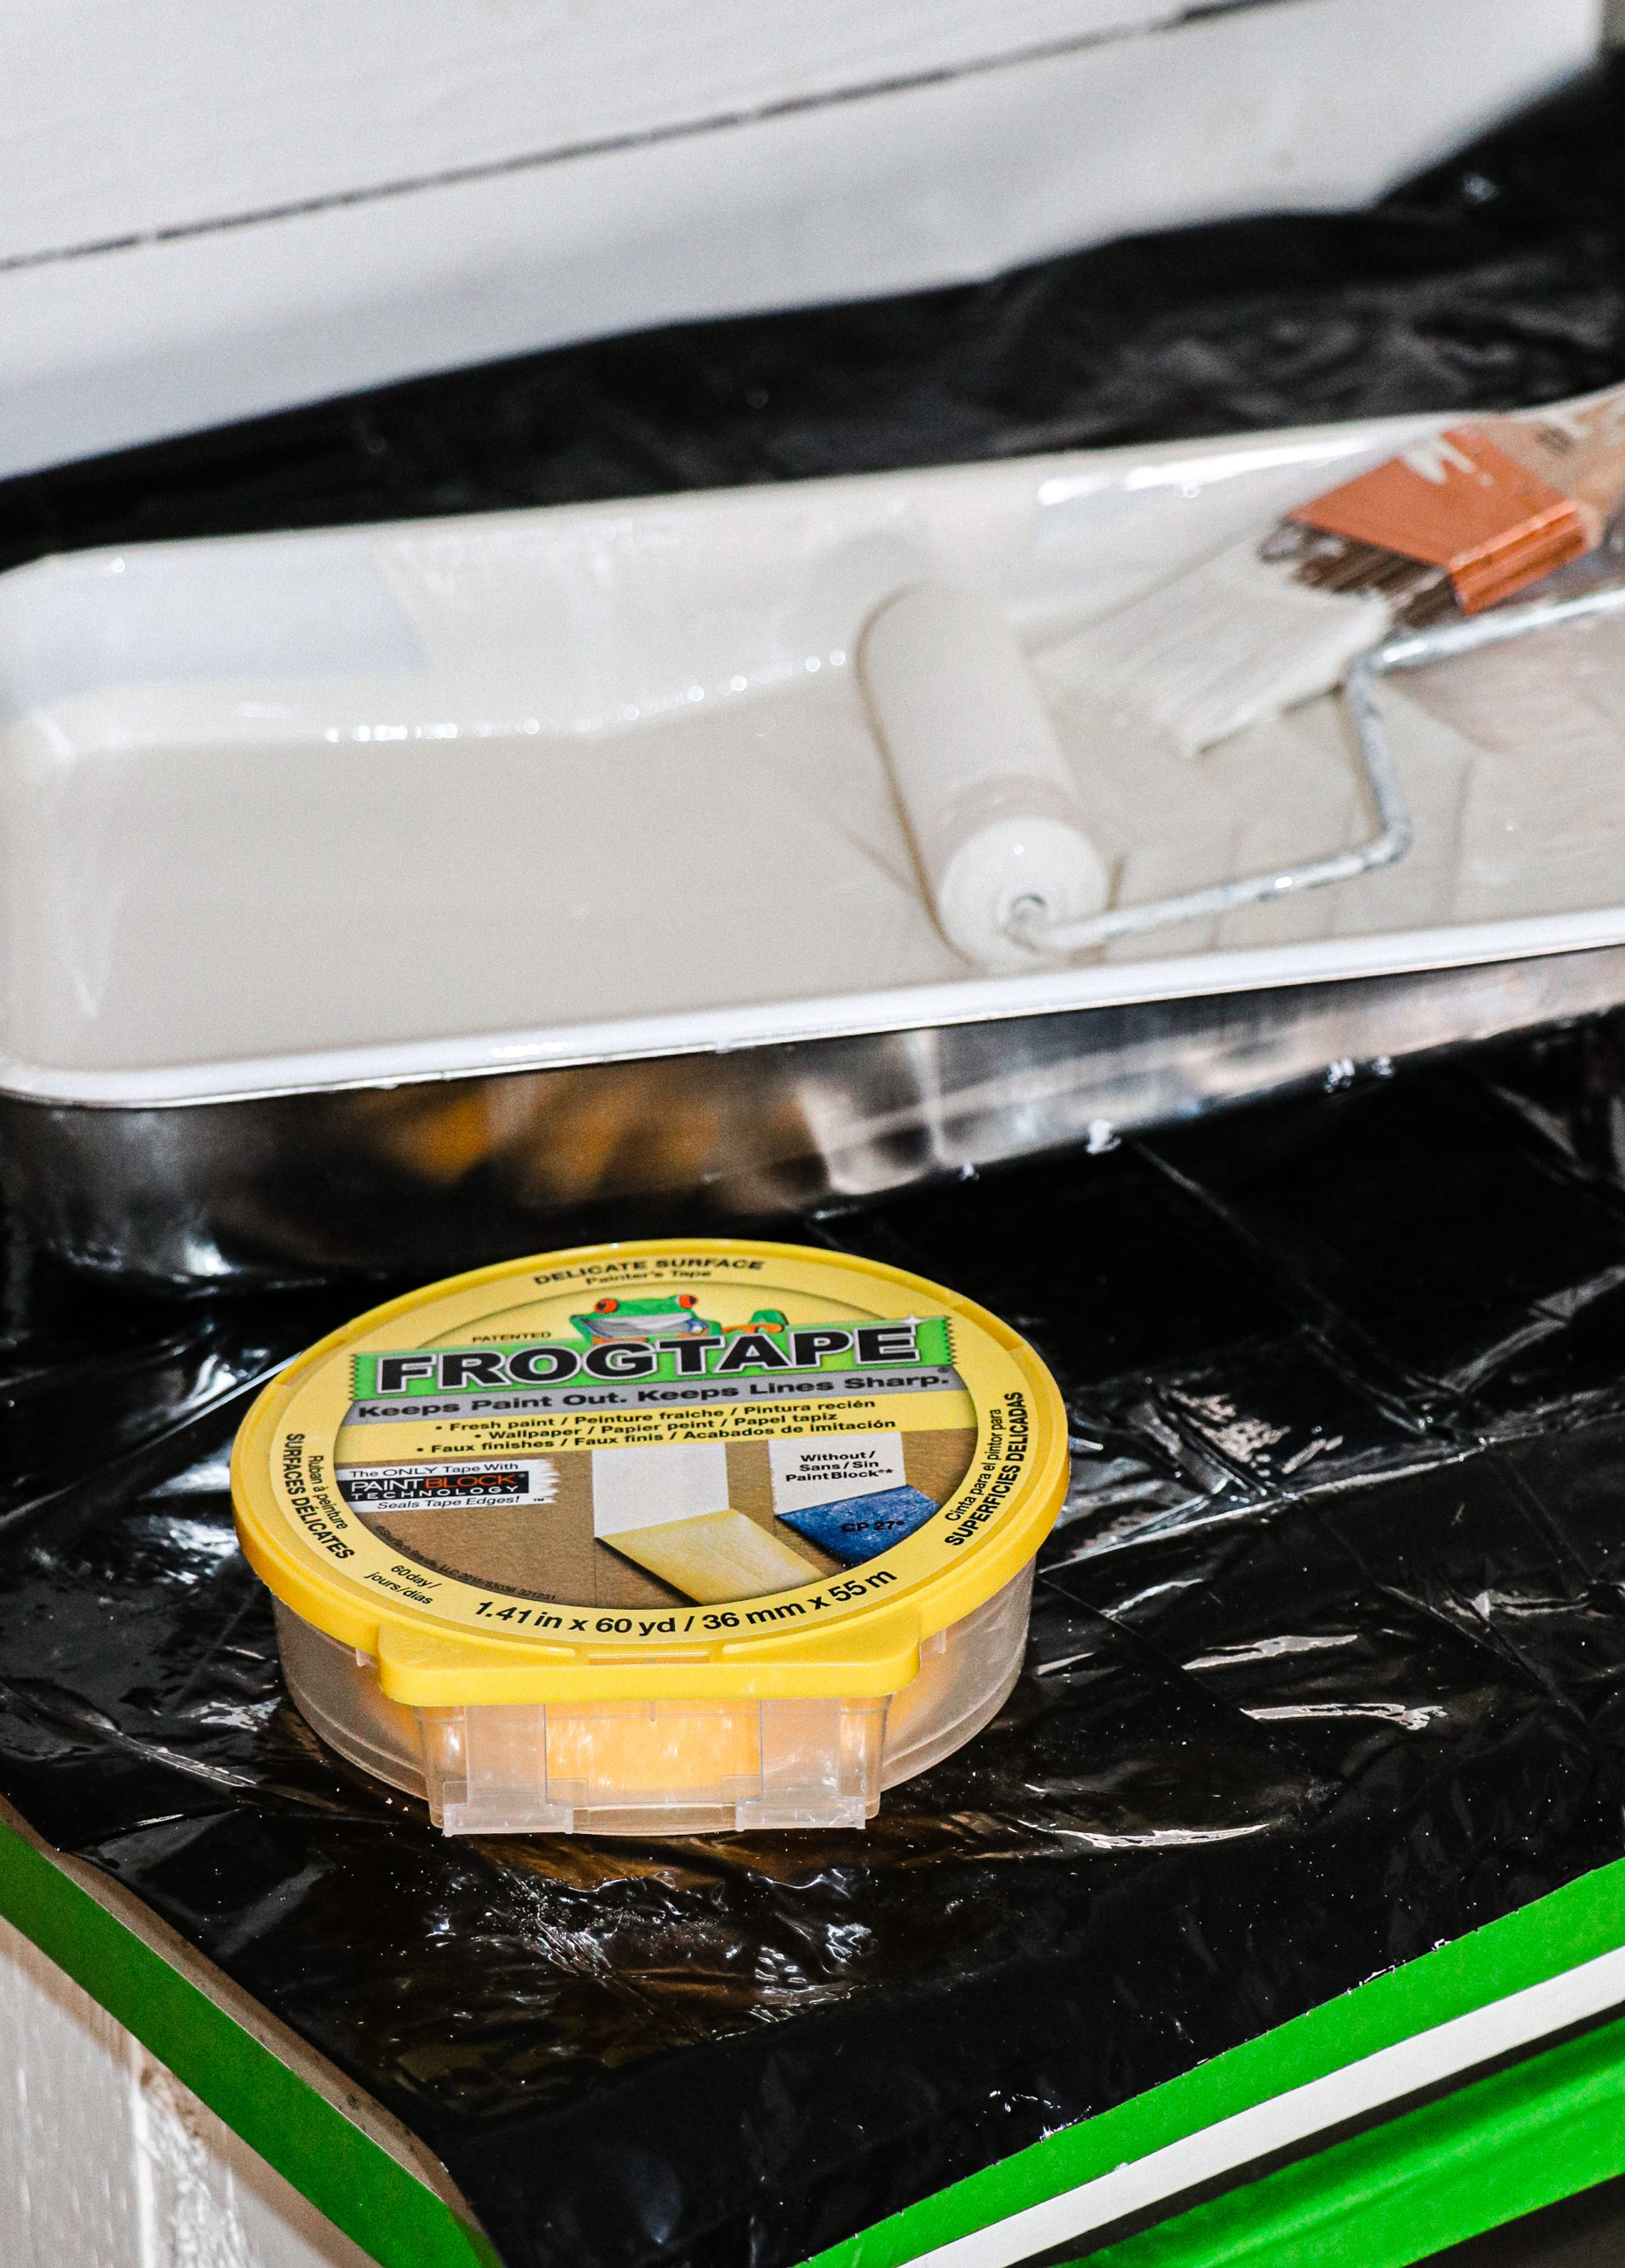
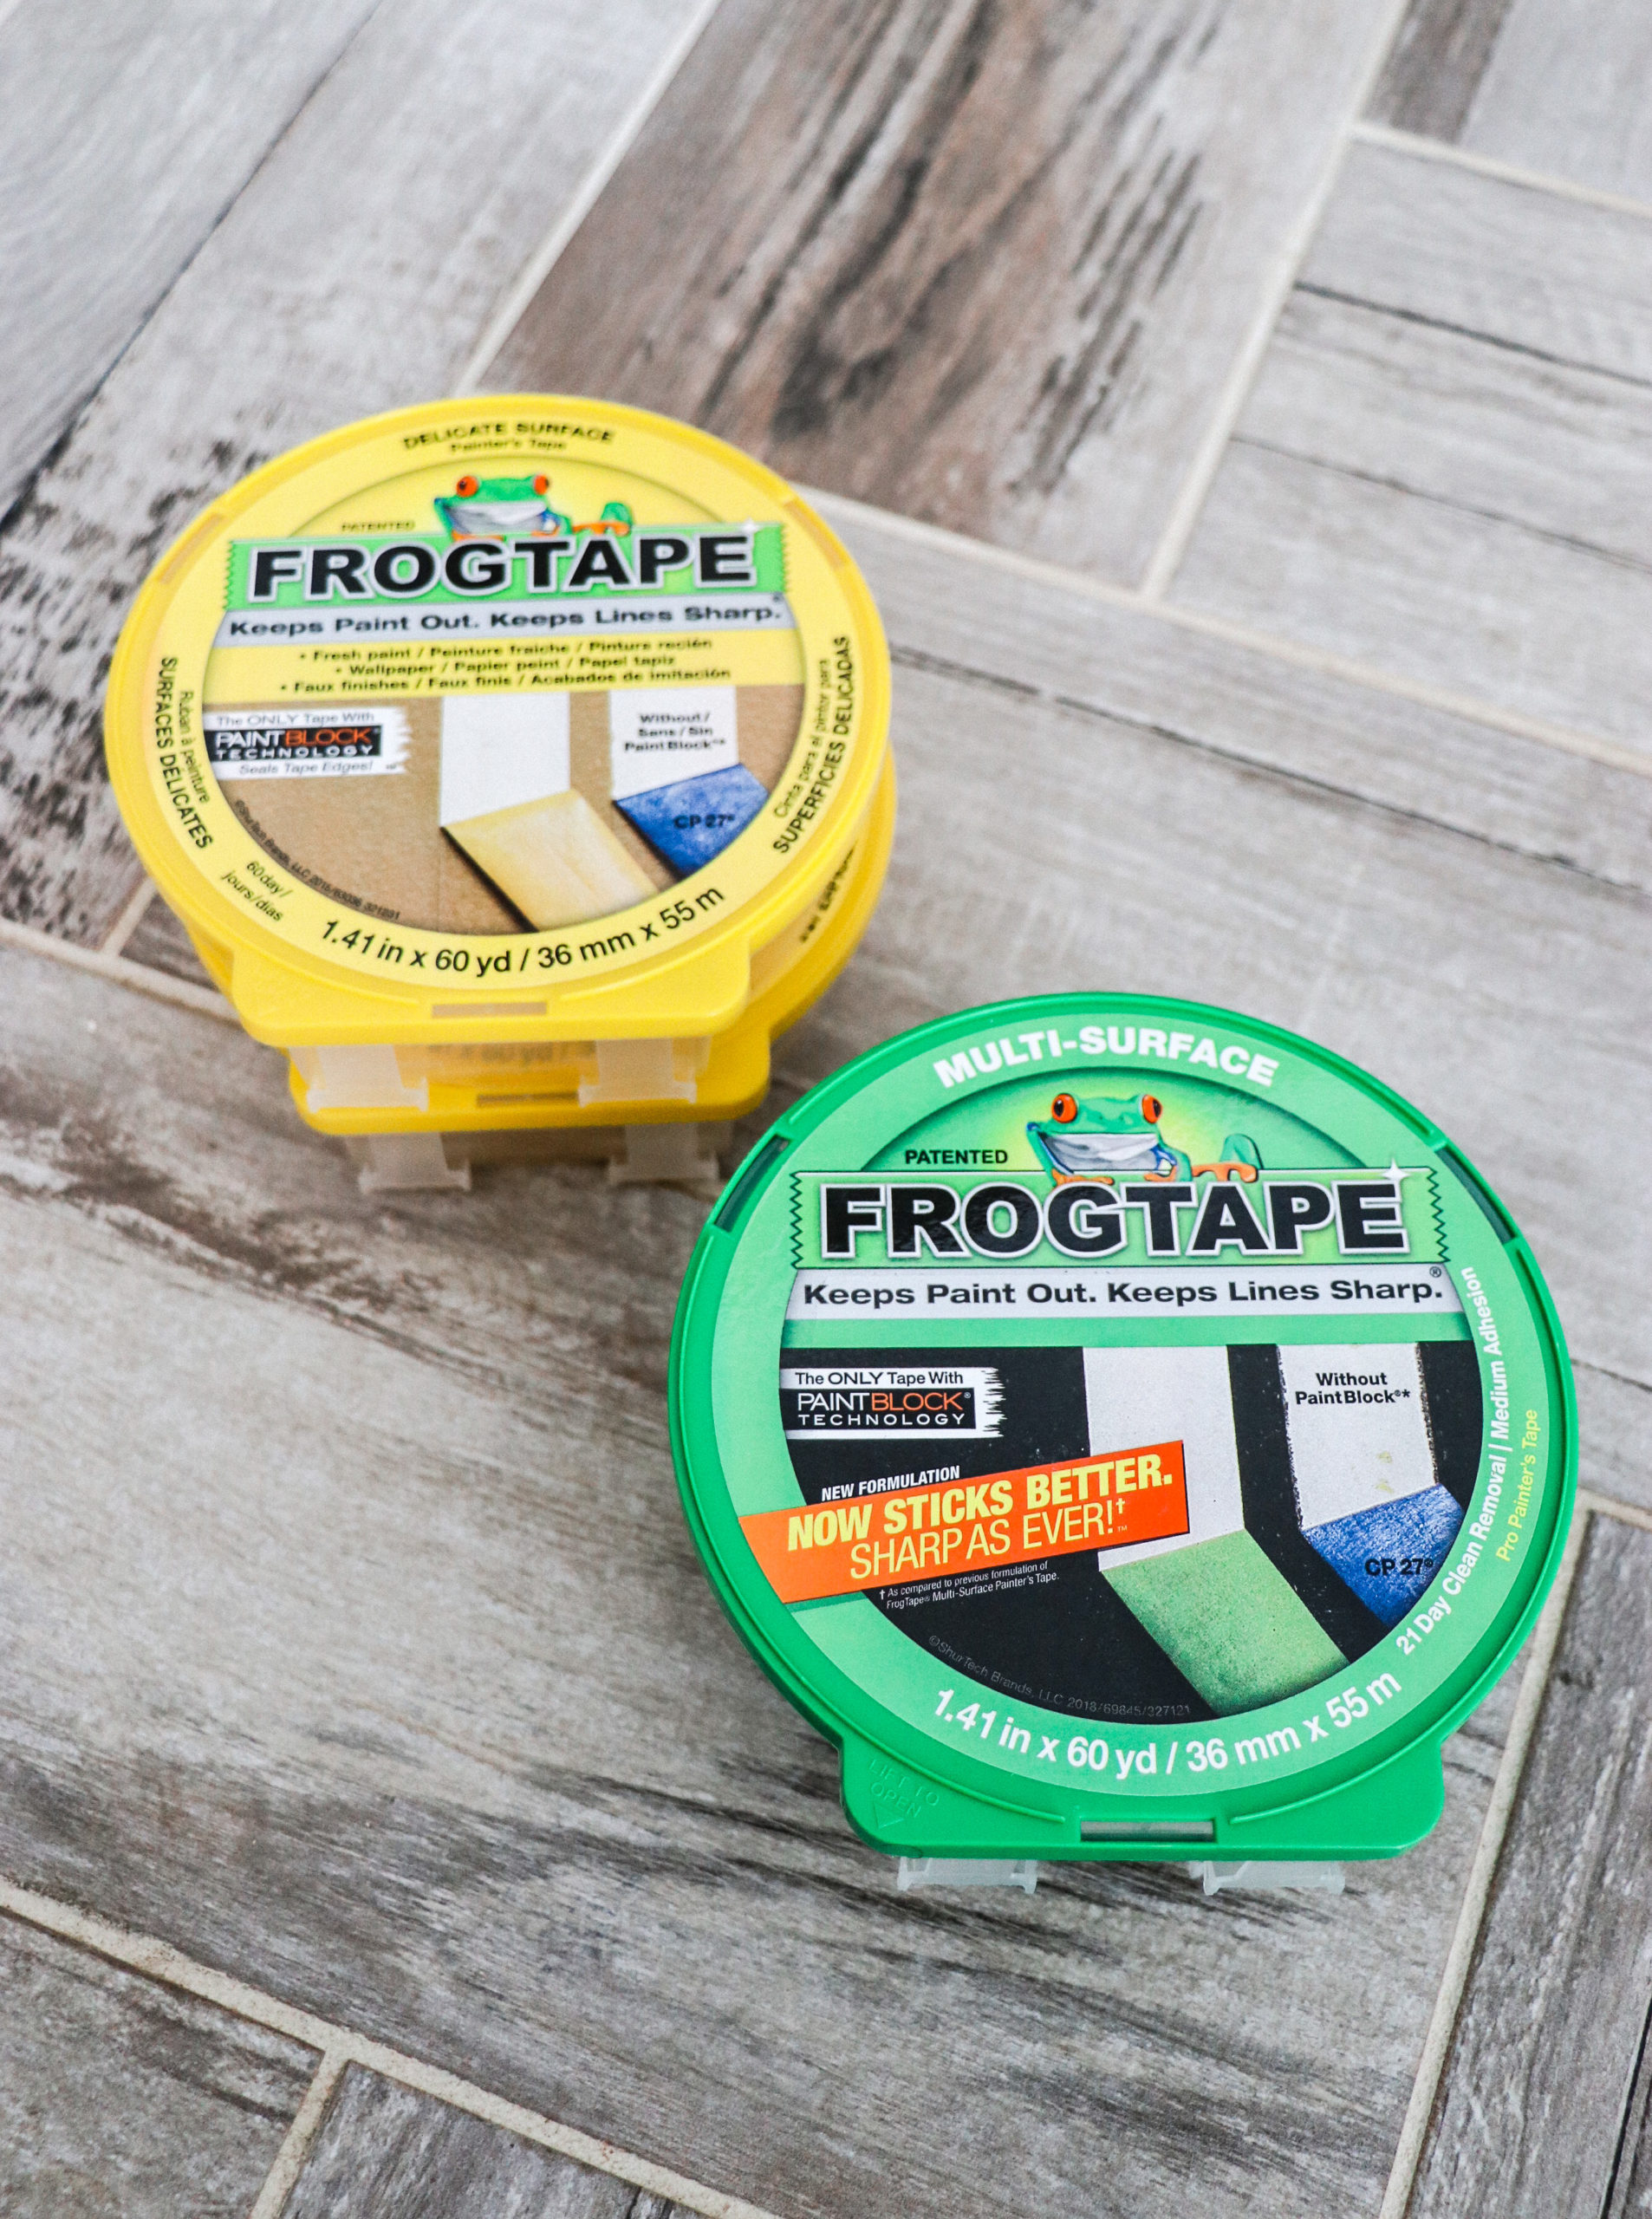
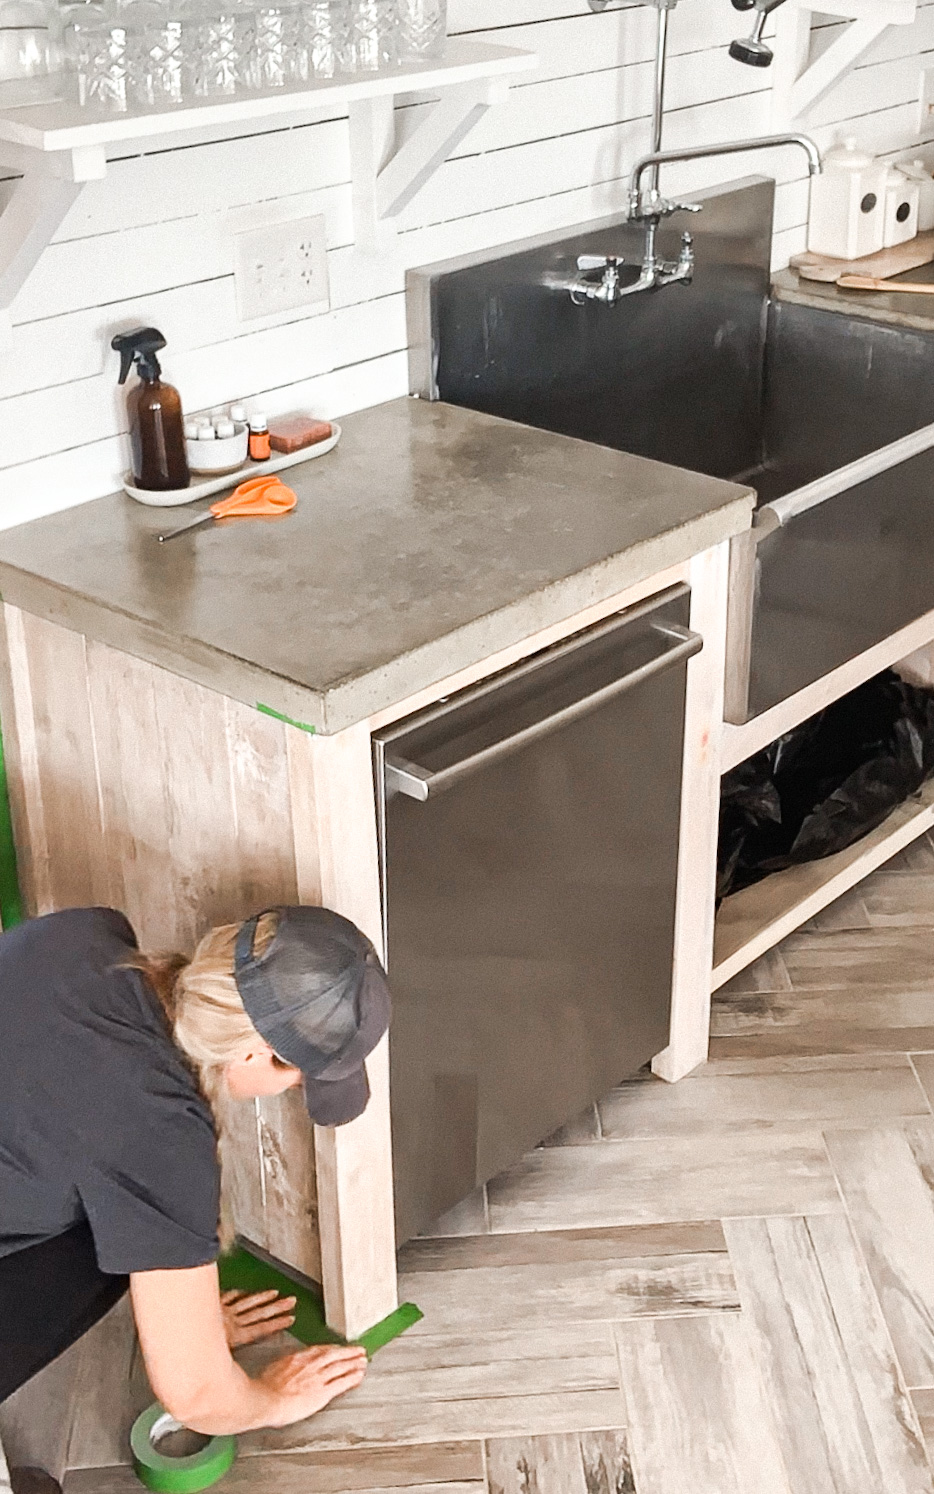
Once things were clean, to protect my floors, walls, and kitchen countertops, I taped off all of my cabinetry using Frog Tape! Taping everything off didn’t take long and I’m so glad I did because primer can be runny and I dripped a LOT! It was a good thing my flooring was well protected because cleaning up primer off of textured tile would be a nightmare.
Painting Kitchen Cabinets & Open Shelving
I spent weeks thinking about what color to paint my cabinets….as you can see my color choices were all over the board!
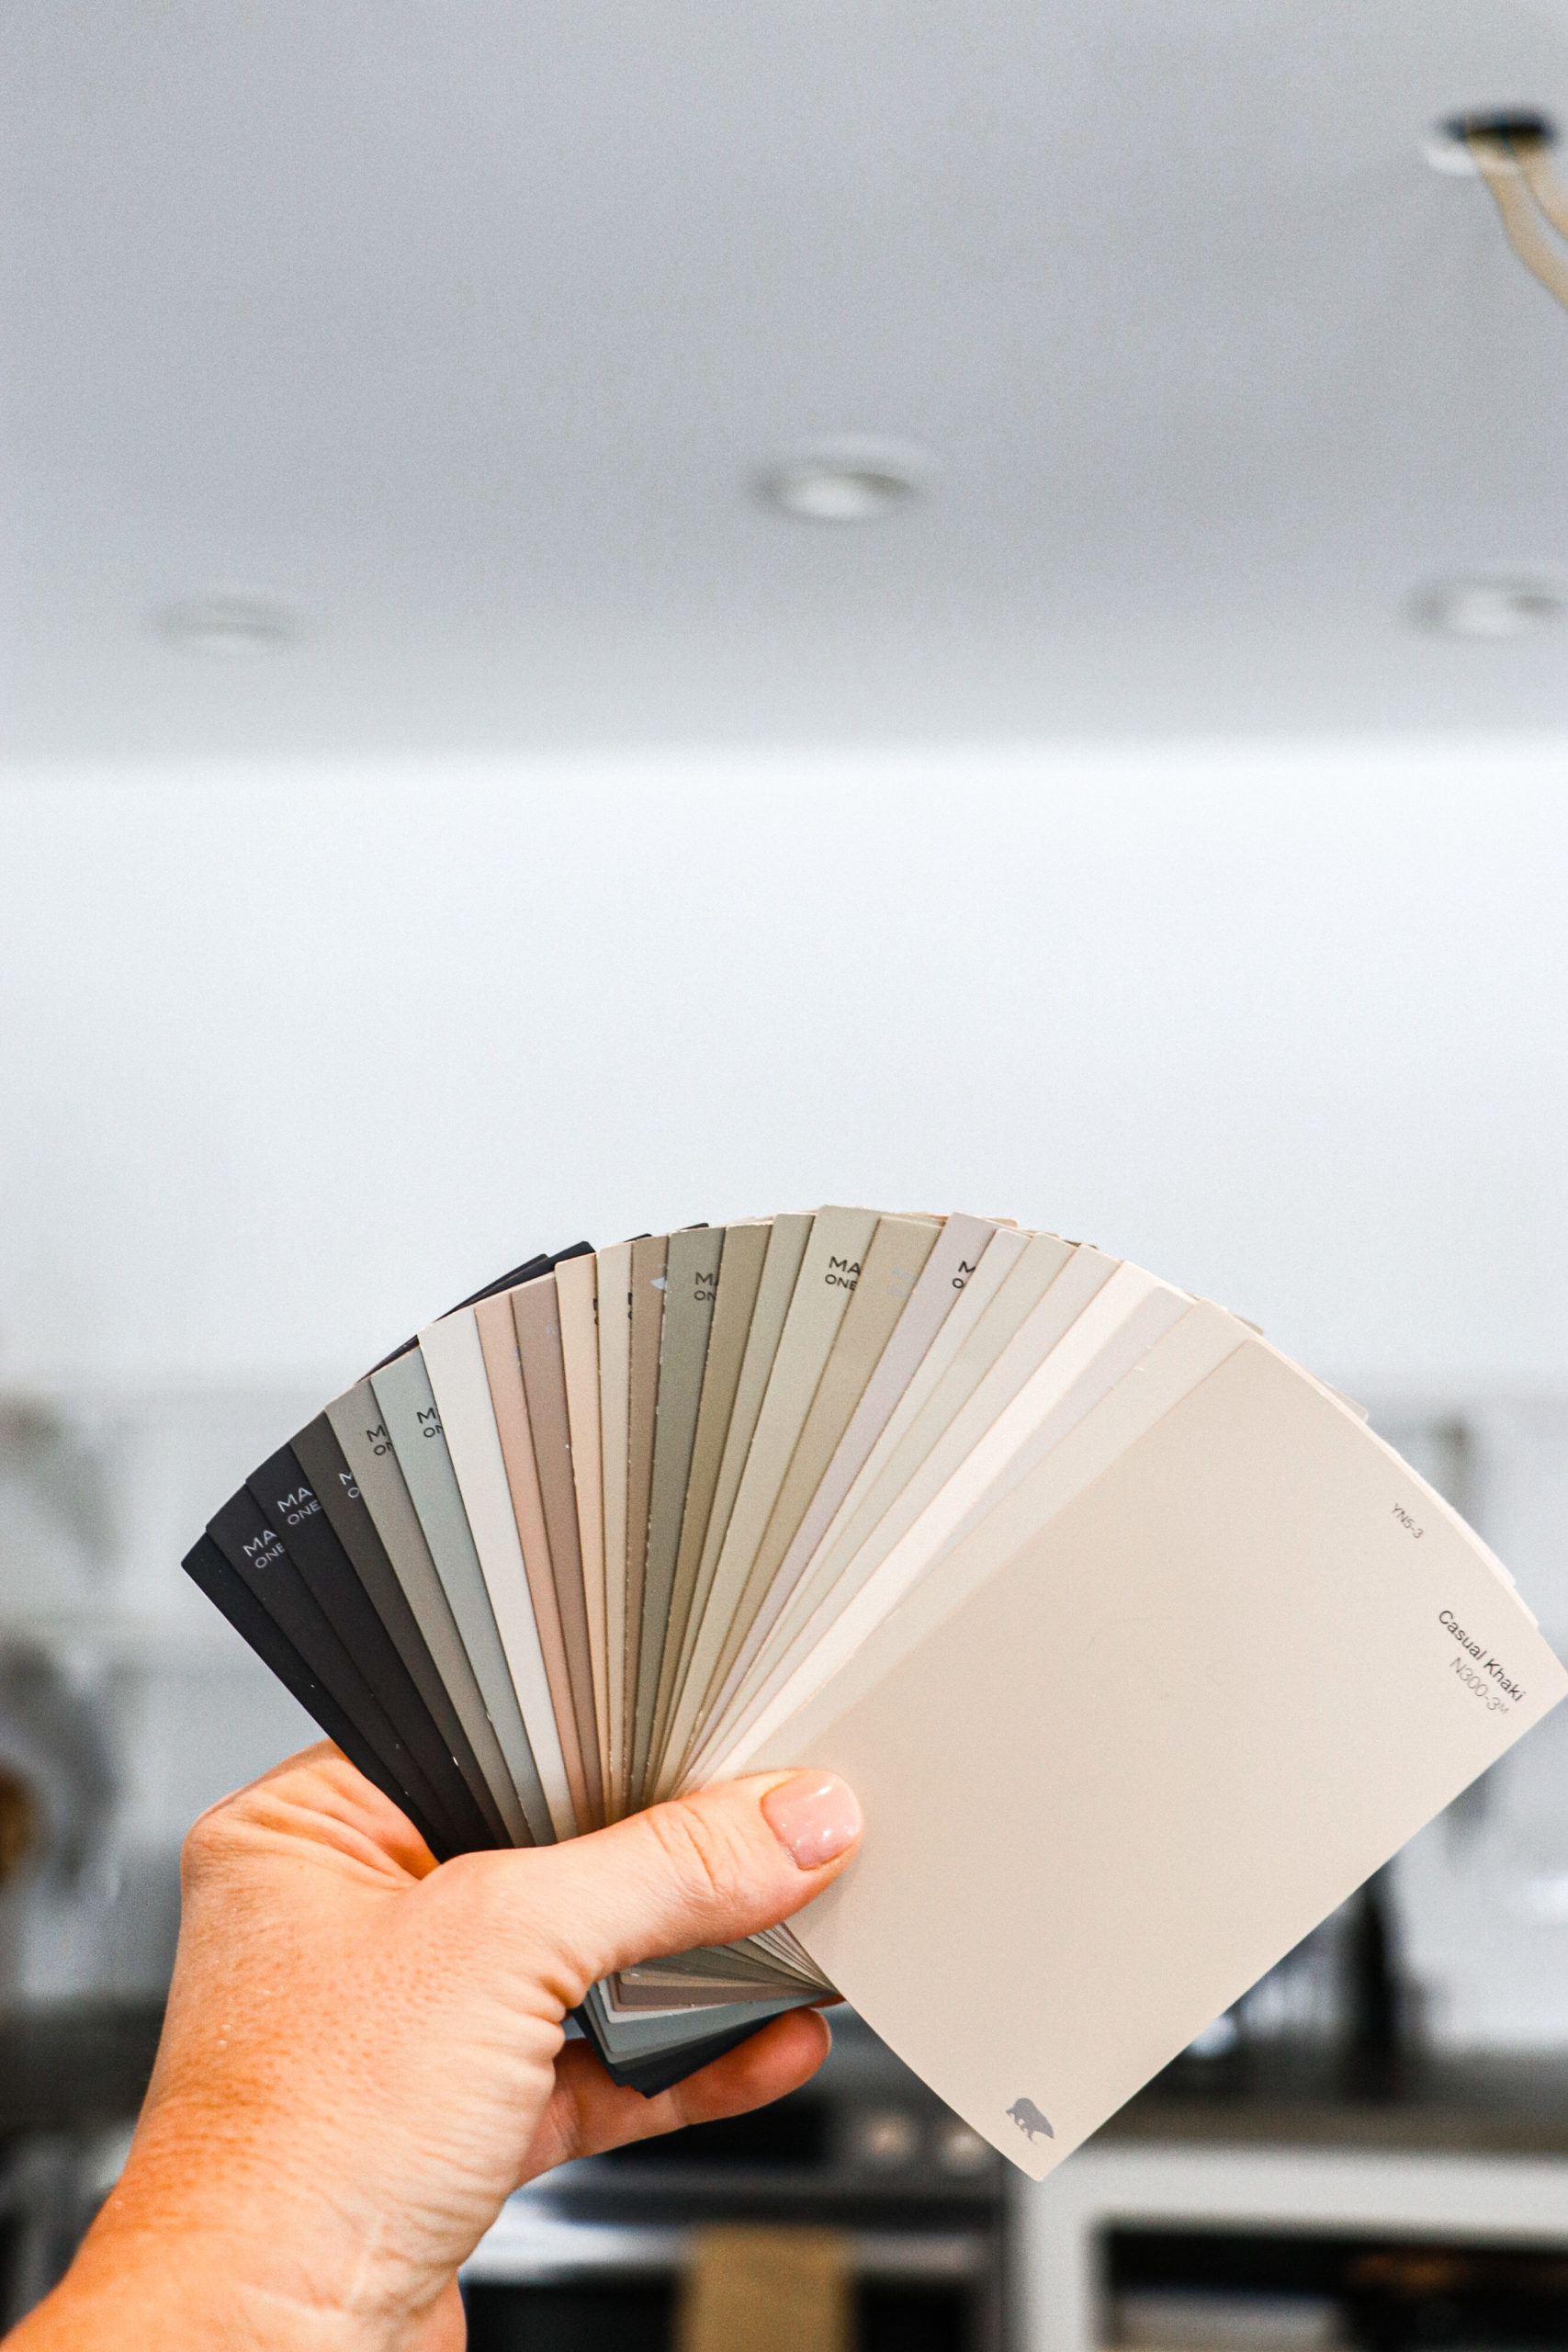
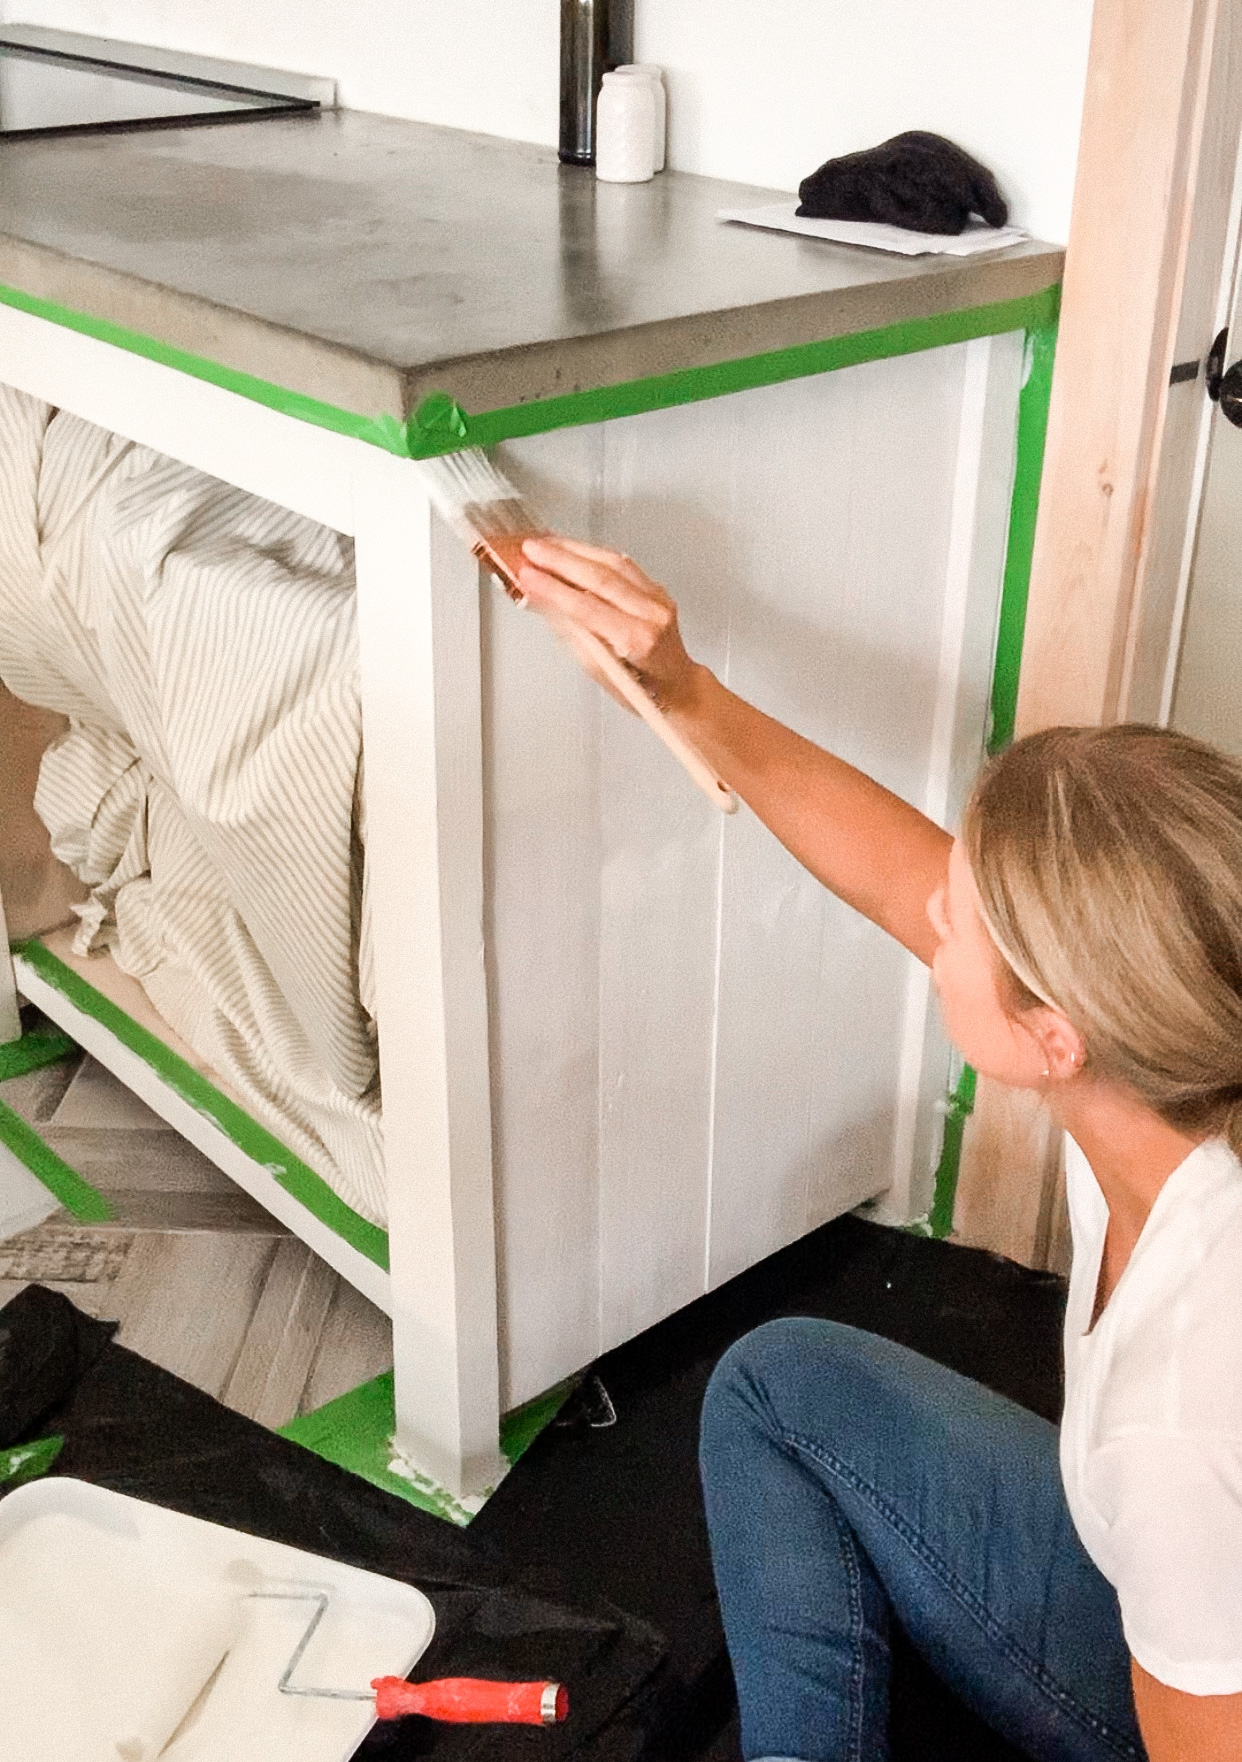
When the cabinets were all primed and ready for paint and I was still trying to decide between two VERY different colors…one was a shade of off-white and one was a shade of black! I went back and forth before finally going with my original choice. I used a foam roller and a 2 inch angled brush to paint all of my base cabinets.
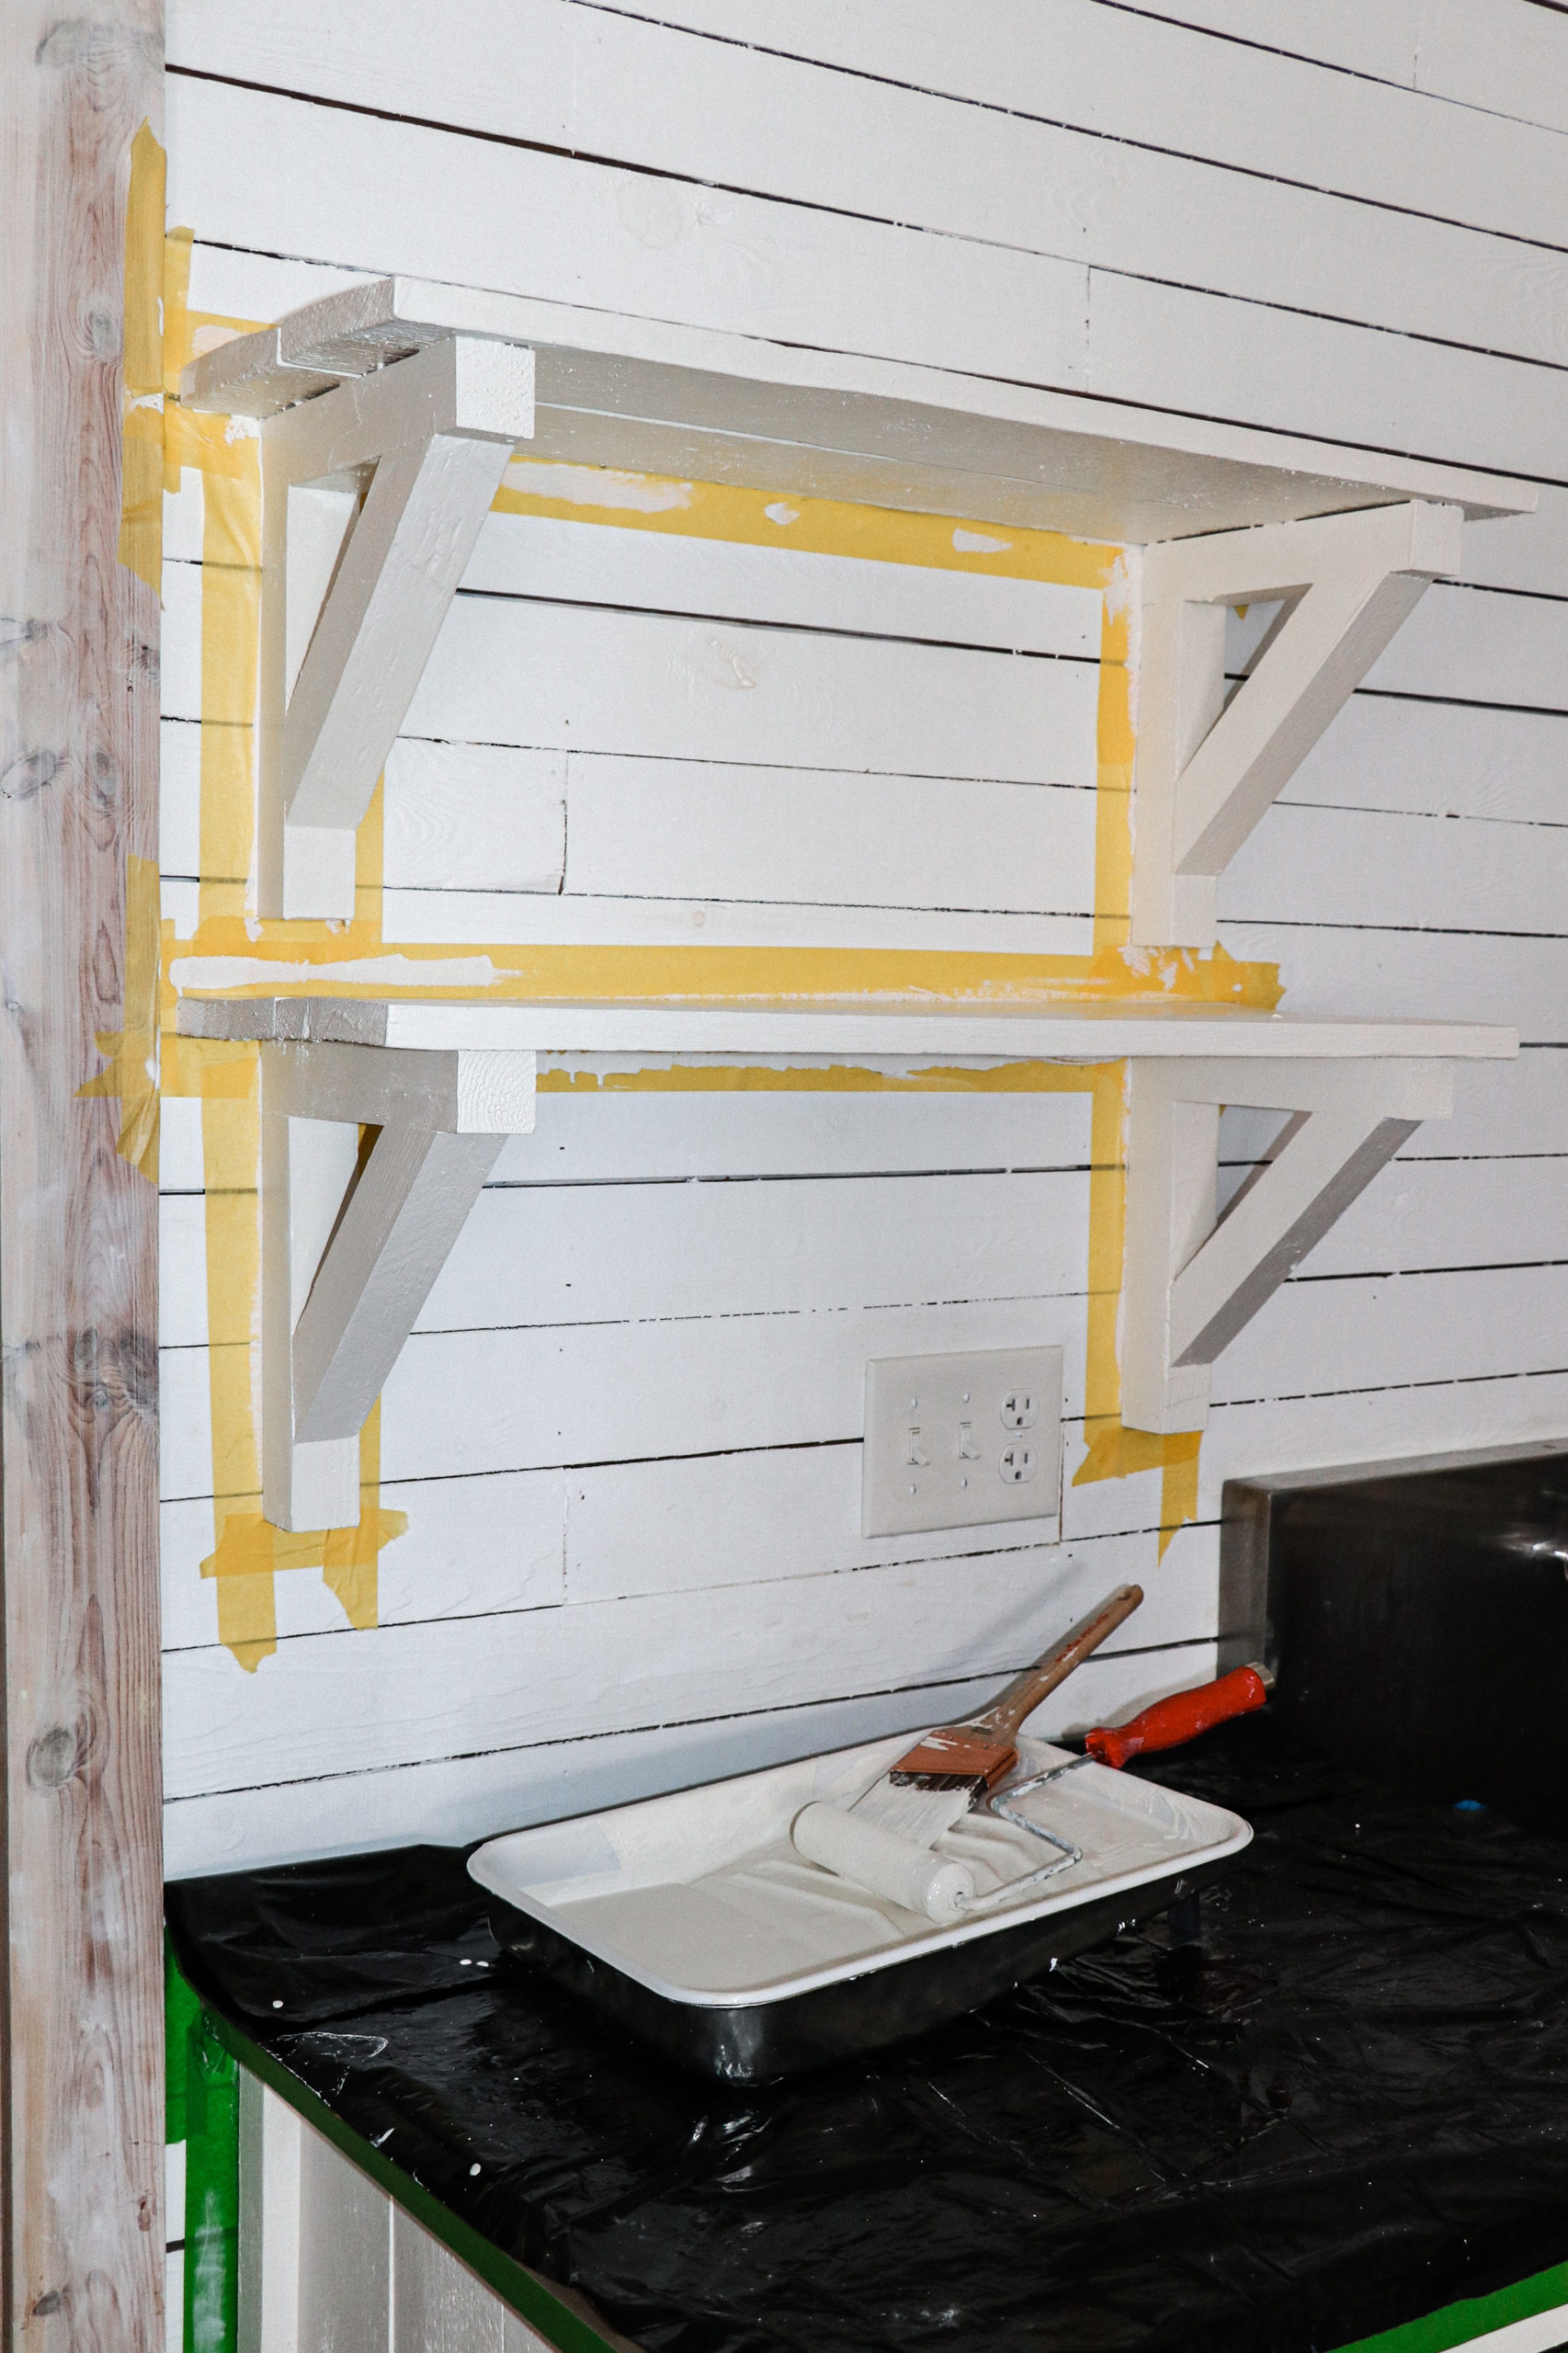
A lot of times when I’m designing a space, I start with an idea, and then as the project moves along the design evolves too. When I was finished painting my cabinets I decided that I wanted to paint all my open shelving too. They were painted pure white (the same color as the ceiling and the shiplap wall behind them) and I wanted them to have more of a contrast. I used FrogTape Delicate Surface Painter’s Tape to tape off all around the shelving and the brackets because I had just repainted the shiplap wall and the FrogTape Delicate Surface Painter’s Tape is super gentle on your walls making it the best choice for using on a freshly painted wall.
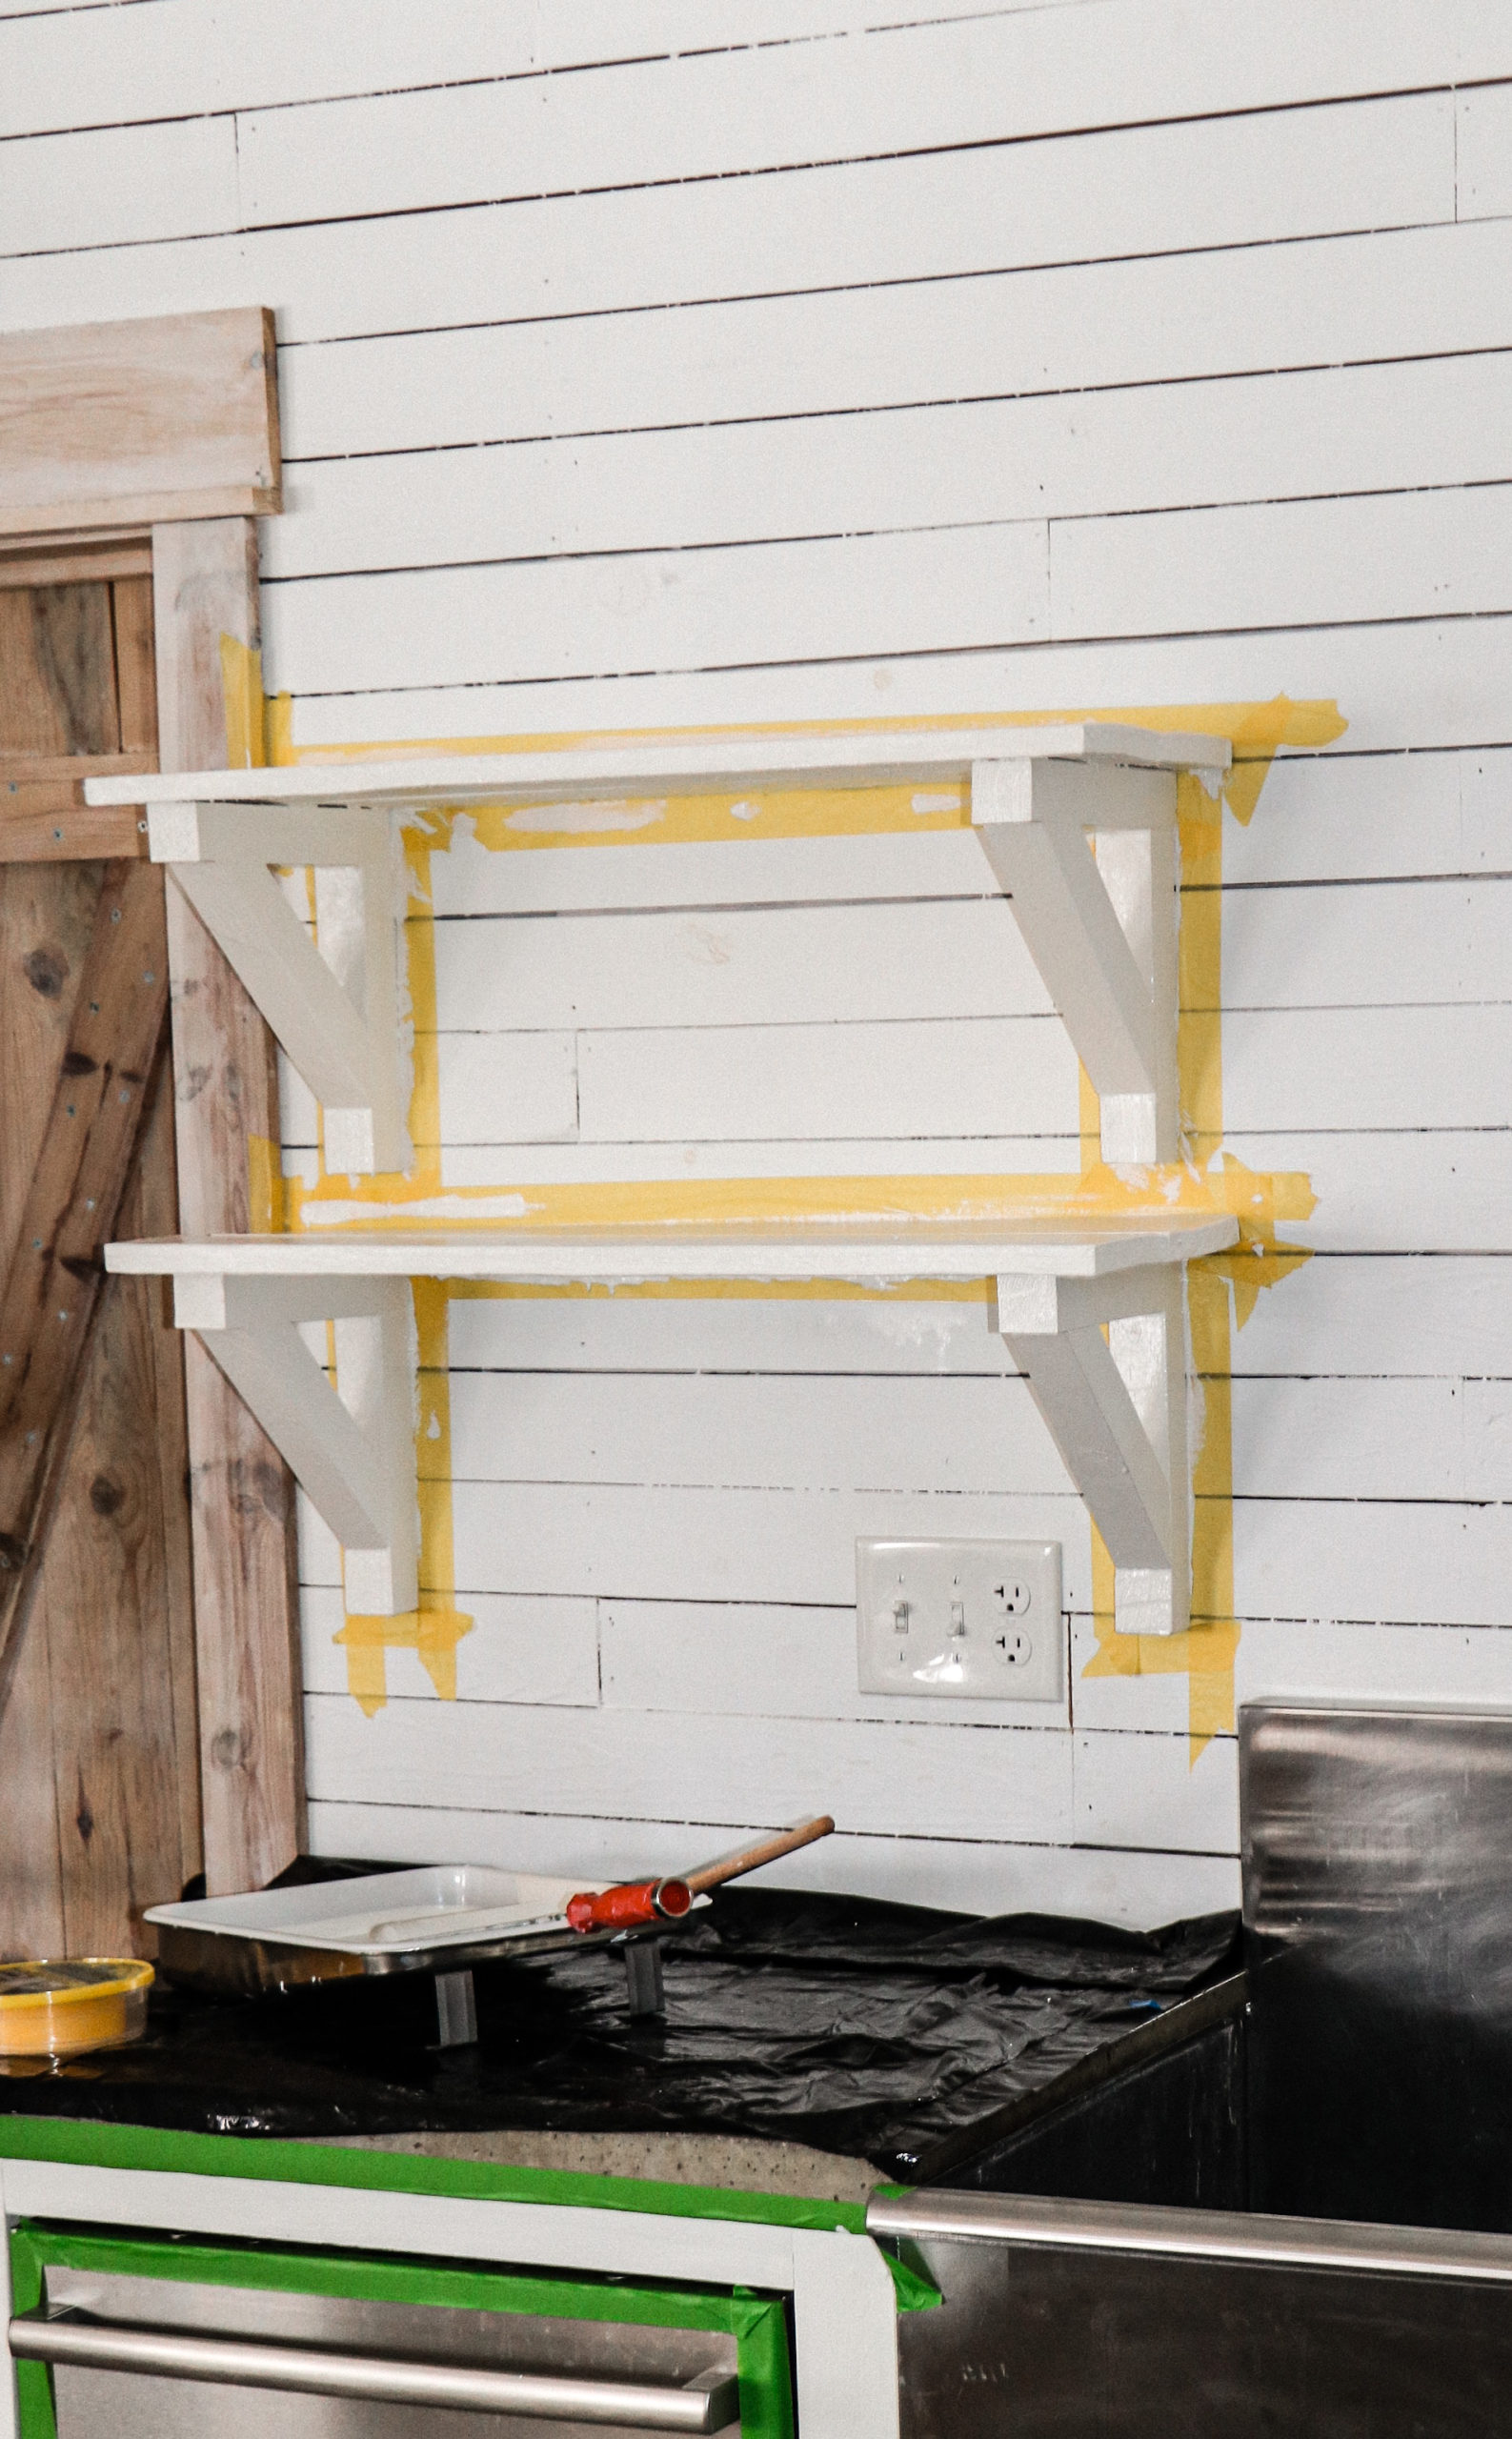
I’m so glad I took the time to paint the shelves. The soft off white makes the shelves stand out just enough, but not too much. The color I used is called “Mourning Dove” by Behr Paint and it really has a warm undertone that looks fresh and really softens up our kitchen. I can’t wait to start painting all the door and drawer fronts and the kitchen island once that’s totally done and see how it all looks!

We are so close to having the island done. We still have to add the island legs and make a toe kick as well as install all the drawer slides before we can bring it home. But, we are SO CLOSE and it’s getting really exciting seeing my vision for this space come to life!
We have three weeks to completely finish this entire renovation and we have a lot left to do…
Here is an idea of what we still have left to do:
- Install all the under-mount, full-extension, soft-close drawer slides to the island cabinetry
- Assemble double trash pullout and install in island cabinet
- Assembling and installing the new kitchen island in our kitchen (adding rustic paneling to the back and building a toe kick)
- Prime and Paint all doors and drawer fronts/ Stain the cabinet door plywood backers (panels that go behind the cane)
- Soak/Stretch Woven Cane and install on Cabinet Door Fronts
- Add all the cabinet hardware/pulls
- Install Island Butcher Block Countertop
- Hang pendant lighting
- Build and install all 5 of our DIY wood ceiling beams
- Remove kitchen open shelving/Paint it and put it back up after tiling the wall
- Install all Jeffrey Court Marble Hexagon Mosaic kitchen wall tile
- Grout and seal the Jeffrey Court Tile
- Give our old barstools a fresh coat of paint
- Clean the entire kitchen and add any decorative items/plans/rugs
- CELEBRATE and ENJOY the new kitchen!
So there it is guys, week three is complete! Thank you so much for following along! The next few weeks are going to be crazy busy but the end result will be amazing so be sure to VOTE HERE and tune in next week for another update on our Jeffrey Court Renovation Challenge and to see what we get done next week on the Kitchen Renovation! And of course to see the entire process unfold be sure to follow along @fletchercreekcottage on Instagram. I’ll be sharing daily progress in stories!!! Hope to see you there!


