Week #5 Jeffrey Court Renovation Challenge-Installing Tile
It’s week five of the Jeffrey Court Renovation Challenge in our kitchen renovation and this week is all about TILE! When I was designing our kitchen renovation, my main goal was to create interest and take what was a very unfinished-looking space and turn it into a stunning focal point!
Our home is open concept. When you walk in the front door, our back kitchen wall is the first thing you see…it was a huge plain, white wall. It had no character whatsoever…in fact, I’ll just say it…it was ugly!
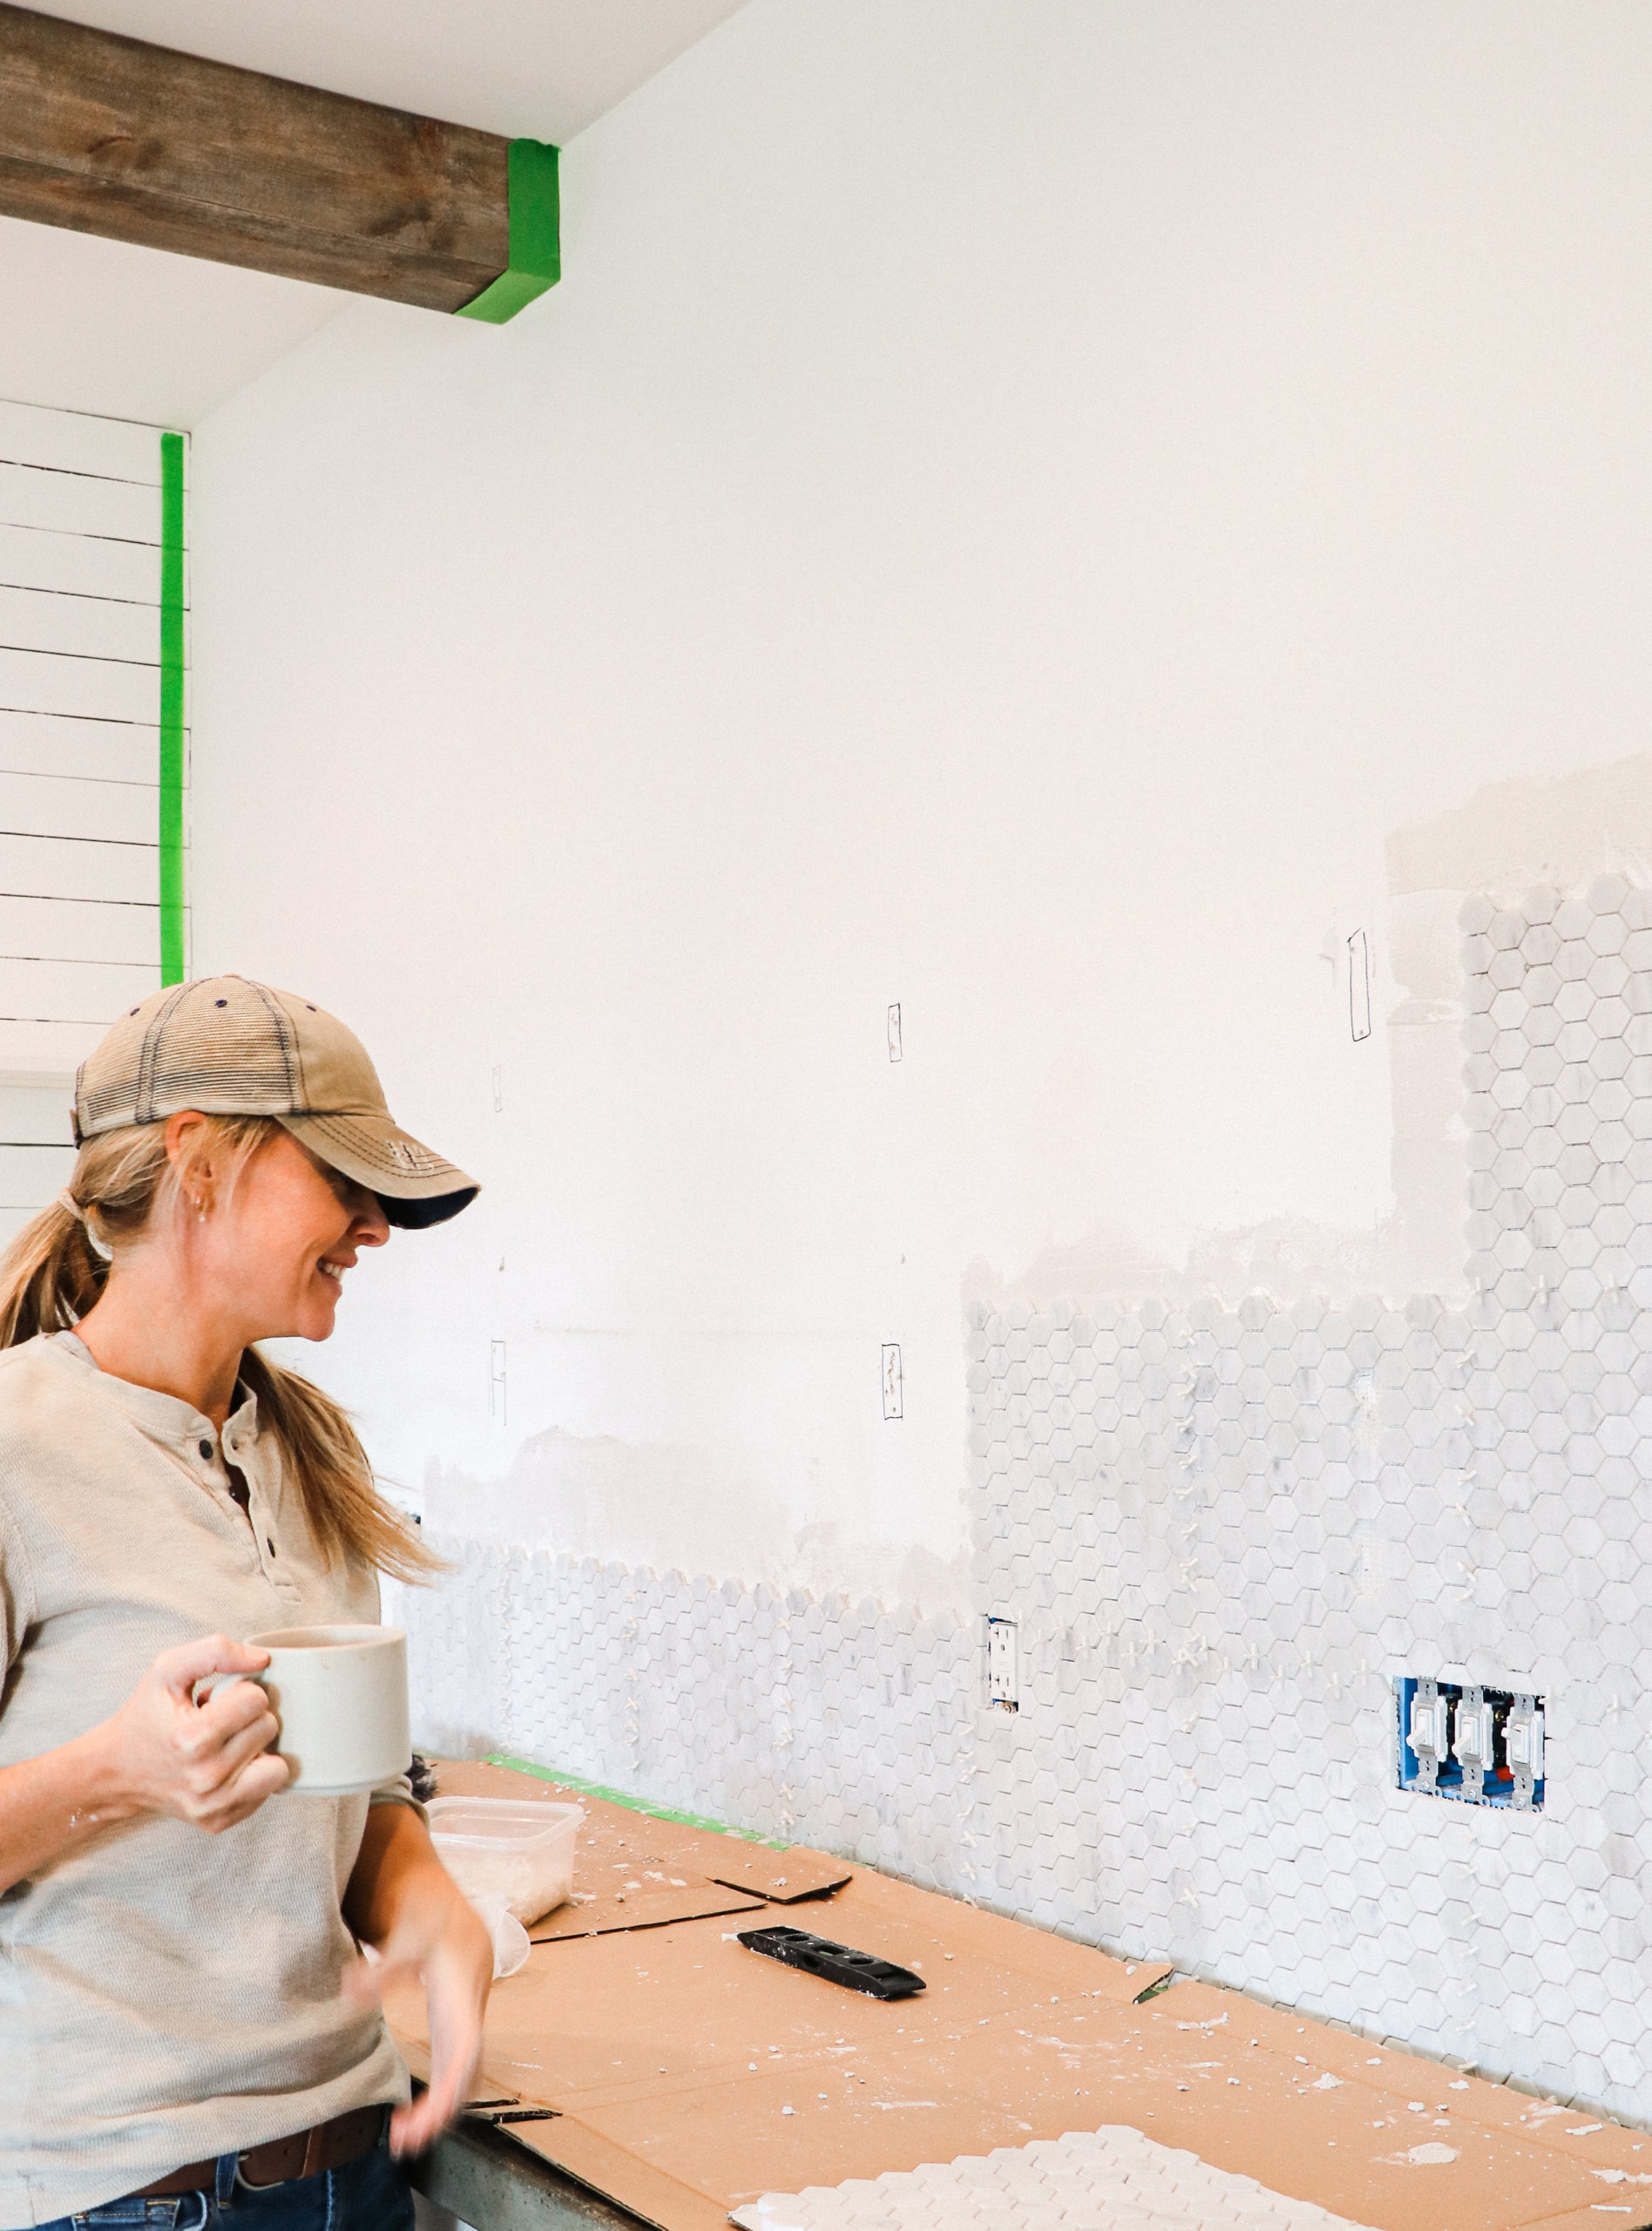
Even though it was ugly, but it had major potential and I knew I could transform the entire kitchen by doing a few key things! Things like tiling the entire kitchen wall with this stunning Jeffrey Court Constellation Carrara Marble Hexagon Tile all the way up to the ceiling.
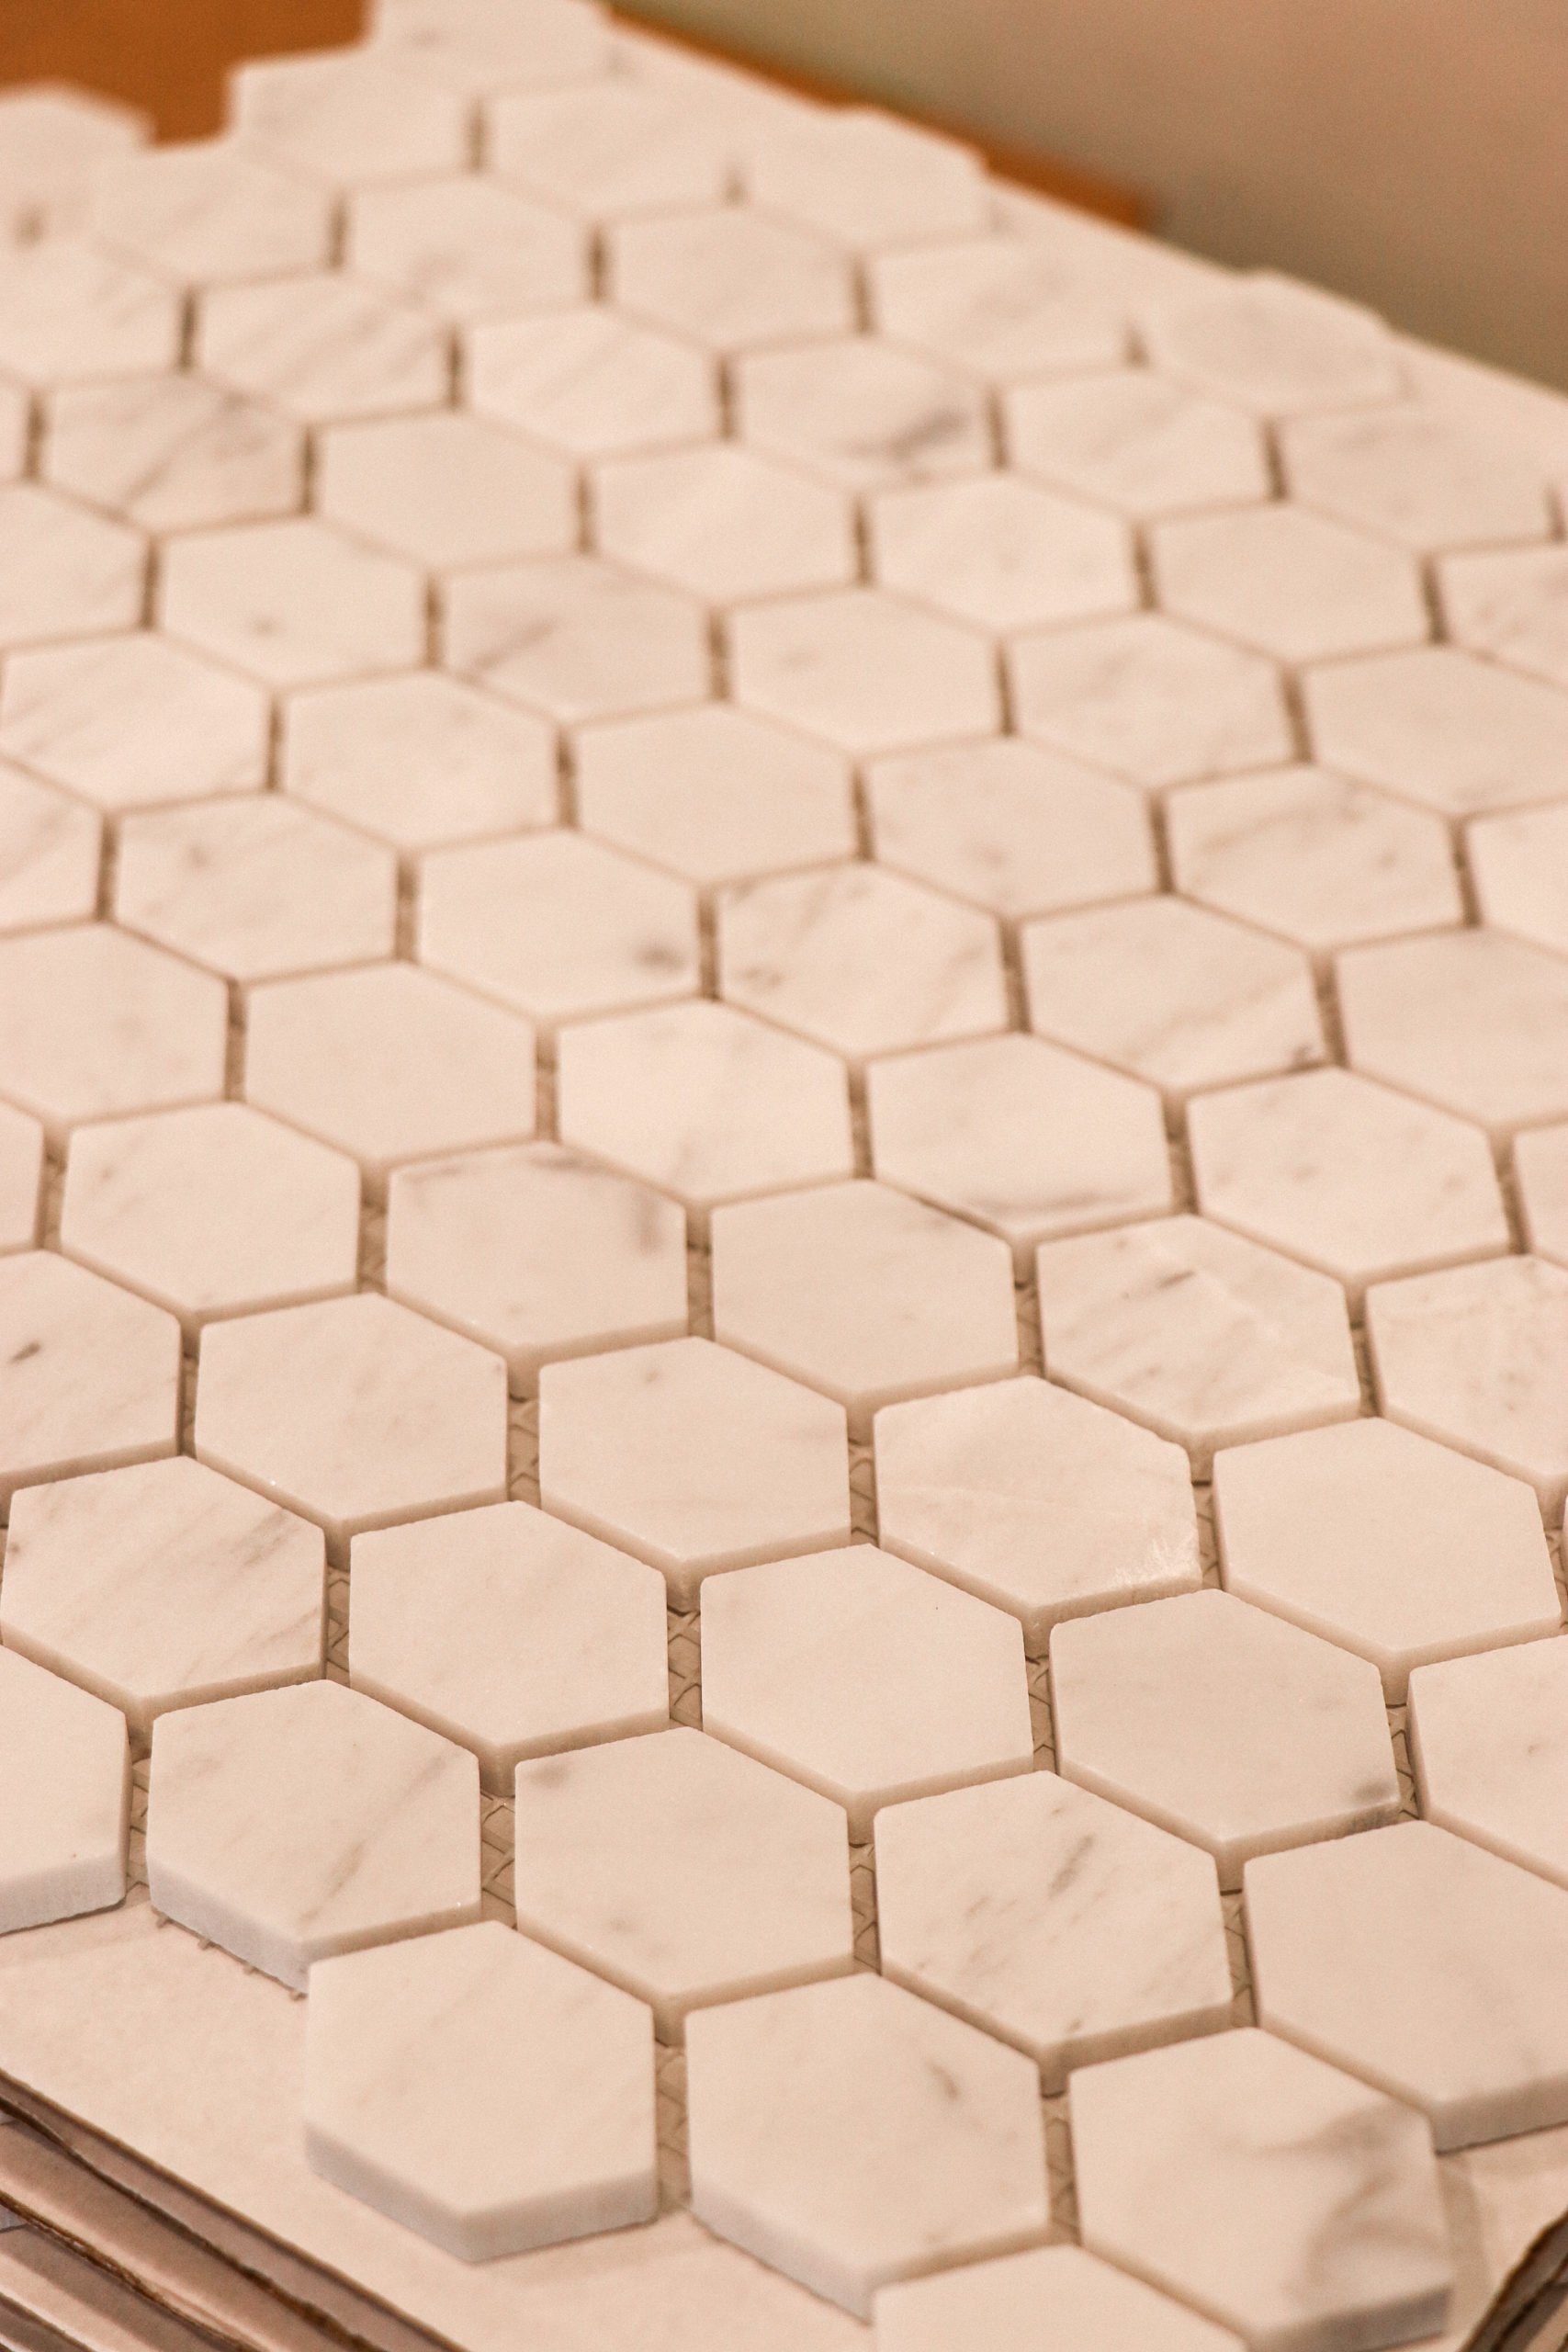
I chose the Carrara Marble in a Hexagon shape for a few reasons! I love natural stone and that Carrara marble really stands the test of time! I wanted our kitchen to feel timeless while adding natural elements…almost like we brought some of the outdoors “IN”. Hexagons totally remind me of honeycomb, which reminds me of bees and pollinators, which reminds me of gardening and everything I love about being outdoors in nature!! This tile was the perfect choice for me simply because it has the best of both worlds…it brings in a LOT of interest while still being “neutral”!
I am all about texture and I really love my neutral colors…so I love that the pattern is a little busy, but the color isn’t!
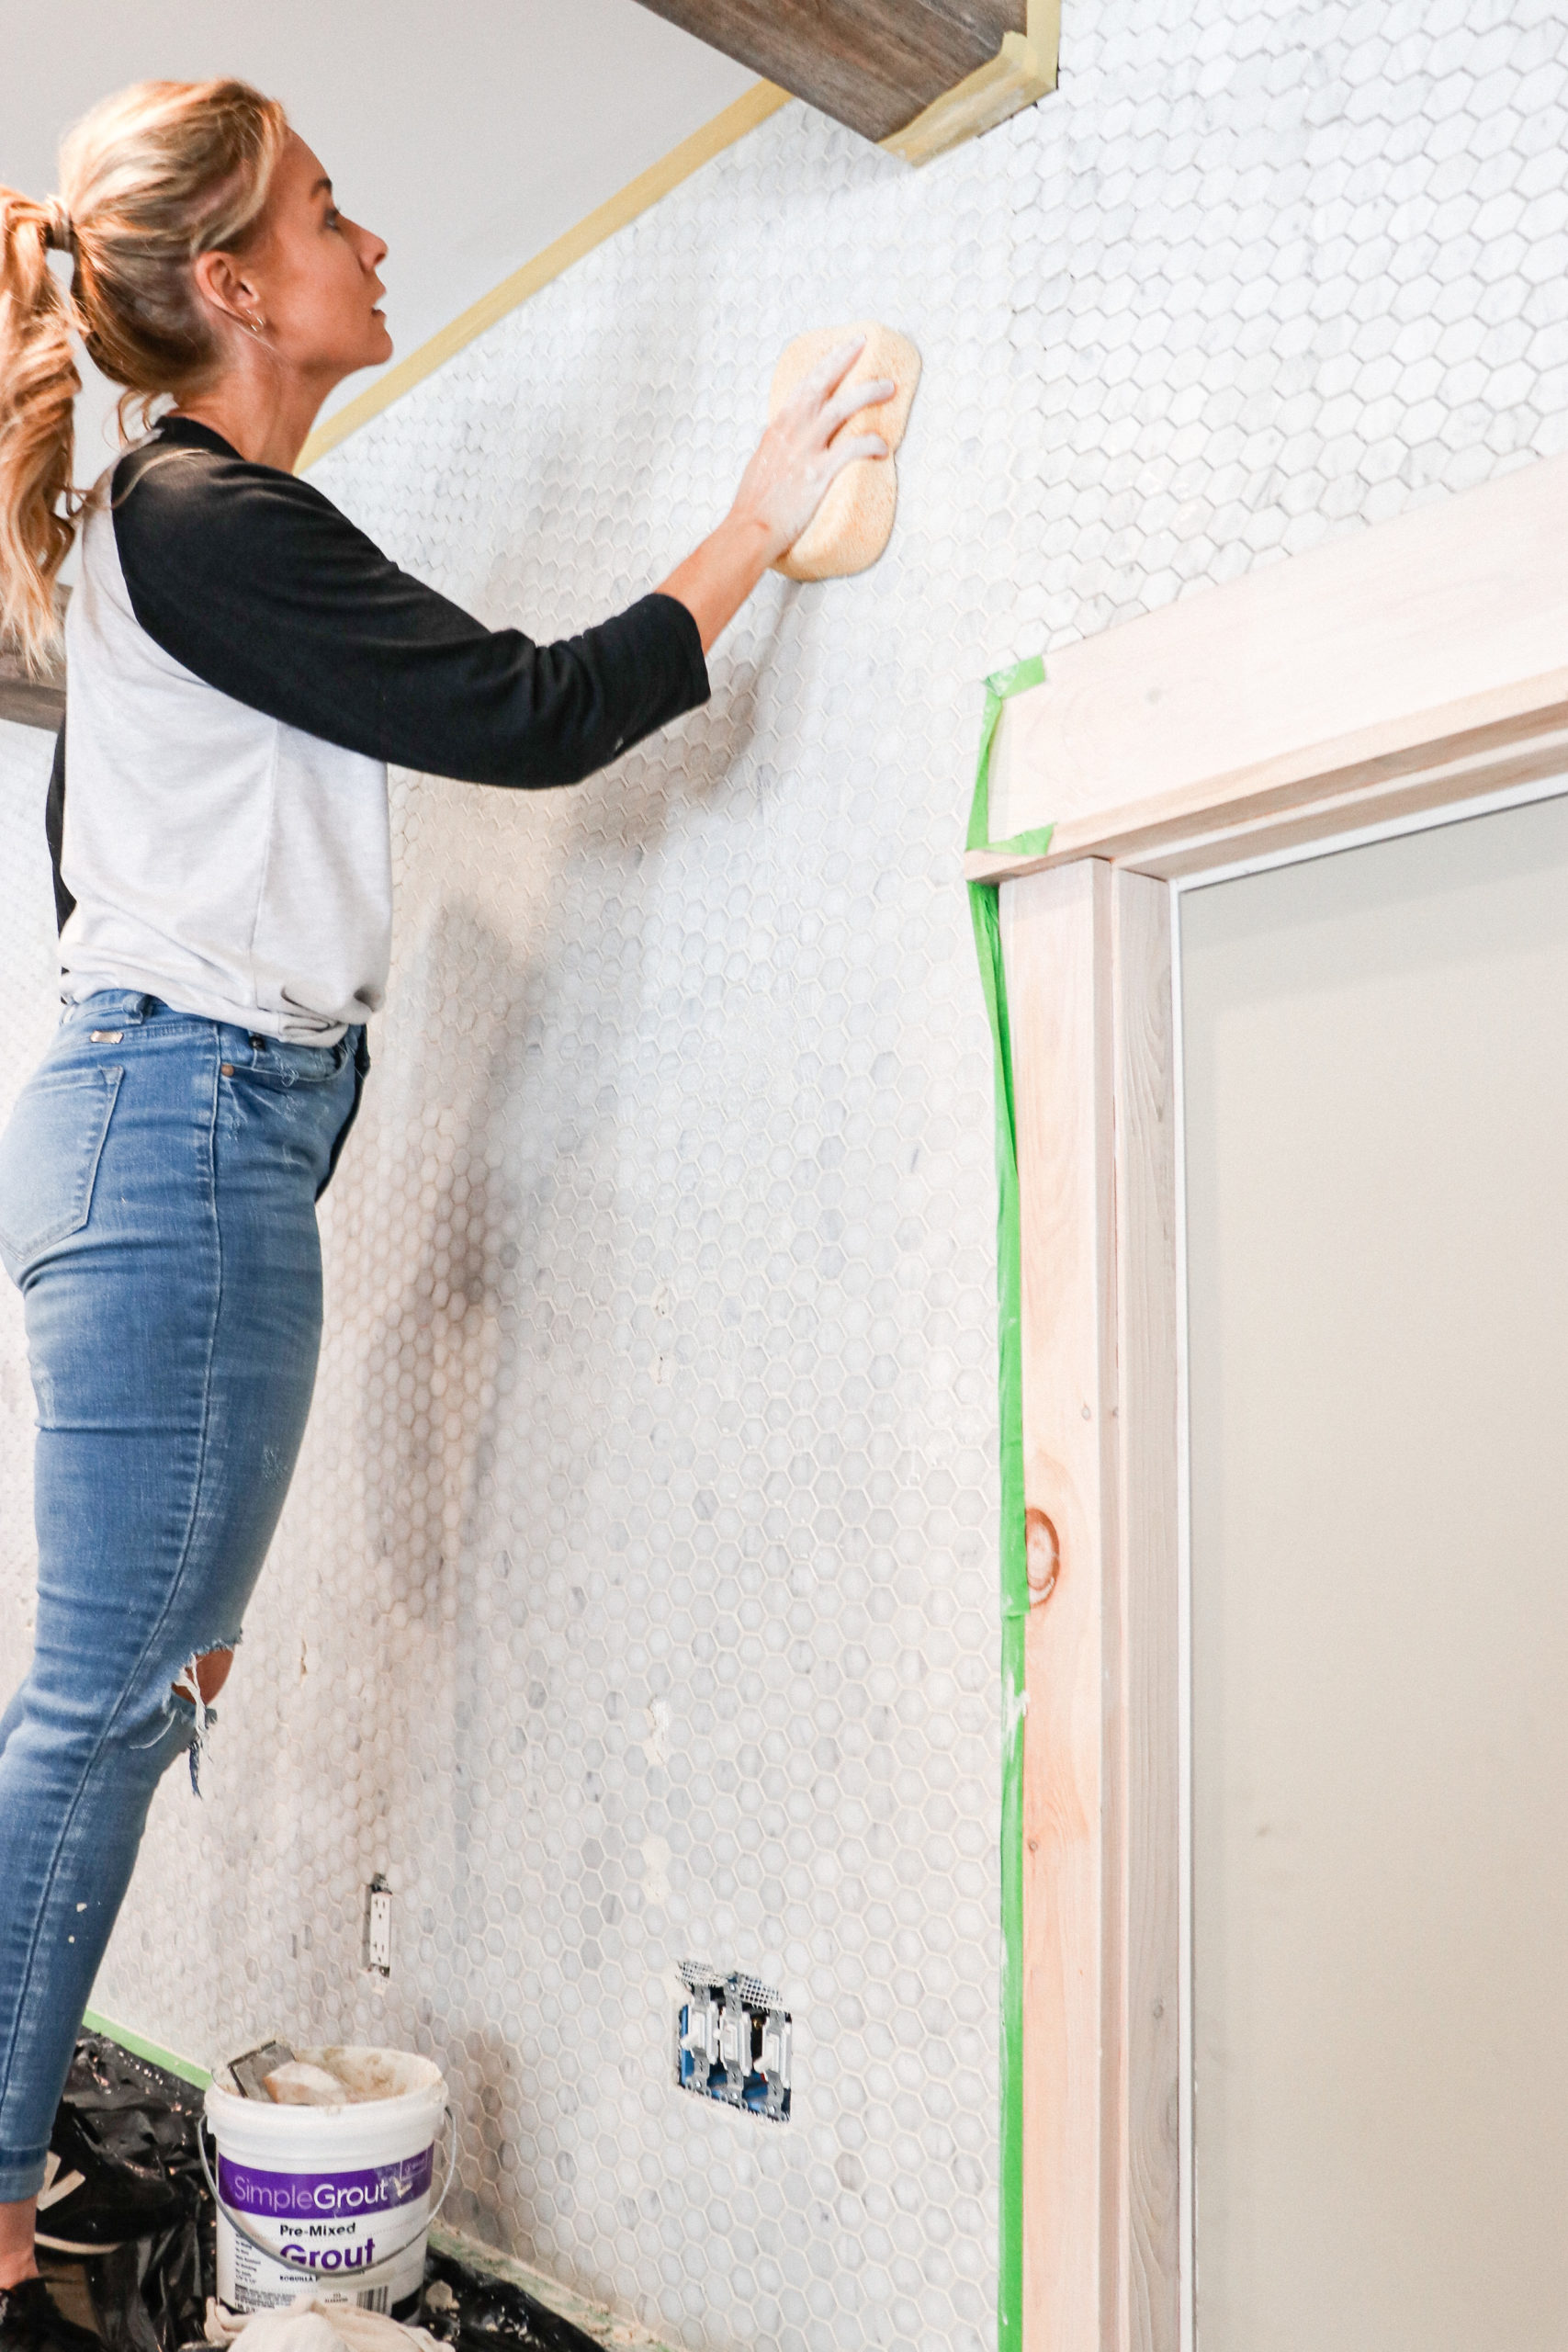
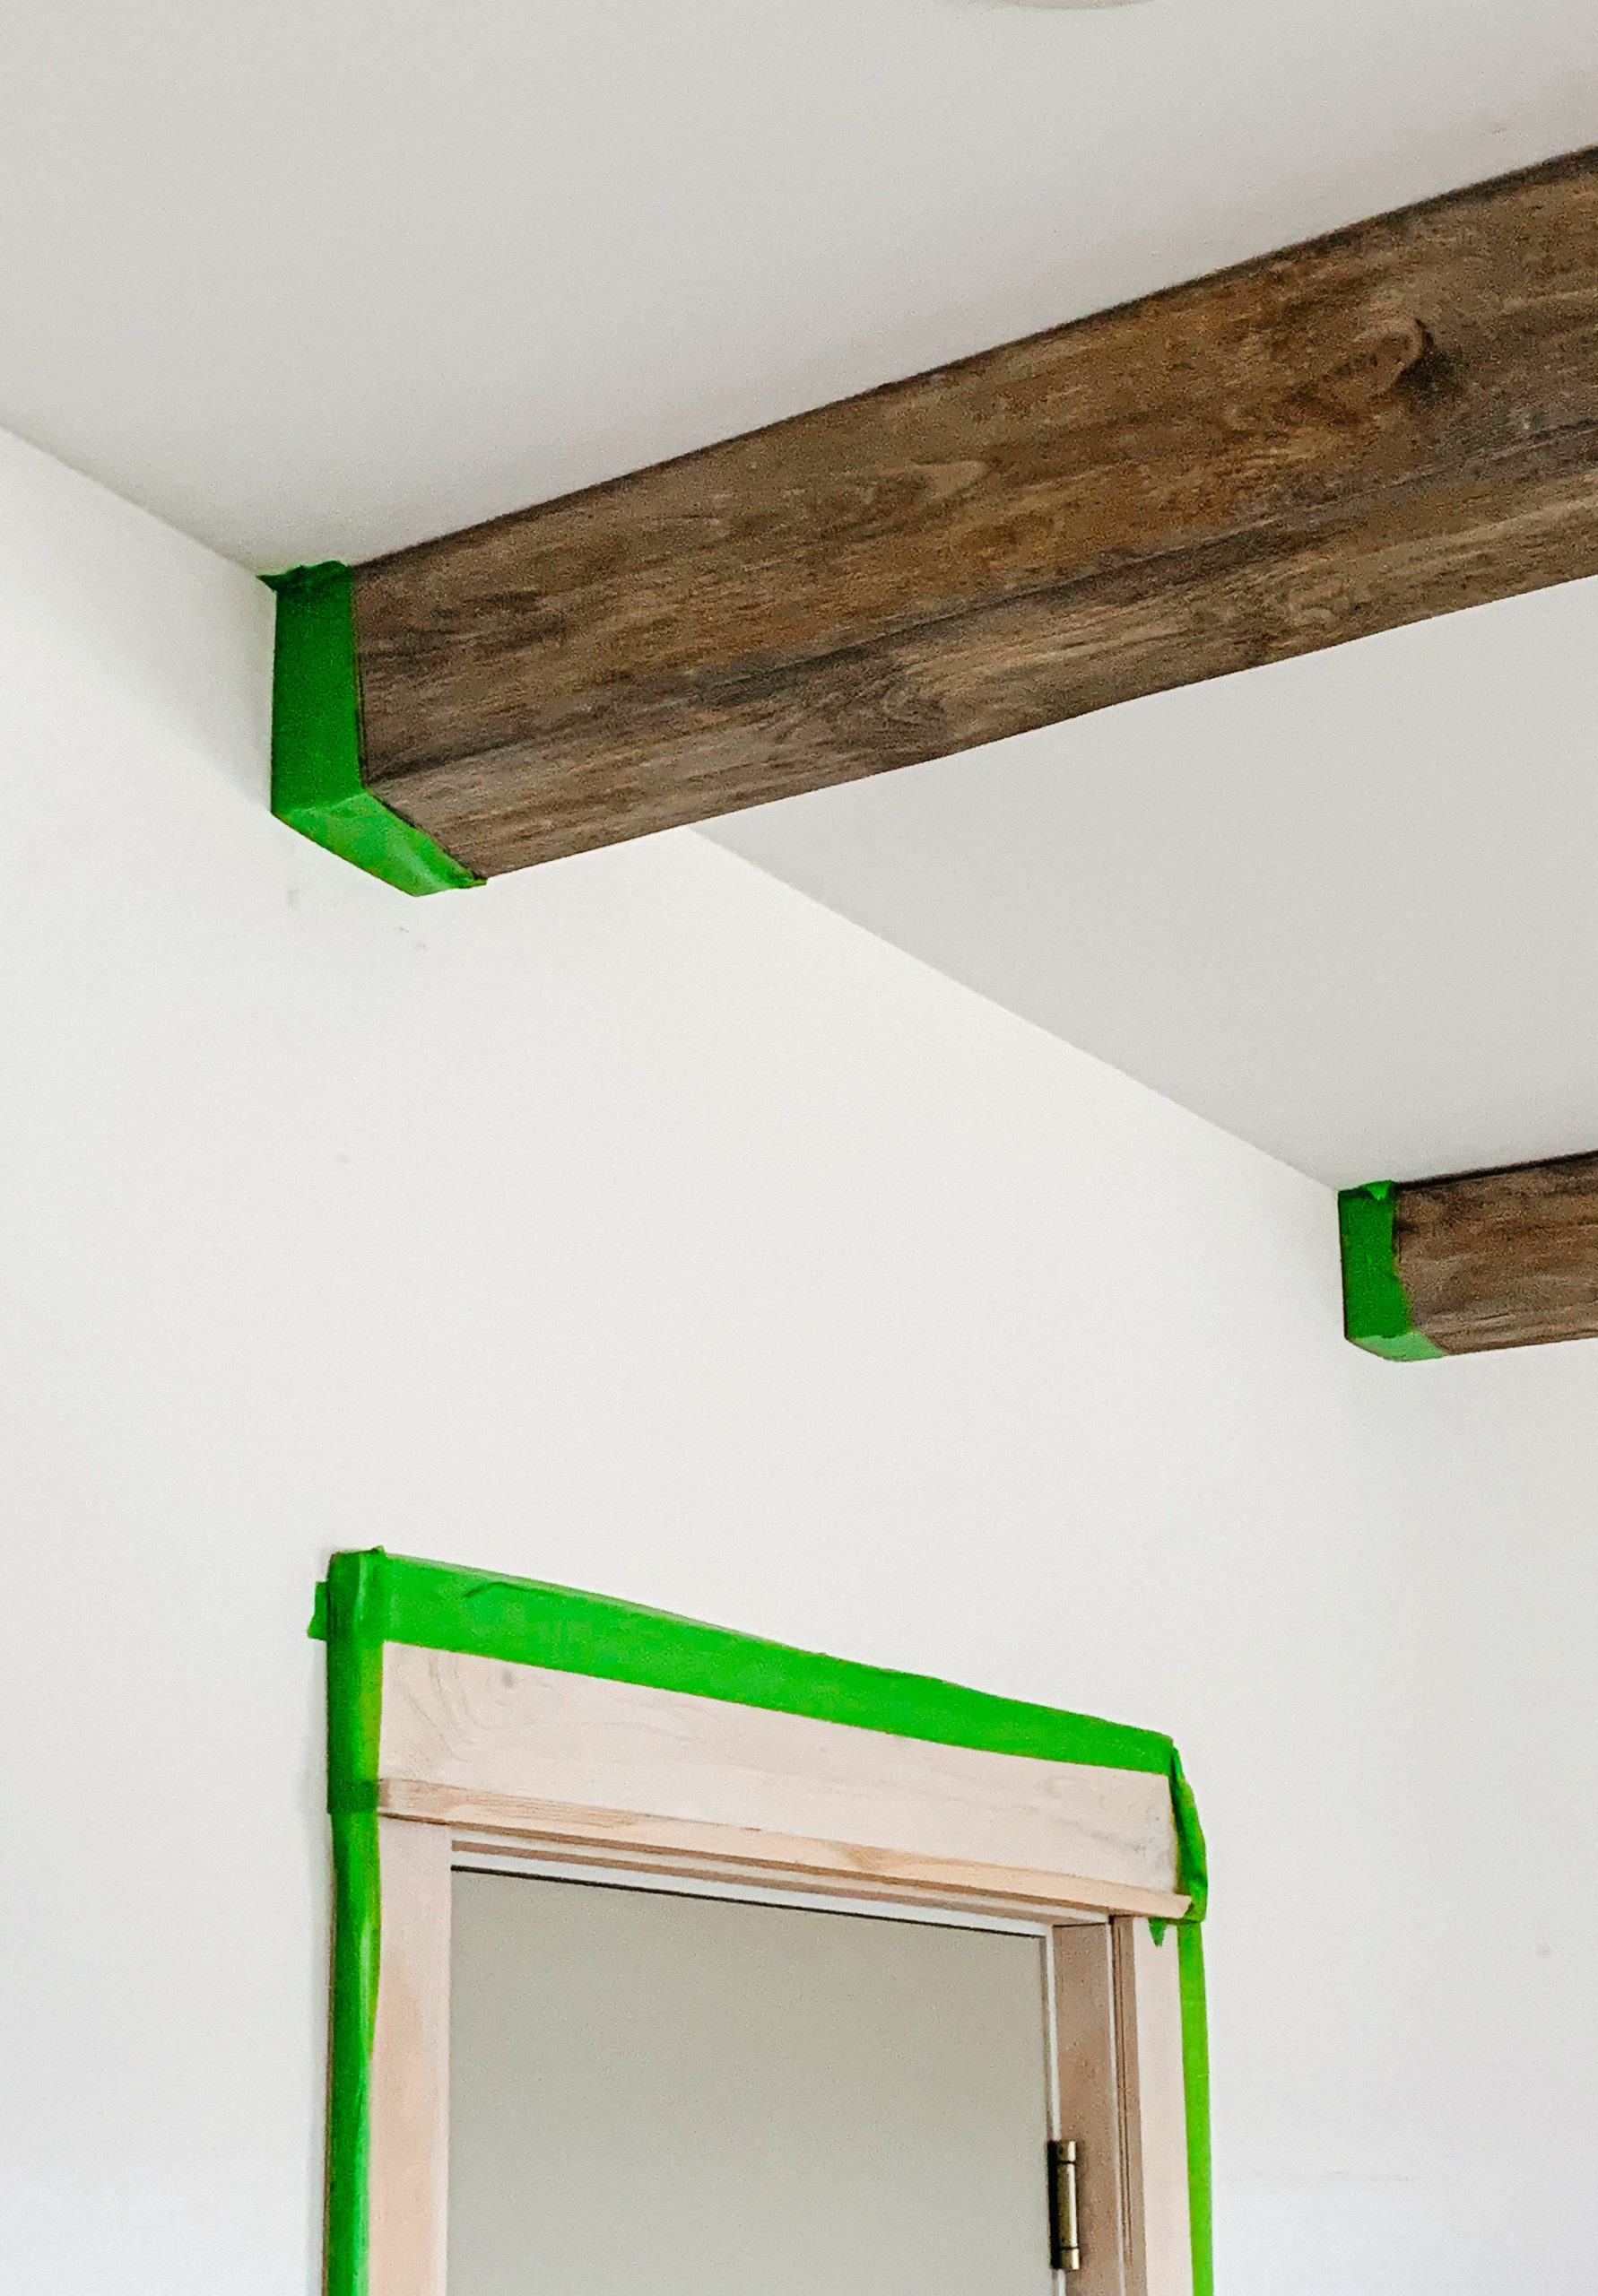
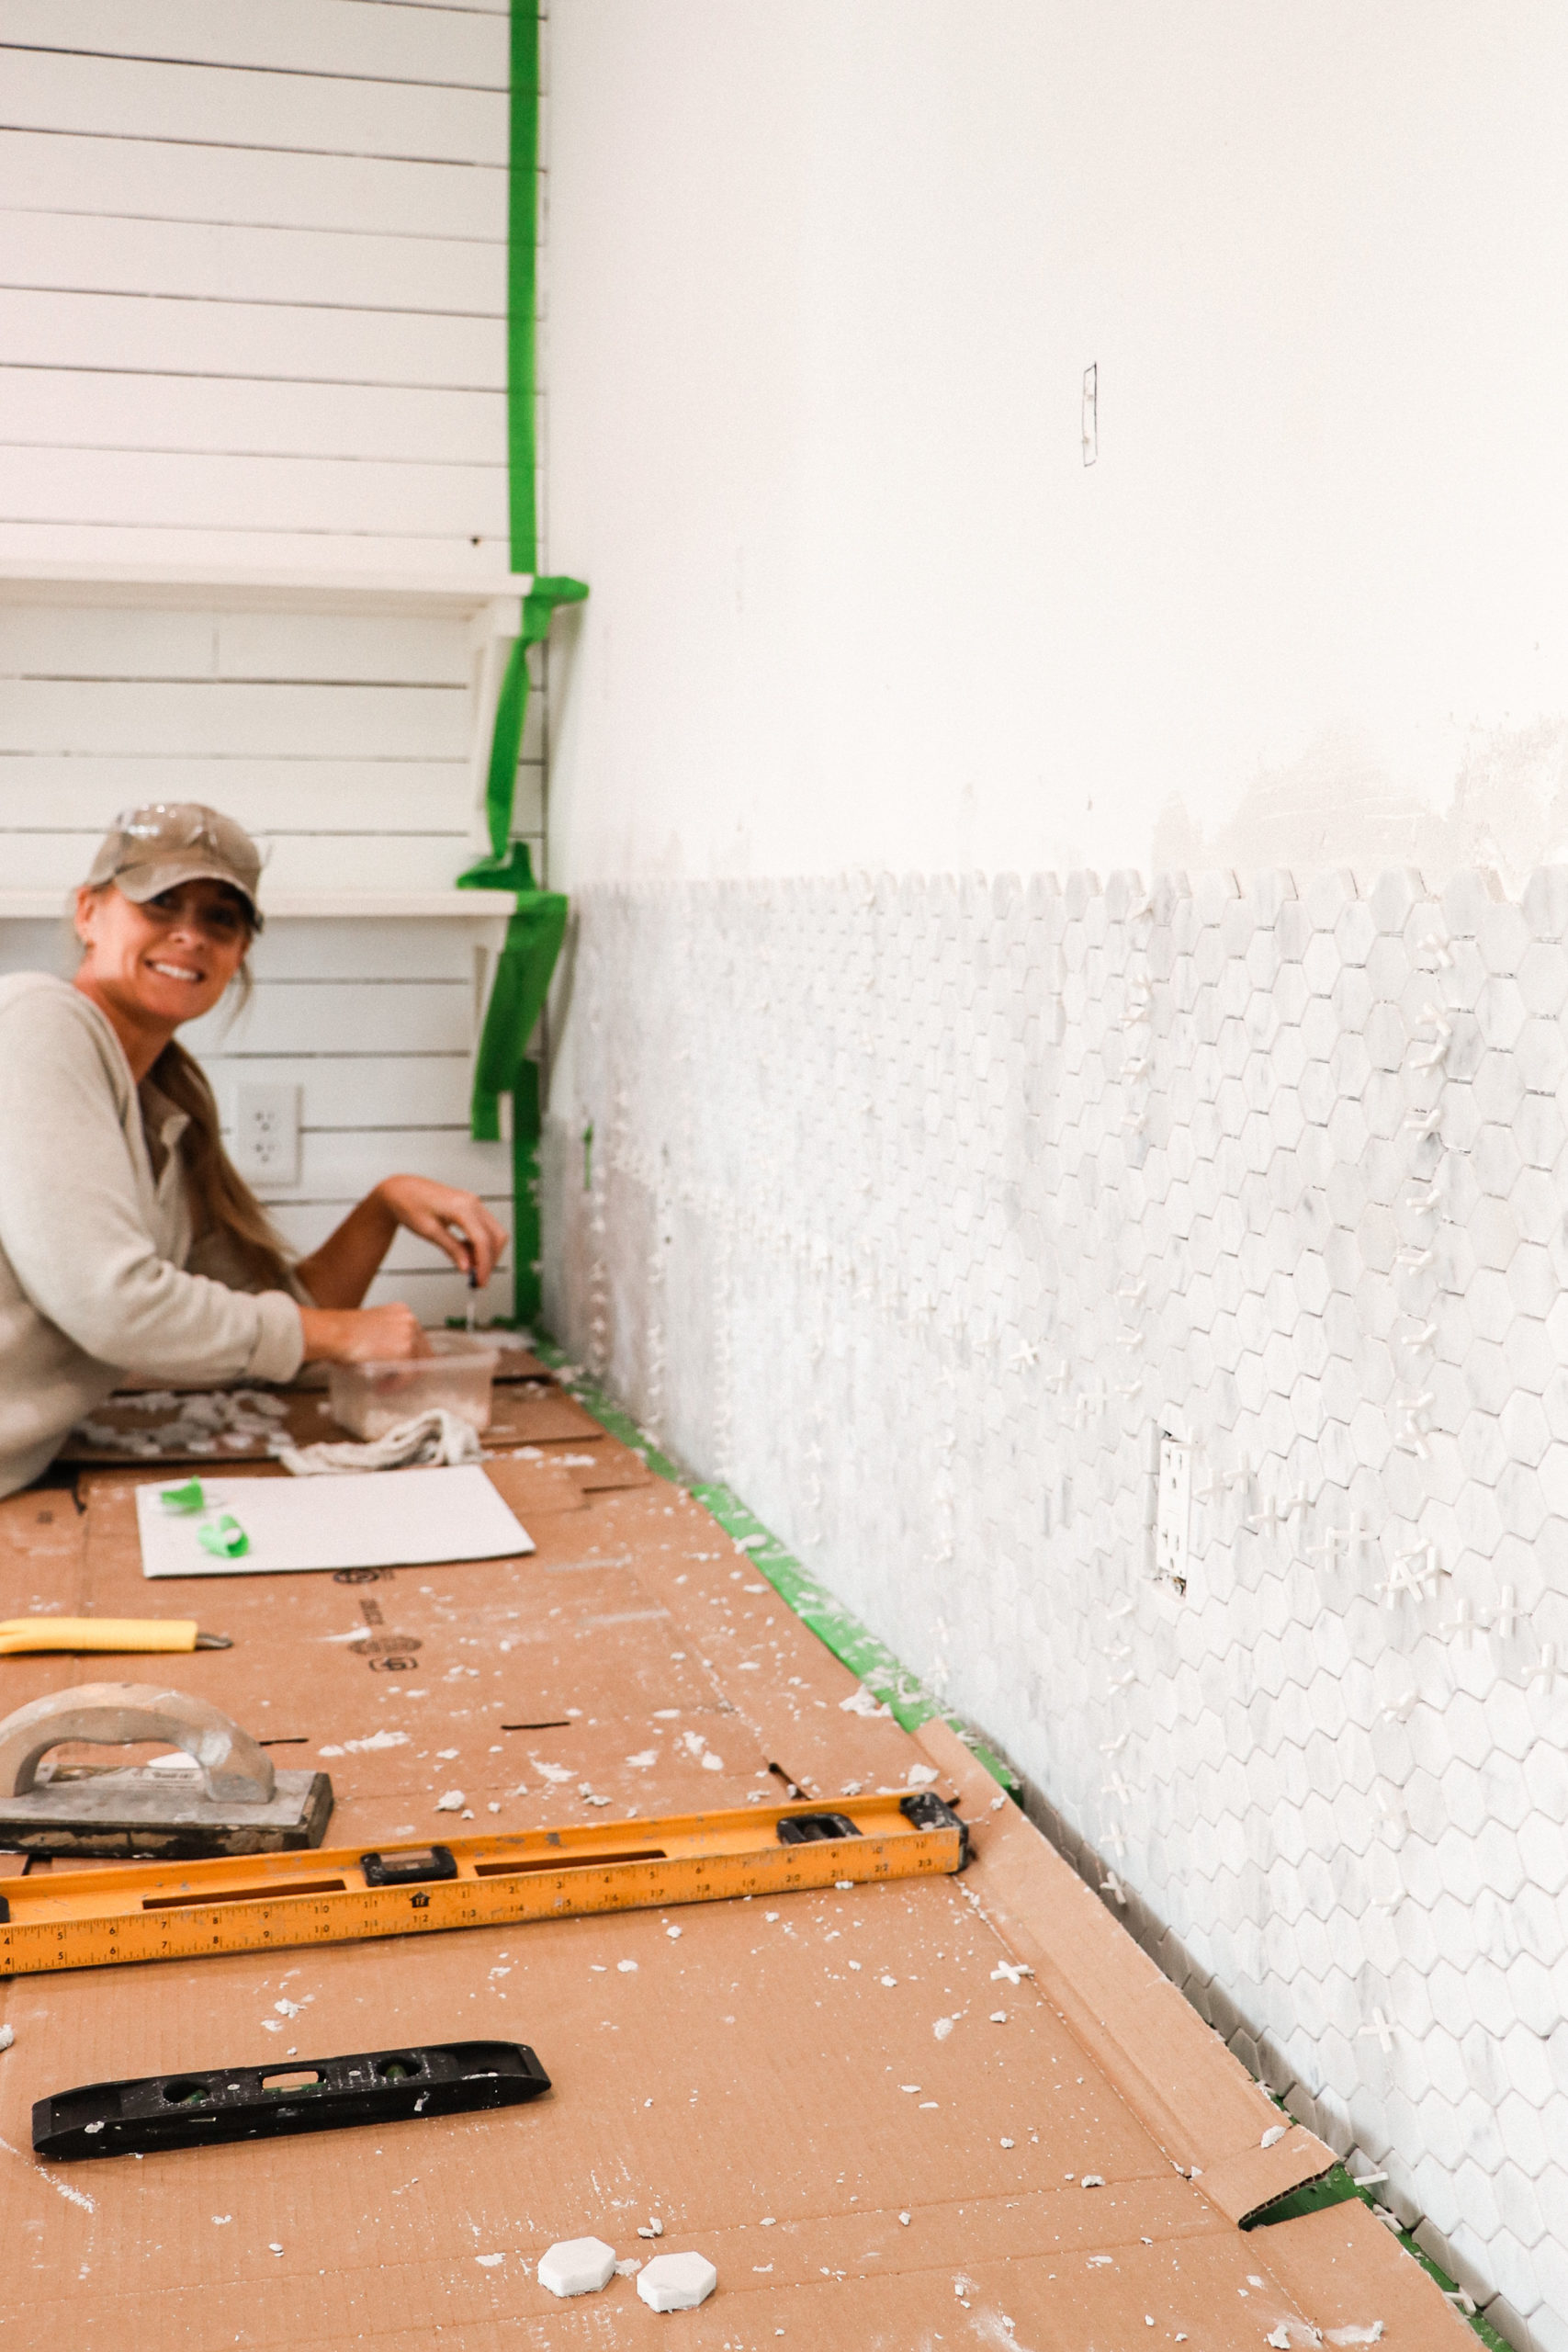
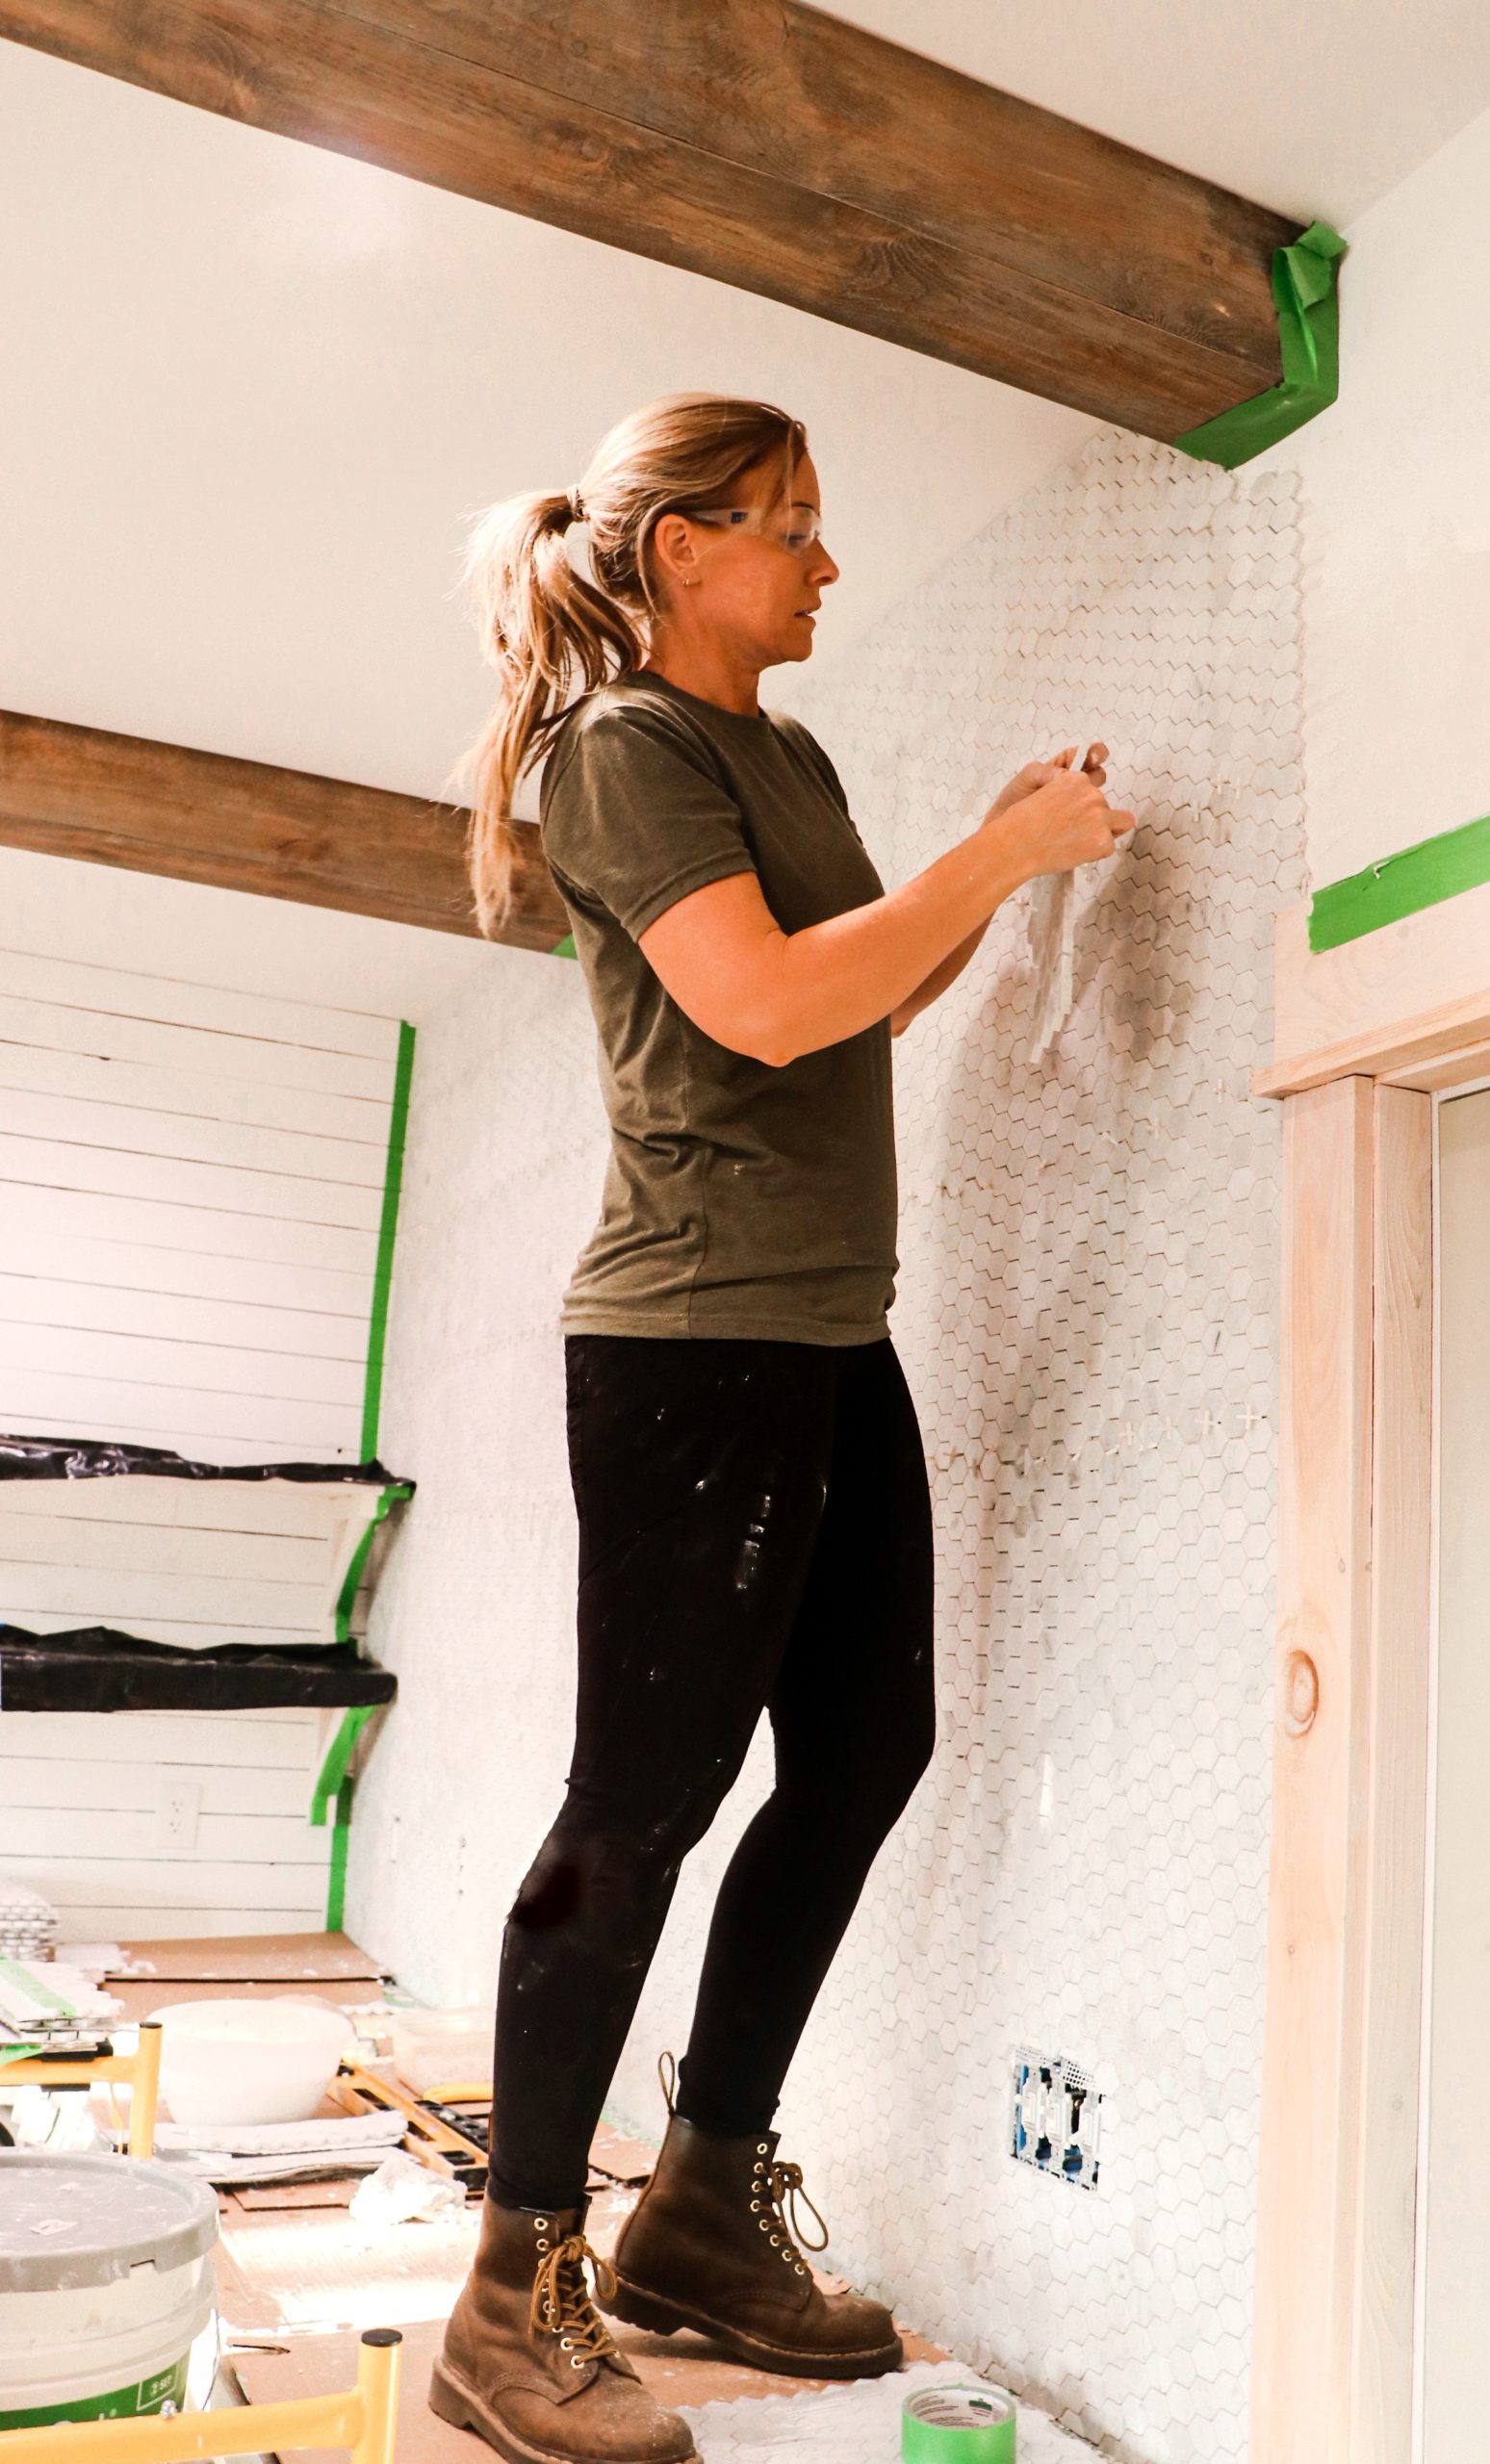
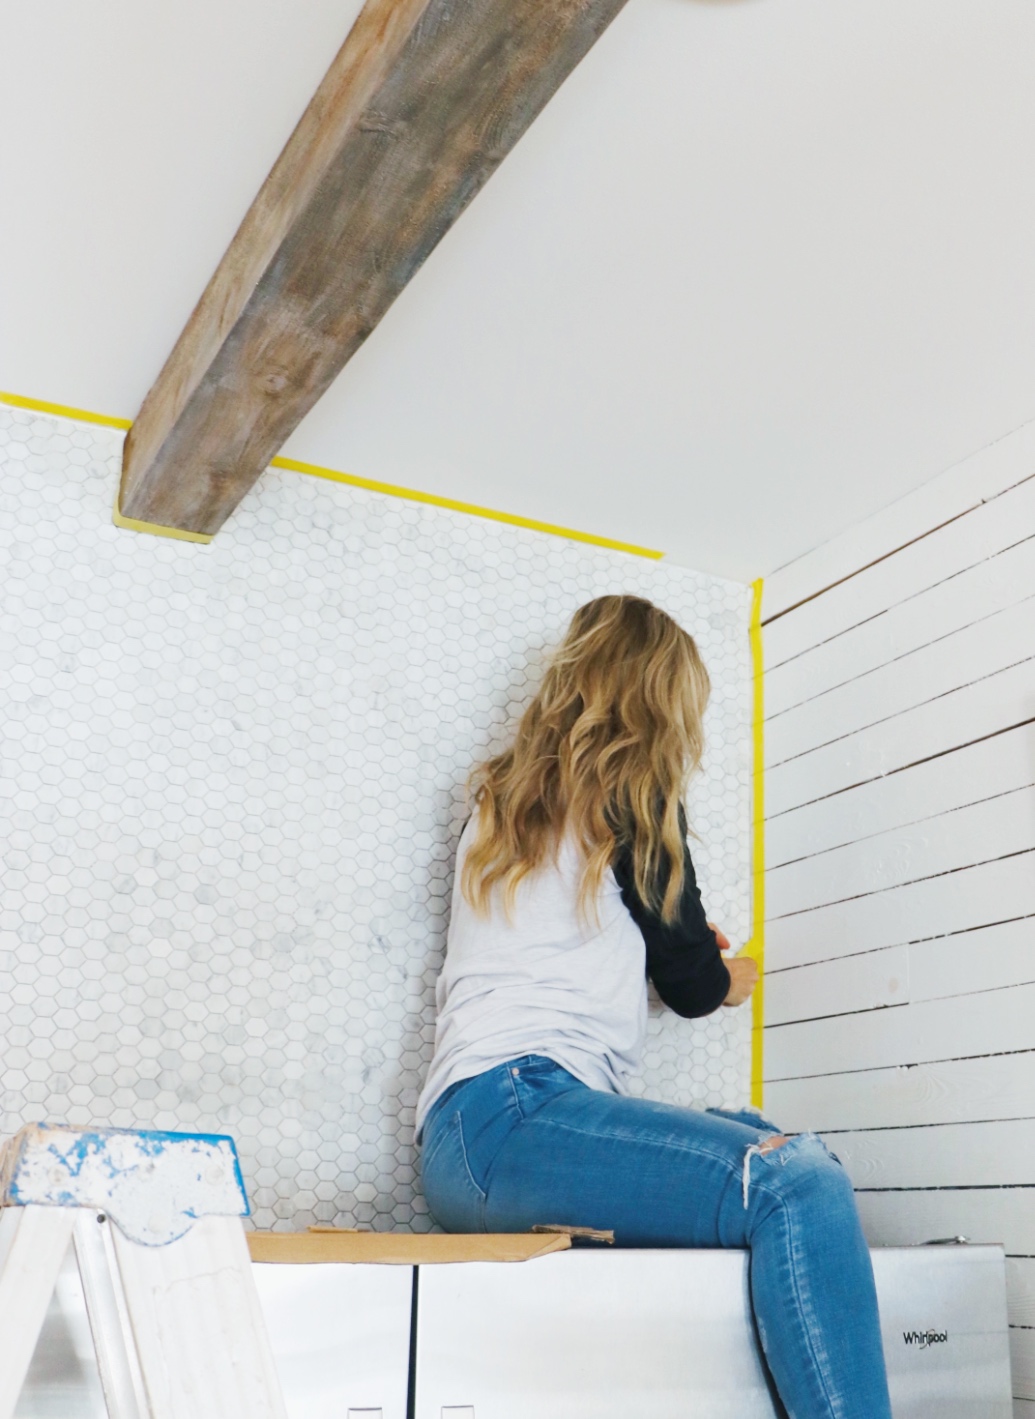
Before installing the tile, I made sure the entire wall was clean and dry. I used @FrogTape around the beams, door trim, and the edge of the countertops to protect them from all the mortar. While I was taping everything off, I realized a whole new way to use FrogTape (or at least it was a new way for me)!
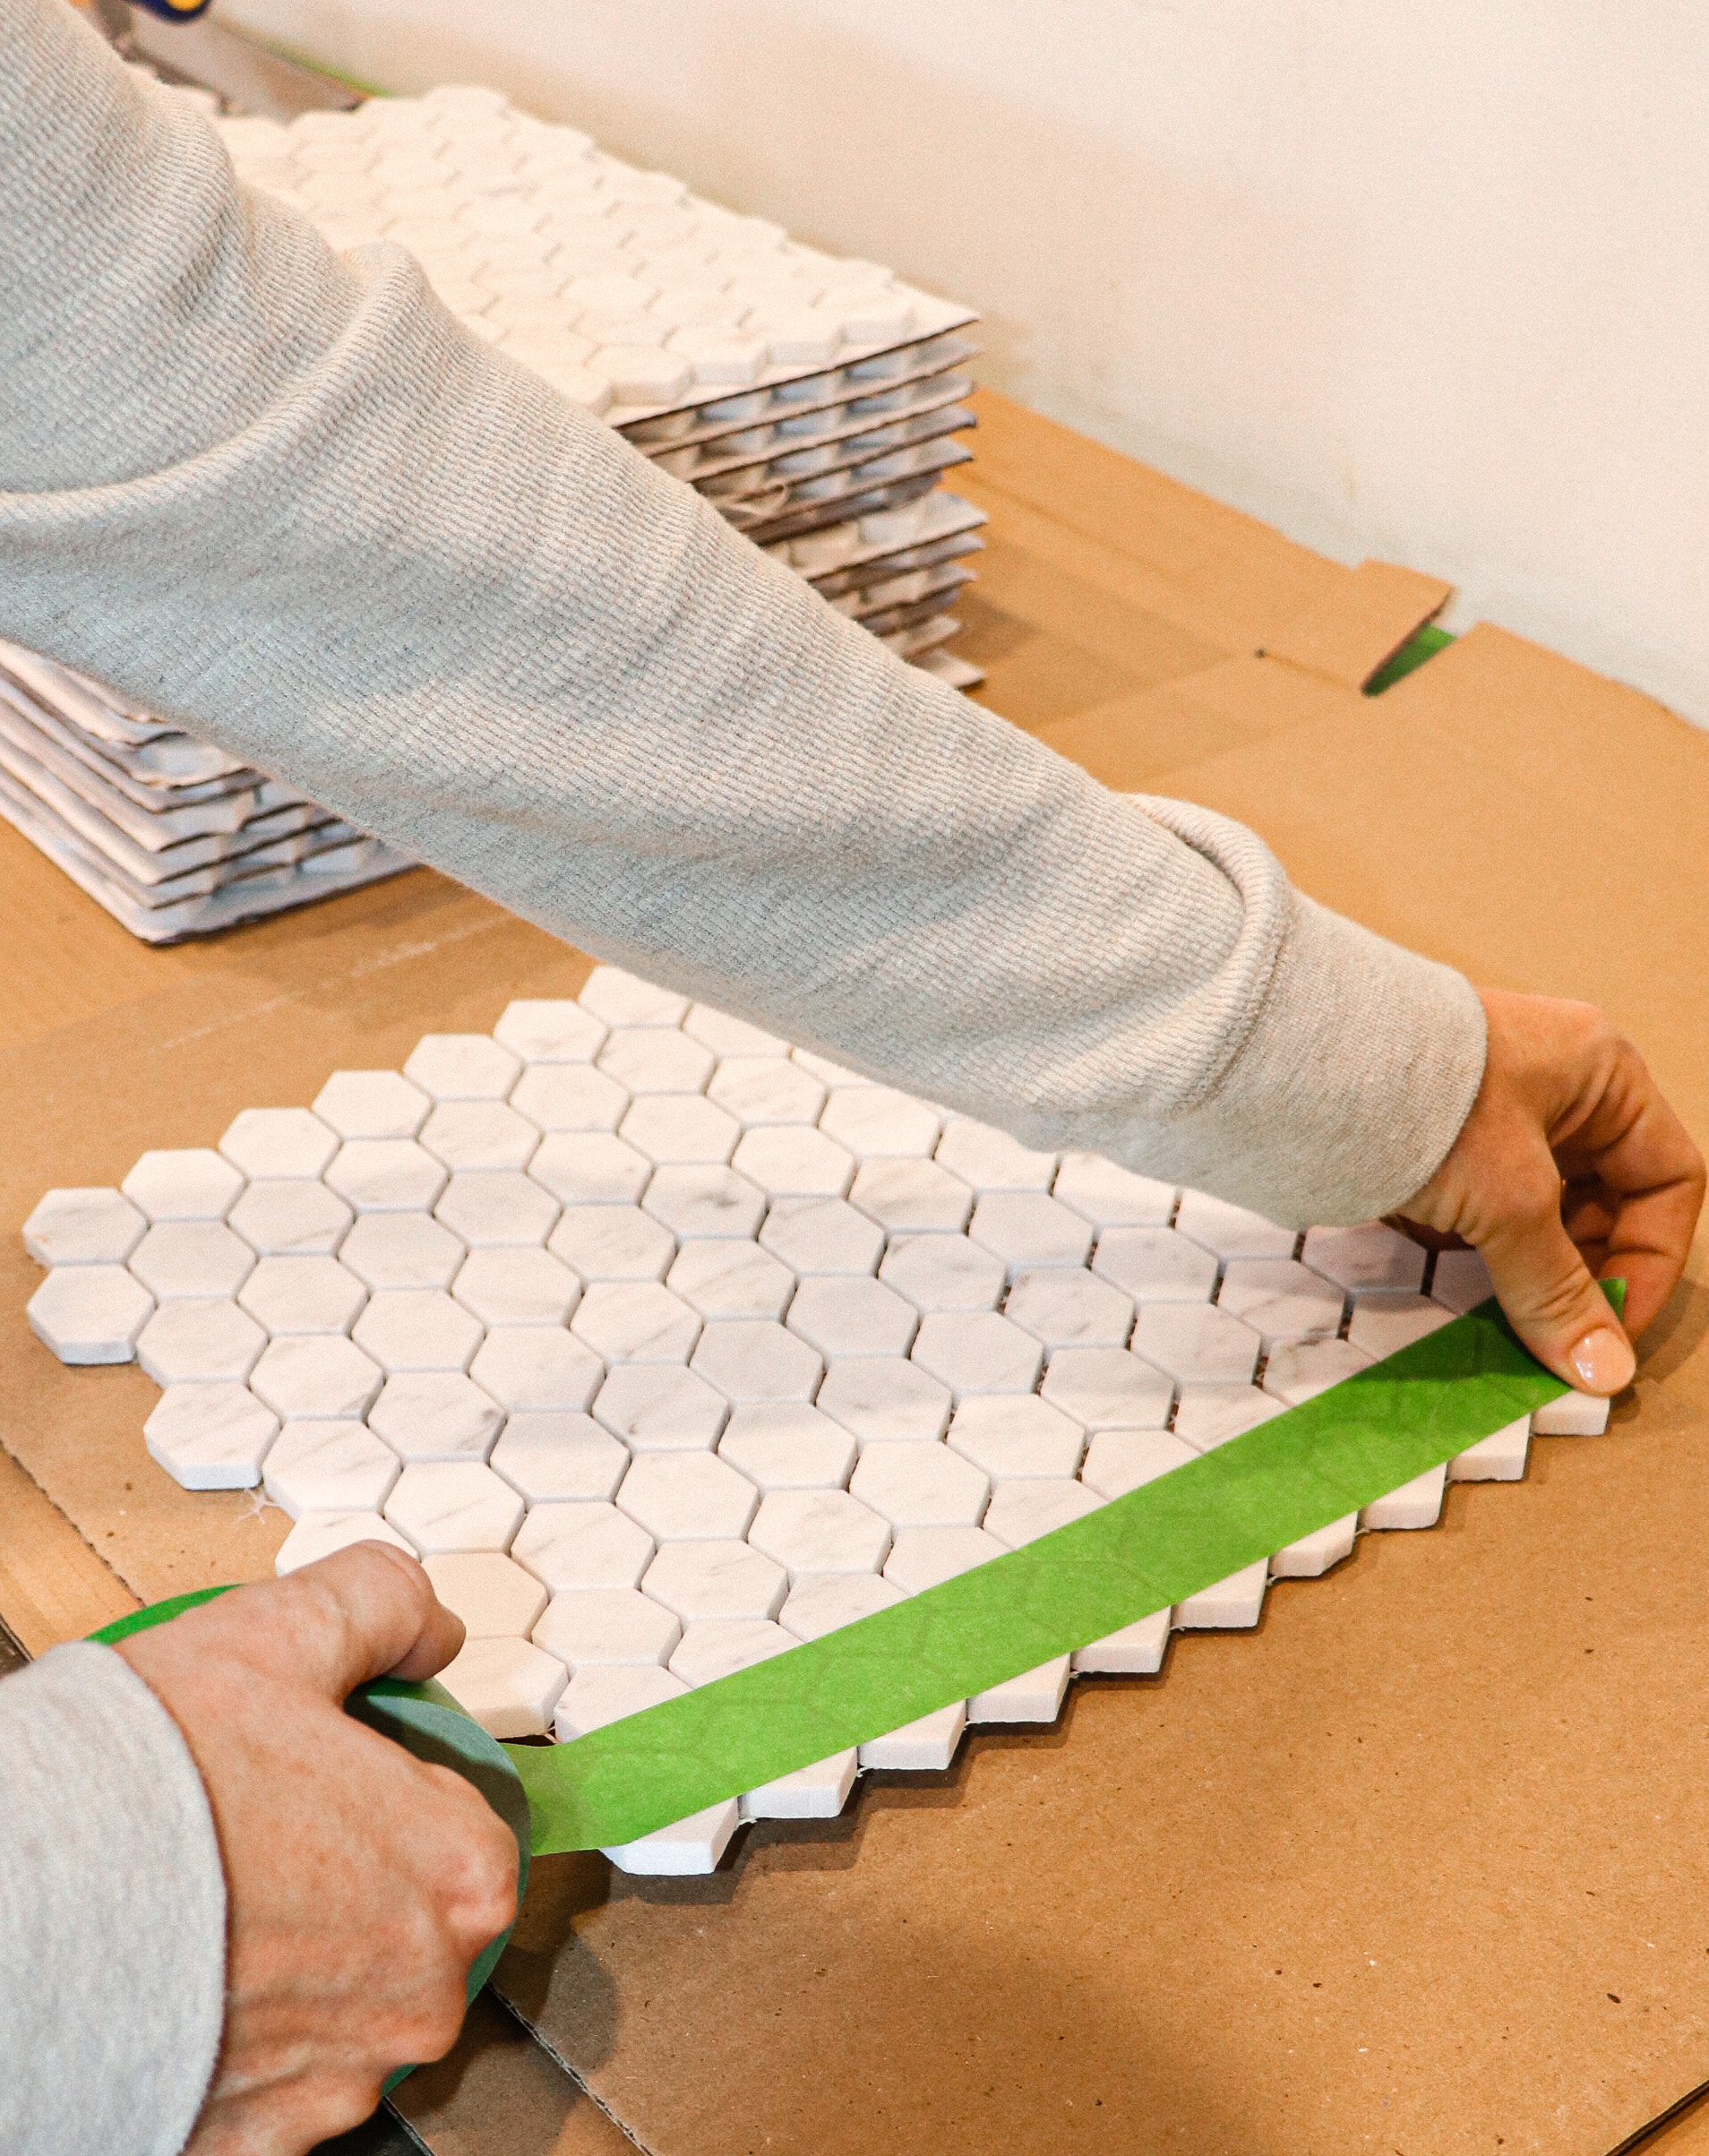
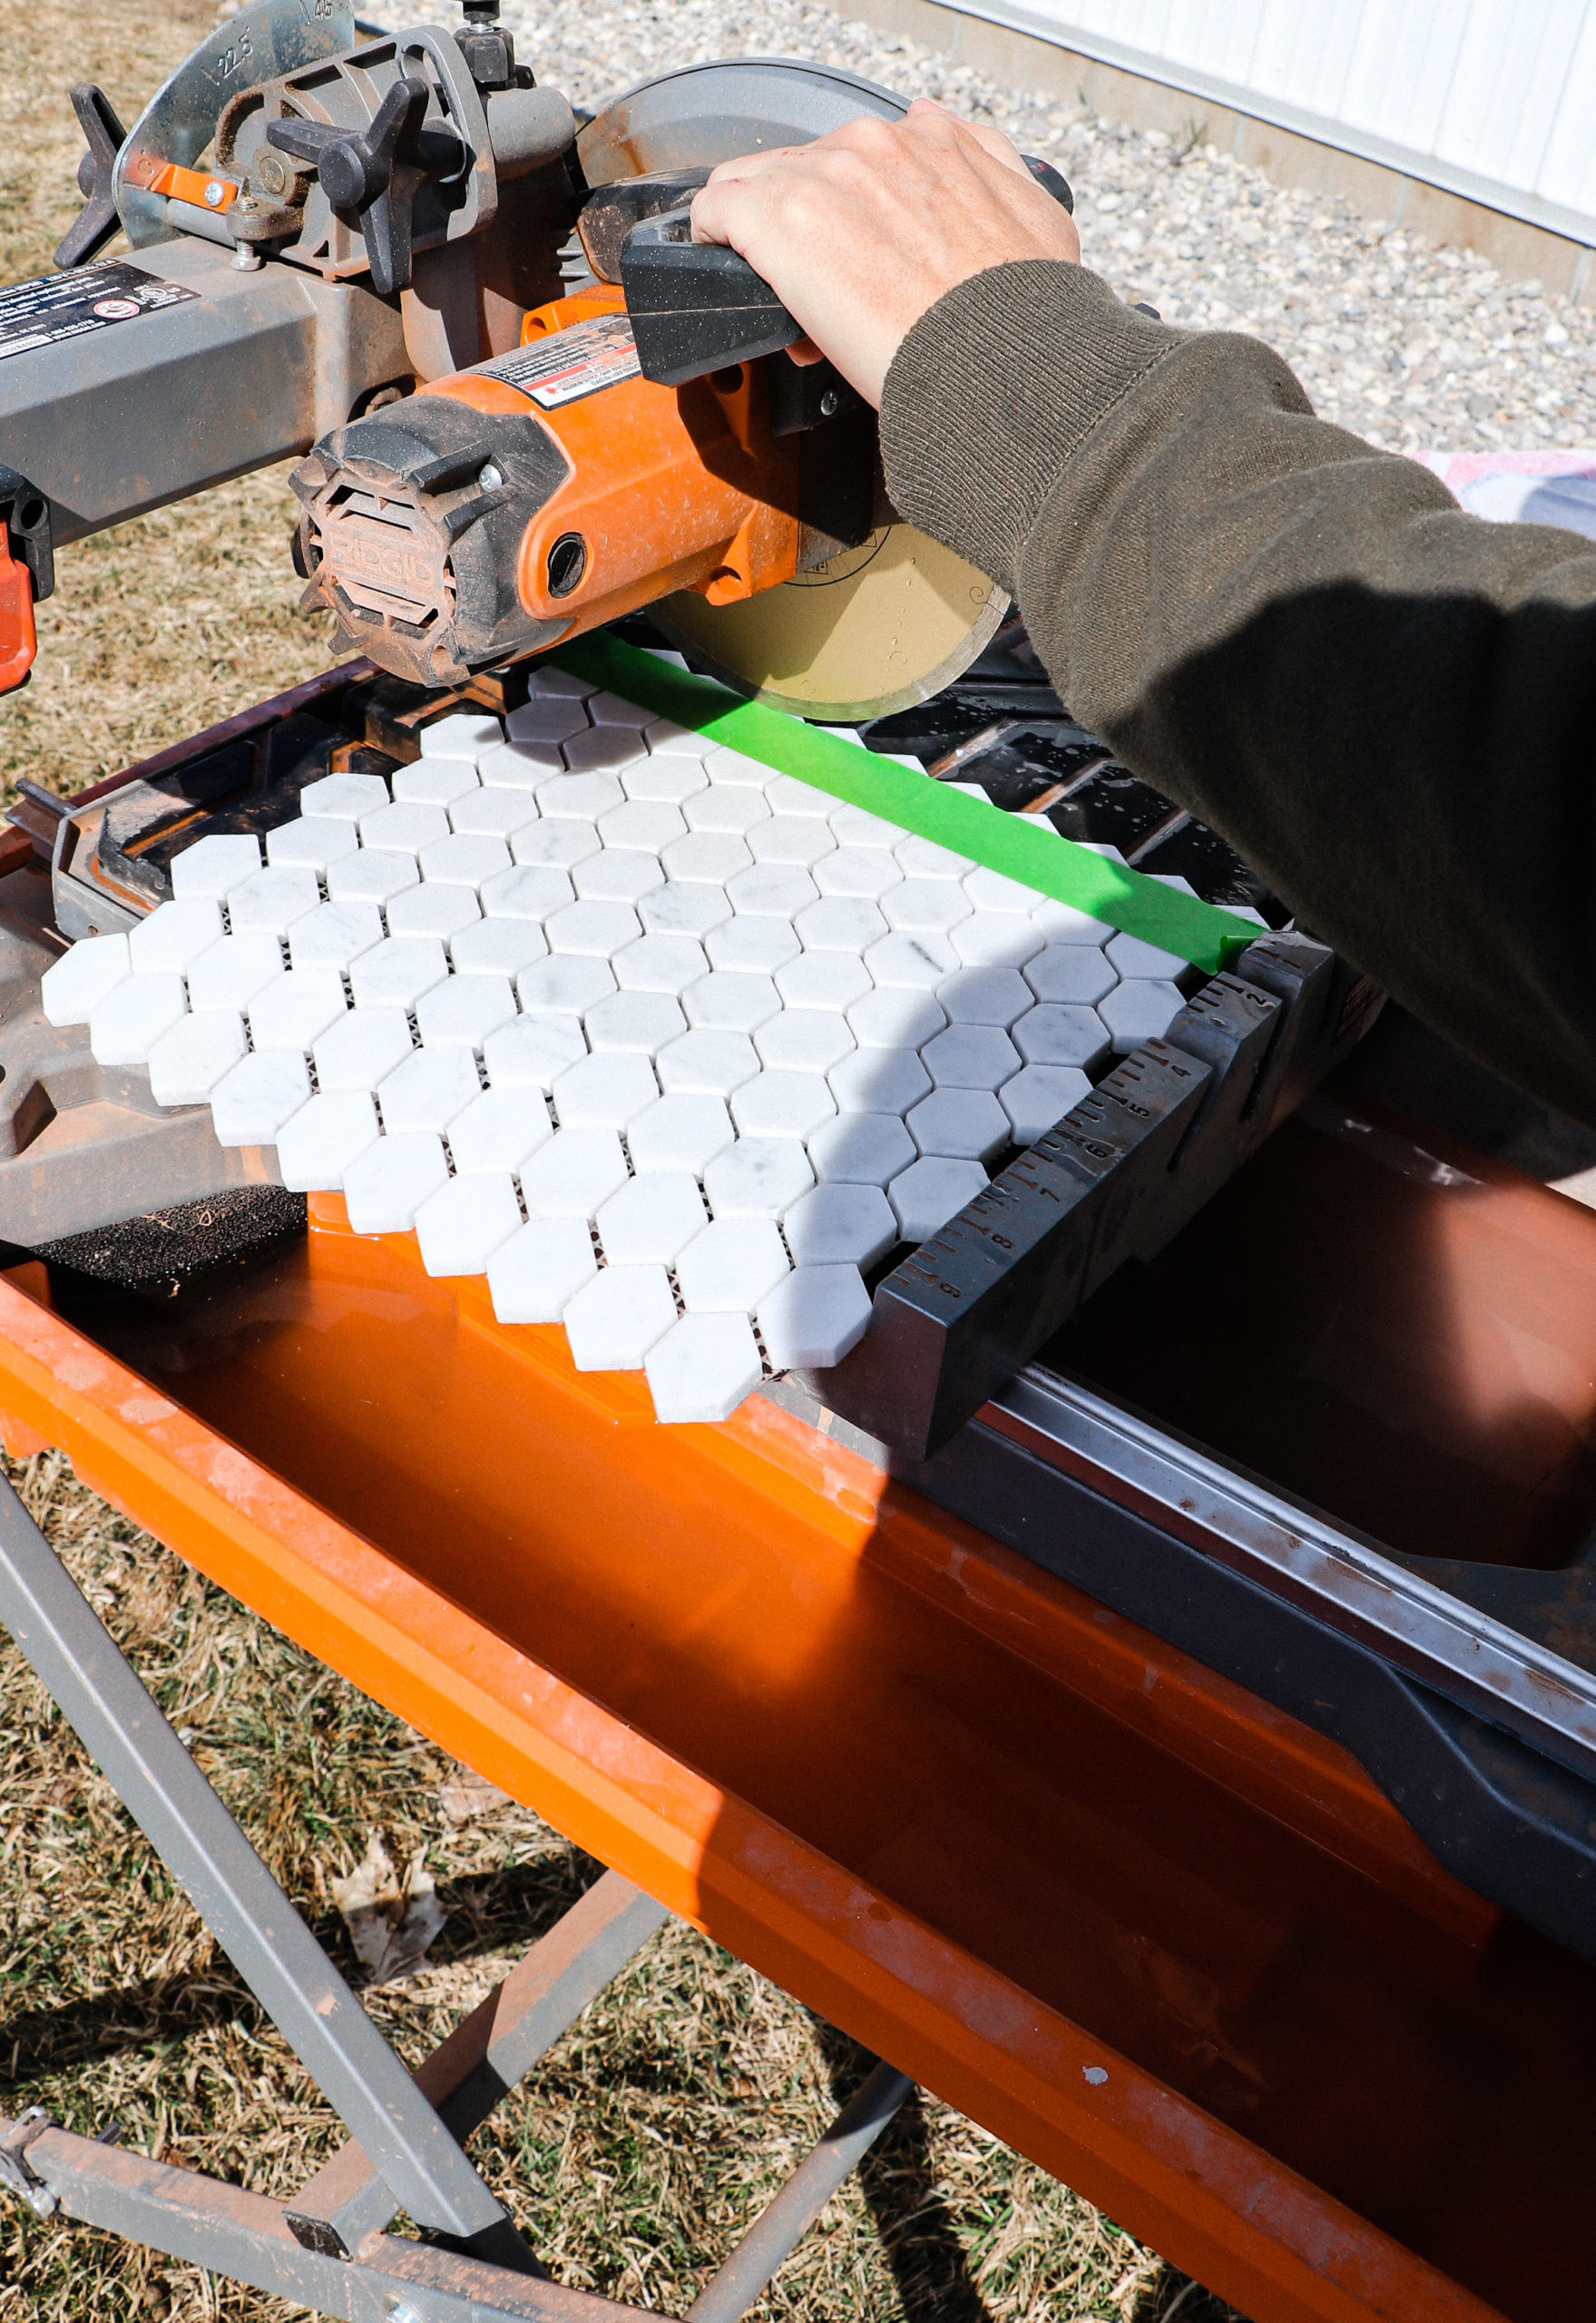
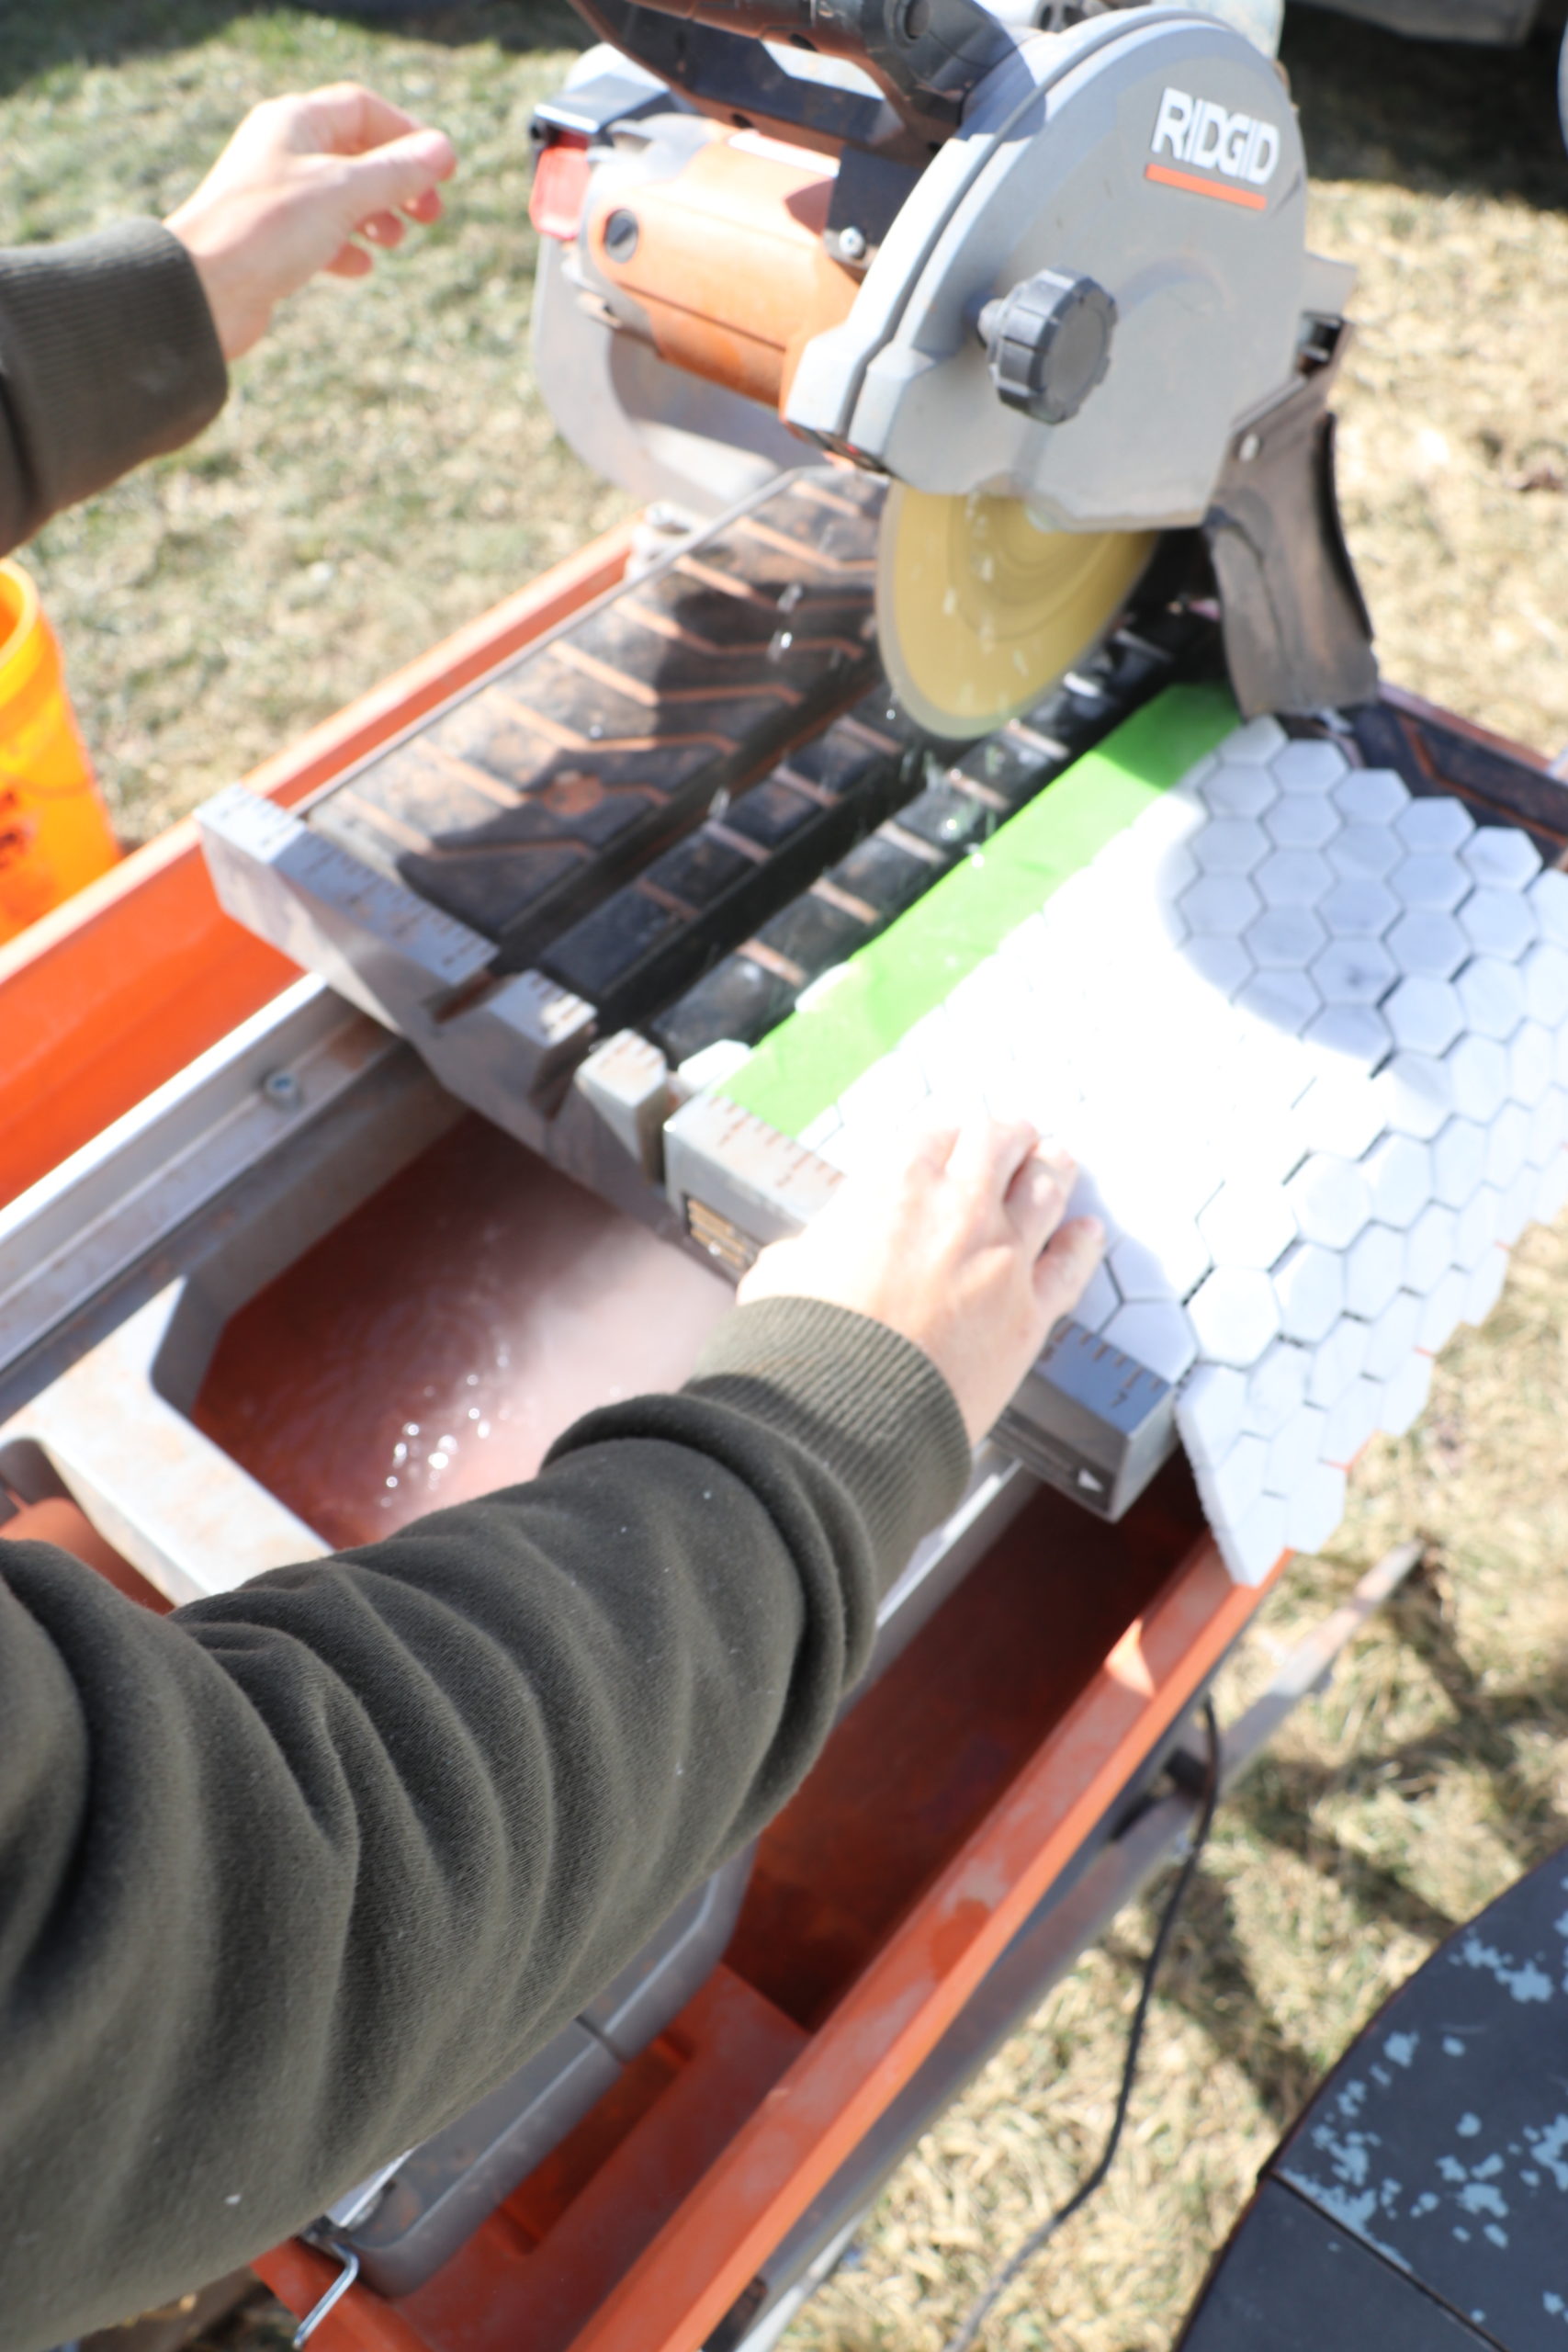
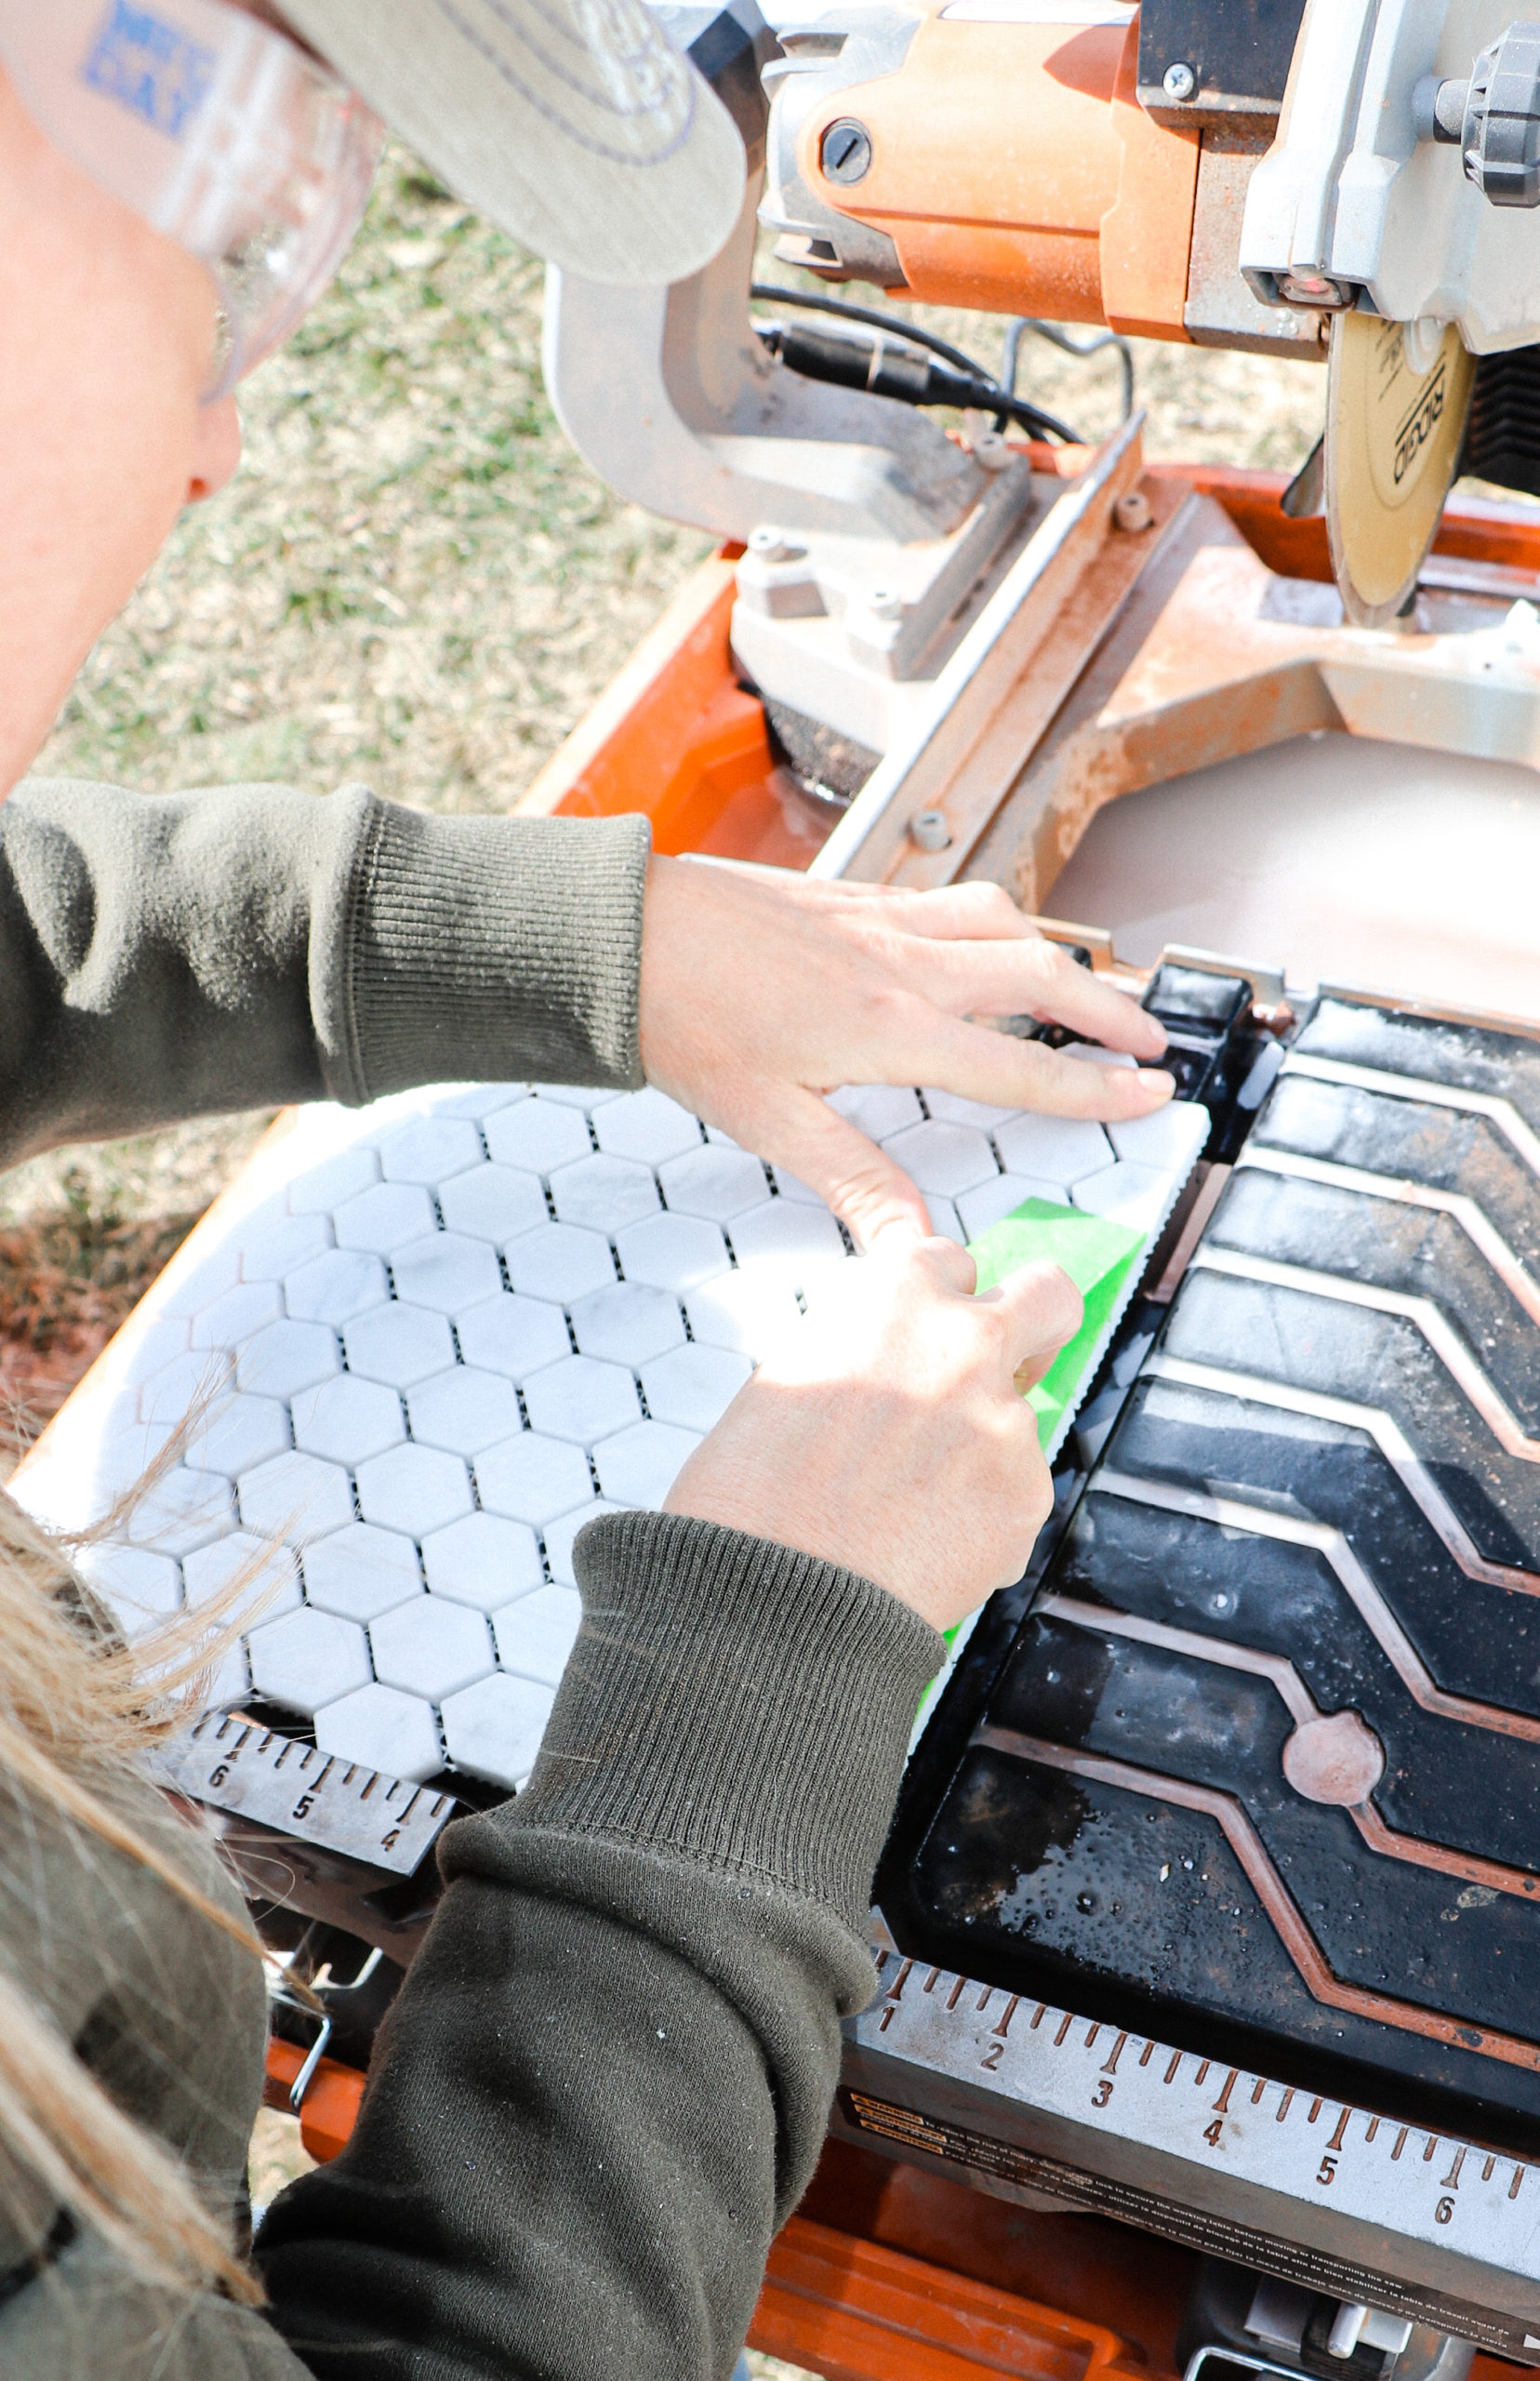
Typically when I install tile, I take a measurement, draw a pencil-like on the tile and then cut it on my wet saw. It’s very time-consuming and my wet saw often washes the pencil line off the tile before I’ve finished my cut…making me have to “eye-ball” it.
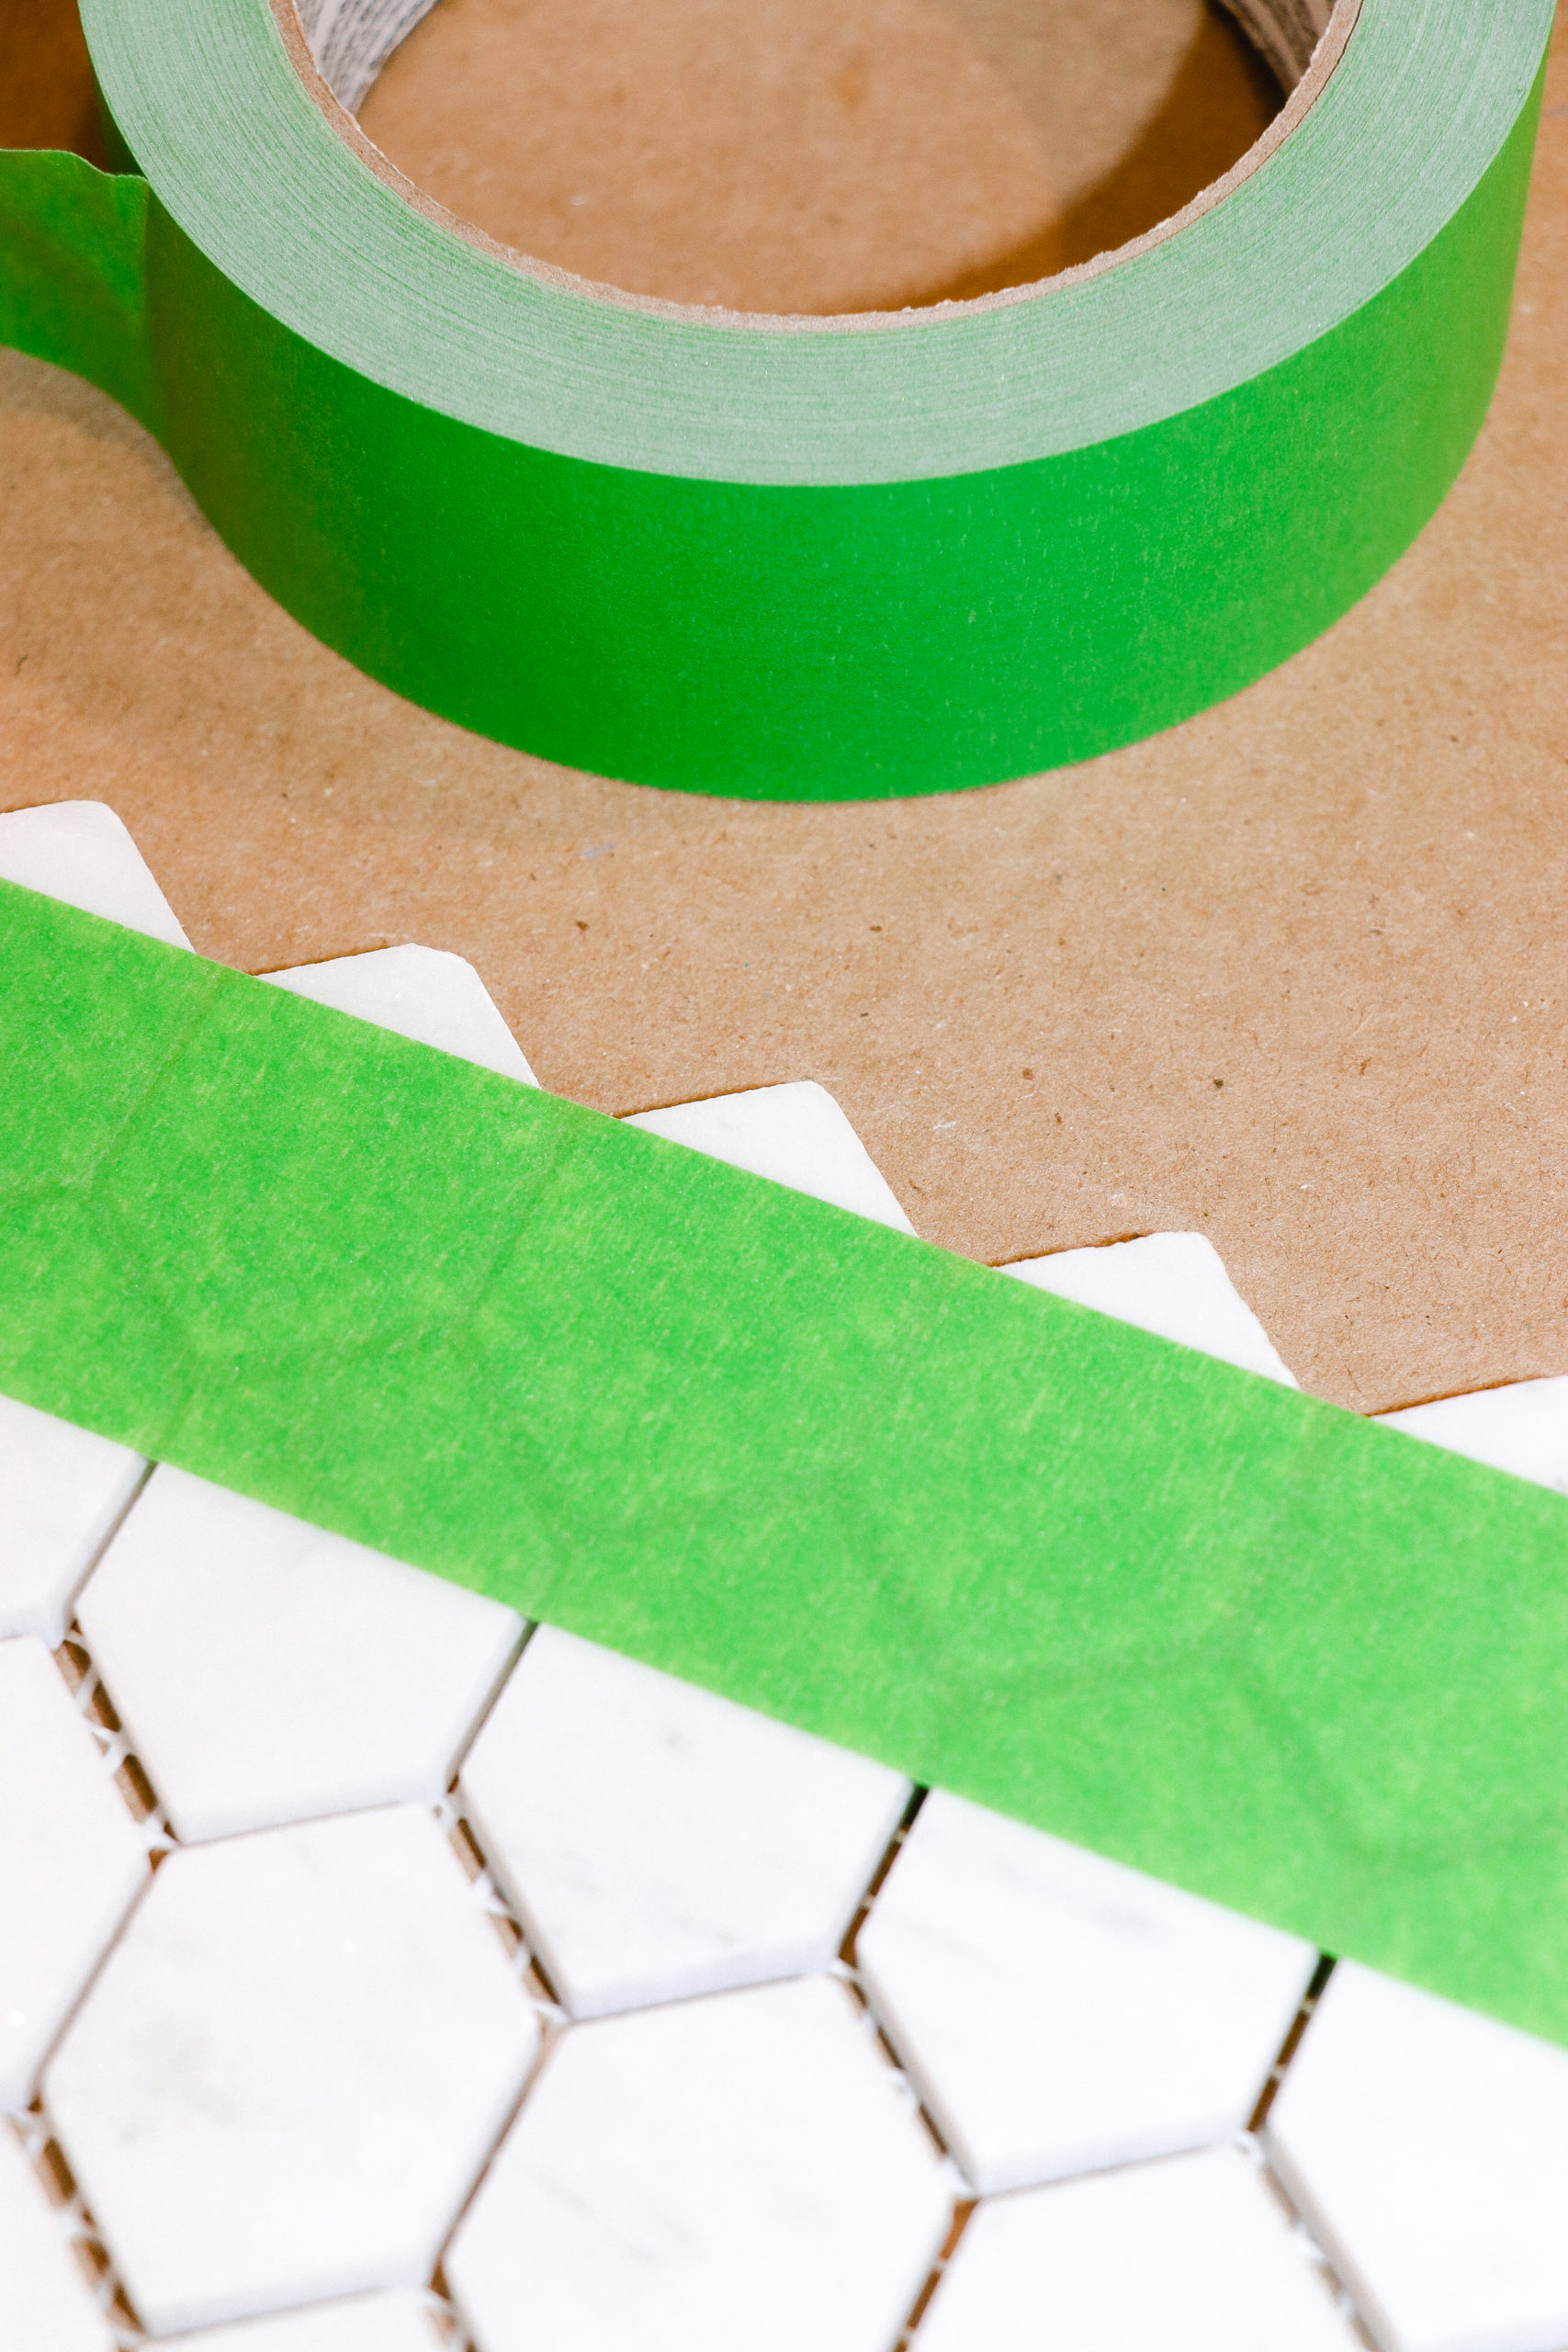
Since my tiles were Hexagons, they each had six corners. I realized I could use FrogTape as a guide by lining up the tape on each corner (on each end of my mosaic tile sheets) and then cut my line. I tried it on my first sheet of tile and it worked PERFECTLY! I wish I would have thought of this years ago! The tape not only worked to mark my lines but also holds all the little tiles (that I was cutting) together.
I can’t believe it but I tiled an entire kitchen wall without using a measuring tape ONCE….shhhh, don’t tell my husband!
The FrogTape was a lifesaver and with the help of my two-foot level and a torpedo level…the tile was easy to keep running straight and level!
Over the years we’ve renovated lots of kitchens and bathrooms. I’ve tiled a few bathrooms, kitchens, and floors but this was the first time I didn’t mix my own mortar/thinset. Since I was installing all the tile myself, I decided to make it a little easier and buy the premixed SimpleSet Mortar/Thinset and let me tell you…that was the RIGHT choice!!
It took me three full days to completely install the tile. While the mortar was drying I did some research and learned that because marble tile is so porous, it needs to be sealed BEFORE grouting and then again after grouting. I wanted to make sure so I practiced grouting on a scrap sheet of tile and yep…the grout stained the marble tile and the haze would not wash off. I am so glad I looked into it before I started grouting!
It didn’t take long at all to seal the marble tiles. I just applied with a white cloth and wiped off any extra after the recommended time and let it cure overnight.
The Marble Tile has shades of grays, whites, off whites, and very, very few tiny flecks of black and gold here and there. I wanted to bring out the warmth in the small hints of gold so I chose a warmer off-white grout color in the shade “Linen”.
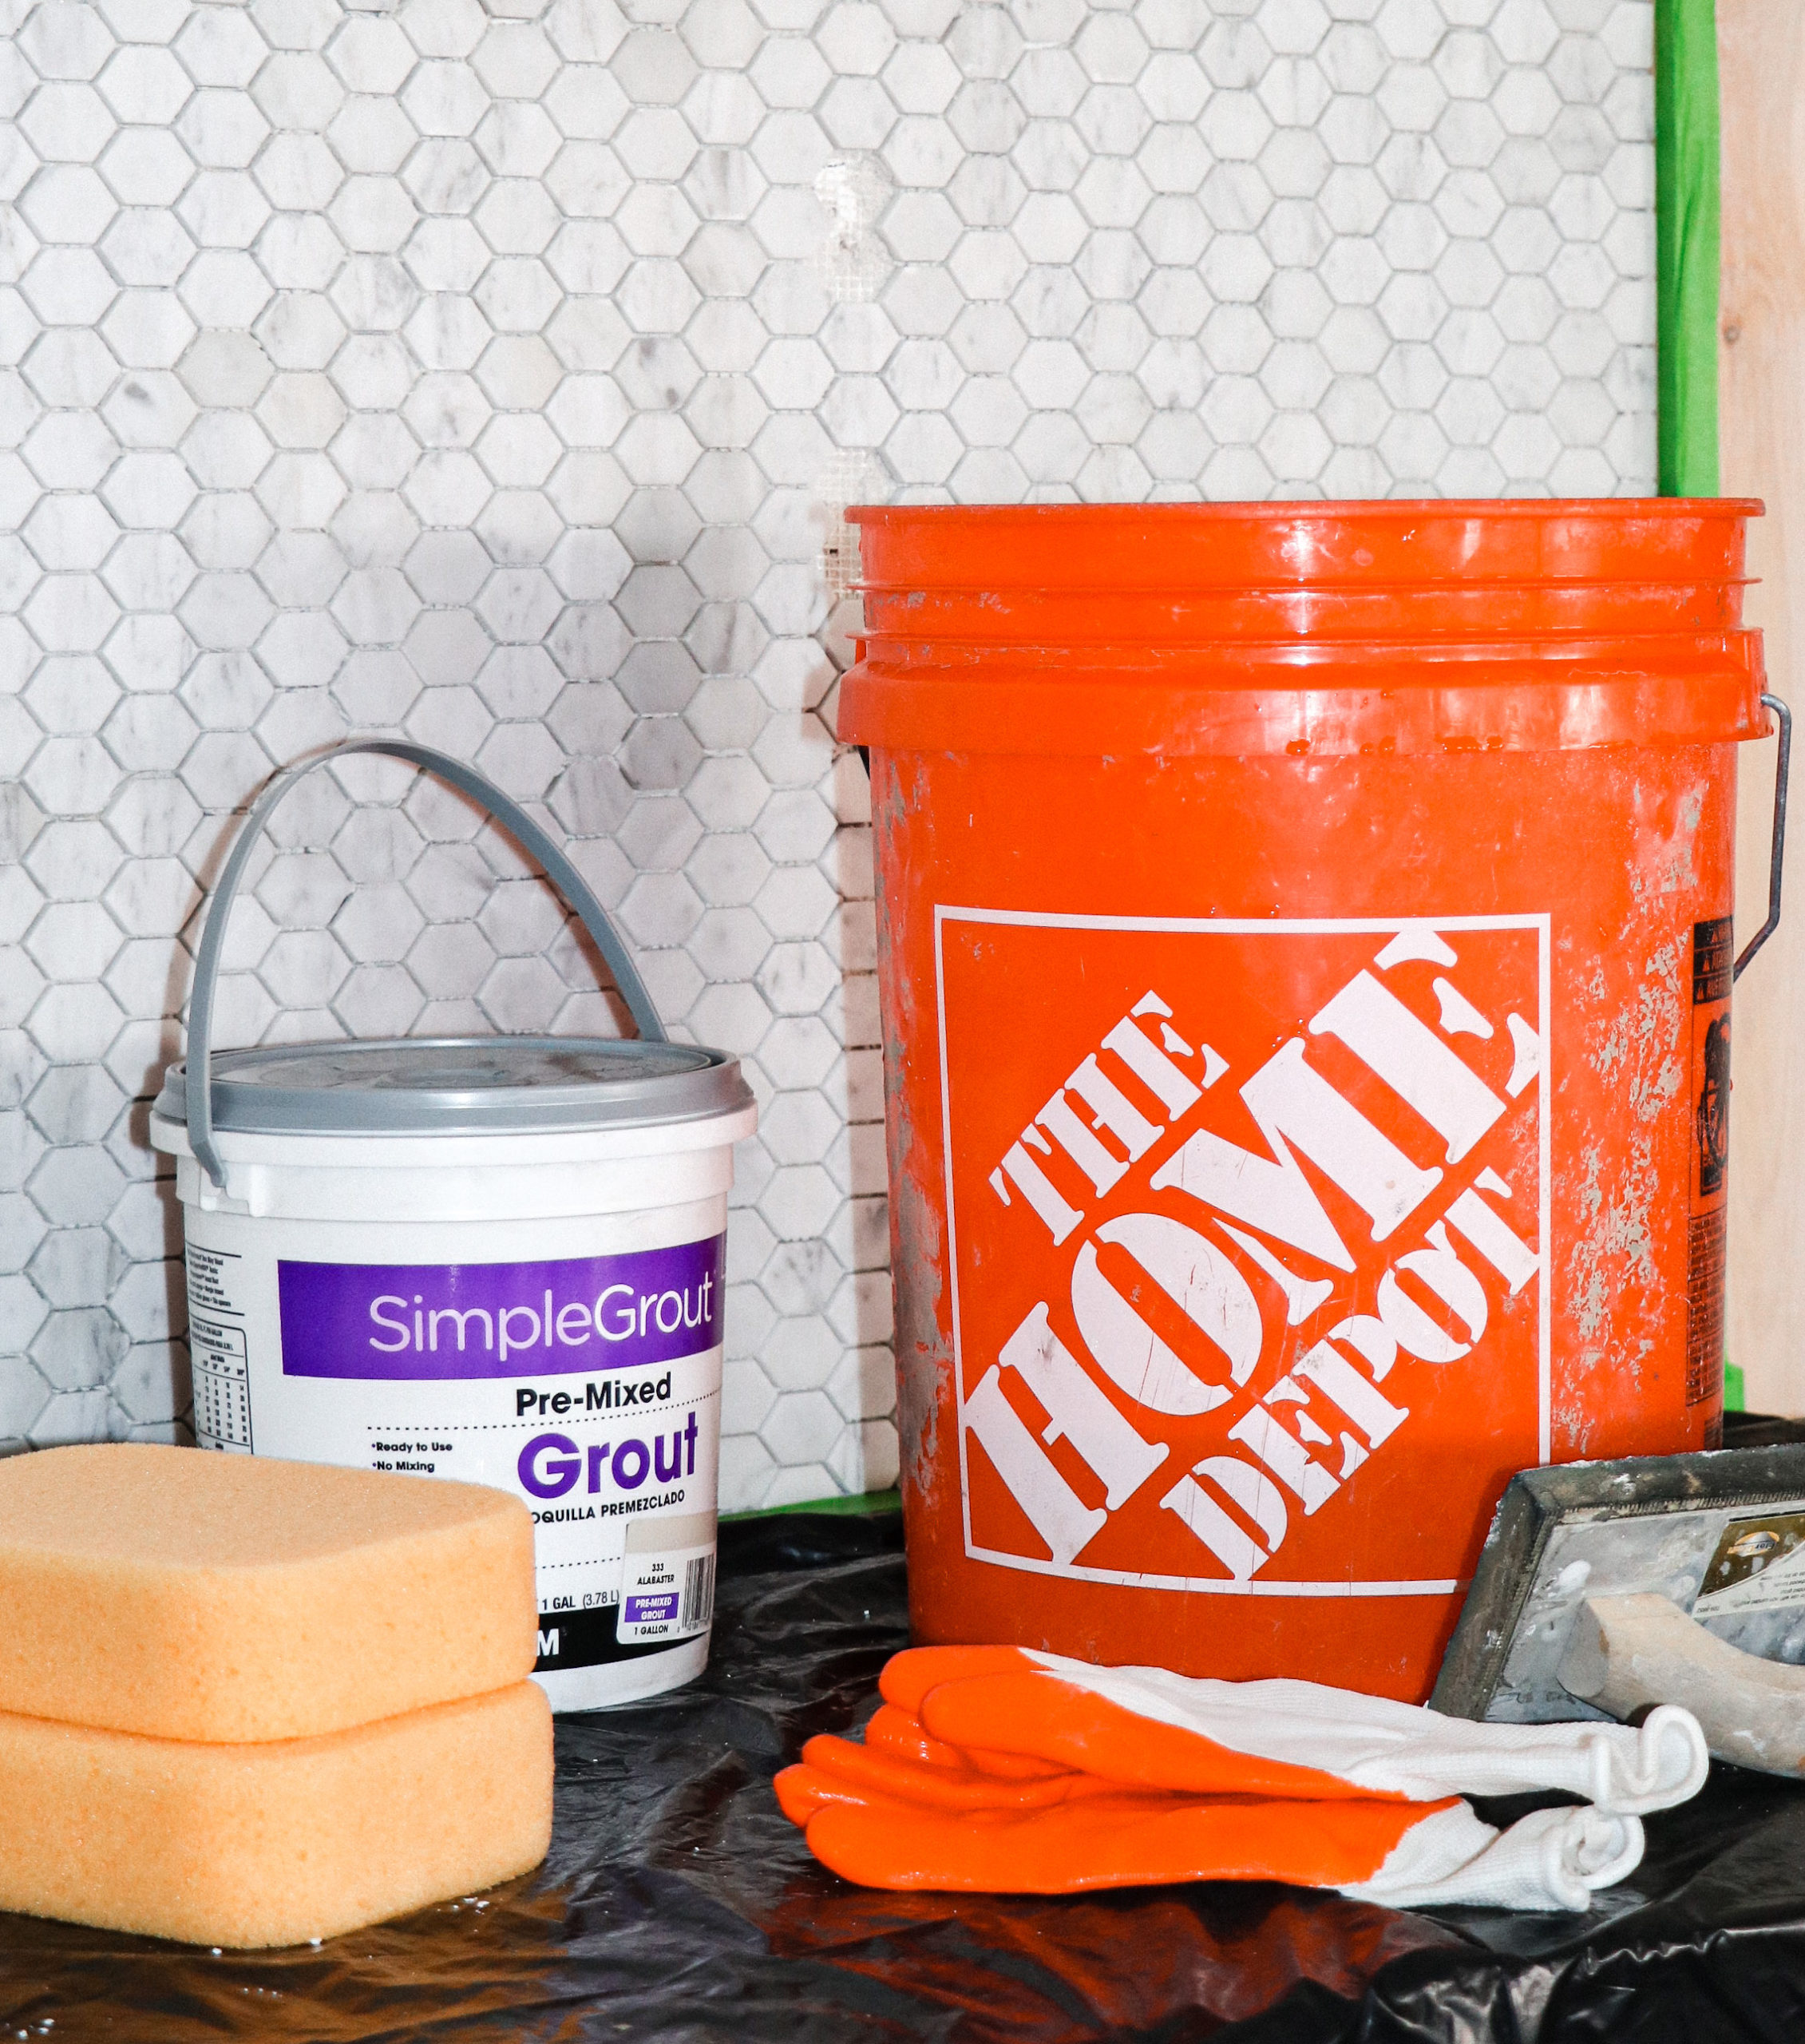
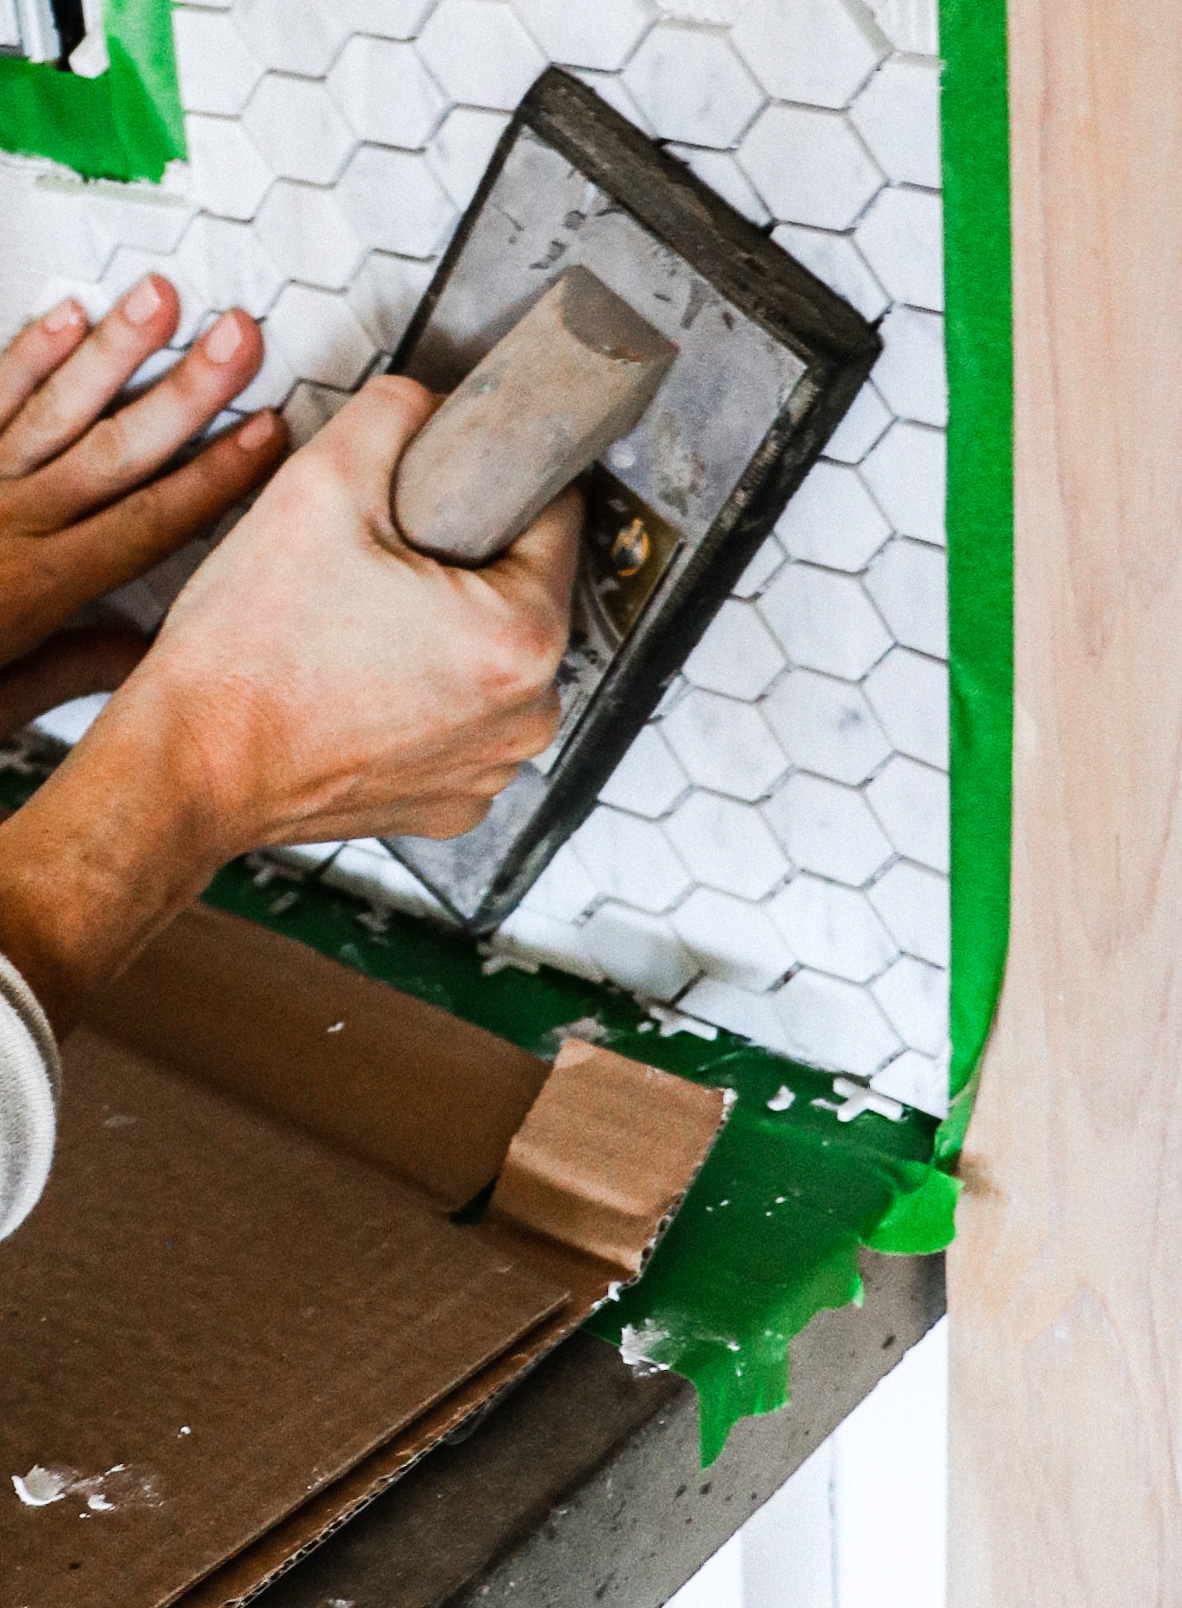
I took my time applying the grout making sure to work in small sections as I went. This was not a fast process because the smaller the tiles, the more grout lines. I used a damp sponge to clean the haze off the tiles every 30 min or so and made sure to rinse my sponge out a lot and kept it really clean.
The grout requires hours before it’ll need to be sealed again. I’m planning on applying 2 coats of sealer on the grout behind the stove just to be safe! I really don’t want to risk anything splattering and staining the marble tiles!
It’s been quite a week! My shoulders (everything really) are super sore and I may skip the gym for the next few days, but it’s been SO worth it! Now, when you walk in the front door, the beams we built and installed on the ceiling really draw the eye towards the beautiful tile wall and it really stands out in a good way…as in the best way possible!
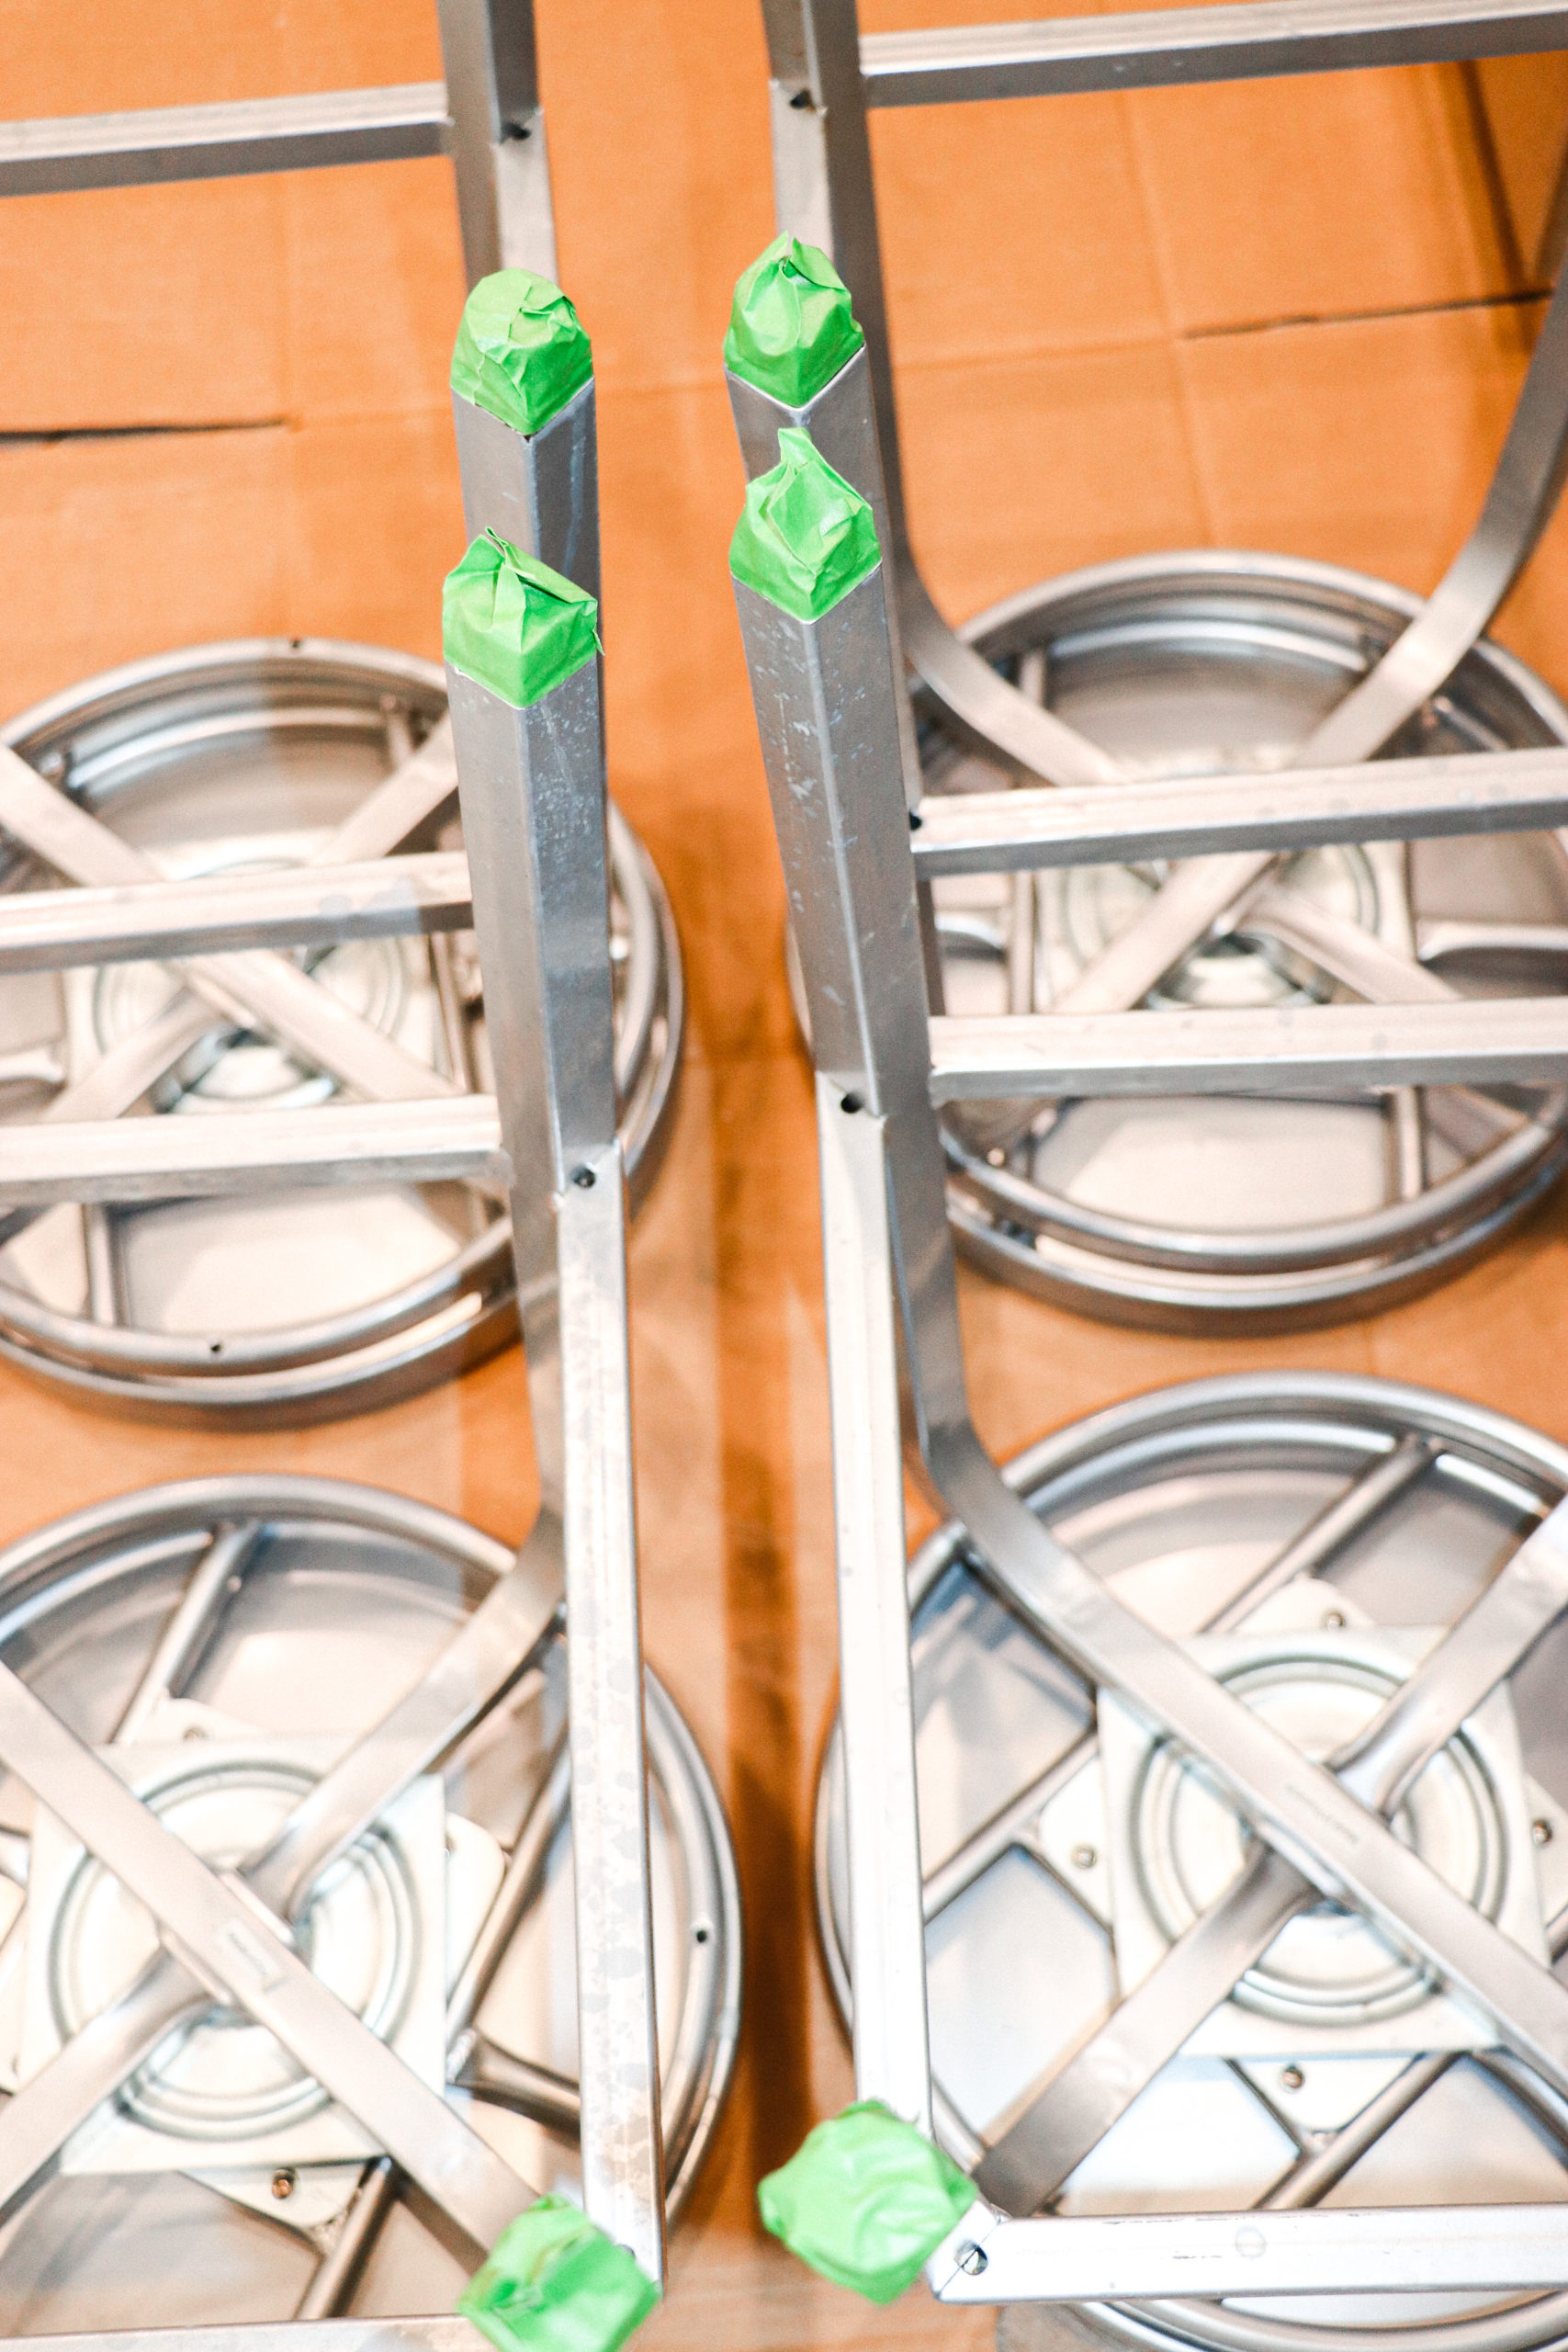
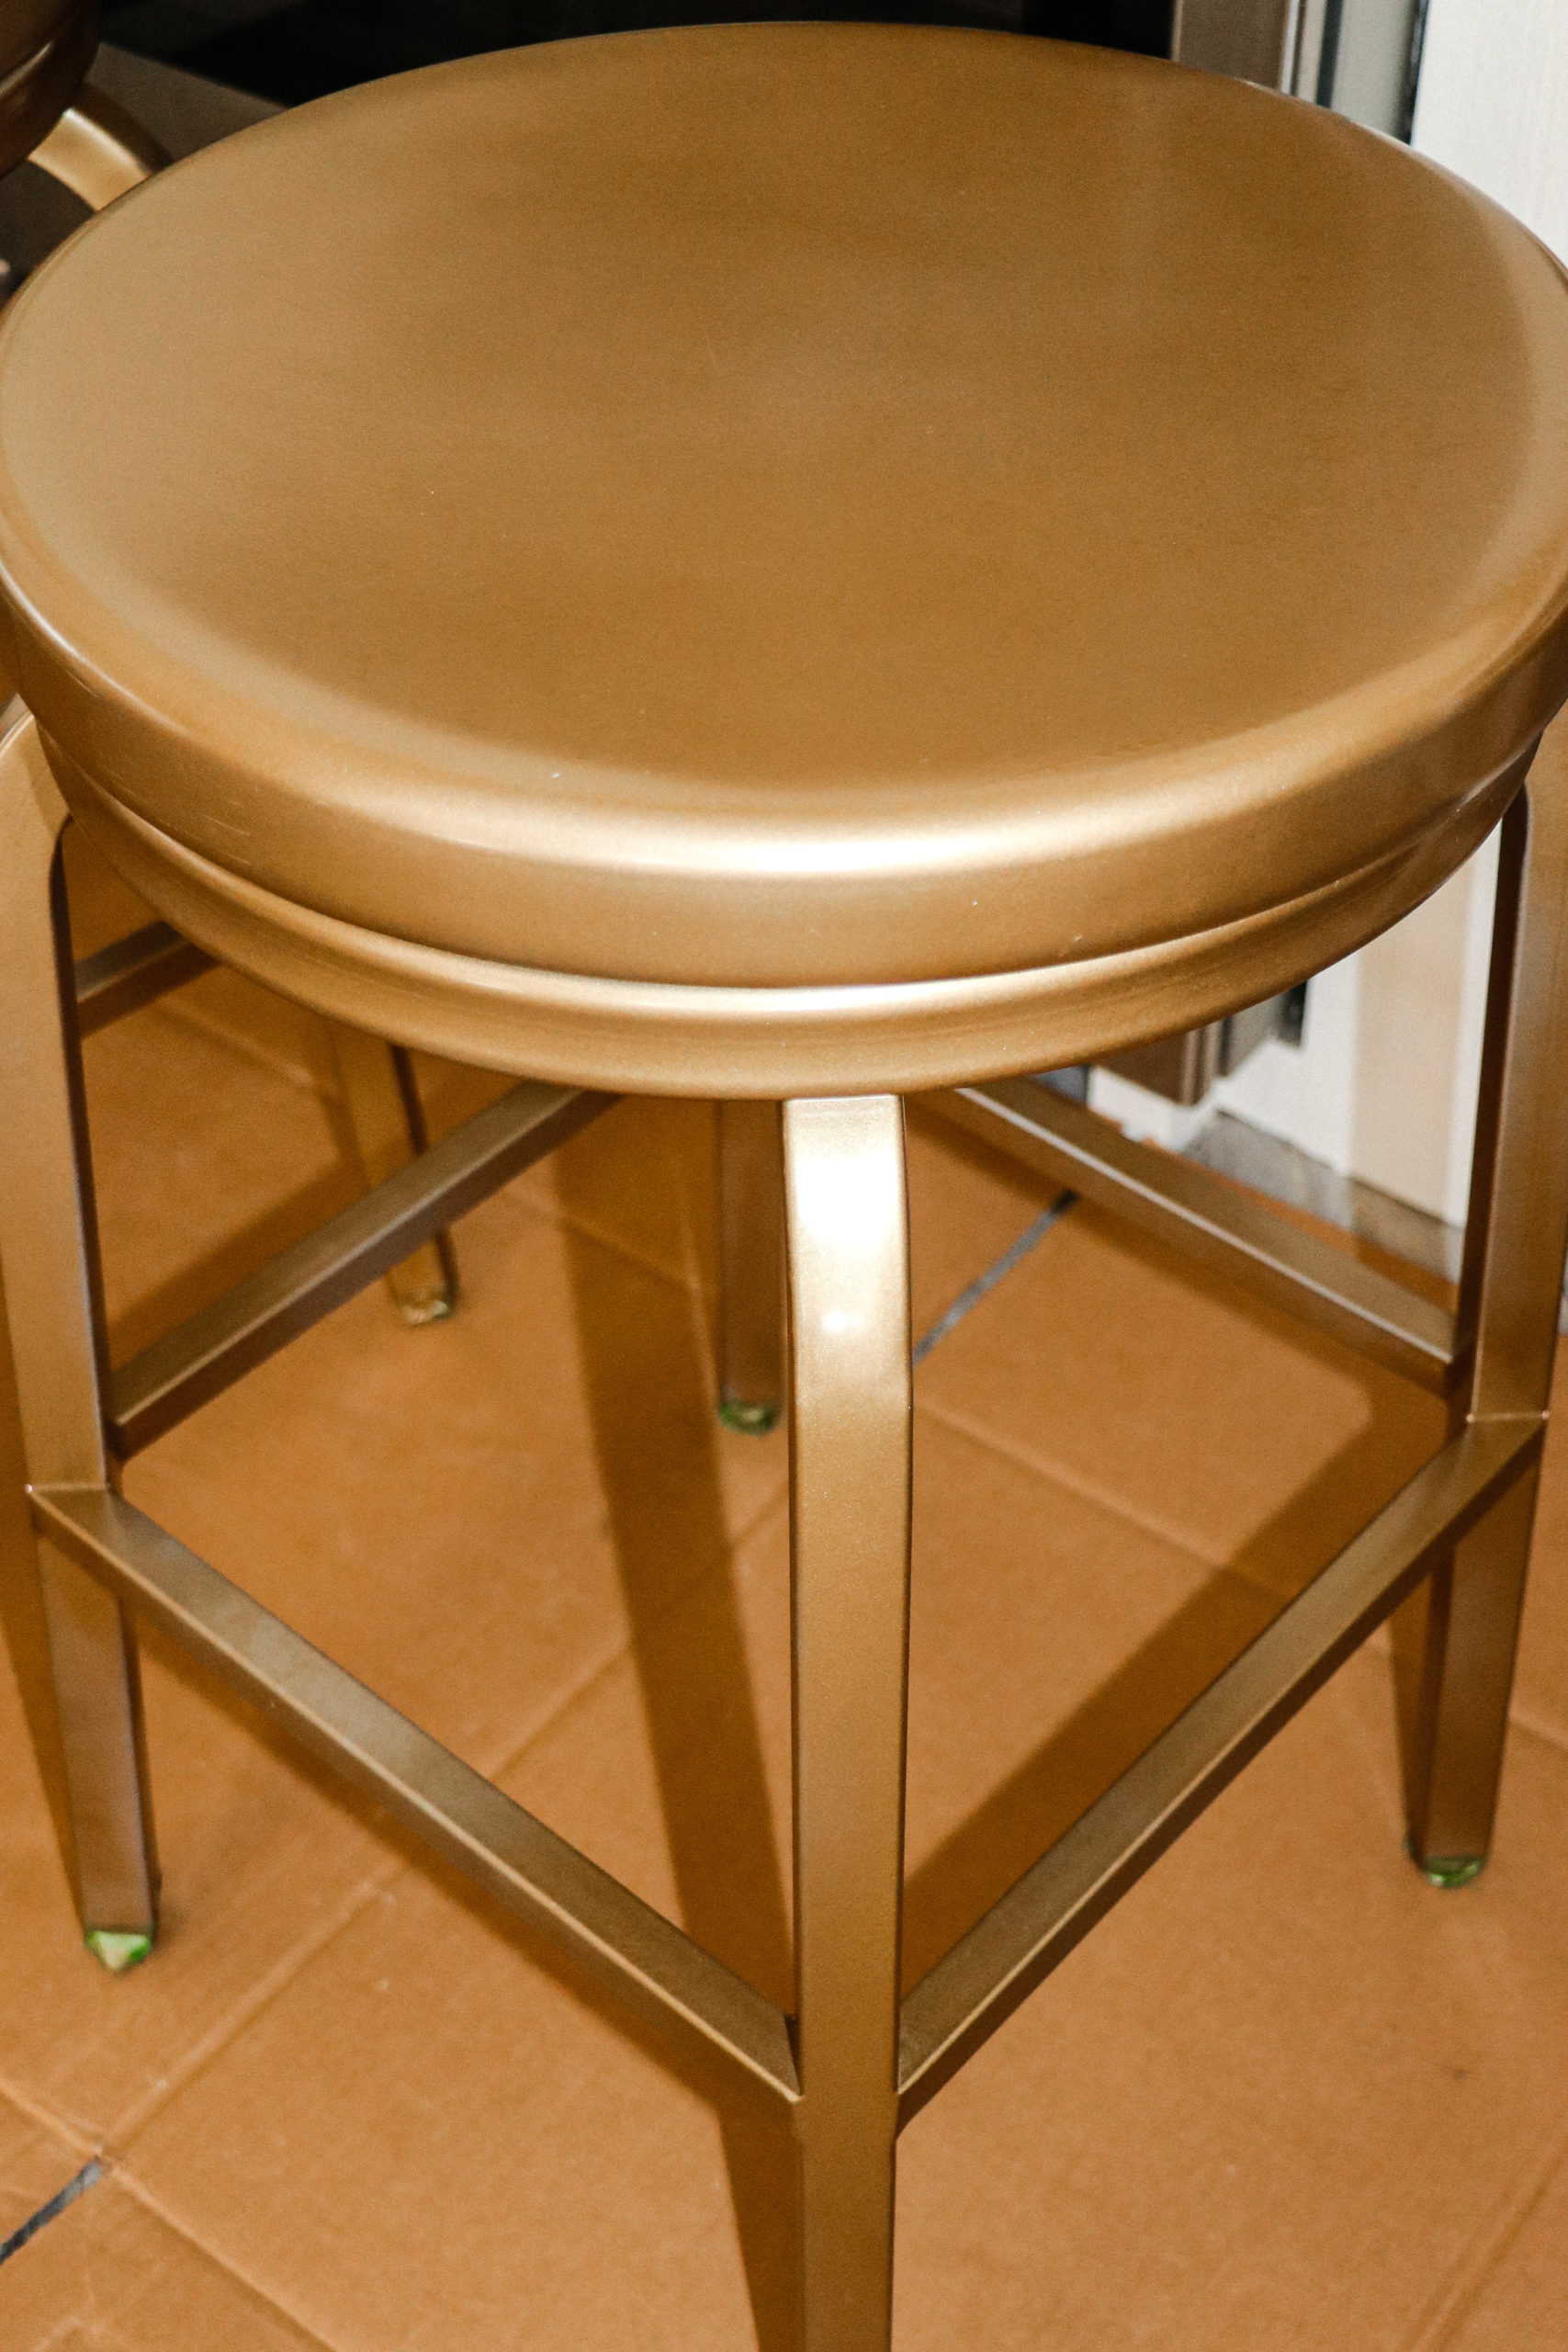
I’ve been completely focused on installing all the tile in our kitchen this past week, so I didn’t get much of anything else done in the kitchen…other than giving my old bar stools a fresh coat of paint.
I used Rust-Oleum Spray paint/primer in one in the color “Satin Bronze” and applied two coats. The color was exactly what I was wanting and I was really happy with how they look! We are getting so close to the finish line and I can’t wait to see this space come together!
This next week I need to finish trim work on the kitchen island and install the cabinet doors, all the cabinet hardware, hang the new pendant lights, install the open shelving and new countertop and clean up all the tools and renovation mess!!!
Sure, I still have a LOT left to do, but I have to say, it feels AMAZING to have all the tile installed, tile sealed, tile grouted! It just needs to be sealed and it’ll be ALL DONE!
Every time I walk through the room and catch a glimpse of the tile it makes me so happy and I can’t wait to share the finished space with you all NEXT WEEK! I’m not sure how we are one week away from the REVEAL already but we are…and we are counting on YOUR VOTES!!!
I can’t believe in only one week Jeffery Court will announce the winner of this year’s Renovation Challenge and the winner of the $5000 Grand Prize! I’m so excited to see all the participant’s renovation spaces revealed! Completely renovating a kitchen or bathroom space in six weeks is a huge undertaking and I know everyone has worked so hard on this project! I’m excited…I hope you are too!
Don’t forget…Your votes determine this year’s winner and you can vote daily…so if you’re voting… THANK YOU SO, SO MUCH!!!
Be sure to check out all the prior blog posts of this 6 weeks challenge if you missed any of the updates!
Before- Jeffrey Court Renovation Challenge
Week#1 – Demo & Prep Work
Week#2 – Building A Kitchen Island
Week#3 – Building Drawers, Doors, & Painting
Week #4 – Cane Kitchen Doors & DIY Beams
