
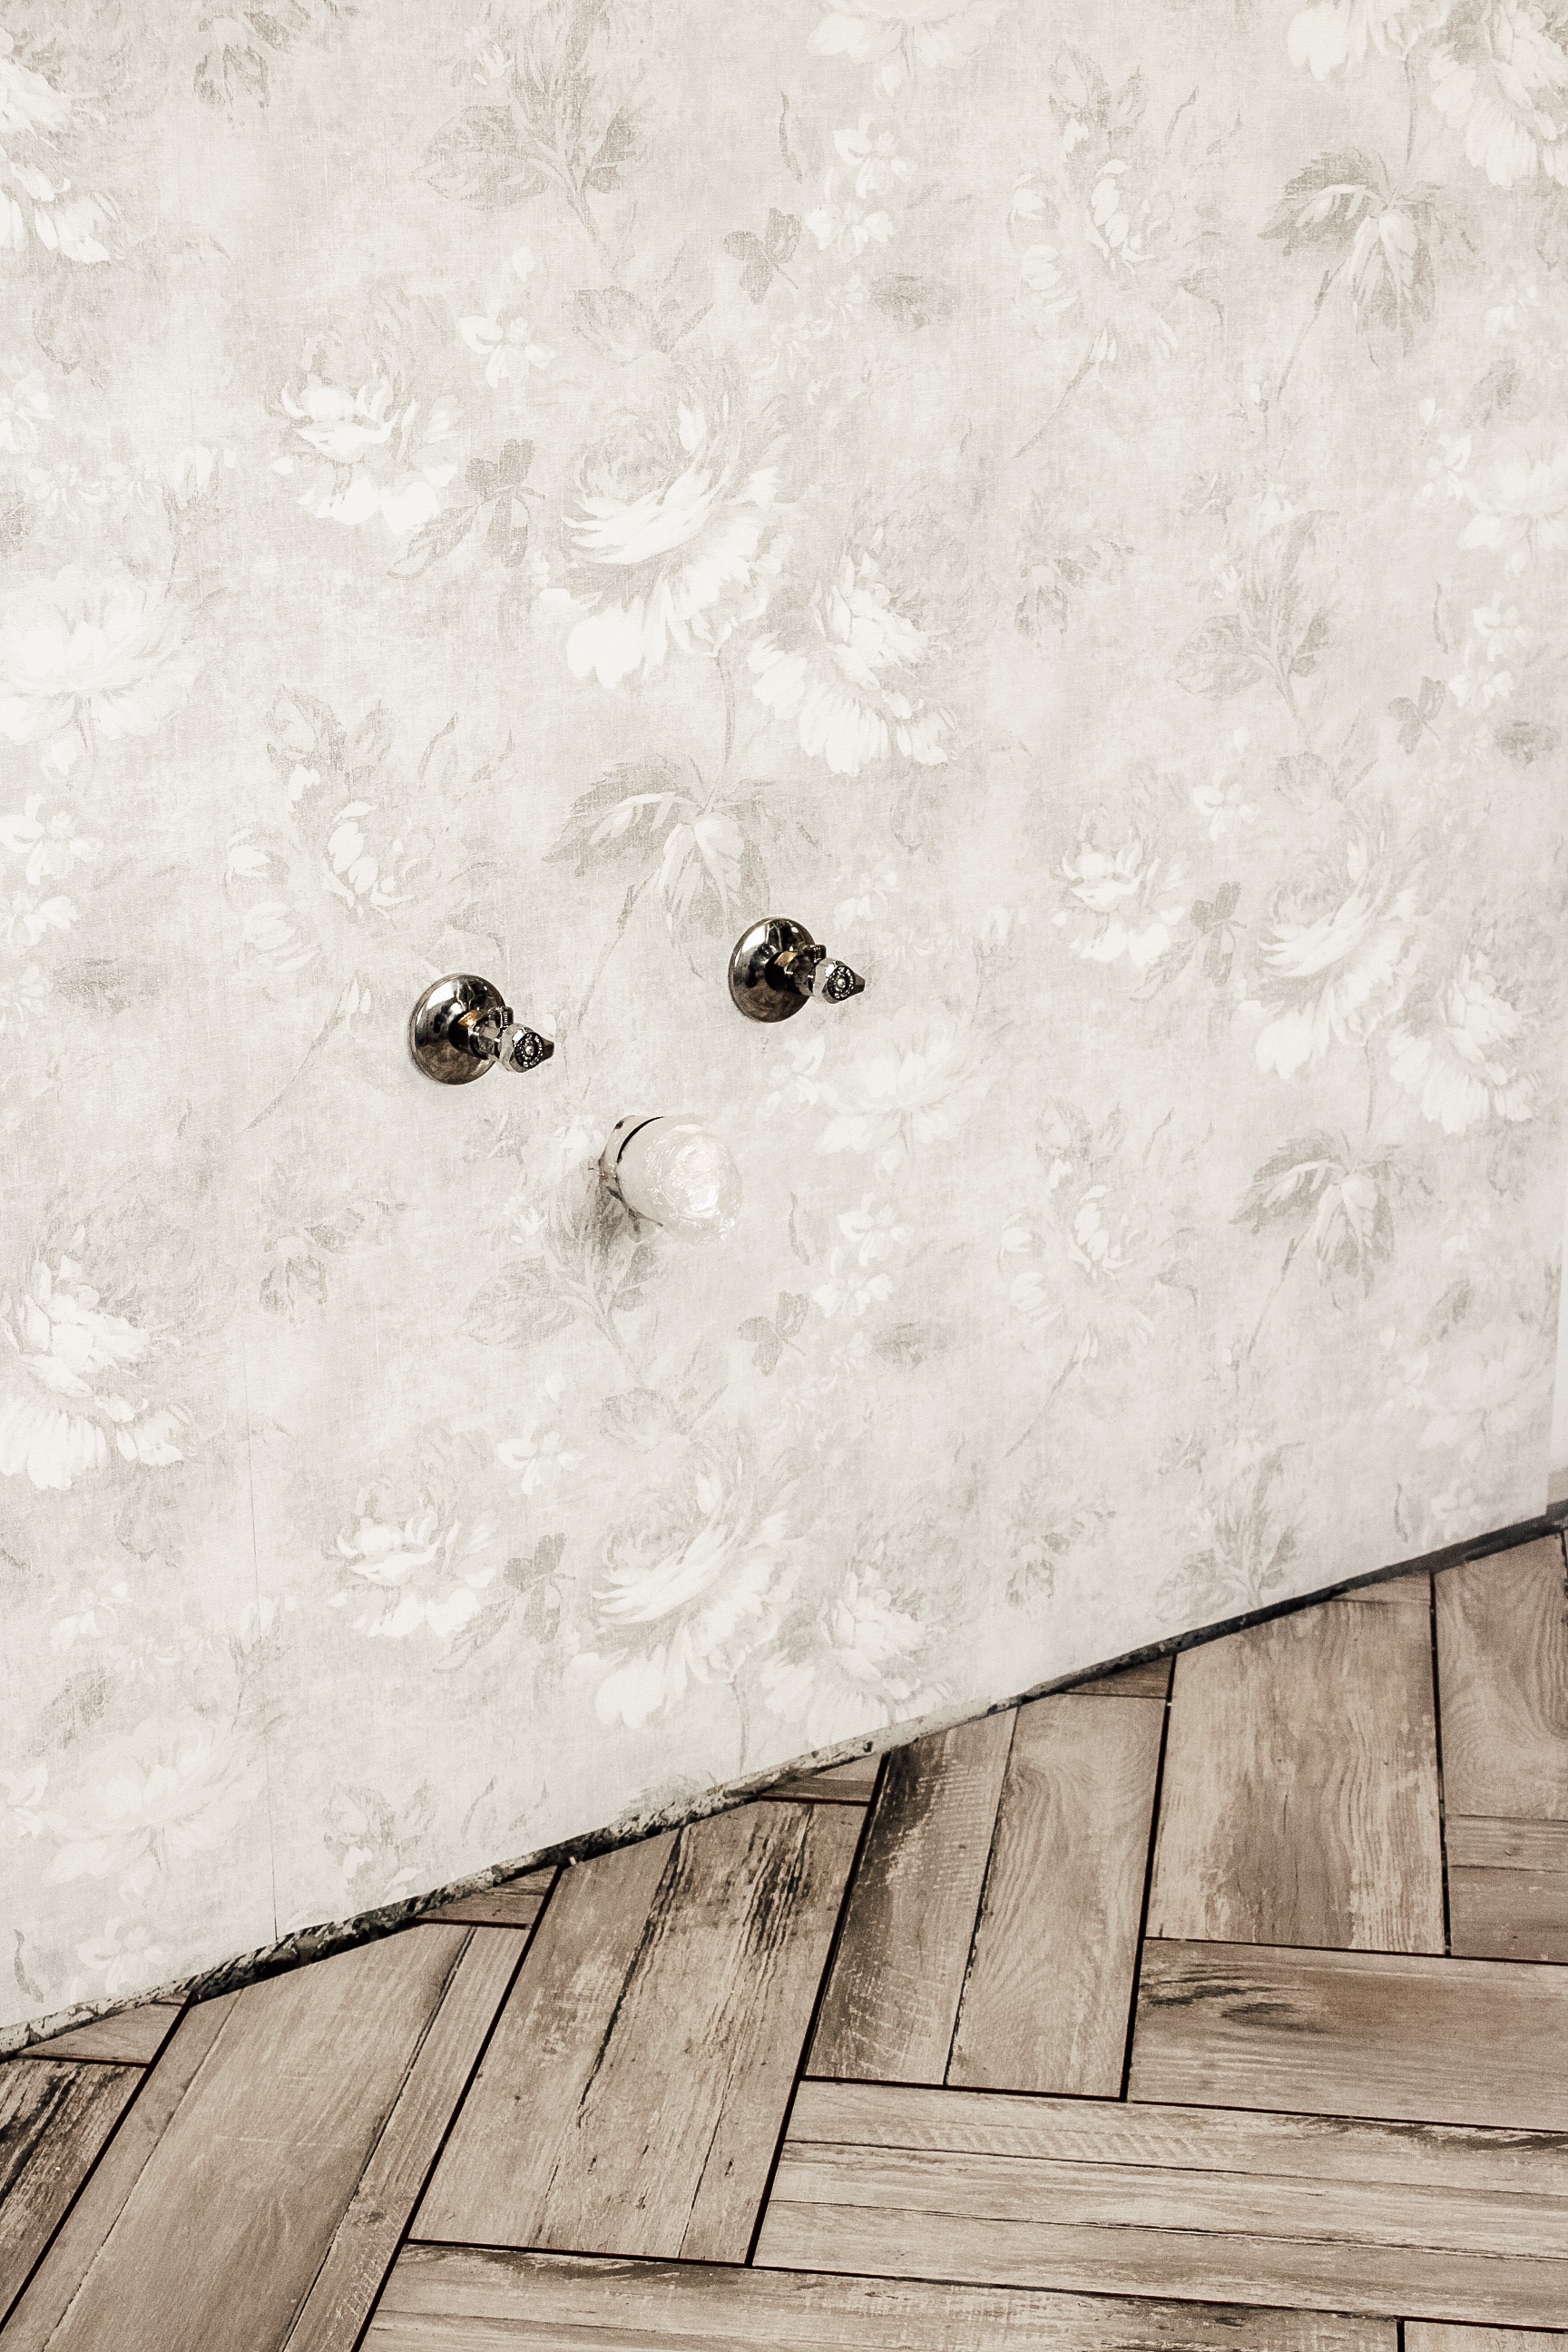
Hey friends! I am so excited to share with you my bathroom refresh! I love a good before and after! I worked around the clock over Memorial Day weekend and was able to install the new herringbone tile floor with ceramic tile from Home Depot as well as add this beautiful wallpaper from Wallpaperdirect to the entire room!!
Hanging wallpaper is brand new to me so I thought I’d share it with all of you! Who knows maybe some of you are wanting to add wallpaper to space and want to know the ins and outs! This DIY was one of my favorite projects to date! Adding wallpaper and a new tile floor completely transformed the entire room and I am thrilled to share this awesome bathroom transformation with you!
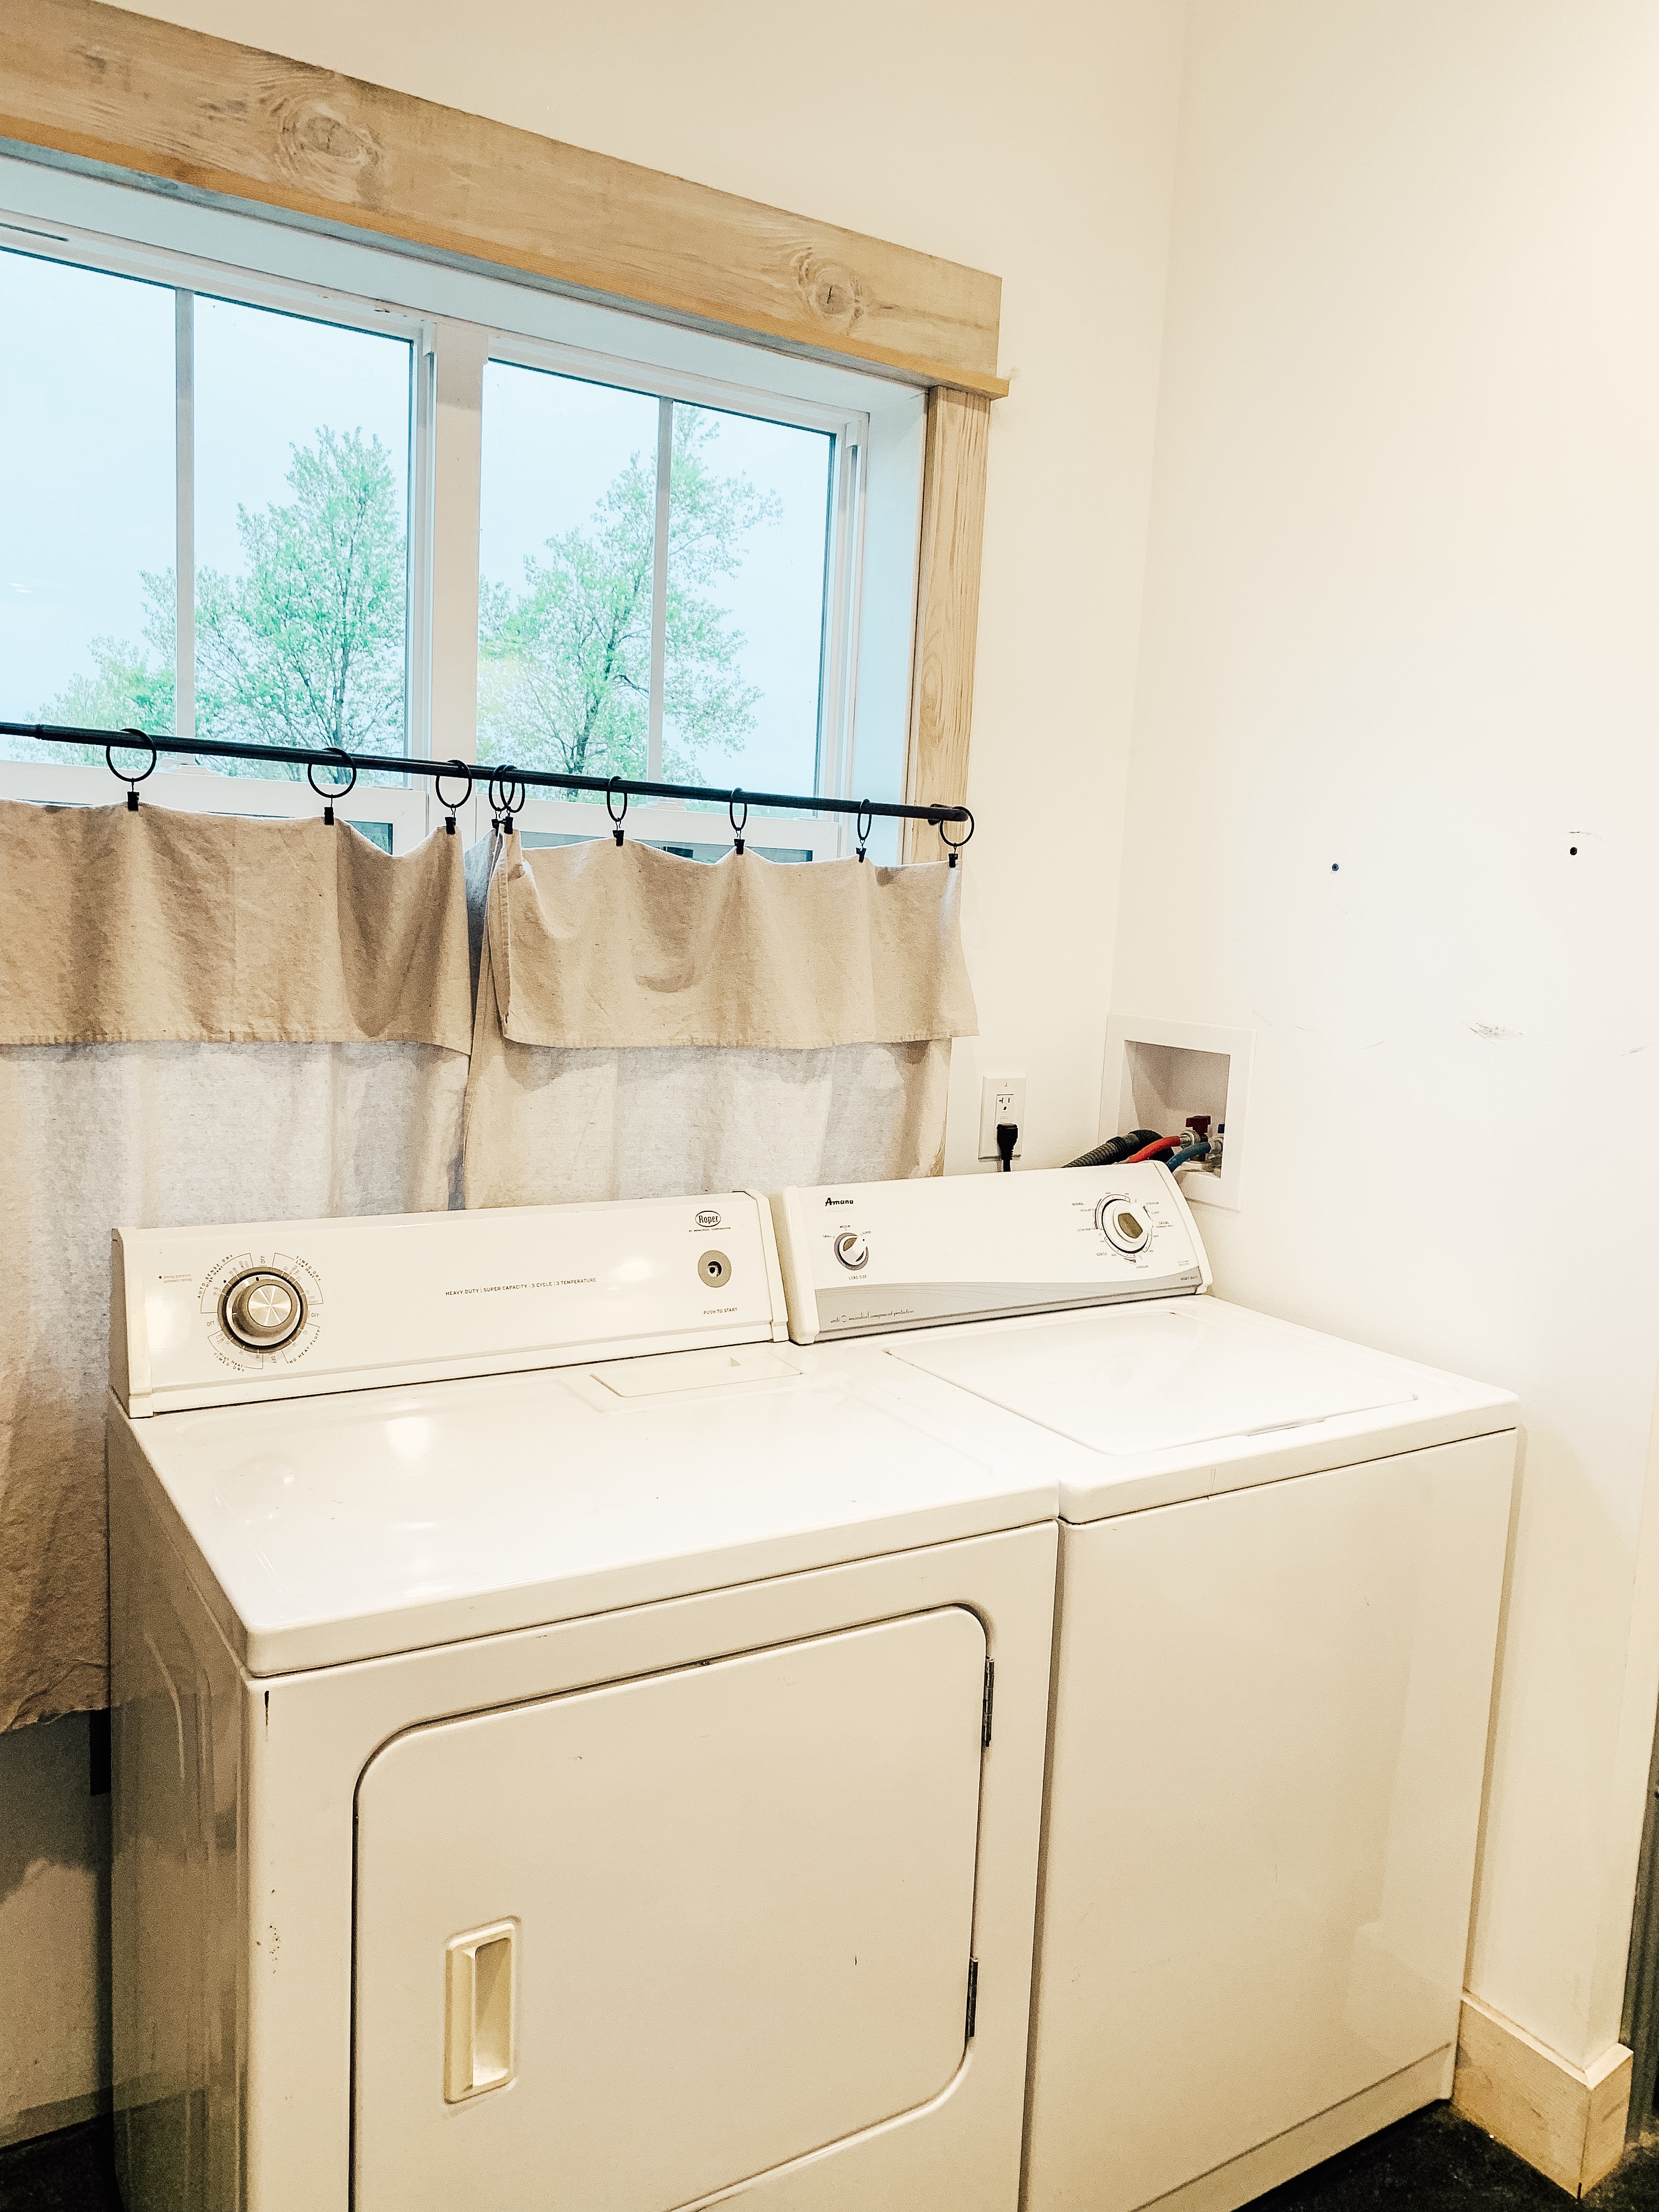
Our bathroom is the only bathroom in our cottage and it serves as a laundry room AND utility room! Needless to say, this room works hard for our family! There is a lot of “goings-on” in this room and it was by far the most boring space in our home.
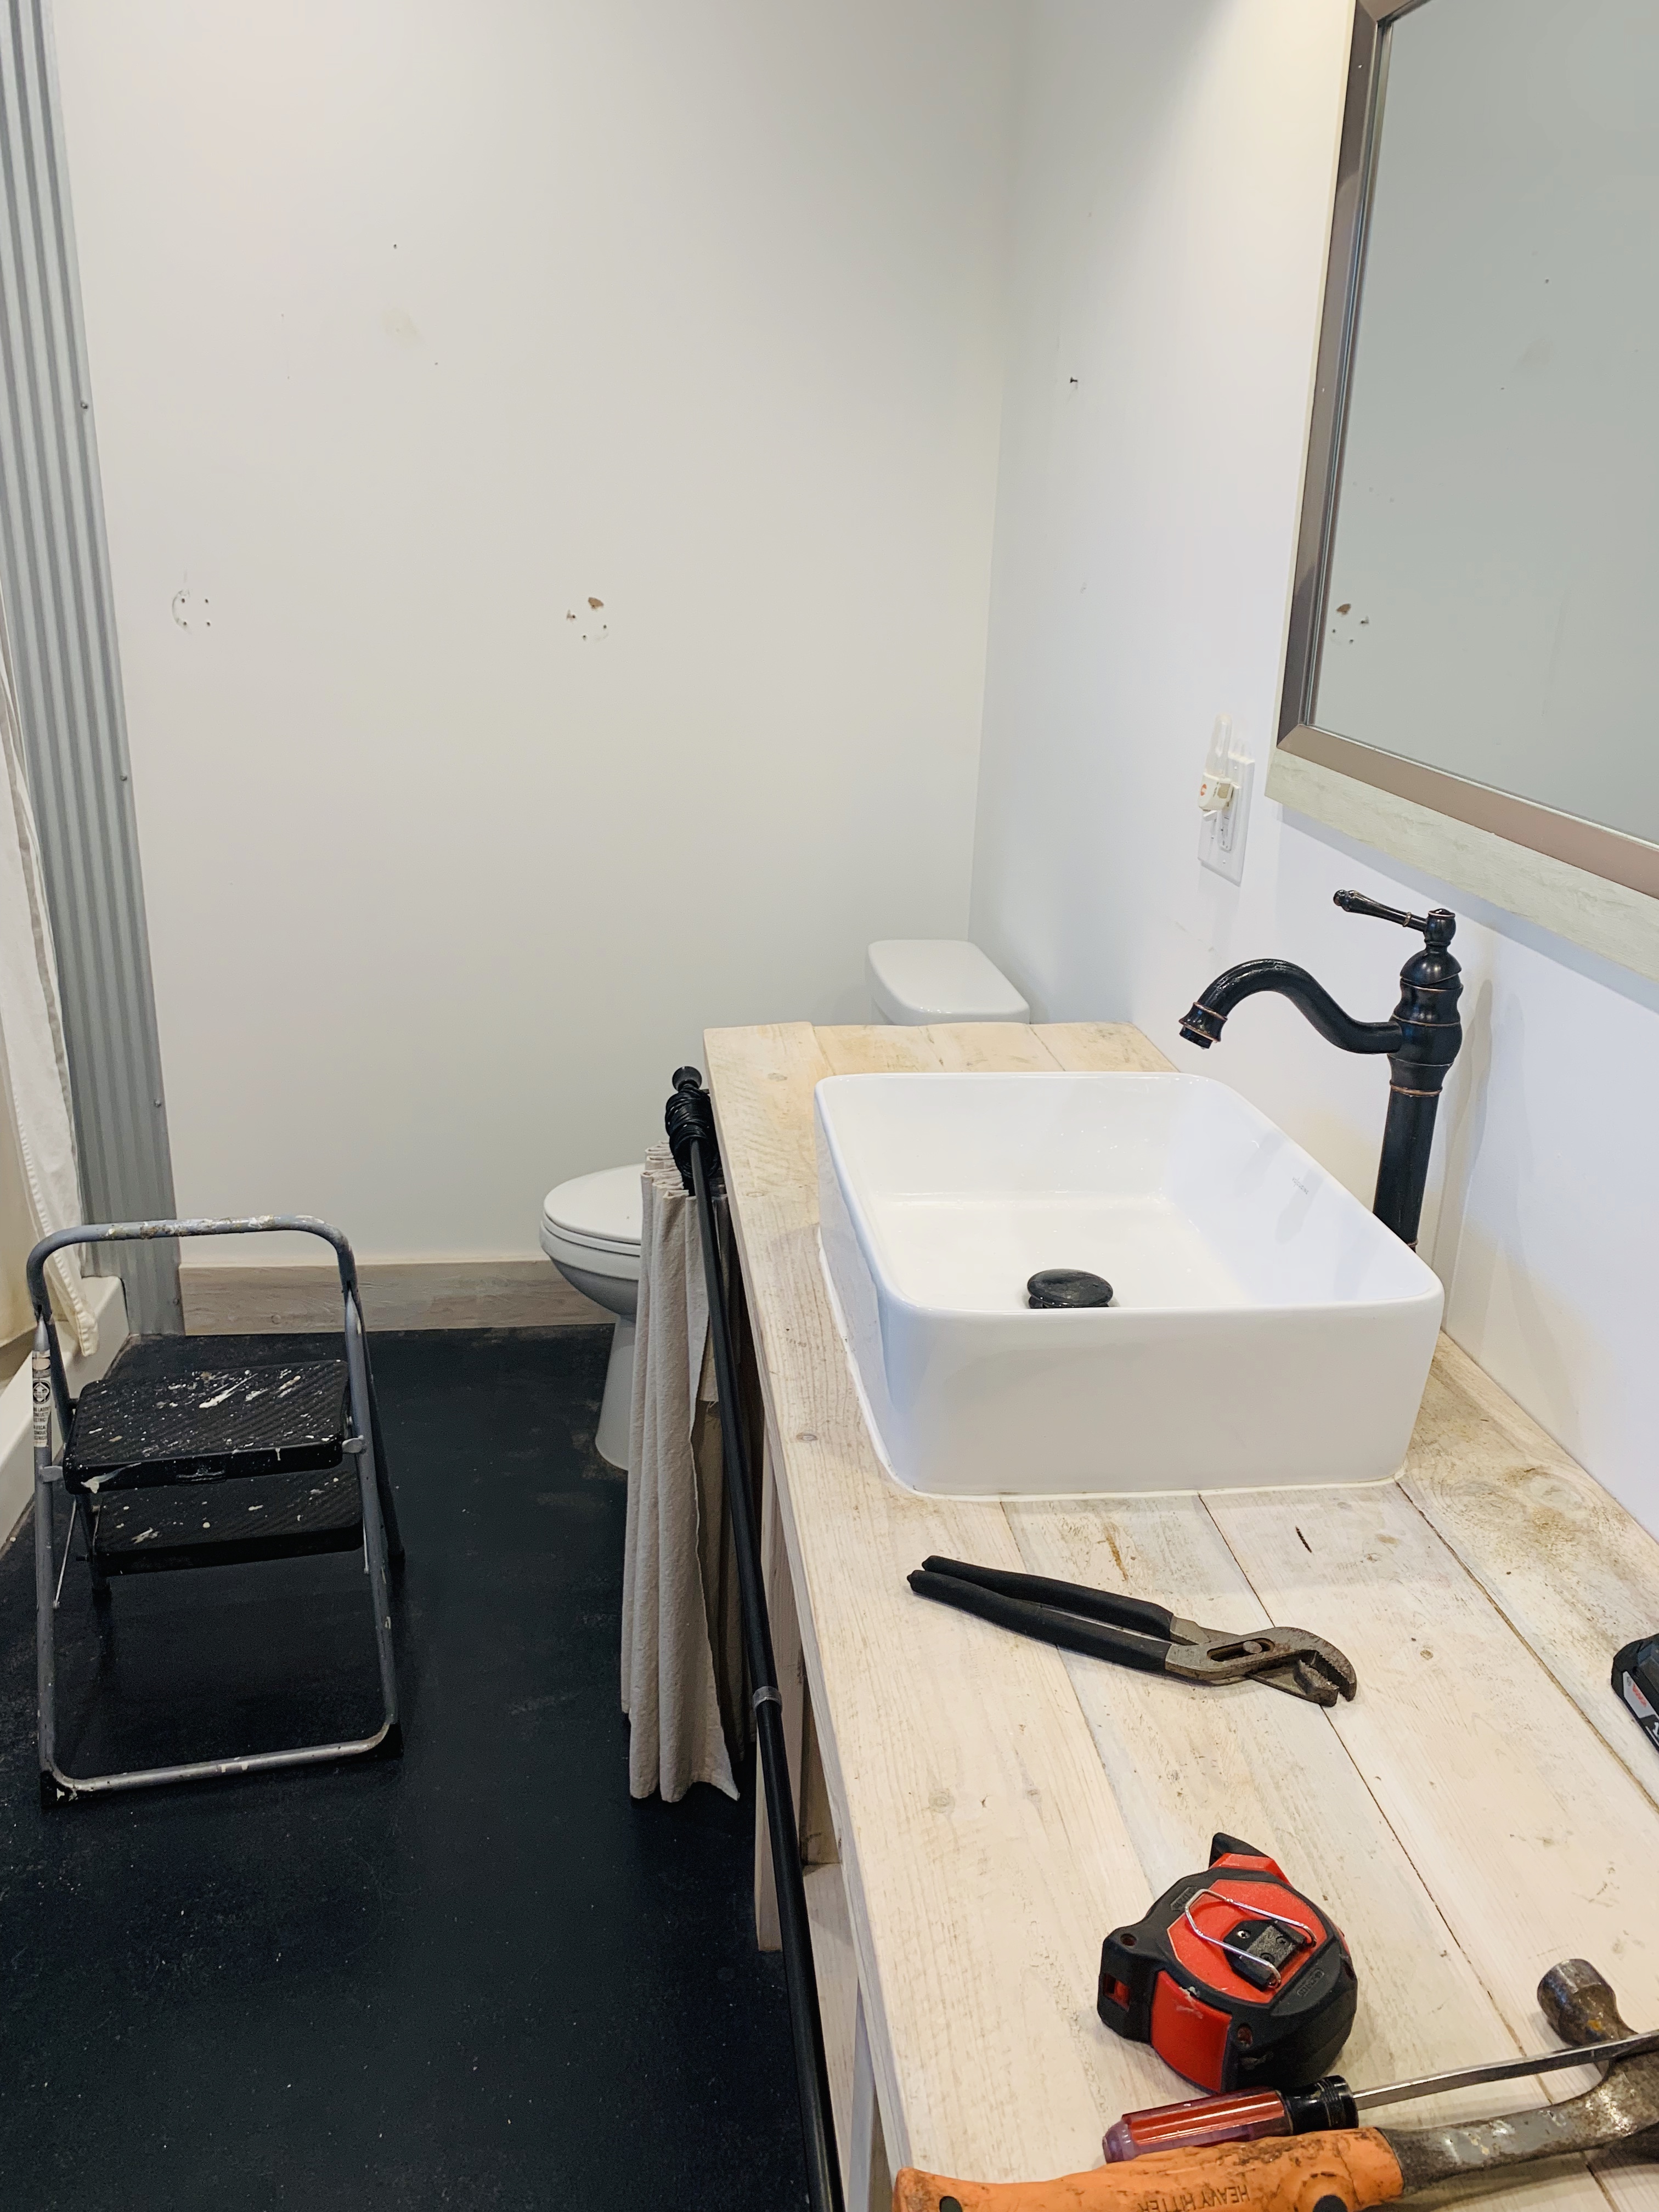
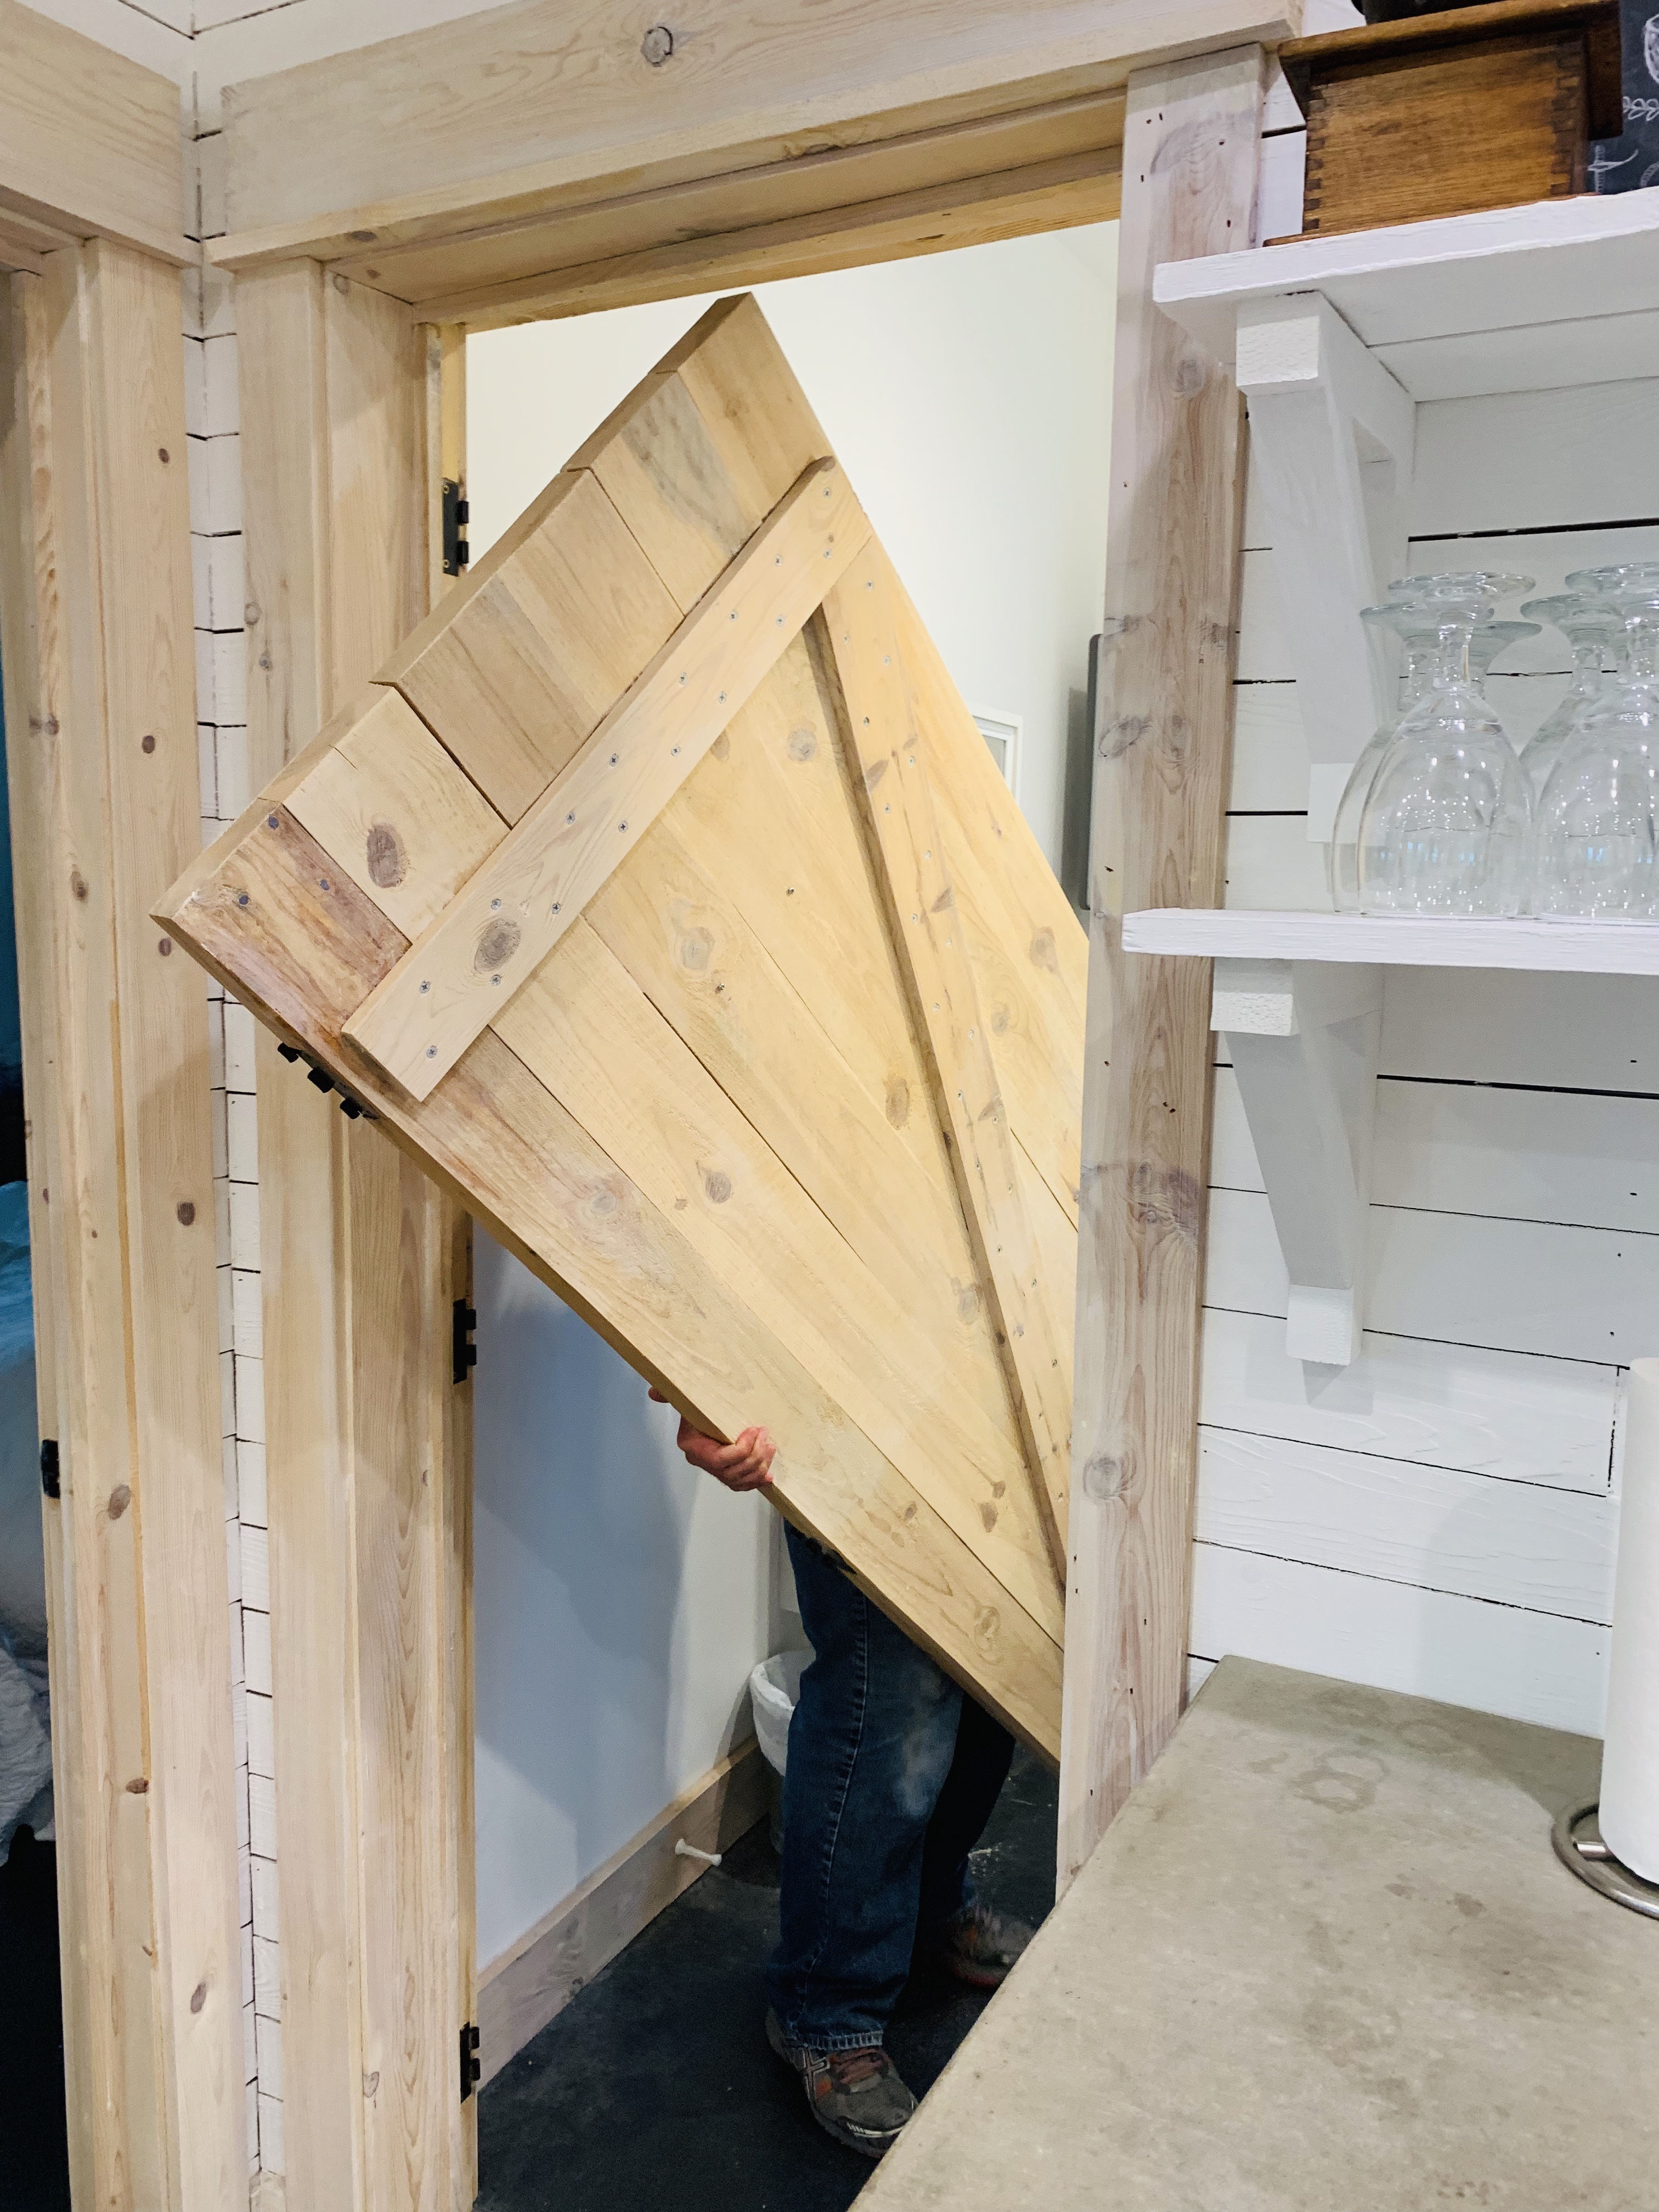
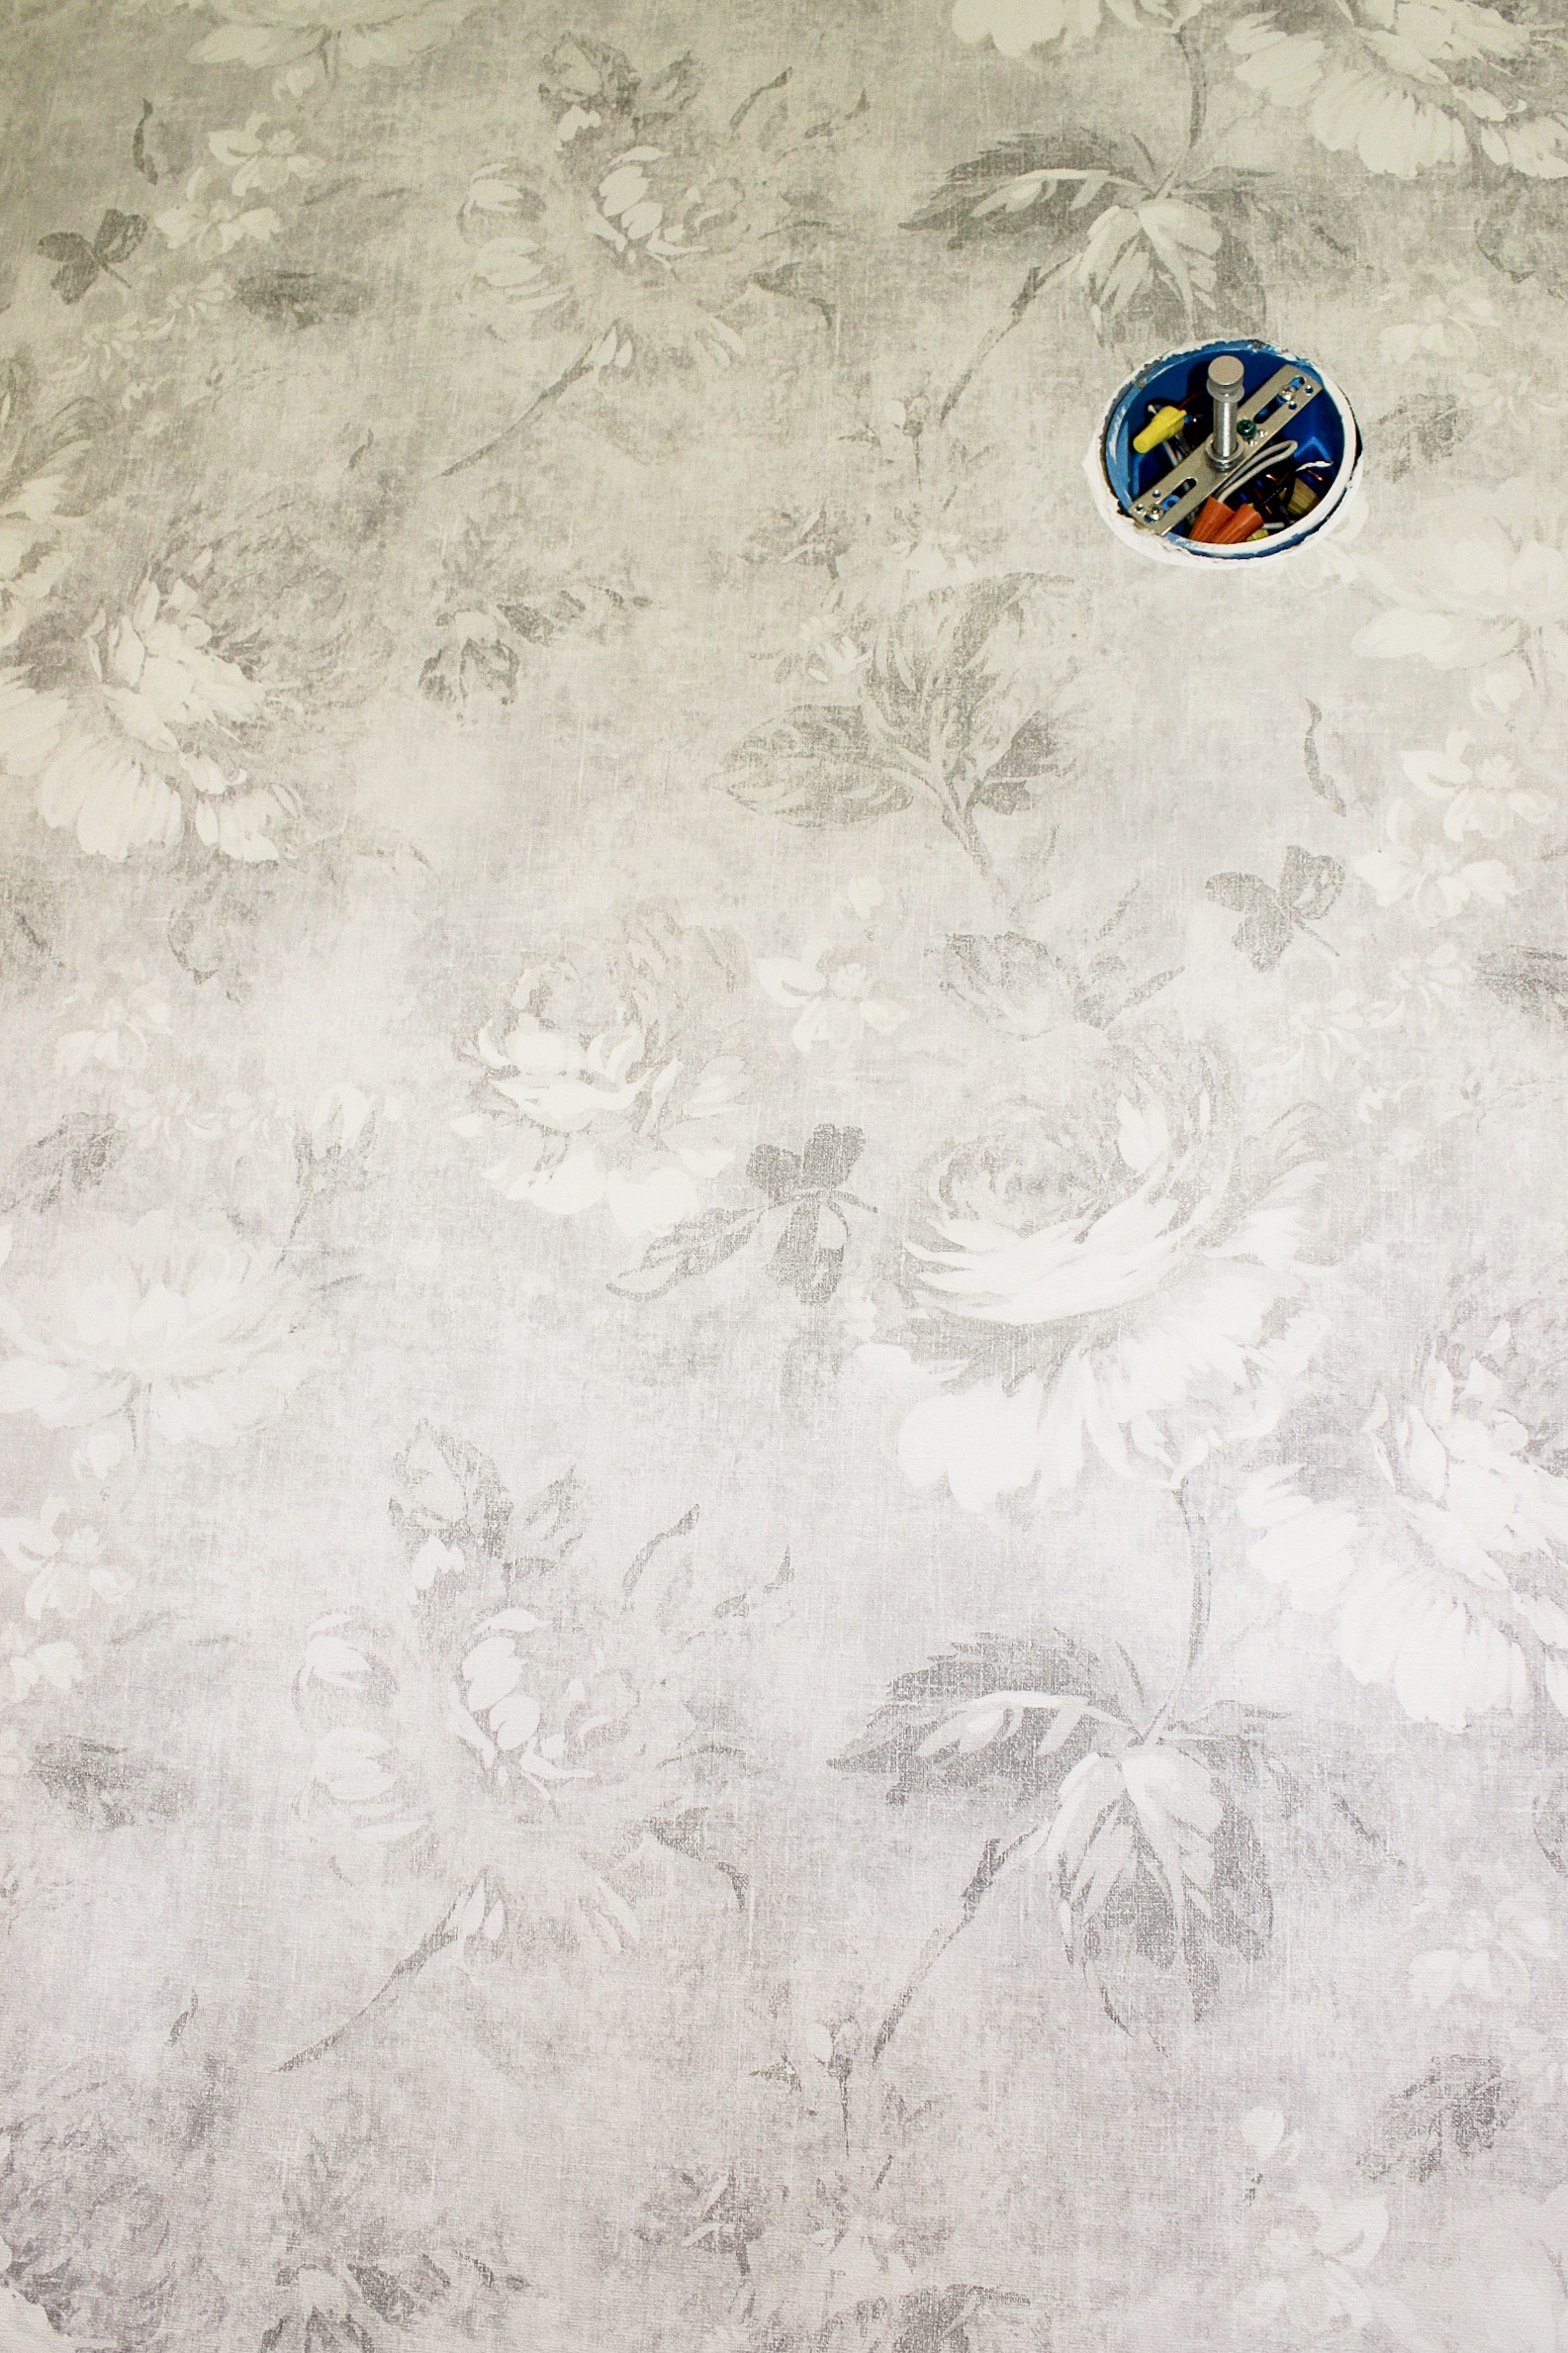
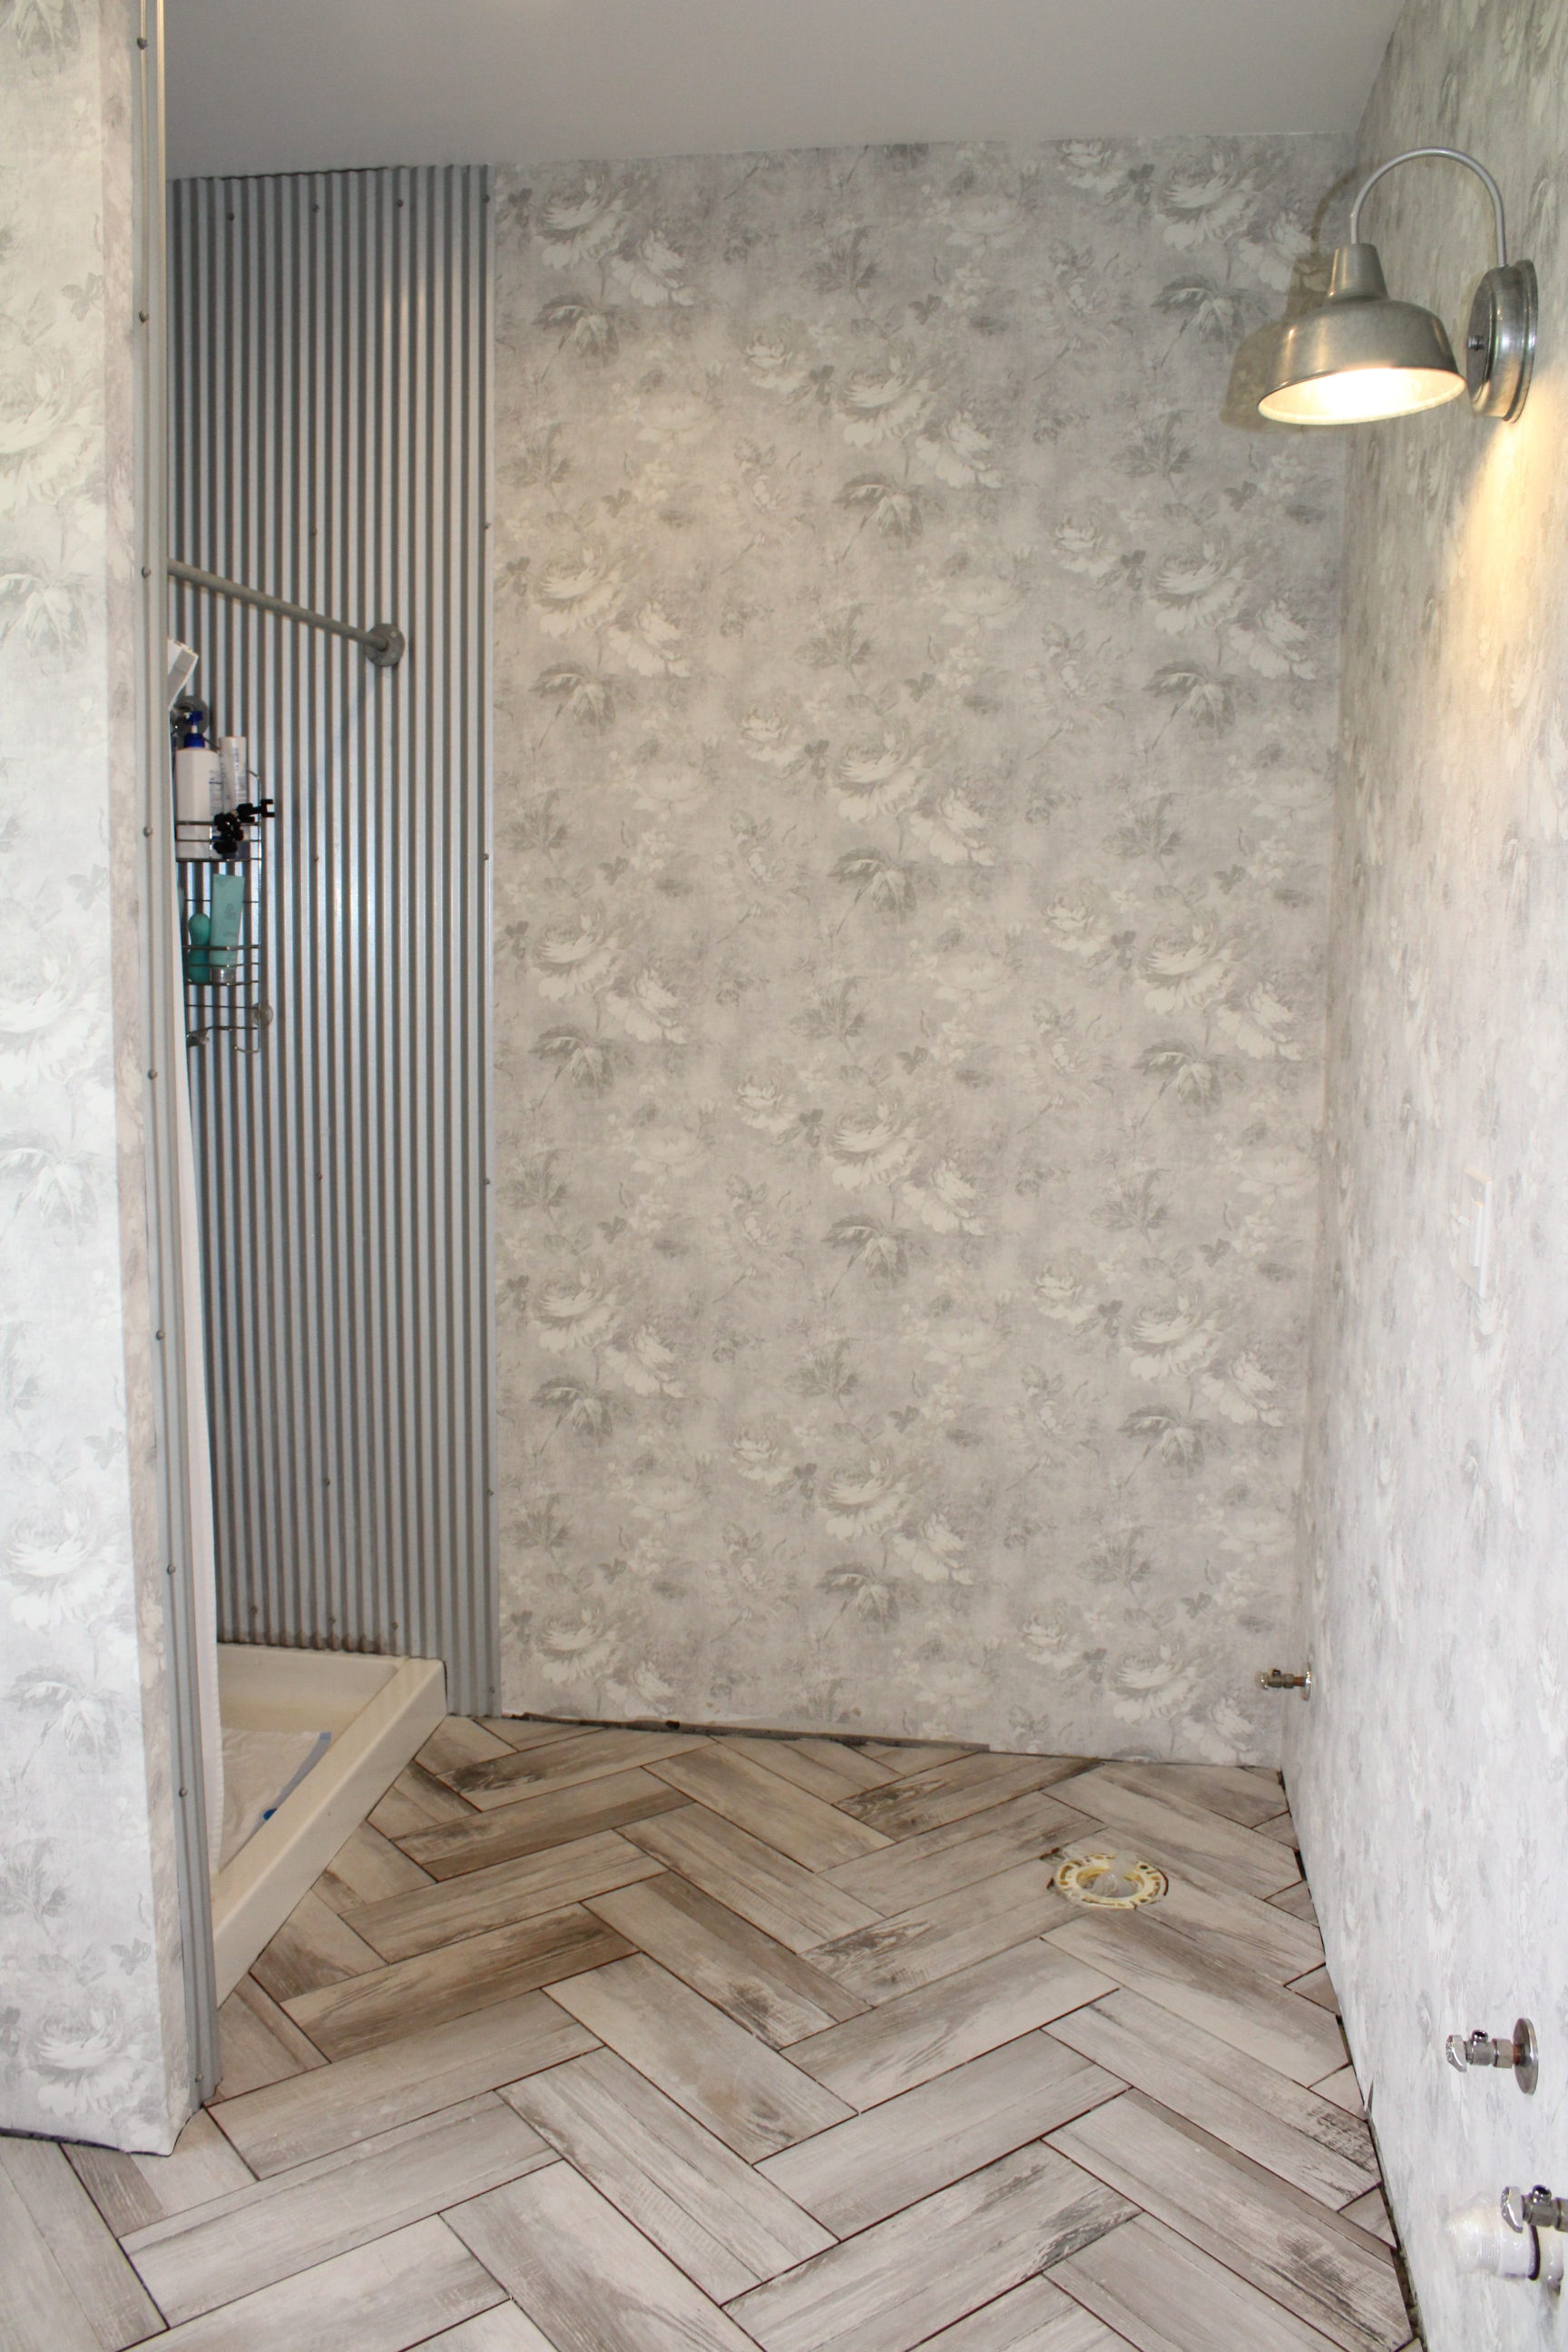
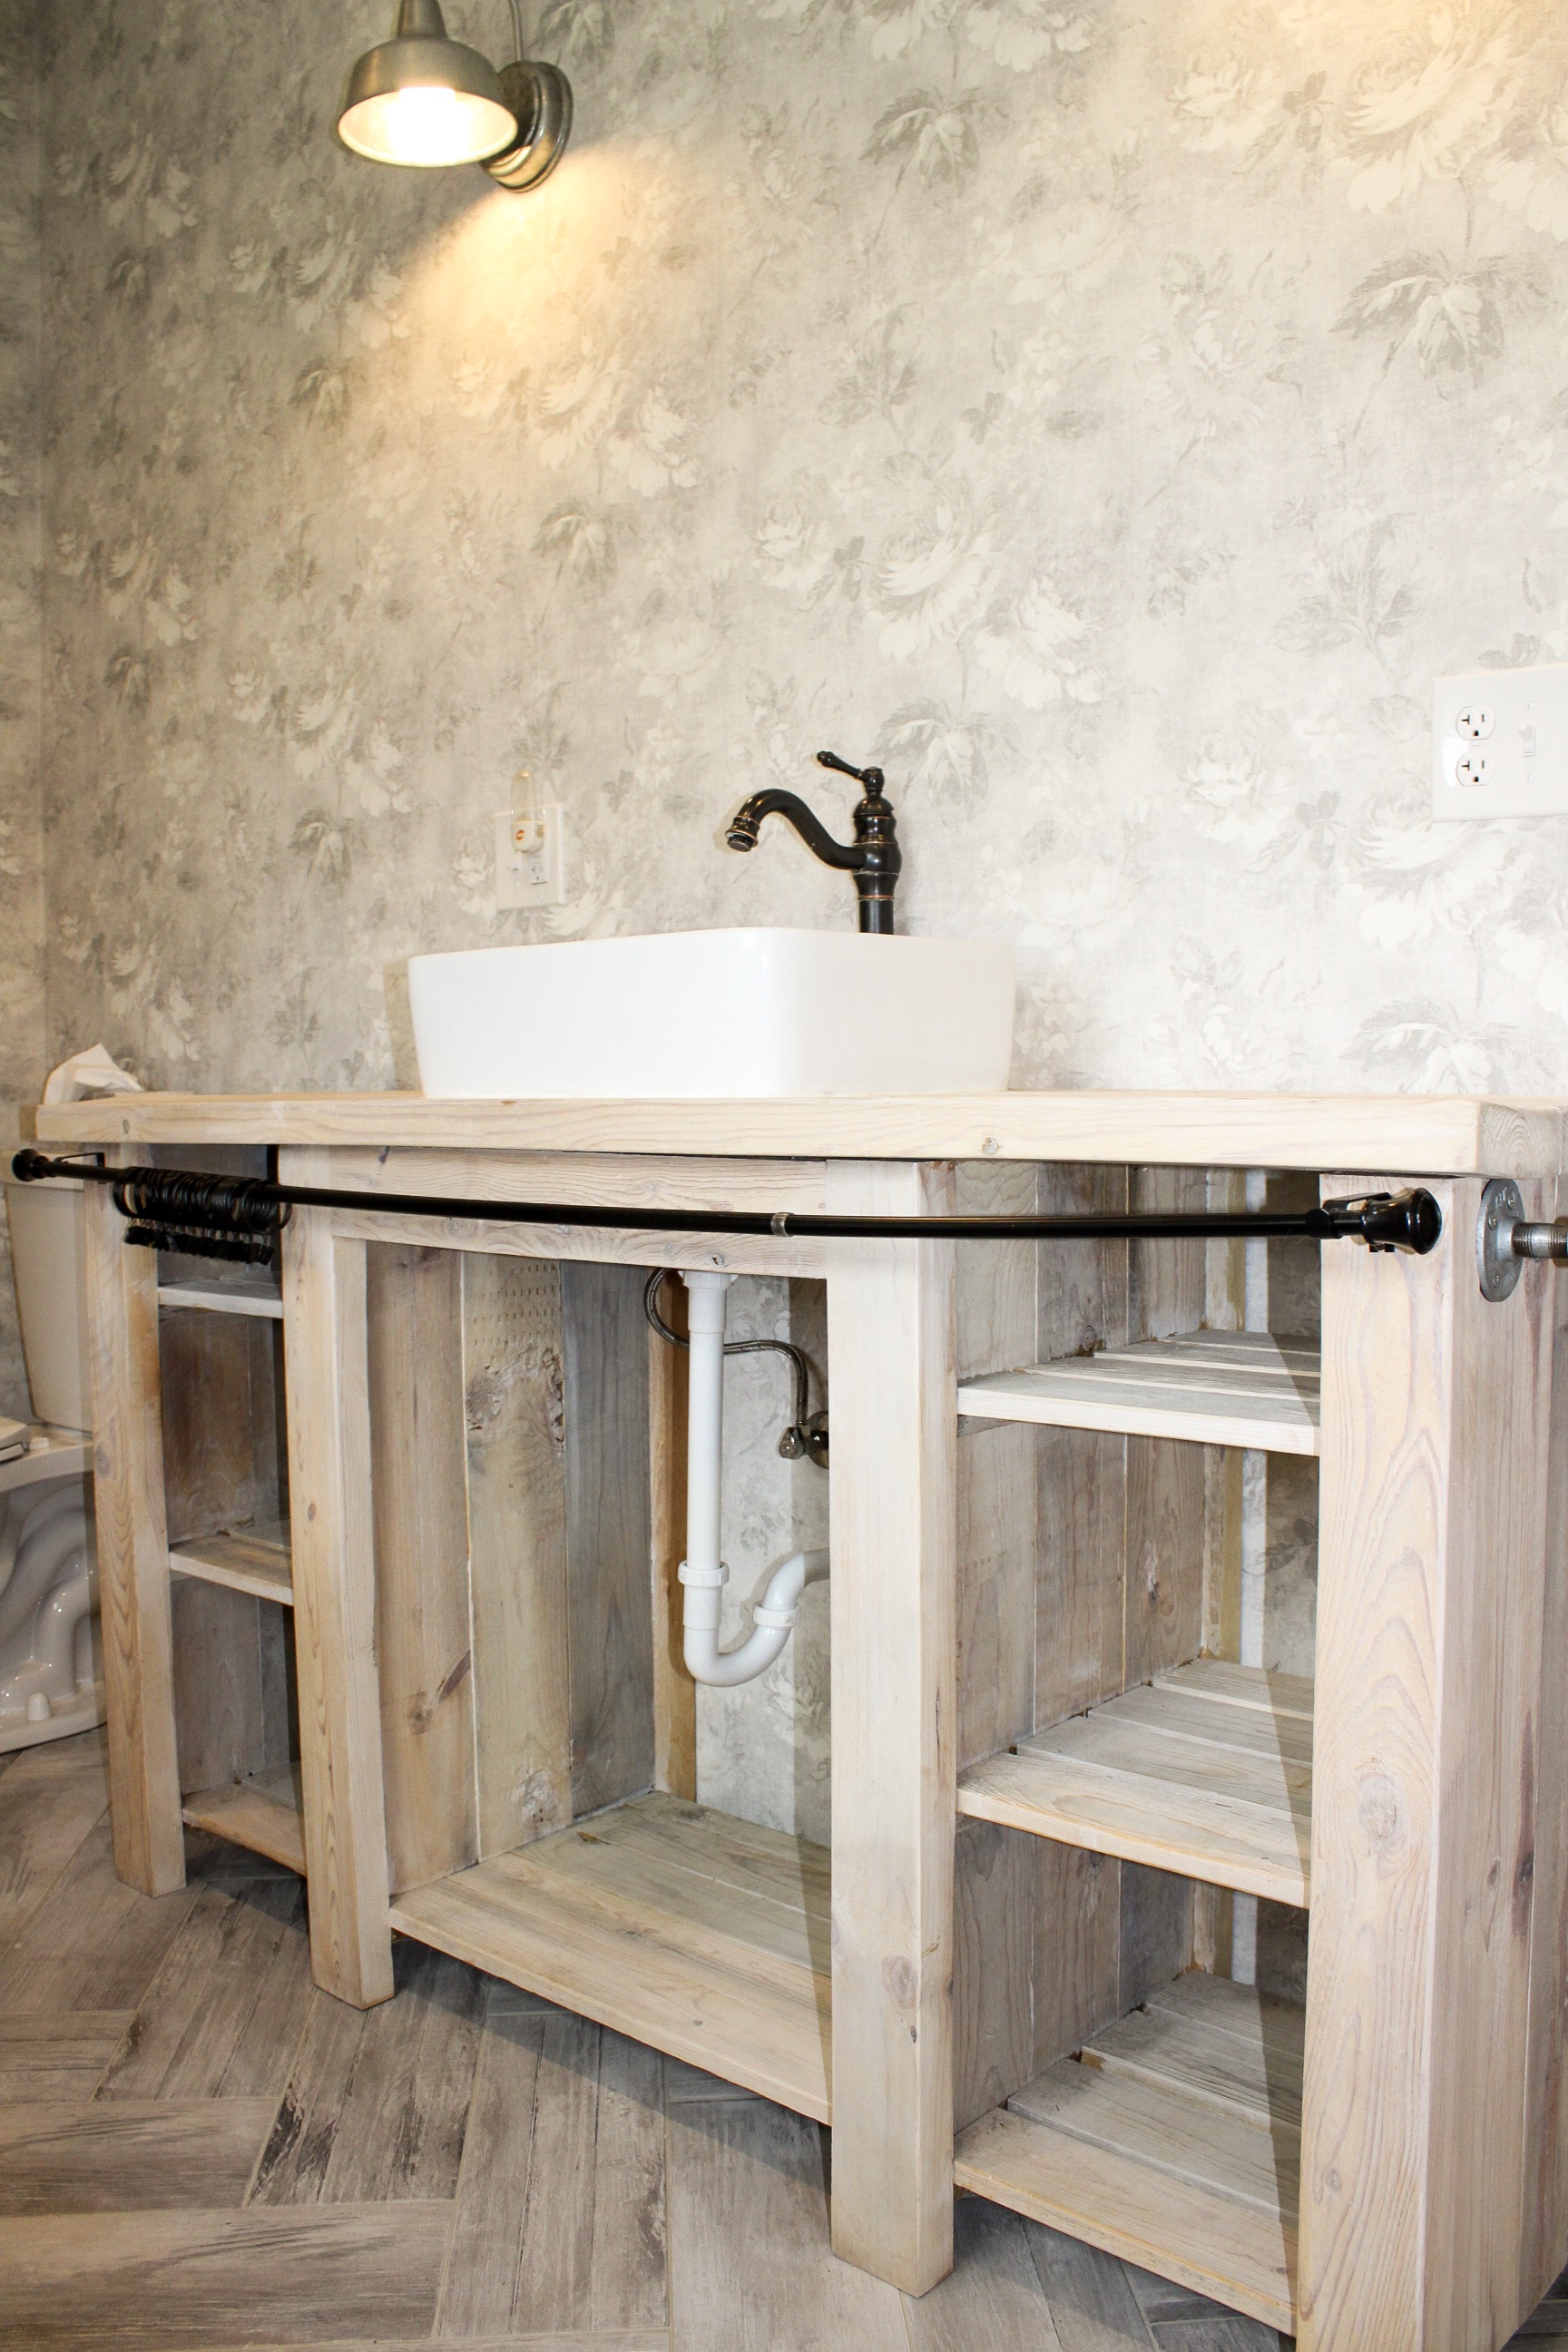
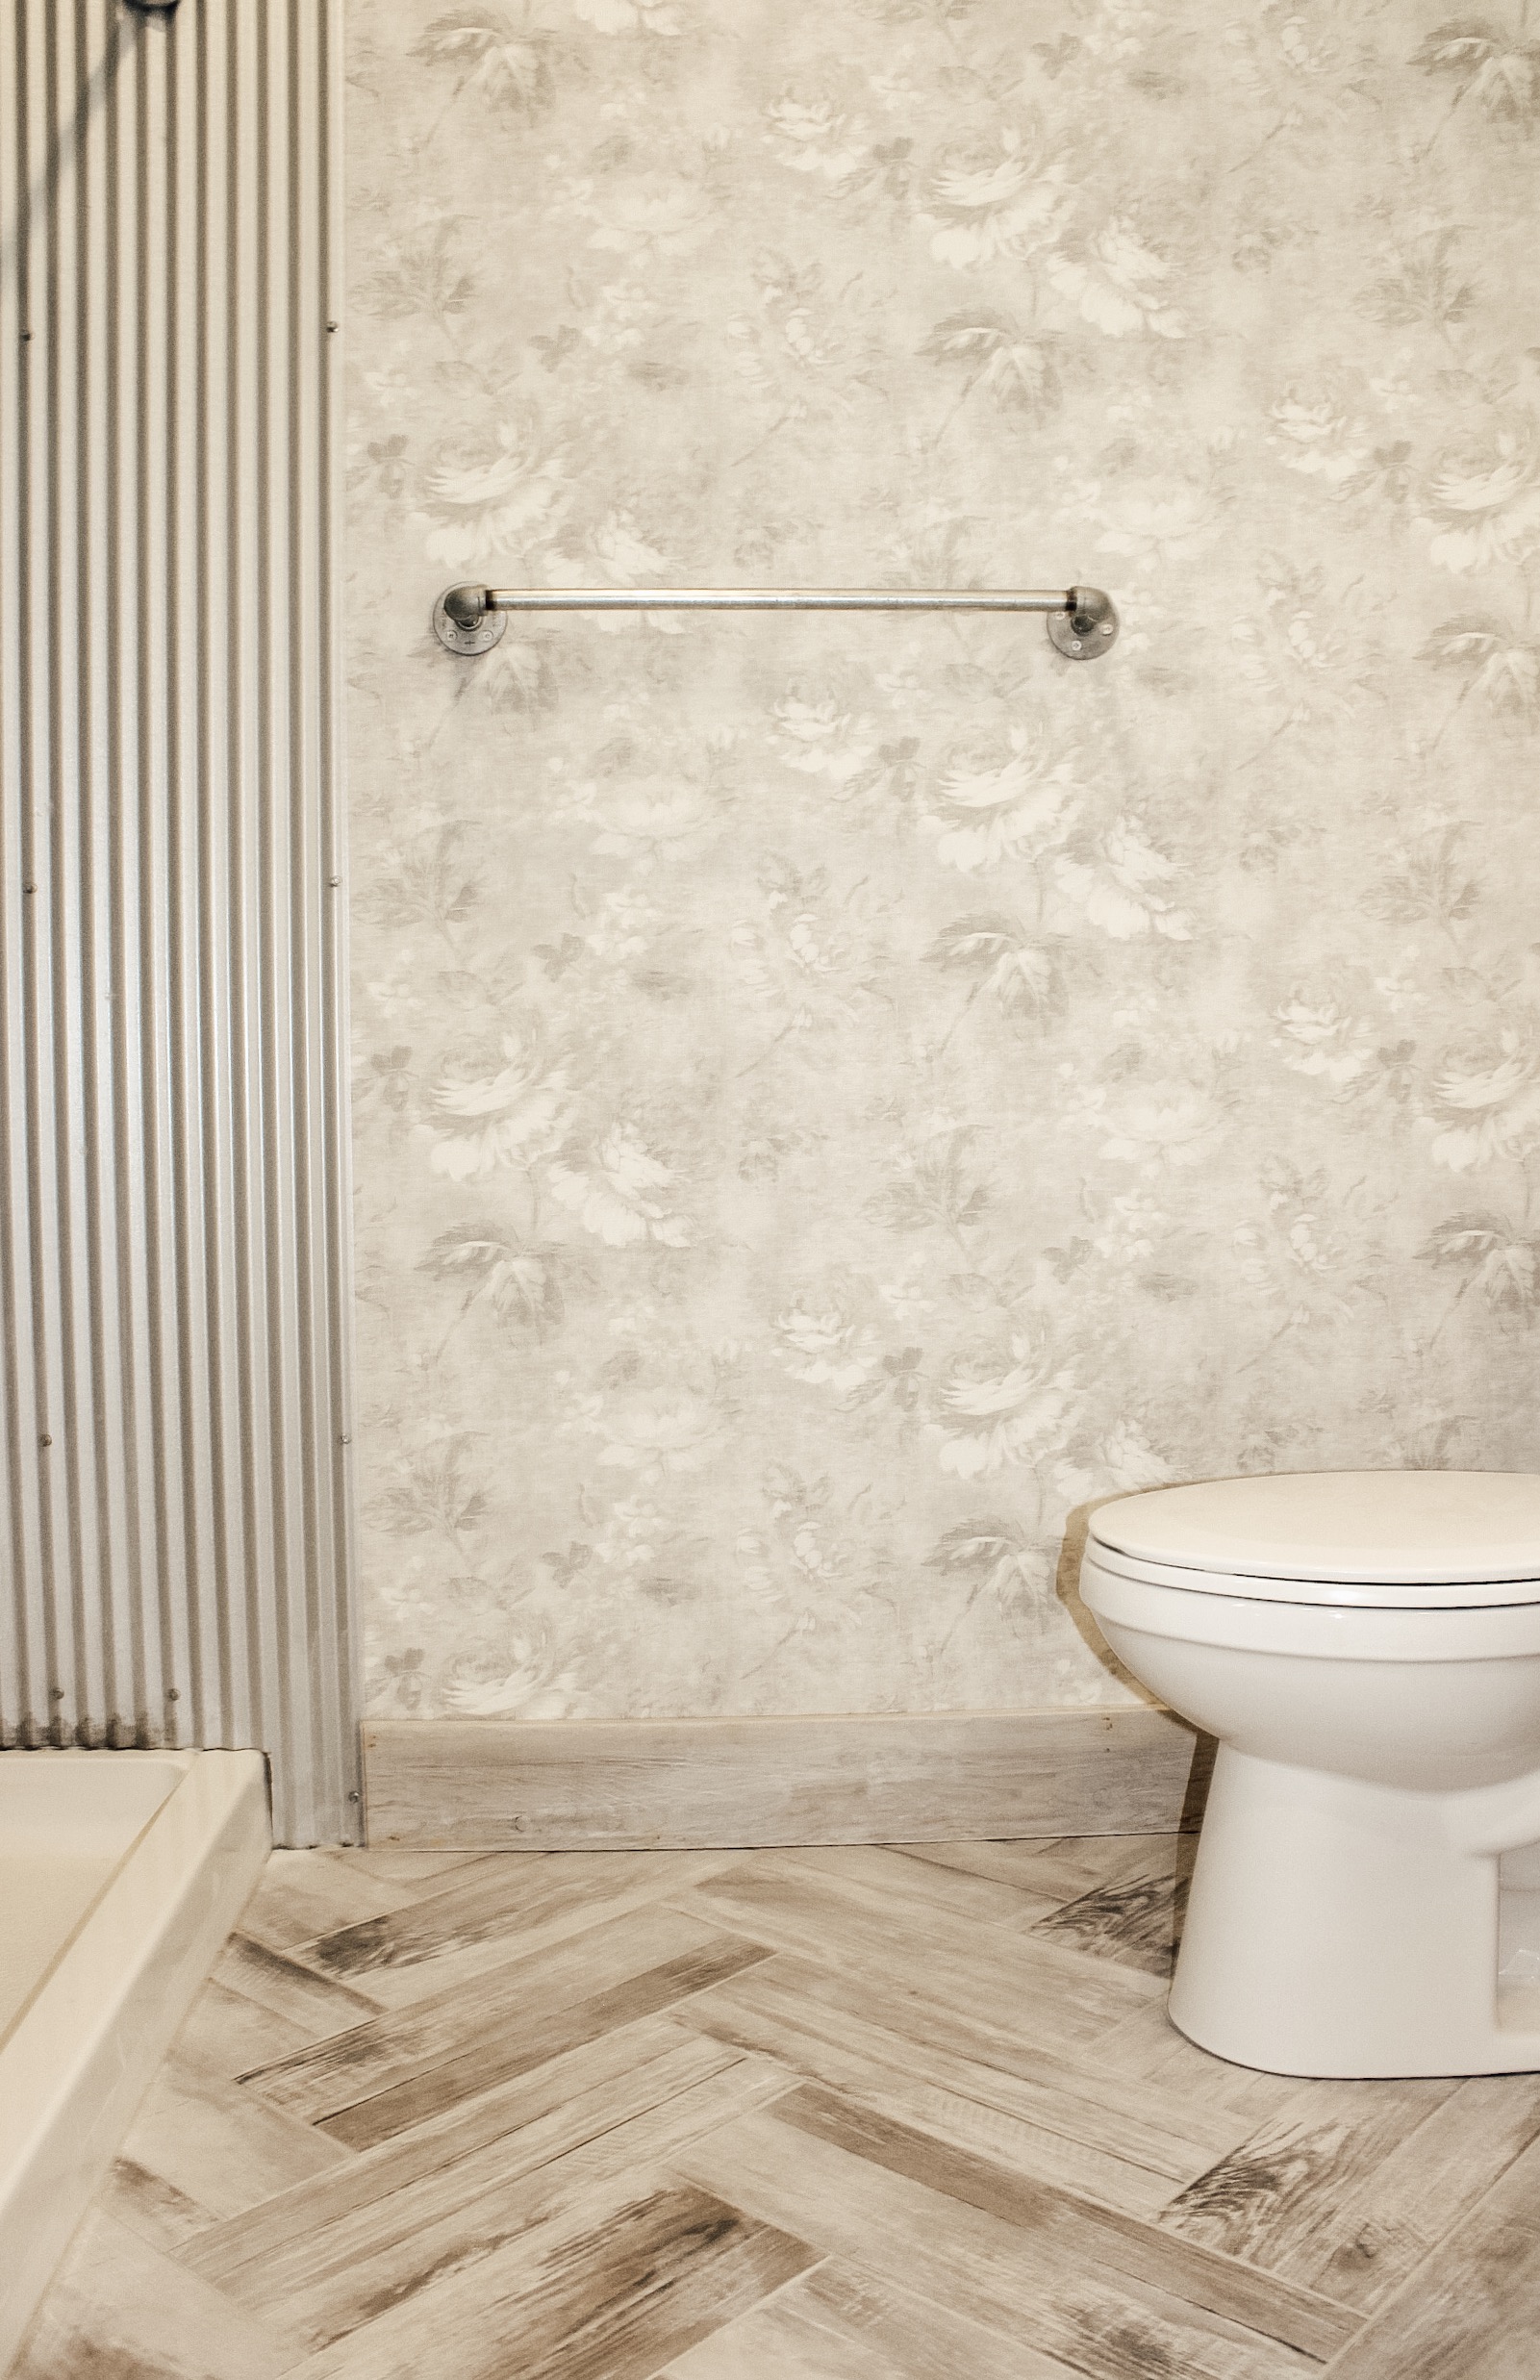
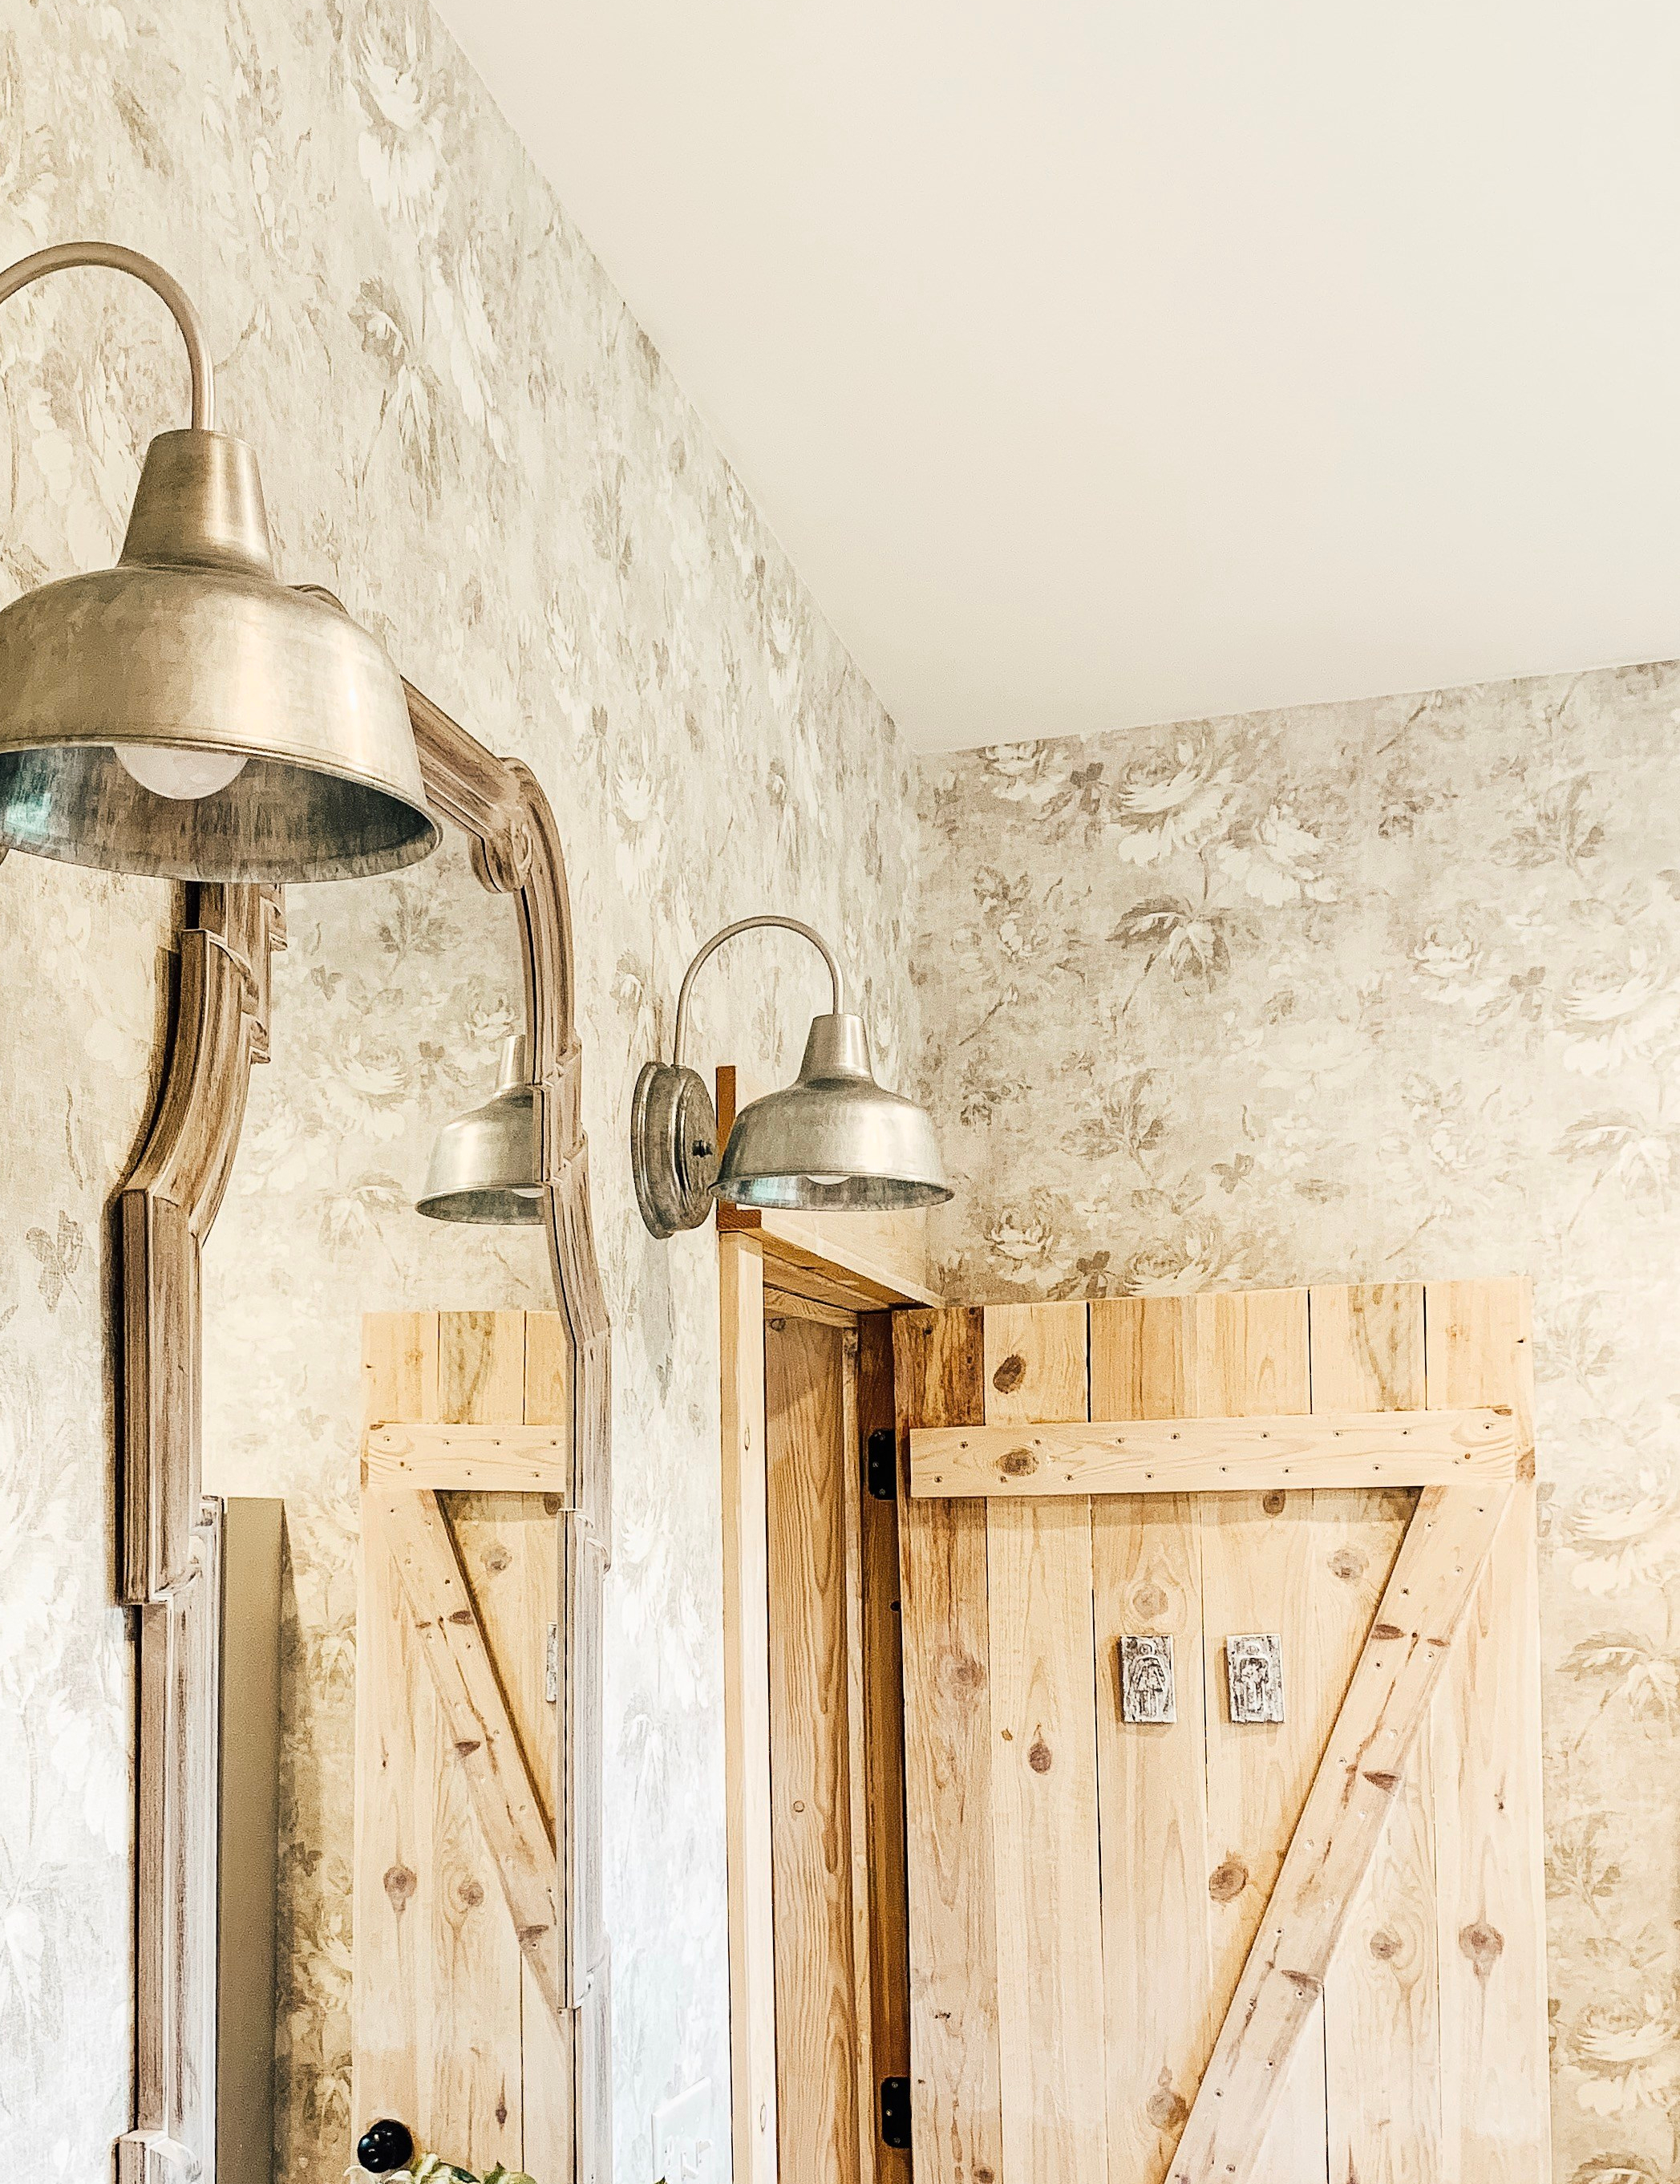
One day I had the bright idea that wallpaper was exactly what this room needed! The shower stall is corrugated steel and we built a barn door and vanity for this room to give it some character, but other than that, it was dull and drab. The ceilings are so high that I had a lot of bare white walls. I have shiplap in nearly every other room in the cottage and I wanted to try something different. I had seen a blog post on Liz Marie Galvan’s Blog a while back of a gorgeous wallpaper pattern that she used in her Guest Bedroom.
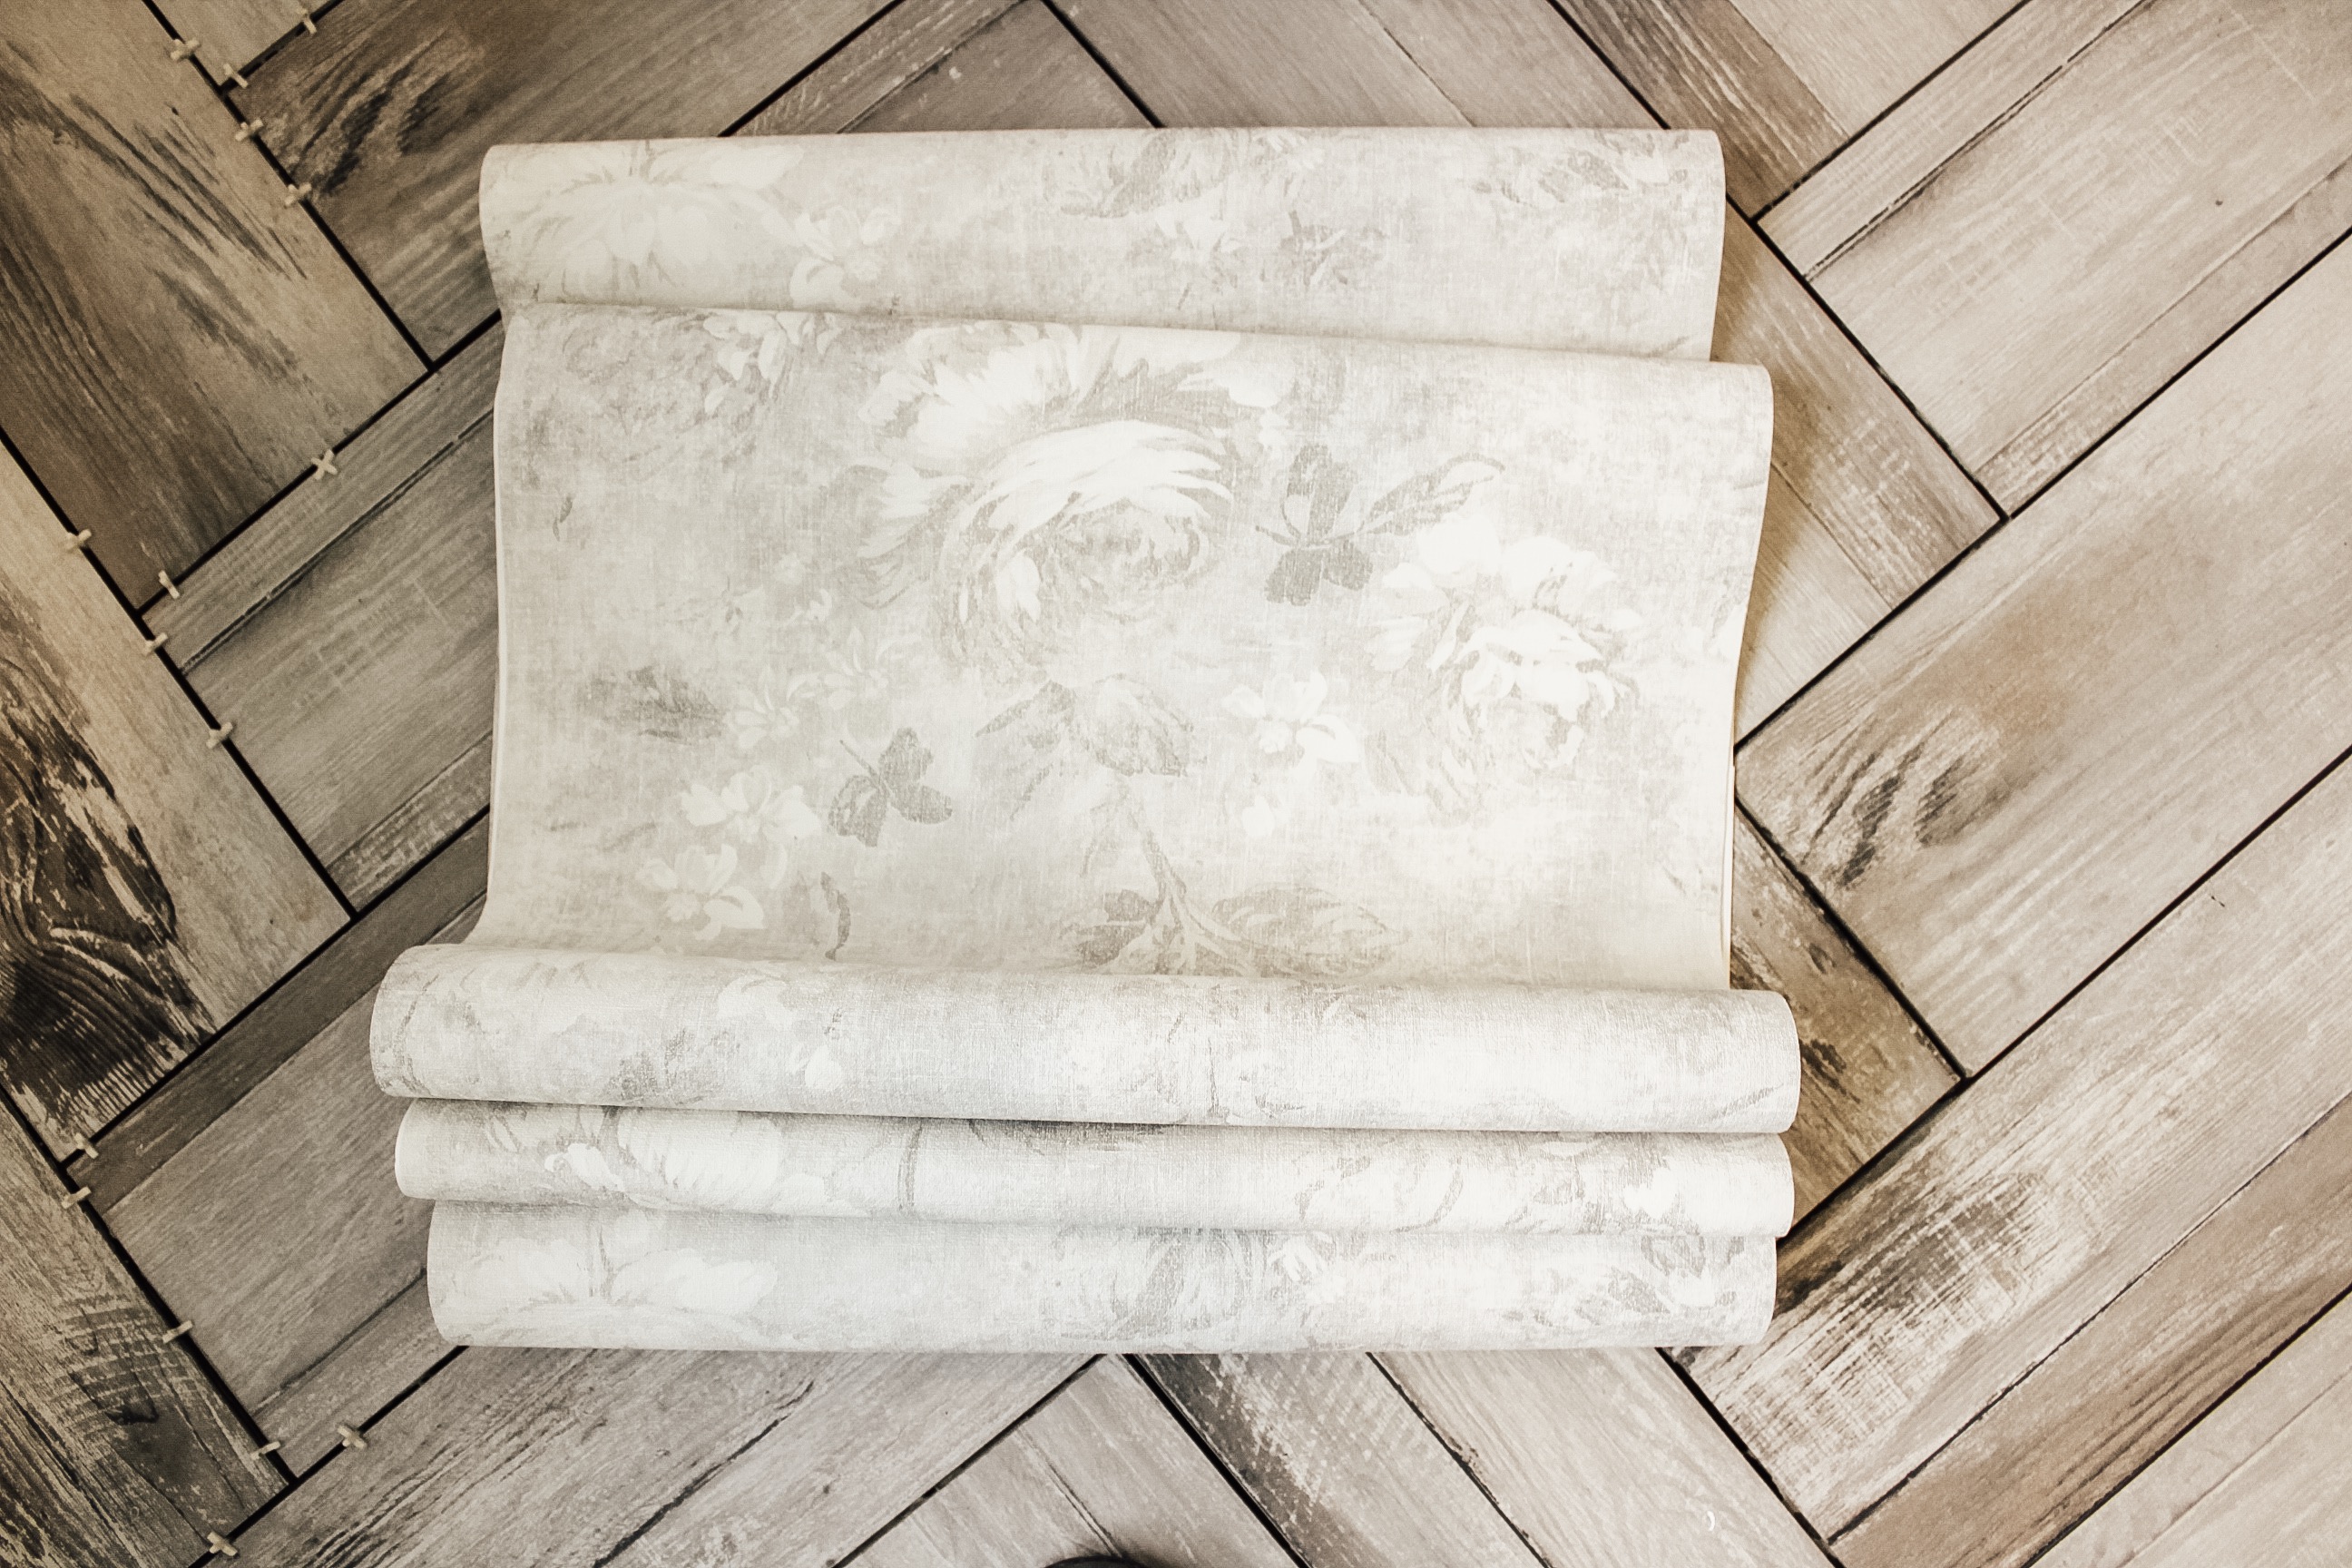
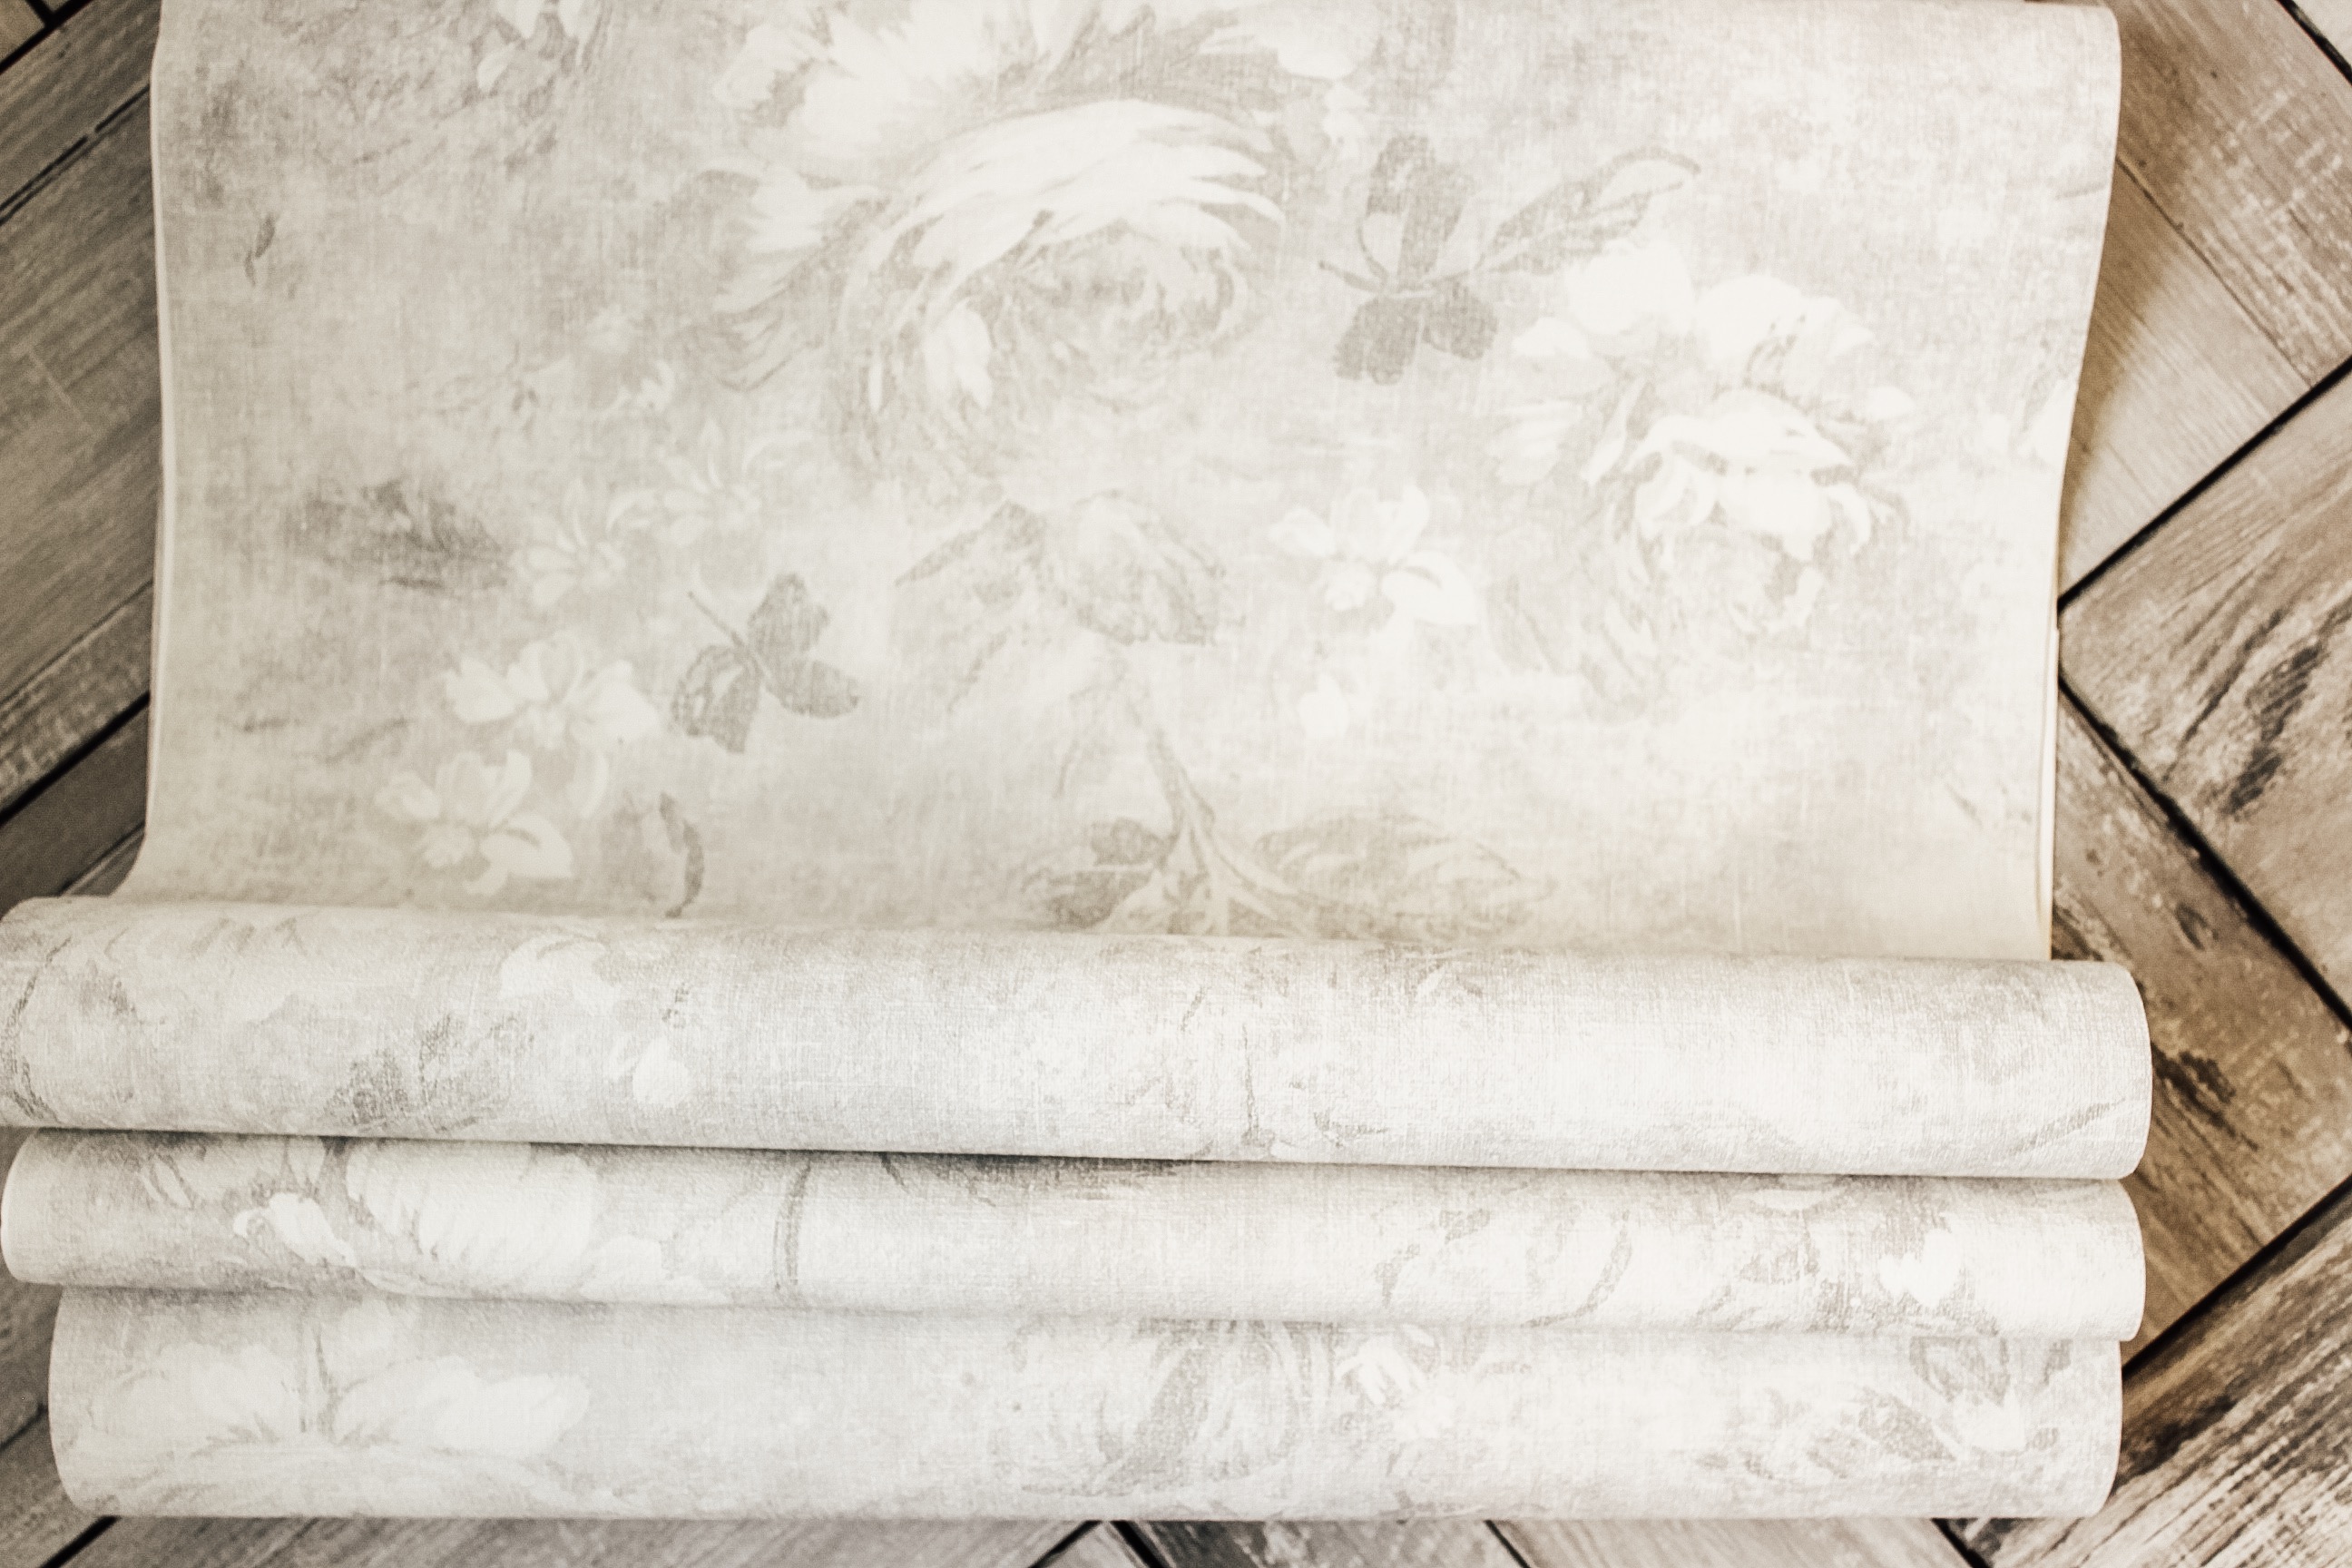
The wallpaper was from Wallpaperdirect so I immediately scoured their website and ordered some free samples! I could have spent weeks looking at patterns trying to decide because there are endless choices! WOW! I had it narrowed down to three choices ( I had my favorite) and I asked my kids and did an Instagram poll to see what everyone’s favorite was and this is the pattern we all loved the best! It’s called Dusky Floral -Stone by Albany
Once the wallpaper order came in, we decided to ship the kiddos off to Grandmas house for Memorial Day weekend and tackle the bathroom refresh! Yes, we are the kinds of people that think 3 full days is plenty of time to completely renovate a bathroom…lol! Who needs sleep right!? I actually had no clue how long this would take. I had never done it before. I also was laying the tile in a herringbone pattern and that takes quite a lot longer to make all the cuts. Anyway, we went for it!
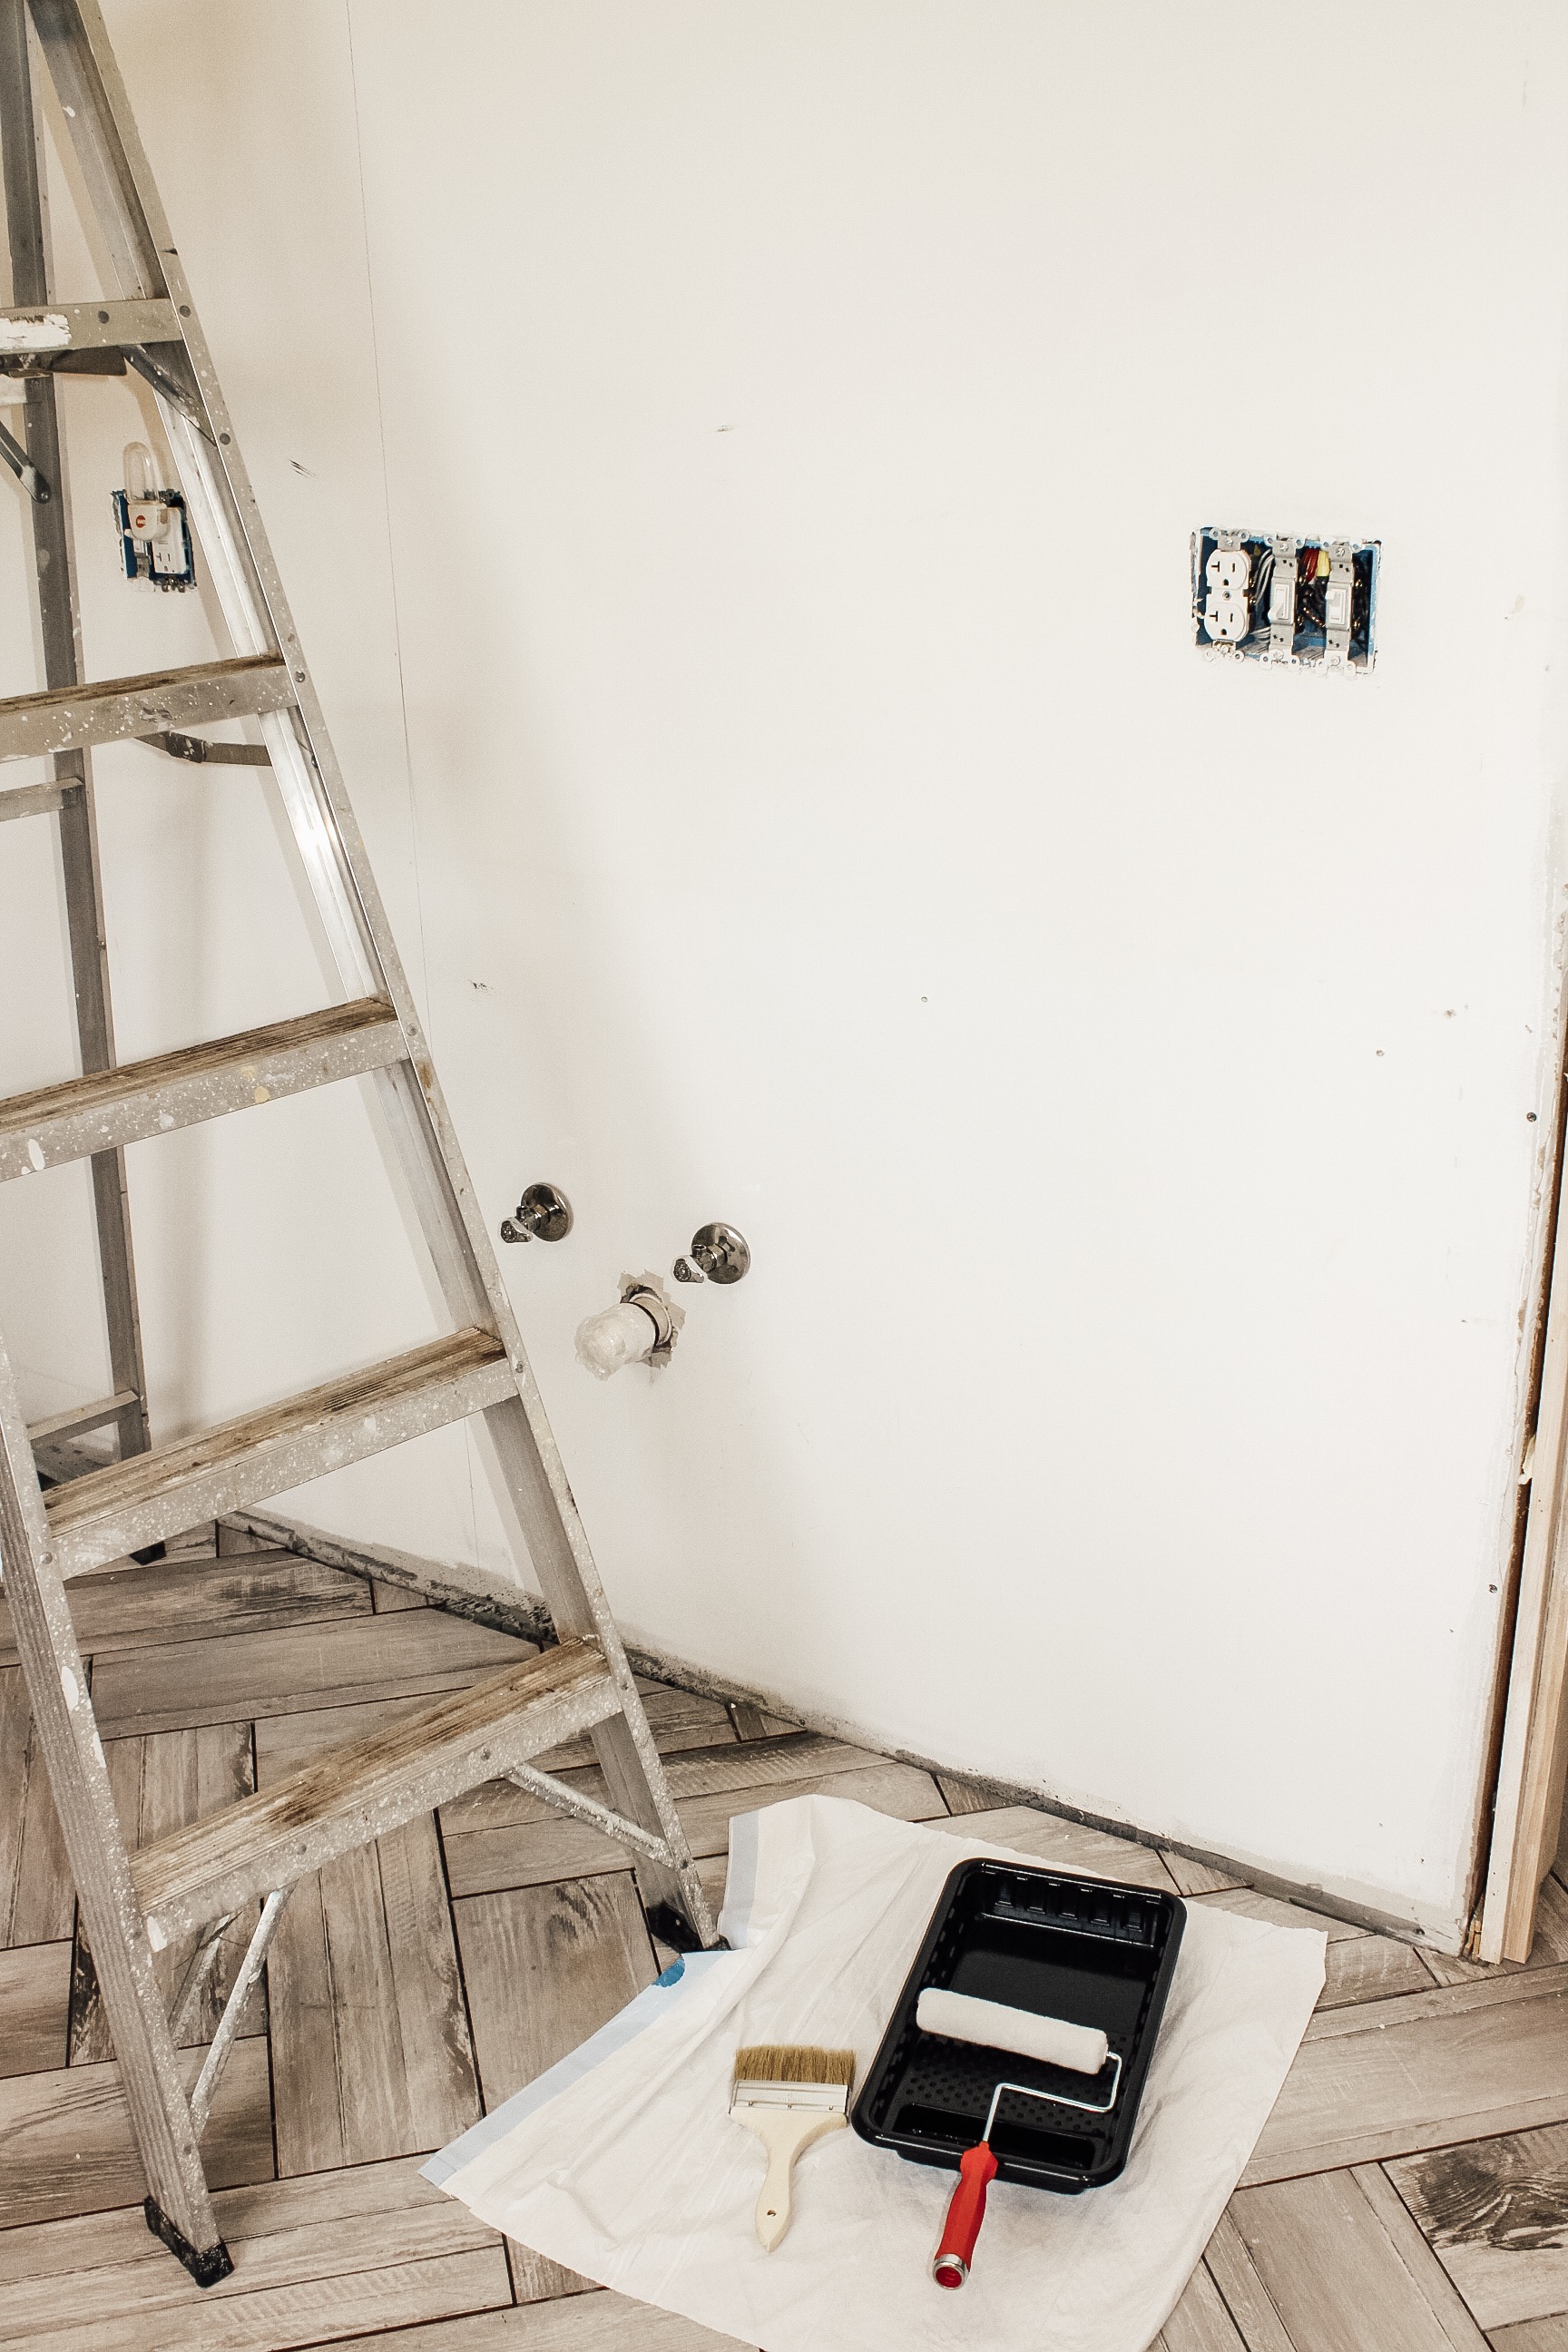
Prepping:
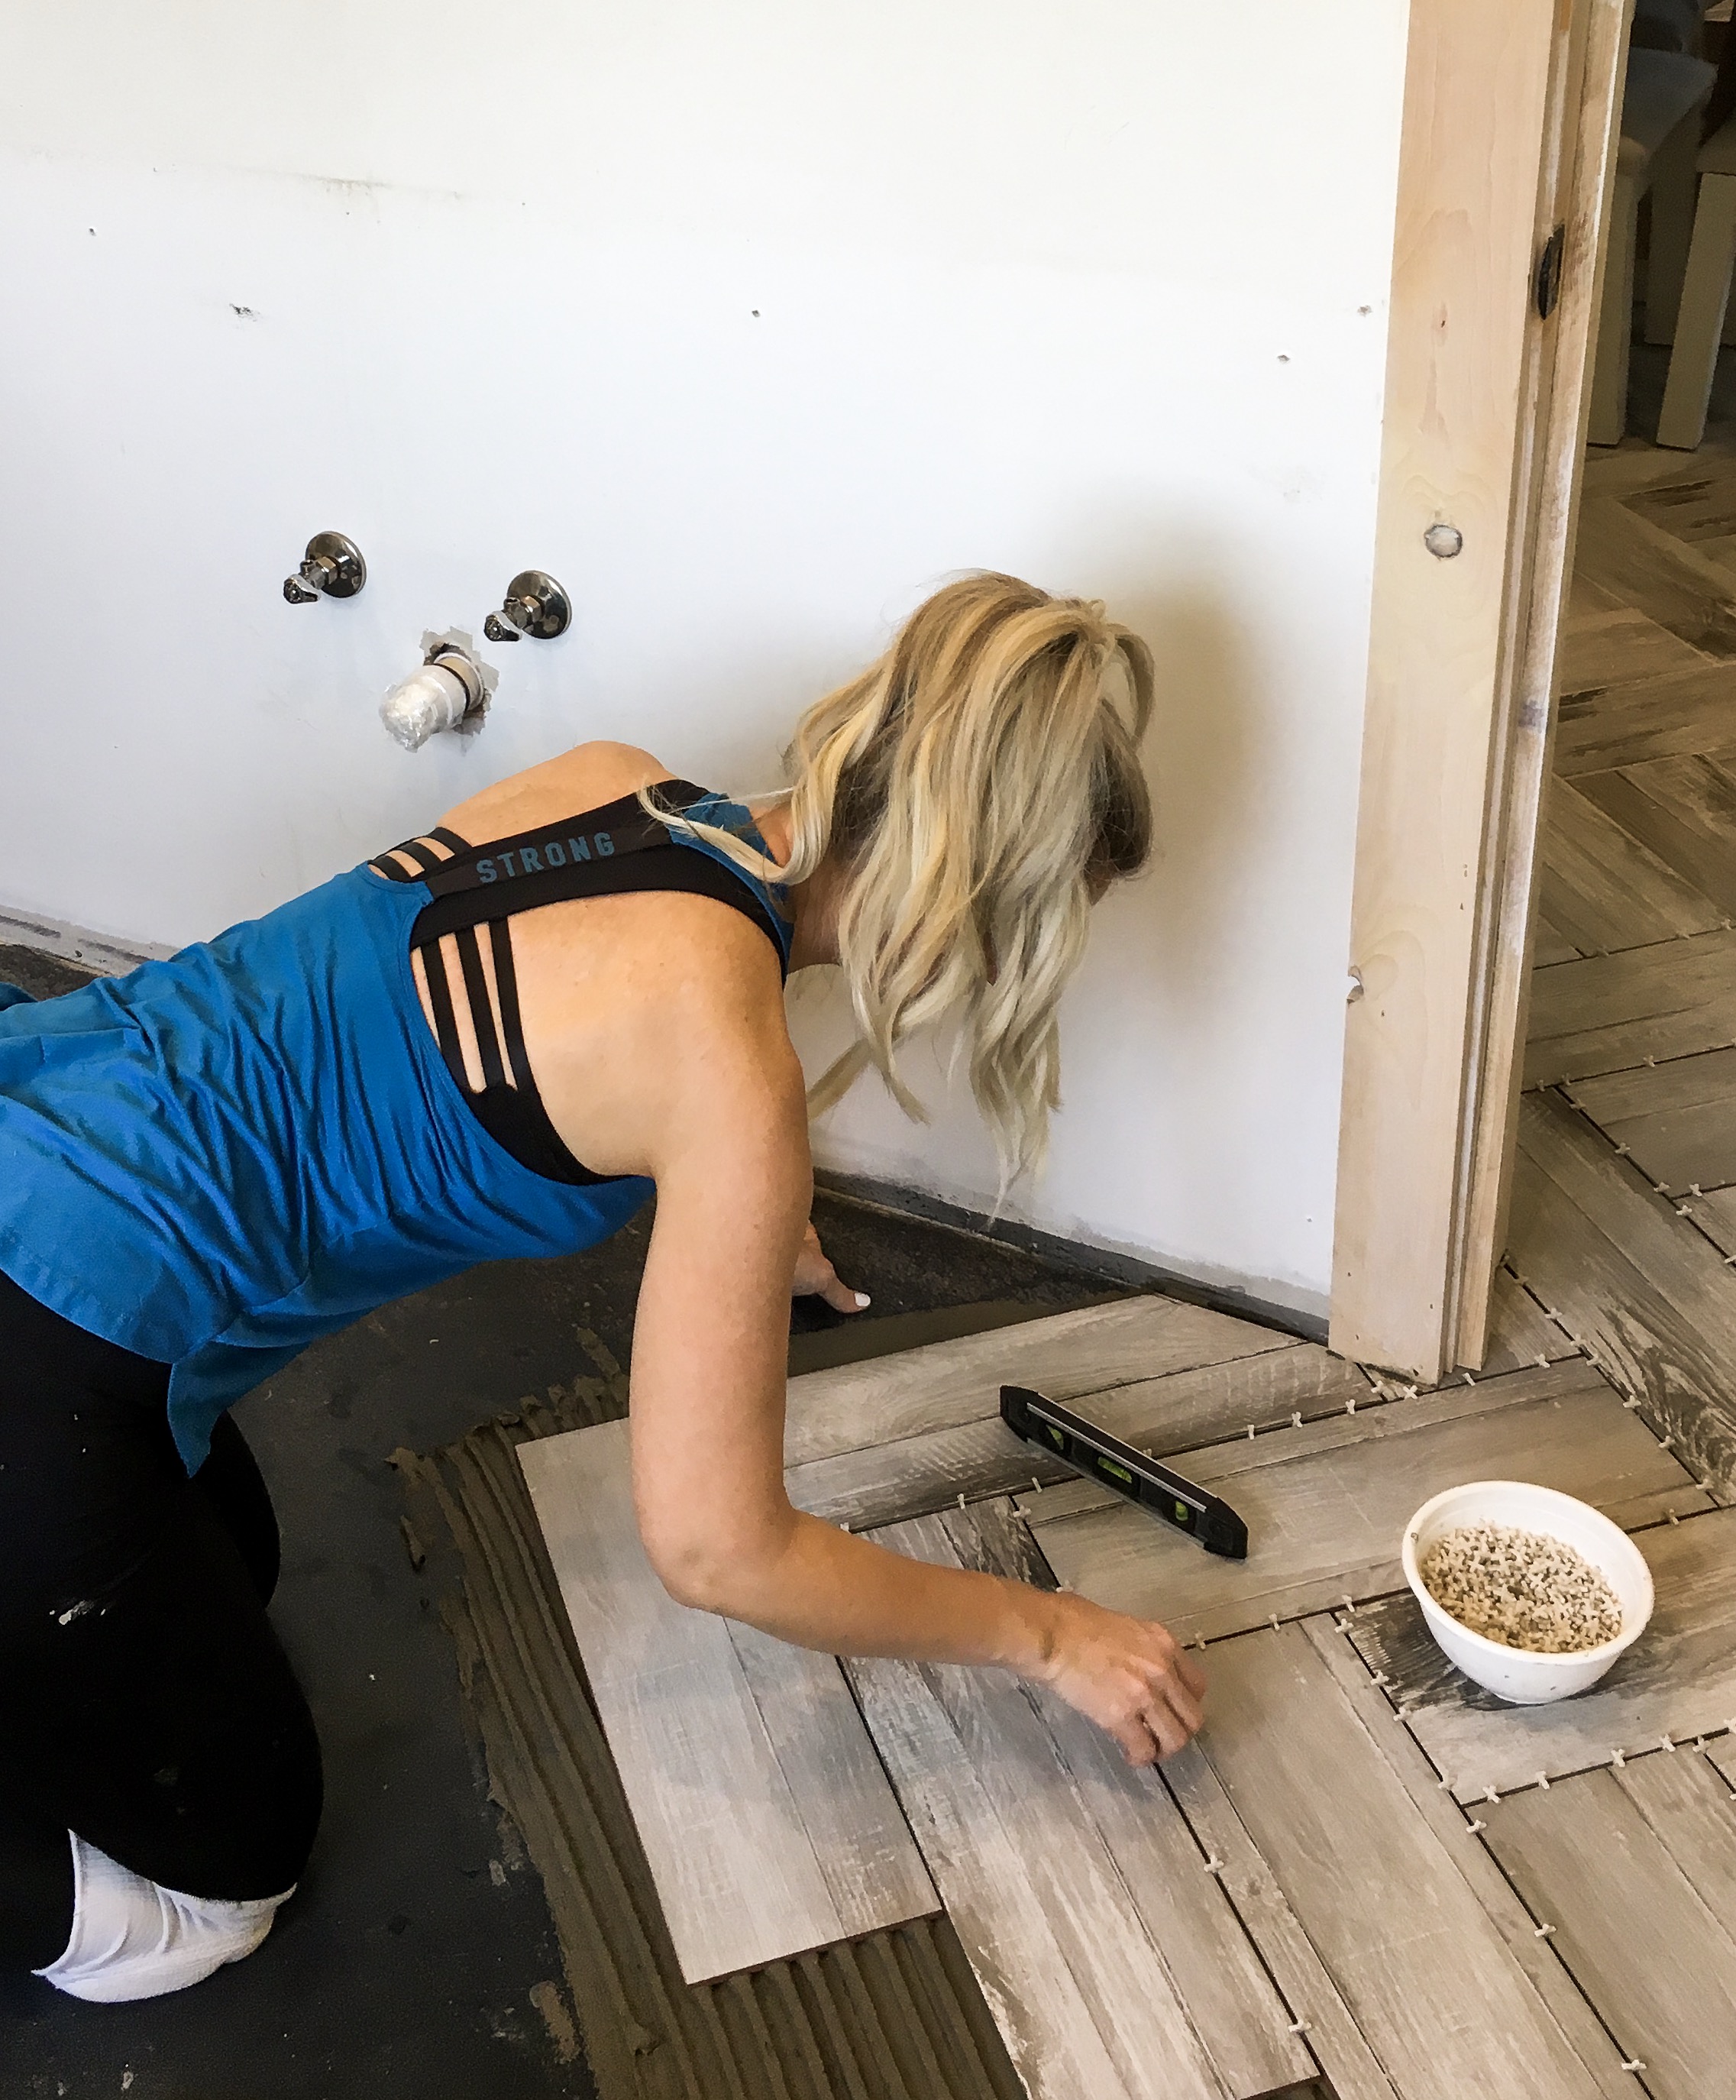
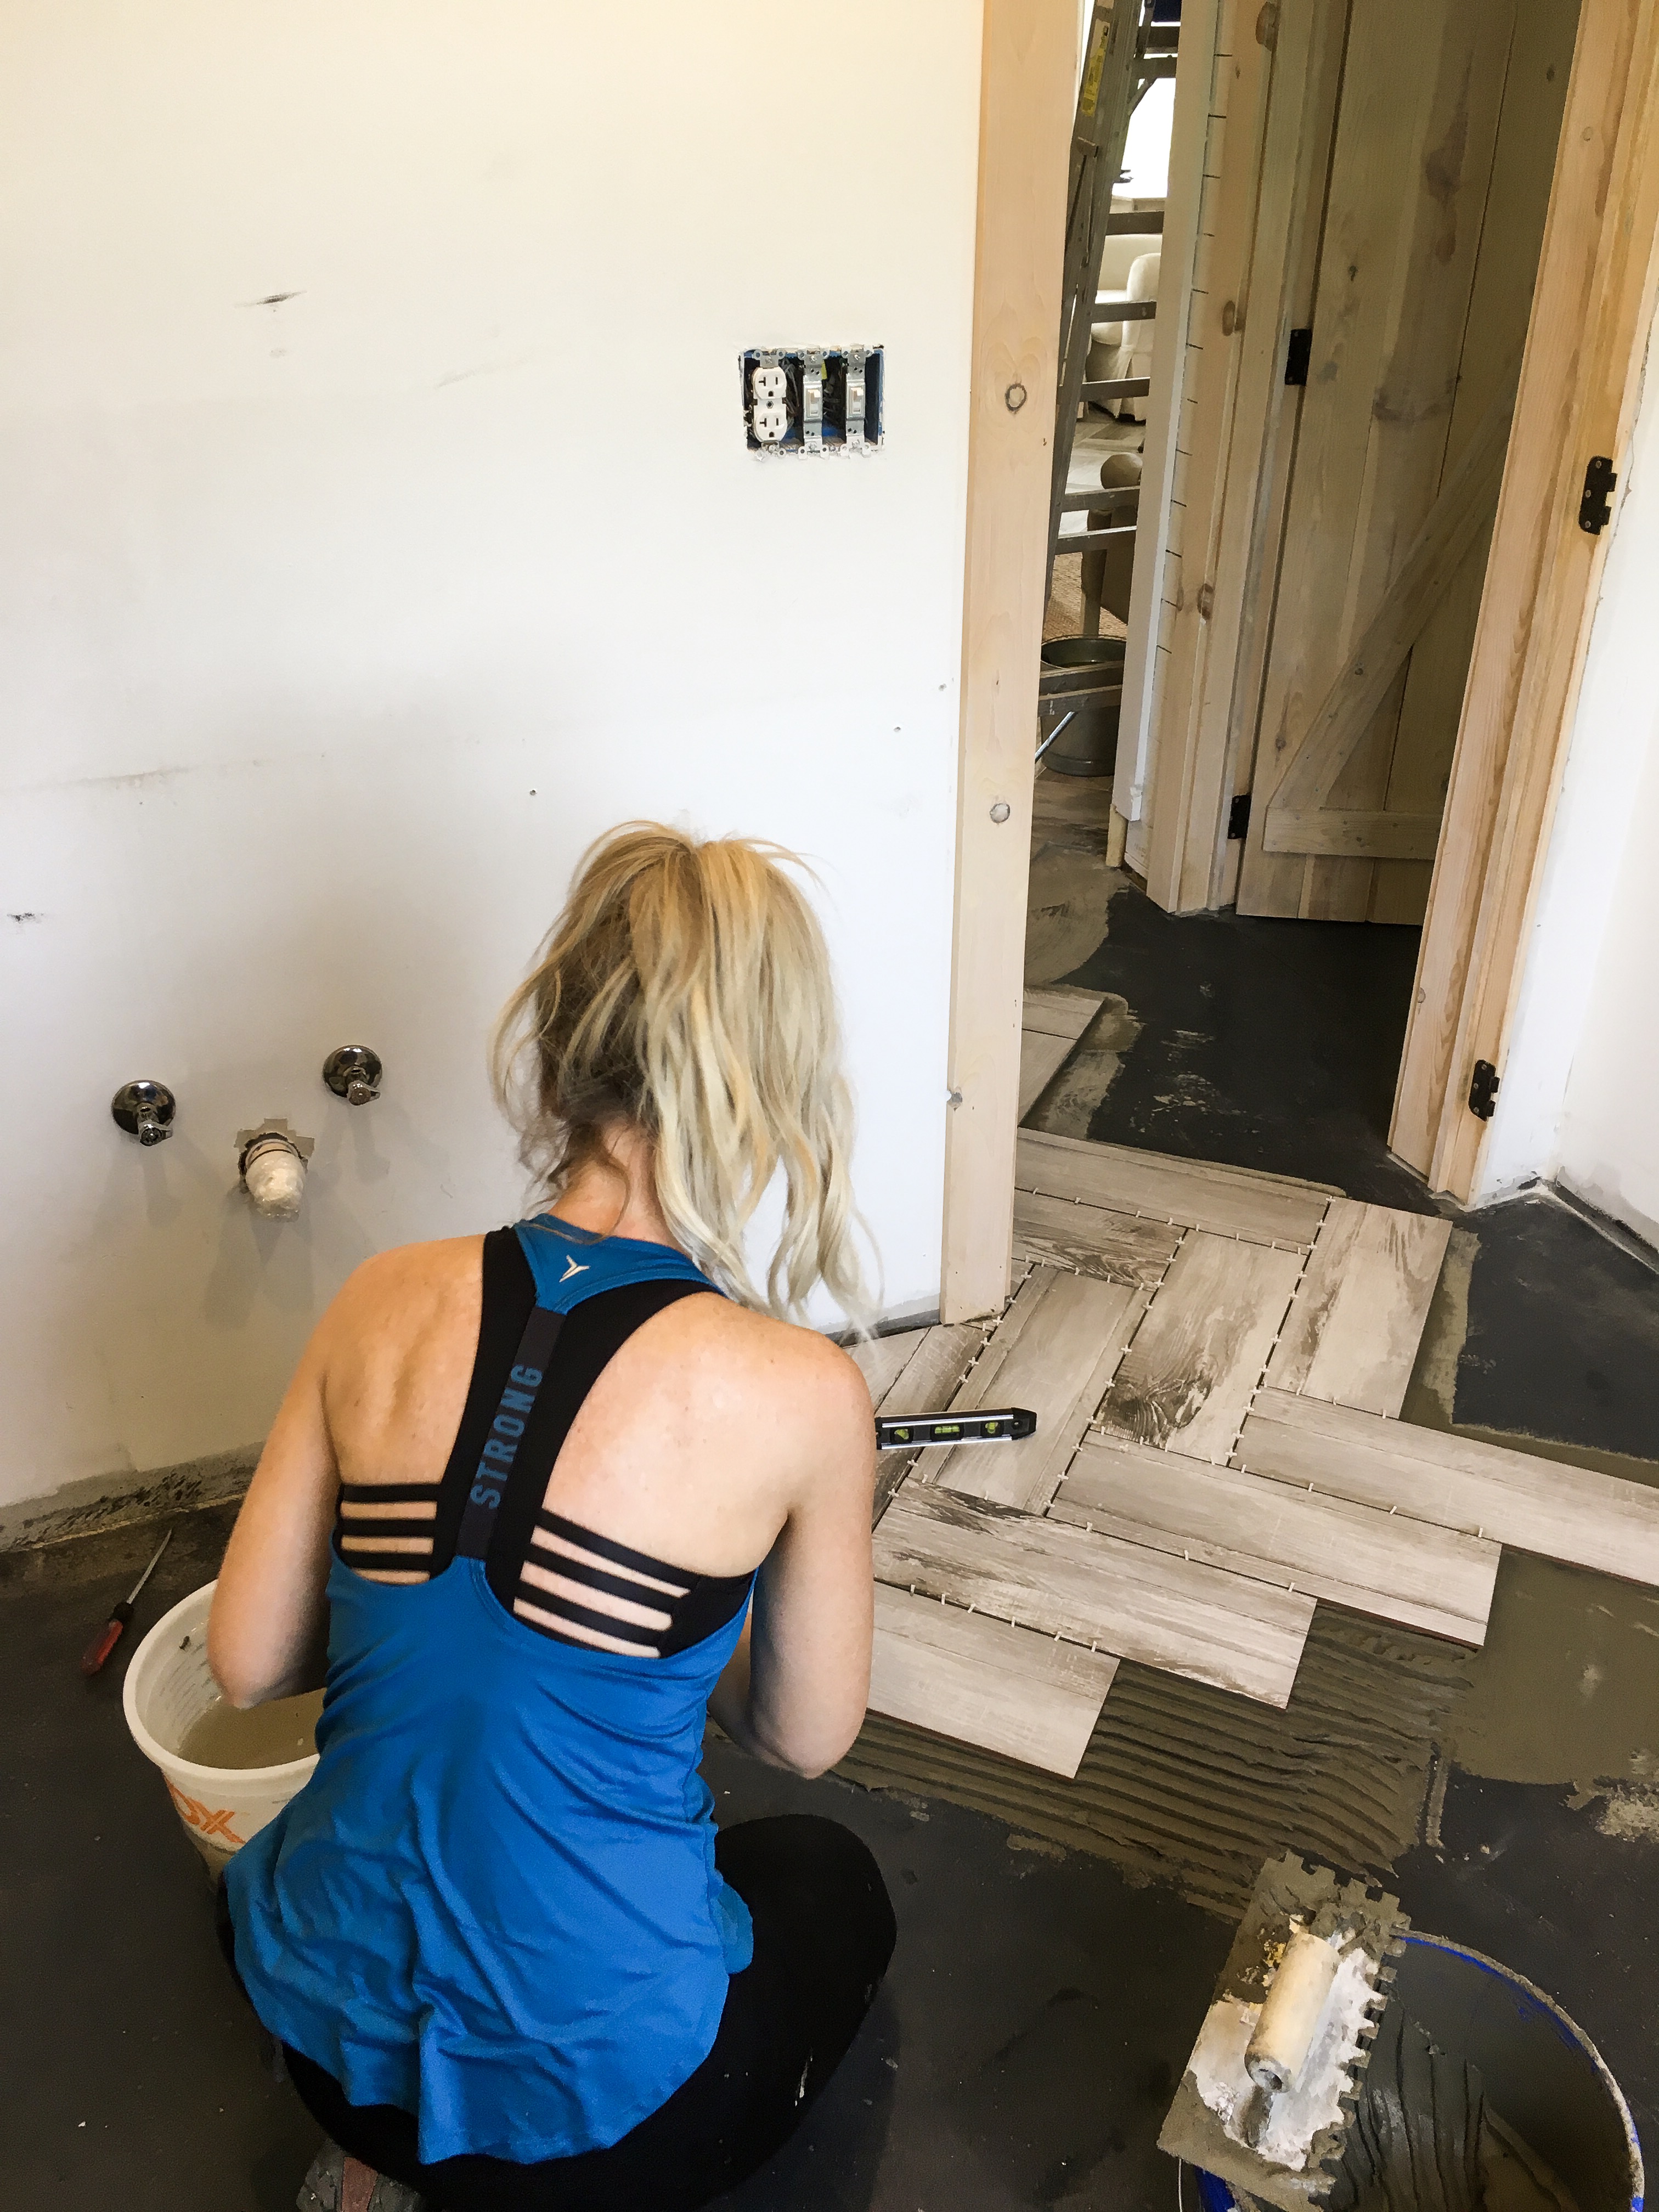
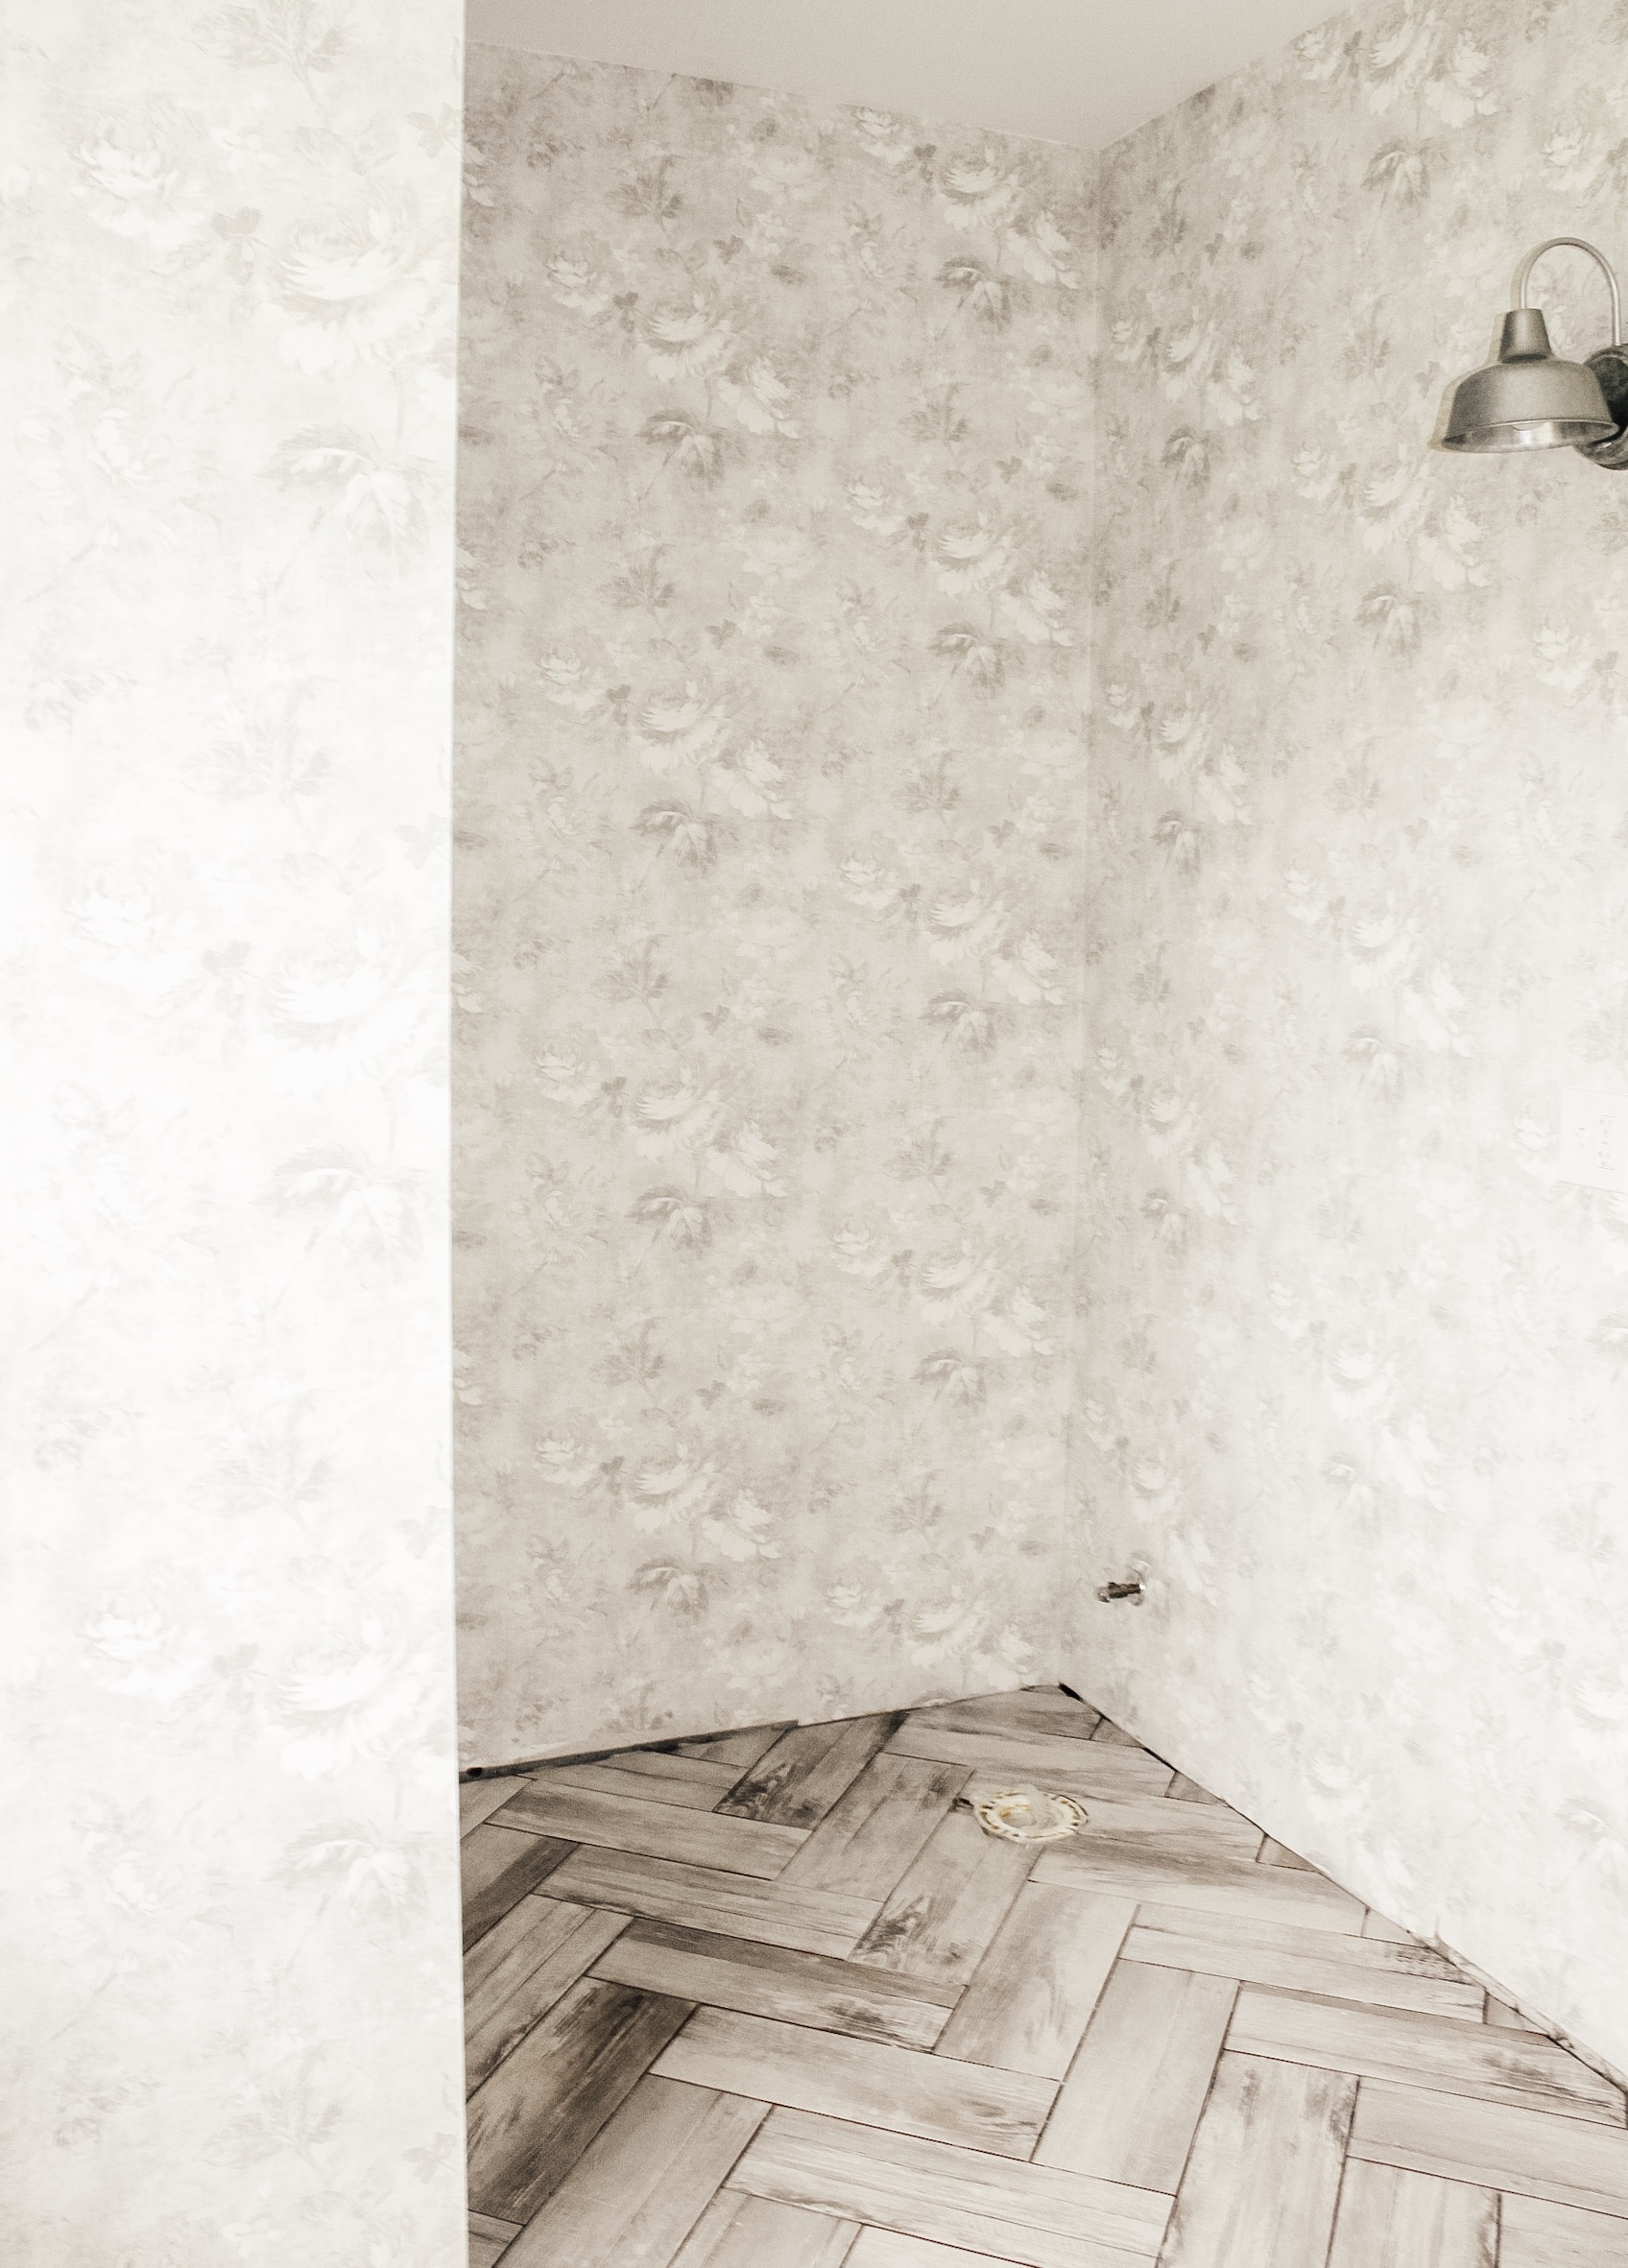
We started by removing the washer, dryer, vanity/sink, and the toilet. I then got started on laying the tile flooring. continued the same herringbone tile that I recently laid in the rest of our home. I’ll link the tile here for anyone who is interested in what product I used. I purchased it at Home Depot (NOT sponsored, by the way, I just wanted to share) and I absolutely love the product! Its called MSI DUttonwood Ash (Grey) 7inx20in Glazed Ceramic Floor and Wall Tile and it’s around $1 per sq ft!
Laying The Tile Floor:
Time For Wallpaper:
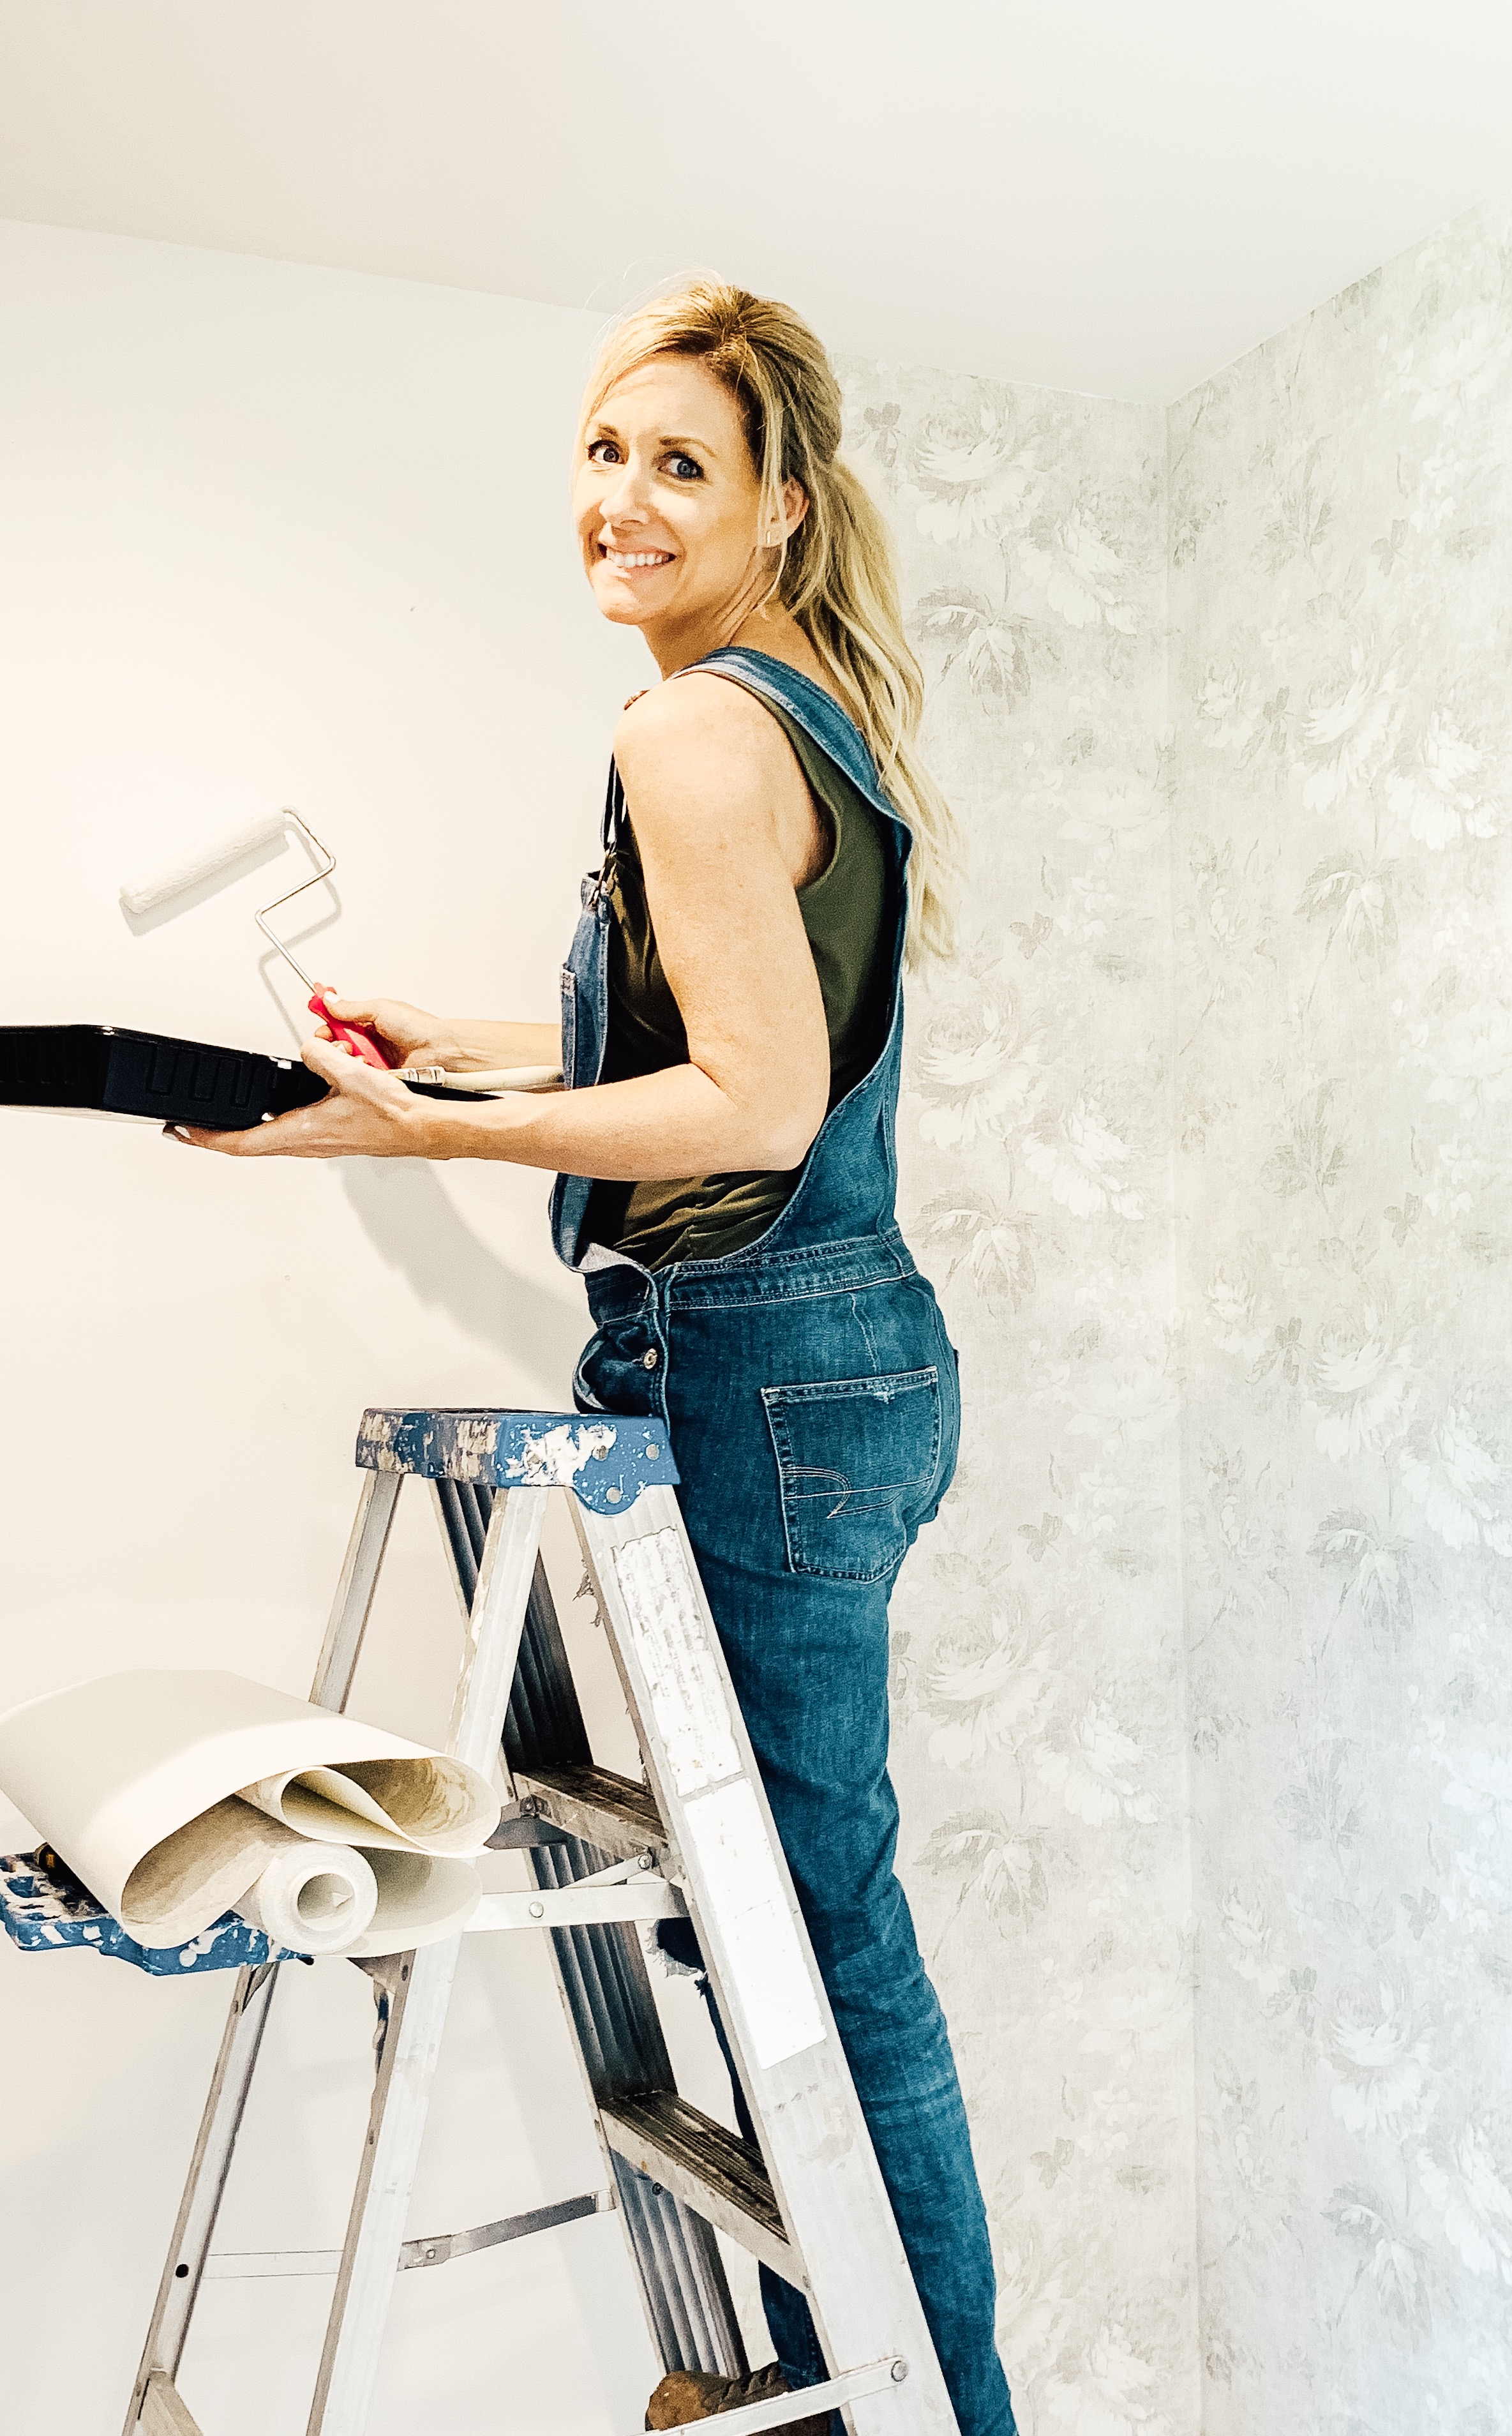
After the tile was cured, it was time to start on the wallpaper! Like I mentioned, I am totally new to wallpapering. I have removed wallpaper plenty of times in previous homes that we’ve renovated, but this was my first time installing it! So I was excited but also nervous mainly because I’m the one who did all the drywall in this bathroom and if the walls and corners were not all totally level and perfect I knew that would really start to impact how the wallpaper would match up and hang. If the walls were off, there would be no one to blame but myself….yikes!
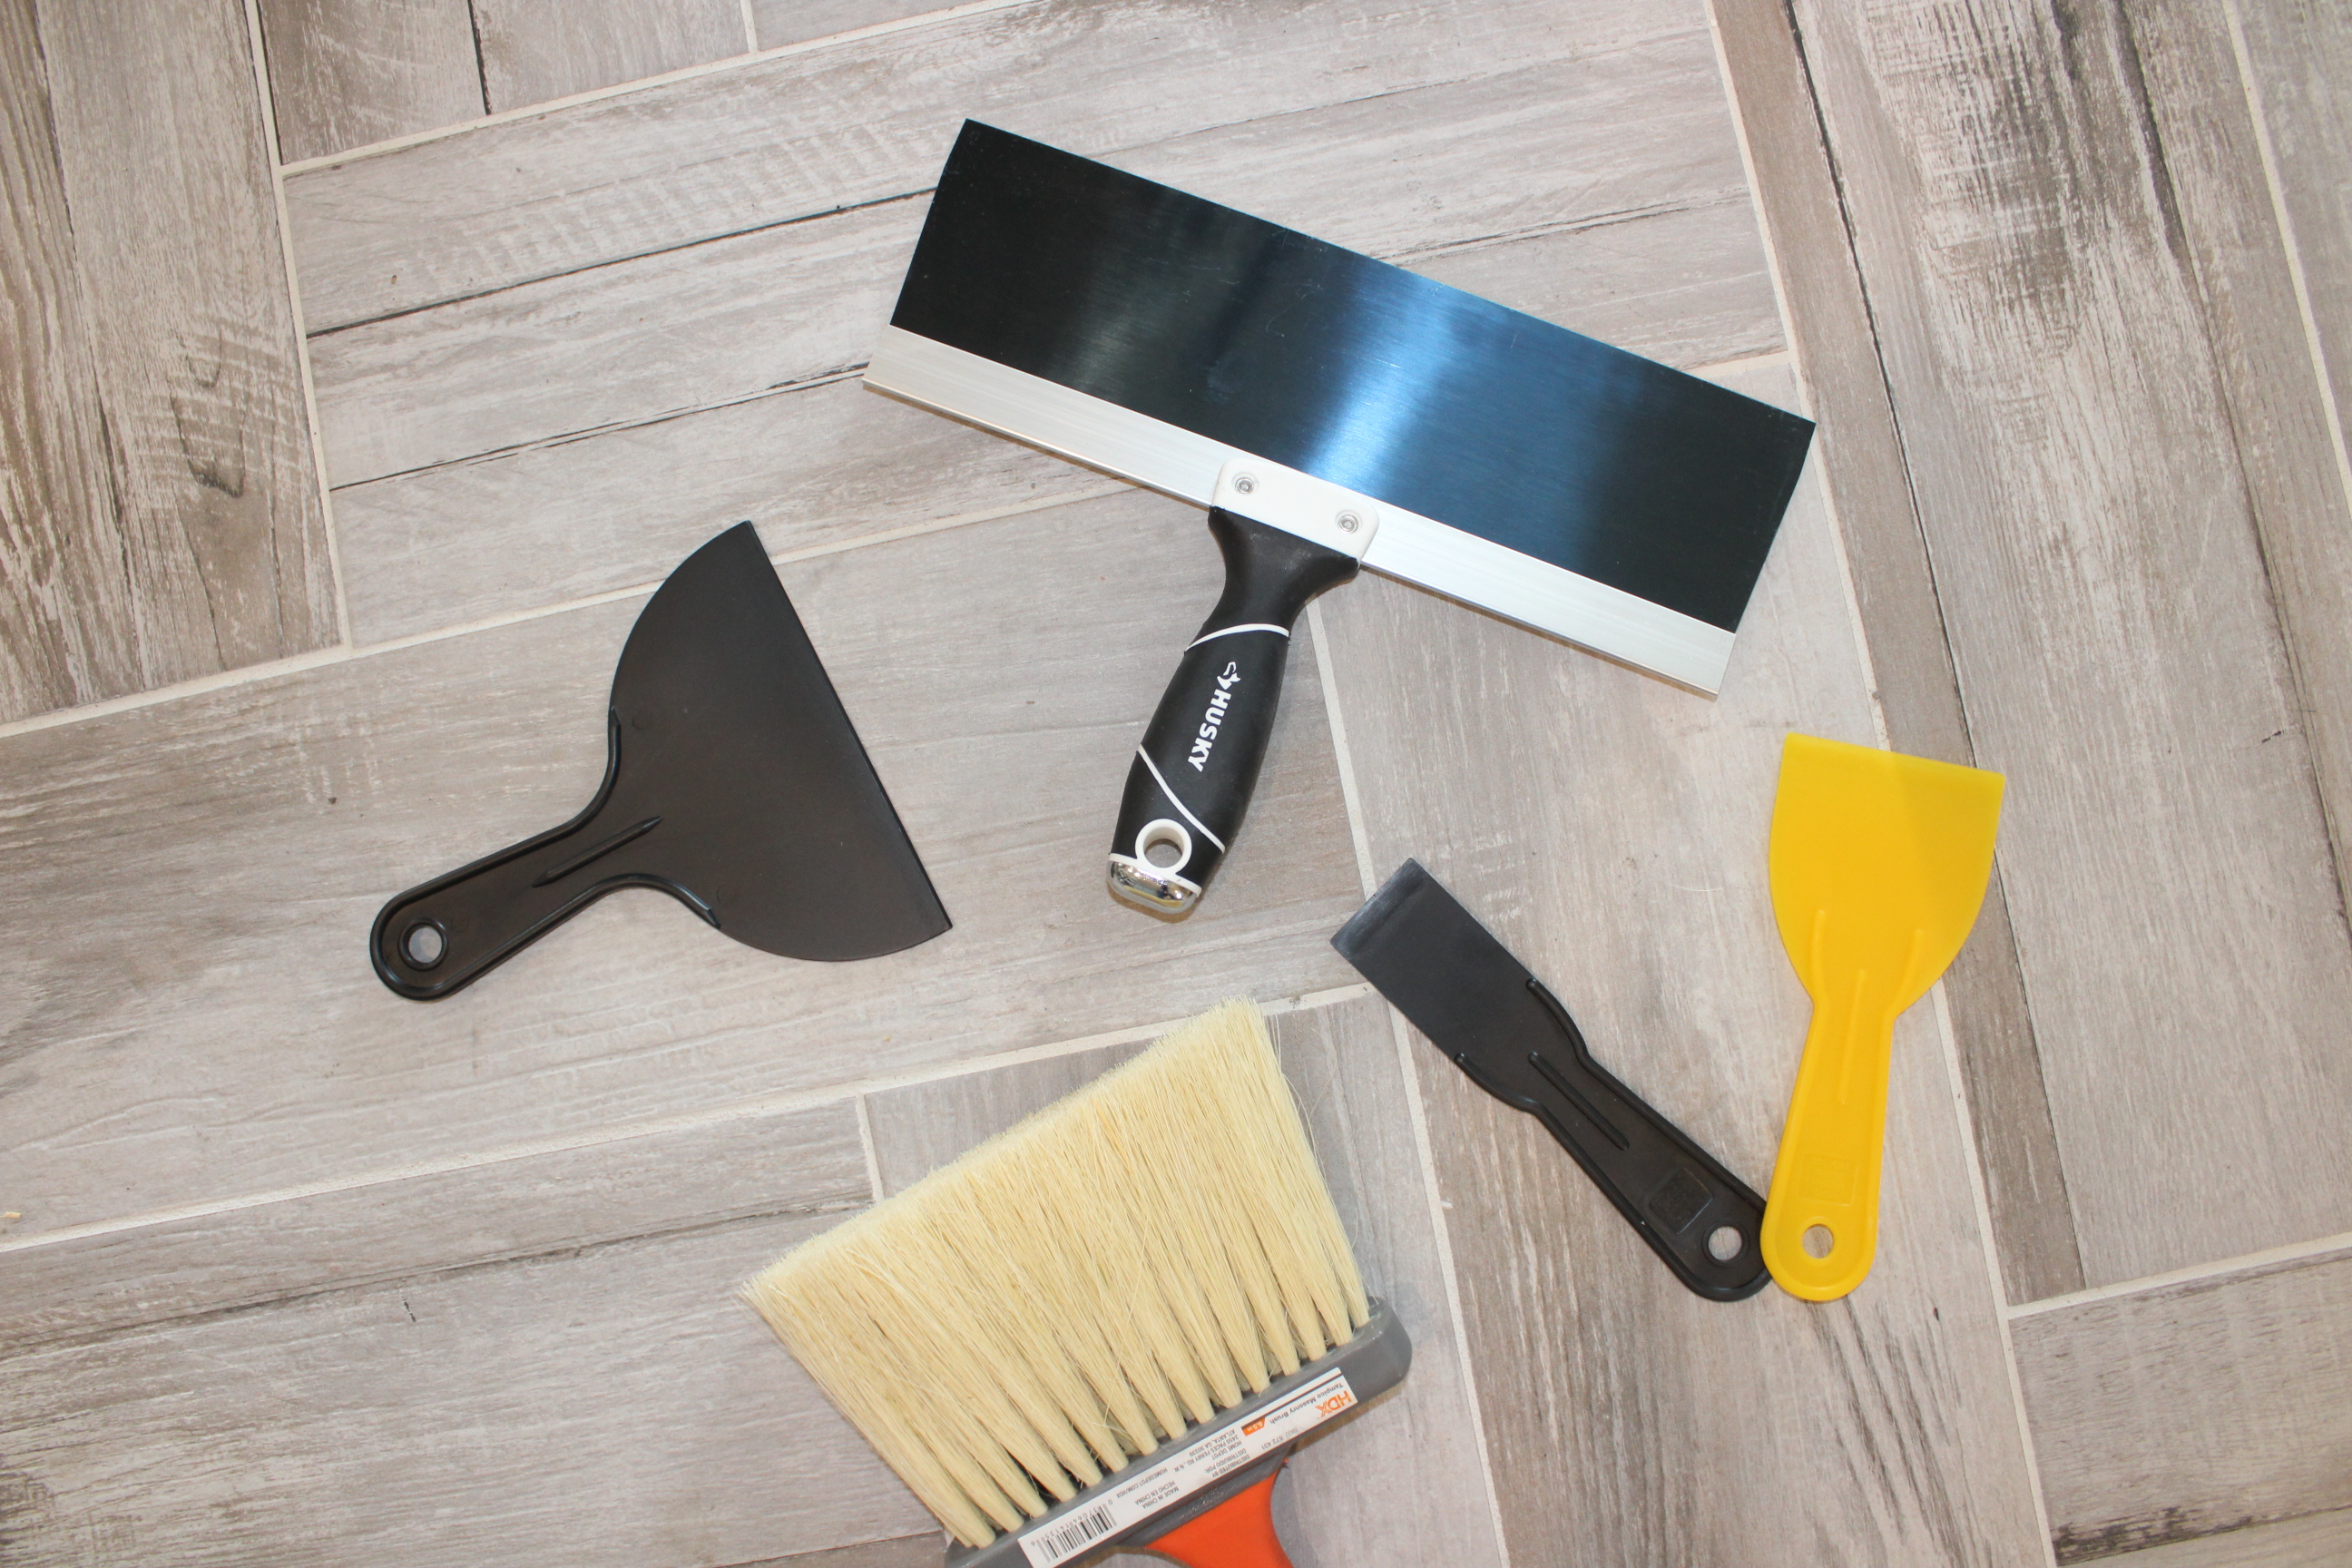
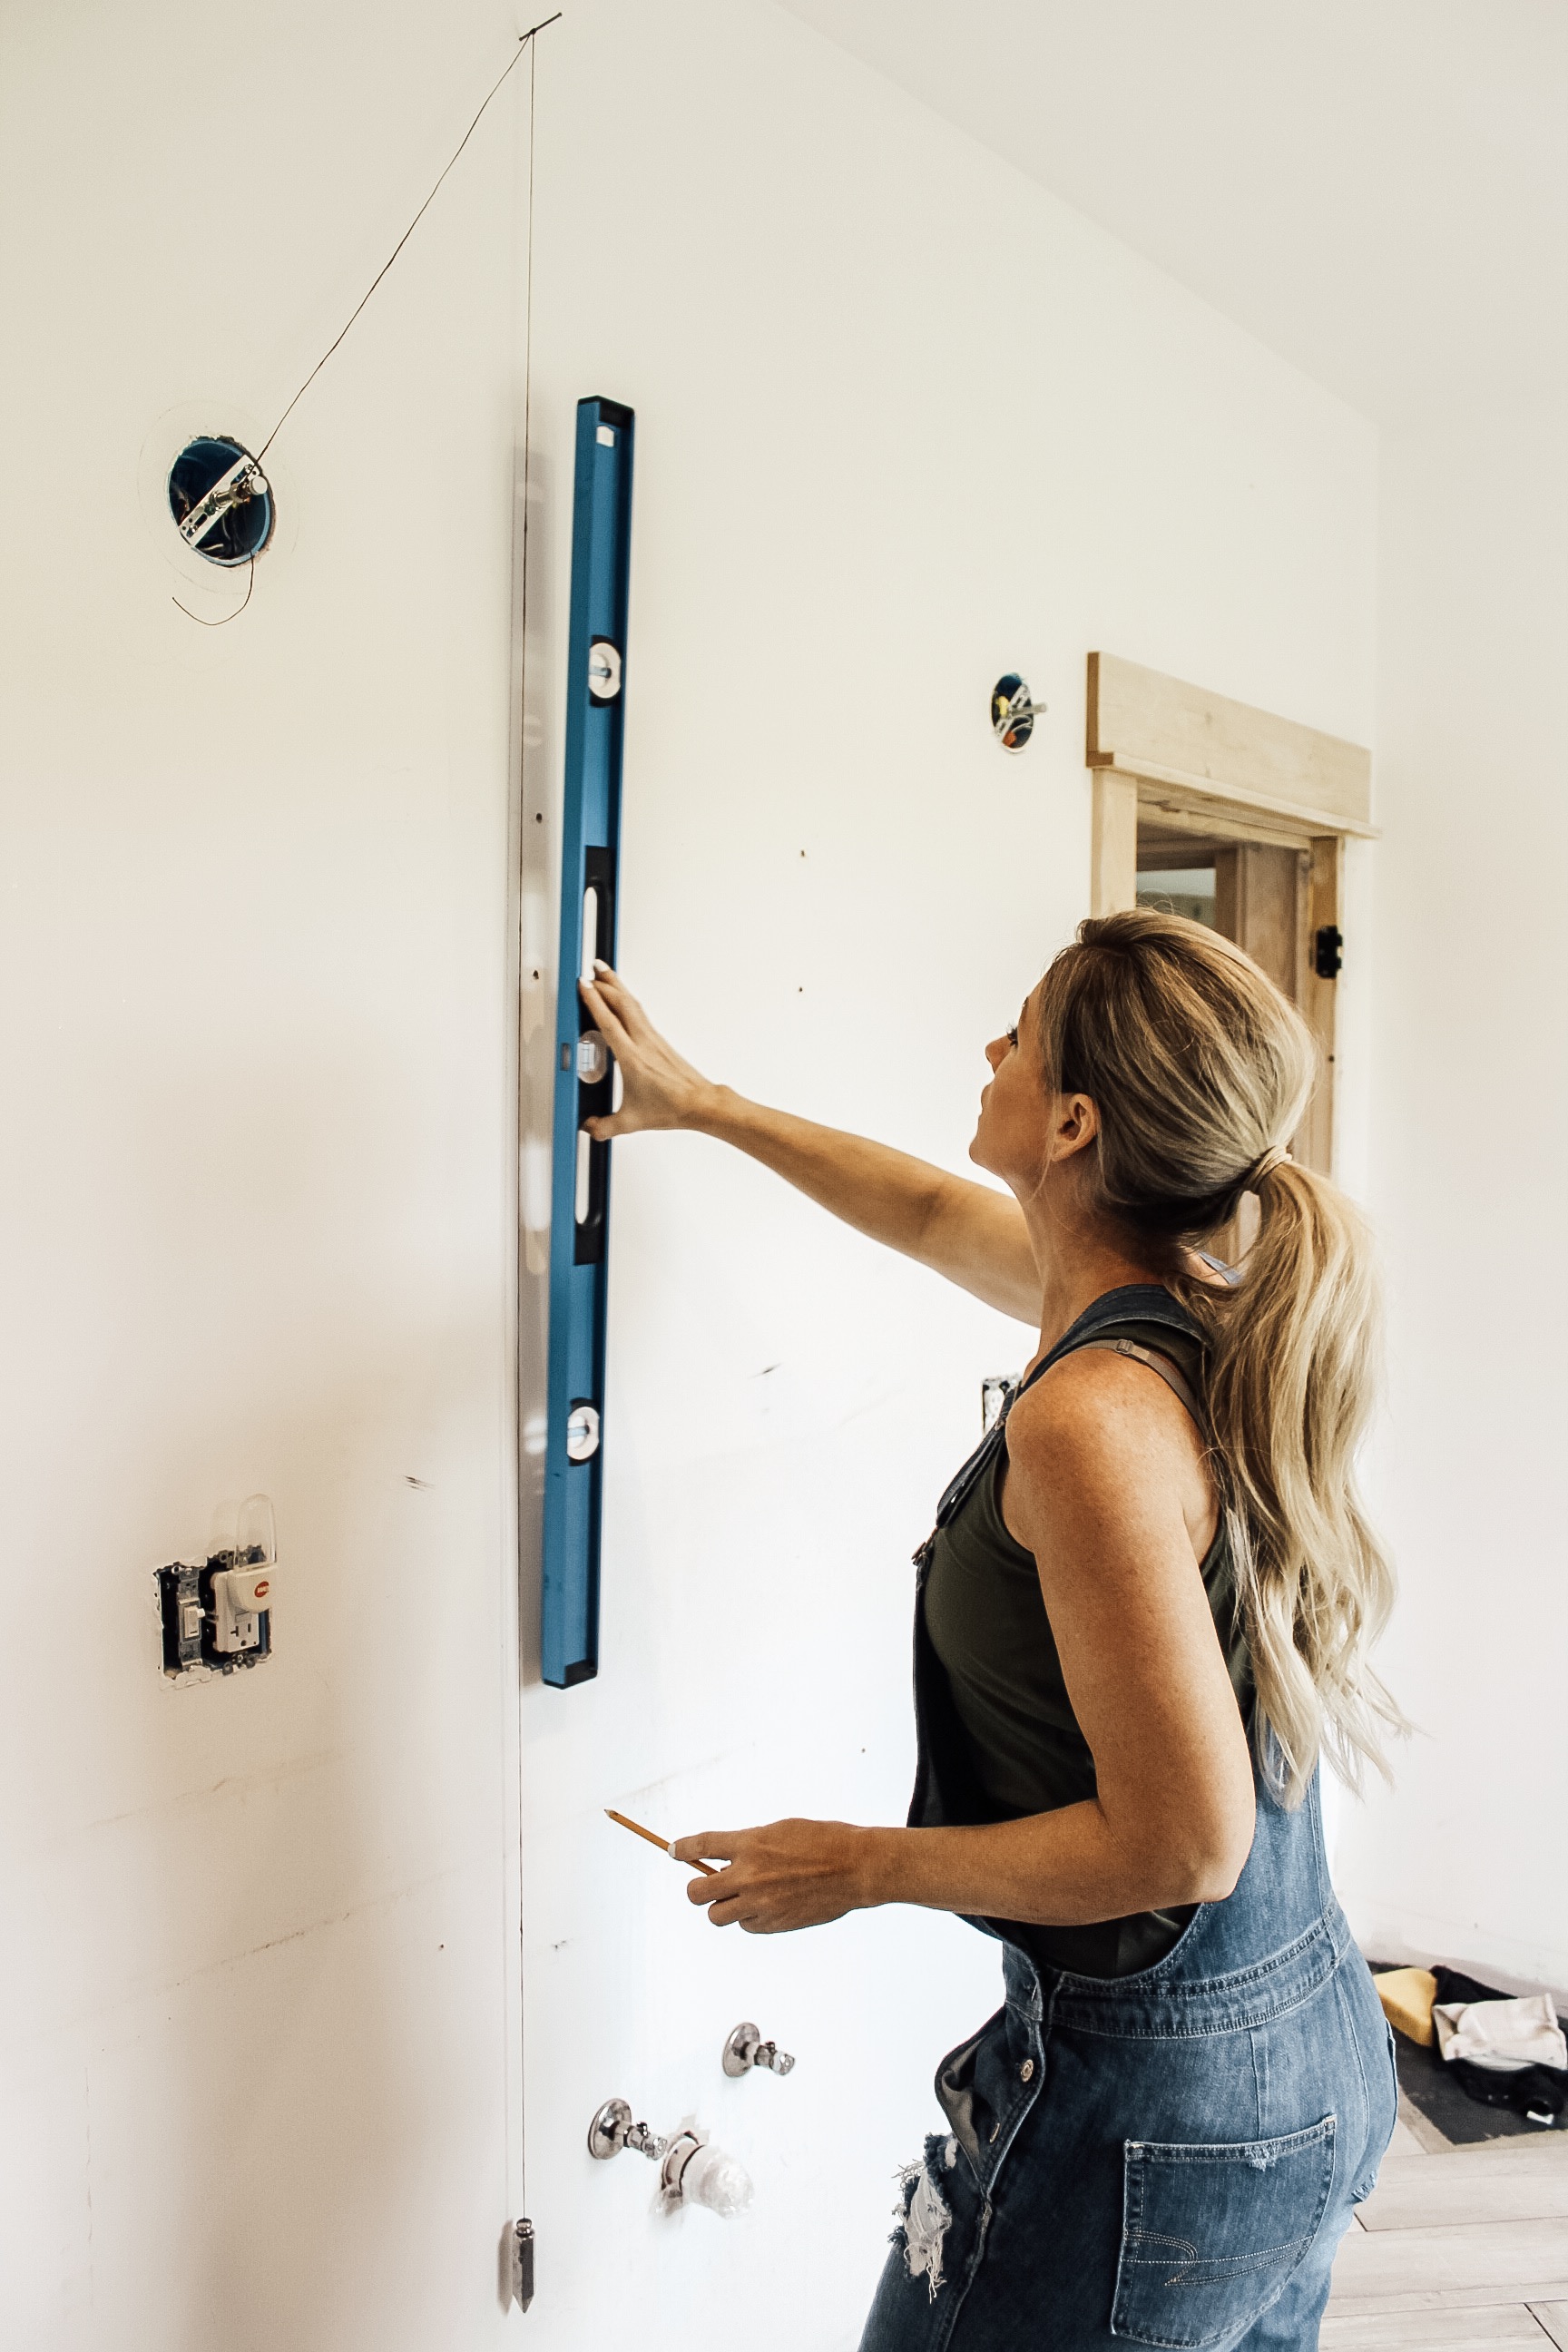
My first step was to prep all the walls by filling the nail holes, then sand any bumps on the walls and wipe clean. Once the walls were clean and ready to go, I needed to find my focal point and level for my starting point. To do this I started on the wall behind the sink and mirror would be. I used an old school plumb line to mark my starting point…and what I mean is that I tied a plumb bob to a string and tied the other end of the string to a nail. Then nailed the nail into the top of the wall and waited for it to stop swinging and be completely motionless. Then I checked it with a 4ft level and drew my line.
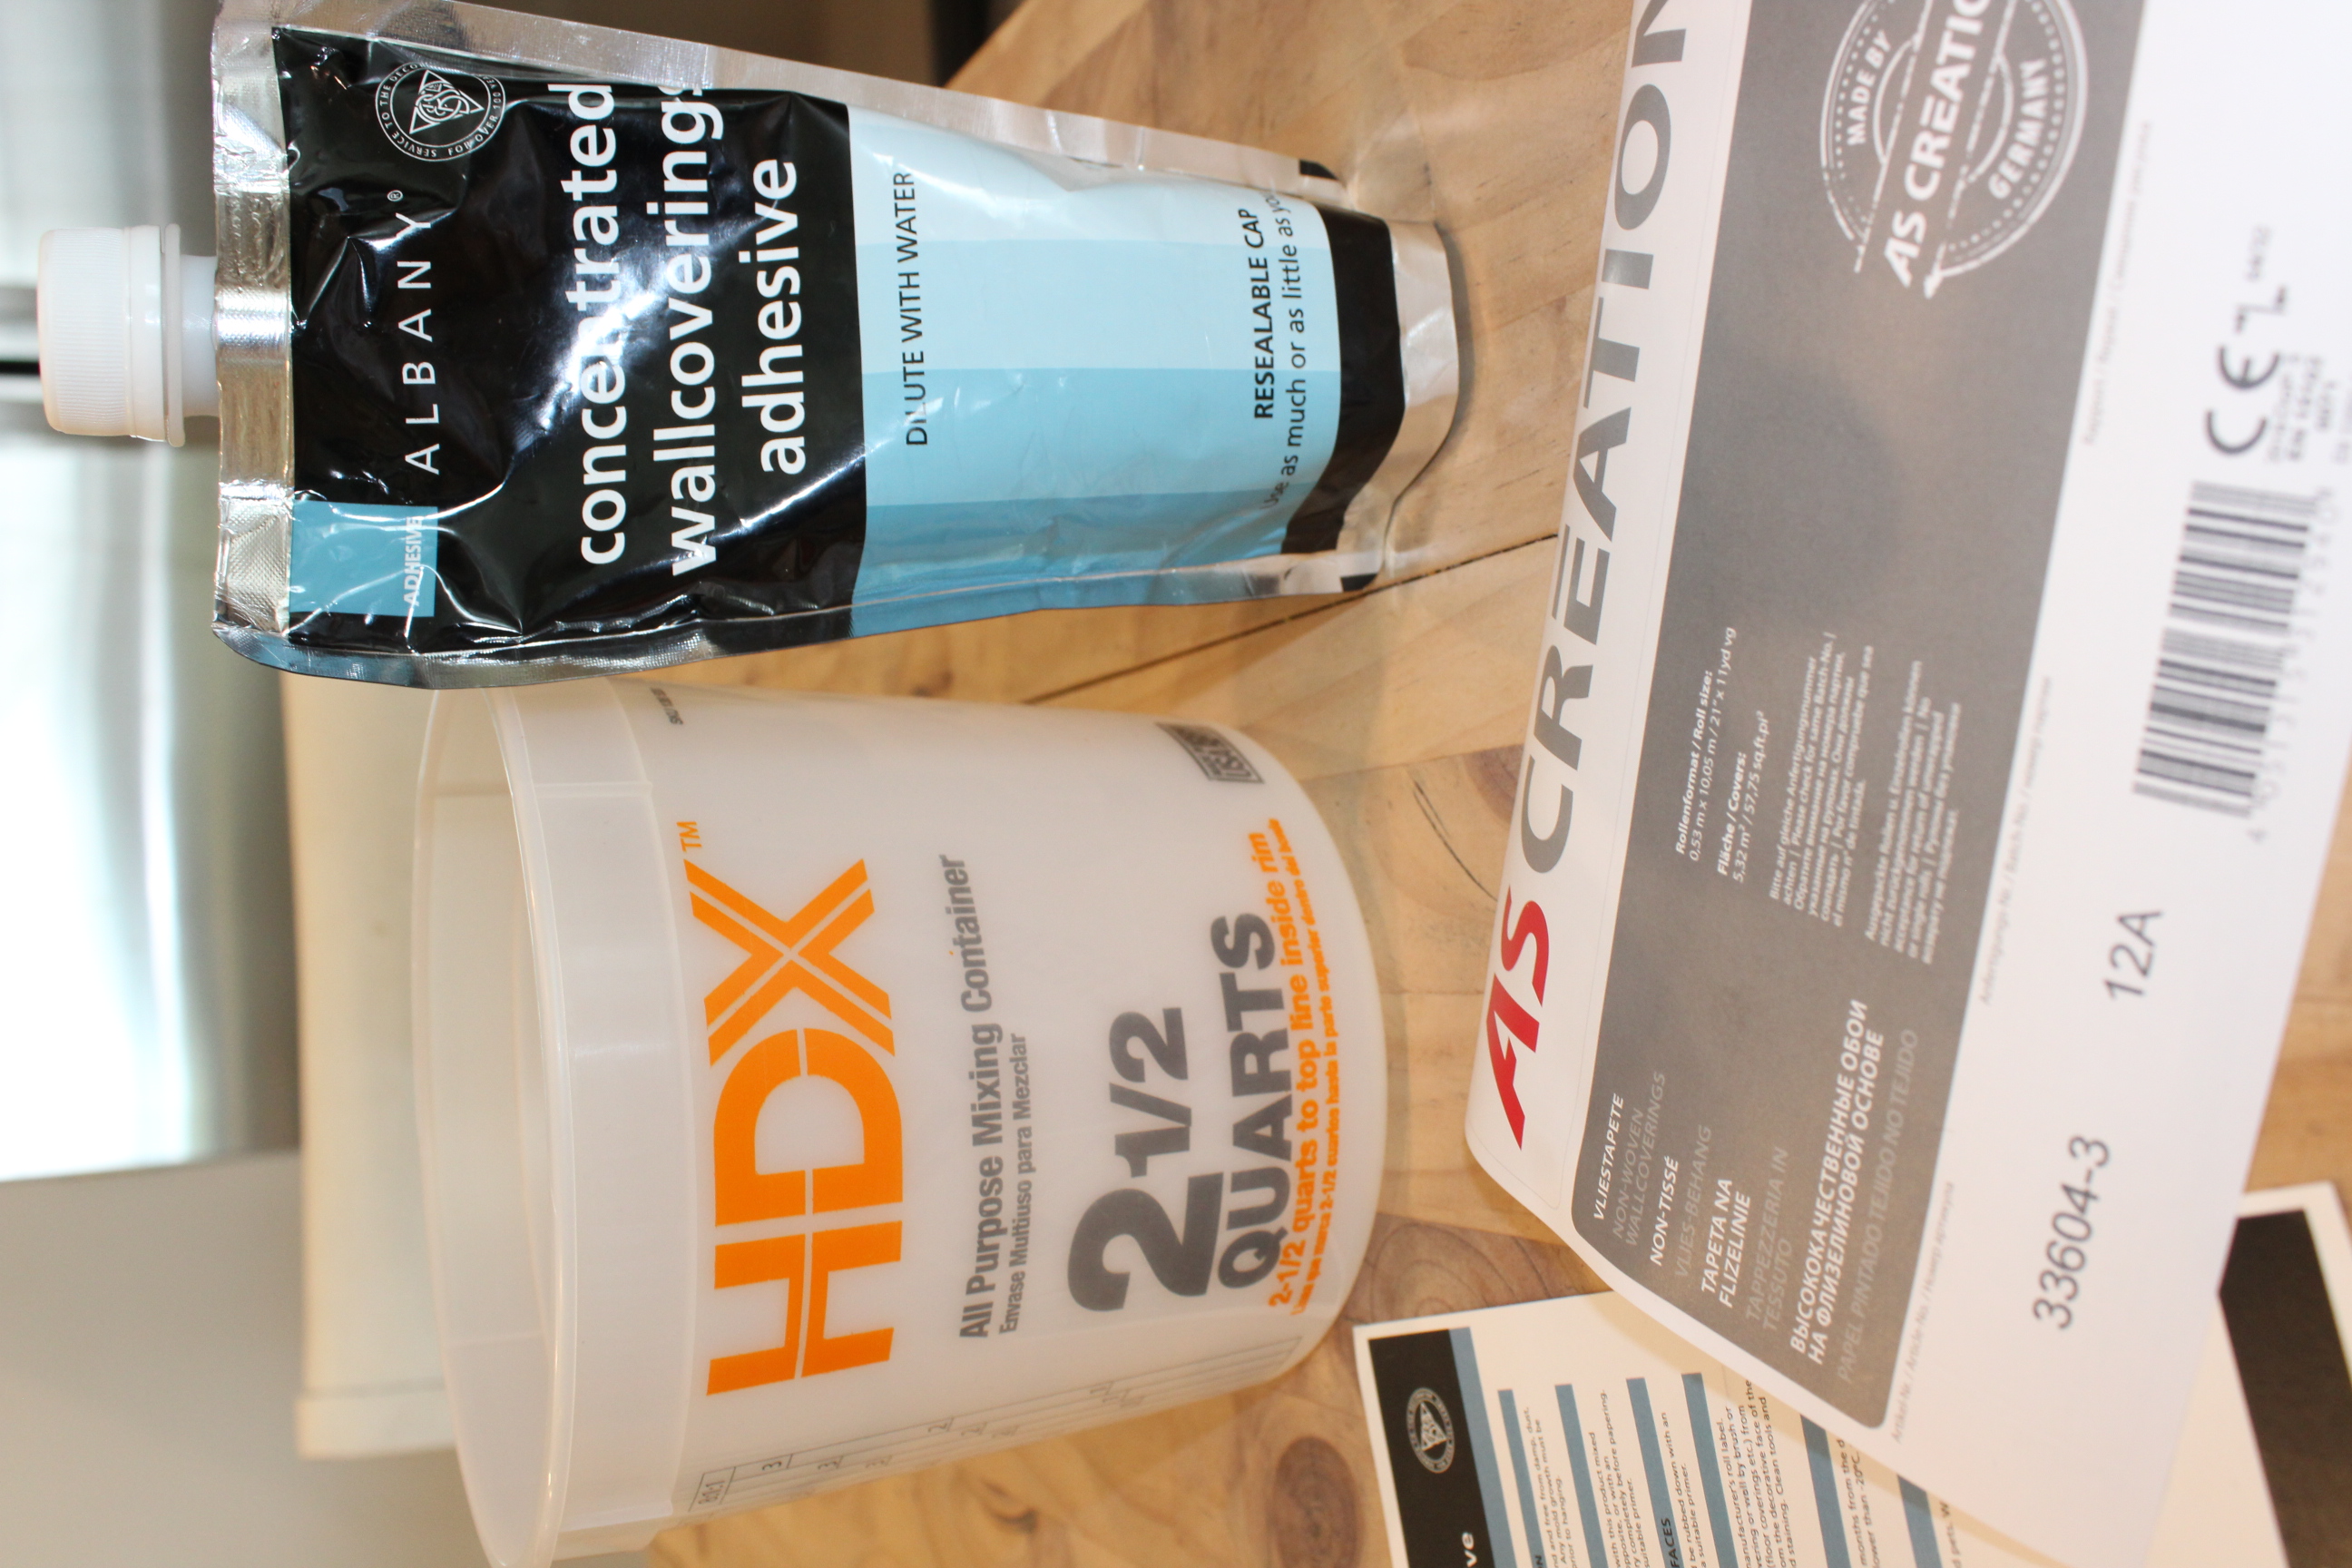
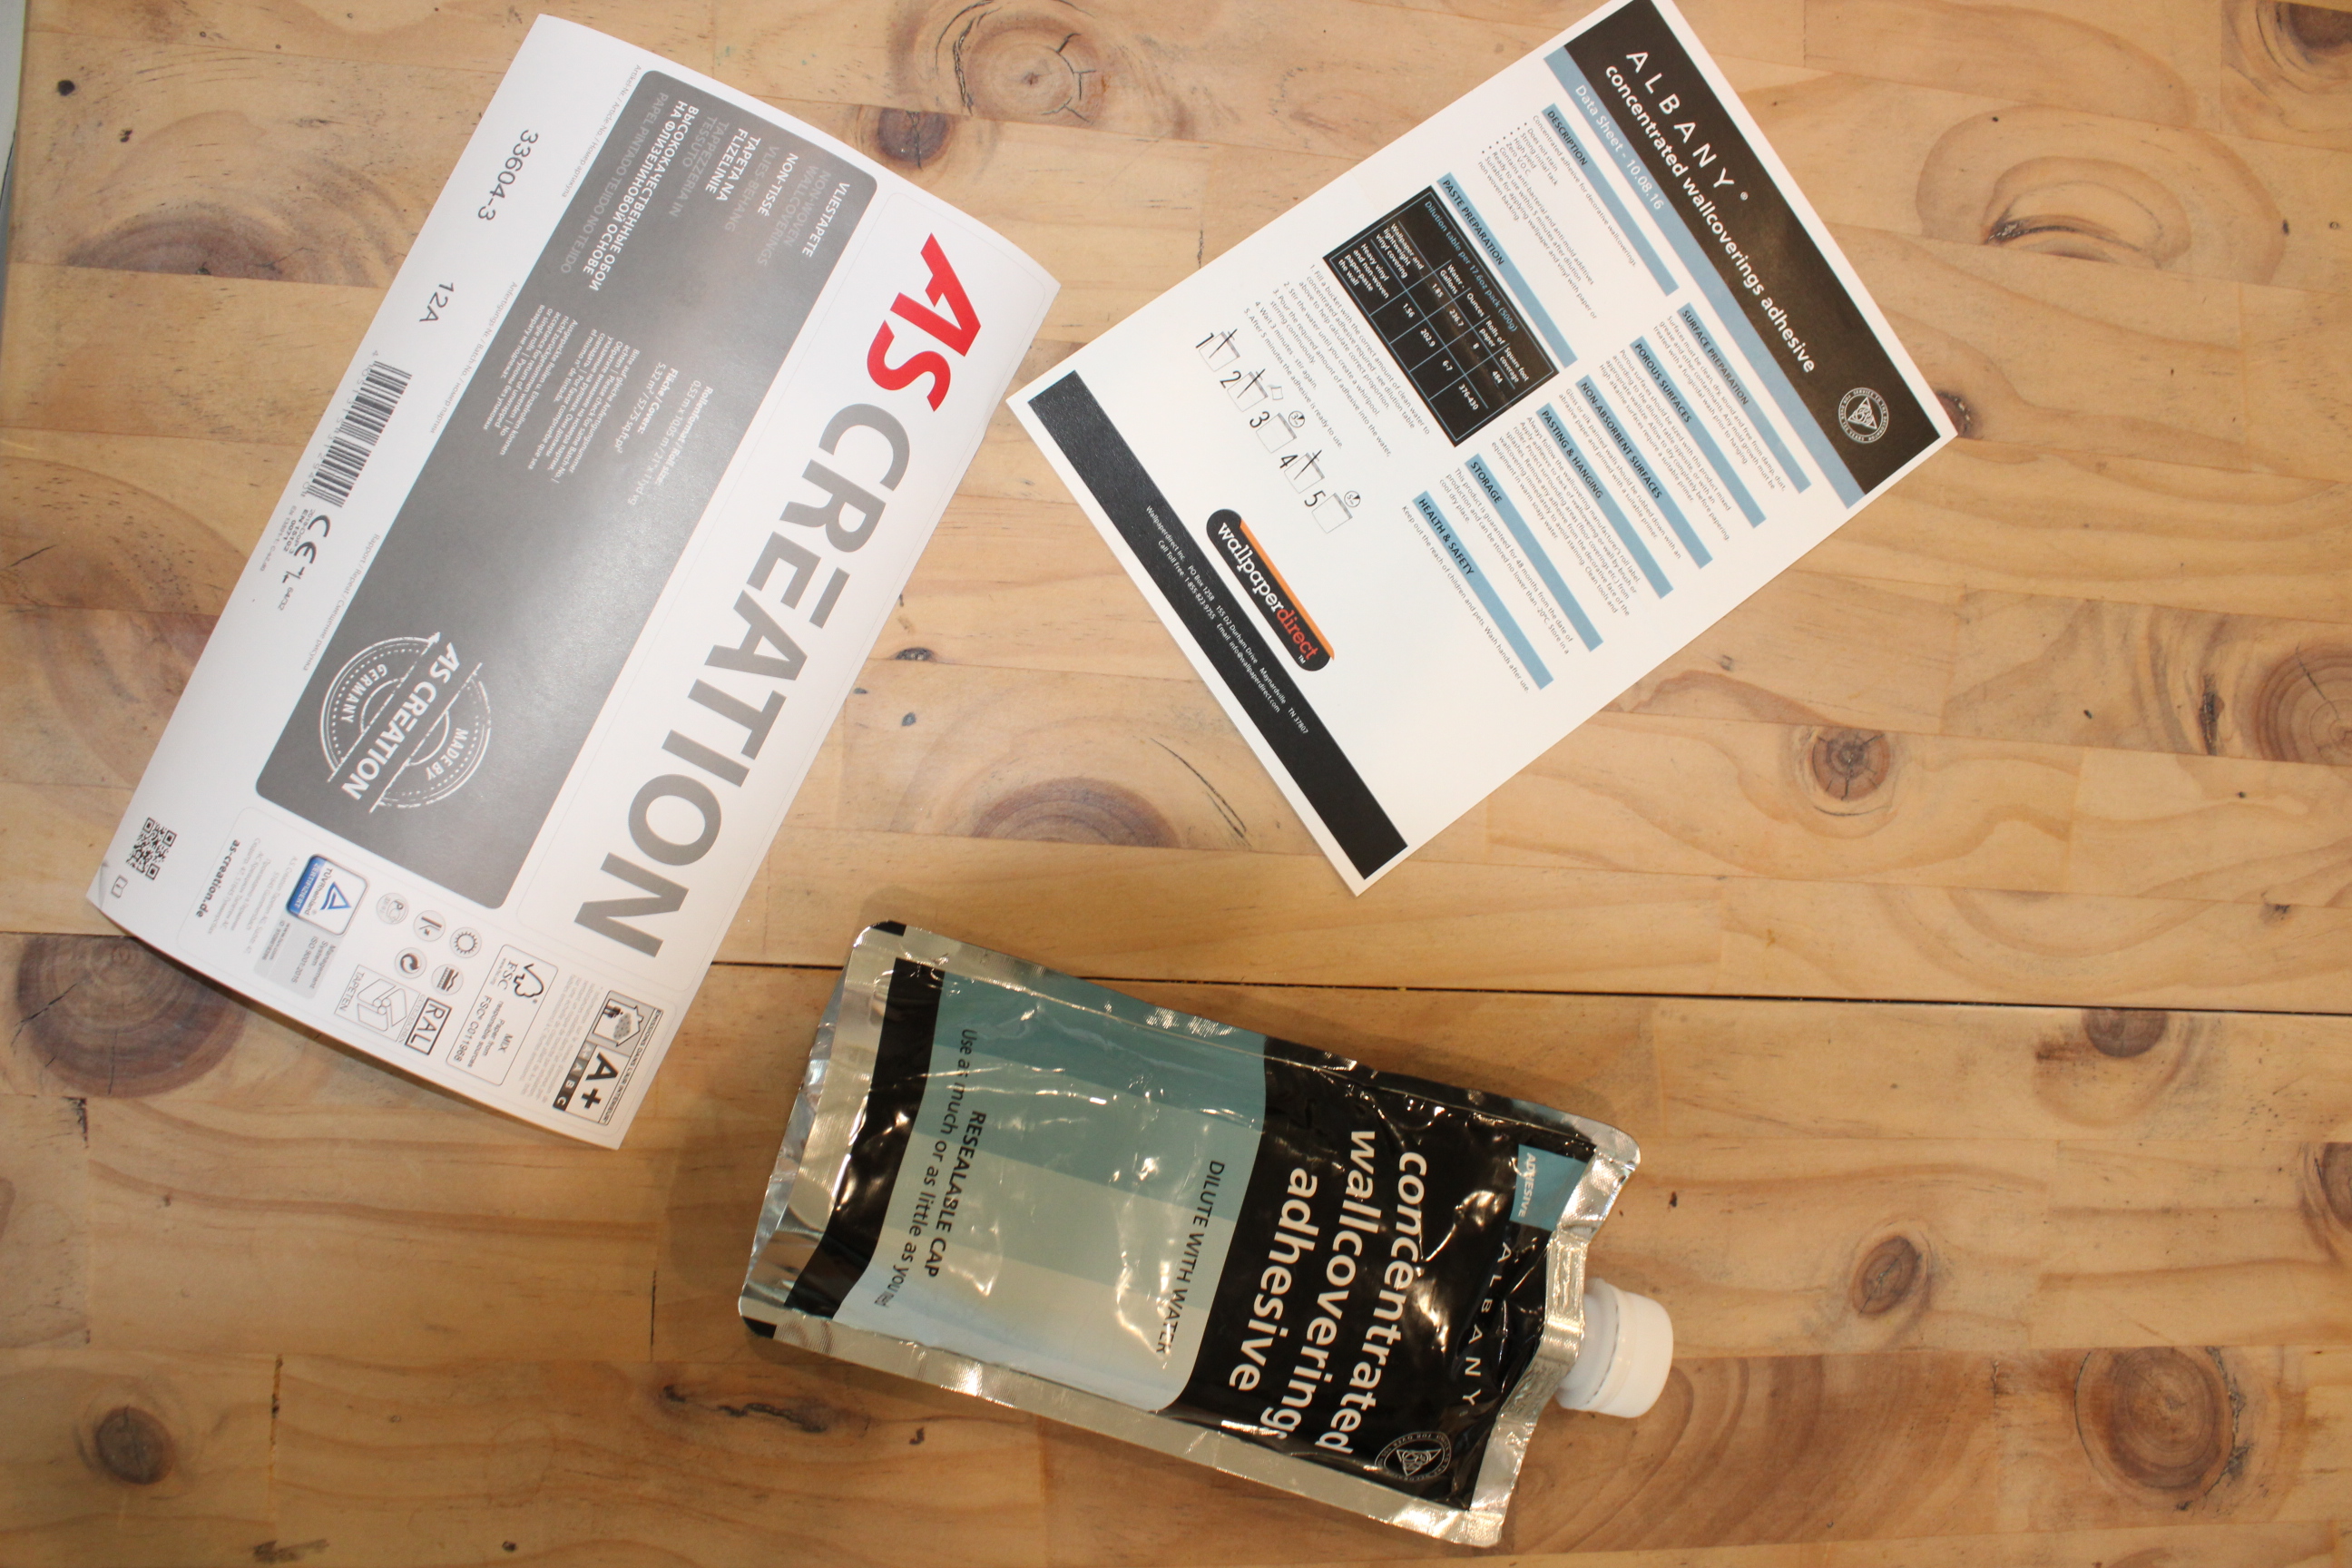
After I had my starting point I was ready to mix the adhesive. I used the Albany Adhesive It is made to dilute with water and it is wonderful! Be sure to follow the instructions carefully…a calculator (and my engineering husband) was my best friend for this step! HAHA! This little pouch was all I needed for the entire room. I opted to use a brush to apply the adhesive to the corners and a roller to apply it to the walls. This worked really well! I noticed at first while using just the brush if I had too much adhesive on the wall that when I was smoothing the wallpaper out, the adhesive would ooze all over and make a mess…so the roller worked great in helping me apply just the right amount.
I took extra time making sure the first sheet was perfectly level. If it had been off even the slightest bit at the top, as I moved down the wall the paper would have gotten further and further away from level and been way off. I also left a few inches of extra at the top. You never want to start the sheet where the wall meets the ceiling, instead, you want to leave a little overlap so that you can cut the paper to the wall. That way, if your wall isn’t perfect the wallpaper will cover it.
After I had the entire sheet placed on the wall and fully smoothed out, I then used a stainless steel taping knife (any metal straight edge would work) and a very sharp razor knife to cut the paper at the top of the wall where the paper met the ceiling. This worked great as long as I changed out my blade at least every other panel if not every panel. If I didn’t change the blade out, the blade would rip the paper and that’s NOT cool! I also want to mention that I used very steady buy light pressure while cutting the wallpaper. If you push too hard you will cut right through your corner tape on the drywall and that would also be a big No-No!
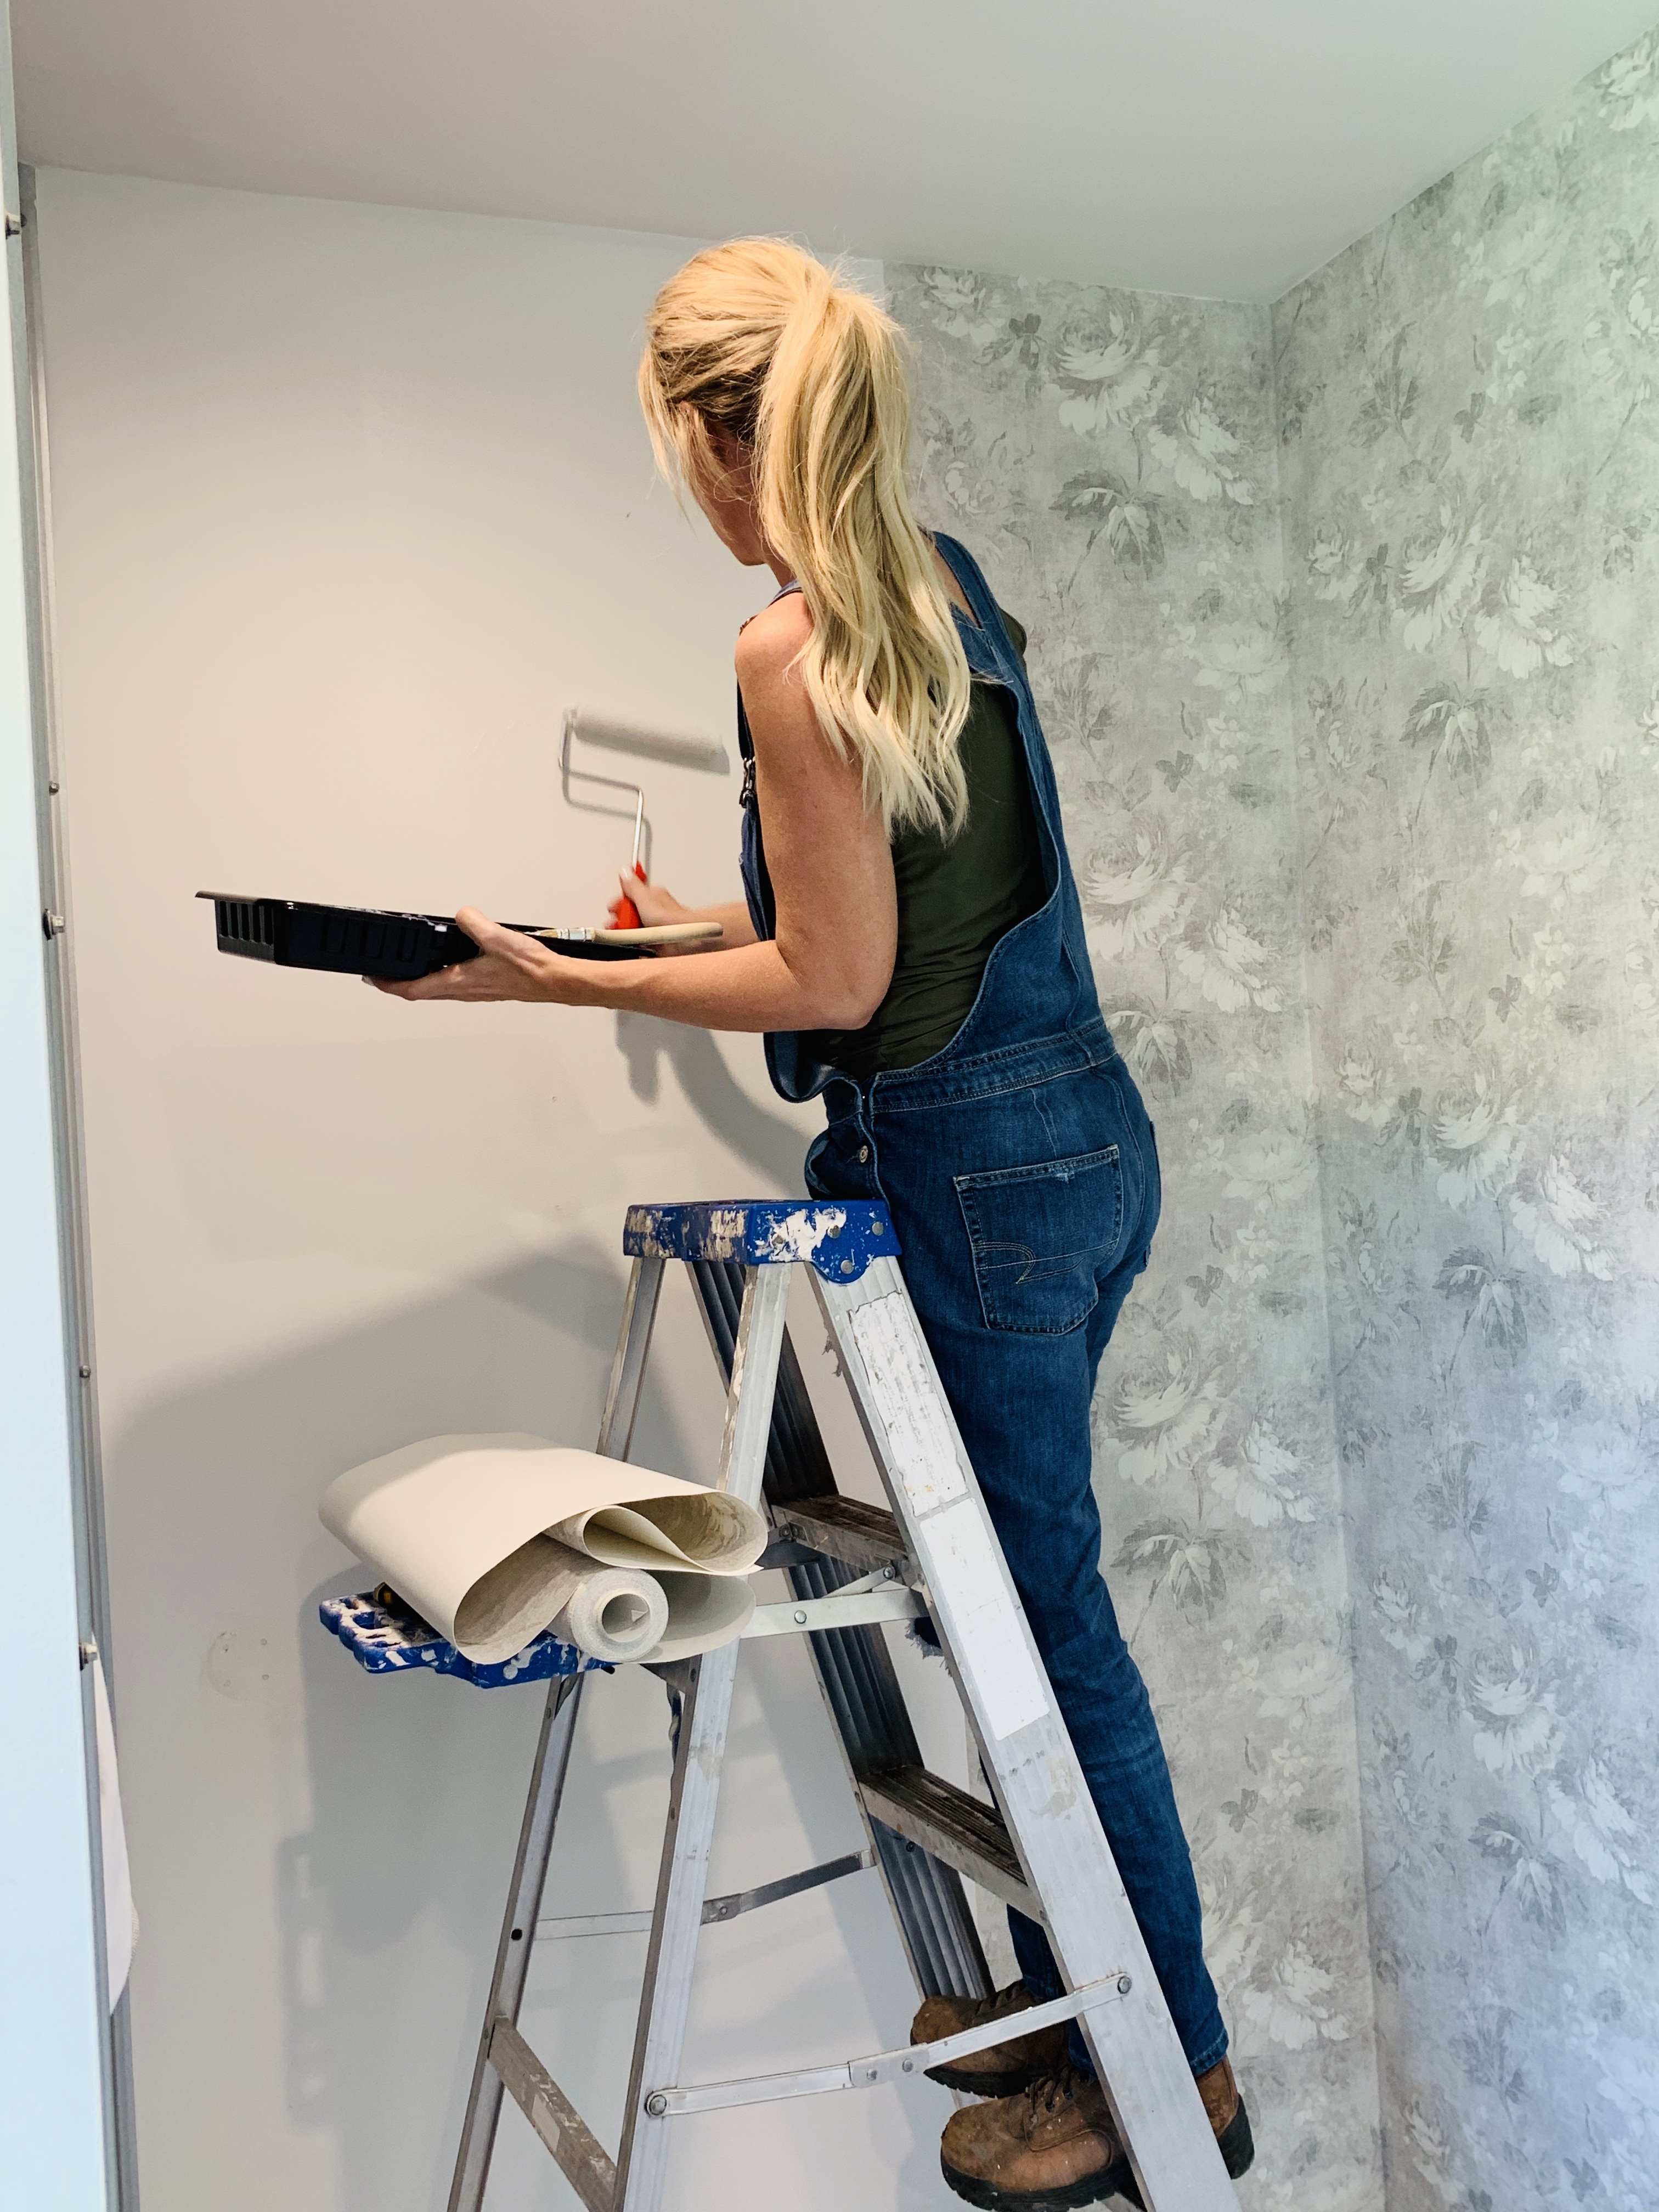
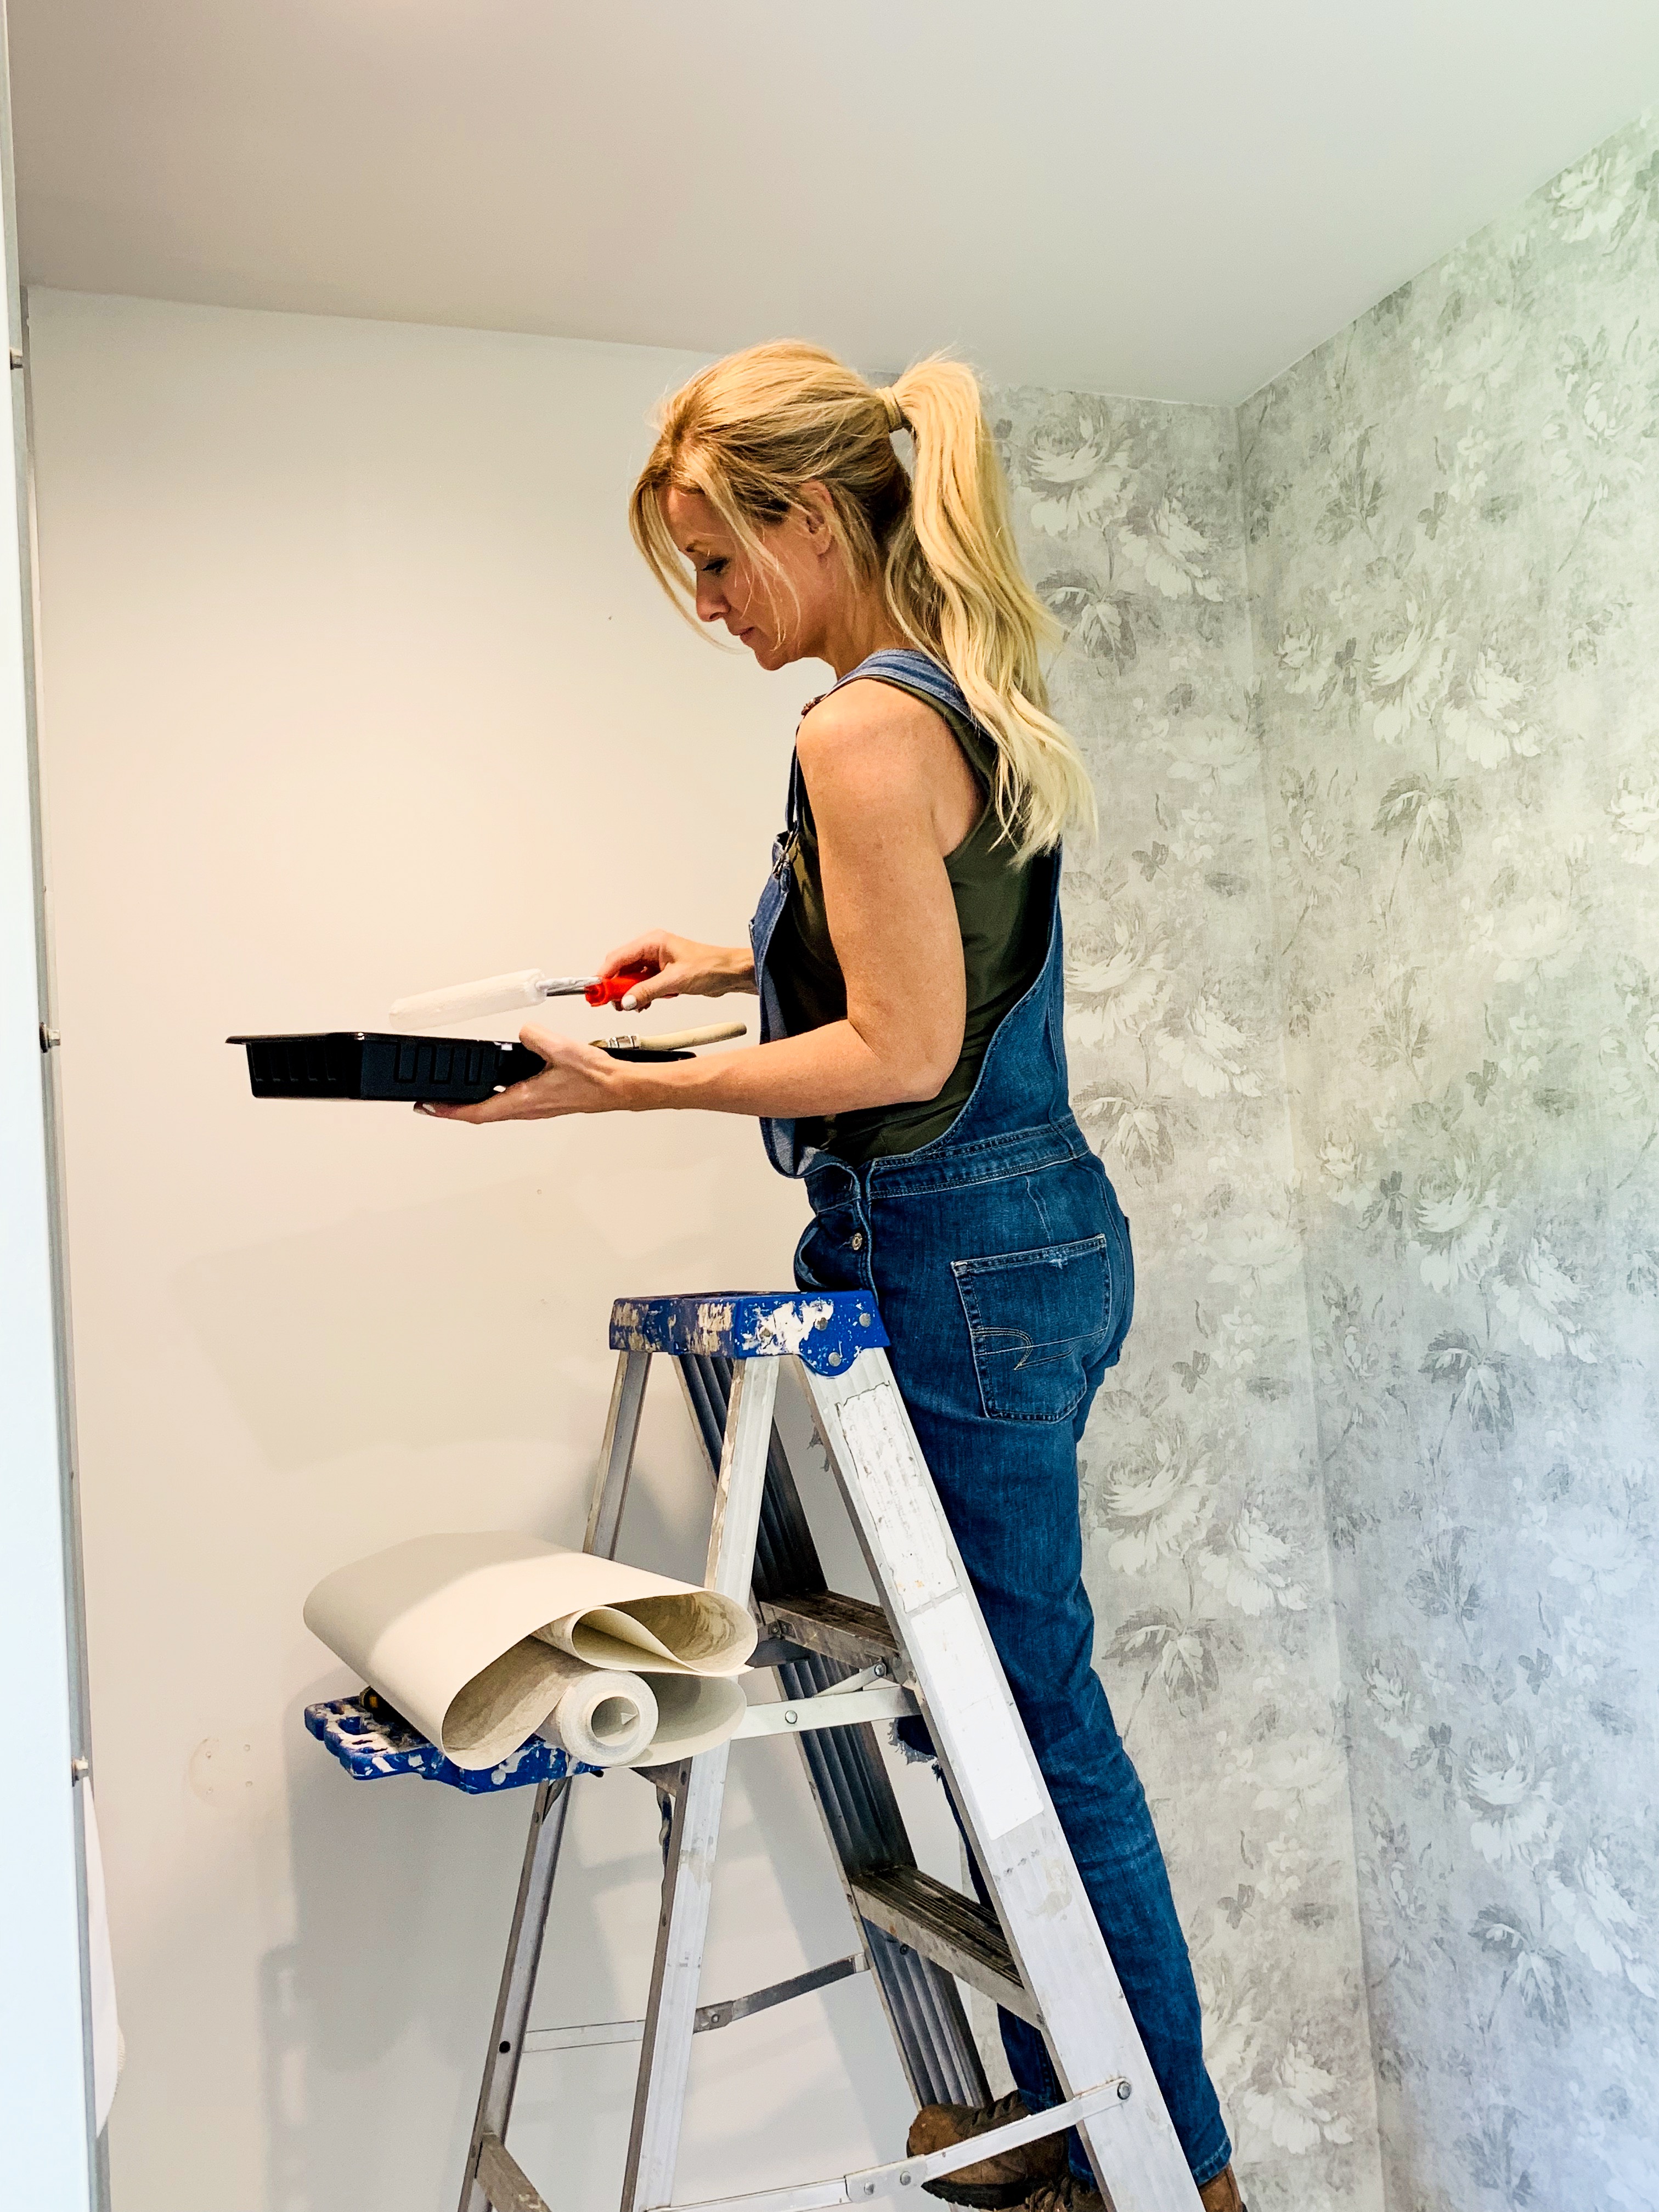
Working my way around the room was super simple. In fact, it was FUN! It felt like one big art project! I’m not sure I have ever done a DIY project that had that much instant gratification! I was so glad that we took the time to remove the vanity and toilet before I started because I was able to move my ladder around and work with ease. It defiantly wasn’t necessary to remove them (I could have worked around them) but it sure was helpful.
Putting The Bathroom Back Together:
I highly recommend Wallpaperdirect not only because the products themselves are such high quality and are absolutely beautiful, but also because of their outstanding customer service. I reached out to Wallpaper Direct and let them know I was a newbie and they were so helpful and walked me through the process step by step! I am telling you guys if you are about to tackle a new to you DIY project…the best thing you can do is consult the professionals…ask, ask, and ask some more! Then you’ll have the answers you need to move ahead with confidence!
The Finished Space:
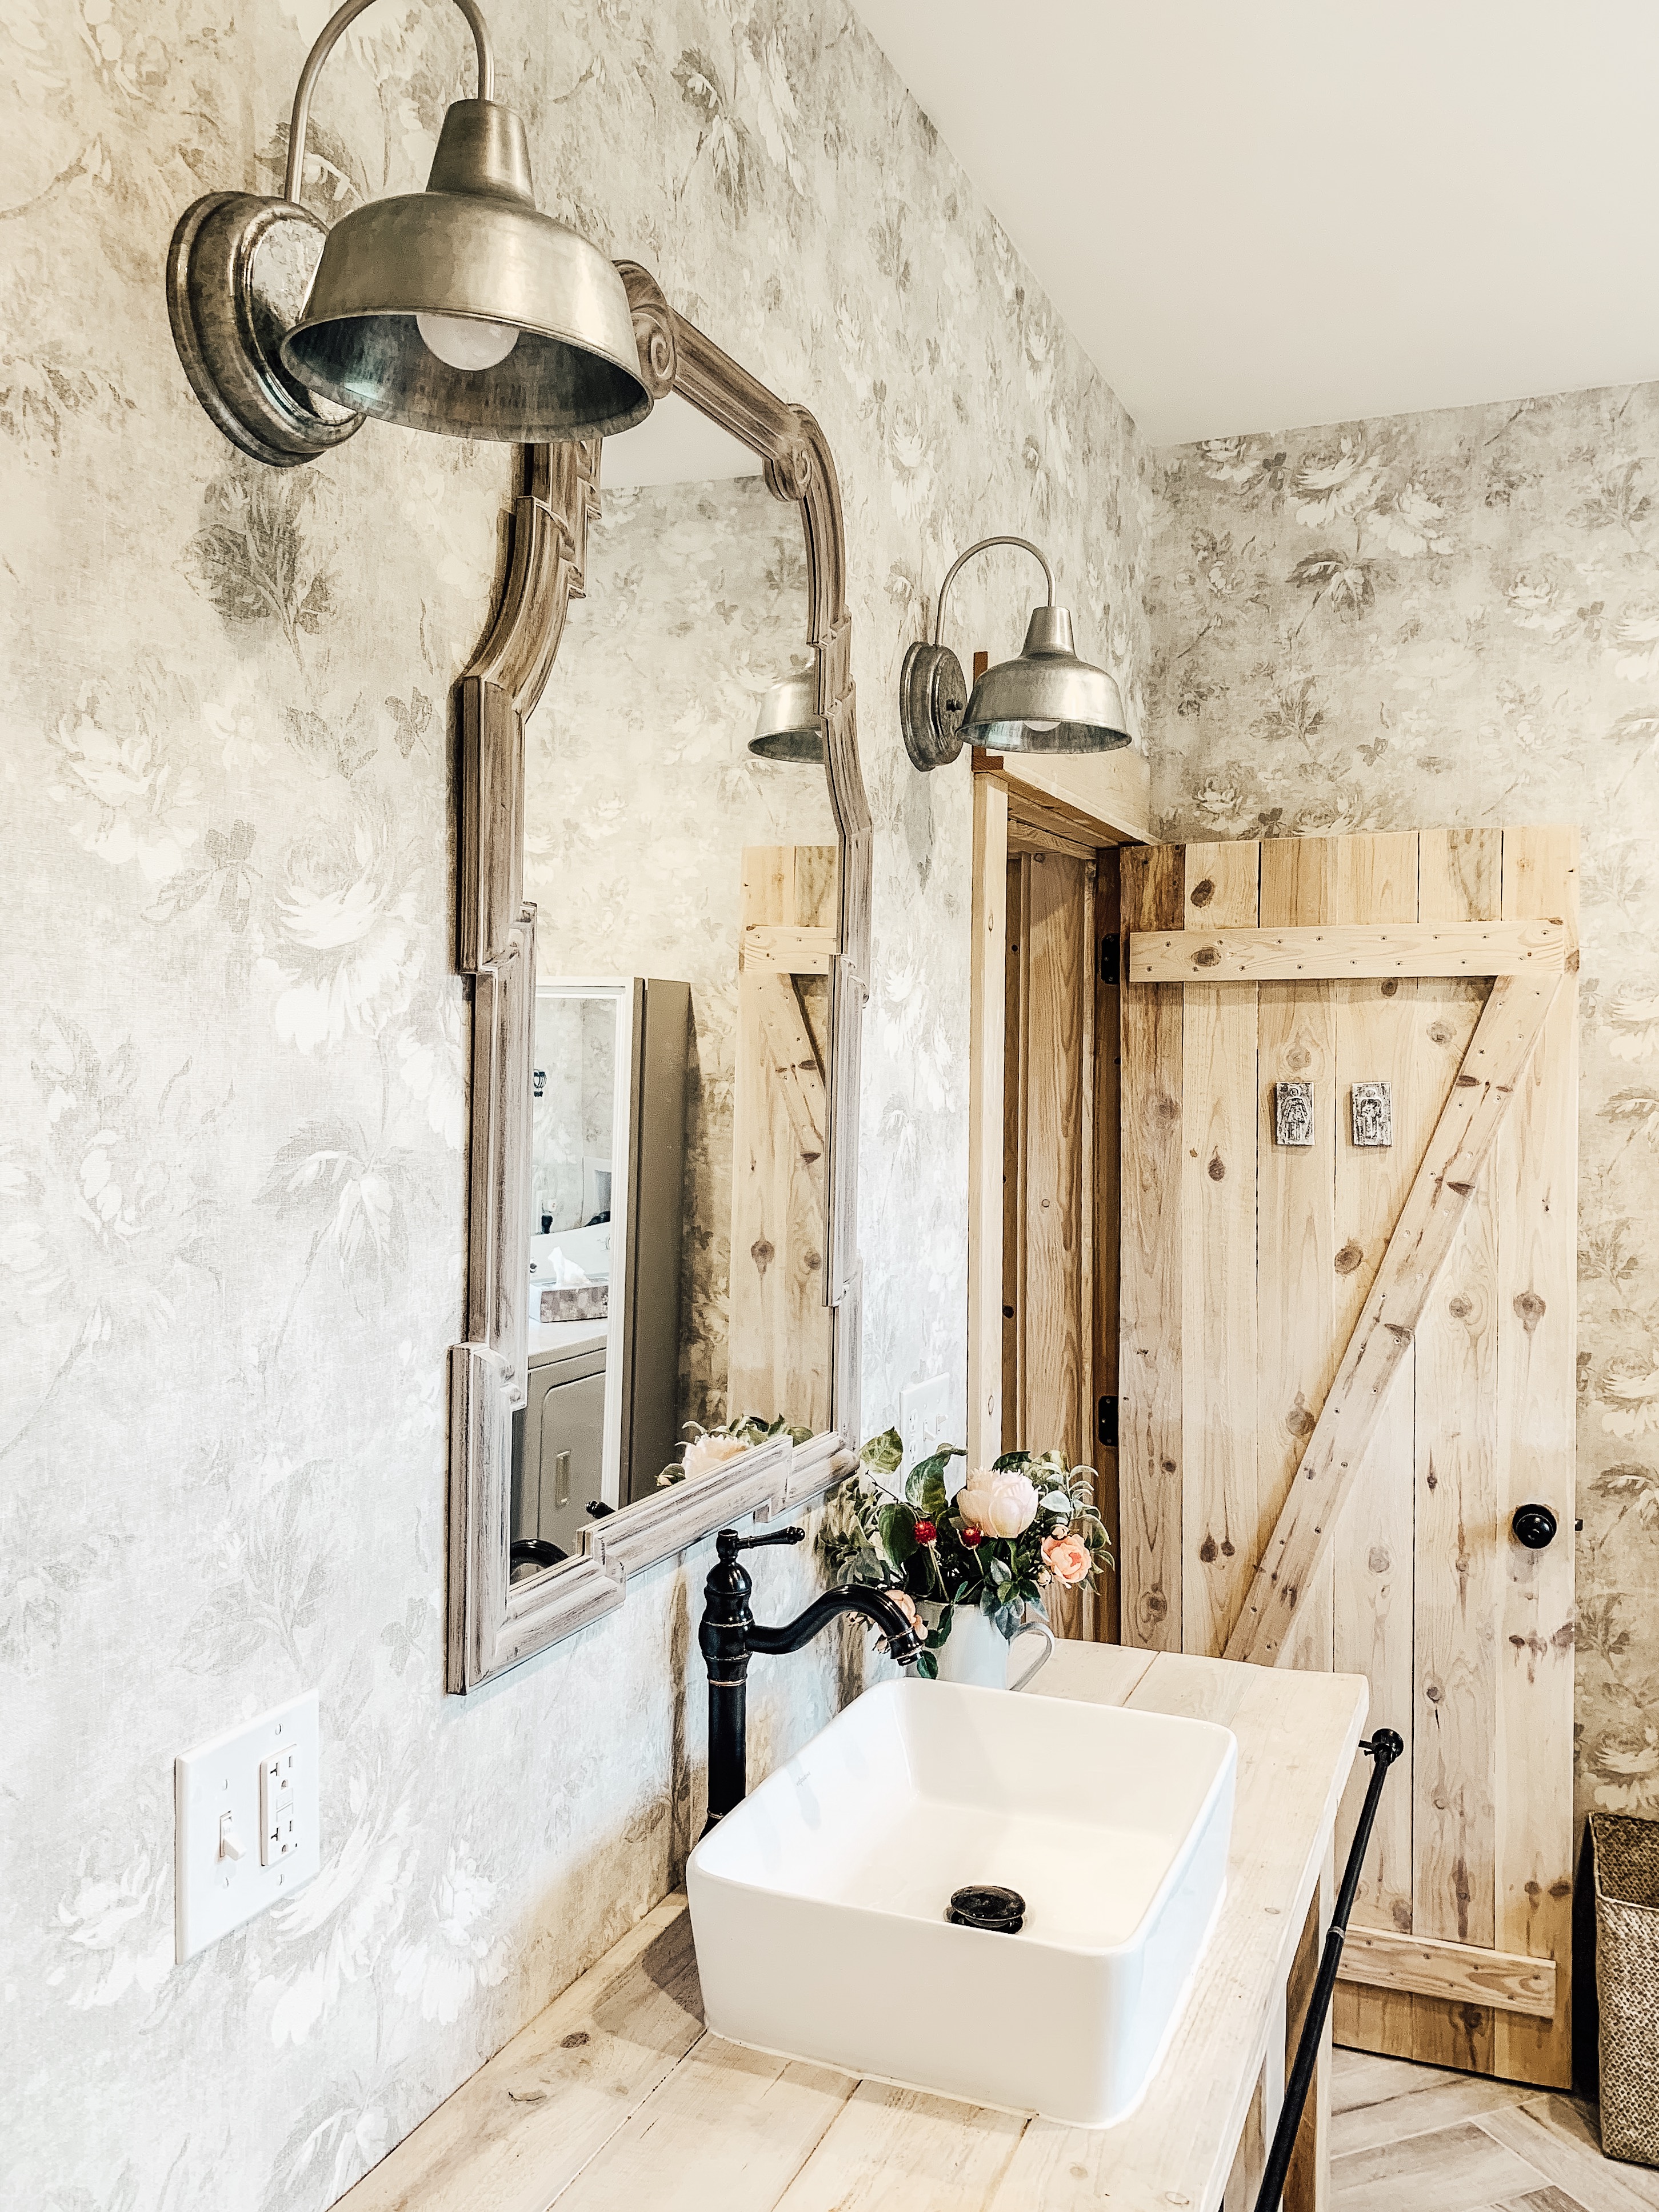
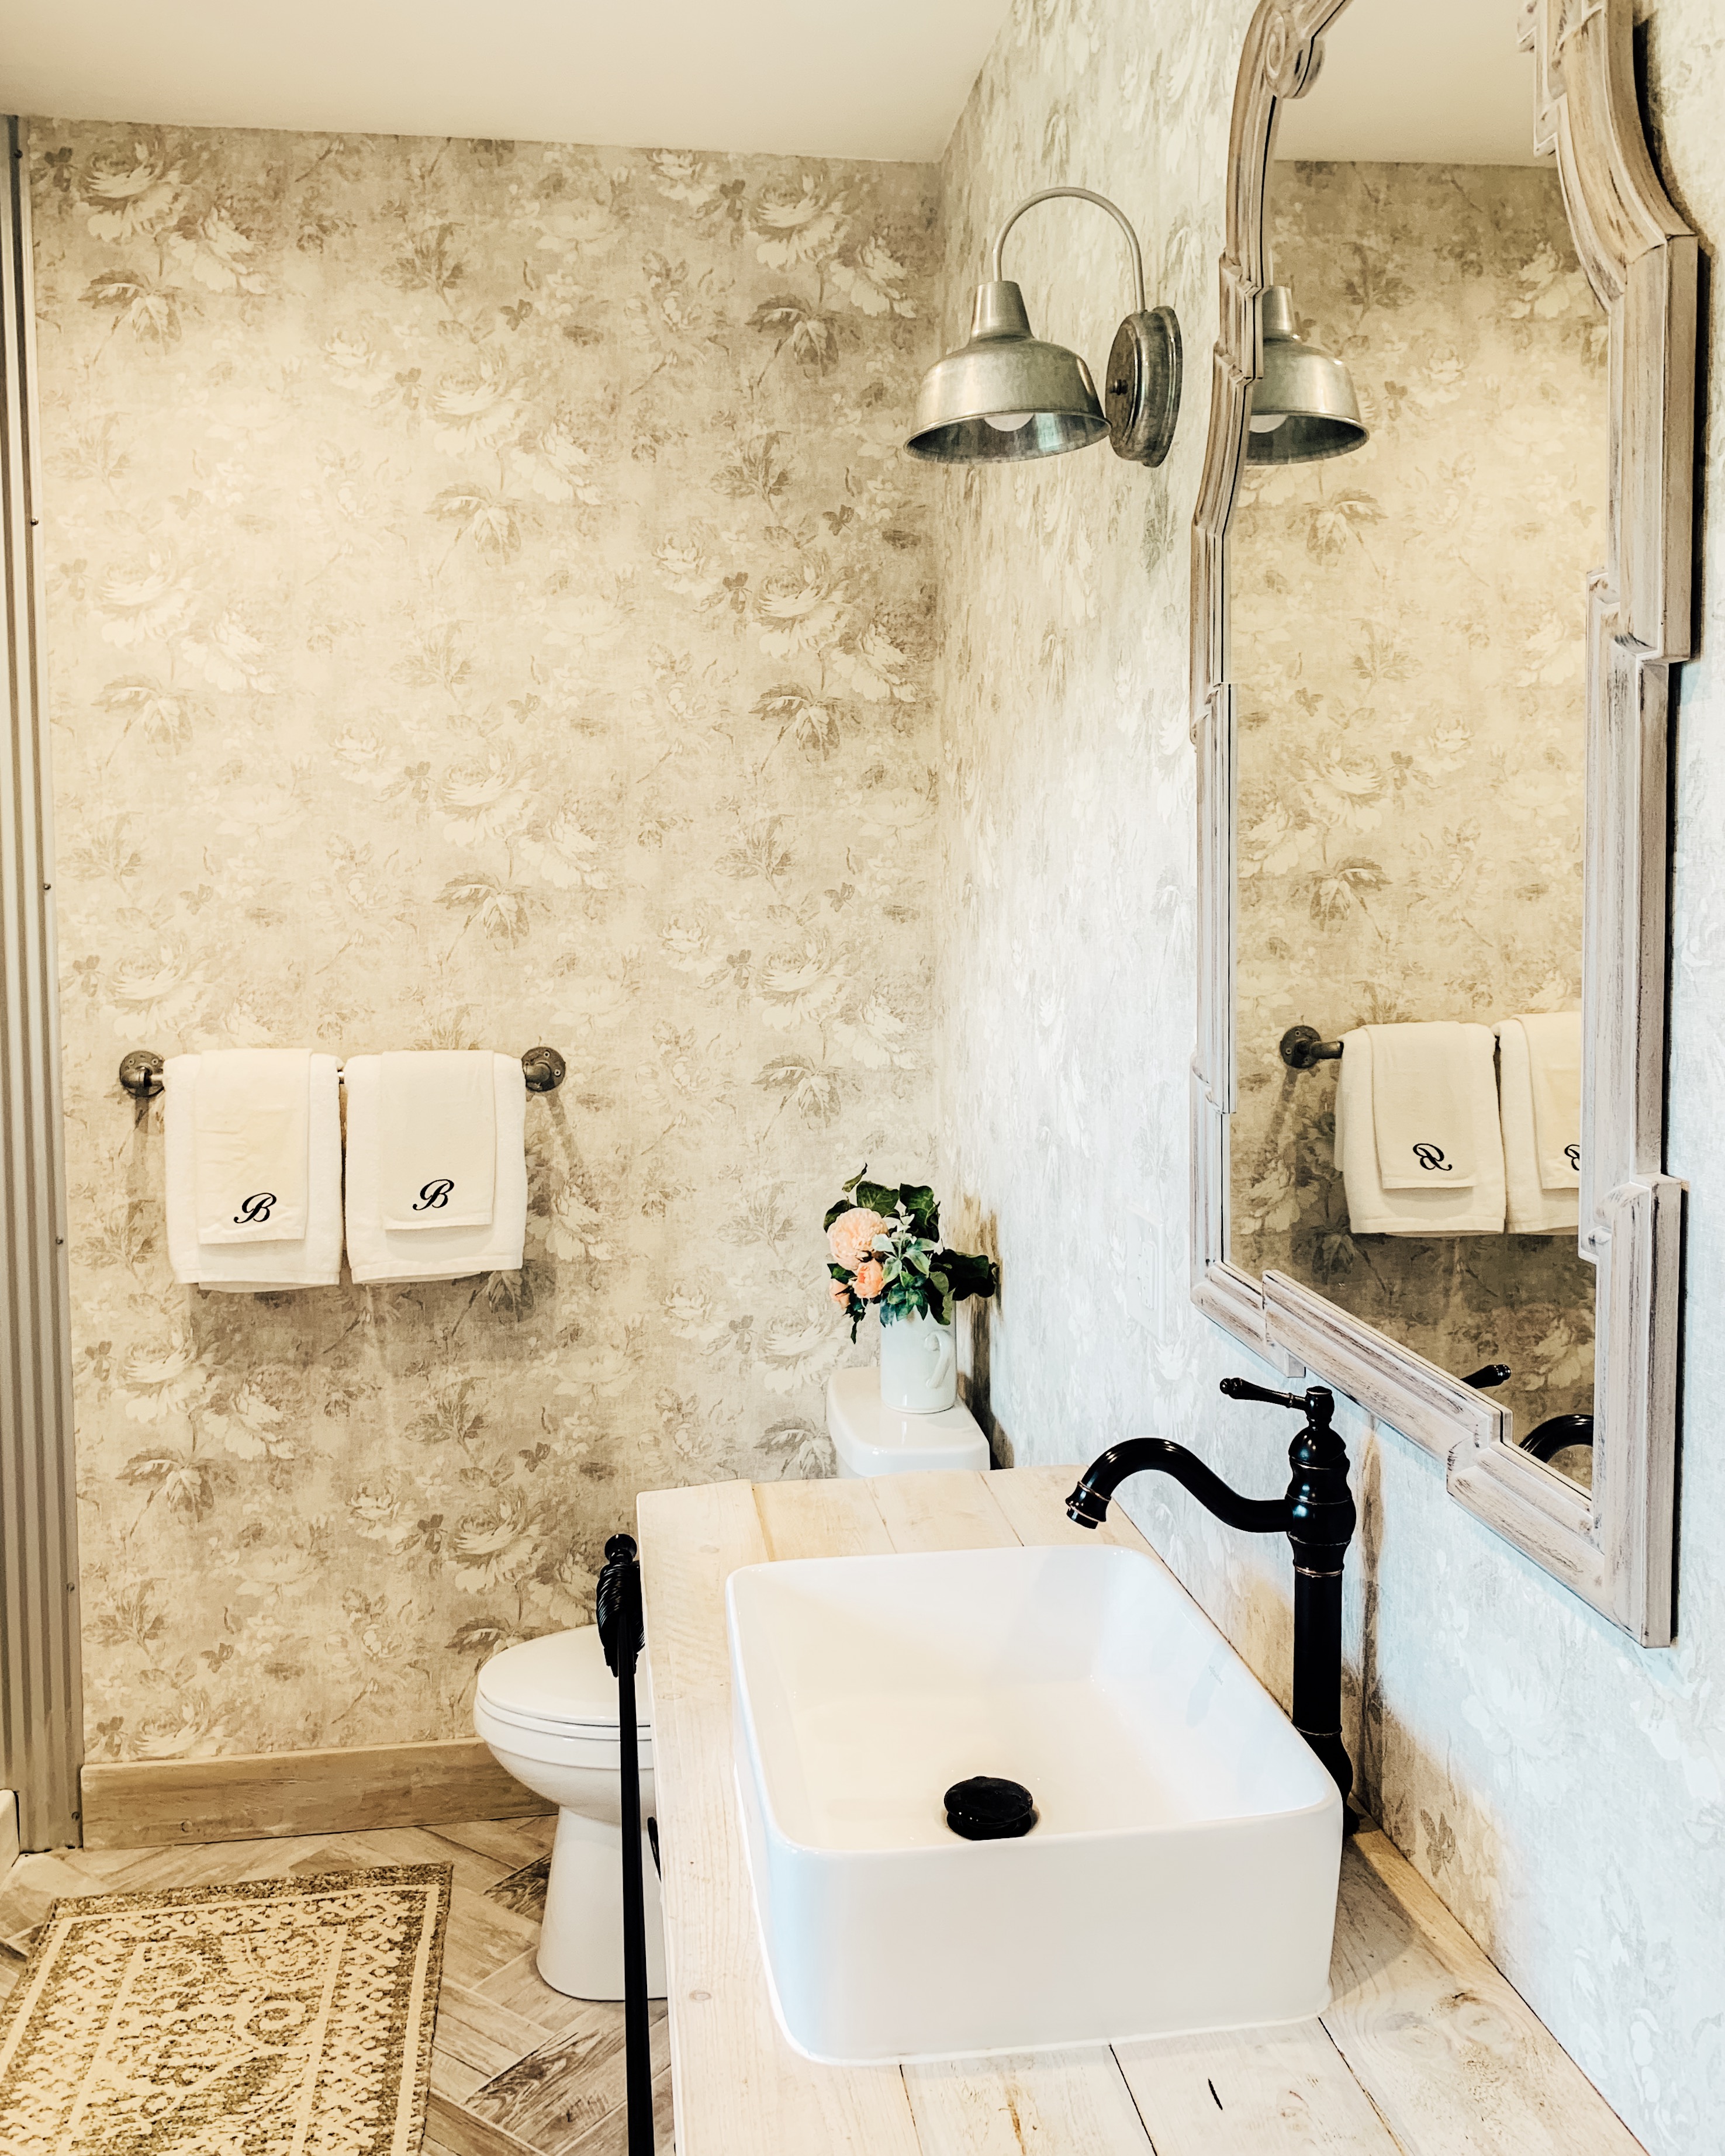
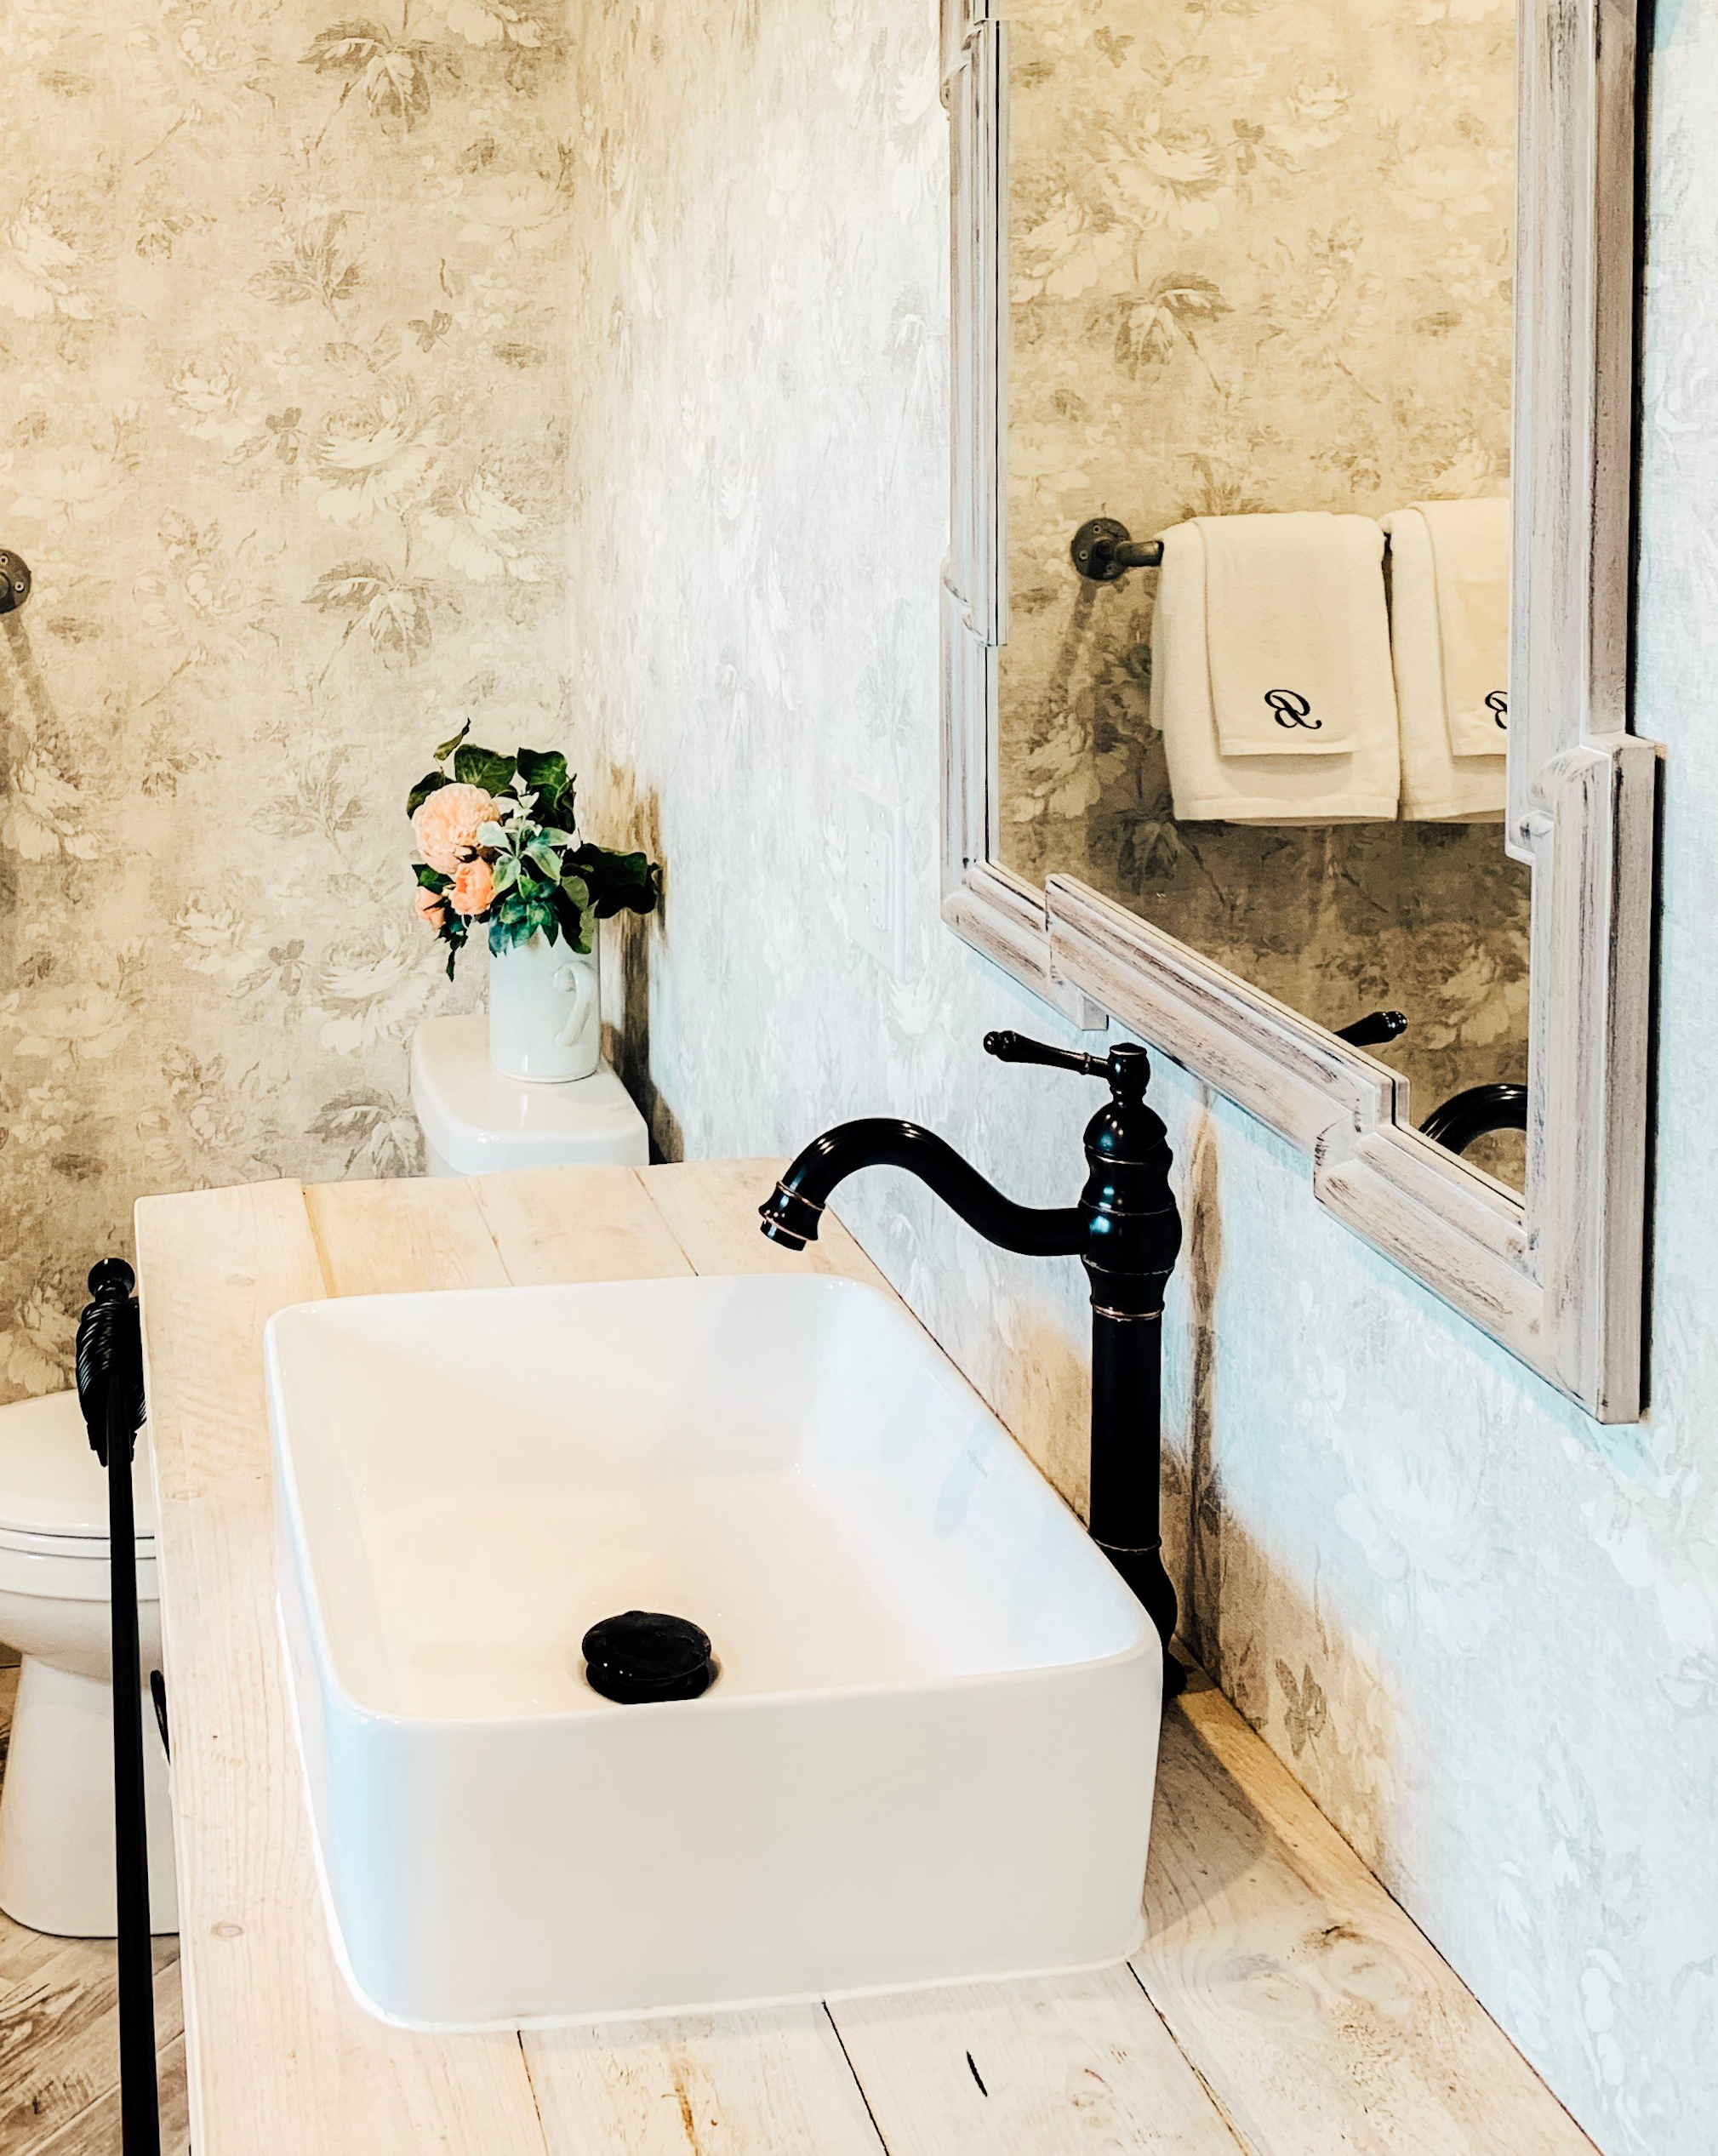
 I have never been more pleasantly surprised by a DIY project! It was such an exciting weekend project and I can’t get over how incredibly different this bathroom looks after installing new flooring and wallpaper. Now this space really feels like “me”! I would have to say that I have two other favorite DIY projects we’ve done since we built the cottage. One of my favorites was sharing The Loft project and how we transformed the attic into a bonus room/office space (you can check that out HERE). Another favorite project of mine is when we designed and built custom bunk beds with storage space for our kiddos! You can see how we turned my son and daughters 12×12 bedroom into two separate spaces with my bunk bed design HERE.
Thank you for following along with me and I can’t wait to share more fun DIYs with you next time!
Psalm 90:17 May the favor of the Lord our God rest on us; establish the work of our hands for us— yes, establish the work of our hands
I was not financially compensated for this post. I did receive products for collaboration purposes. The opinions are completely my own based on my experience.


Dena, it’s beautiful! I admire your go get ‘em attitude. You inspire me. ????
Thank you so much Cheryl! Being able to share my projects with the world has been absolutely incredible! Thanks for always having a kind word for me! You’re amazing!
You put the glue on the wall–the wallpaper did not have it on it?
That’s correct. The wallpaper I chose did not come with glue on the back. It had to be rolled onto the wall or onto the paper and I chose to roll it onto the wall. It worked perfect!
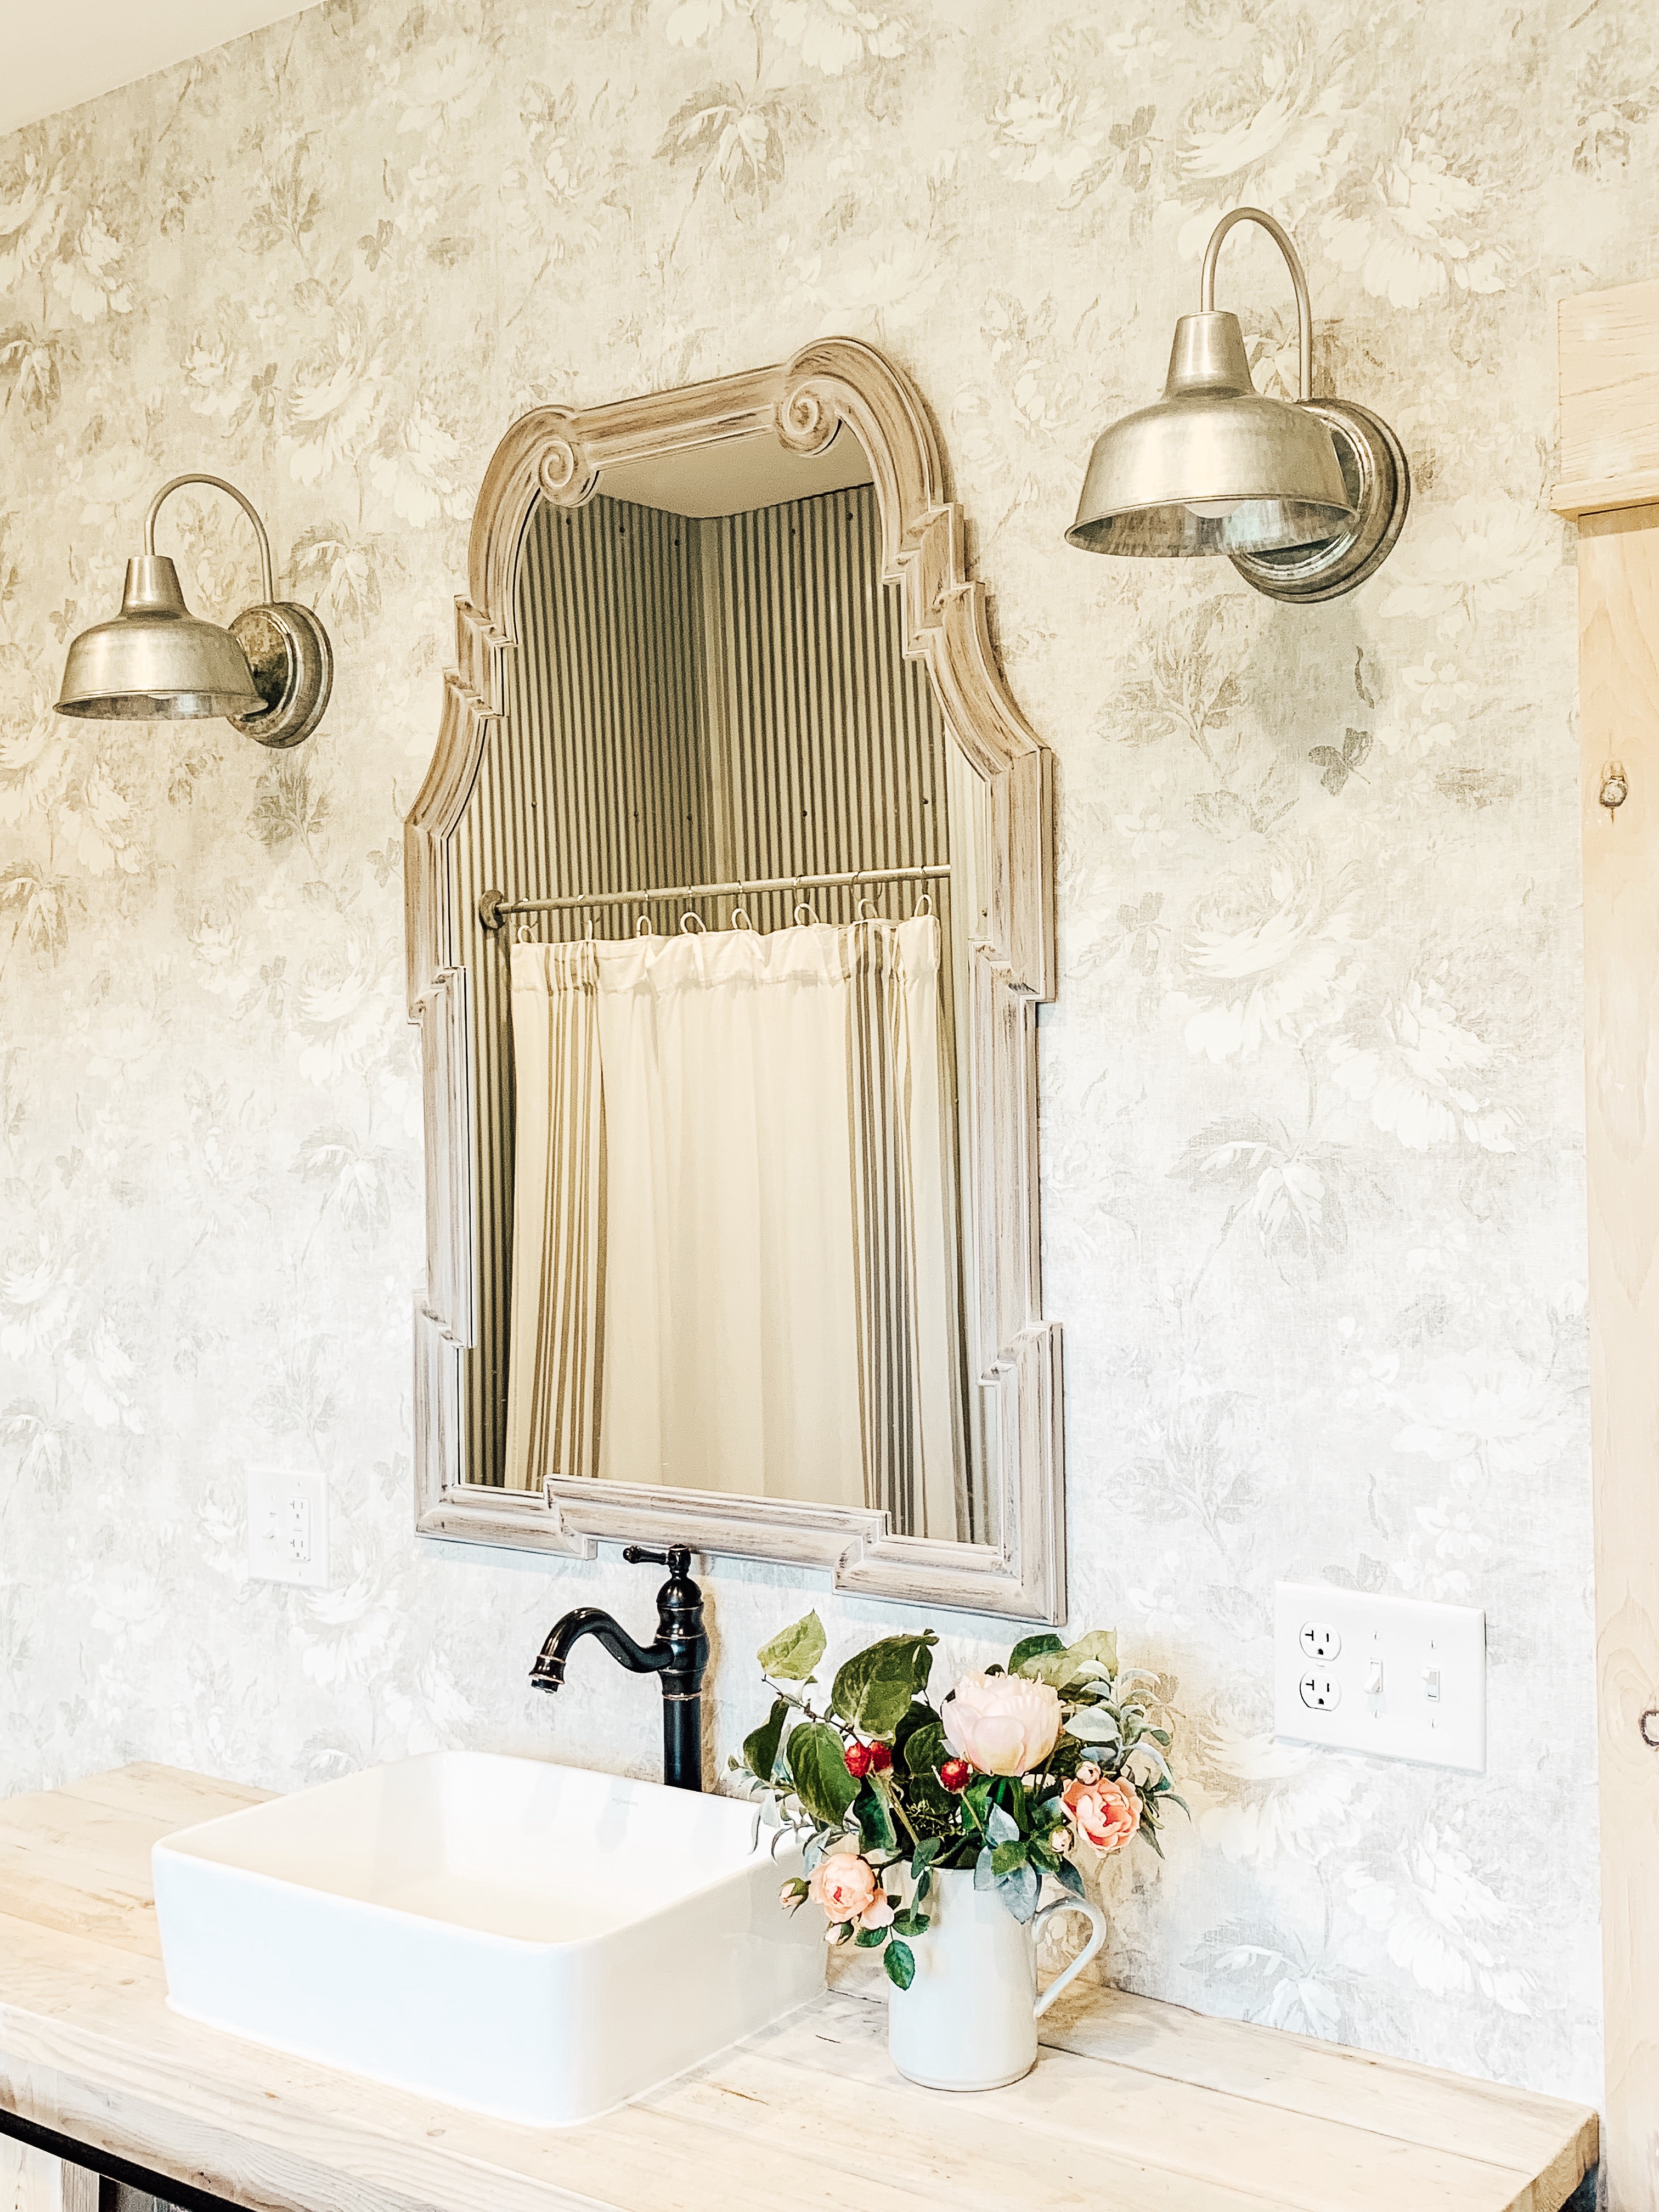
Beautiful bathroom! Would you mind sharing the source for the mirror?
Hi, I actually got it on clearance at Hobby Lobby for $40…they only had two left. I’m sorry I don’t have a link for you!
[…] more fun DIYs, be sure to check out THIS POST to see how adding wallpaper to our bathroom and tile flooring completely transformed our […]
Very good material, Kudos.
lab report writing
lab report help https://buy-essay-services.com/lab-report
Nicely put, With thanks.
Best Essay writing
essay service https://buy-essay-services.com
Awesome post on Wallpaper