Butcher-Block Countertop Review
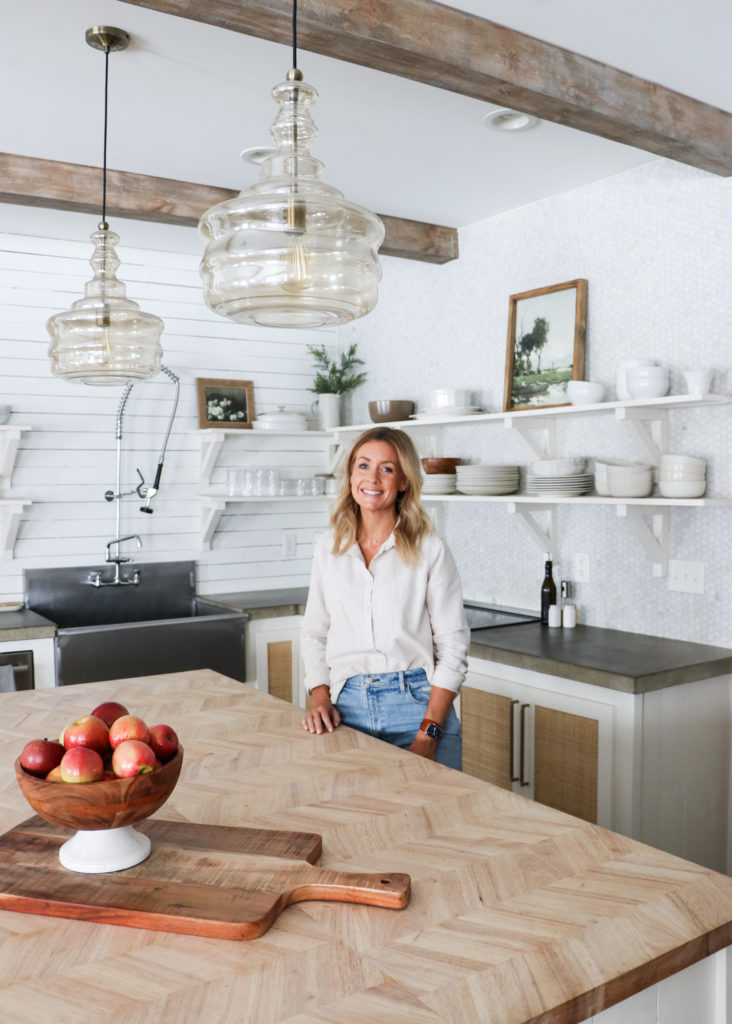
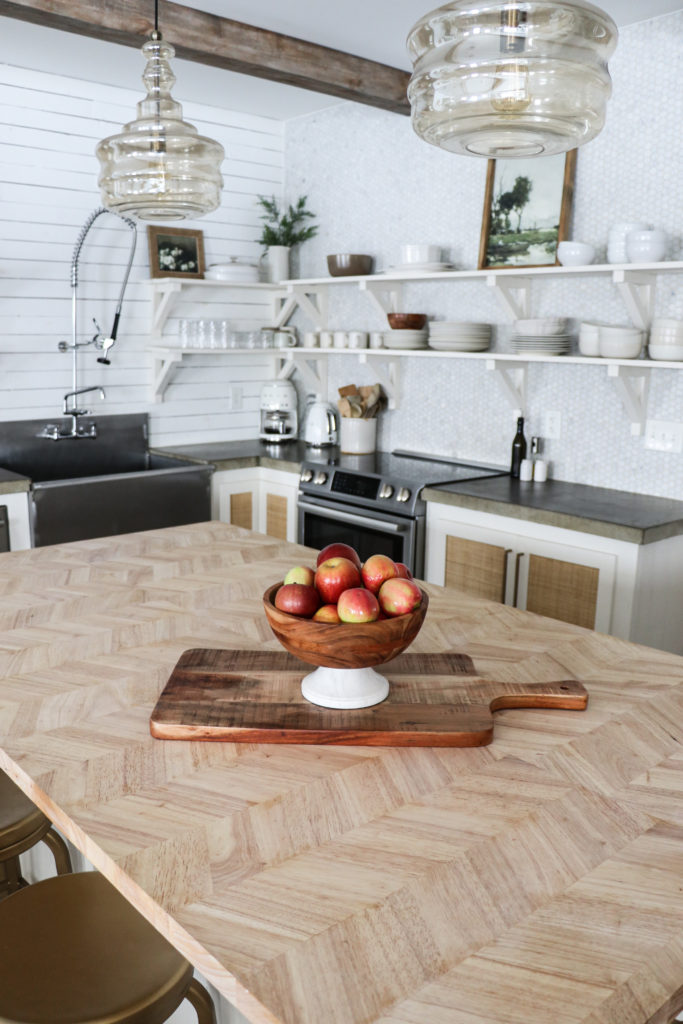
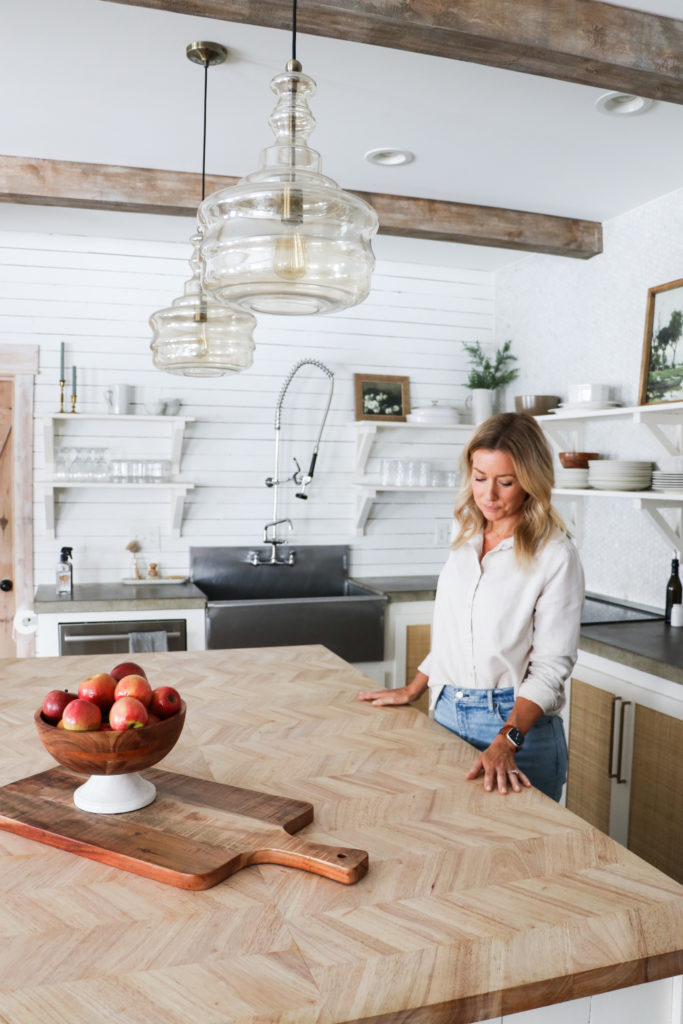
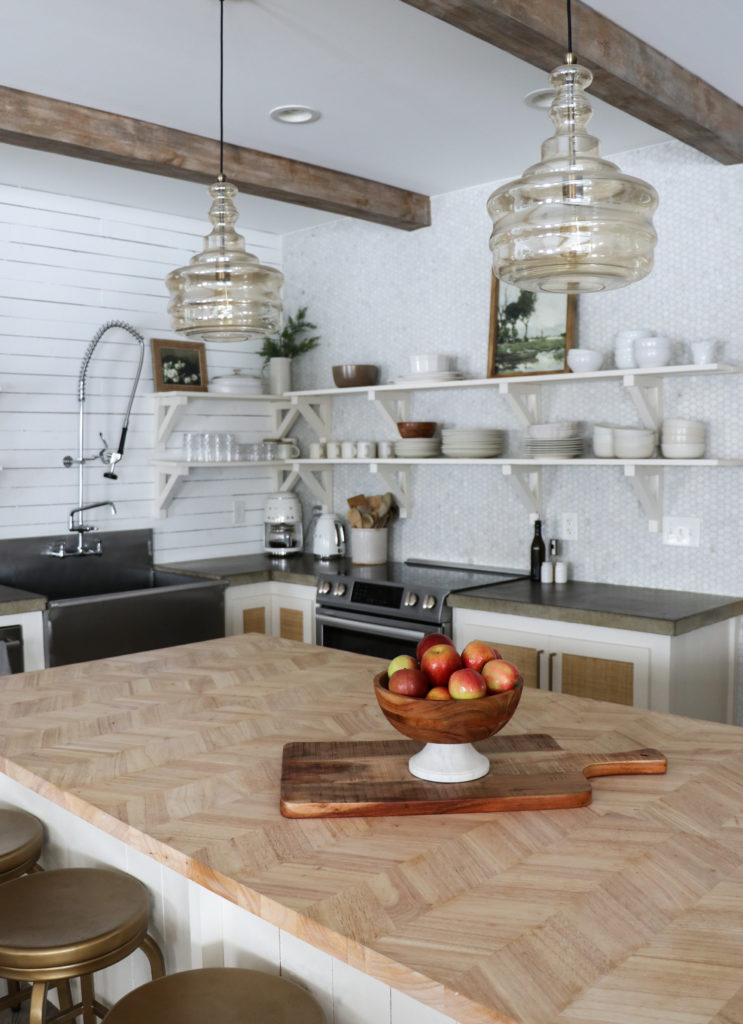
Solid Wood Butcher-Block countertops are a timeless option that can be used in all types of kitchens regardless of whether the home is ultra-modern, french country, or anything in between. Because they are made of real wood, they bring in so much warmth to a space! They add an earthy feel and will never go out of style. Last year I built a new island for our kitchen and added a solid wood herringbone butcher-block countertop. Today I’m going to share my thoughts, how I take care of them, and the things to consider when deciding whether or not butcher-block countertops are right for your home.
Our Butcher-Block Countertops – Hardwood Reflections “Hevea”
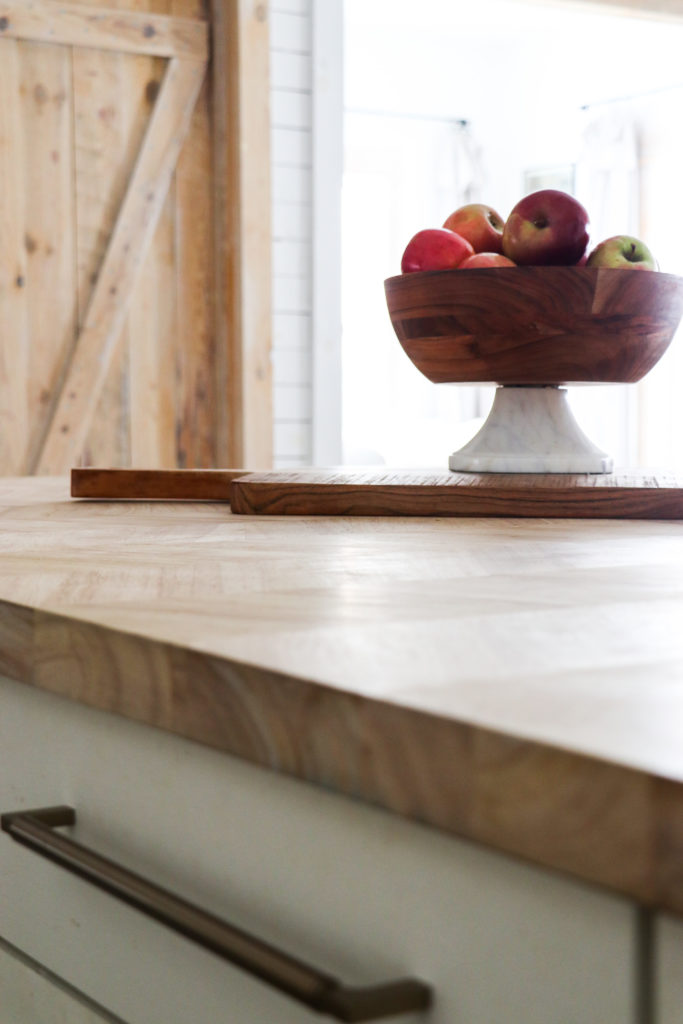
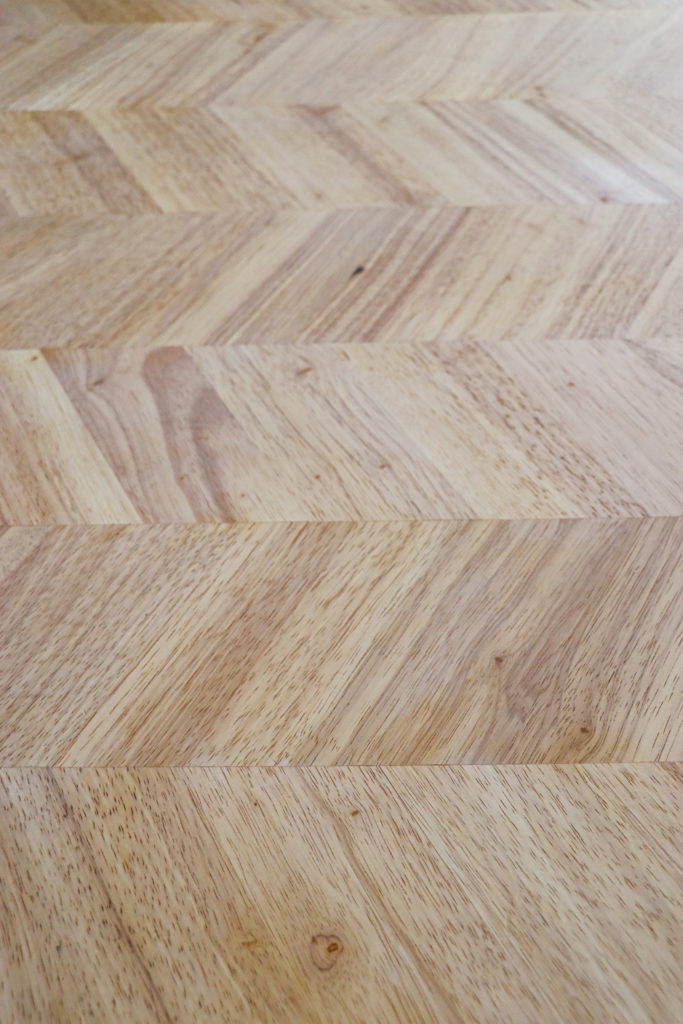
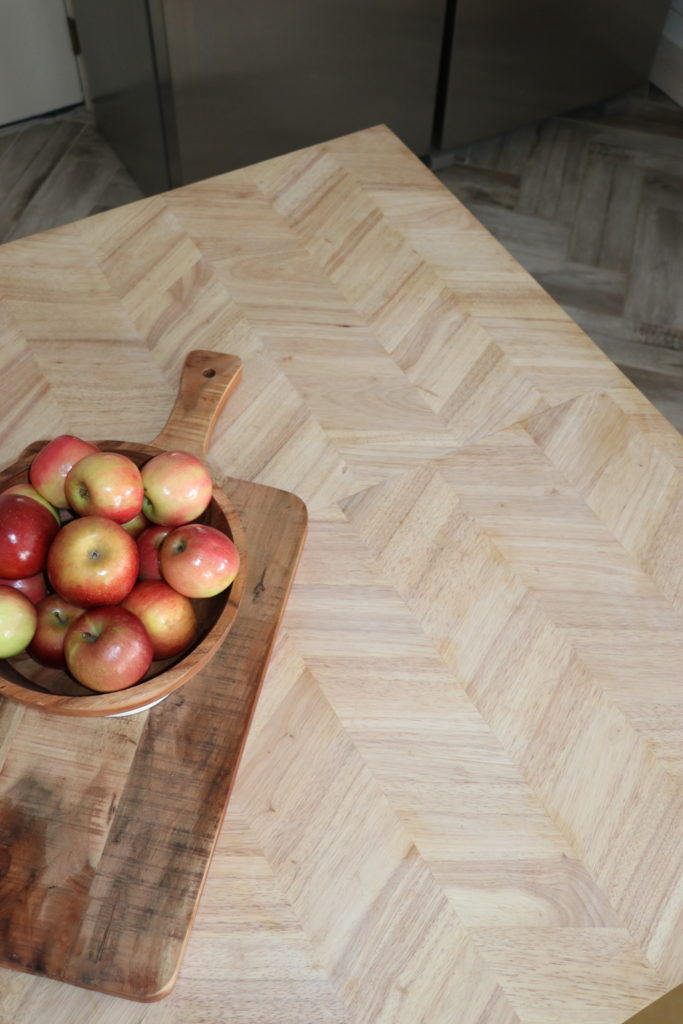
Butcher-Block is a solid surface typically made up of hardwood pieces, glued together to create a countertop/cutting surface. My countertop was made by Hardwood Reflections and can be found at your local Home Depot or online at Home Depot. My local store had the standard butcher-block, but I wanted the chevron/herringbone pattern butcher-block and that was a special order.
I was in the middle of our kitchen renovation and I planned to just pour a concrete countertop on the island to match all the countertops on the perimeter cabinetry. Then I saw a picture (I think on Pinterest) of this herringbone butcher-block and I immediately changed my mind! The pattern was so unique and I could easily envision this countertop on the island!
How We Made Our 4’x7′ Island Countertop Using Two Butcher-Block Pieces
The standard countertop depth is 25 inches. Lower cabinetry will typically be 24 inches deep and that allows you to have a 1-inch overhang. We build our cabinetry standard depth for the island. We also added two, 12 inch wide cabinets with drawers on either end (adding 12 inches to the depth of the island) and then needed an overhang for barstools. We needed our countertop to be a total of 4 ft deep by 7 ft long. We used two 25 in. by 8ft slabs, wood glue, and really large clamps to seam the two long pieces of countertop together. We let it dry and then sanded it until the center seam was flush and nearly invisible.
Three Things I Love Most About These Butcher-Block Countertops
- These countertops are solid wood with NO fillers, meaning you can cut them to any length! You can cut out an opening for an under our overmount sink and the edge will be beautiful solid wood all the way through. I love that they can be easily customized to fit any counter length.
- The butcher-block comes pre-sanded. So the only sanding it would need would be if you were to cut them or if you were to seam two together as we did for the island.
- These countertops are a light blonde and can be left their original color by sealing them or oiling them OR they can be stained any shade you’d like!
How I Finished My Countertop And How I Care For It.
I wanted to keep my countertop as light as possible. The raw wood was a beautiful blonde wood tone so I decided not to stain it darker. You may feel differently, but I wanted to be able to cut and prep food on the countertop just like they did centuries ago. No, I don’t cut meat on it, but I didn’t want to worry about if it had scratches on it. I was totally fine with it aging gracefully! Since I planned on cutting things on it…I chose NOT to seal it with a gel stain or Pollyurithane of any kind. Instead, I used a food-safe wood conditioner on it before sealing it with food-safe mineral oil (often used for cutting boards).
Be sure to follow the manufacturer’s instructions when installing and finishing your butcher-block. With that said, here is a rundown of what I did and how I have been caring for my countertop for nearly a year now.
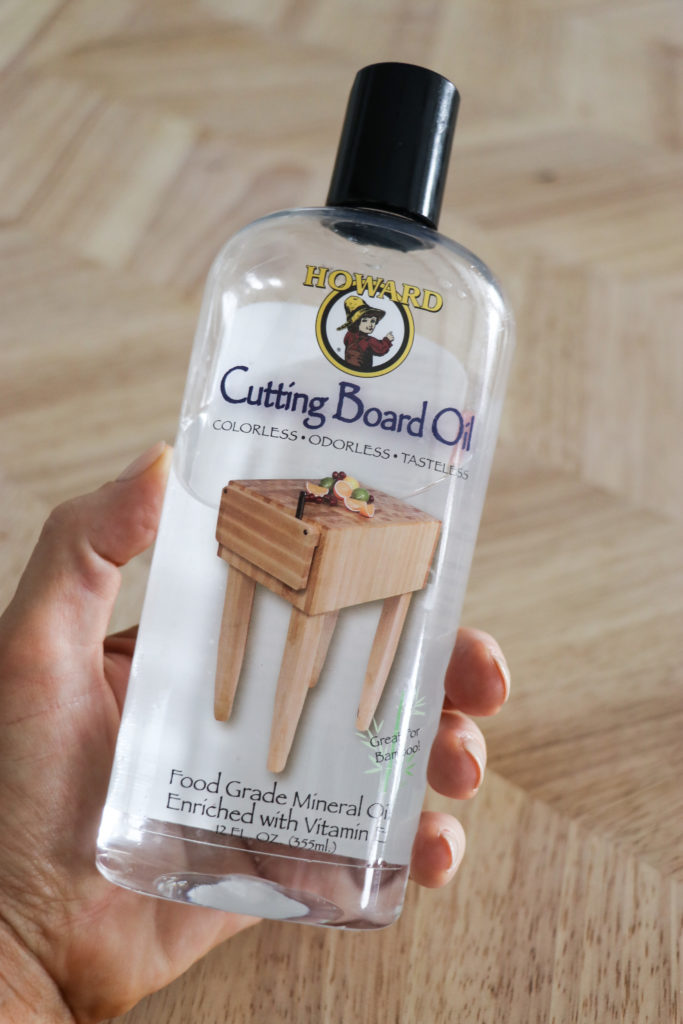
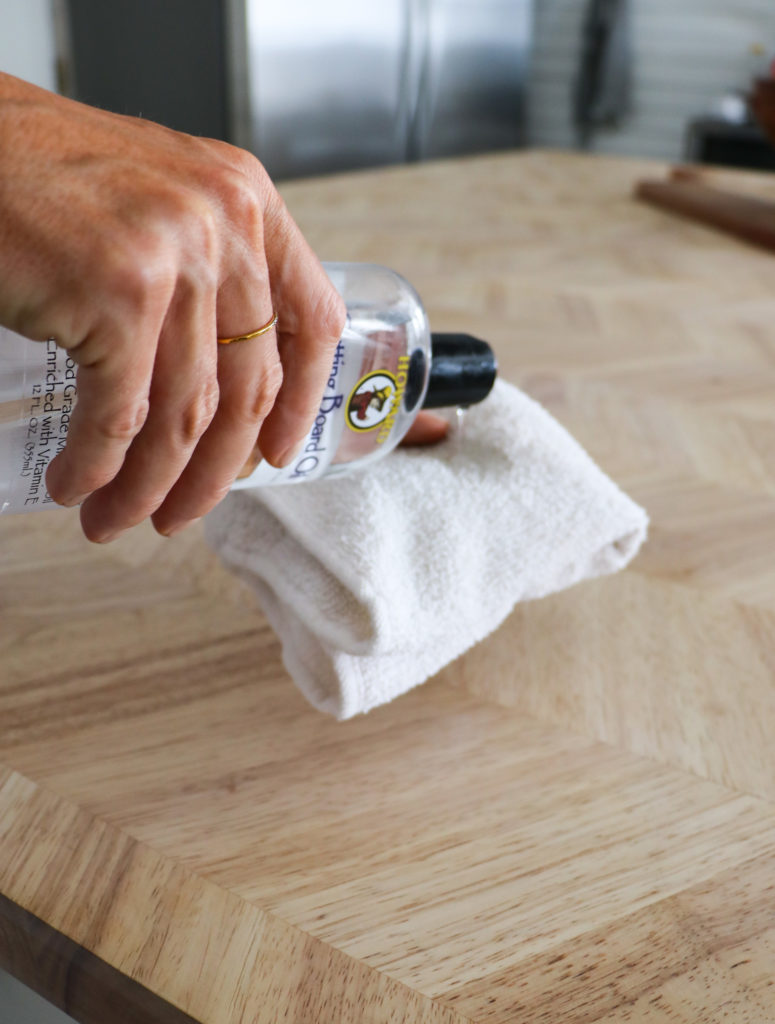
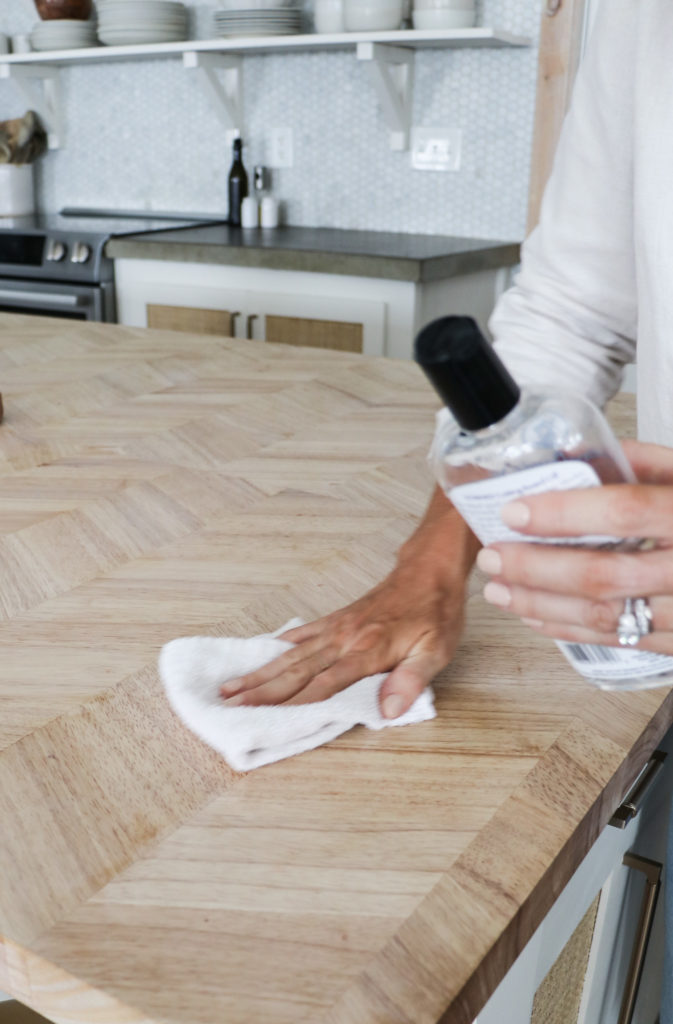
Right after installing the countertop, I used Howards Butcher Block Conditioner on it, applying it generously with a rag until it had absorbed as much as it would. Then I used a clean rag to wipe away any excess. I waited a couple of hours and then applied Howard’s Cutting Board (Mineral) Oil following the instructions.
The first day I applied four coats to the butcher-block countertop. I applied one coat of oil every day for one week. Then I applied one coat every week for a month and continued to oil it once monthly for this entire year. Each time I oil it, it takes a little less oil. I will continue to oil it monthly.
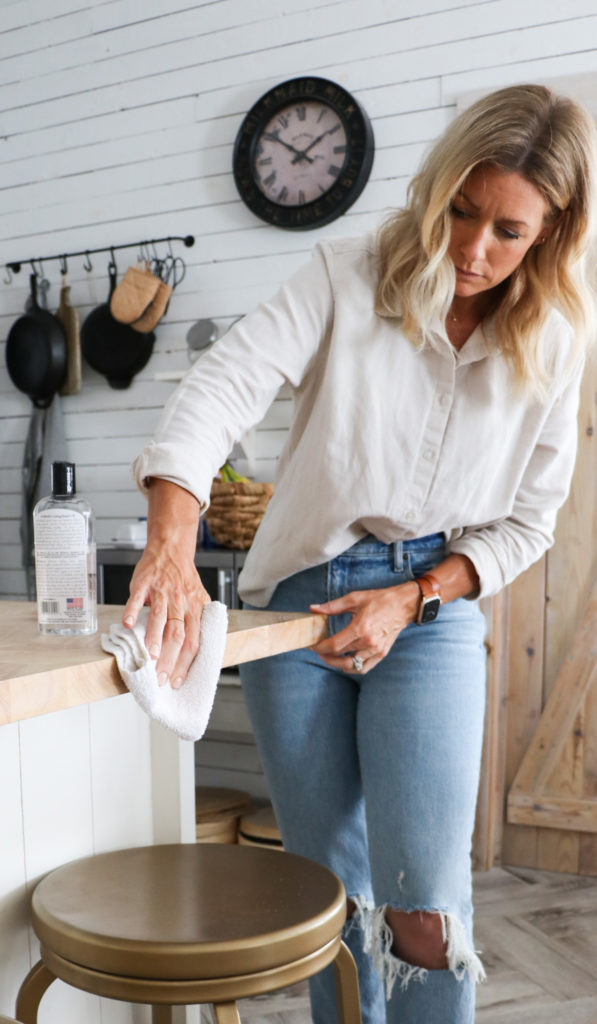
Before I oil it, I simply clean it well with a non-toxic gentle household cleaner (I use Thieves), and then I apply the oil to my rag and buff it in until it doesn’t drink the oil up any longer. It’s really easy to do and I love that if anything were to scratch it badly or stain it, I can easily lightly sand down the area and re-oil it for a brand new finish!
Pros and Cons of Butcher-Block Countertops (breaking it down)
PROS of Butcher-Block Countertops:
-Butcher-Block can add depth and warmth to any kitchen.
-It is extremely economical averaging about $25 per ft compared to marble at well over $200 per ft.
-The solid wood countertop can be sanded, restained, and refinished at any time.
-Butcher-Block can be cut on without dulling your knife.
-They can be easily installed and I would say it is beginner-friendly DIY for those looking to update their kitchen countertops themselves.
-They are totally customizable and can be cut to any shape and stained any color.
-They will last a lifetime (as long as cared for and is kept at consistent temperatures). Wood can bow or swell if exposed to constant temperature changes or repeated water exposure (such as a leaky sink).
-Butcher Block slabs would also work great for building a built-in desk, wet bar area, small table, etc.
-Can be used in laundry rooms and bathrooms as well. I would recommend staining and sealing them with a gel stain when using in a space that has a LOT of water like a bathroom and laundry room.
-They are perfect to use on a kitchen island when you want a two-toned countertop look. Or to keep costs down during a renovation, consider using butcher block for the perimeter countertops and splurging on marble, soapstone, or quartzite for the island!
CONS of Butcher-Block:
- They are susceptible to scratches and dents. If you want a pristine countertop with no scratches, they may not be for you.
-They are susceptible to staining (wine or grape juice left on the counter that’s only been sealed with mineral oil would stain) but stains can easily be sanded out…so it’s not a deal-breaker for me.
- Wood is very porous, so if you plan to use mineral oil, it must be done monthly to prevent any water soaking in and causing your countertop to swell or split.
-The best food-safe option for your countertop is to seal it with mineral oil, this requires diligence. If you don’t think the maintenance is something you want to deal with, these countertops should be sealed using a gel stain, or perhaps they are not the best option for you.
When I Recommend Using Butcher-Block Countertops In Your Kitchen or Bar
You can tell from this (non sponsored) post, that I LOVE my herringbone countertops! I plan on using them for many more projects in the future! Like I mentioned above, these countertops are SO affordable and customizable! They can be used in laundry rooms, kitchens, a home office, as a built-in desk…the list goes on. If you have a kitchen that is outdated, but you have a limited budget…I highly suggest looking into these countertops. You’d be amazed at what painting the cabinetry and updating the countertops will do for a kitchen! Thank you so much for stopping by the Blog today and I hope this Butcher-Block Countertop review was helpful!
Jeffrey Court Renovation Challenge/ Week #2/ Building a Kitchen Island
WEEK #3 -Jeffrey Court Renovation Challenge Building Drawers,Doors, & Painting
Jeffrey Court Renovation Challenge – Week #6 KITCHEN RENOVATION FINAL REVEAL
All About DIY Concrete Countertops And How To Know If They’re Right For You
*This post is NOT sponsored
*All statements are my honest thoughts, opinion, and observations. I am not a professional and I recommend consulting a professional before attempting any of the above.
- Links on this post may be affiliates links
